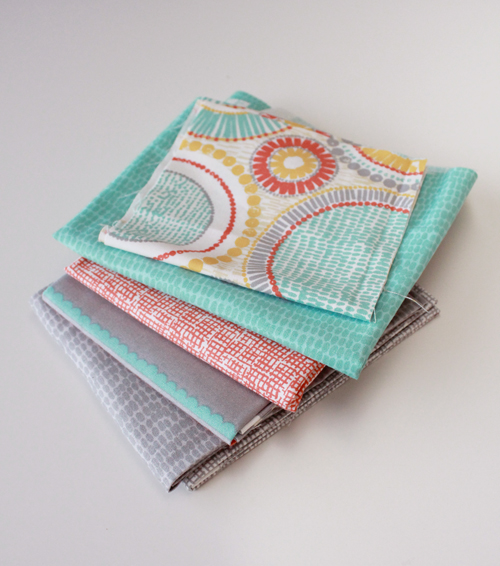
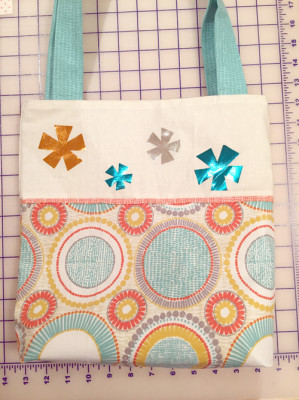
For the fabrics I used these great prints from the Mika line (Dear Stella.)
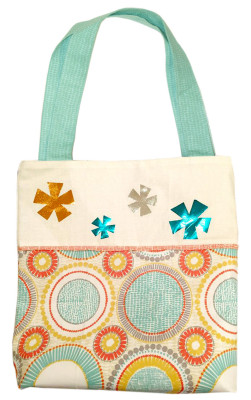
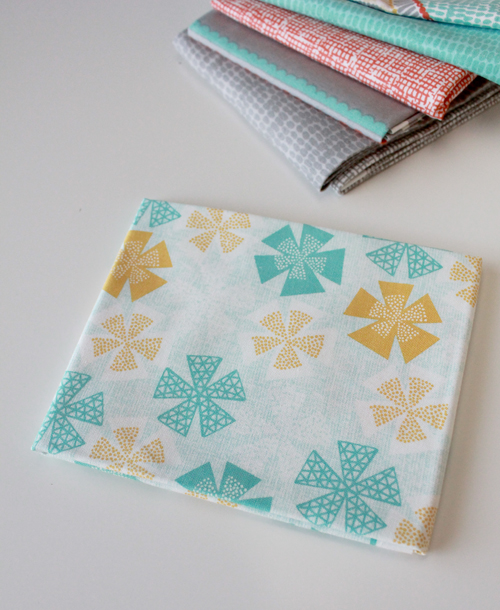
I loved this chubby star motif from this one Dear Stella print –
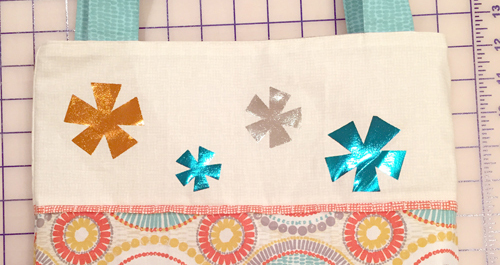
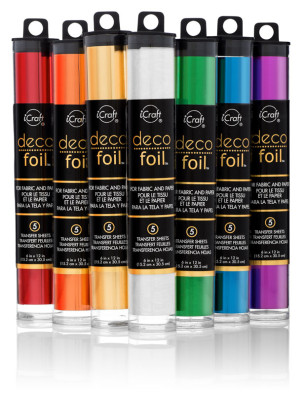
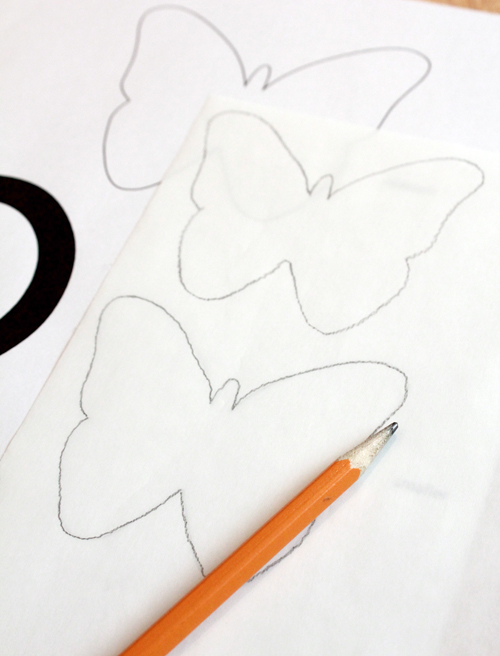
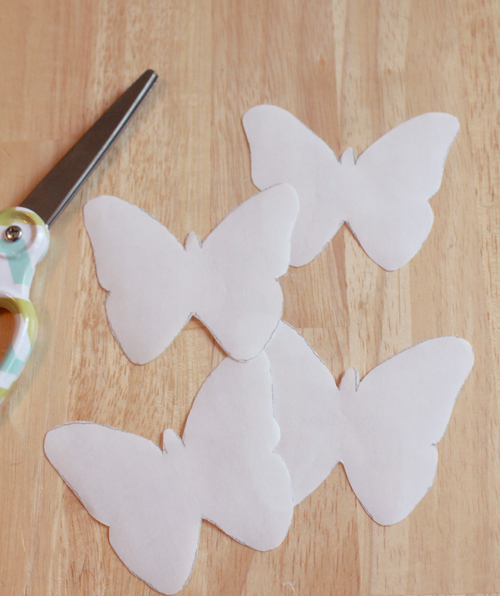
Here’s how I did it! On a piece of blank paper, I sketched out the star in a size that I wanted and traced over it in black marker (you need to be able to see the design through a sheet of iCraft® Deco Foil™ Hot Melt Adhesive.) You could also use a design printed from the computer like I did with these butterfly shapes I used for a different project. It’s the same process.
Cut out each shape directly on the lines.
Now the shapes are ready to be ironed on to the fabric as directed on the Hot Melt Adhesive packaging. This is a great way to use design inspiration from fabrics and other sources to use with your DecoFoils!
If you’re heading to spring Quilt Market in Minneapolis..be sure to stop by our booth #2237 to see all the new iCraft Deco Foil products we have to offer!