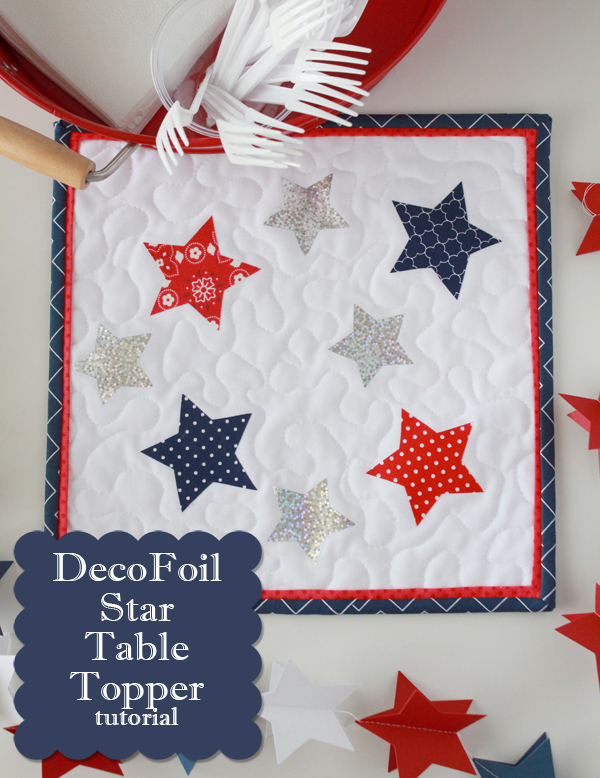
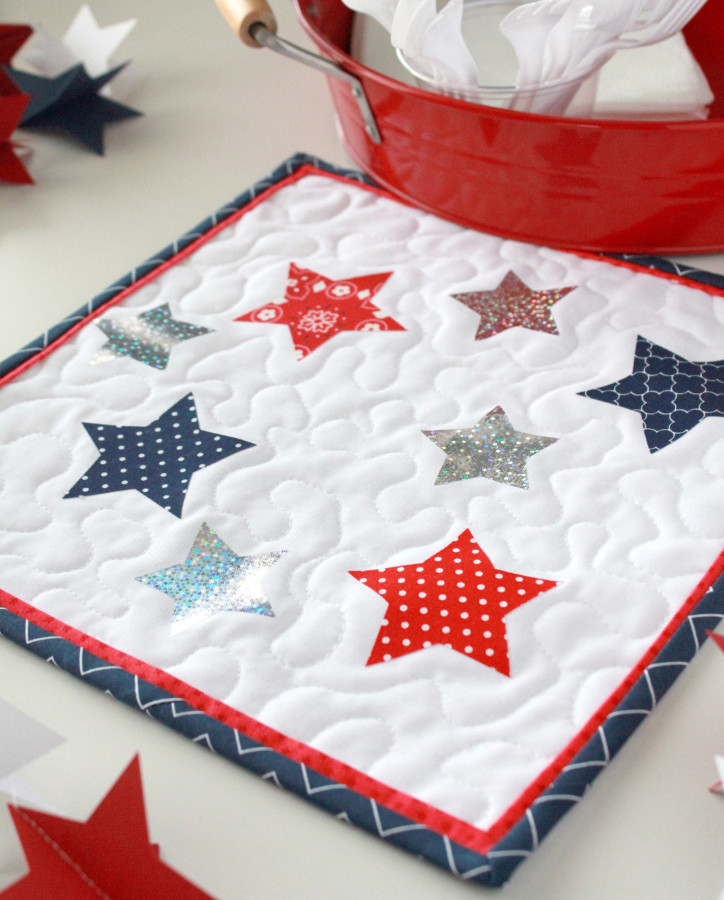
Hi Therm O Web readers! Andy here from A Bright Corner. I’m back again today to share a tutorial for this fun and sparkly Deco Foil™ Star Table Topper. The finished topper measures 12″ x 12.” For this project I used the Deco Foil™ in the Silver Stars color. I love the sparkle!
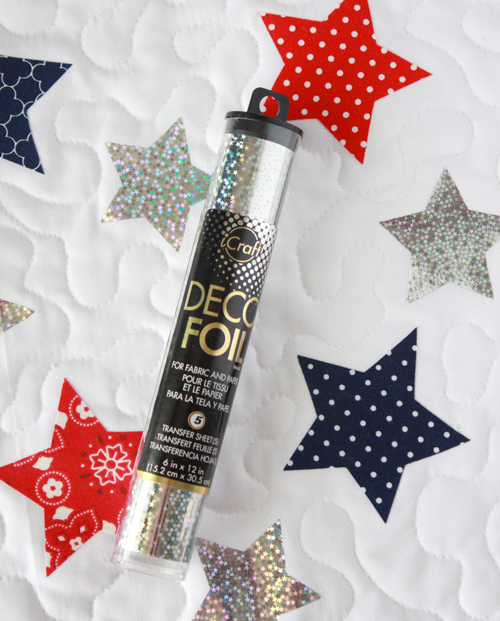
Here’s what you’ll need for this project:
- 12″ x 12″ piece of solid white fabric
- iCraft Deco Foil™ Hot Melt Adhesive
- Heat n Bond® Ultra
- red and blue fabric scraps
- 1″ x 48″ red print for flange
- 1/6 yard blue print for binding
- 13″ x 13″ piece of thin batting
- 13″ x 13″ backing fabric (I used solid white)
- Star Template
- Spray n Bond® Basting Adhesive
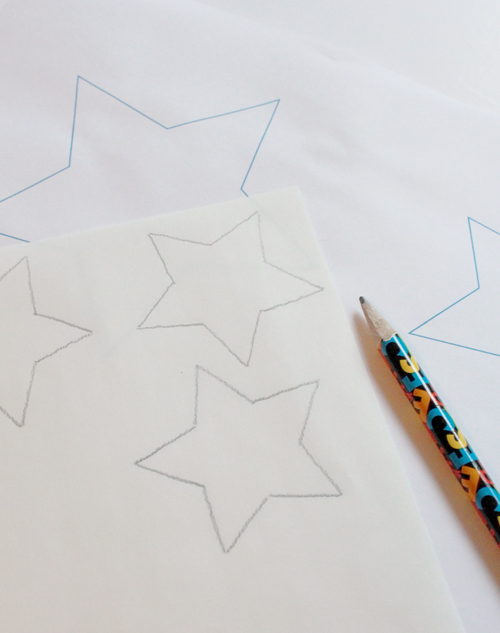
Step 1: Print out the Star Template. Using a pencil, trace four small stars onto the paper side of the Deco Foil™ Hot Melt Adhesive. Also trace 4 medium size stars on to the paper side of the Heat n Bond® Ultra.
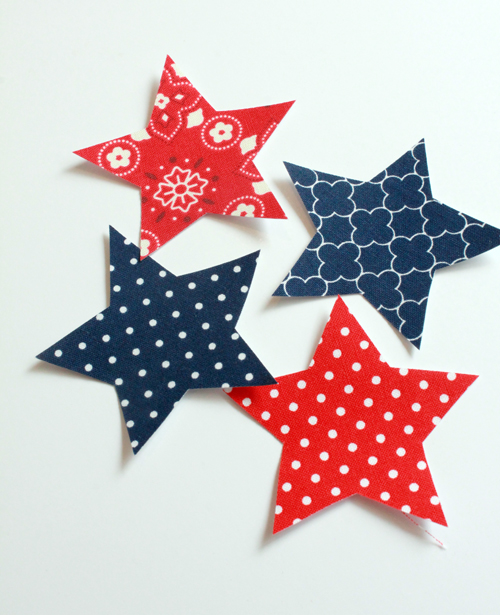
Step 2: Cut the Deco Foil™ Hot Melt Adhesive stars right on the line. Set aside for a later step. Cut the Heat n Bond® Ultra stars about 1/4″ away from each line. Press each star on to the wrong side of a different red or blue print. Then cut out each star directly on the lines.
Step 3: Place the stars on the 12″ x 12″ white square. Decide where you want to place each star, including the 4 Deco Foil™ Hot Melt Adhesive stars (8 stars total). Use a pin or a small pencil dot to mark where the red and blue stars will go. Then remove the red and blue stars to get them out of the way for the next step.
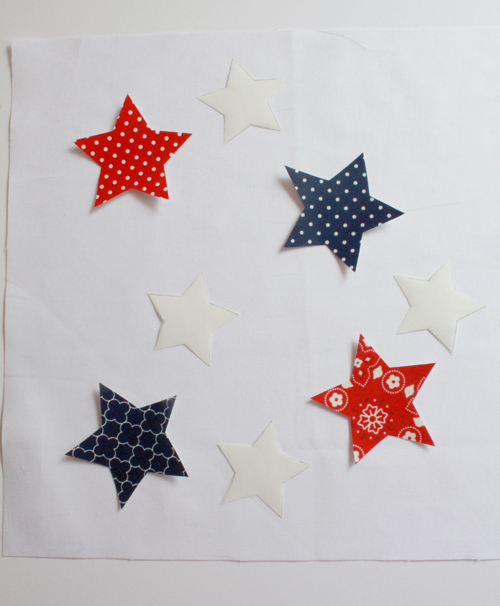
Step 4: Following the instructions on the package, press each of the Deco Foil Hot Melt Adhesive stars in place. Peel off paper.
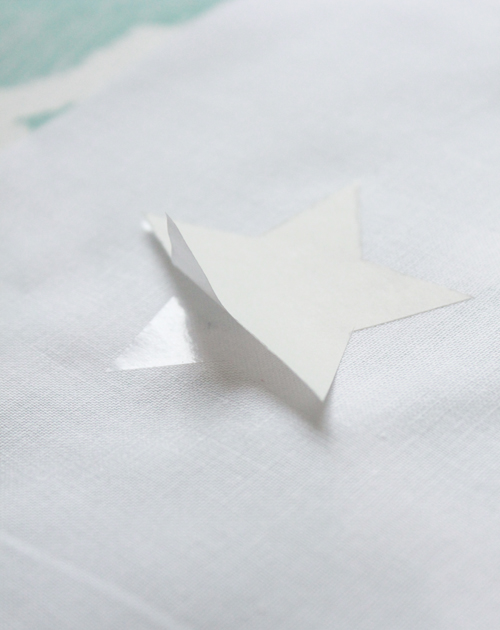
Cut a sheet of the Silver Stars Deco Foil® into squares large enough to cover one star.
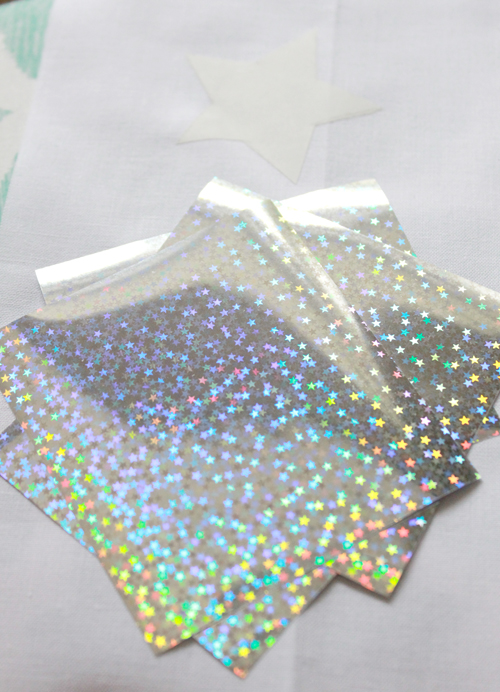
Following package directions, and covering with parchment paper (included in package), iron one square of foil to each Deco Foil™ Hot Melt Adhesive star. While pressing, be careful to not iron over previously foiled stars! To keep the others out of the way, I hang the fabric off the edge of my ironing board so only the star I’m working with is laying on the ironing board’s surface.
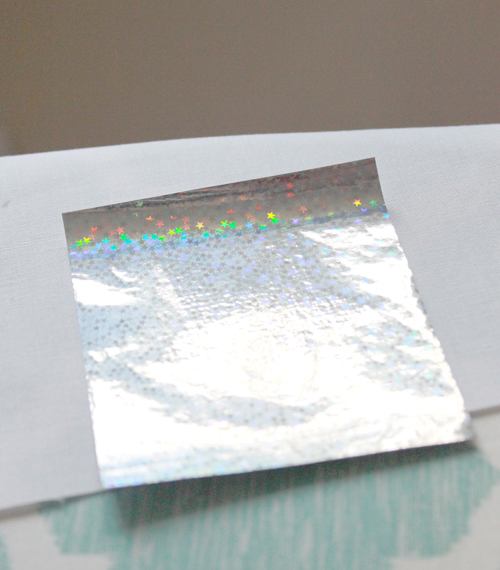
After pressing all four stars, let cool completely. Then carefully peel foil off, revealing each star shape.
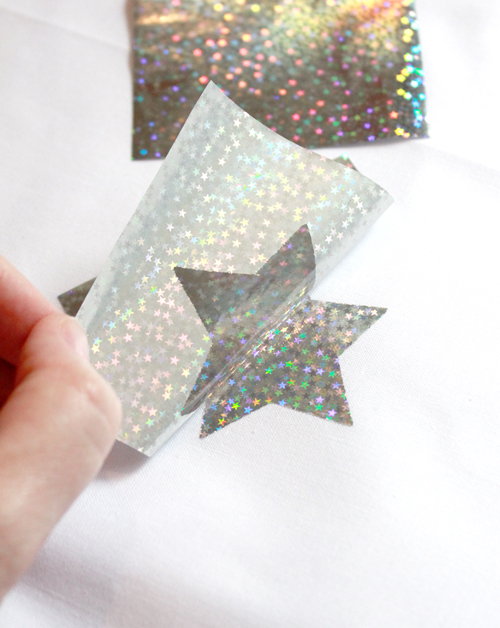
Step 5: Next, peel paper backing from the red and blue stars. Lay them in place on the table topper. Press in place, being very careful to not iron over the Deco Foil stars!
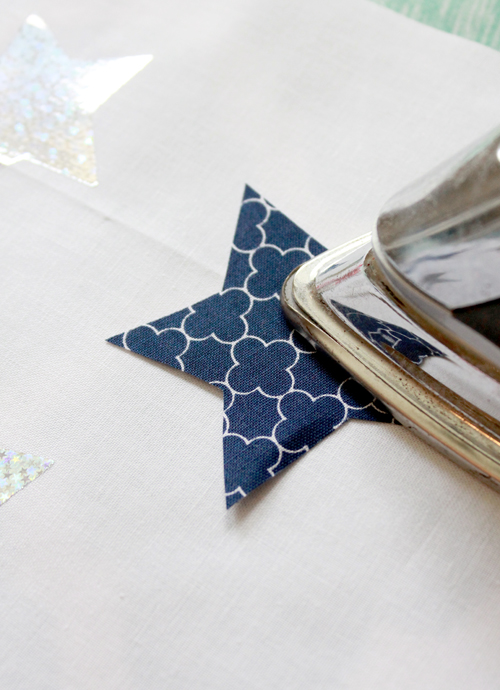
Step 6: With all 8 stars in place, it’s time to spray baste! Layer the backing, batting and top. Spray baste using the Spray n Bond® Basting Adhesive. With a small project like this it just takes a thin layer of spray between each layer.
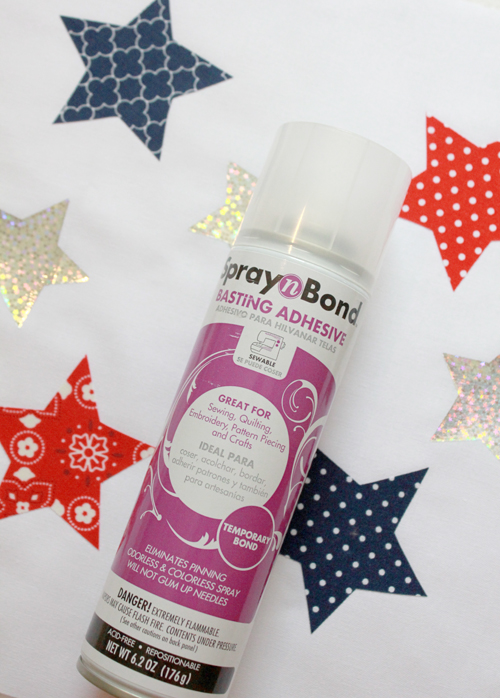
Step 7: Quilt as desired, working around each star.
Step 8: Cut the red print into 4 strips that are 1″ x 12″. Fold each strip in half and press well.
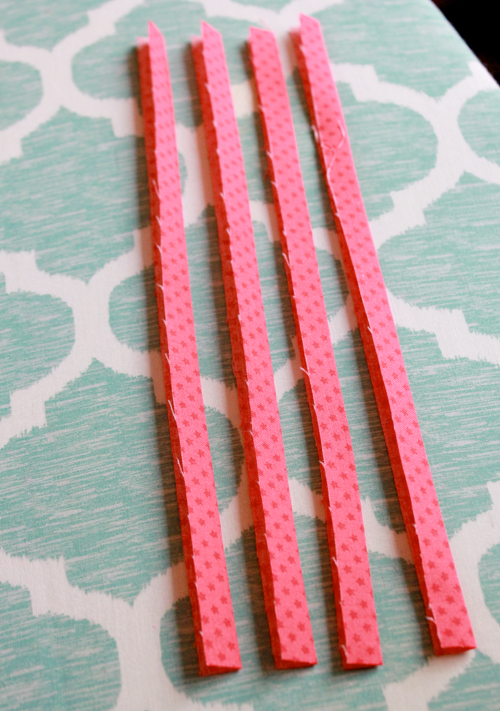
Step 9: Place one red strip along one edge of the quilted topper, with raw edges lined up and the fold of the red strip pointing to the center of the topper. Using a 1/8″-ish seam, stitch the red strip in place. Repeat for the next three red strips. The stitching will not show once the binding is on.
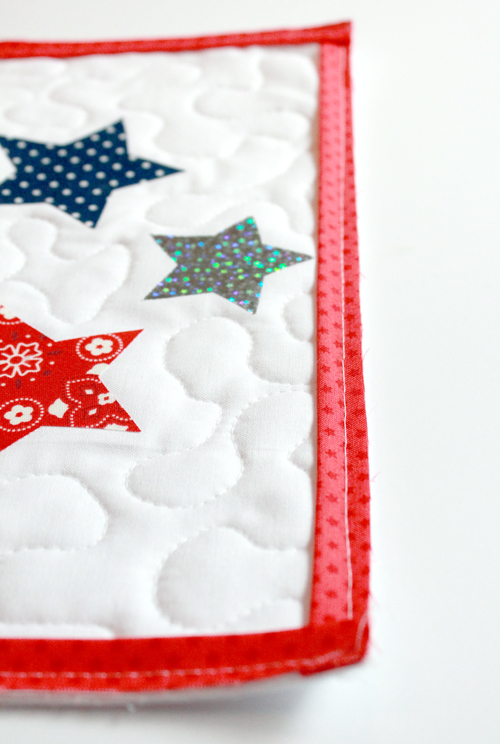
This makes a thin, red flange around the edge of the topper.
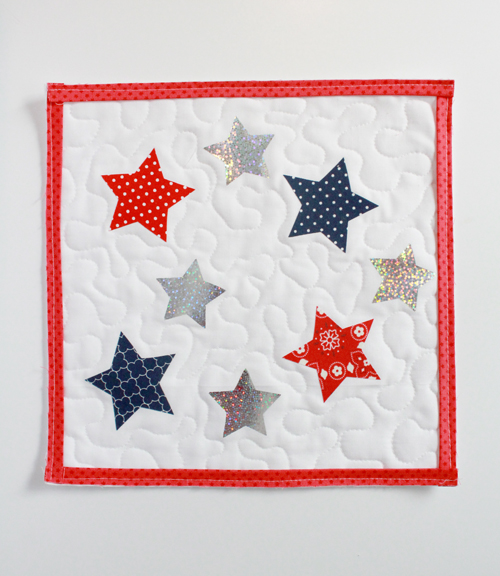
Step 10: Use the 1/6 yard blue print to make a binding. Add the binding to the topper as you would for a quilt and when you fold the binding to the back side, the red flange will show 1/4″ underneath the blue binding.
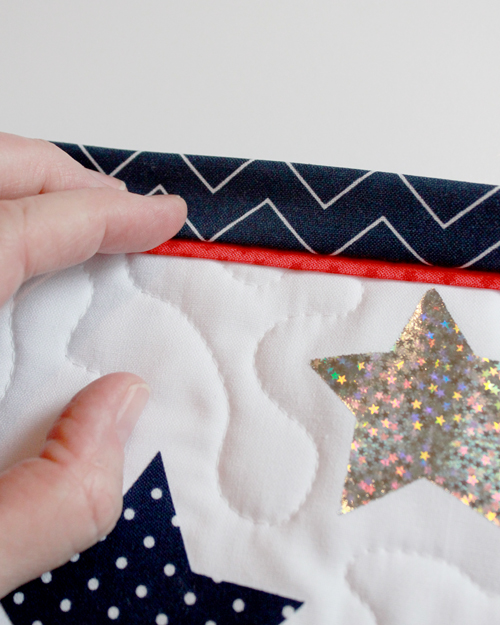
Fold the binding to the back and hand stitch in place. Your table topper is ready to use! With the fun sparkle, this topper will add a festive feeling to your table this summer!

Joan Marie
July 2, 2015 at 8:59 am (10 years ago)How cool is this!!!! Learning of new products & ideas to create . Thanks