Hi! Shemaine here today sharing a fun holiday gift idea using DECO FOIL™. I love making handmade ornaments for friends and family! Today I am sharing how to create this ornament using vinyl and deco foil. Let’s get started!

Hi! Shemaine here today sharing a fun holiday gift idea using DECO FOIL™. I love making handmade ornaments for friends and family! Today I am sharing how to create this ornament using vinyl and deco foil. Let’s get started!
Therm-O-Web Supplies:
DECO FOIL™ TRANSFER SHEETS • RED
ICRAFT MIXED MEDIA ADHESIVE 2.1 FL OZ
Other Supplies: Cricut Design Studio, Oracal 651 outdoor vinyl, Glitter Pom-Poms, Holiday Ribbon, Craft plastic ornament
________________________________________________________________________
Project Instructions:
First, choose what you want to place on your ornament. I chose this Make it Now Charger in Design Studio. You are able to customize the project which I love. I sized the sentiment at 2.75 H
Adhere a 3×3 piece of Oracle 651 vinyl onto the Cricut mat and cut the image making sure the vinyl setting is used. I chose red vinyl to blend with the foil color I would be using because the back of the image is visible once it’s placed on the ornament.
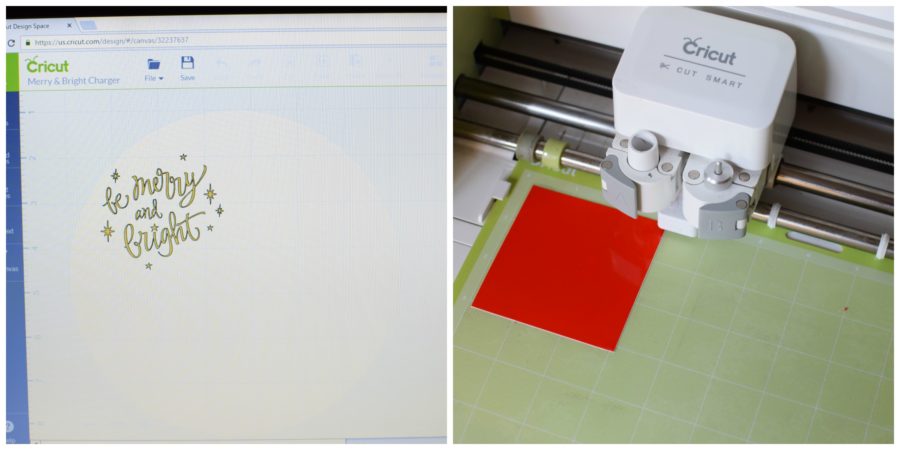
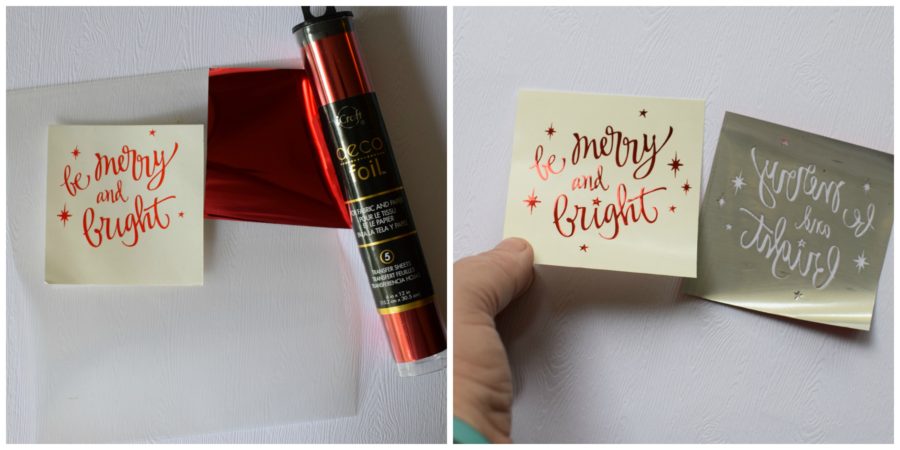
Once the image is cut, use a weeding tool to get rid of the excess vinyl. Next, cut a piece of DECO FOIL™ TRANSFER SHEETS • RED at 3×3. Place the foil over the vinyl and run it thru the 12″ laminator. After it has cooled, peel away the foil to reveal the foiled sentiment.
Next cut a 3×3 piece of transfer tape and rub over the sentiment. Gently lift the transfer tape making sure the foiled vinyl sticks. This make take a few tries. Then lay the transfer tape with your design over the clear ornament and burnish with your fingers making sure there are no bubbles.
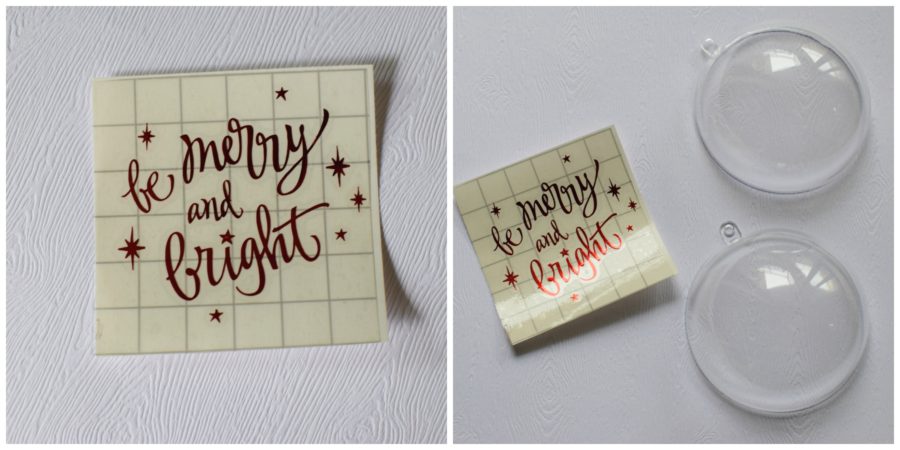
Fill the ornament with whatever you like using a little bit of ICRAFT MIXED MEDIA ADHESIVE 2.1 FL OZ around the edge of the plastic ornament to glue it. Finish with a festive bow and string to hand on the tree.

Thanks for stopping by!
Shemaine
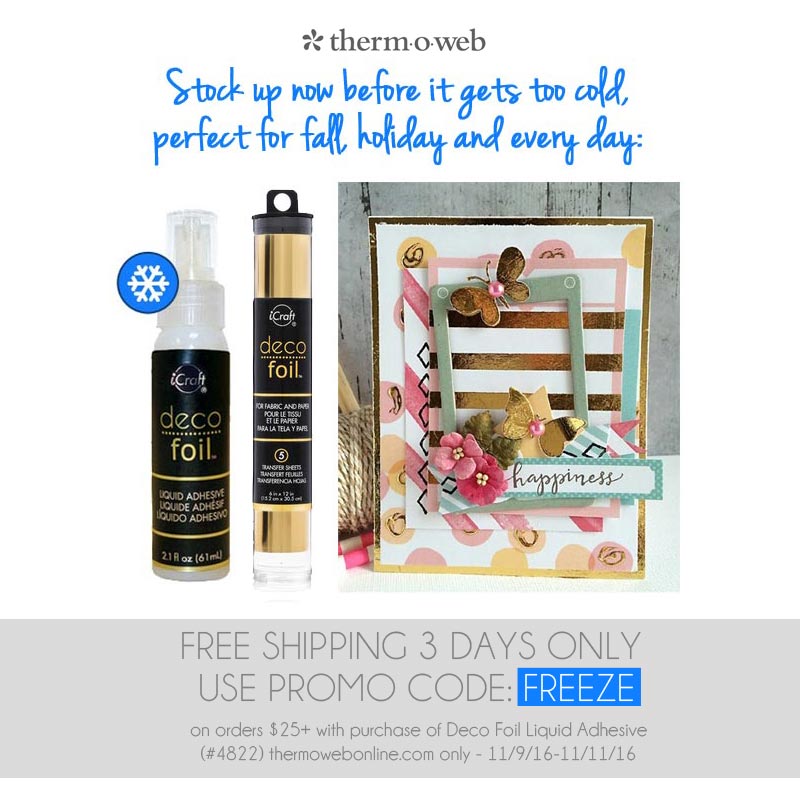
For a limited time only we’re offering a special sale on our Autumn Collection of Deco Foil Transfer Sheets! Pick up our Copper, Champagne, Red, Rose Gold and NEW Amber Watercolor at a great price! (it’s like getting one for FREE!) Click the image below to shop now!

BunnyD
November 9, 2016 at 7:23 am (9 years ago)How cute!
Shemaine Smith
November 15, 2016 at 12:04 pm (9 years ago)Thank you for your comment Bunny 🙂
Donna Casey
November 20, 2016 at 10:42 pm (9 years ago)LOVE this! I had no idea the deco foil would stick to the vinyl like that!! Thank you for sharing! 🙂
Tracey Perillo
December 5, 2016 at 6:07 am (9 years ago)Me neither I truly feel like I’m missing a step. It can’t possibly be that easily. I do have a few questions and I’ll try to keep it simple. I’ve got Cricut adhesive foil would that work the same way?i also am a hairdresser with multiple colors of foil sheets for when you do highlights so you can keep track of what color you apply where according to the color of foil. And for the laminating step I’ve got a Xyron Machine will that Work? Sorry to be such a P.I.A. I’ll make a deal though if you’ve got no idea about any of these questions and don’t respond I will report back with the result of my ‘Craft Room Experiment’ whether I’m successful or not.
admin
December 12, 2016 at 9:45 am (8 years ago)Hi Donna….we’ve not tried the Cricut Adhesive Foil given we work with our Deco foil line however you’re welcome to give it a go and see how that works for you. As for laminating, unless the Xyron machine applies heat..it would not be recommended to use with our Deco foil. Hope that helps!
Donna Casey
December 12, 2016 at 9:46 am (8 years ago)I’m buying some deco foil this weekend to try out and I already have the vinyl and the laminator that I’ve used for other foiling projects. If it works just like that, I’ll be sure to post back to confirm! 🙂