Hi Everyone, It’s Becky from Patchwork Posse. Home of fun sewing projects, quilt alongs, and a lot of chit chat!
I don’t know about you, but around here in Utah the temperatures have dropped and it’s a bit chilly around here! Snowman time is quickly coming. I don’t mind the snow, but my favorite part is snuggling up with a good book and a quilt.
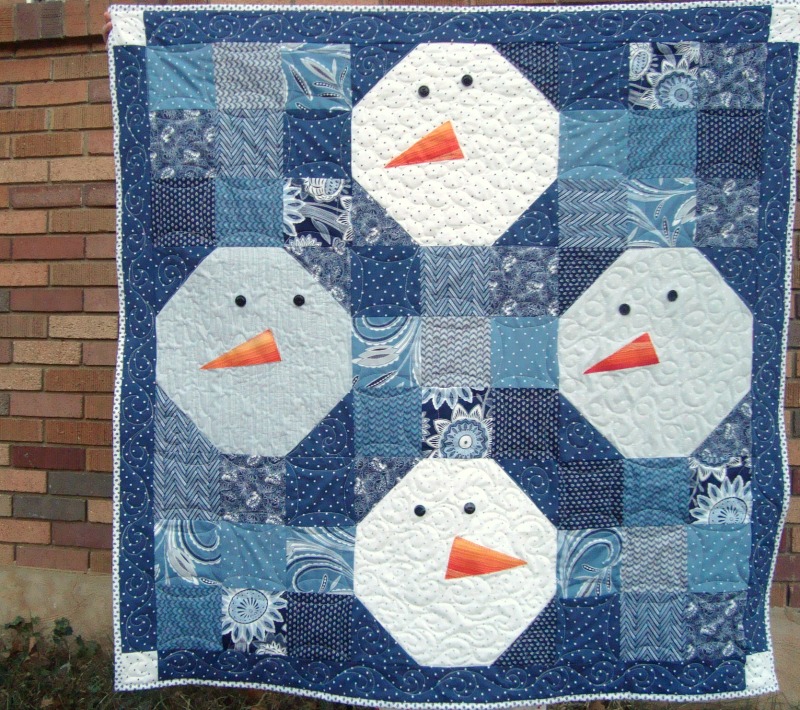
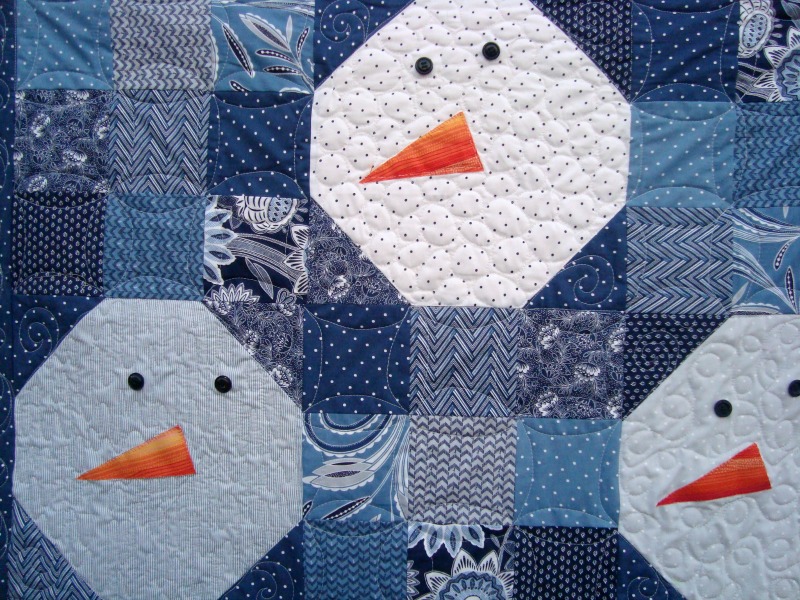
This Snowman Quilt is super simple and great for beginner quilters. Finished size is 46″ square….so it’s just the right size hanging on the wall, or draping over the couch for a quick grab and snuggle.
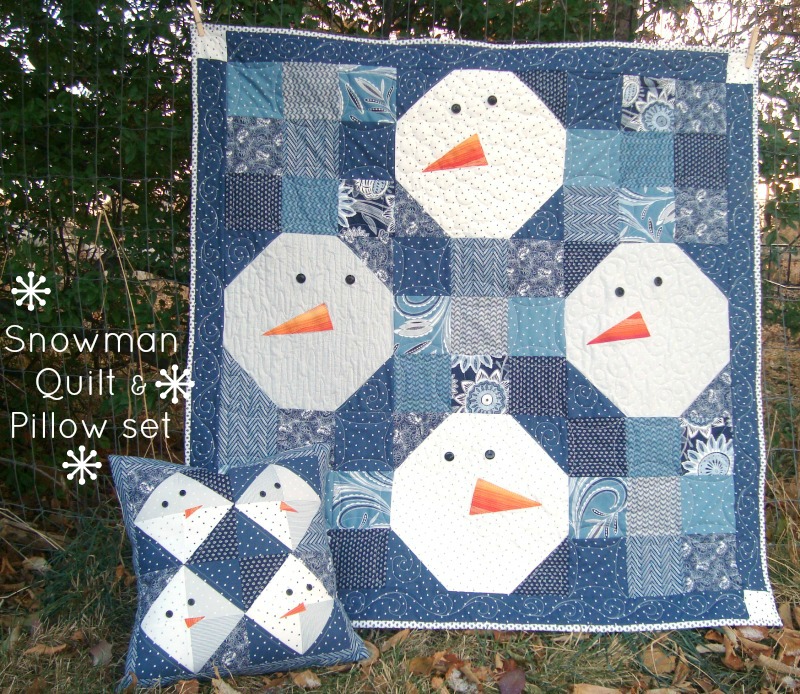
The blue in the Dear Stella fabric line is perfect for a snowman quilt.
Because of how it’s sewn up– there are extra little half square triangles which can be sewn into a matching pillow. You’ll find those instructions here– Snowman Pillow
Materials Needed:
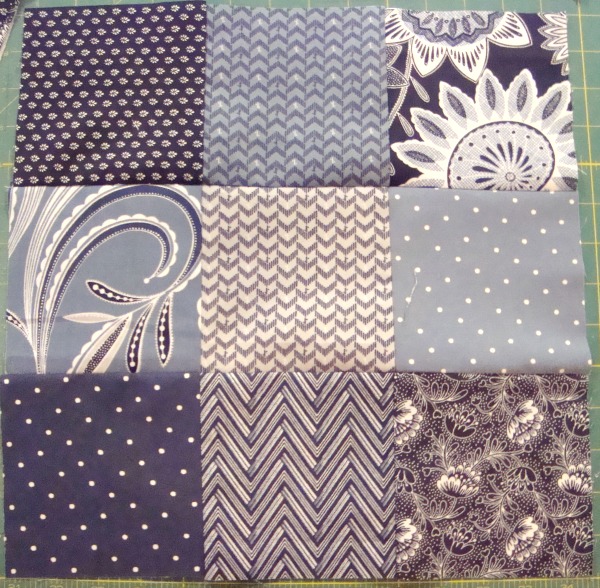
45– 5″ X 5″ blue fabric for 9 patch quilt blocks — you can use fat eights in a variety of prints to get a scrappy look — 7/8 yard total
16– 5″ X 5″ blue fabric for corners of snowman blocks — half yard
4– 14″ X 14″ white/light fabric- snowman faces — or 3/8 yard
orange scraps 6″ X 3″ for carrot noses
4– 41″ X 3″ blue fabric for the border — half yard
4– 3″ X 3″ white corners of border
Batting and backing- 50″ X 50″
Instructions for Snowman Quilt
1) Sew 5– 9 patch quilt blocks using the 5″ squares
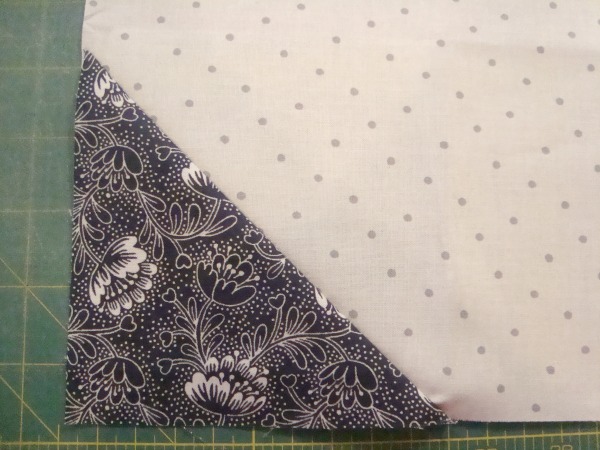
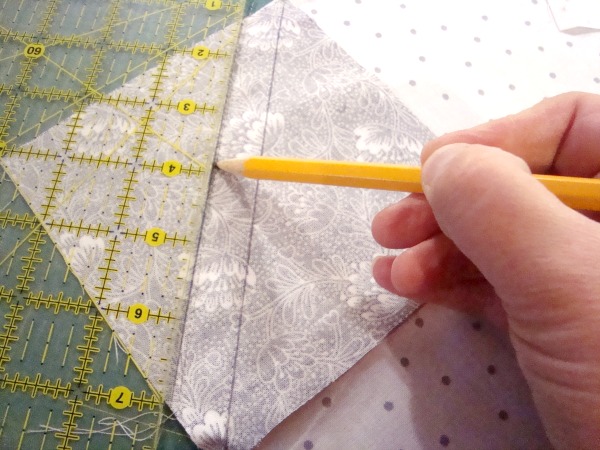
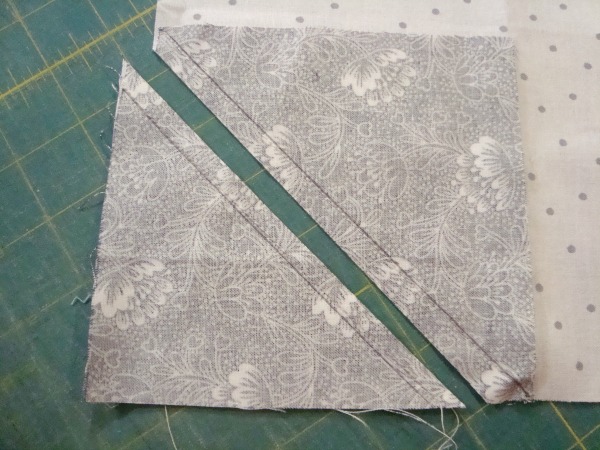
2) On the wrong side of the 16- 5″ squares, draw a line from corner to corner
3) Draw a second line 1/2″ from the previous line
4) Place one blue square in the corner of the white square- the second line will be on the outside of the block
5) Sew on both drawn lines
6) Cut in between the sewn lines and iron– set aside the half square triangle for a second project which is the snowman pillow!
7) Repeat with all 4 corners of the snowman
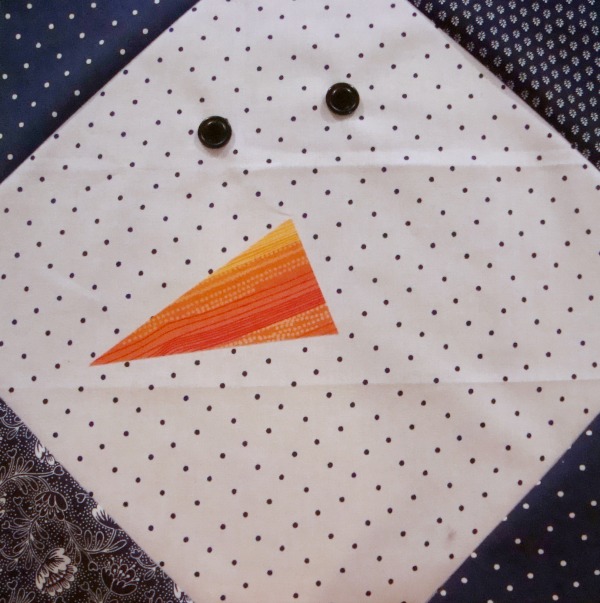
8) Draw 4 snowman noses approximately 5″ long and largest end is 2 1/2″-3′ wide.
9) Trace the triangle to the fusible heatnbond lite
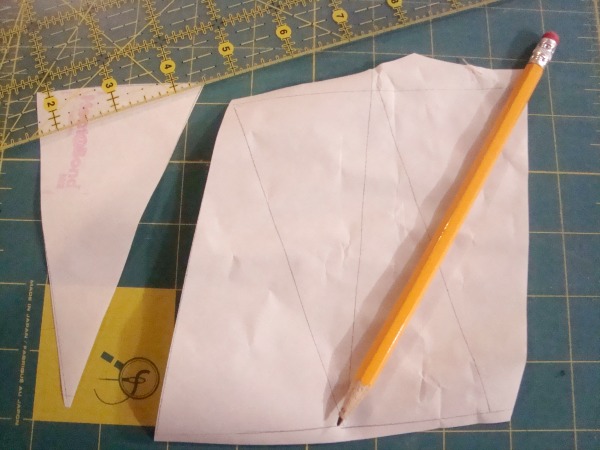
10) Fuse to the wrong side of the orange fabric and cut out
11) Place on the snowman head and fuse in place
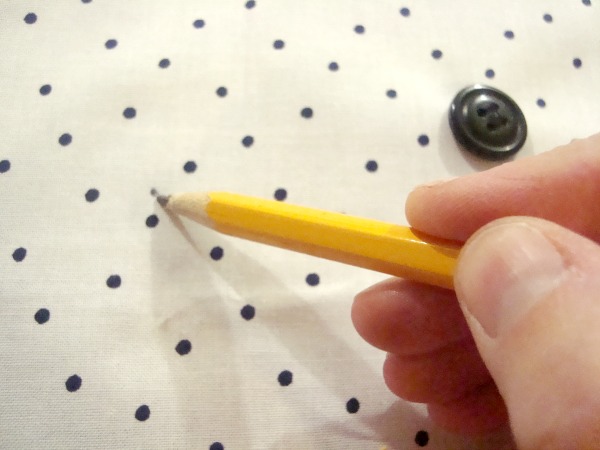
12) Sew two buttons on the block for eyes
 13) Sew the center of the quilt together- alternating 9 patch quilt blocks and snowman heads
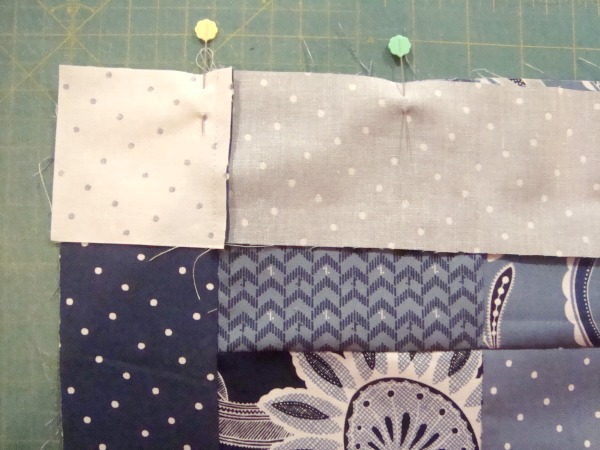
14) Sew a border to the top and bottom of the quilt
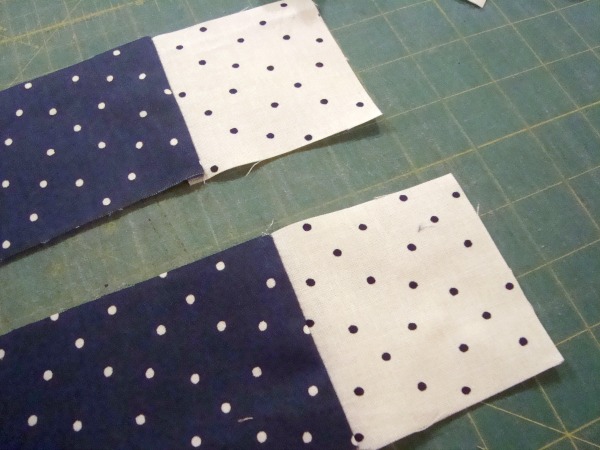
15) Sew the 4 light 3″ squares to each end of the remaining two border strips
16) Sew these to the sides of the quilt
17) Layer your quilt- batting and backing and quilt
18) Bind your quilt
For more quilt as you go tutorials and easy sewing projects, stop by my blog or facebook.
– Becky

Pam Weisenburger
November 21, 2014 at 5:11 am (11 years ago)Can you please tell how many yards of the different fabrics you used? Thanks it is so cute I want to try and I’ve never made a quilt before.
Designer
November 21, 2014 at 11:27 am (11 years ago)The materials list shows the yardage requirements to help you out.
Paula
November 23, 2014 at 9:46 am (11 years ago)I’m a beginner quilter and thought the pillow with this quilt would be a nice project. Where could I find a tutorial for how to choose fabrics, how many different fabrics to use, etc? I don’t have a stash to choose from. Thanks for pointing me to anything that can help!
admin
November 24, 2014 at 5:04 pm (11 years ago)Hi Paula…we loved your comment and question and are going to work on a upcoming tutorial to help answer your questions! Thanks for the great question!
Debbie
July 20, 2015 at 10:50 am (10 years ago)Thank you or the cute pattern can’t wait to get started.
Stephanie O
December 24, 2015 at 9:47 pm (10 years ago)So cute. Thanks for sharing. I will add this to my list of projects for next year.
Marlene Geveshausen
December 31, 2015 at 12:28 pm (9 years ago)Love this quilt. I Plan to make it soon. Nice that snowmen patterns and finished product can be left out all winter.