


![]() It’s Katrina from Paper, Scissors and Glue today for our team up with Kindred Stamps. I had so much fun creating these two cards and I have just the perfect people to send them to!
It’s Katrina from Paper, Scissors and Glue today for our team up with Kindred Stamps. I had so much fun creating these two cards and I have just the perfect people to send them to!
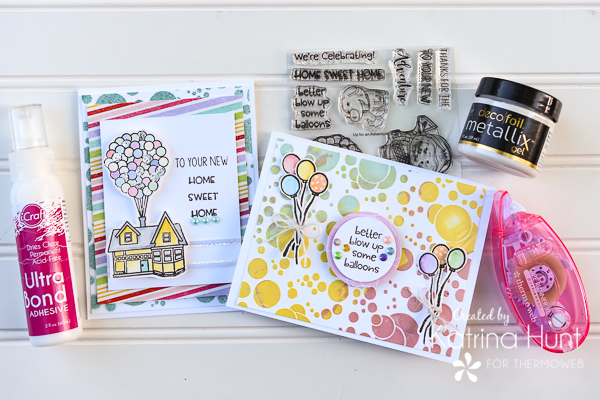
Deco Foil Metallix Cards
Therm O Web Supplies Used:
Deco Foil Foam Adhesive Sheets
Therm O Web Memory Runner XL
Therm O Web 3D Foam Squares-1/2 inch
iCraft Deco Foil Metallix – White Pearl
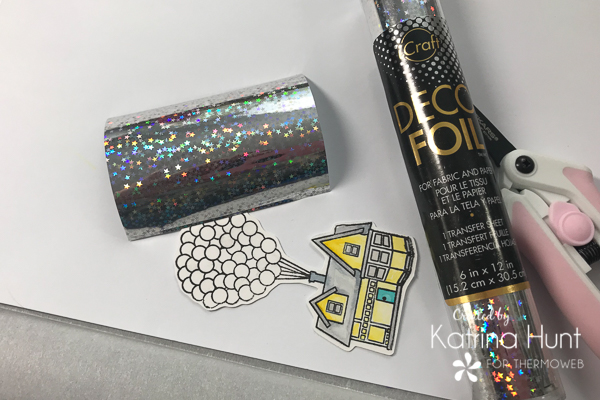
Deco Foil Transfer Sheets – Silver Stars
Deco Foil Stencil Pal
iCraft Purple Tape-1.5 inch
iCraft Ultra Bond Liquid Adhesive
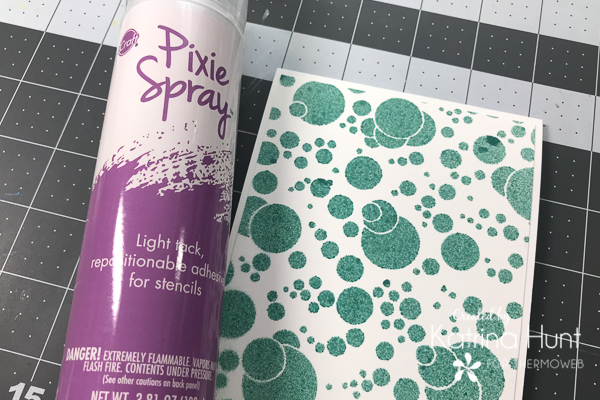
Therm O Web Pixie Spray
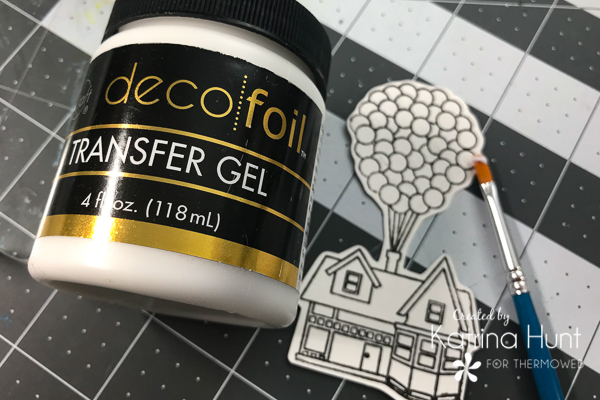
Deco Foil Clear Transfer Gel
Foil Laminator-12 Inch
Gina K Designs Premium Cardstock-Luxury White
Gina K Designs Sheer Stain Fancy Ribbon-White and Silver
Therm O Web Adhesive Pick Up Square
Therm O Web Zots-Medium
Kindred Stamps- Up For An Adventure Stamp Set and Bubbles Stencil
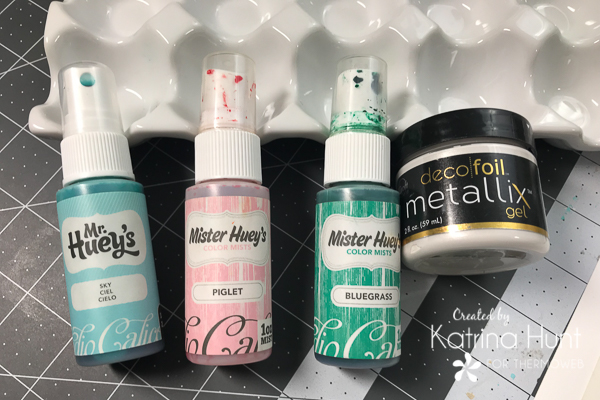
Other Supplies: Pattern Paper-Simple Stories; Twine-May Arts; Markers-Zig Clean Color Real Brush Markers; Ink-Gina K Designs; Misti Stamp Positioning Tool; Silhouette Cameo; Mists-Studio Calico; White Pen-Signo;
Let’s Make The Cards!
I took a lot of step out photos, but some of the photos are for both cards, so I am going to go thru both cards at the same time.
Deco Foil Metallix Card
Start with a piece of Gina K cardstock in white, about 8×8 inches. You will also need another piece of cardstock that is 4.25×5.50 inches.
Begin by setting your stencil in a box with the back side of stencil facing up. Next, spray the Pixie Spray adhesive over the entire back of the stencil and let dry for about a minute. Your stencil back will feel slightly tacky to the touch.
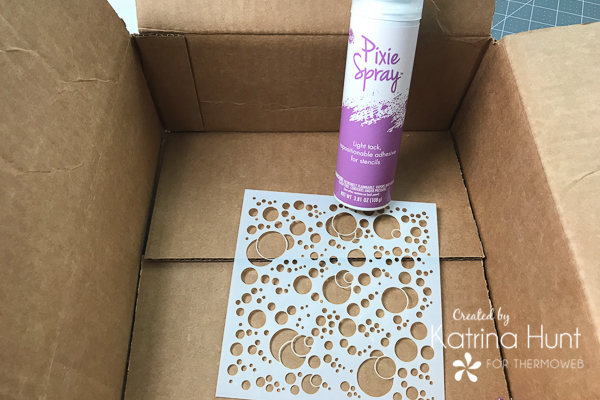
After the adhesive has dried slightly, lay on top of a smaller piece of cardstock and pat down. Mist with your choice of mists or inks. You could also blend inks over the stencil. Set this piece to the side. Rinse the ink off your stencil. If you are careful, the back should still be tacky.
Using the stencil again, adhere it to the bigger sheet of cardstock that was cut. Make sure you have dried it before adhering. Using the White Pearl Metallix and mists (or inks) you can color the Metallix to make custom colors for your project. I wanted three different colors, so I made them! I also changed my mind on a color after I took my picture! NOTE: You will need to thoroughly mix the Metallix and your coloring medium. The Metallix will “bead” up a little, but keep stirring it and it will all meld together.
To apply the Metallix, use a pallet knife first to get the colored medium where you want it and then use the Deco Foil Stencil Pal to smooth the Metallix gel out, overlapping colors as you smooth.
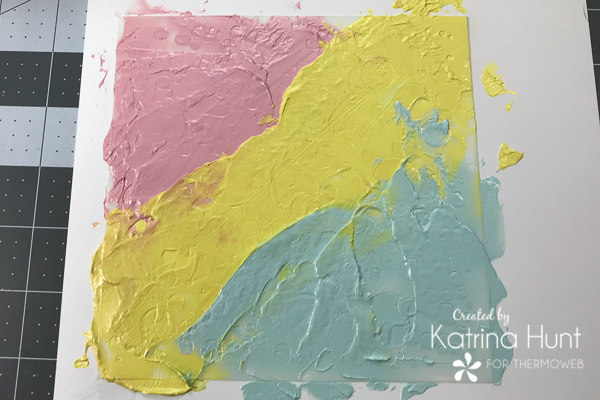
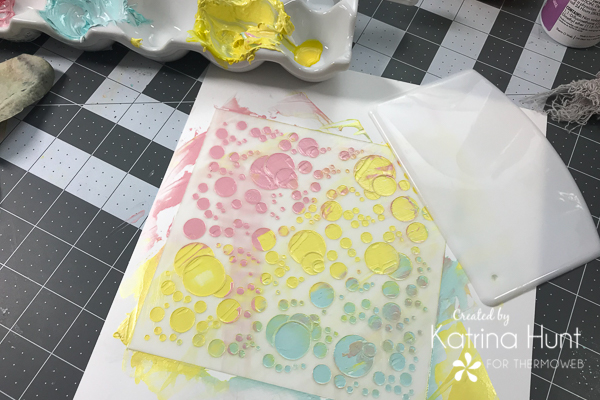
How fun does that look?!!
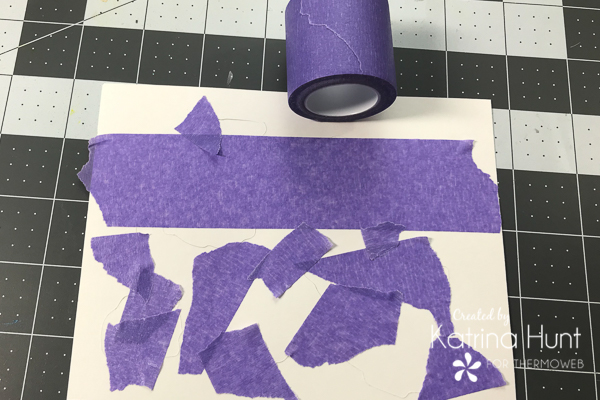
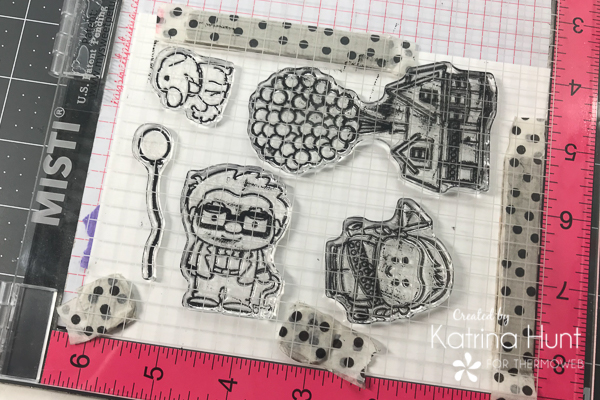
In the meantime, while the Metallix is drying, stamp your images. Kindred Stamps has cut files that you can buy to go with the stamp sets, instead of dies. Use an electronic die cutting machine to cut out the stamp images. Then place the images back into the negative spaces, so that you can stamp on them. Hold the images in the cut area by placing Purple Tape on the back of them. This will hold the pieces in place so that you can stamp more than one image at a time.
Before beginning to color your images, turn on the laminator and let it warm up. Color images using the method of your choice. I used Zig Clean Color Real Brush markers and some water to color all images seen.
Keep reading to see how to add touches of foil to the balloon bunch!
Deco Foil Card
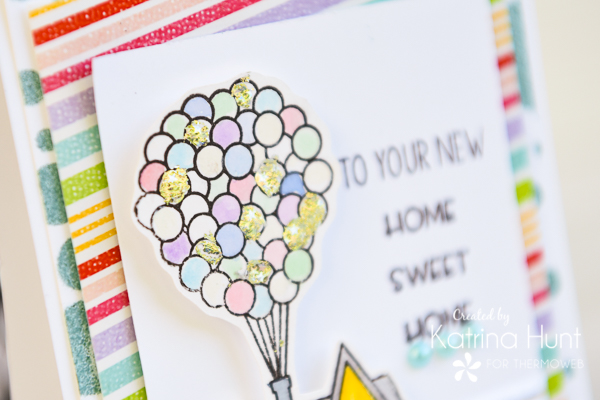
At the same time, use an old small paintbrush and apply some Deco Foil Transfer Gel to some of the balloons in the big bunch. This can be drying while you color the rest of the image.
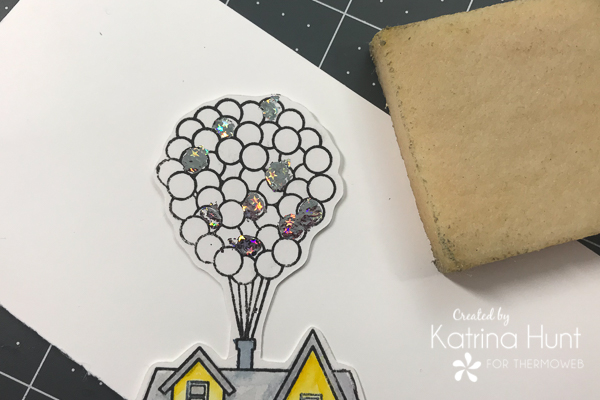
Once you have your images colored and the Transfer Gel has dried, then you can foil the balloons. Cut a small piece of the foil transfer sheet and lay it over the bunch of balloons in your parchment sandwich. Run thru the laminator. You can remove any areas of foil that may be mistakes by using the Adhesive Pick Up Square and rubbing lightly.
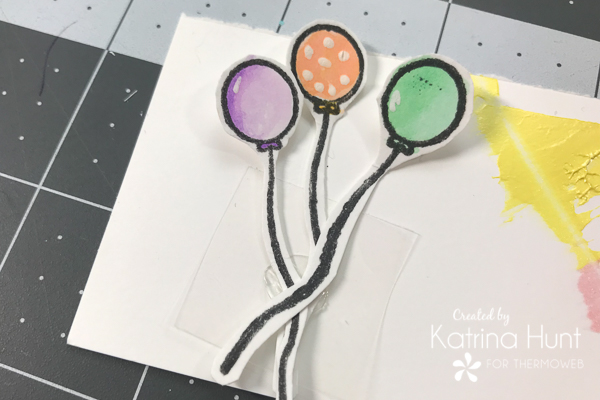
In order to group the single balloon images together, use a medium Zot. Remove the top protective Zot adhesive covering and then lay the single balloons on the Zot, arranging them until you like how they look. Remove the Zot protective backing and then tie twine around to make a “bunch” of balloons. Also, use a white gel pen to add highlights or polka dots to the balloons.
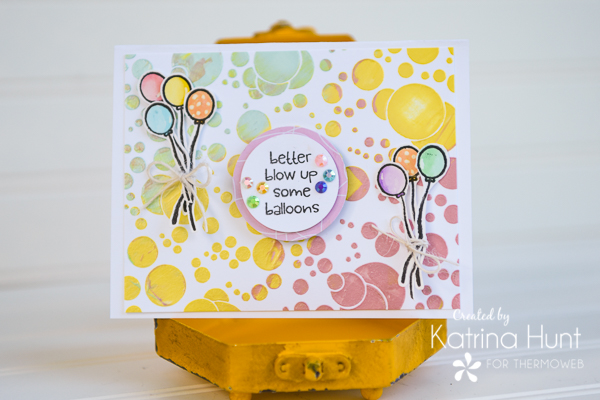
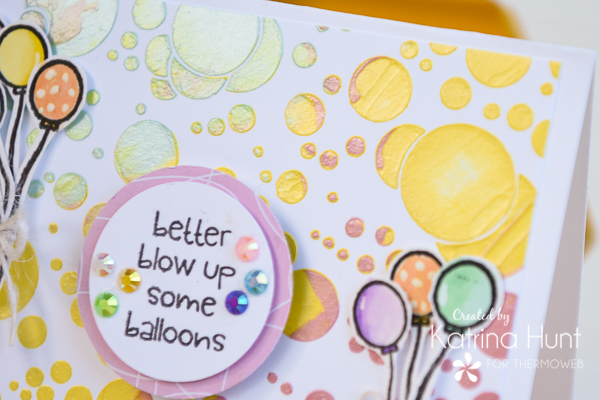
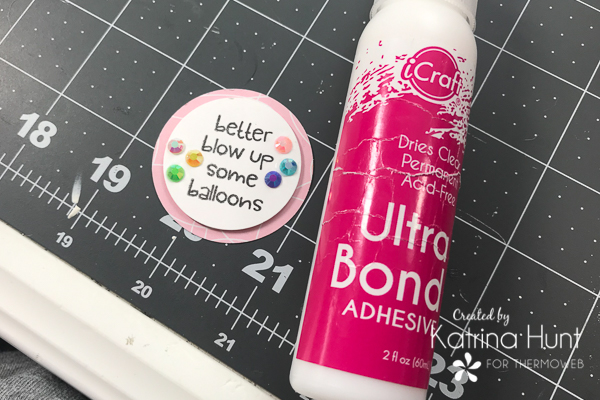
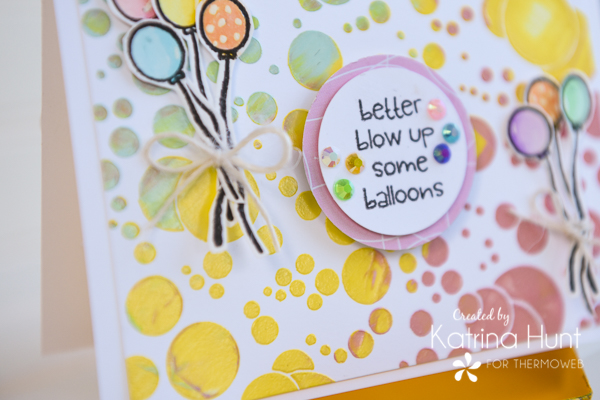
Next, trim your colored Metallix piece down to 5.25×4.00 inches. Apply to a standard cut card base of 5.50×4.25 inches. Adhere balloon bunches to the front of the card, using Deco Foil Foam Adhesive cut small enough to fit behind balloons. Punch a circle of 1.5 inches out of white cardstock and stamp sentiment. Next, punch a circle 1.75 inches out of a coordinating pattern paper. Place stamped sentiment circle on top of the bigger circle. Attach gems using iCraft Ultra Bond liquid adhesive. Then adhere the cluster to the center of the card front using 3D Foam Adhesive Squares.
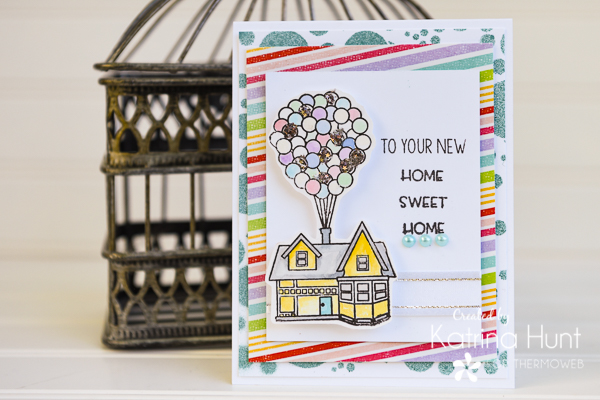
Now that you have the first card done, start putting your second card together. Cut a standard card base for a top folding card that is 5.50 x 4.25 inches. Next, cut your misted stenciled cardstock piece down to 4.00 x 5.25 inches. Adhere to front of the card base.
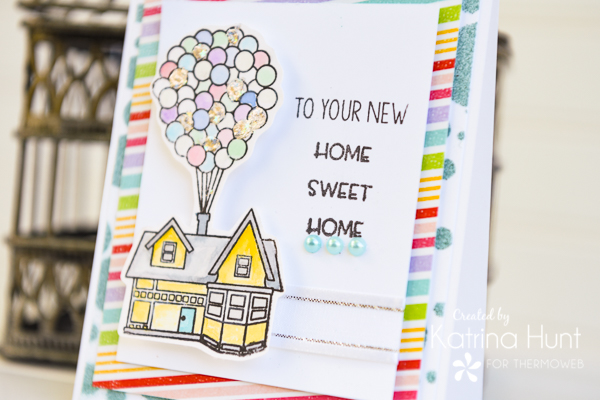
Cut your pattern paper down to 3.75 x 4.75 inches. Adhere to on top of stenciled cardstock piece using Deco Foil Foam Adhesive. Cut a piece of white cardstock 4.00 x 3.25 inches. Additionally, you will want to figure out the placement of the balloon house versus your stamped sentiment. Once you have that placement, then stamp your sentiment directly onto the white cardstock. Adhere Gina K ribbon around the bottom of the white cardstock. Apply gems under sentiment using the iCraft Ultra Bond adhesive.
TIP: Use tweezers to pick up gems/sequins and dip into the adhesive. Slightly run over a scrap piece of paper to remove excess and then apply to your project.TooltipText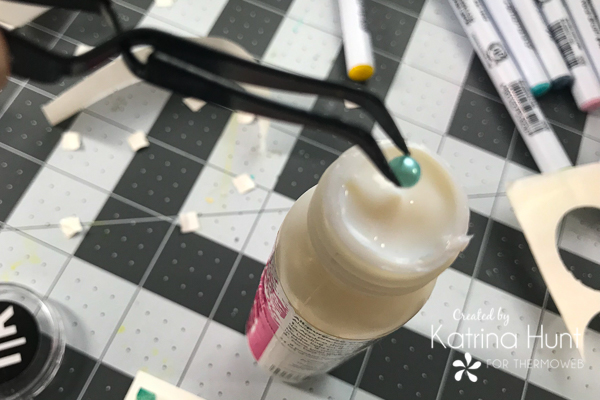
After stamping sentiment and adhering gems, place the white cardstock onto the front of the pattern paper. Finally, attach your balloon house to the front of your card using 3D Foam Adhesive Squares, positioning over the ribbon slightly.
And that’s a wrap! I hope you enjoyed my projects today. Be sure to check out all the products that I used and Kindred Stamps! So much fun!!! Have a great week!
Be sure to visit our friends at Kindred Stamps to see what they’ve created with our products! We can’t wait to peek!
Last we hope you’ll take a moment to enter our giveaway! We’re offering $25 to shop our online store! That means you can pick from our all those products Chrissie used today like our Pixie Spray, Glitz Glitter Gel, Stencil Pal and so much more! Just follow the Rafflecopter to step your way through the entry!
Sue D
May 2, 2019 at 2:22 pm (5 years ago)So cute with the balloons.
pam edwards
May 2, 2019 at 3:01 pm (5 years ago)I love the cards. I scrolled through and I like the Dalmation card. There were many cute cards.
Beverly
May 2, 2019 at 3:33 pm (5 years ago)These are so adorable! Love the colors and backgrounds!♥️♥️
trainwithmeghan
May 2, 2019 at 3:57 pm (5 years ago)These are SOOO FUN! Great job!
Andre M.
May 2, 2019 at 6:39 pm (5 years ago)Fabulous projects shared today. Thanks for the inspiration
Denise Bryant
May 2, 2019 at 8:03 pm (5 years ago)What a fun card! love all that sparkle! Have to get some of the Pixie Spray to try!
Gab
May 2, 2019 at 8:13 pm (5 years ago)So so pretty
Jean marmo
May 6, 2019 at 4:12 pm (5 years ago)Such fun.
Jenny Ham
May 6, 2019 at 9:42 pm (5 years ago)I like the Tea Friends https://www.kindredstamps.com/collections/all-stamp-sets/products/tea-friends
Nikki D.
May 6, 2019 at 9:50 pm (5 years ago)I have had my eye on the foils!
Kelly Woods
May 6, 2019 at 10:41 pm (5 years ago)There is a lot of fun projects here. Thank you for sharing.