Crossroads Denim Bunny with Deco Foils
Supplies:
Heat n’ Bond® Lite Sewable Iron-On Adhesive
Therm O Web iCraft® Deco Foil™ – Lime, Green, Turquoise, and Opal
iCraft® Deco Foil™ Liquid Glue
Therm O Web Fabric Fuse™ Liquid Glue
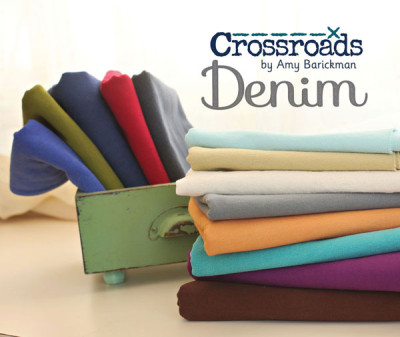
Crossroads Denim Collection- French Vanilla, Soft Aqua, Downtown Teal, and Pistachio
Sewing Supply: buttons, floss, felt, buckle, poly-fill fiber
Paint: Ranger Ink
Chalk Pastels (for cheeks): Stampin’Up
Trim: Webster’s Pages
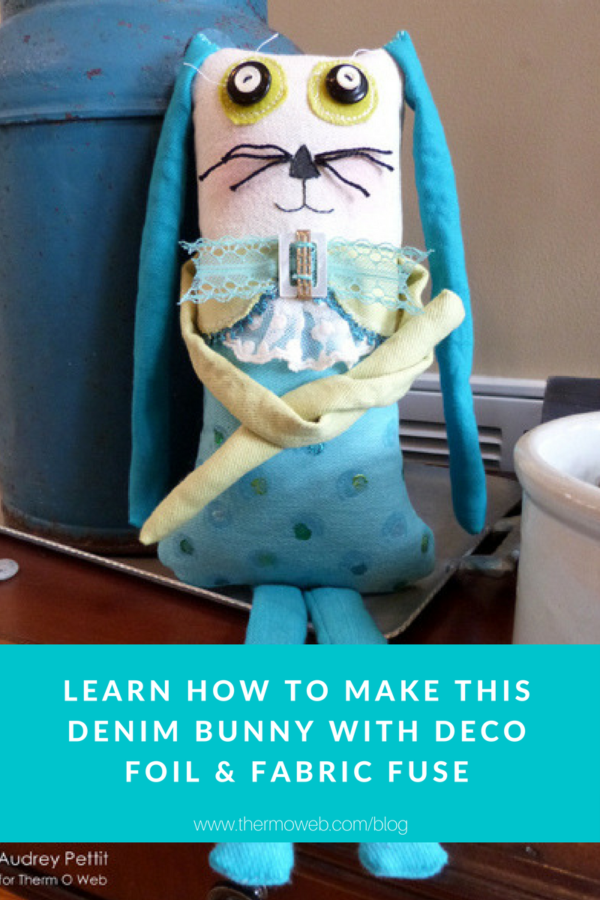
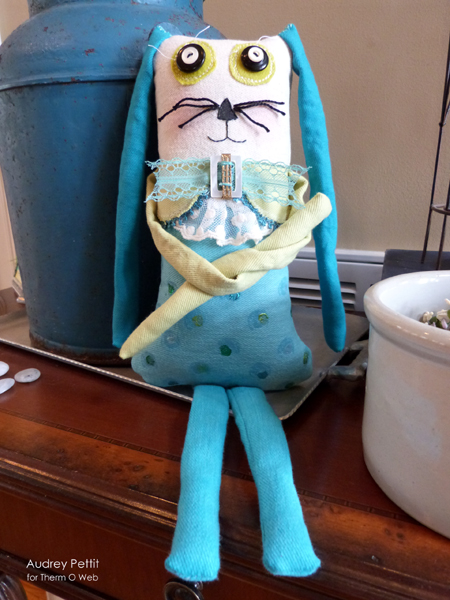
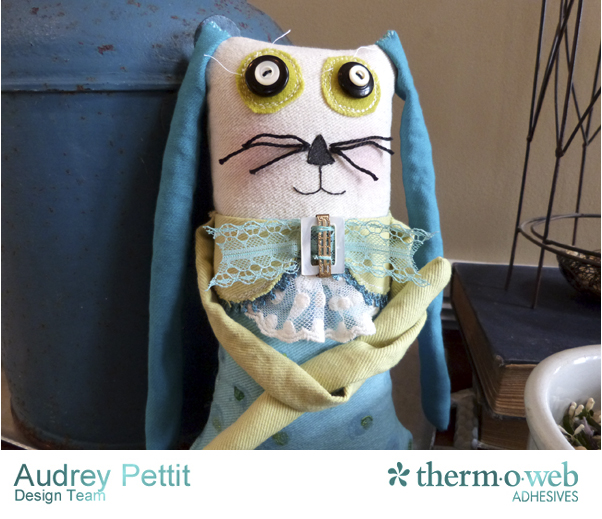 I am a huge lover of rag dolls, and since spring has finally arrived, I decided now was the perfect time to make a bunny doll using the beautiful denim fabrics from the Crossroads collection. I love rag dolls, as there is really no need to worry about patterns or making sure everything is perfect. In my opinion, the more “raggedy” and homemade they look, the better, which works out just fine for me.
Denim Bunny Instructions:
To begin, I just started cutting out some basic shapes for the base of the doll, using a variety of pretty colors from the denim collection. French Vanilla, of course, for the body, and an assortment of blues and green for the rest of the bunny. And I thought it would be very fun to accent my rabbit’s clothes using Therm O Web’s gorgeous new Deco Foils. It was super easy to do, and works beautifully with the denim collection. Let’s take a closer look.
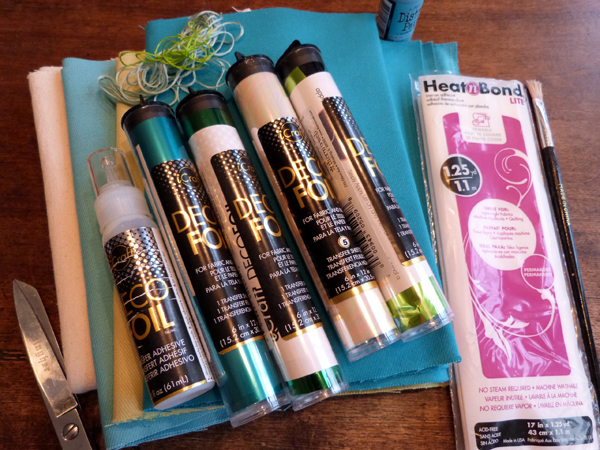
Gather your supplies. I used the denims and Deco Foil, along with Heat n’ Bond lite for applique work and a Distress paint dabber by Ranger Ink.
To create the bunny body, fold French Vanilla denim together (right sides facing), and draw a roughly rectangular shape onto the fabric using a pencil. You can make this whatever size you wish, depending upon the desired finished size of the rag doll. Just remember to leave yourself 1/4″ seam allowances. Cut the fabric out, then using the body shape as a pattern, cut the aqua denim to create clothes for the body portion of the doll.
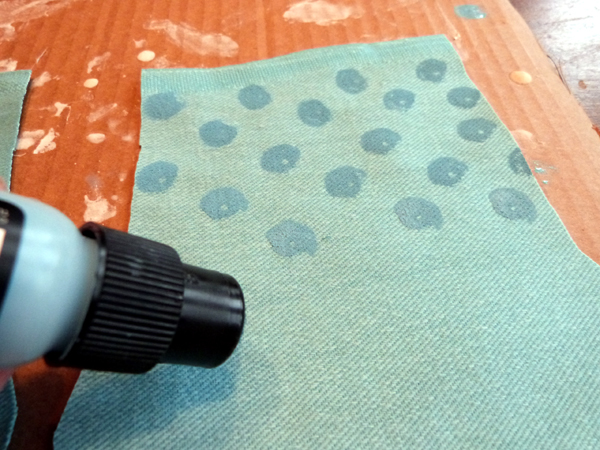
Using a paint dabber, dot paint randomly over the aqua pieces. Allow the paint to dry completely.
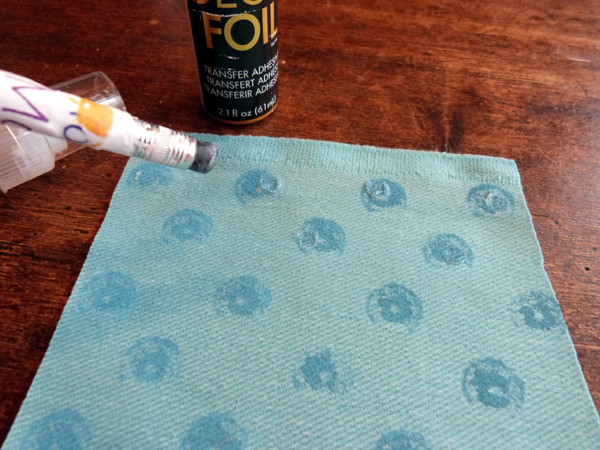
Then using the eraser end of a pencil, dot Deco Foil Liquid Glue onto the paint spots. I just dipped the eraser directly into the glue bottle, then dotted it onto the fabric. Repeat the process for each dot. Then allow the glue to dry completely until it is tacky to the touch. I set my fabric aside and worked on my bunny’s face while my glue was drying.
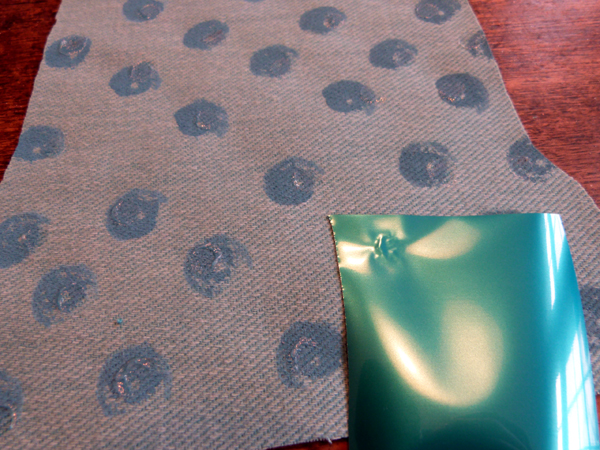
Once the Deco Foil Liquid Adhesive is dry and tacky (it will go from cloudy to clear yet still tacky), apply iCraft® Deco Foil™ Transfer Sheets to the glue by placing a small piece of foil down onto the glue (colored side up). Rub over the glued area with a bone folder, spoon, or even your fingernail, to transfer the foil to the glued area.
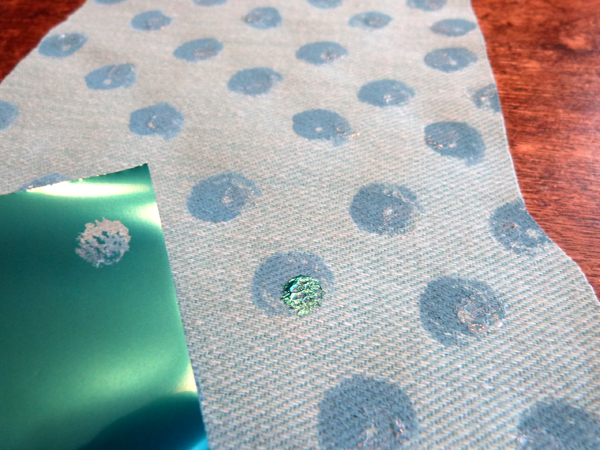
Pull off the Deco foil and take a peek at your beautiful custom fabric!
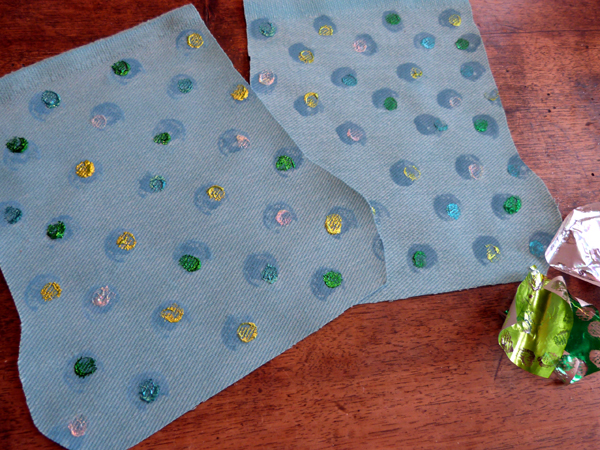
Continue to apply Deco Foil™ to all the dots. As you can see, I used a mixture of color for mine.
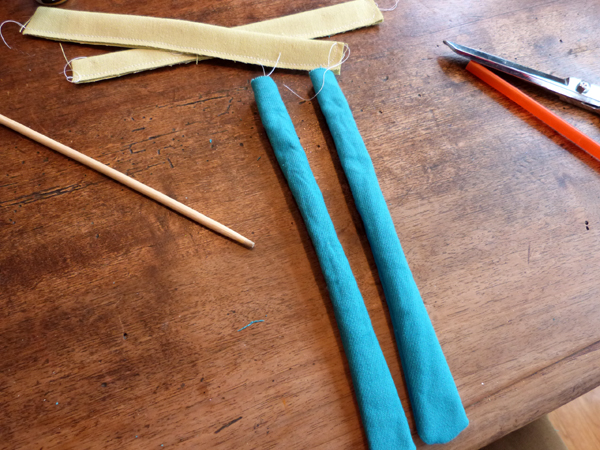
Cut thin strips of fabric for the arms, legs, and ears of the bunny. Fold the fabric in half (right sides together) and stitch down the side and one end to form a tube. Clip the seam allowance along the curves, then turn the fabric right side out. Add a small amount of polyfill fiber to the ends of all the appendages, leaving most of the tubes empty.
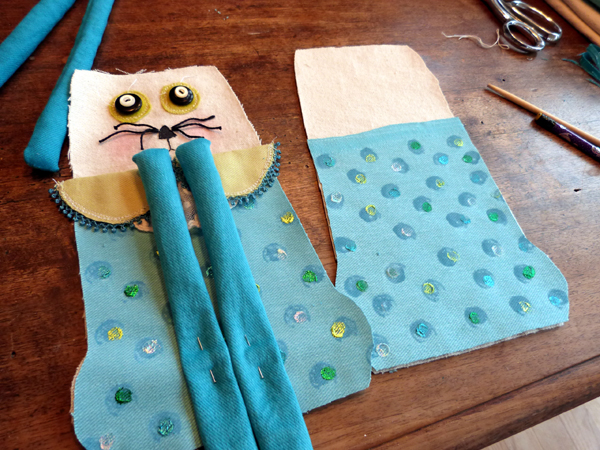
Layer the clothes onto the doll body using Therm O Web’s Heat n’ Bond Lite. Add any additional accents that you wish, like the collar and lace trim. Therm O Web’s Fabric Fuse glue works wonderfully for keeping bits of trim in place. And make sure you have finished adding all the details to the face. Pin the legs up against the front of the body, with the finished ends up towards the face and the open tube ends sticking out beyond the bottom of the doll. Lay the back side of the body down onto the front side (right sides facing). Pin in place, then machine stitch around the doll using a 1/4″ seam allowance, leaving about a 3 inch opening along the side of the doll. Turn the doll right side out. Fill with fiber stuffing, then whip stitch the opening closed.
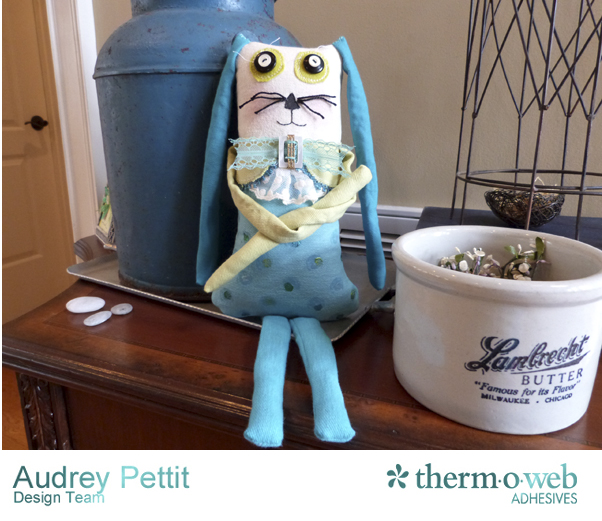
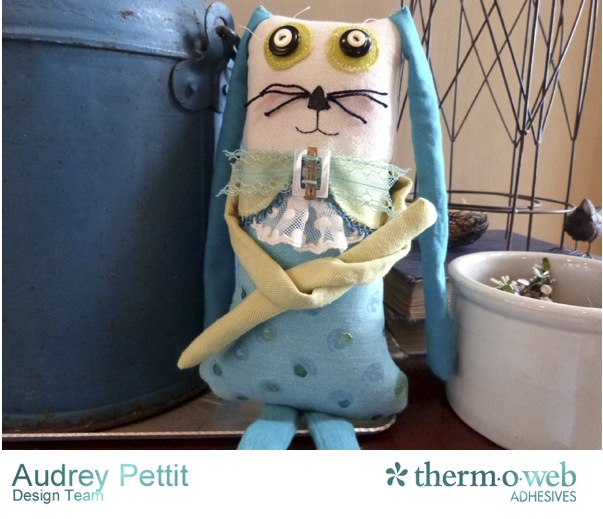 Sew the arms and ears onto the outside of the denim bunny. I added some vintage buckles and lace trim to the collar as a finishing touch.
6 Comments on Crossroads Denim Bunny with Deco Foils
1Pingbacks & Trackbacks on Crossroads Denim Bunny with Deco Foils
-
[…] I wanted to share some of the fun projects I created for market this year. Recently, I had made this cutie pie fabric bunny for our recent promotion with Indygo Junction, and since he was such a big […]

Gina S.
March 26, 2015 at 9:41 am (10 years ago)I’m working on a quilt right now.
Karen Cudney
March 26, 2015 at 12:12 pm (10 years ago)What a great give away! I love your blog.
Jane Newman
March 26, 2015 at 3:19 pm (10 years ago)So creative!!!
Joy V
March 26, 2015 at 5:38 pm (10 years ago)Love what you have designed with this fabric. I’m sure my granddaughter would also love it. The colours in this range and stunning. I can’t wait to get my hands on some and start sewing with it.
Diane
March 26, 2015 at 6:24 pm (10 years ago)I am working on a purse “India” by swoon patterns