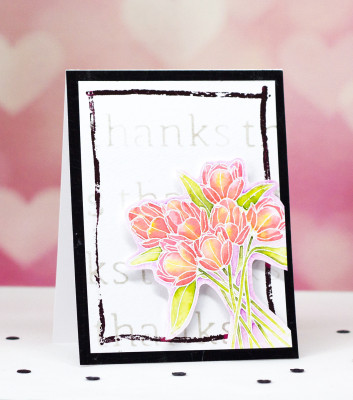
Hi! Chrissie here with you today to show you how to create a nice, bright and summer-y card, using the fabulous Deco Foil Designer Stencils, Adhesive Pen and Foil!
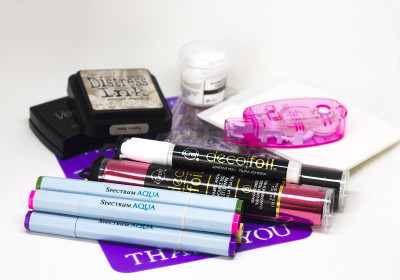
Therm O Web Supplies:
DECO FOIL™ ADHESIVE PEN .34FLOZ
DECO FOIL™ TRANSFER SHEETS • PINK MELON
DECO FOIL™ TRANSFER SHEETS • BLACK
DECO FOIL THANKS STENCIL
ICRAFT EASY CUT ADHESIVE™ SHEETS • LG
MEMORY TAPE RUNNER XL™
3D WHITE FOAM SQUARES • COMBO PACK
Other Supplies:
Pumice Stone Distress Ink
VersaMark Watermark Ink
White Embossing Powder
Papertrey Ink Friendship Spring Jar Fillers Stamp Set
Spectrum Aqua Markers (Moss, Bud Green, Yellow, Rose Pink, Purple)
Waterbrush or paintbrush and water
Heat Gun
White Cardstock
Watercolor Cardstock
Project Instructions:
Because I wasn’t completely sure where to start, I created this sketch to help my mojo! When I just can’t seem to get going on a project, I love looking for sketches to help kickstart my creativity!
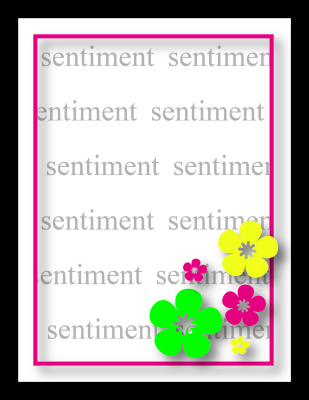
(Right Click to download it or click to enlarge)
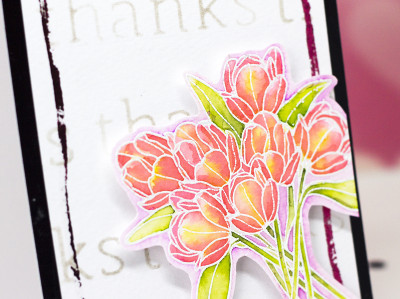
I grabbed a scrap piece of watercolor cardstock and I stamped the beautiful flower image onto white watercolor cardstock using Versamark watermark ink. I then heat embossed it with white embossing powder.
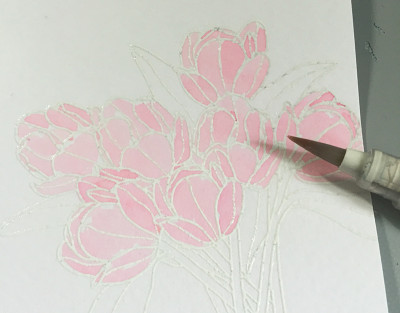
I started to add layers of color using a water brush and watercolor markers (Spectrum Aquas). I used a heat gun here and there to speed up the drying time. I can be slightly impatient at times… 🙂
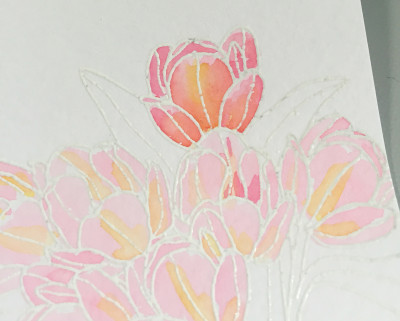
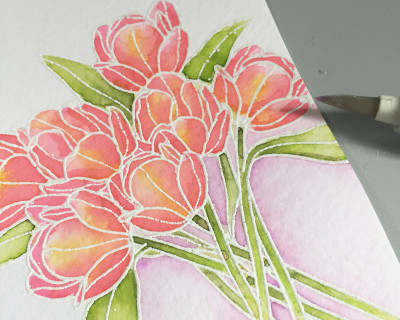
I added a purple glow to the edges to make the embossing powder really pop. Then I trimmed out the image, leaving some of the purple.
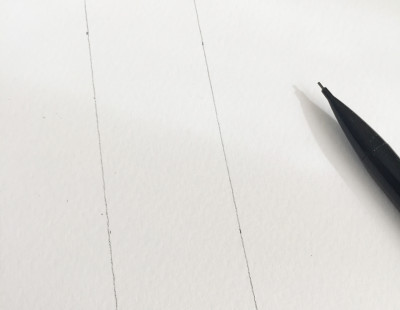
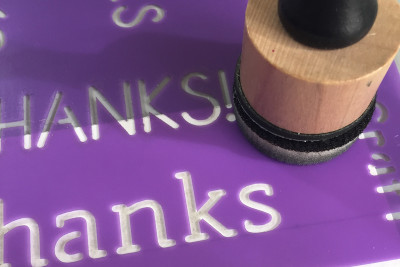
Next, I trimmed a piece of watercolor cardstock to 3.75 x 5. Then, I lightly drew pencil lines across the panel every 1.25 inches. I placed the “Thanks” Designer Stencil on each line and added some Pumice Stone Distress Ink. I lightly tapped off the excess ink on a scrap piece of paper. I wanted to make sure the sentiments were in the background and did not take away from any other element on the card.
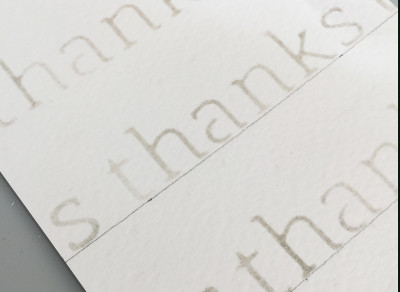
When I was done adding ink, I carefully erased all of the lines. Then I drew in a border using the Adhesive Pen. I kept it loose; I did not use a ruler. I didn’t want a straight line. I wanted it to flow with the softness of the watercolored image. Lesson of this story: Don’t be afraid to freehand it!
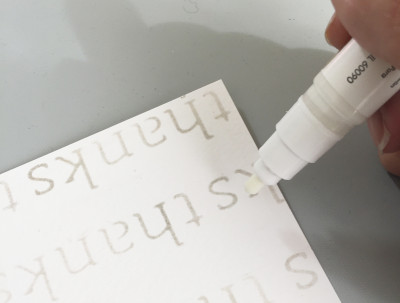
I placed some Pink Melon Deco Foil over it and used a bone folder to press it into the adhesive. I love the end result. It looks like it was sketched, but with foil!
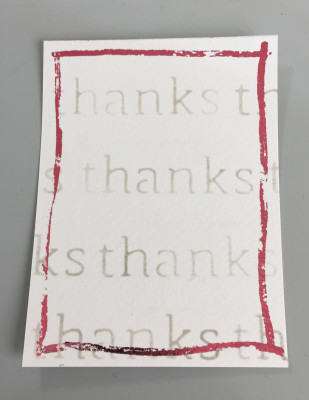
To complete the card, I placed some Easy Cut Adhesive onto the front of a card base (cut to 4.25 x 11, scored at 5.5). and then pressed Black Deco Foil onto it, burnishing it with a bone folder. I adhered the watercolor panel to the foiled card base using my Memory Tape Runner XL and added the flowers to the lower right corner using my 3D White Foam Squares.
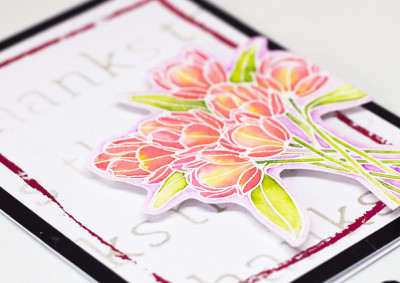
The end result is a card with all kinds of interest and subtle elements, from the soft background to the pops of foil.

Thanks for stopping by today! I hope you will give the sketch a try! Make sure to tag us on Social Media with #thermoweb #decofoil #foilicious #zots #icraft!
