Hello friends! It’s Juliana from 17turtles with you today. Summer’s here and there’s no better way to enjoy this time of year than with a party. Of course, no party is complete without decorations so I’m going to share with you how to create Summer Party Pinwheels. We’ll be using Gina K.™ Designs Cardstock, Foil-Mates, Fancy Foils and some of my favorite Therm O Web Adhesives.
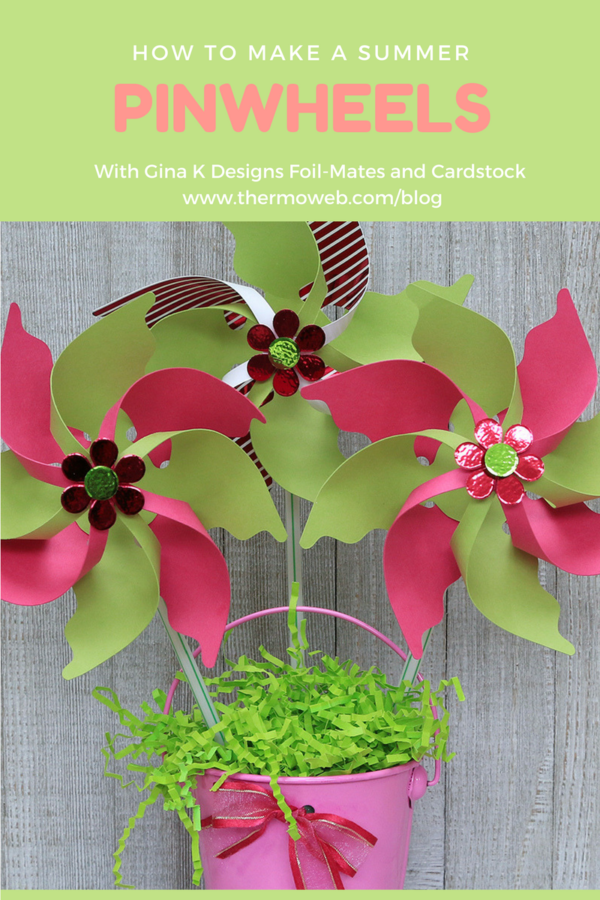
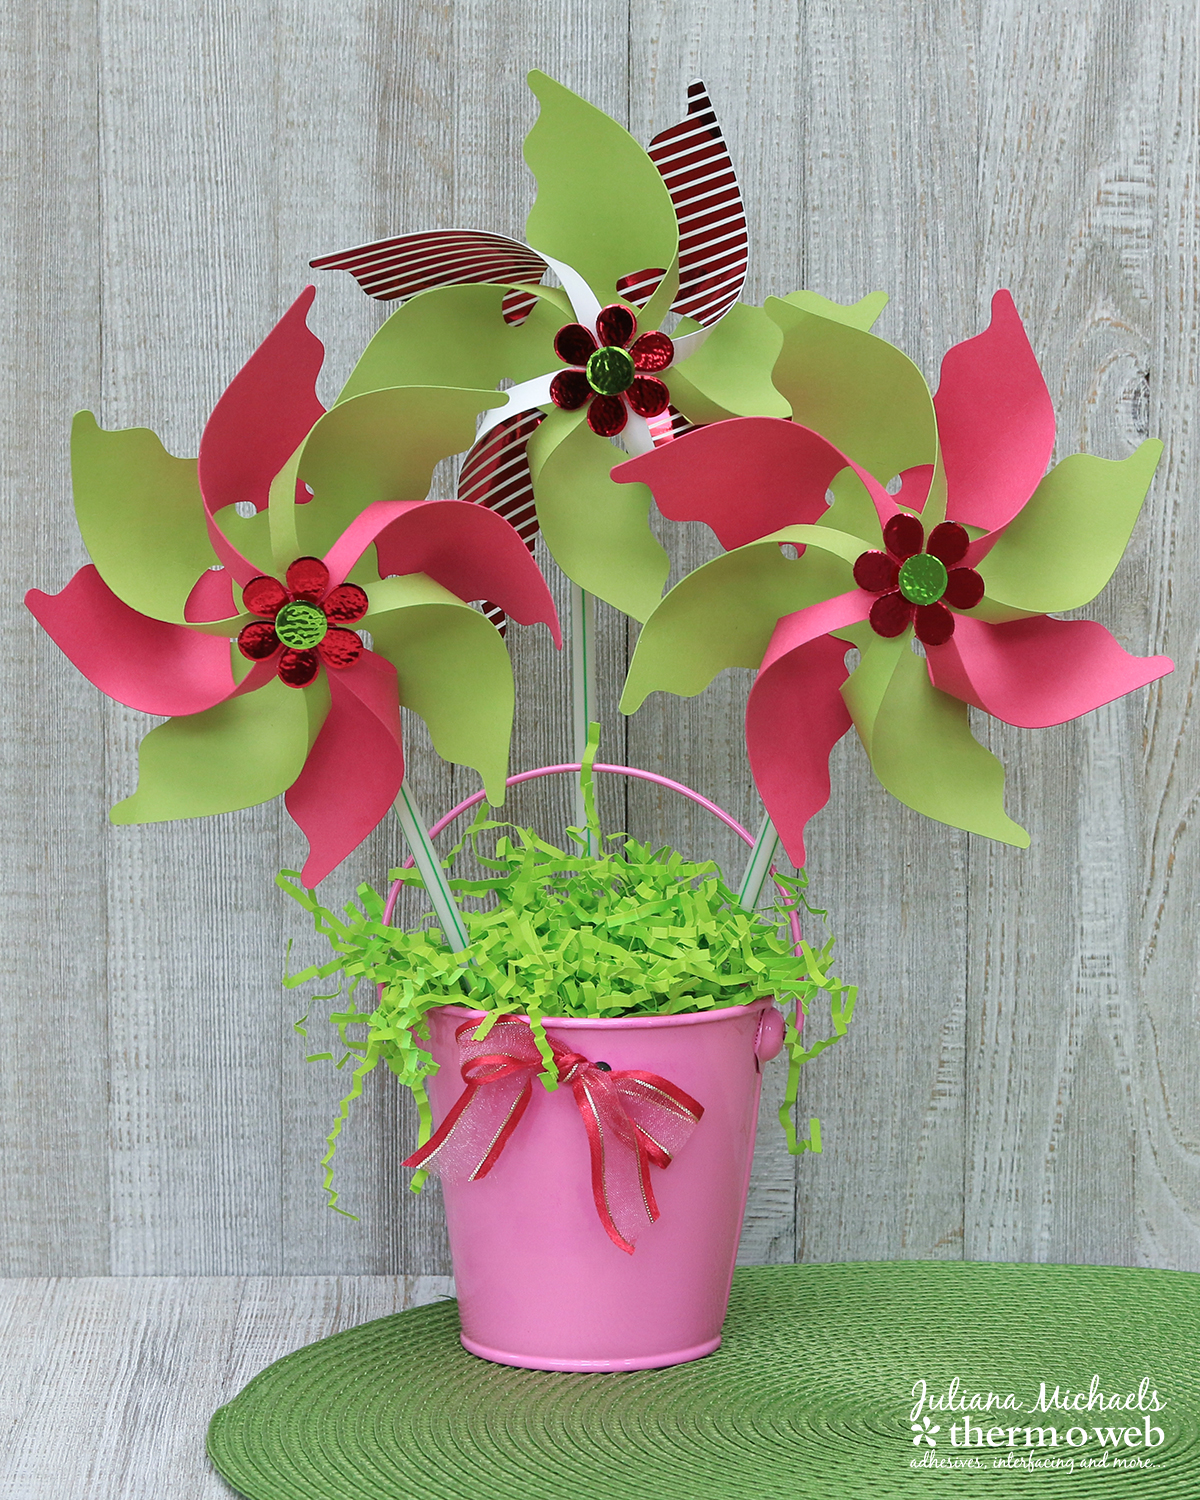
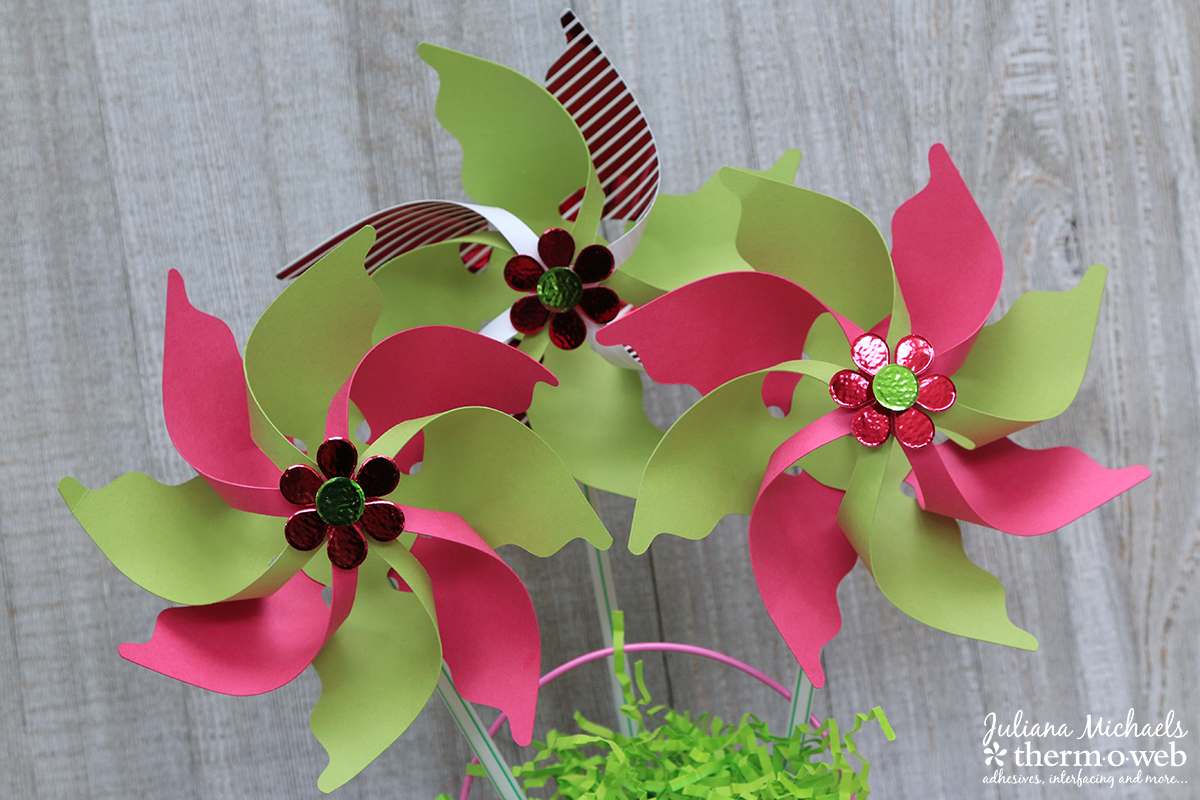
As you can see, I made some of the pinwheels with just cardstock and I made one of them using a mix of cardstock and Gina K Designs Foil Mates. In the directions below, I’m sharing how to create them using cardstock only. If you want to create them with the Foil-Mates, simply cut the Foil-Mate and foil it first before you assemble the pinwheel.
How to Create Summer Party Pinwheels
Pinwheel Supplies:
Gina K Designs Single Stitched Square Wafer Thin Dies
Gina K Designs Premium Cardstock
iCraft Mixed Media AdhesiveGina K Designs Premium Dye Ink
Therm O Web Zots
Pinwheels Tutorial
Begin by gathering your supplies. This includes 2 colors of Gina K Designs Premium Cardstock, Pinwheel Pattern (you can download it below), bendable straw, brad, scissors, pliers and iCraft Mixed Media Adhesive. The Pinwheel pattern is available to download as either a digital cut file, which you can cut with an electronic cutting machine, or as a PDF that you can print and use as a template to hand cut the shape. If you hand cut the design, you can use hole punches to cut the various holes in the pattern.
OR
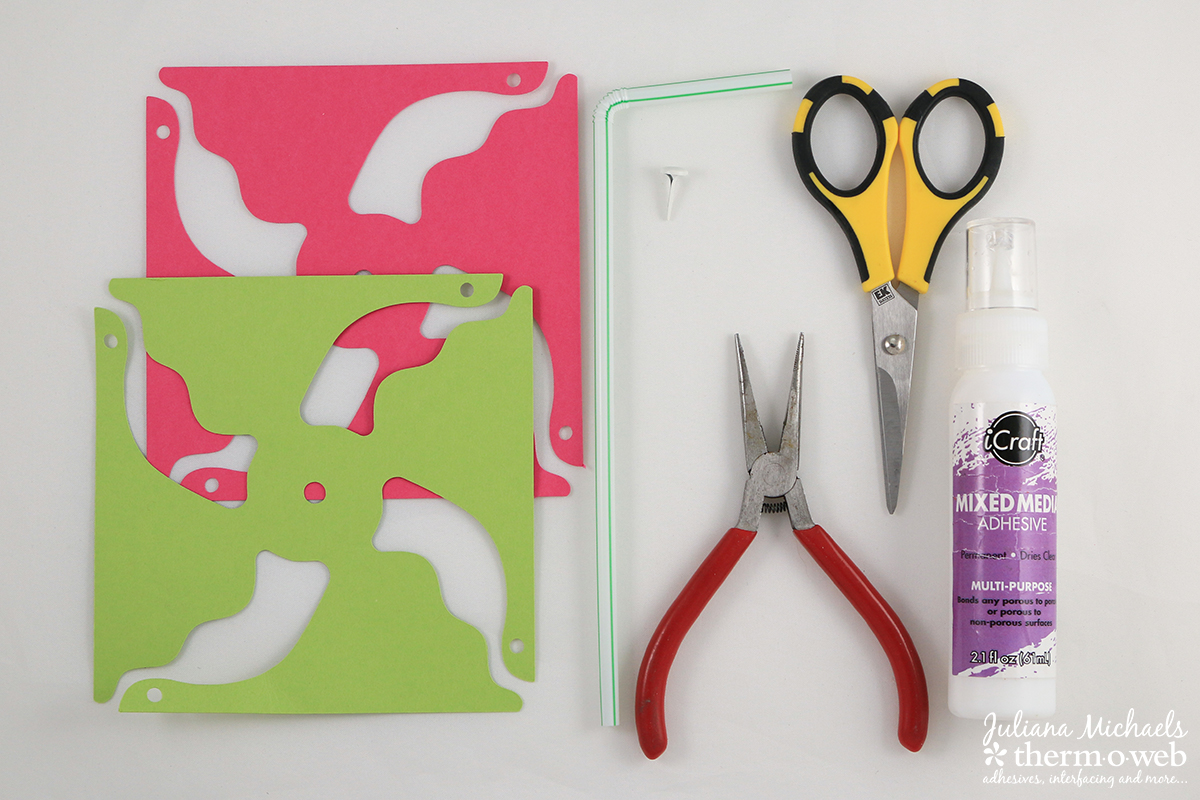
Cut one pinwheel shape from each color of cardstock. Because the cardstock is rather thick, I recommend using a pencil to curl the edges of each corner. Doing this will help prevent the cardstock from bending when you go to put the pinwheels together.
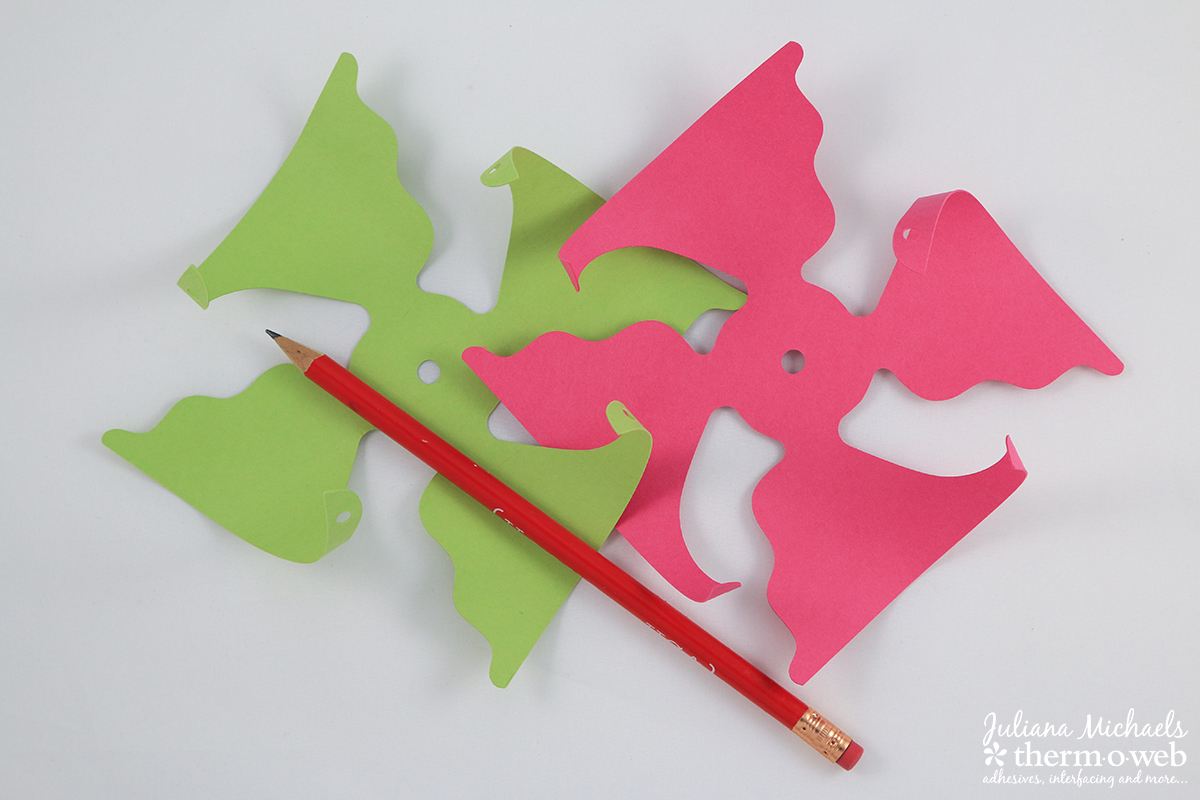
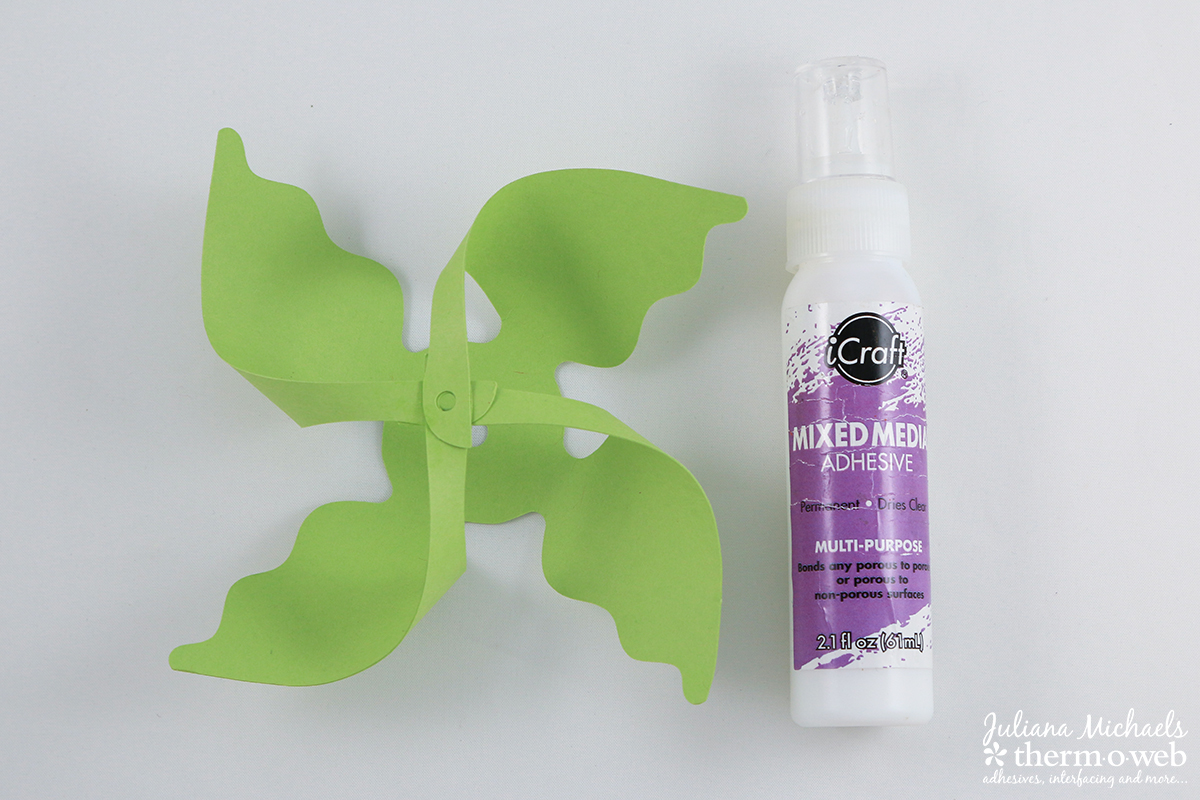
To create the first layer, bring the opposite ends of the pinwheel toward the center and glue them together using iCraft Mixed Media Adhesive. Make sure to line up the circles as you are gluing the ends together.
For the second layer, place the other color of cardstock behind the first layer. Then bring the ends over the top of the first pinwheel layer.
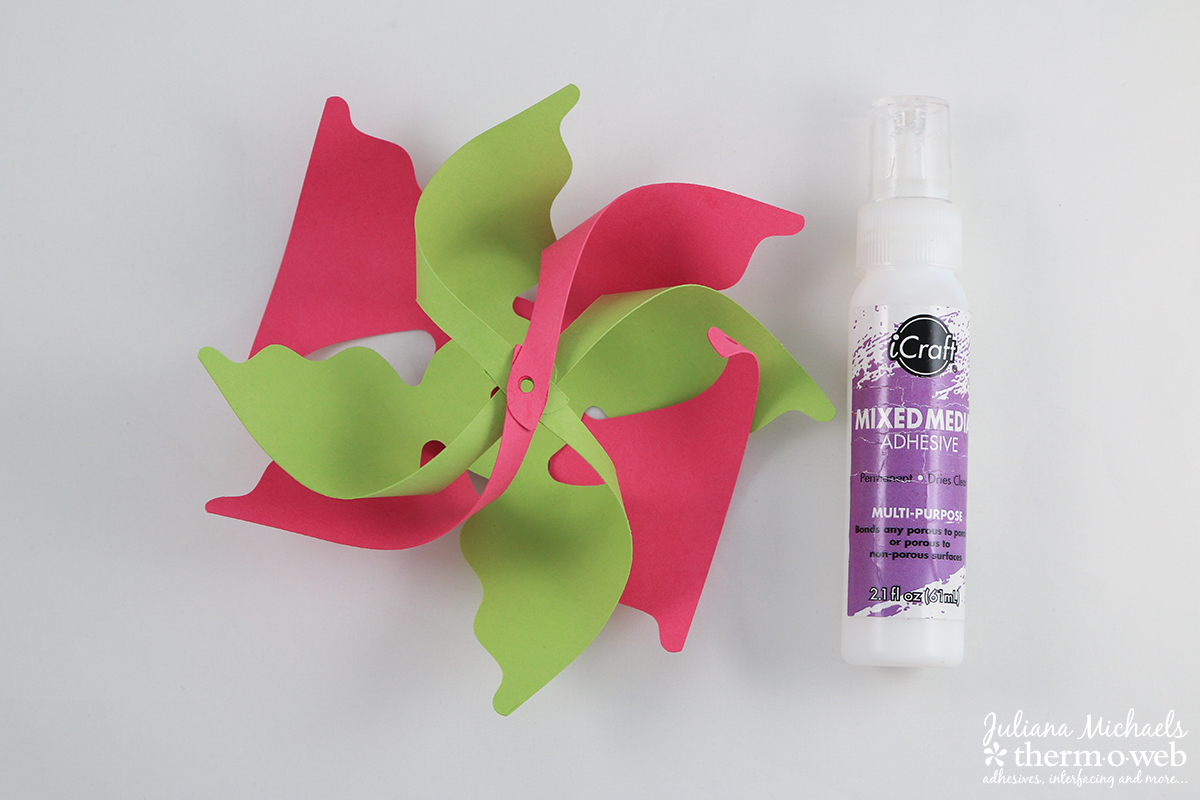
Glue the ends together and again make sure all the little holes line up with each other.
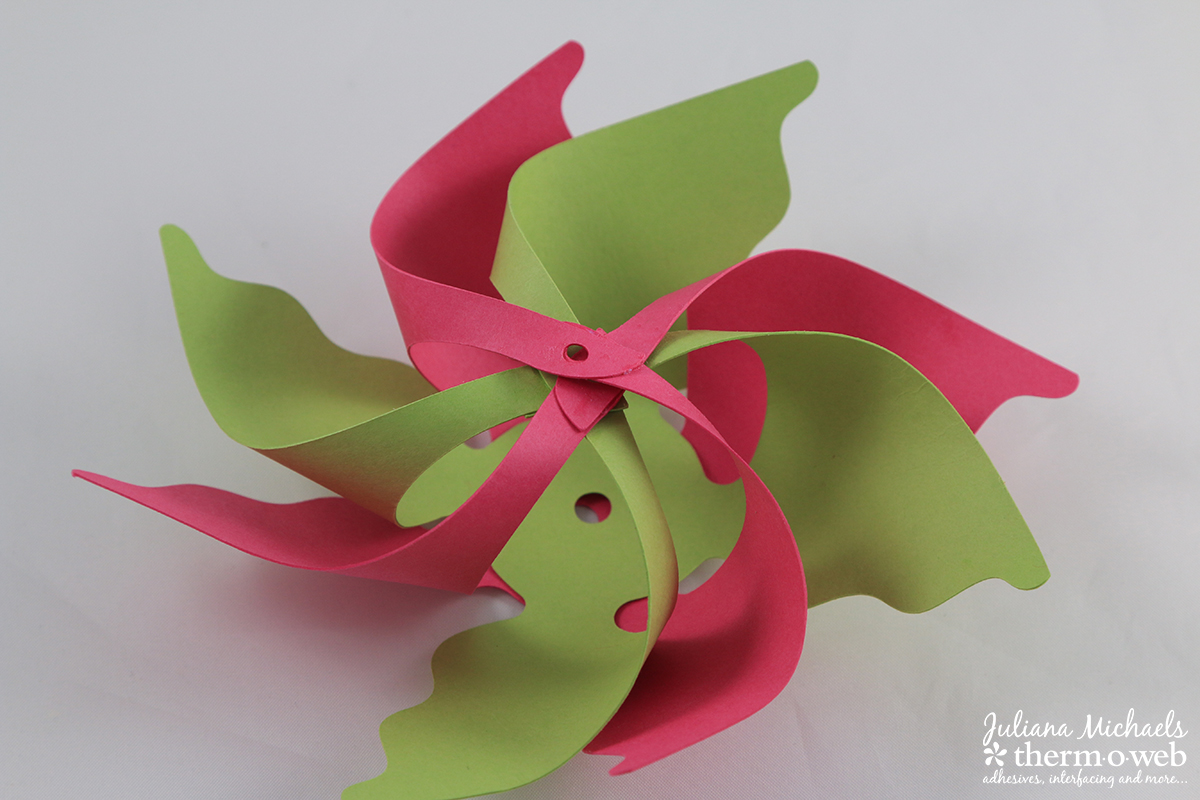
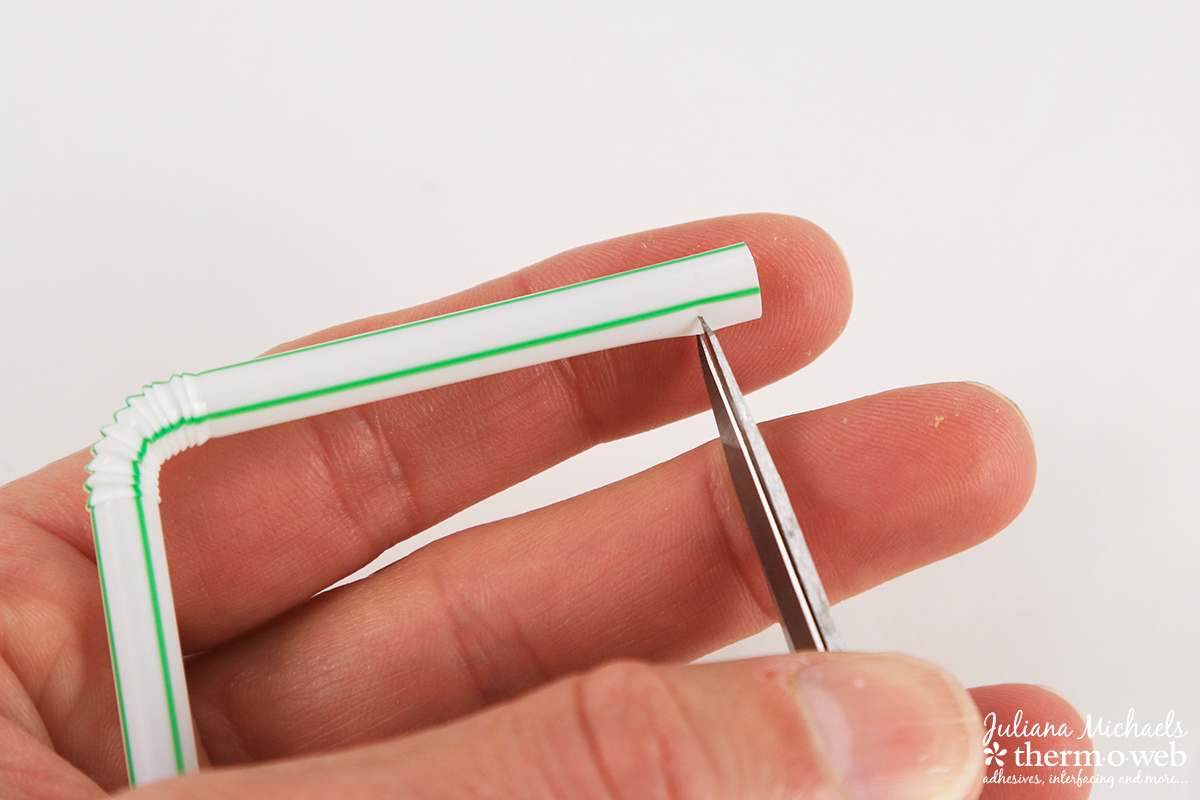
Take the straw and bend it to 90 degrees. Use a pair of scissors and cut a tiny slit on the top and bottom of the straw.
Insert the straw through the hole on the back side of the pinwheel.
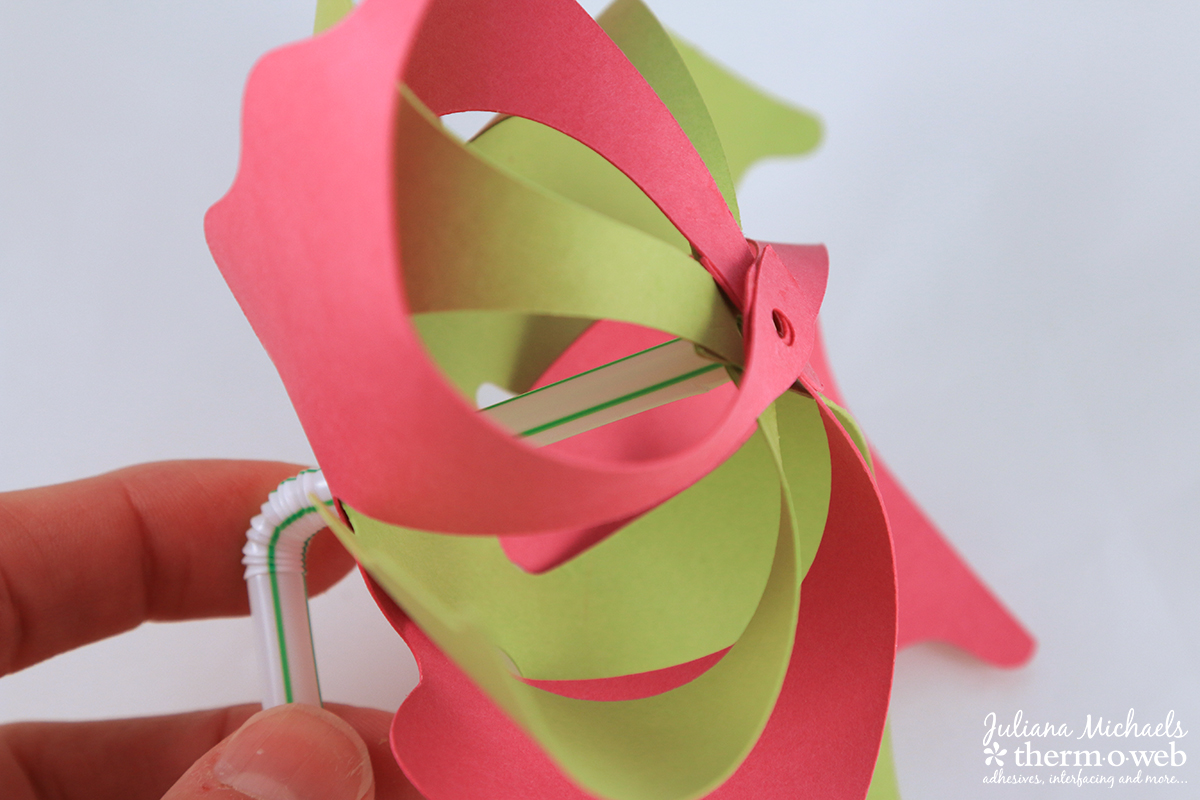
Use the pliers to slightly spread the tips of the brad apart. Then insert the brad through the hole on the front of the pinwheel and guide the ends of the brad through the slits in the straw.
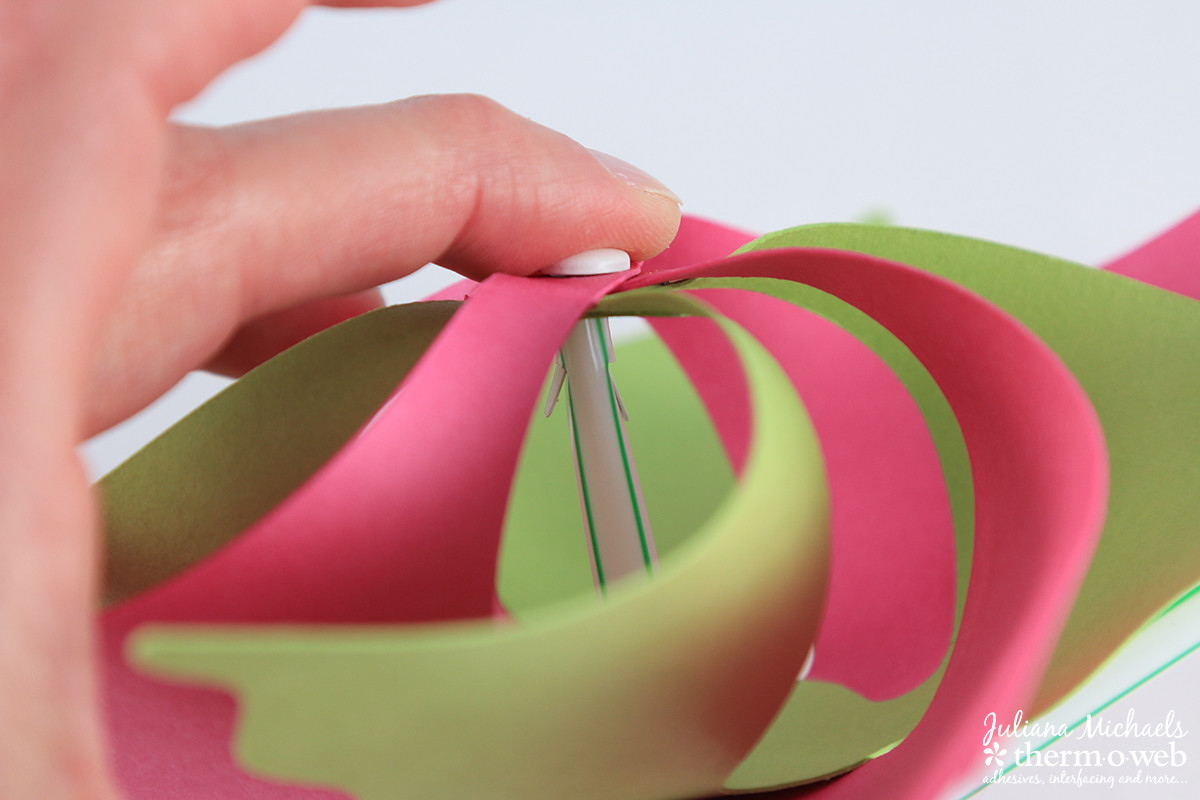
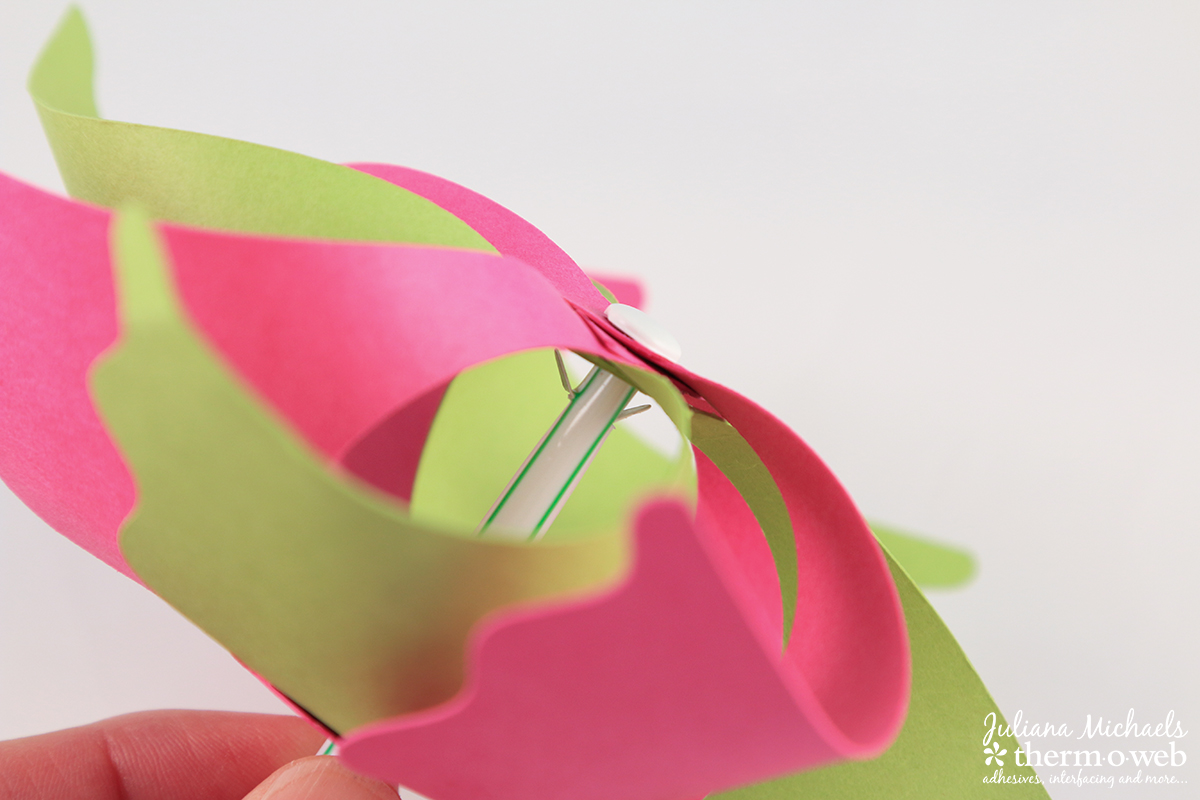
Once the ends are through the slits in the straw, use the pliers to bend the tips to help hold the straw in place. Your pinwheel is now complete.
Foiled Die Cuts
After I was finished constructing the pinwheels, I decided I wanted to make them a little more fancy. I created a shiny flower center using the flower die that is part of the Gina K Designs Single Stitched Square Wafer Thin Dies and then foiled them using Gina K Designs Fancy Foils. You can check out my How to Deco Foil Die Cuts Tutorial to learn how to do this. This particular tutorial discusses using an electronic cutting machine, however for these flowers you simply use a manual die cut machine instead.
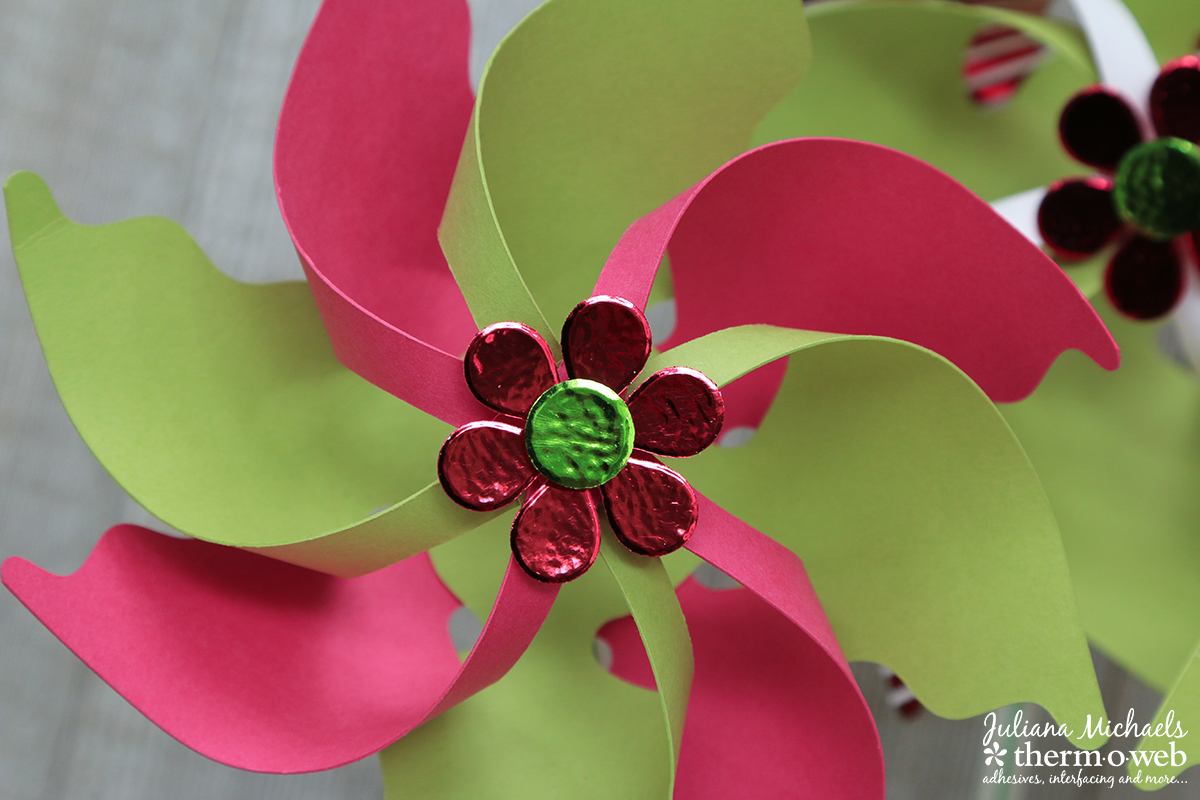
Once the foiled flowers were created, I adhered them to the front of each pinwheel using Therm O Web Zots.
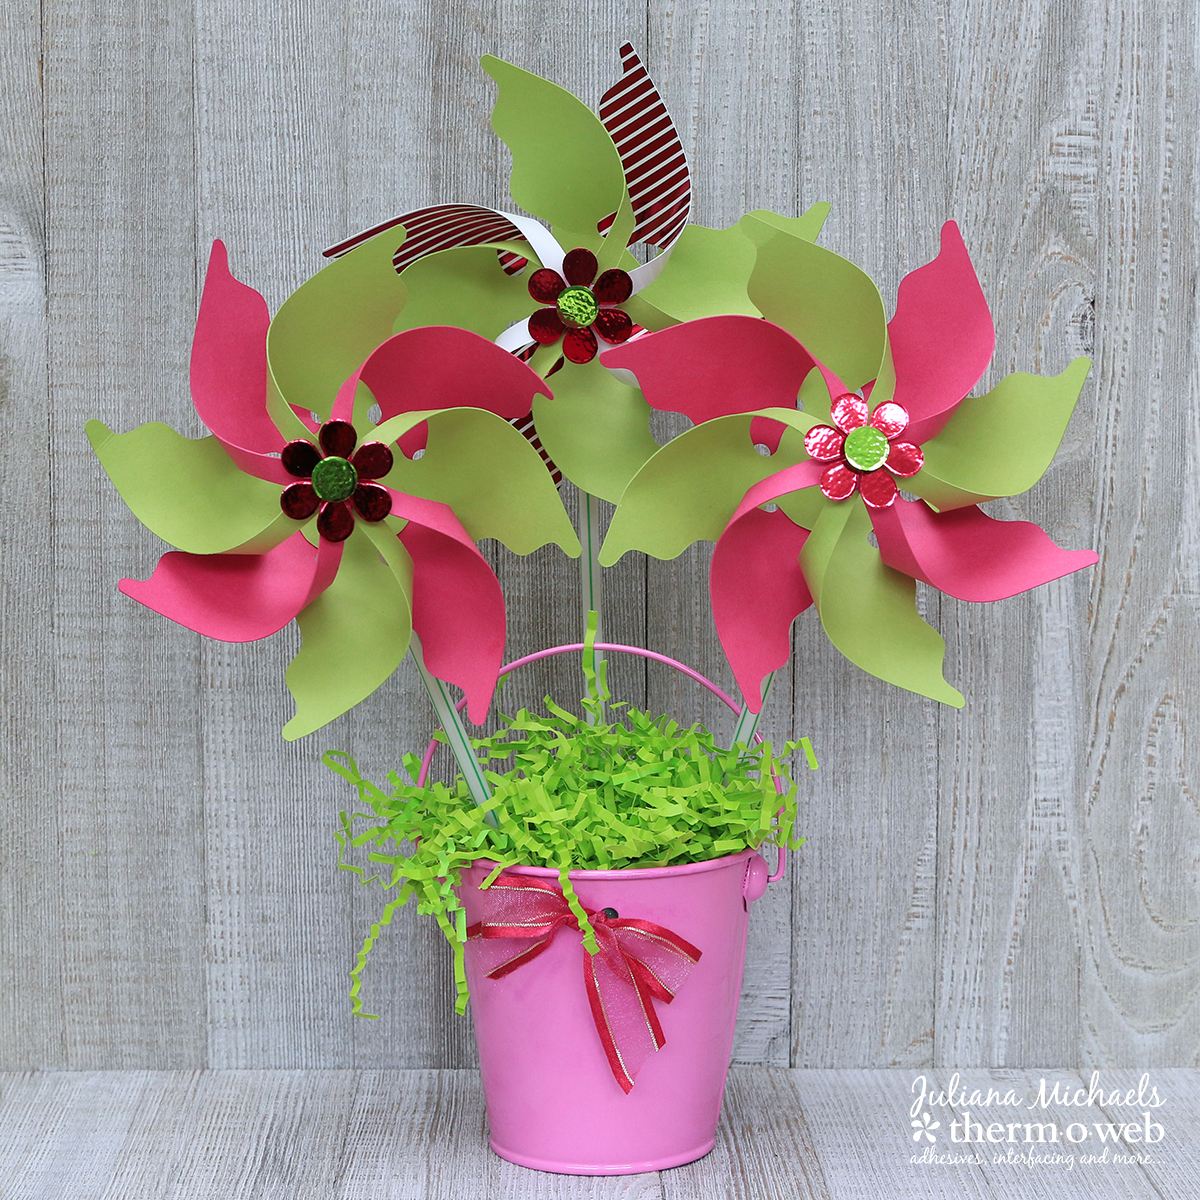
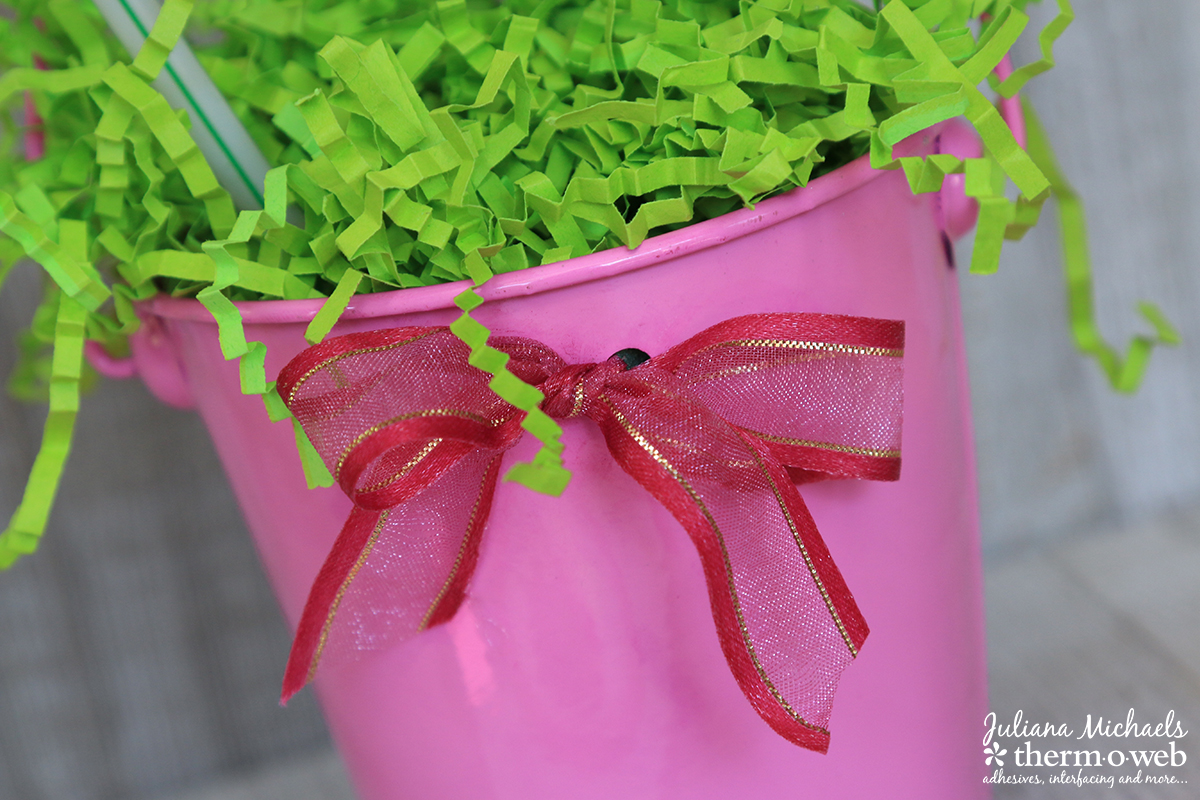
The final touch for my Summer Party Pinwheels was to add a little ribbon to the pink bucket. Using Gina K Designs Premium Dye Ink, I was able to color the Gina K Designs Sheet Satin Ribbon in White and Gold to perfectly coordinate with my pinwheels.
So now that you’ve got some pinwheels to make for your decorations, when are you having that Summer Party? We can’t wait to see how it turns out!
4 Comments on How to Create Summer Party Pinwheels
1Pingbacks & Trackbacks on How to Create Summer Party Pinwheels
-
[…] HOW TO CREATE SUMMER PARTY PINWHEELS […]

Victoria Young
July 20, 2017 at 4:56 pm (8 years ago)Love the pinwheels! But the download doesn’t work. What a shame.
admin
July 20, 2017 at 5:41 pm (8 years ago)Thank you for your note …. we’ve corrected the link so you’re all set to download the file. Julia
Victoria Young
July 20, 2017 at 6:19 pm (8 years ago)Thank you so much!