


Alice here with ideas for adding some foilicious shine to your holiday wrap. This technique is perfect for gifts all throughout the year! And as we know sometimes a special gift tag is all you need to turn a simple package into something festive.

Create Stunning Deco Foil Winter Tags
Supplies:
Therm O Web
iCraft® DecoFoil™ PeelnStick Toner Sheets
iCraft® Deco Foil™ Red Transfer Sheets
iCraft® Deco Foil™ Silver Star Transfer Sheets
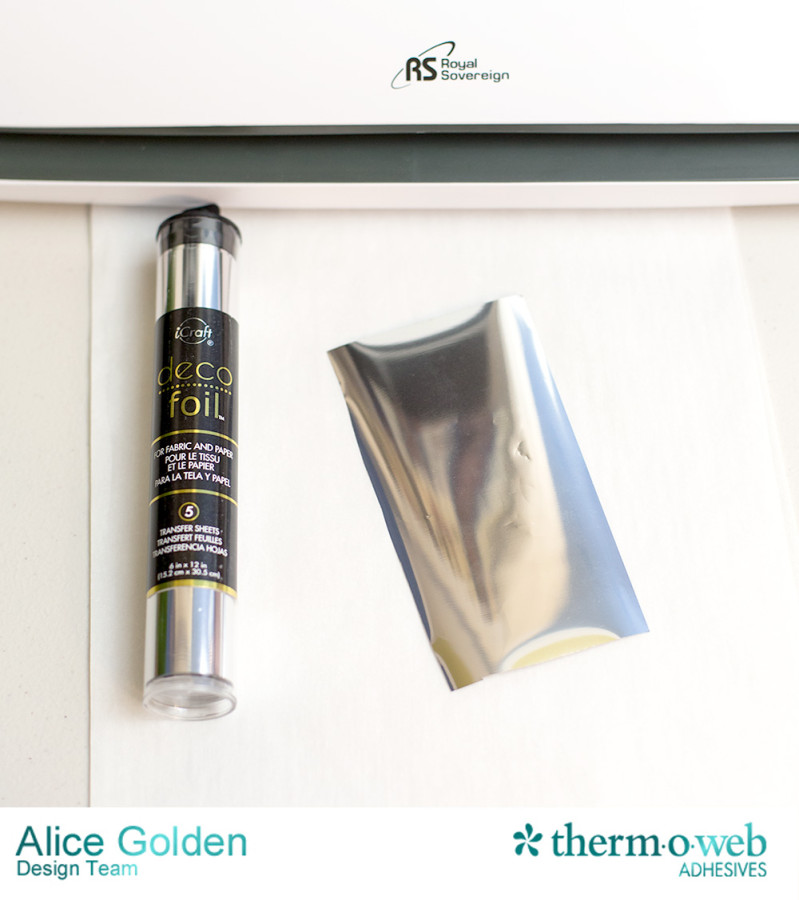
iCraft® Deco Foil™ Silver Transfer Sheets
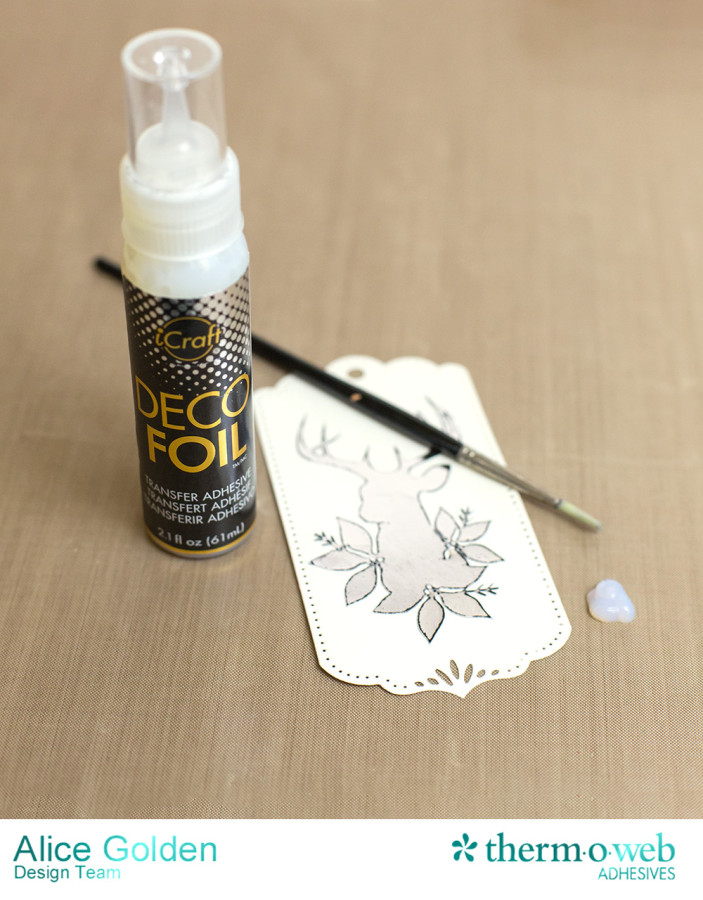
iCraft® DecoFoil™ Liquid Adhesive
Mini Tape Runner
Other:
Silhouette Files –
FOREST BUCK SCENE
by Sophie Gallo
Design ID #70409
SNOWFLAKE ORNAMENT
by Cali Arroyo
Design ID #5938
DEER MOUNTAIN FRAME
by Sophie Gallo
Design ID #70142
STAG FLORALS
by Sophie Gallo
Design ID #72673
BRANCHES WITH BERRIES
Design ID #5501
Tag die cuts – Papertrey Ink
Project Instructions:
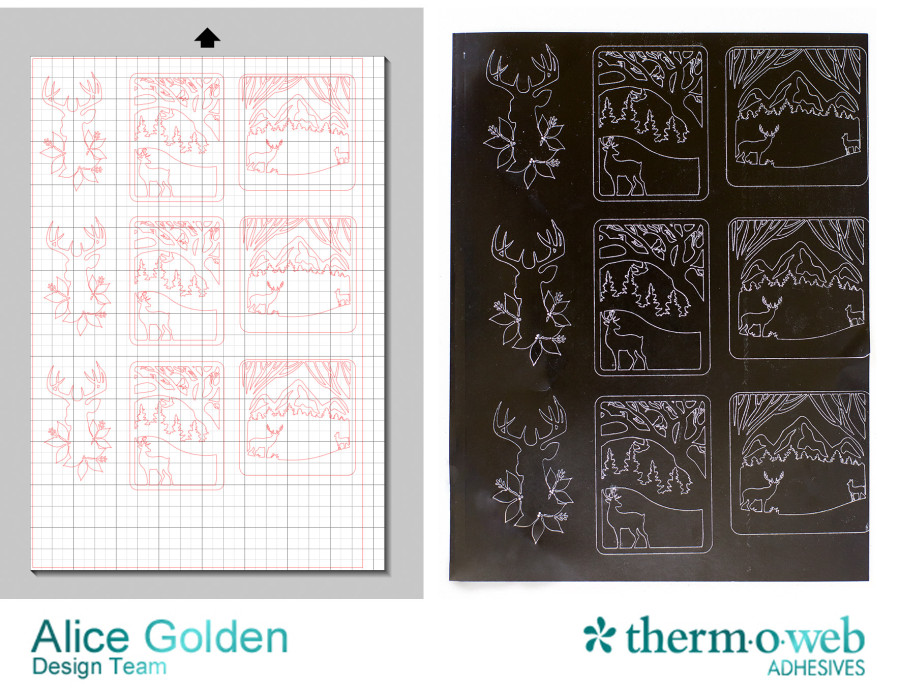
These tags feature a two-layer foiling technique I call “painting with foil”. The designs above were all cut using an electronic die cutter, but they could be adapted to work with whatever die or punch you have available. The first step is to lay out your chosen designs in your die cutting system’s software (I’m using a Silhouette). By cutting several at once you can get the most from a sheet of iCraft® DecoFoil™ PeelnStick Toner Sheets. I am using an older machine and set it to cut Adhesive Backed Cardstock using the “double cut” feature.
Carefully remove one of the die cut shapes from the backing sheet, peel off the liner, and adhere to a die cut tag.
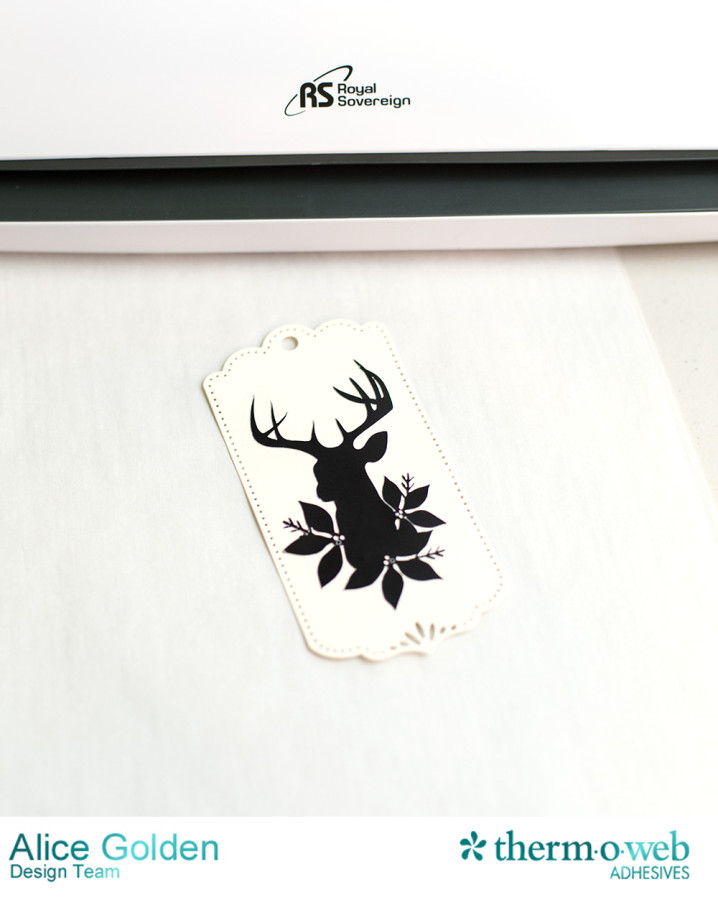
Place a piece of Silver DecoFoil™ color side up on top of the die cut toner, place in a parchment paper carrier sheet, and laminate. With intricate designs it is helpful to run it through the laminator twice.
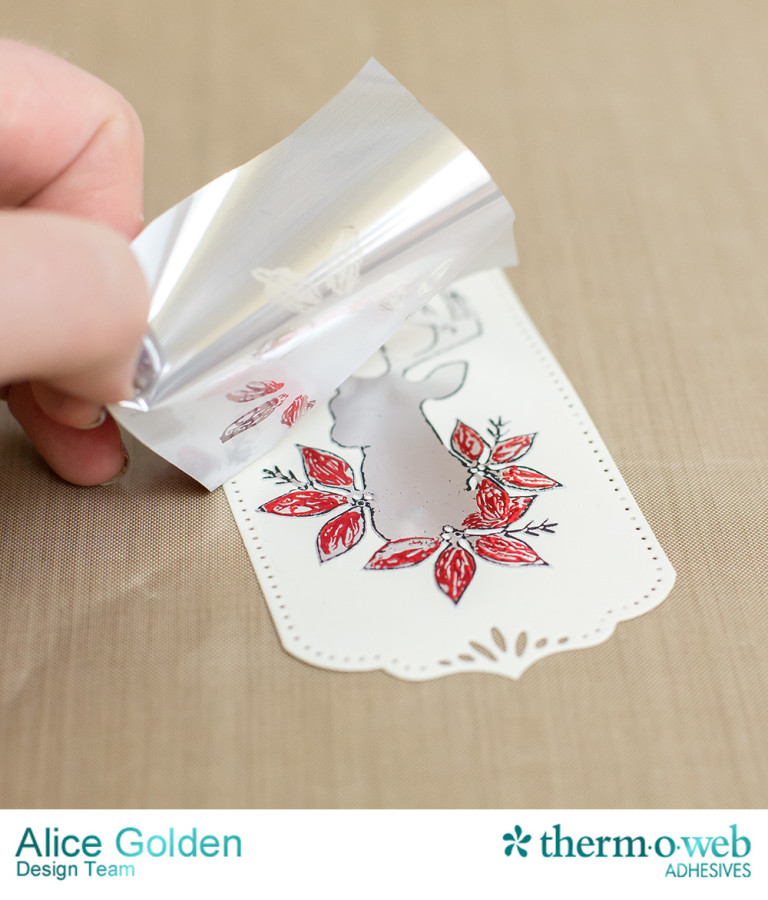
Cool briefly then peel up the foil transfer sheet to reveal the design.
Now you are ready to paint on the accent foil. Squirt some Liquid DecoFoil™ Adhesive onto a non-stick craft mat or scrap of paper.
Use an old paint brush to add adhesive to the areas you want to highlight with additional foil. The thicker the adhesive is applied, the more prominent the brush strokes will be.
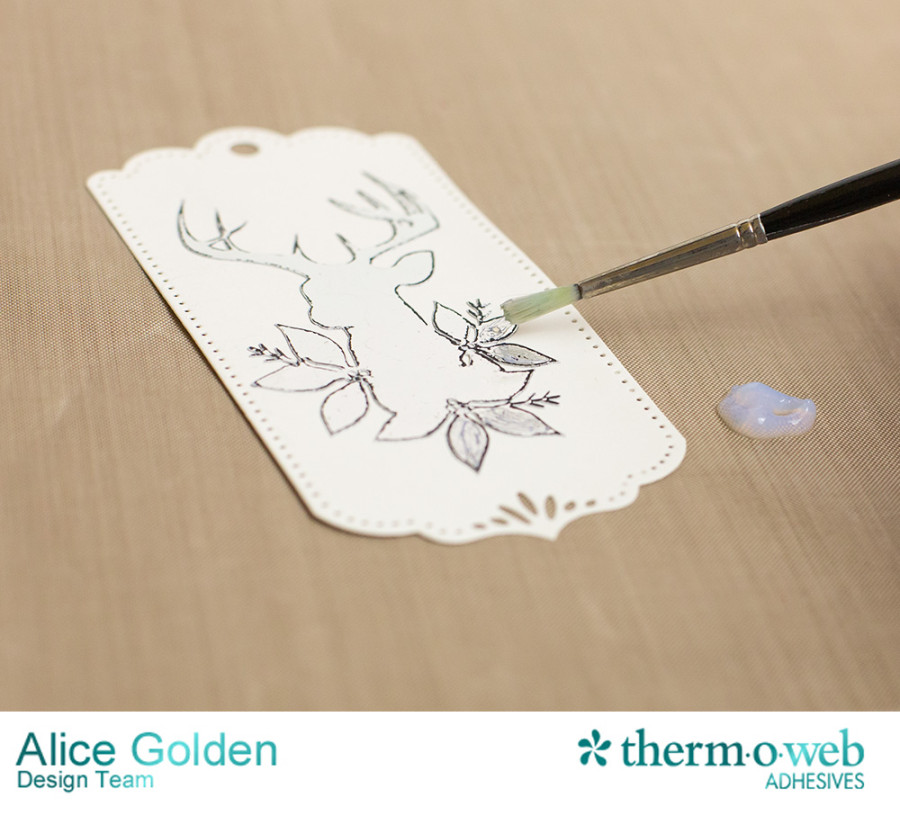
Let the adhesive dry for 15 minutes or so. It will feel tacky to the touch but not wet.
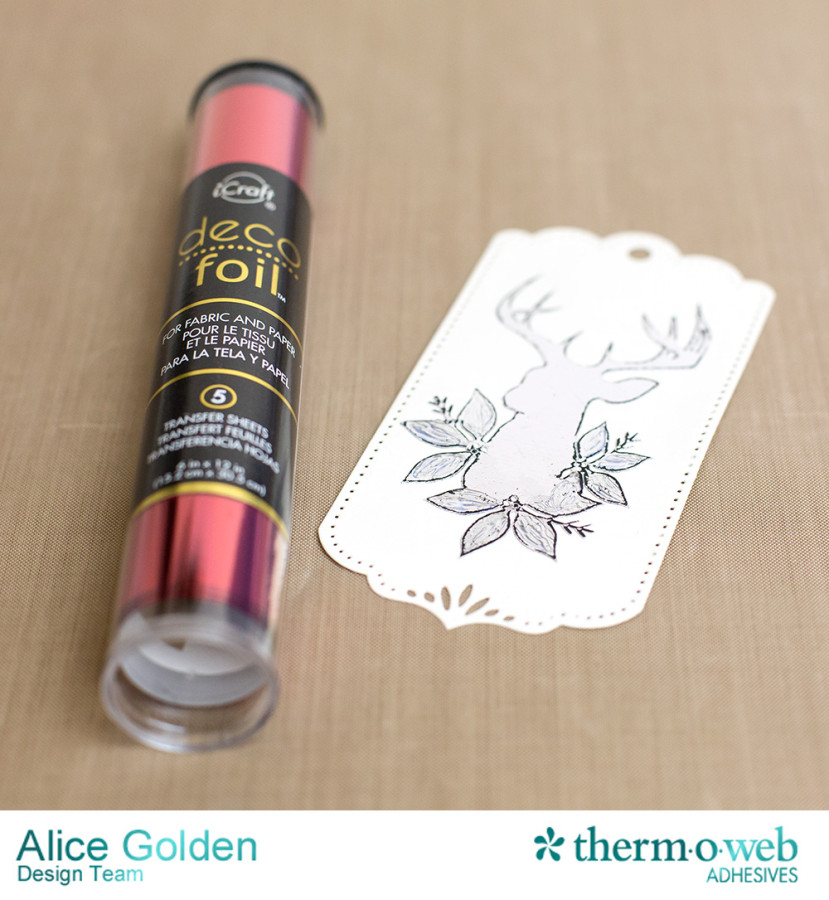
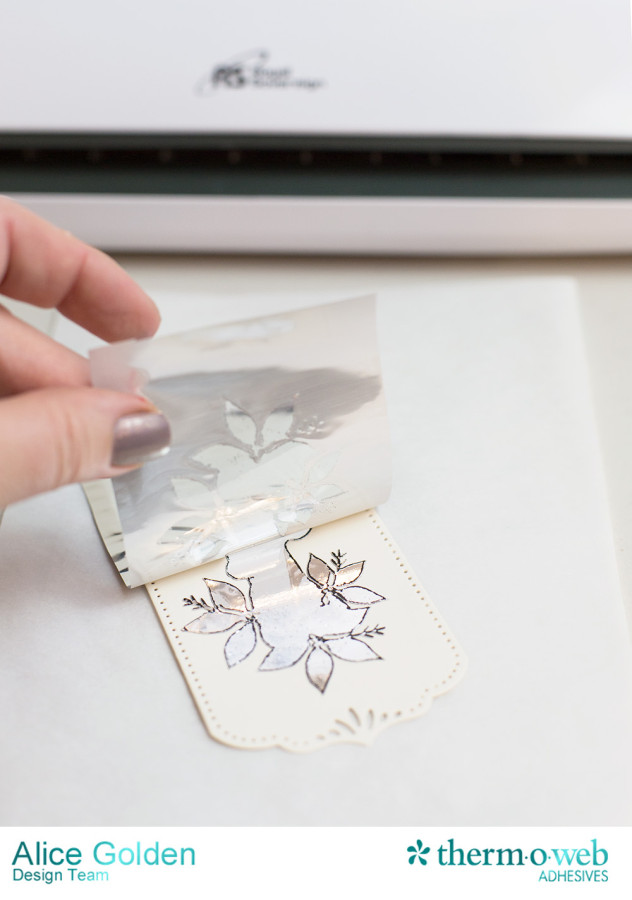
Apply the foil “paint” color you have chosen over the adhesive, color side facing up, and rub over the areas to transfer the foil.
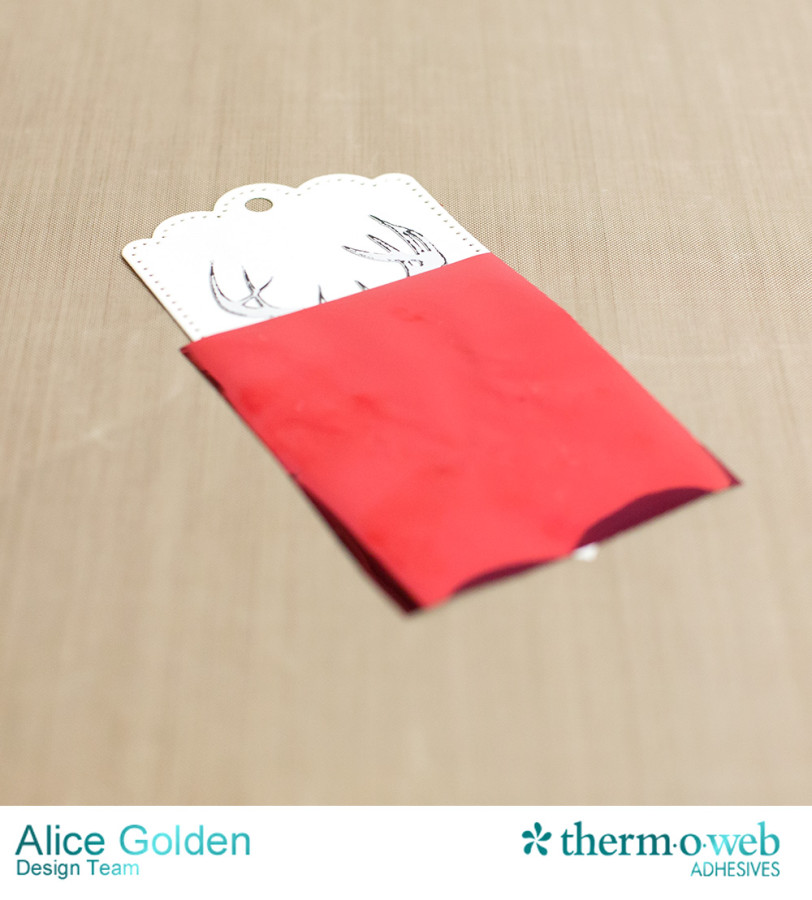
Remove the foil transfer sheet to reveal the highlighted areas. I wanted this to look more like a dry brush painting technique, so applied the adhesive quite heavily in order to create visible brush strokes. For a more solid look, apply a thin, even coat.
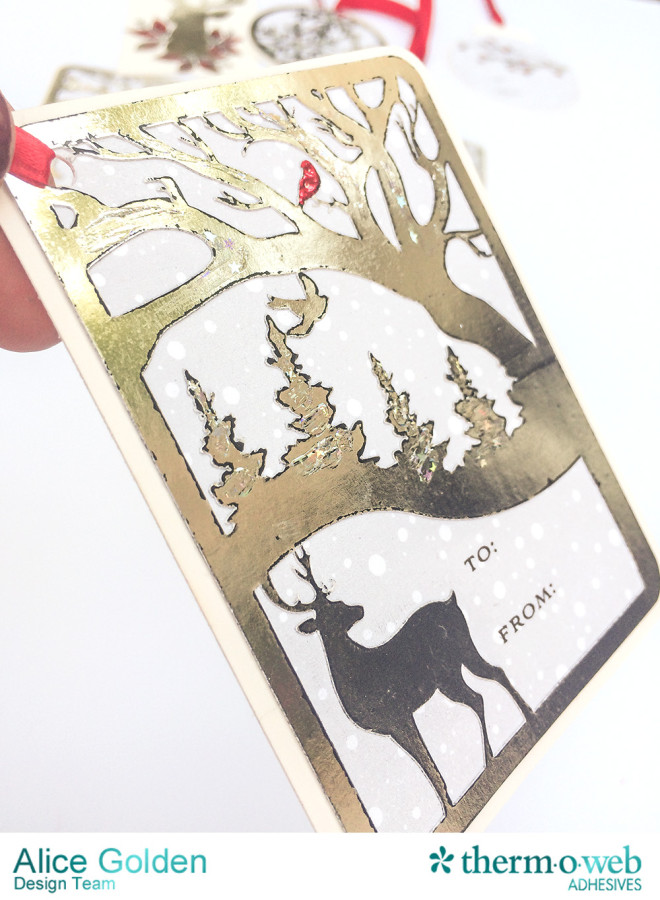
In addition to using Red Deco Foil to add highlights, I added Silver Star Deco Foil to some of the wintery scenes to create the look of moonlight on snow. You’ll have to trust me on this one… it looks really cool in person… but very hard to capture in a photograph! In the tag below, I added Silver Star foil to the tree branches and pine trees and a touch of Red foil to the cardinal in the tree.
Thanks so much for visiting the blog! I hope you give this technique a try.
mary
December 4, 2015 at 7:19 am (8 years ago)Love it
Jennifer Kalbfleisch
December 9, 2015 at 11:28 pm (8 years ago)I love these tags, they are so beautiful!
Jennifer Kalbfleisch
December 9, 2015 at 11:31 pm (8 years ago)And the giveaway is fantastic!