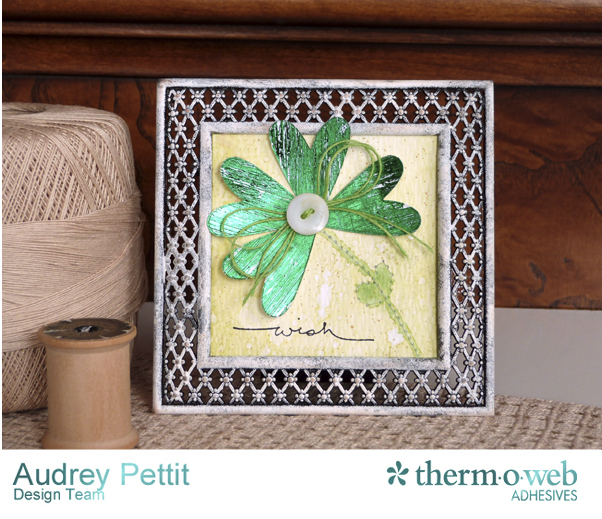
Wish Shamrock Frame by Designer Audrey Pettit
Supplies:
Therm O Web iCraft® Deco Foil™- Green
Therm O Web iCraft® Deco Foil™ Liquid Glue
Therm O Web Zots™ Clear Adhesive Dots- Small
Therm O Web 3D Adhesive Squares
Die: Sizzix Heartfelt Bigz die
Stamp: Stampin’Up
Ink: Ranger
Hemp: May ArtsButton: vintage
The shiny look of foil is super popular and trendy in home decor and papercrafting projects of all kinds these days. Today I’m going to share a quick tutorial for creating a fun shamrock altered frame using our fabulous Deco Foil sheets and our liquid iCraft Deco Glue, just in time for adding some festive cheer to your home this St. Patty’s Day.
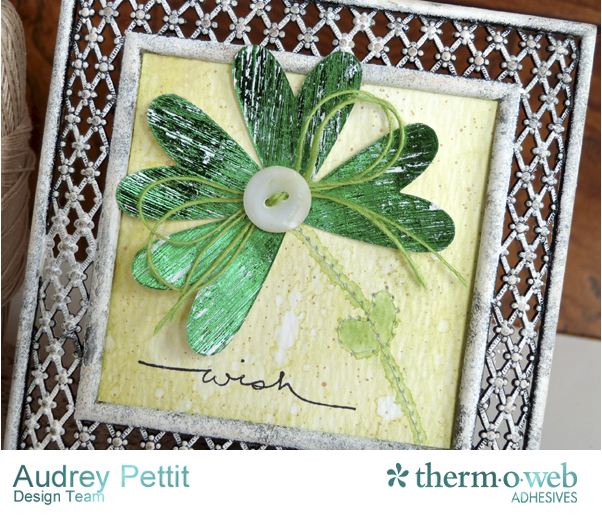
There are several ways to apply the iCraft® Deco Foil™, but today, I’m going to share with you my favorite. I am a shabby chic kind of gal, so I kinda love the shabby, random, distressed look I can achieve by using the iCraft® Deco Foil™ Liquid Adhesive. The finished product looks very organic, almost like woodgrain, and I seriously love that. To get this look with paper and Deco Foil™ Liquid Adhesive, here’s what you need to do.
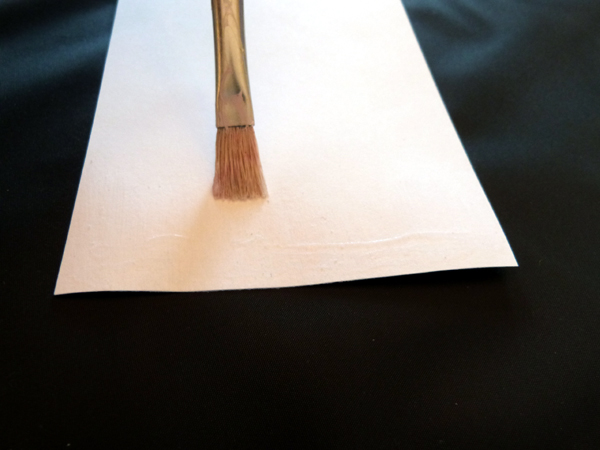
Begin by squirting a generous amount of liquid Deco Foil Glue onto a piece of cardstock, and working quickly, spread the glue across the paper using a wide, flat bristle brush. You can brush the glue in any direction for a really random look, or keep your brush moving in a back and forth direction only to achieve the woodgrain look that I used.
*Note: parts of the cardstock will show through the final process, so note that whatever color cardstock you choose to use will show in spots. I used white cardstock for my project, but love the idea of using black or even colored cardstock for a totally different look.
Set the paper aside for awhile to let the liquid glue dry completely. The thicker the application of glue, the longer it will take to dry. Rough estimation for drying time will be between 10-30 minutes. You want the glue to be completely tacky to the touch so that no wet comes away on your finger. Something I’ve learned with working with this adhesive is that there’s no such thing as letting it dry “too long”….. the adhesive will remain tacky the next day, or even the next week. It will change from cloudy to clear as well once “”dry”.
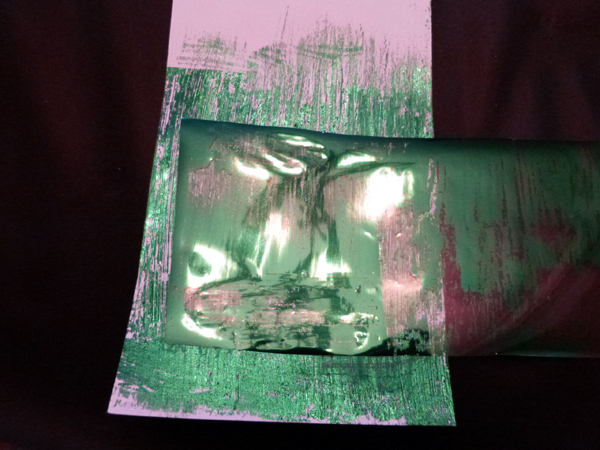
Once the glue is completely tacky, lay a piece of Deco Foil (color side up, silver matte side down) onto the cardstock. Using a bone folder or back of a spoon, press onto the top of the foil sheet, making sure to burnish all areas. Peel up the iCraft Deco Foil sheet, and if there’s any foil left, press it down onto another spot and repeat the process. Continue until the entire area is covered.
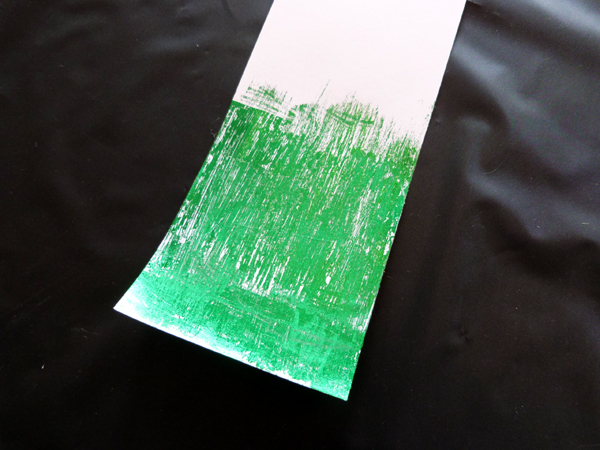
And here is the beautiful result! Now you can cut, tear, die cut, or punch the foiled paper to your heart’s desire.
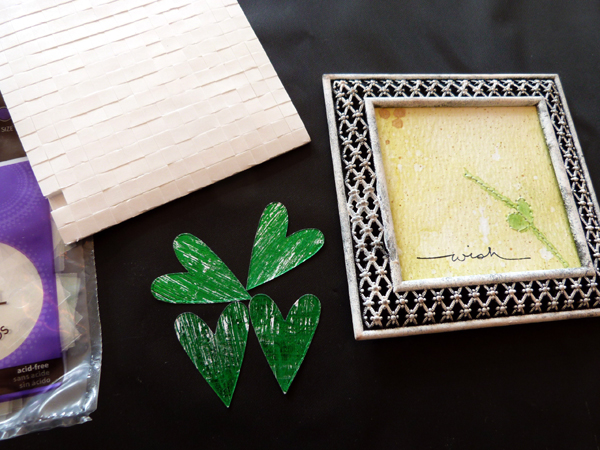
For my frame, I die cut four heart shapes from the foiled cardstock.
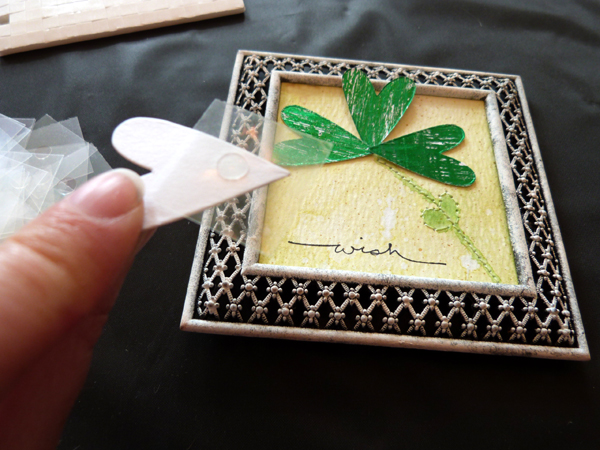
Then added them to an inky shabby frame background using small Zots™ adhesive dots at the tip of each heart, arranged into a simple four leaf clover design.
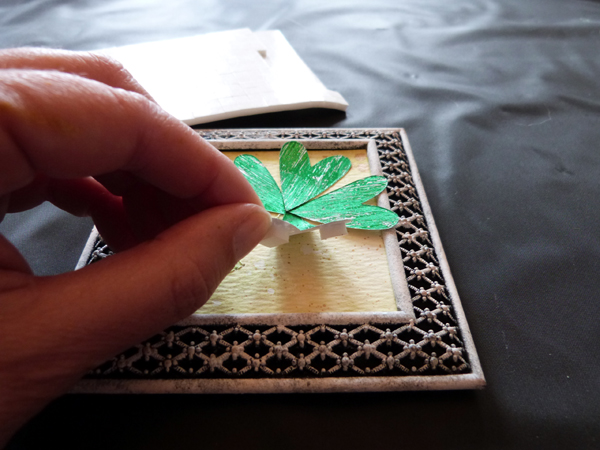
Then for extra dimension, I placed 3D Adhesive Foam Squares behind the rounded tops. A hemp bow, threaded through a vintage button, finishing it all off.
Enjoy!
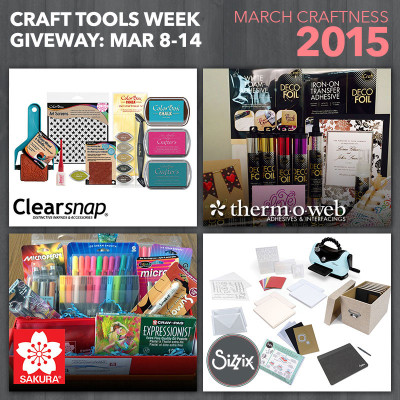
From March 1st to March 28th, we’re giving away over $1,000 in prizes—with one winner chosen each week!
This week is CRAFT TOOLS WEEK!
So from March 8th to March 14th, enter for your chance to win:
1) Sizzix: Texture Boutique Beginner’s Kit, Stamper’s Secret Weapon, Plastic Envelopes, 5″ x 6 7/8″ 3 Pack x3, Die Storage Box for Bigz/Bigz L Dies x2, InkSheets Starter Kit
2) Sakura of America: Gelly Roll® Metallic™, Gelly Roll Moonlight® 10, Microperm®, Pigma Micron®, Sumo Grip® 0.9mm pencil, Glaze® glossy dimensional ink pens, Soufflé® matte dimensional ink pens, Pentouch® Calligrapher® fine point paint marker, Permapaque® fine point metallic 3 pk, Cray-Pas Expressionist®, Koi® Coloring Brush, Gelly Roll Stardust® Clear
3) Therm-O-Web: iCraft® Deco Foil™ White Foam Adhesive, iCraft Deco Foil Iron on Transfer Adhesive, iCraft® DECO FOIL™ Transfer Sheets in purple, gold, silver, rainbow, gold leopard, silver stars and red
4) Clearsnap: Rollagraph Wheel, ColorBox Stylus & Tips in Antiquing, ColorBox Cat’s Eye Ink in Guacamole, ColorBox Chalk Ink in Arctic Ink, ColorBox Crafter’s® in Berry, Crafter’s Full Size Inkpad in Aruba, ColorBox® Mini Molding Mats in Scribbles, ColorBox® Art Screens in Stars, Smooch® Illuminate
Check out the entire March Craftness schedule here:

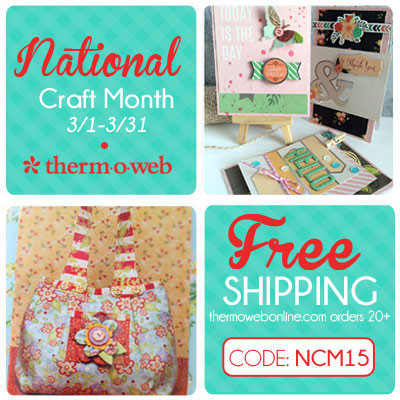
As you know…March kicks off National Craft Month and that means chances for you to save and win!
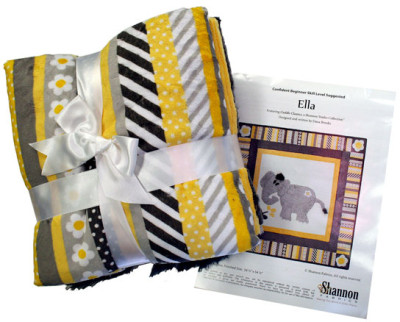
And that’s not all…we’re giving away goodies each week and this week we have two for you to enter to win!Shannon Fabrics Ella Quilt Kit!
a Rafflecopter giveaway
Just follow the easy to use Rafflecopter entry form and check back weekly for new prizes!a Rafflecopter giveaway
