


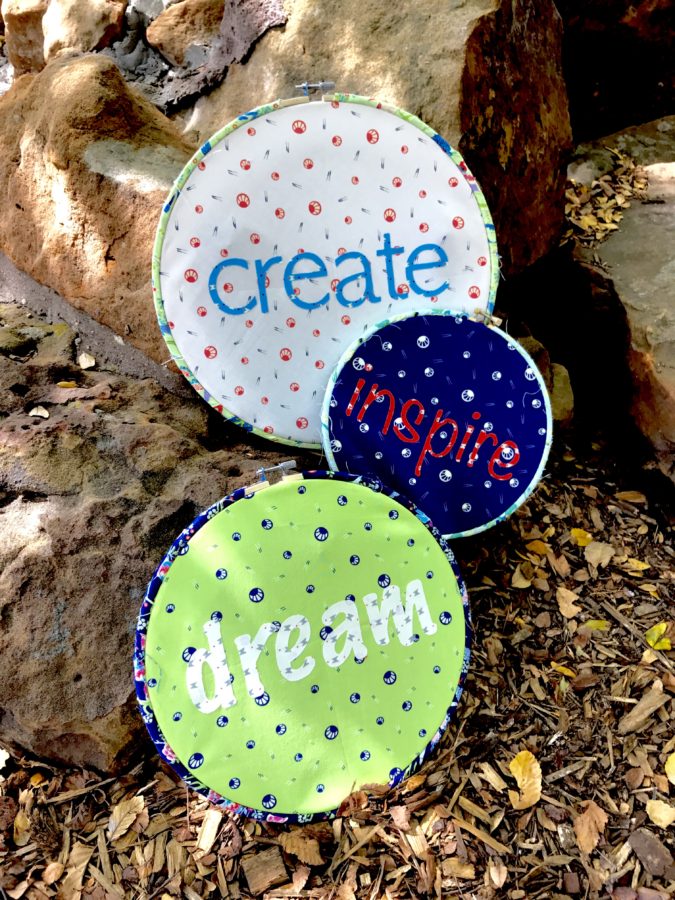
Market is right around the corner and I was so excited to work with Moda’s new line to create something for the Thermoweb Fall Quilt Market booth which kicks off TODAY!
Embroidery hoops have become my go to for quick, inexpensive and customizable decorations. I’ve used them for baby showers, birthday parties and now my market project. I’m so excited for y’all to see what I’ve made!
Supplies:
Thermoweb Heat n Bond® Lite
3 Fat Quarters for Hoop background (we used Moda Fabrics Manderly Fabric Collection)
3 Fat Quarters for Hoop wrapping
3 Fabric Scraps for Hoop words
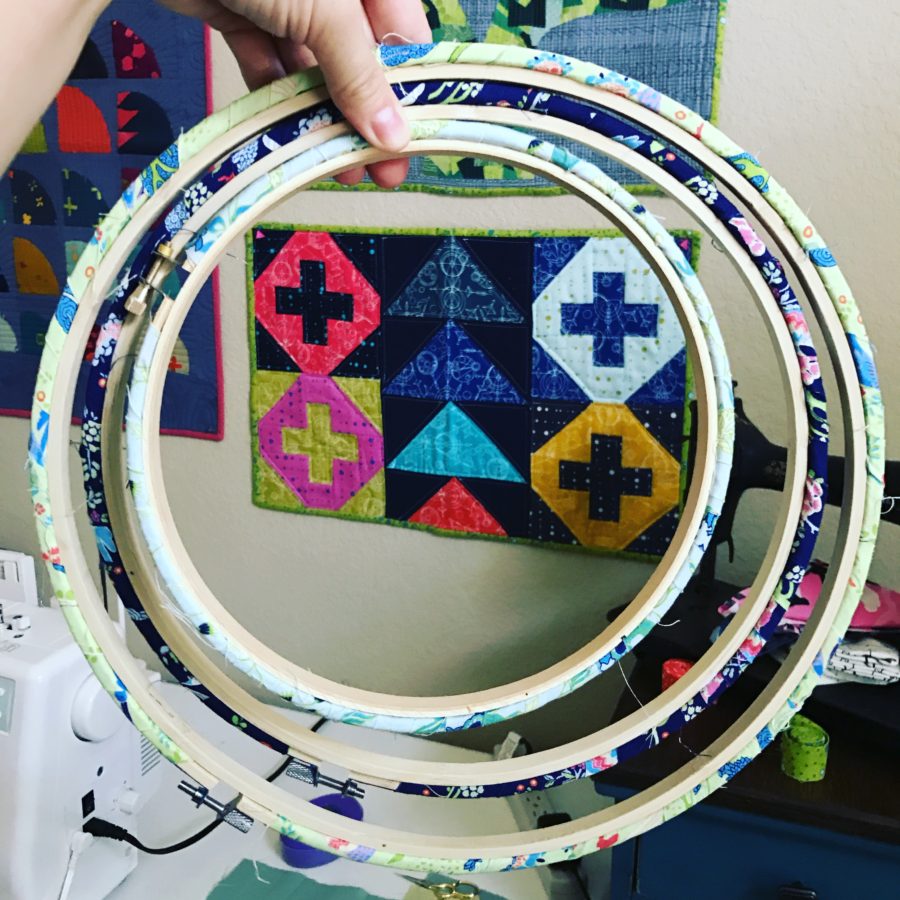
3 Embroidery Hoops (I used 8”, 10”, and 12”)
Oliso Smart Touch Iron
Additional Supplies: Scissors, Rotary Cutter, Rulers, Water Soluble Marker, Thread, Needle, Hot Glue Gun and Glue or Liquid Fabric Fuse
Project Instructions:
Start by fusing Heat n Bond® Lite to the back of your three word fabric scraps. Use a cutting machine to cut out your words or cut by hand. For this project I cut them out using my machine, but a lot of my projects I cut by hand.
Take your three fat quarters for your hoop wrapping and cut two to three 2” strips to use for each hoop. Start at the top of a hoop, apply a little hot glue or Liquid Fabric Fuse to the underneath edge and begin to wrap tightly around your hoop. Hot glue at the beginning and end of each strip until your hoop is covered. This is an extra step to make your hoop really stand out. You could also leave it natural or paint it!
Iron out your fat quarters for the hoop background. Lay your hoop on top of the wrong side of your fabric and trace a line around the outside of the hoop with your water or air soluble pen. Cut about two to three inches outside of this circle all the way around. Turn your fabric right side up, fold in half both directions and iron each time to create a line and middle point for your saying. Lay your saying out and iron it down. Optional-Stitch around by hand or by machine.
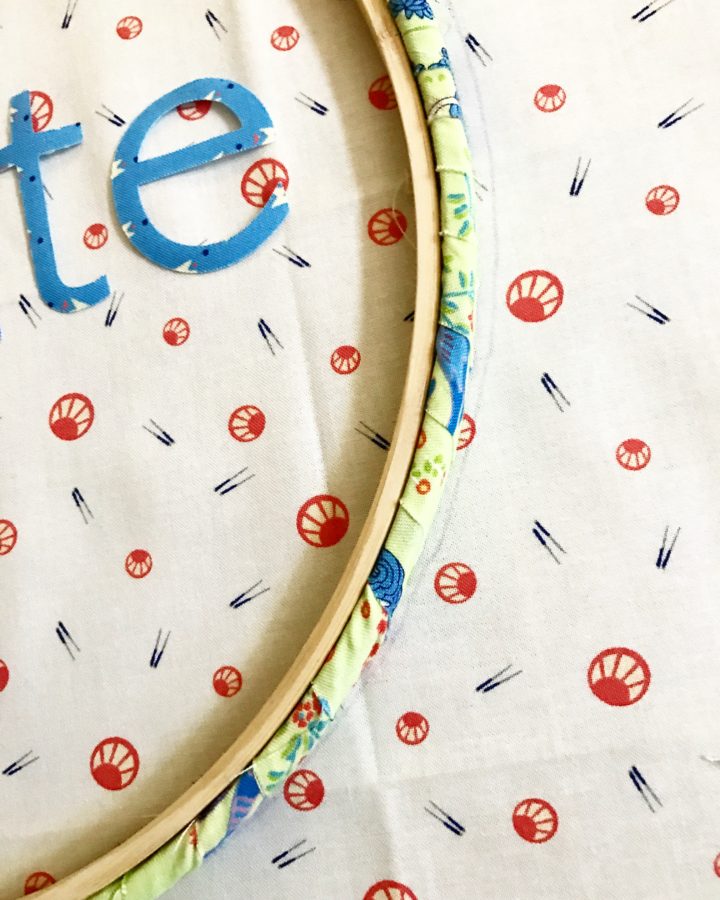
Place your fabric saying into your hoop and tighten. Now turn the hoop around to the back and hand stitch around the circle and pull tight to “fold” the fabric so that the edge is hidden from the back and it will lay flat when hung.

Hang up your project and enjoy!
Can’t wait to see what you all create! Happy Sewing!
Kristen Wright of Two Blondes and a Sewing Machine
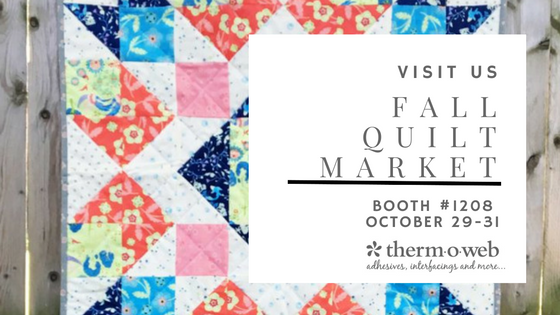 Be sure to stop by our Booth #1208 at the International Fall Quilt Market Show in sunny Houston Texas! We’ll see you there!