In this two-part series, we’ll learn how to use some of Therm-o-Web’s best products for machine applique! First, we’ll make the fun succulent quilt blocks, then once you’ve made the blocks, we’ll be back next month to learn how to finish up your quilt!
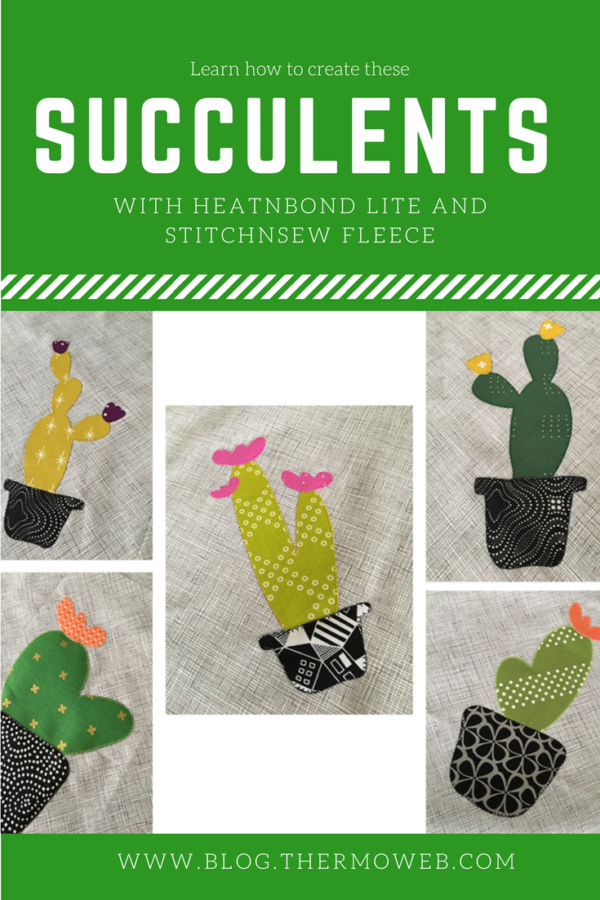
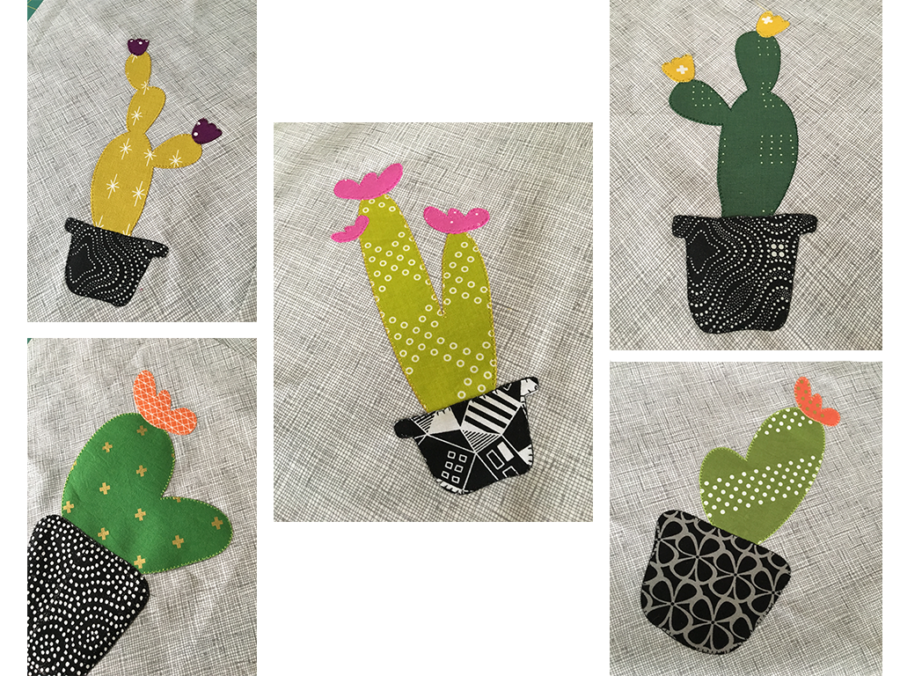
You’ll even have two different options for this project! We can make a full-size lap quilt or a mini quilt!

LAP SIZE QUILT – 50″ x 70″
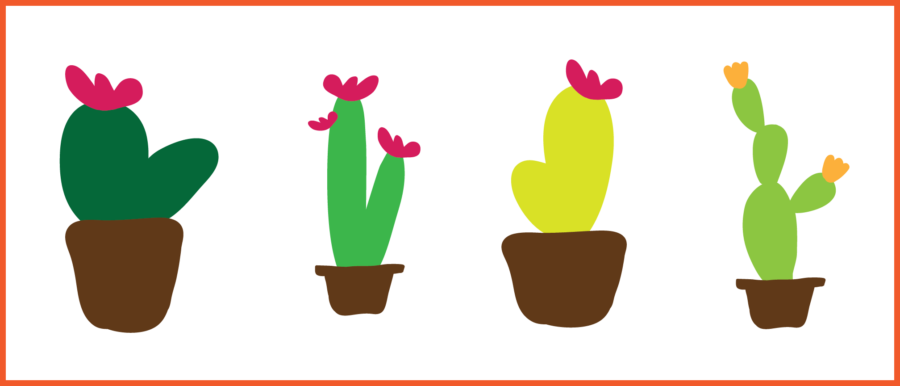
MINI QUILT – 12″ x 28″
StitchnSew™ Succulent Quilt Series – Part 1
Gather the Following Supplies:
-4-5 15” light colored fabric squares for block background.
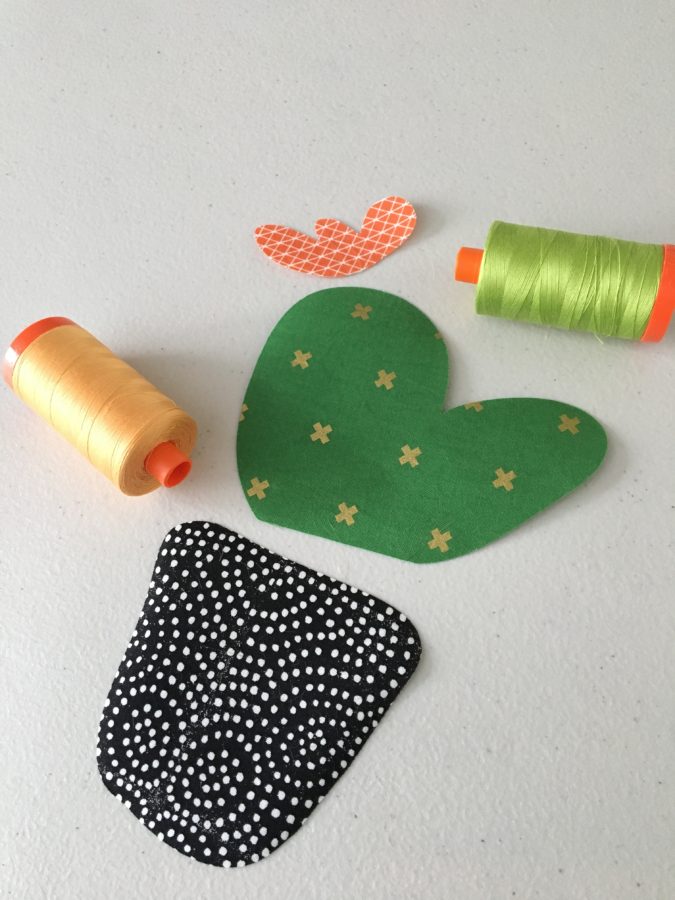
-Various scraps for succulent applique pieces. You’ll need three colors for each block. A pot fabric, succulent/cactus fabric, and a flower fabric.
-Coordinating embroidery thread for the fabric colors you previously selected. (I used Aurifil thread in place of super shiny embroidery thread for this project to give it a more natural look.)
–1 ½ yards HeatNBond® Lite fusible fabric adhesive
–StitchNSew™ Perforated Tear-Away Soft (enough for either 4 or 5 hooping’s in your large embroidery hoop)
-Embroidery machine capable of stitching a design file that’s 5” W x 9” H
-Embroidery Files (Download link)
-SVG Cut files (Download link)
-Electronic Die Cut Machine – Silhouette Cameo or Artistic Edge
AND
For Lap size quilt size (50” x 70”):
-1/3 yard light green print fabric
-3 1/3 yard medium green print fabric
-55” x 75” piece of quilt batting
-Pieced backing fabric 55” x 70”
OR
For Mini Quilt size (12” x 28”):
-14” x 30” piece of StitchNSew™ Fleece Sew-In High Loft Batting
-14” x 30” square backing fabric
-90” of quilt binding (purchase pre-made or make your own)
Choose your quilt size and follow these instructions to make 1 block.
Make Blocks 1,3,4, and 5 for MINI Quilt
Make Blocks 1-5 for LAP SIZE Quilt
Getting Started with your Succulent Quilt:
Step 1: Preparing Fabric
- Press all your fabric for the blocks well. Find the center of each of the 15” squares and mark with a fabric marking pen. Set aside.
- Press scraps well and then press Heat N Bond Lite fusible fabric adhesive to the back of each scrap with an iron.
- Load the SVG files into your cutter program.
- Place each scrap on the cutting mat (with paper backing still attached) one at a time.
- Using the fabric blade and cutter settings for cotton fabric, cut out each of the pieces.
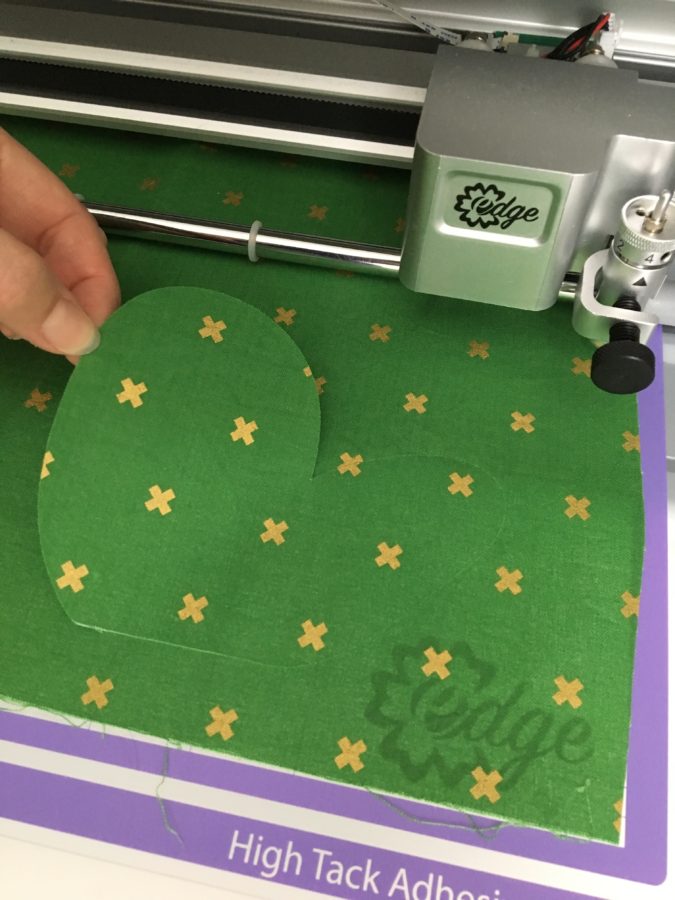
- Remove paper backing and set fabric pieces aside. (Since there are lots of pieces, try to keep each block together. Use a small plastic bag if needed.)
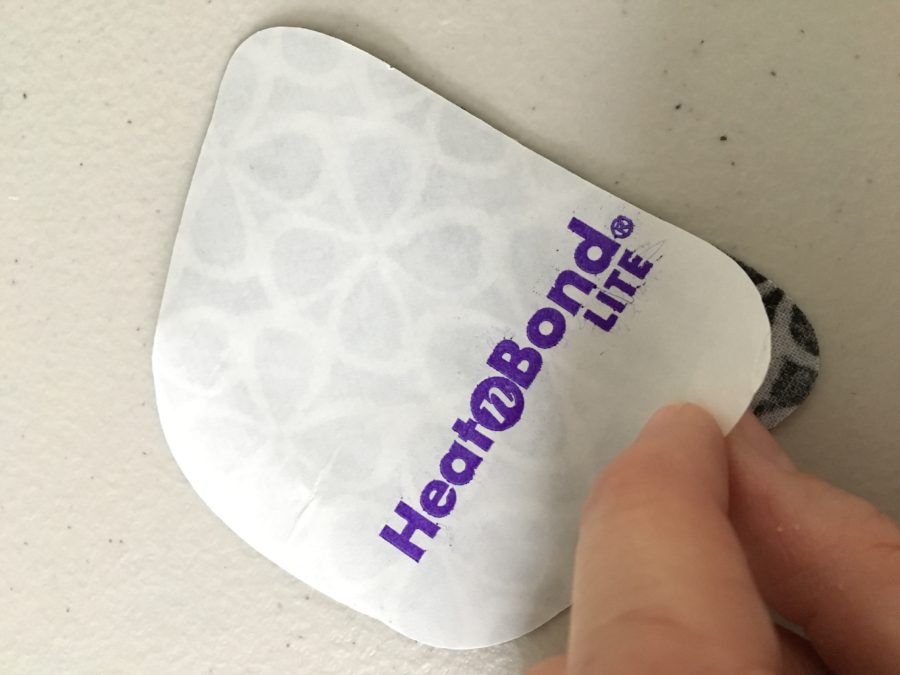
Step 2: Applique the Blocks
- Load in the Cactus1 file into your embroidery machine.
- Hoop Perforated Tear-Away and one 15” block of background fabric centered in the hoop.
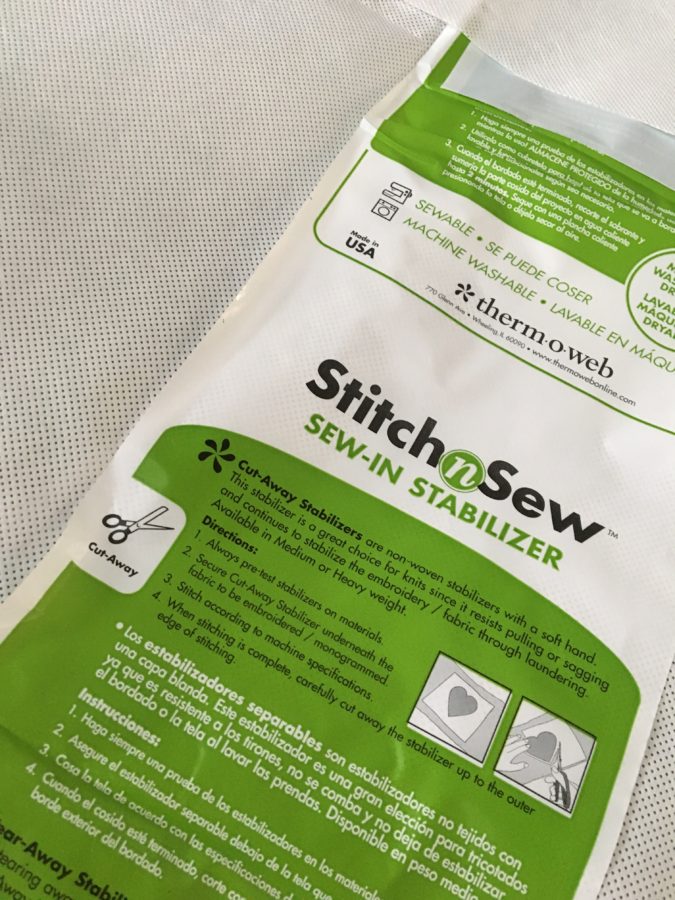
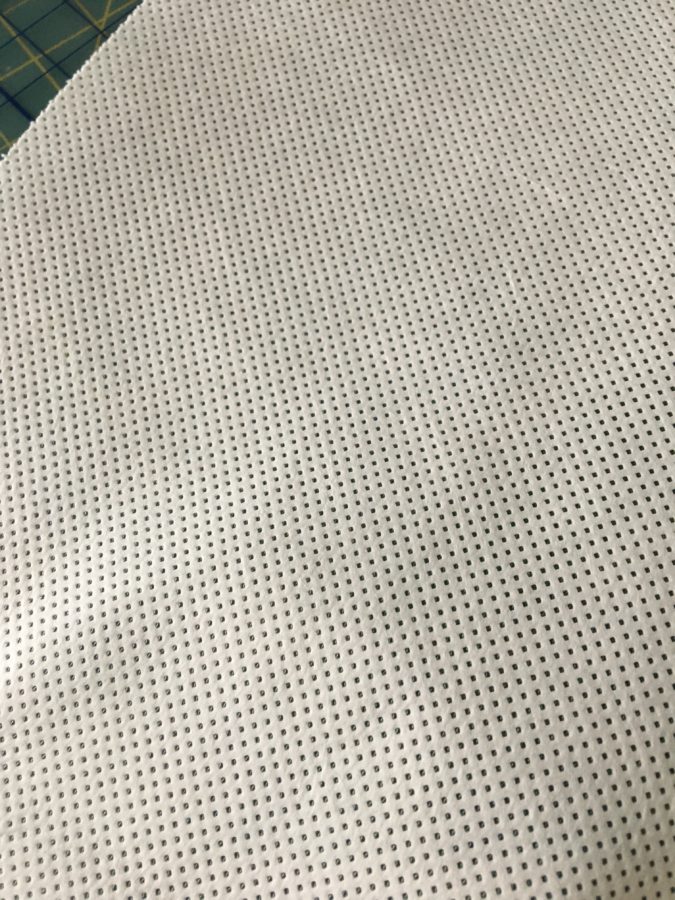 (The perforated stabilizer is one of my favorites! Easy to tear and has a softer hand than a heavyweight stabilizer.)
- Stitch the cactus. The first line will be an outline placement stitch.
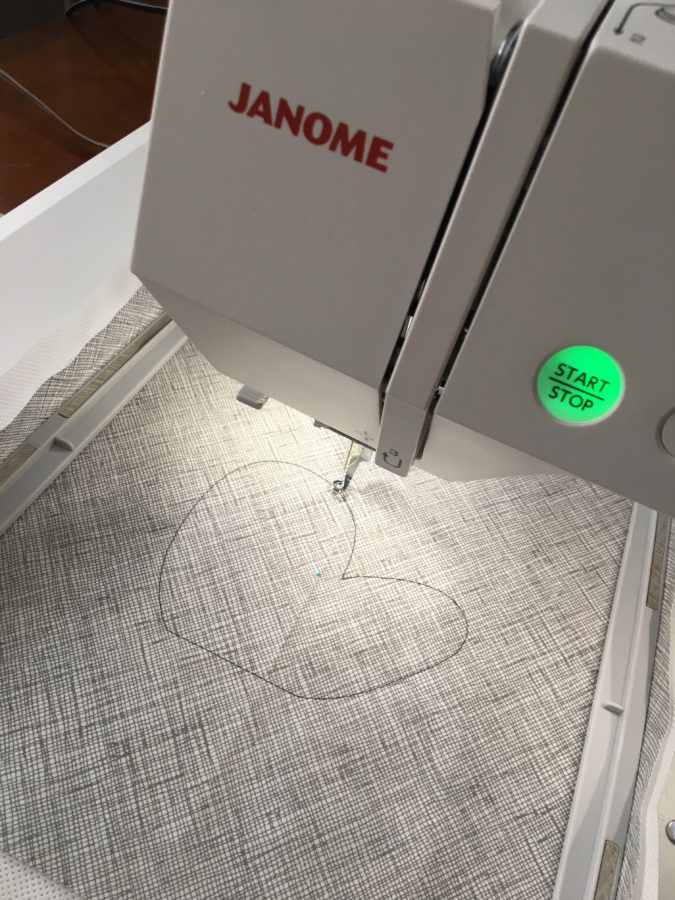 Place the cutout fabric piece directly within this outline stitch. Use a small iron (or the heated tip of a larger iron) to tack down this piece.
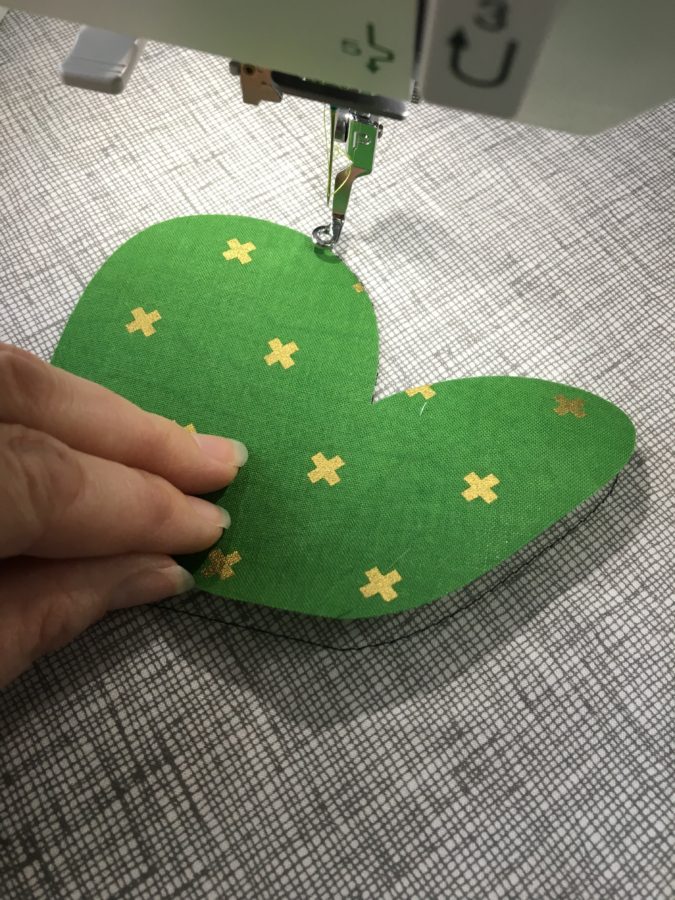 Then stitch the second outline/stabilizing stitch, and finally the applique stitch.
- Repeat this process for the pot and flower pieces to complete applique block.
- Remove block from the hoop and tear away any extra stabilizer.
- Press the block well and square up according to the measurements below:
-Lap Size: 10 ½” square blocks
-Mini Quilt: 7 ½” W x 12 ½” H blocks - Set aside.
- Repeat to make the remaining blocks.
Stay tuned for the rest of the quilt instructions in a few weeks!
3 Comments on Create a Colorful and Fun Succulent Quilt Block – Part 1
1Pingbacks & Trackbacks on Create a Colorful and Fun Succulent Quilt Block – Part 1
-
[…] Got your blocks finished? Ready to finish up your quilt? You’ll need the backing and binding from the first half of the project. Can’t remember what sizes you need? Find that list here: (Link to blog post 1 here.) […]

Sandra
June 17, 2017 at 4:50 pm (8 years ago)Where are the templates for the cactus blocks?
admin
June 19, 2017 at 11:56 am (8 years ago)Sorry for the confusion…the links are UP for both the SVG files and the embroidery files. Thanks so much!