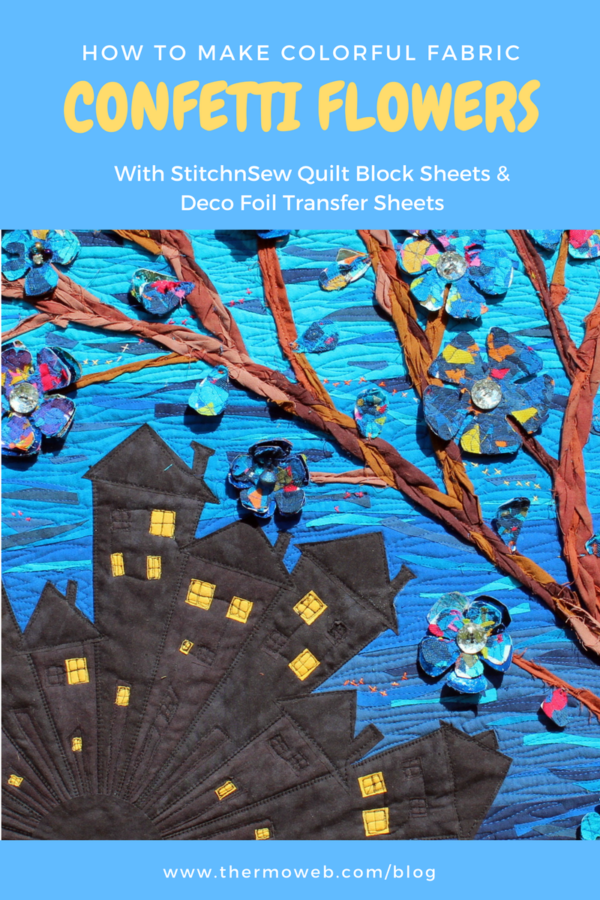
Create Beautiful Fabric Confetti Blossoms
Hello everyone! It’s Kim Lapacek, artist & dreamer from Persimon Dreams. I’m here on Thermoweb’s blog today to share with you a fun way to create a unique element to ANY art piece. I happen to be pretty into quilting so that’s what I used this on but really it could be used on cards or any mixed media project. Let me show you how you can create beautiful fabric confetti blossoms for your next project!
Supplies:
- Fabrics – hand dye works best
- Rotary Cutter
- StitchnSew™ EZ Print Quilt Block Sheets
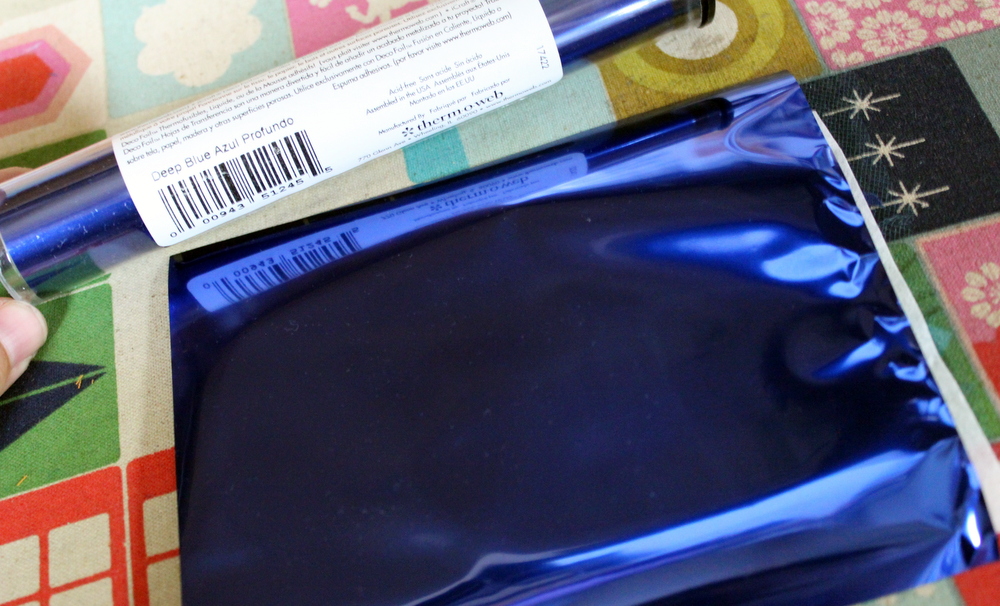
- DecoFoils (I used Deep Blue)
- iCraft® Deco Foil™Hot Melt Adhesive
- Pressing Sheet
- Tulle
- 40 wt Aurifil Thread (I used 2740)
- pen
- scissors
Confetti Blossom Instructions
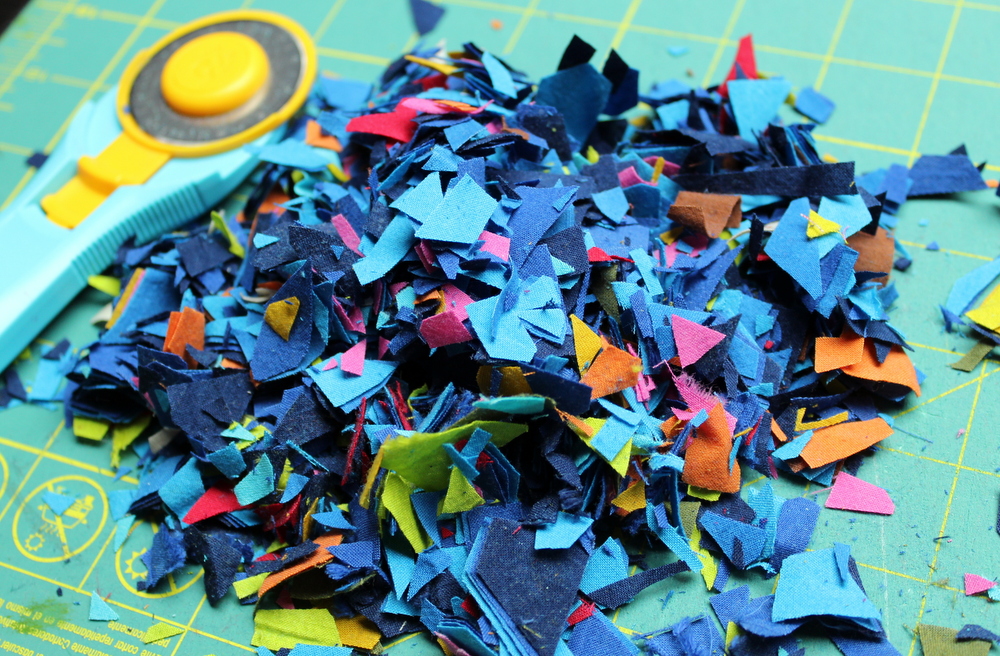
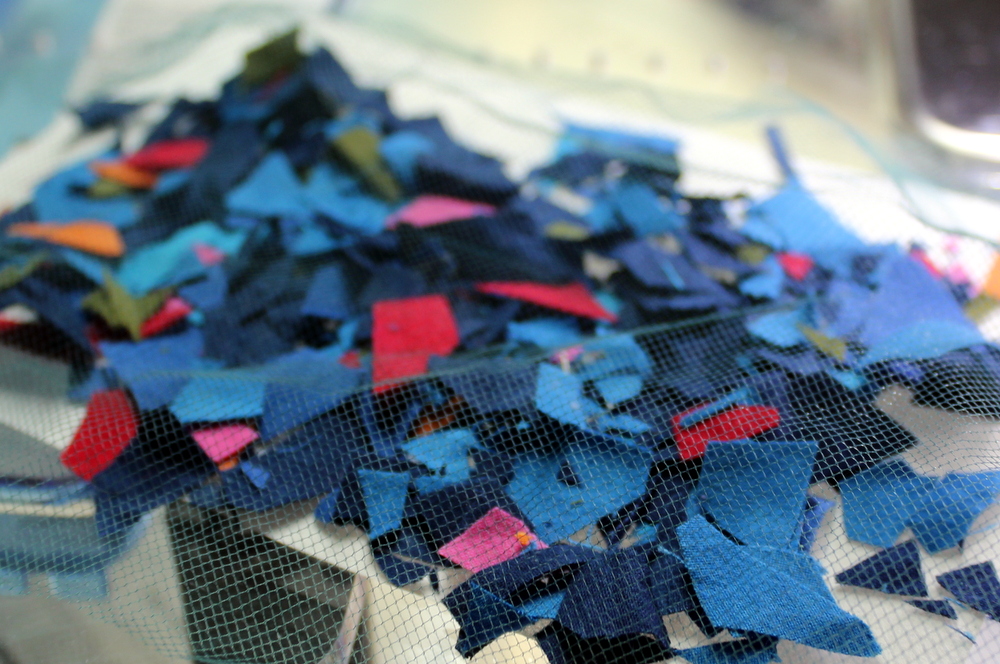
Layer a few chunks of fabric together and cut into random confetti pieces with your rotary cutter. A fresh, sharp blade makes a huge difference! These are all fabrics from Cherrywood fabrics. Hand-dyed works really well for this type of project (or batik) because both sides of the fabric are the same so you don’t have to worry about which side is up.
Once the fabric is cut up into small pieces lay it out onto a StitchnSew™ EZ Print Quilt Block Sheet. This is a perfect foundation for this project – thin enough for quilting but thick enough to make the blossom sturdy. I tried to cover up the white of the sheet as best as I could but didn’t worry about a little peeking through.
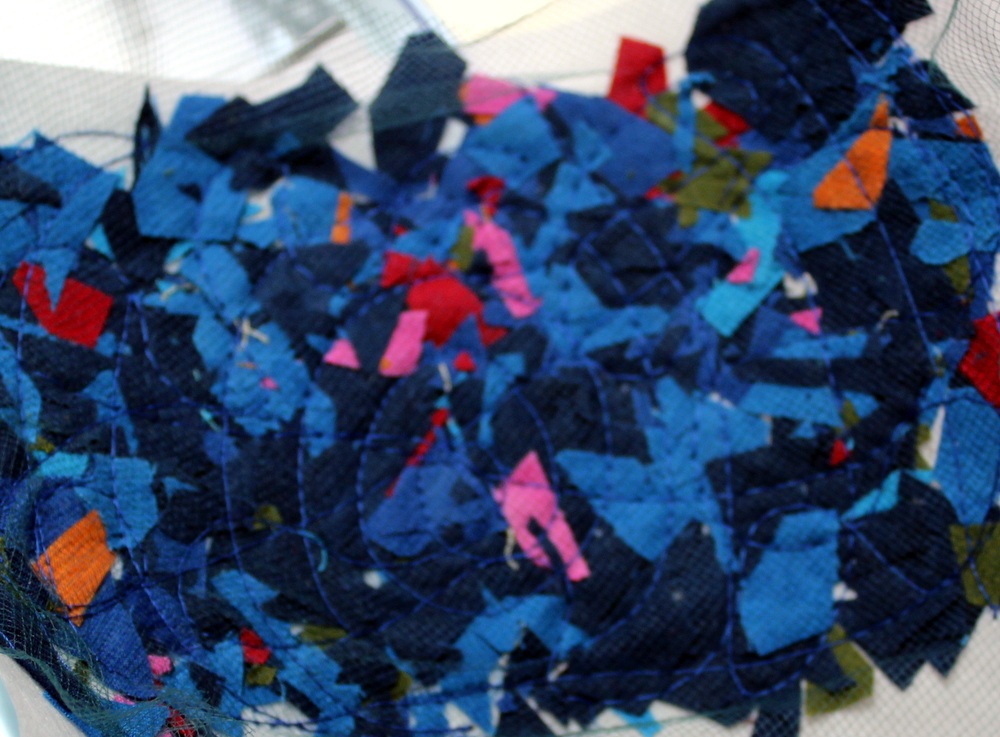
Once the confetti is placed as desired cover with layer of tulle overlay.
Free motion quilt through all of the layers with Aurifil thread. I found that quilting around the edges first made this work the smoothest. Also – don’t worry about the quilting looking perfect, just make sure it’s stitching through as much of the confetti as possible to secure as many pieces as you can without covering the entire thing in thread.
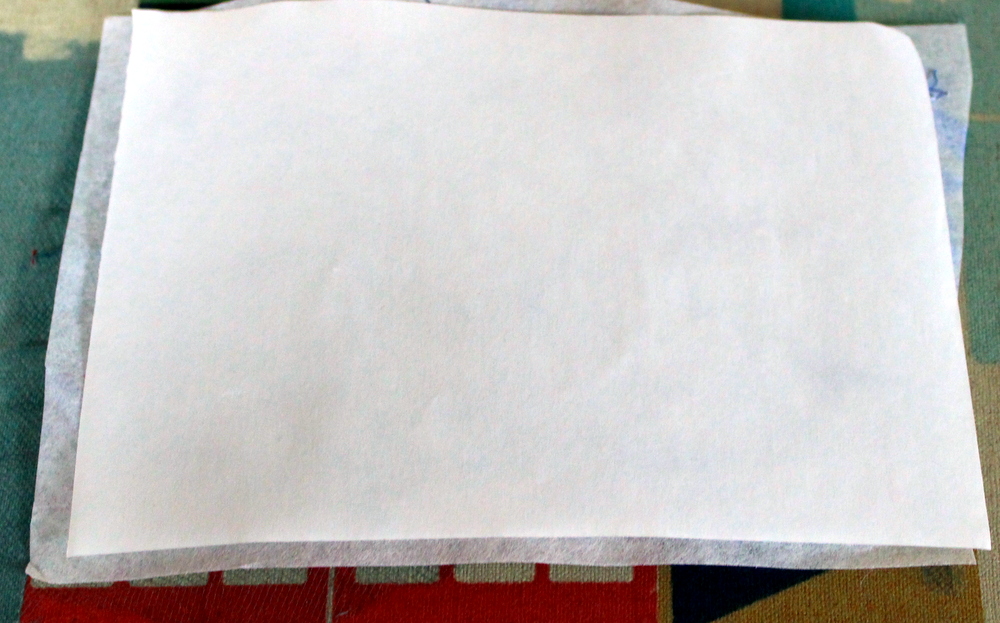
On the back of the stitched confetti sheet add a layer of decofoil. Place a sheet of iCraft® Deco Foil™Hot Melt Adhesive that is slightly smaller than the piece you just stitched onto.
Cover with a Pressing Sheet and press for 30 seconds. Let the Deco Foil™ Hot Melt adhesive cool down. Seriously, let it cool down.
Let it cool down even more. And once it’s 100% cooled down, peel the paper off.
Lay pieces of Deep Blue DecoFoil™ over the hot melt adhesive.
Take a Pressing Sheet and lay it over the DecoFoil. Press for 30 seconds. Let it cool down.
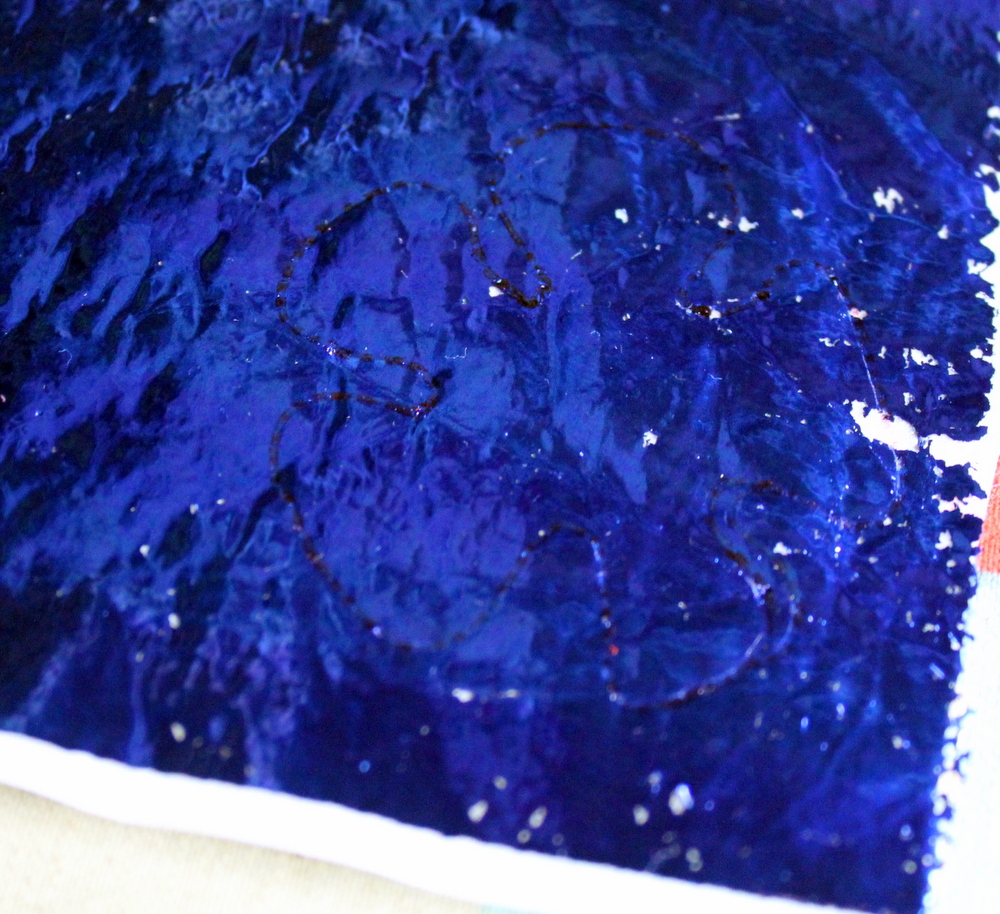
Once it is completely cooled down, peel the decofoil off the back.
I wanted to use the fabric/foil I just created to make blossoms for a project. 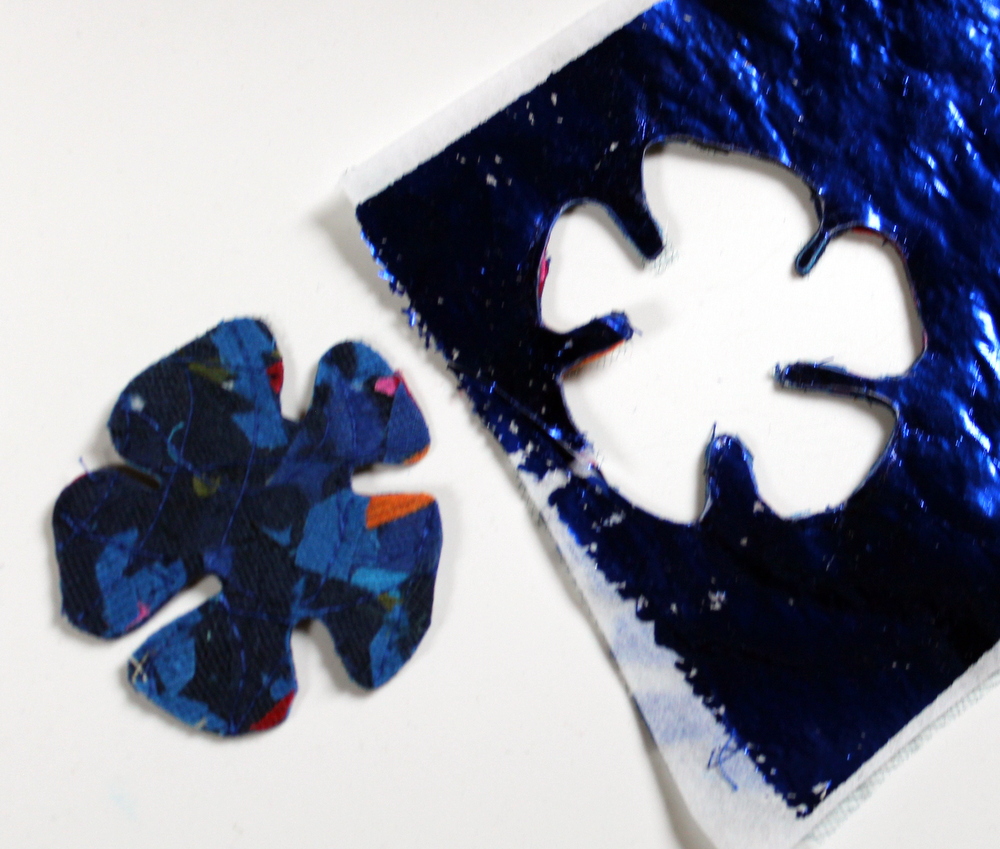 On the back … which to me was the decofoil side … I drew a rough shape of the blossom and then cut it out with a sharp scissors.
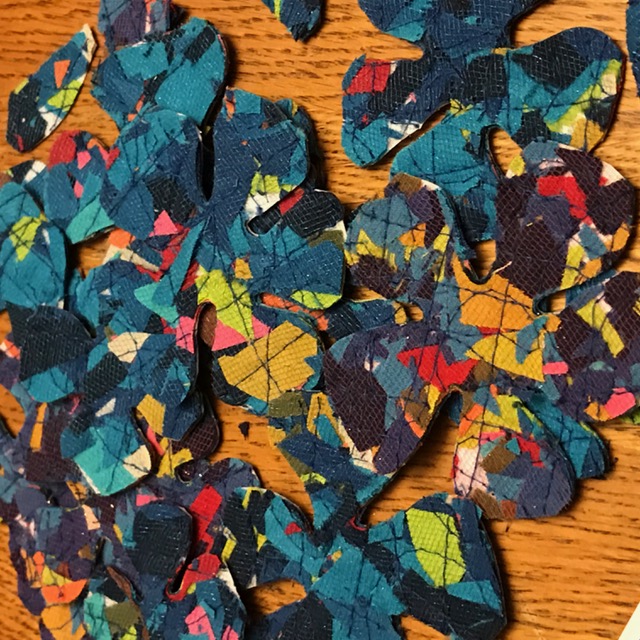
Before I knew it I had a pile of these fun confetti flowers with decofoil on the back of them. There are so many possibilities at this point! They would be a fabulous decoration on a purse or pillow, add them to a greeting card for a little “pop”, or stick a wire and some beads through the center to make a faux bouquet!
I decided I was going to use them for the piece I was working on for the Cherrywood Fabric Van Gogh Project.
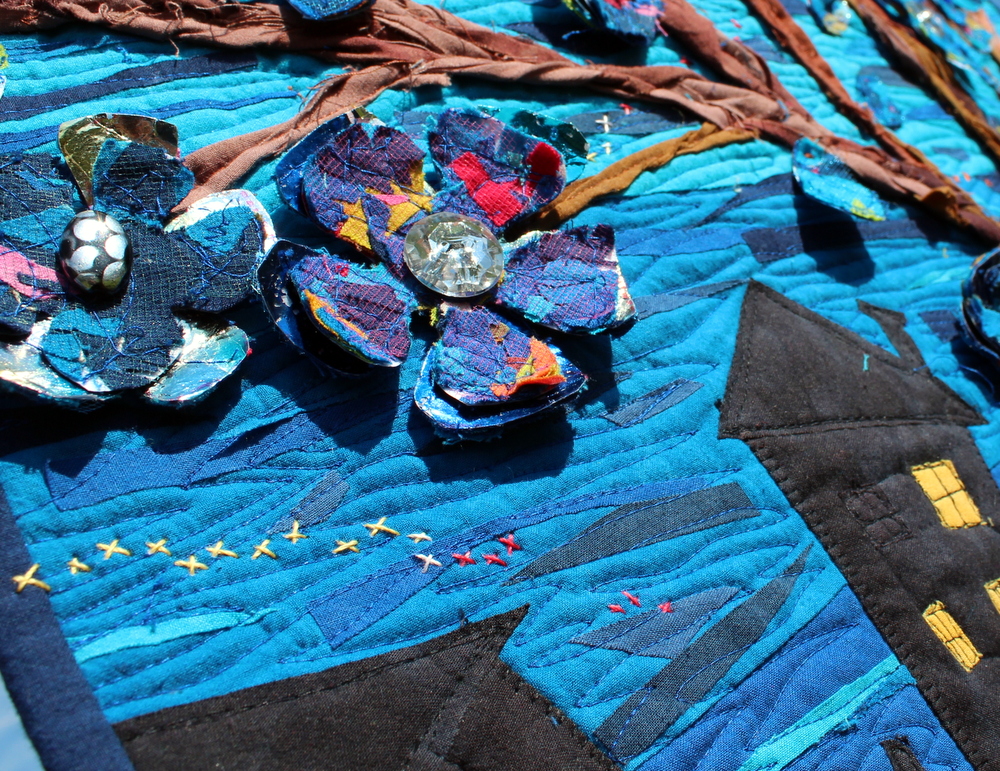
By layering two blooms, the bottom one with the decofoil side up and the top one with the confetti up a really amazing effect is created. And of course – sewing a fun button or bead in the middle helps a lot too!
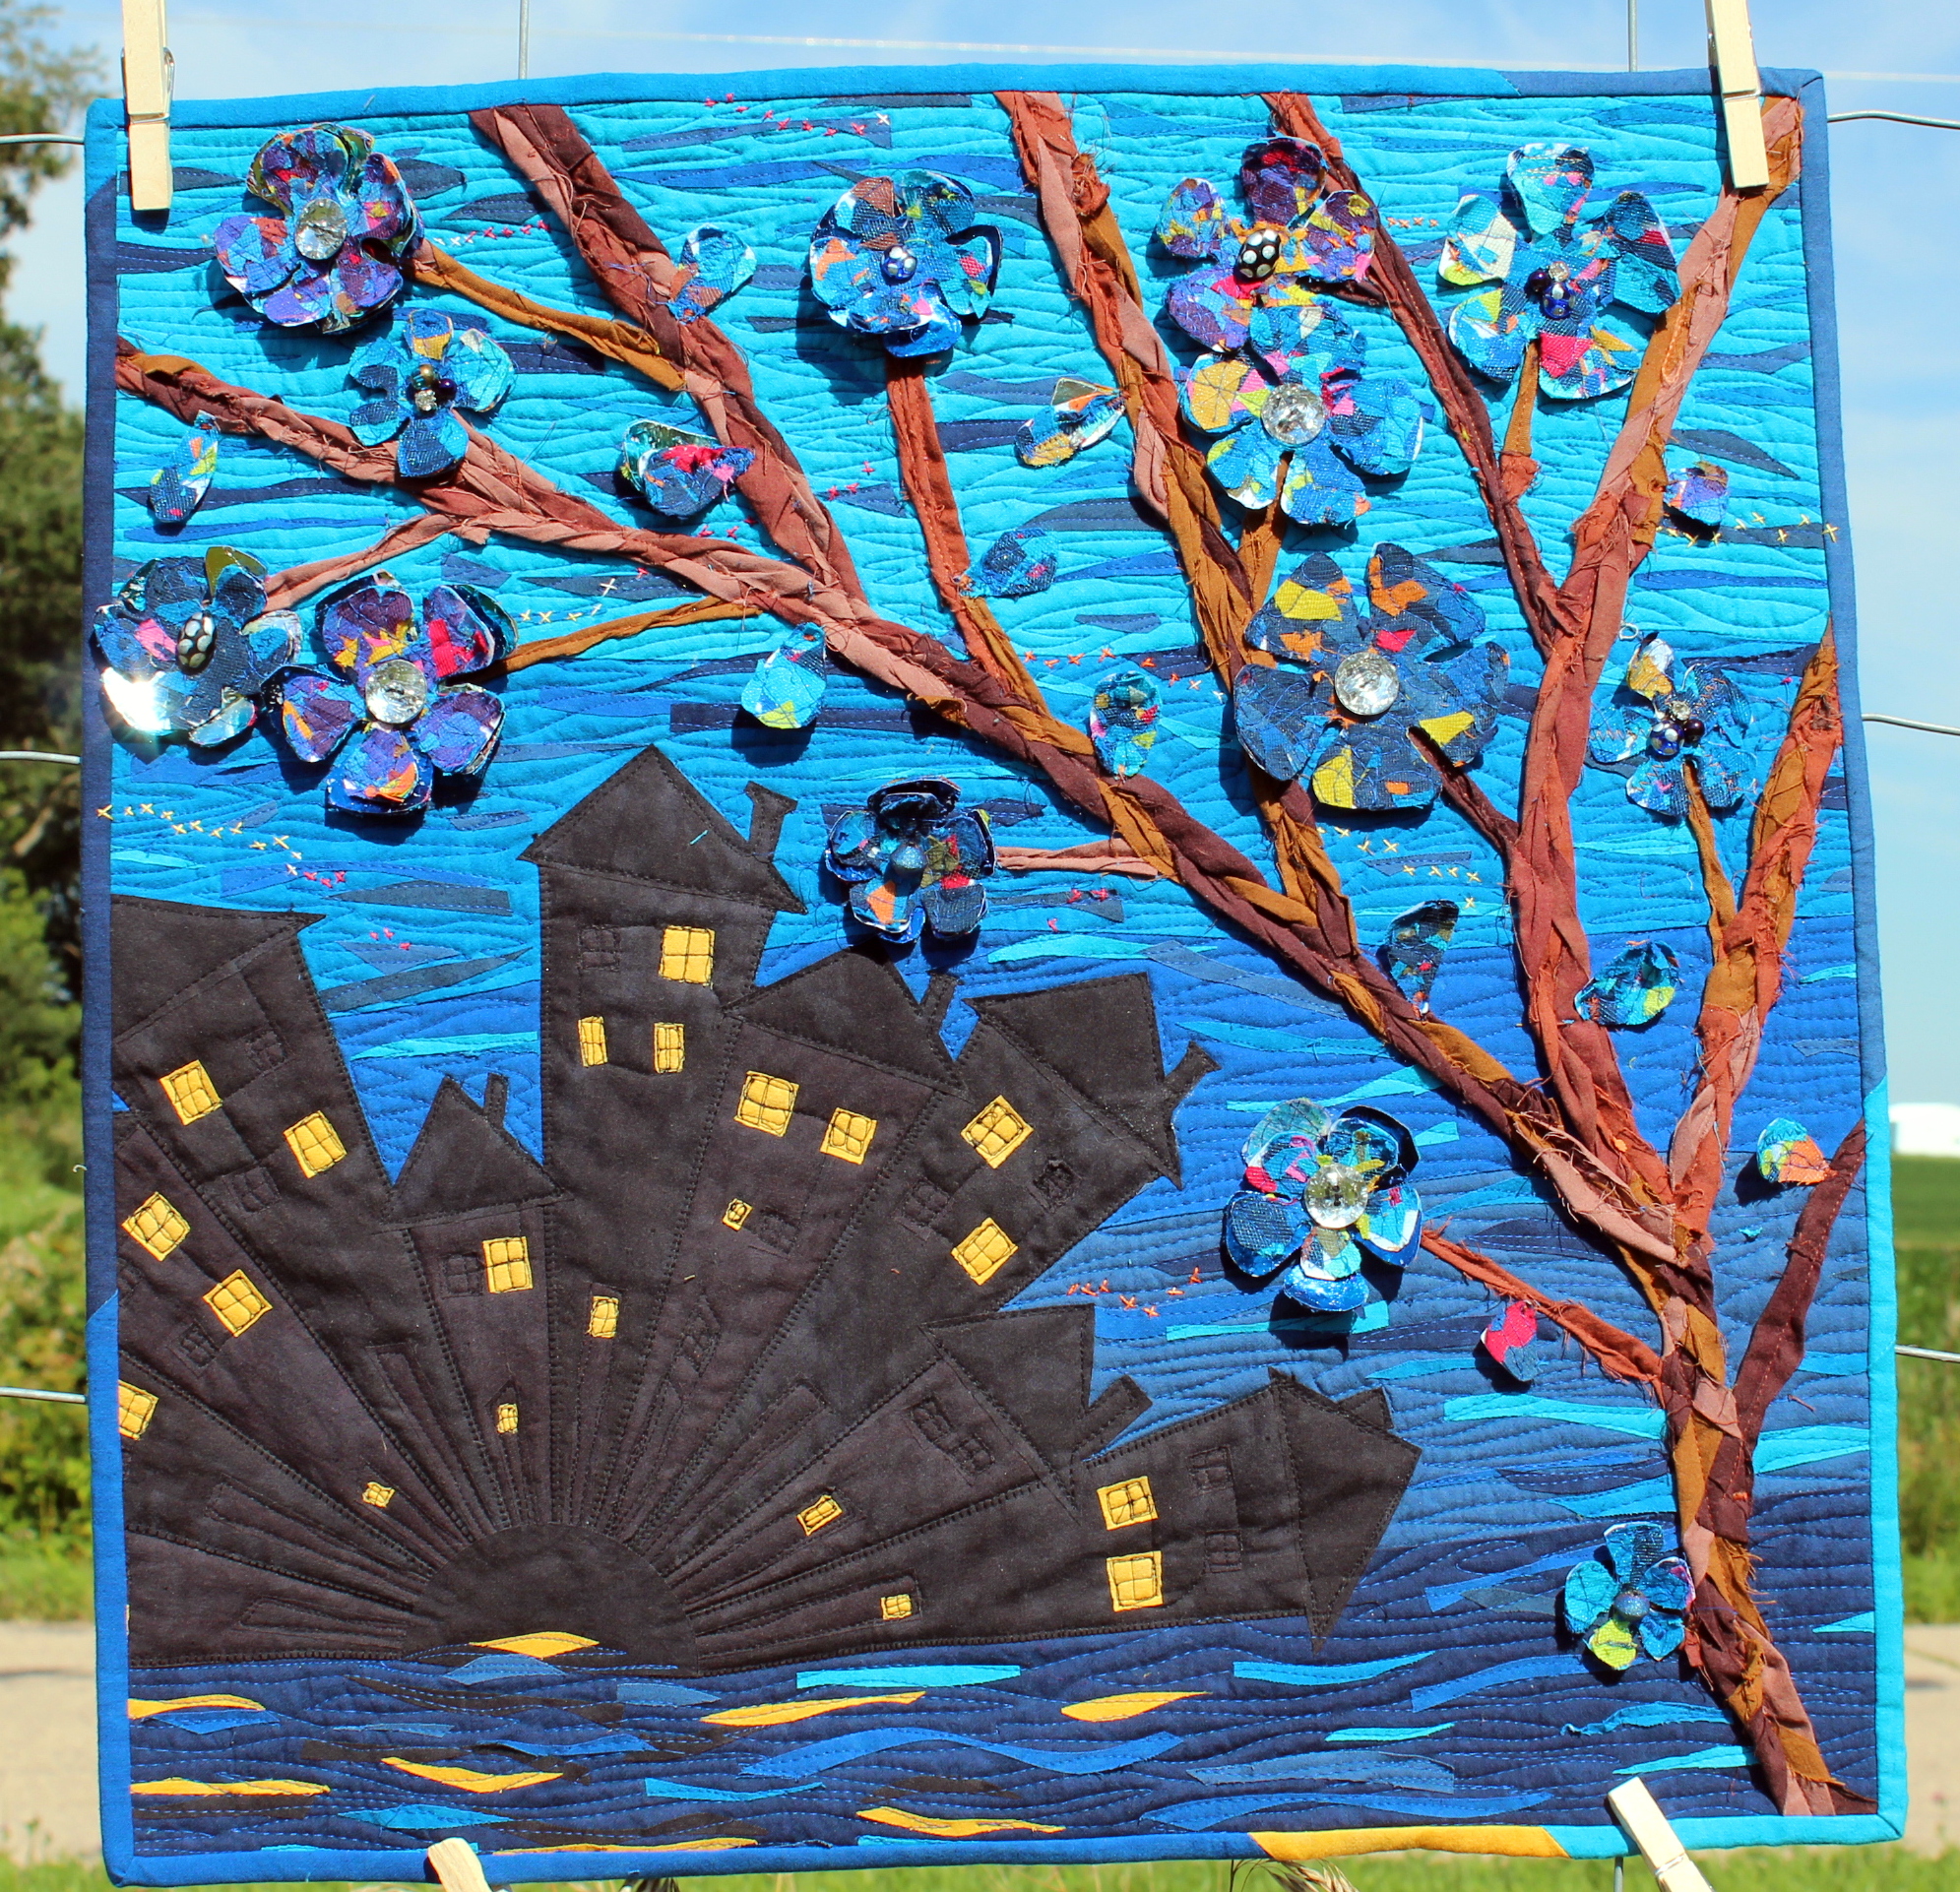
And this is what my final quilt “Night Blooms” looked like once I was done adding all the fun Confetti Blossoms. I hope this post help you figure out a new way/technique that you can use when you really want to make your next project pop!

