Creating cards is never more easy and beautiful when you work with our new Gina K™ Designs line. From beautiful preprinted Foil-Mates, to stunning colors of Fancy Foils…when you combine them together the outcome is simply lovely. Join us today as Designer Daniela Dobson shares how she uses our new products along with the addition of a free printable for you to foil to add some beautiful Deco Foil™ toner printed Flower accents.
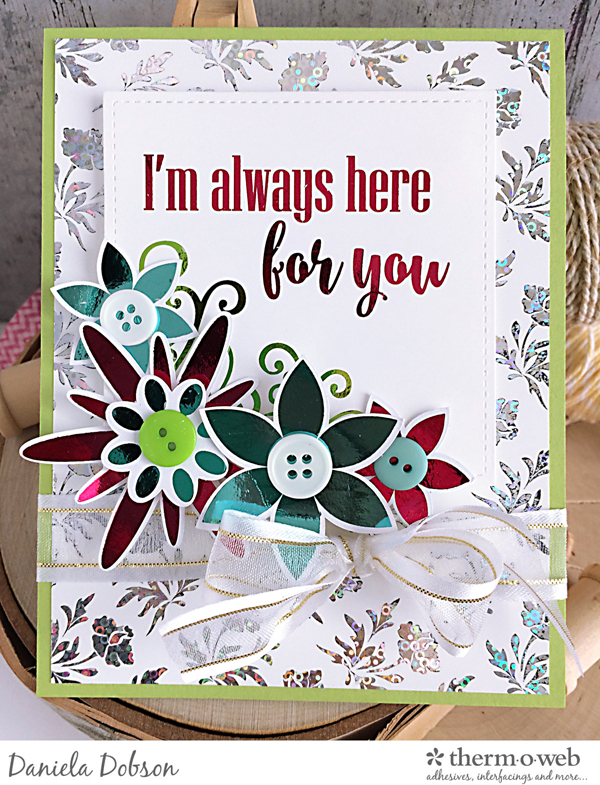
Create Beautiful Deco Foil Accents with Toner Printed Flowers by Daniela Dobson
Therm O Web supplies:
Sticky Tape Mini Runner™
Zots™ Small Adhesive Dots
12″ Foil Laminator
3D White Foam Squares Combo Pack
GINA K. DESIGNS PREMIUM CARDSTOCK 8.5″ X 11″• ISLAND DREAM
GINA K. DESIGNS FANCY FOILS™ 6″ X 8″ • PASSIONATE PINK
GINA K. DESIGNS FANCY FOILS™ 6″ X 8″ • GRASS GREEN
GINA K. DESIGNS FANCY FOILS™ 6″ X 8″ • TURQUOISE SEA
GINA K. DESIGNS FANCY FOILS™ 6″ X 8″ • SILVER SEQUINS
GINA K. DESIGNS FOIL-MATES™ BACKGROUNDS • ELEGANT FLORALS
GINA K. DESIGNS FOIL-MATES™ SENTIMENTS • TRUE FRIEND
GINA K. DESIGNS SHEER SATIN FANCY RIBBON 5/8″ X 10 YD • WHITE/GOLD
GINA K. DESIGNS (3) NESTED SQUARE DIES • SINGLE STITCH DESIGN • LARGE SET
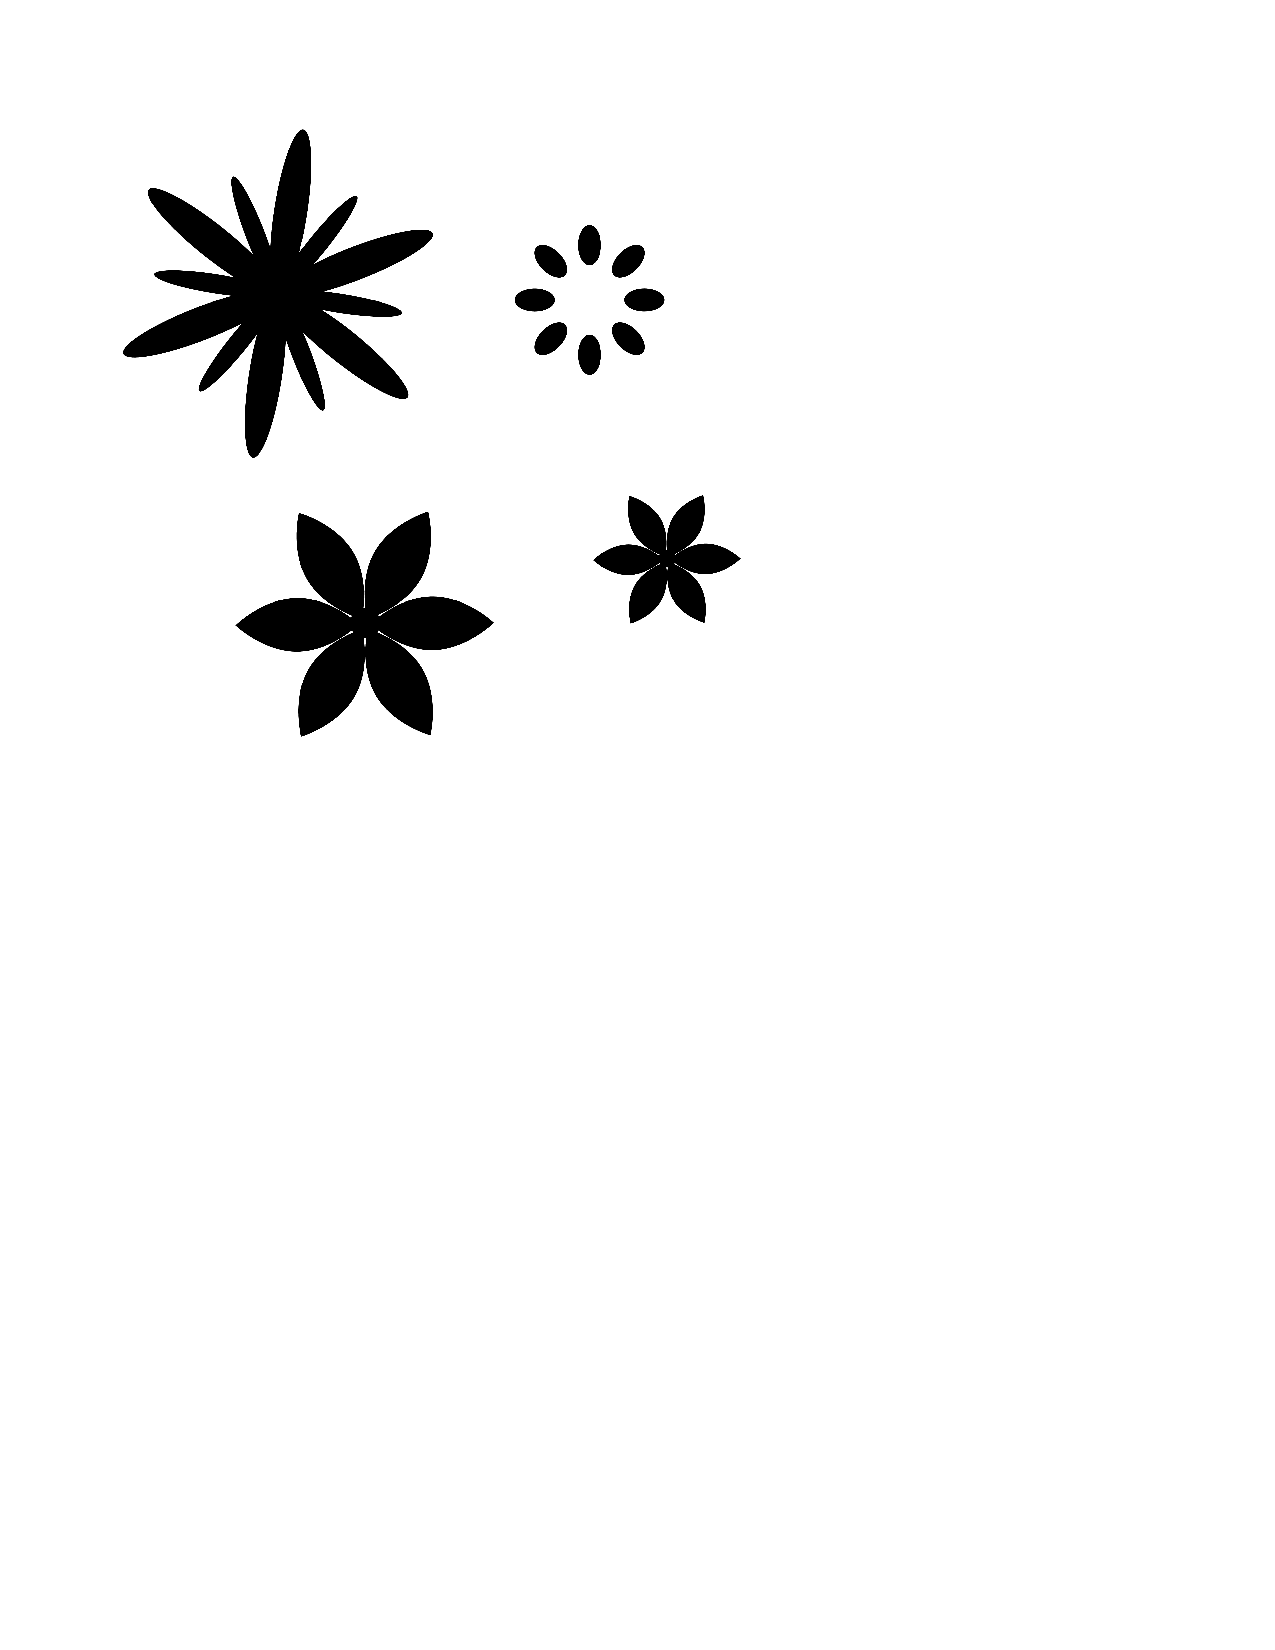
Flowers by Daniela Dobson png
Flowers by Daniela Dobson.studio
Deco Foil Card Instructions:
1. Turn on the Laminator.
2. Print and cut flowers using your printer and Silhouette Cameo, or print the file and fussy cut the images.
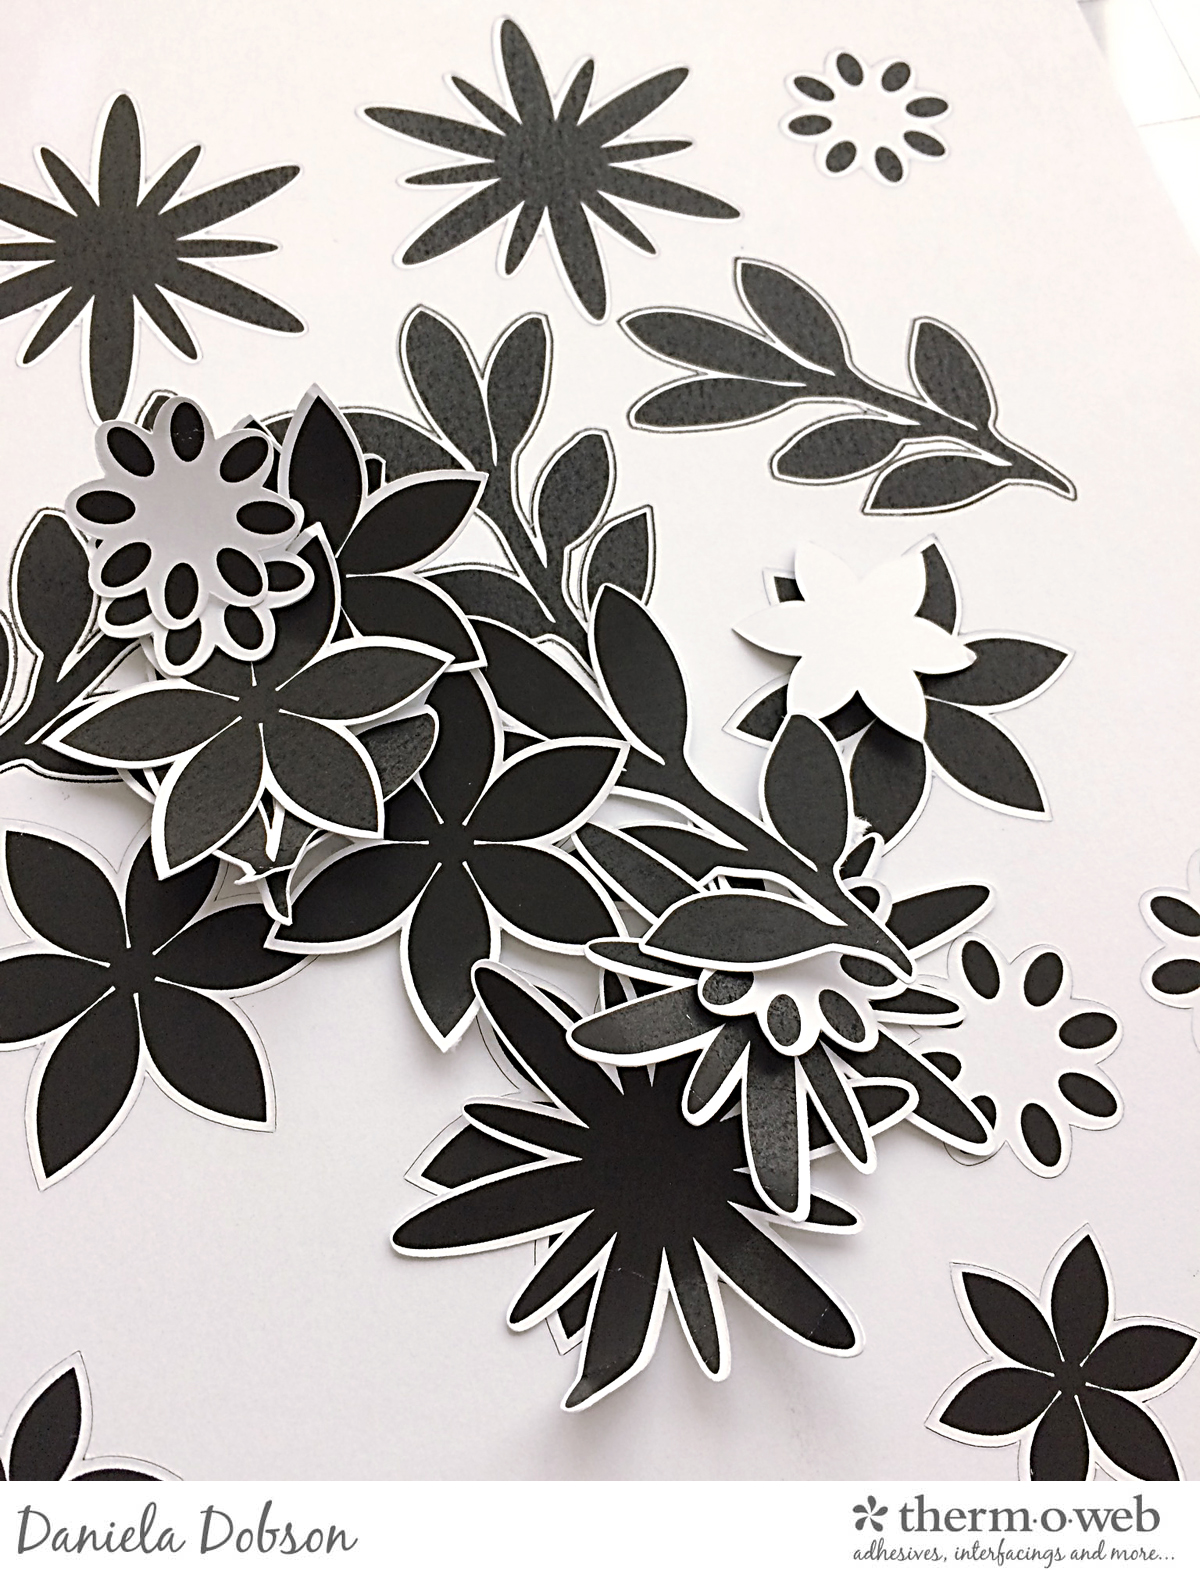
3. Make a card base from GINA K. DESIGNS PREMIUM CARDSTOCK 8.5″ X 11″• ISLAND DREAM.
4. Cut a piece of GINA K. DESIGNS FOIL-MATES™ BACKGROUNDS • ELEGANT FLORALS slightly smaller than the card front and run it through the laminator with GINA K. DESIGNS FANCY FOILS™ 6″ X 8″ • SILVER SEQUINS. Adhere to the card base using Sticky Tape Mini Runner™.
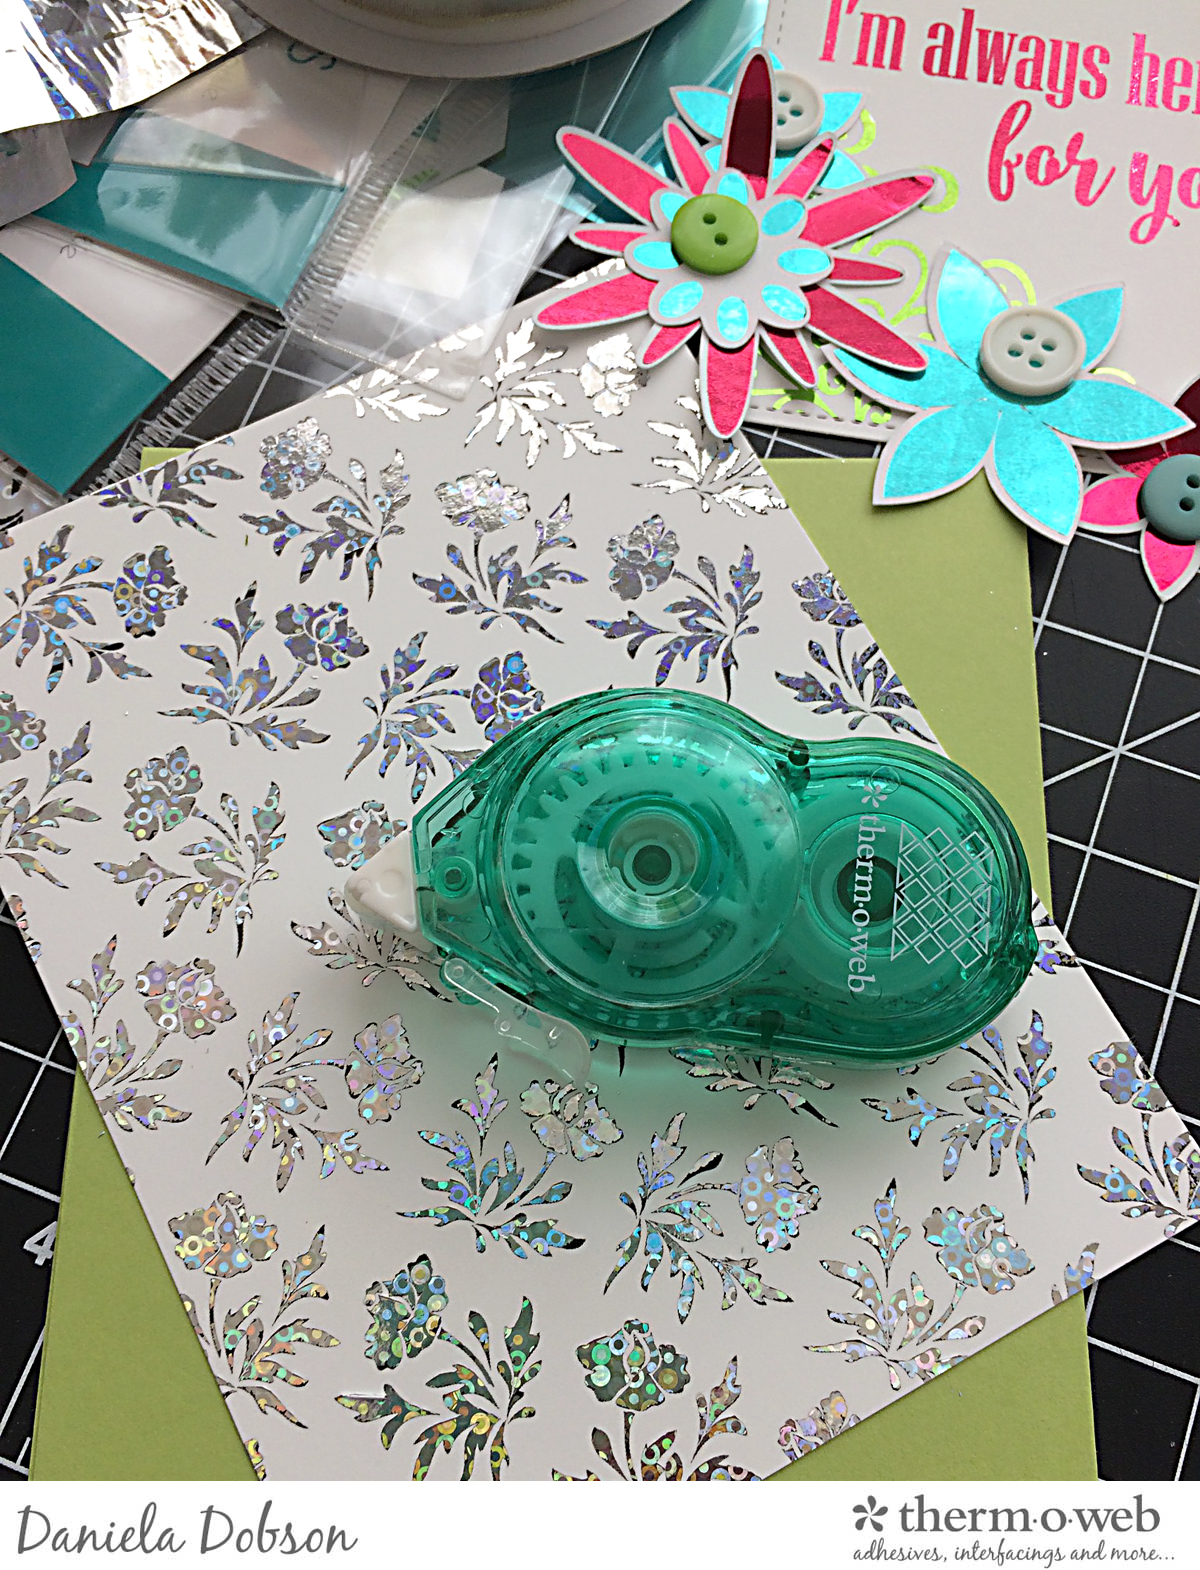
5. Die cut a sentiment of choice from GINA K. DESIGNS FOIL-MATES™ SENTIMENTS • TRUE FRIEND using GINA K. DESIGNS (3) NESTED SQUARE DIES • SINGLE STITCH DESIGN • LARGE SET. Run the die cut design through the laminator with two different colors. Adhere to the card front using 3D White Foam Squares Combo Pack.
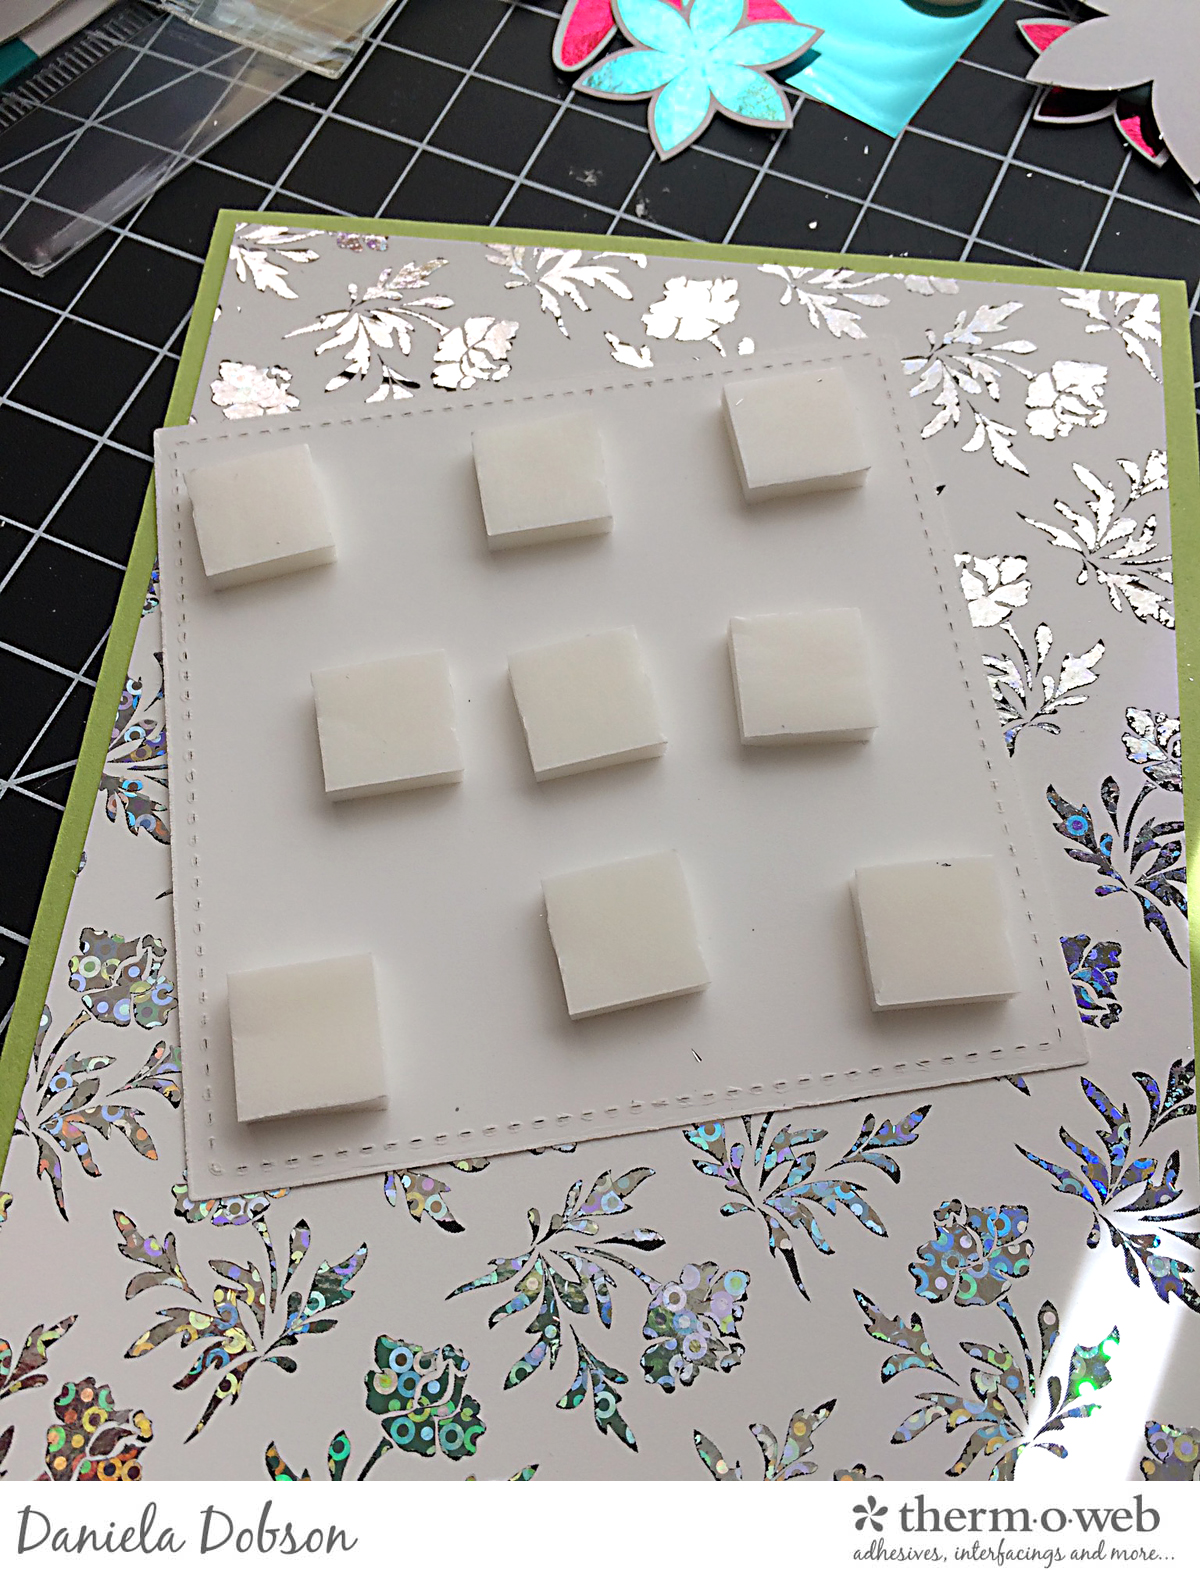
6. Run all the flowers with various color foils through the laminator. Adhere on the bottom edge of the die cut square as shown using 3D White Foam Squares Combo Pack and Zots™ Small Adhesive Dots.
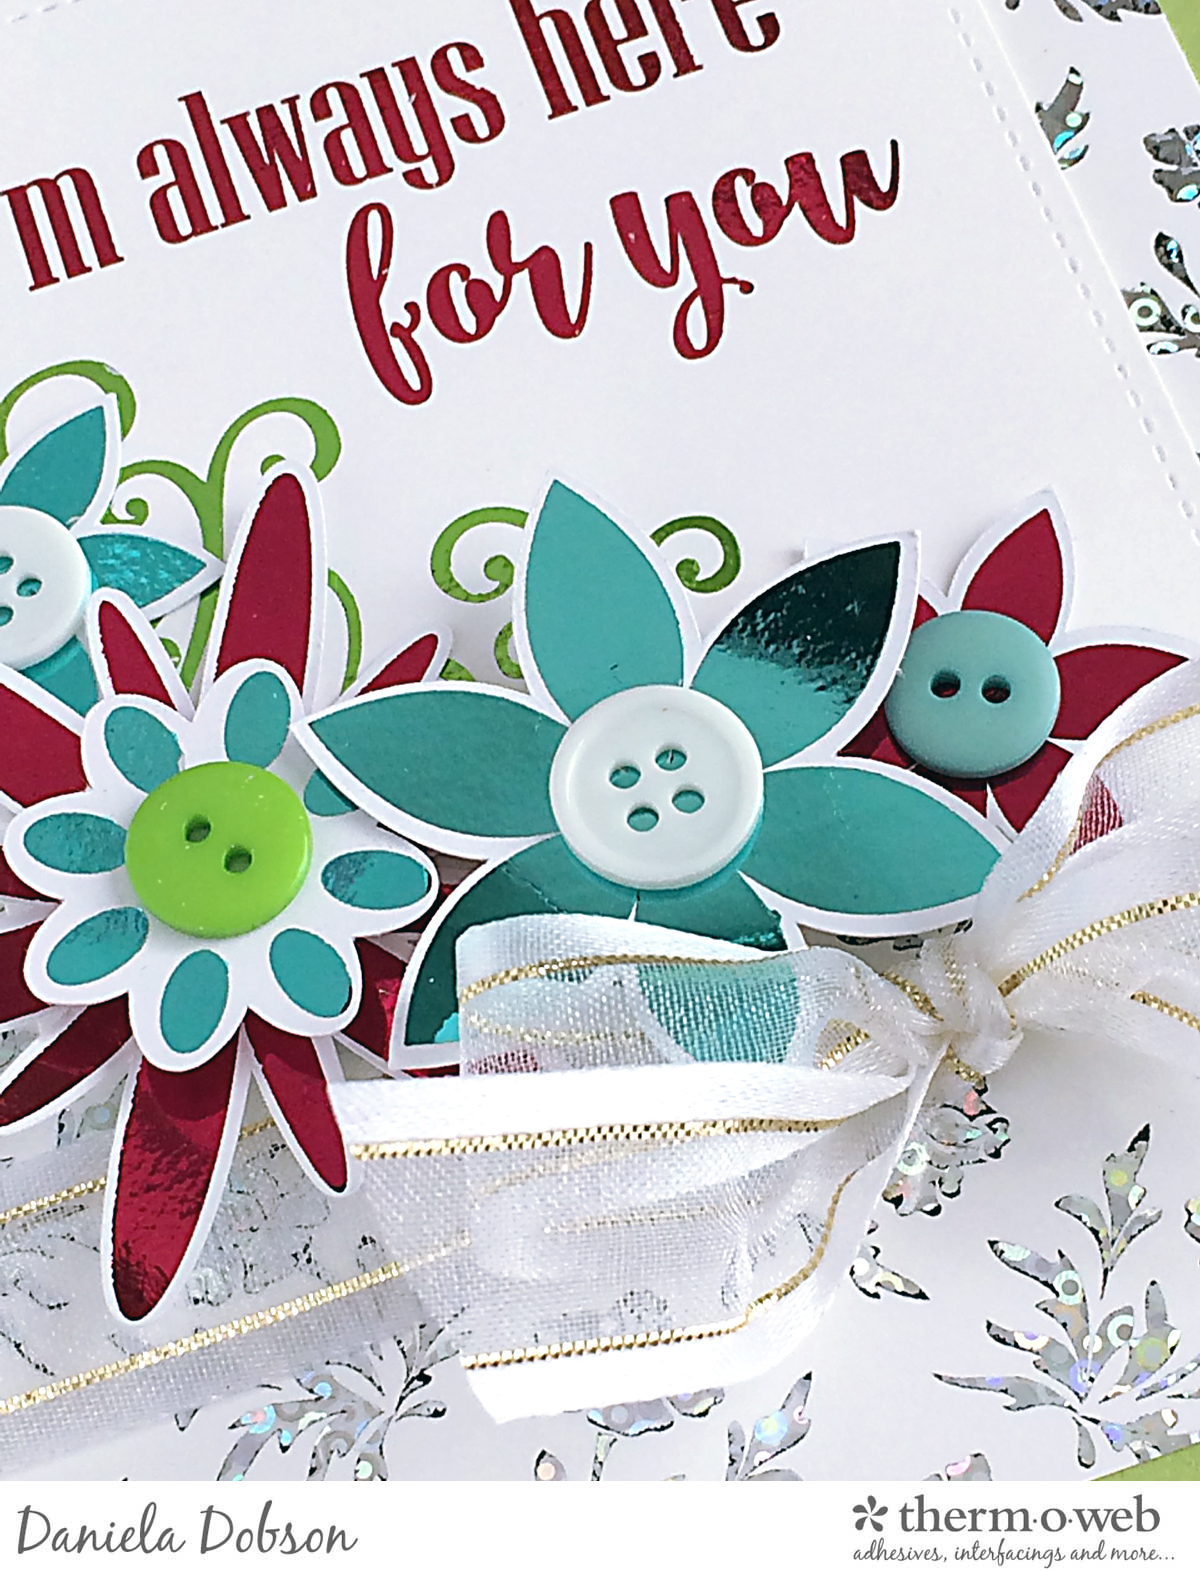
7. Add buttons with Zots™ Small Adhesive Dots and tie GINA K. DESIGNS SHEER SATIN FANCY RIBBON 5/8″ X 10 YD • WHITE/GOLD into a bow.

Doris
April 26, 2017 at 6:06 am (8 years ago)Do you have any foils that don’t require a laminator or machine like Cuttlebug?
admin
April 26, 2017 at 11:28 am (8 years ago)HI Doris! Thank you for your question…our foils always stay the same it’s the method of how you apply that changes. When working with our Deco Foil you can chose our Pen, Liquid or Foam Adhesive for options that do not require heat. Our Deco Foil Toner Sheets, PeelnStick Toner Sheets and Transfer Gel do require heat to set. Hope that helps!