


Hi there Therm O Web fans this is Jenifer here with you today to share this fun lap quilt I made from the Adelaide Collection from Dear Stella. It took me a while to decide what I wanted to do with this beautiful collection of fabrics and then I came across this free pattern from Art Gallery Fabrics.
I did make it a bit bigger by adding a 5″ border all the way around and with some of my cut off triangles I managed to make fun little pinwheels at the corners.
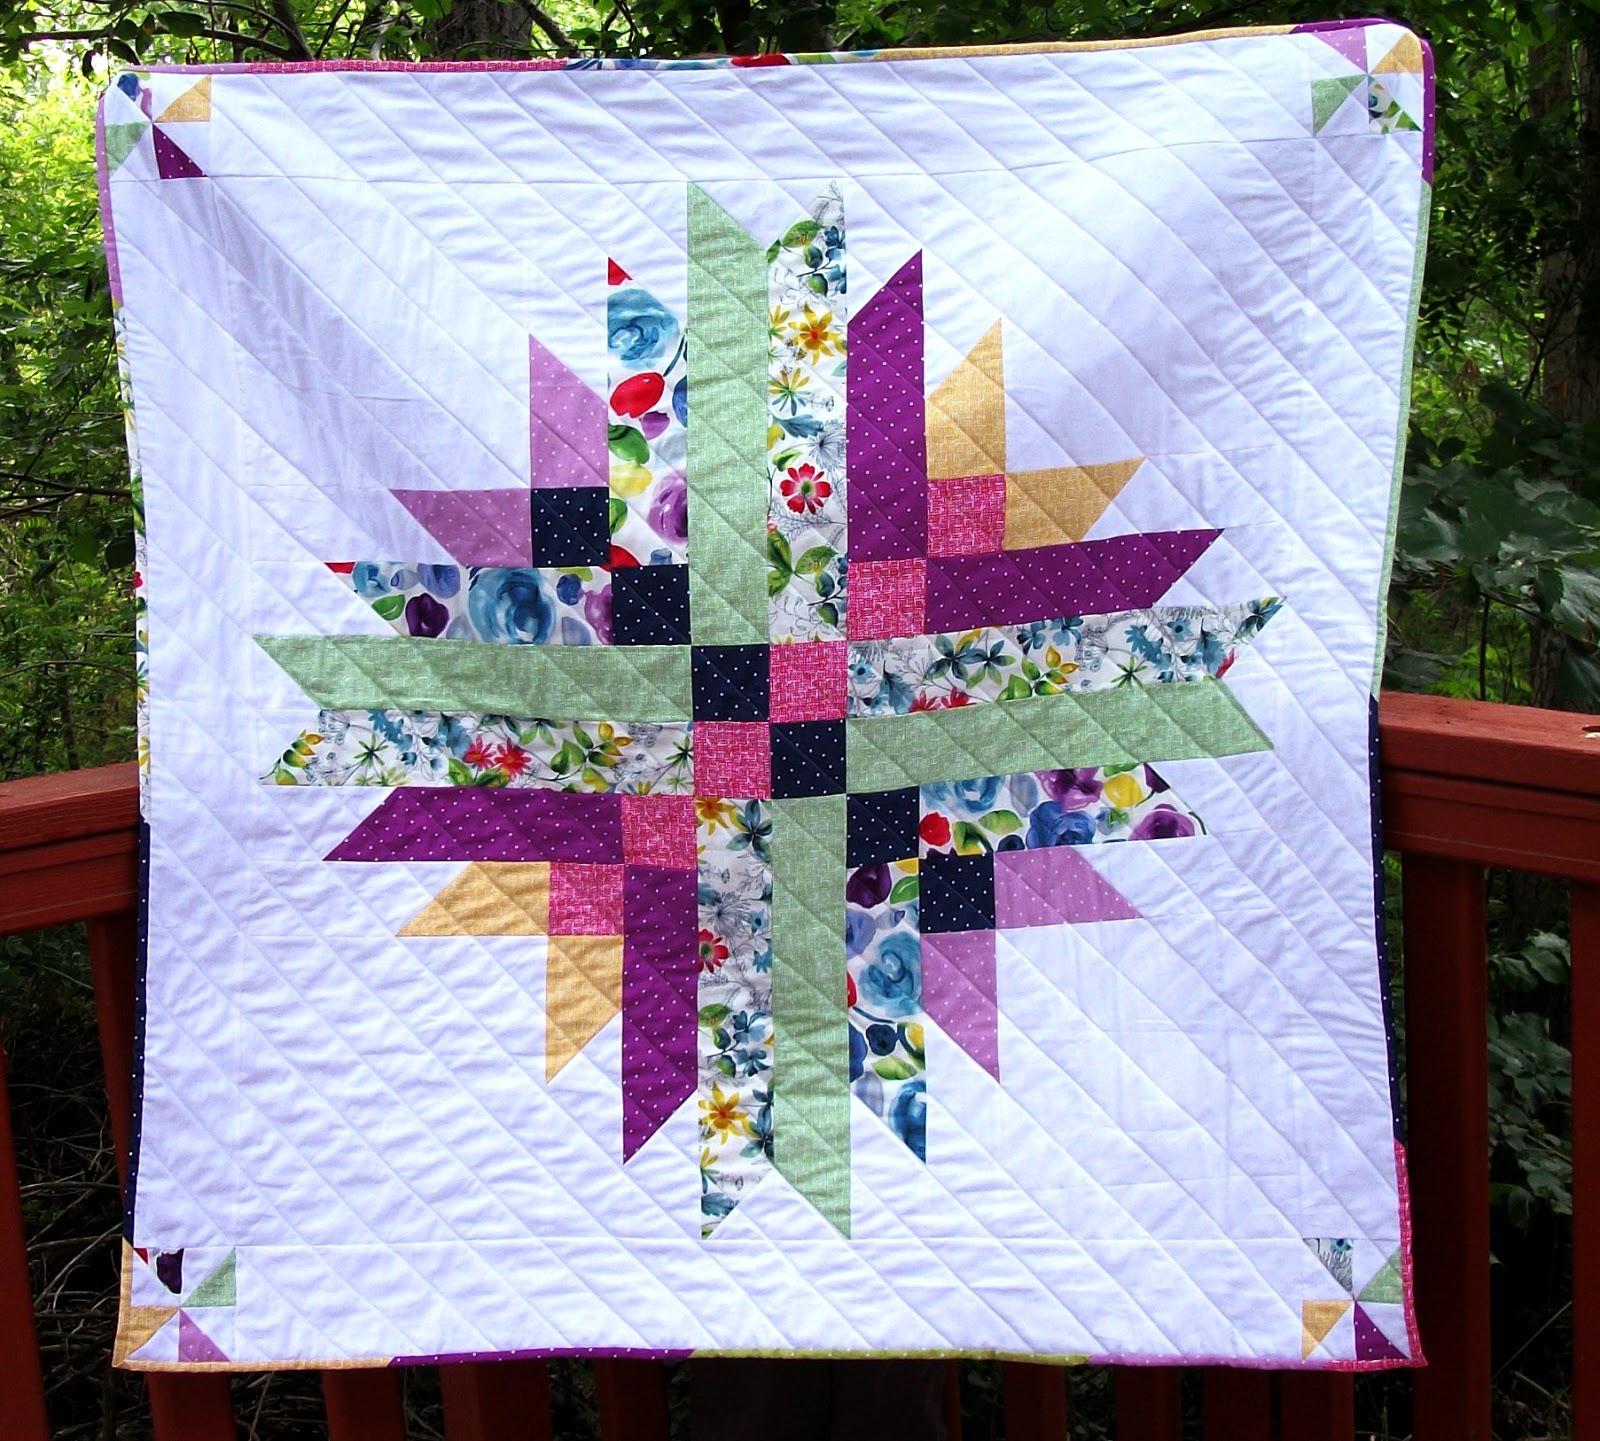
This quilt came together fairly quickly and with the minimal quilting that I did it was finished in no time. I used almost all of my fat quarter bundle, and I even managed to use it to make a scrappy binding. I love seeing the little pops of color from the back.

Here is some of the backing, I got this awesome black and white fabric from my local fabric store that was going out of business and with all of the discounts it ended up being $1.40 a yard, big score for me 🙂
One of my favorite things to use is StitchnSew™ Sew in Fleece it gives my light weight quilts just the right amount of stuffing on those not to chilly days. When putting all of the layers together a quick spray with the SpraynBond® Basting Spray and I don’t have to worry about shifting.

Tutorial for adding a quilt label to your quilt using EZ print Transfer Sheets.

Gather your supplies, Ez Print Transfer sheets, a piece of quilting cotton that to use for your label, pins and a pair of scissors or rotary cutter.
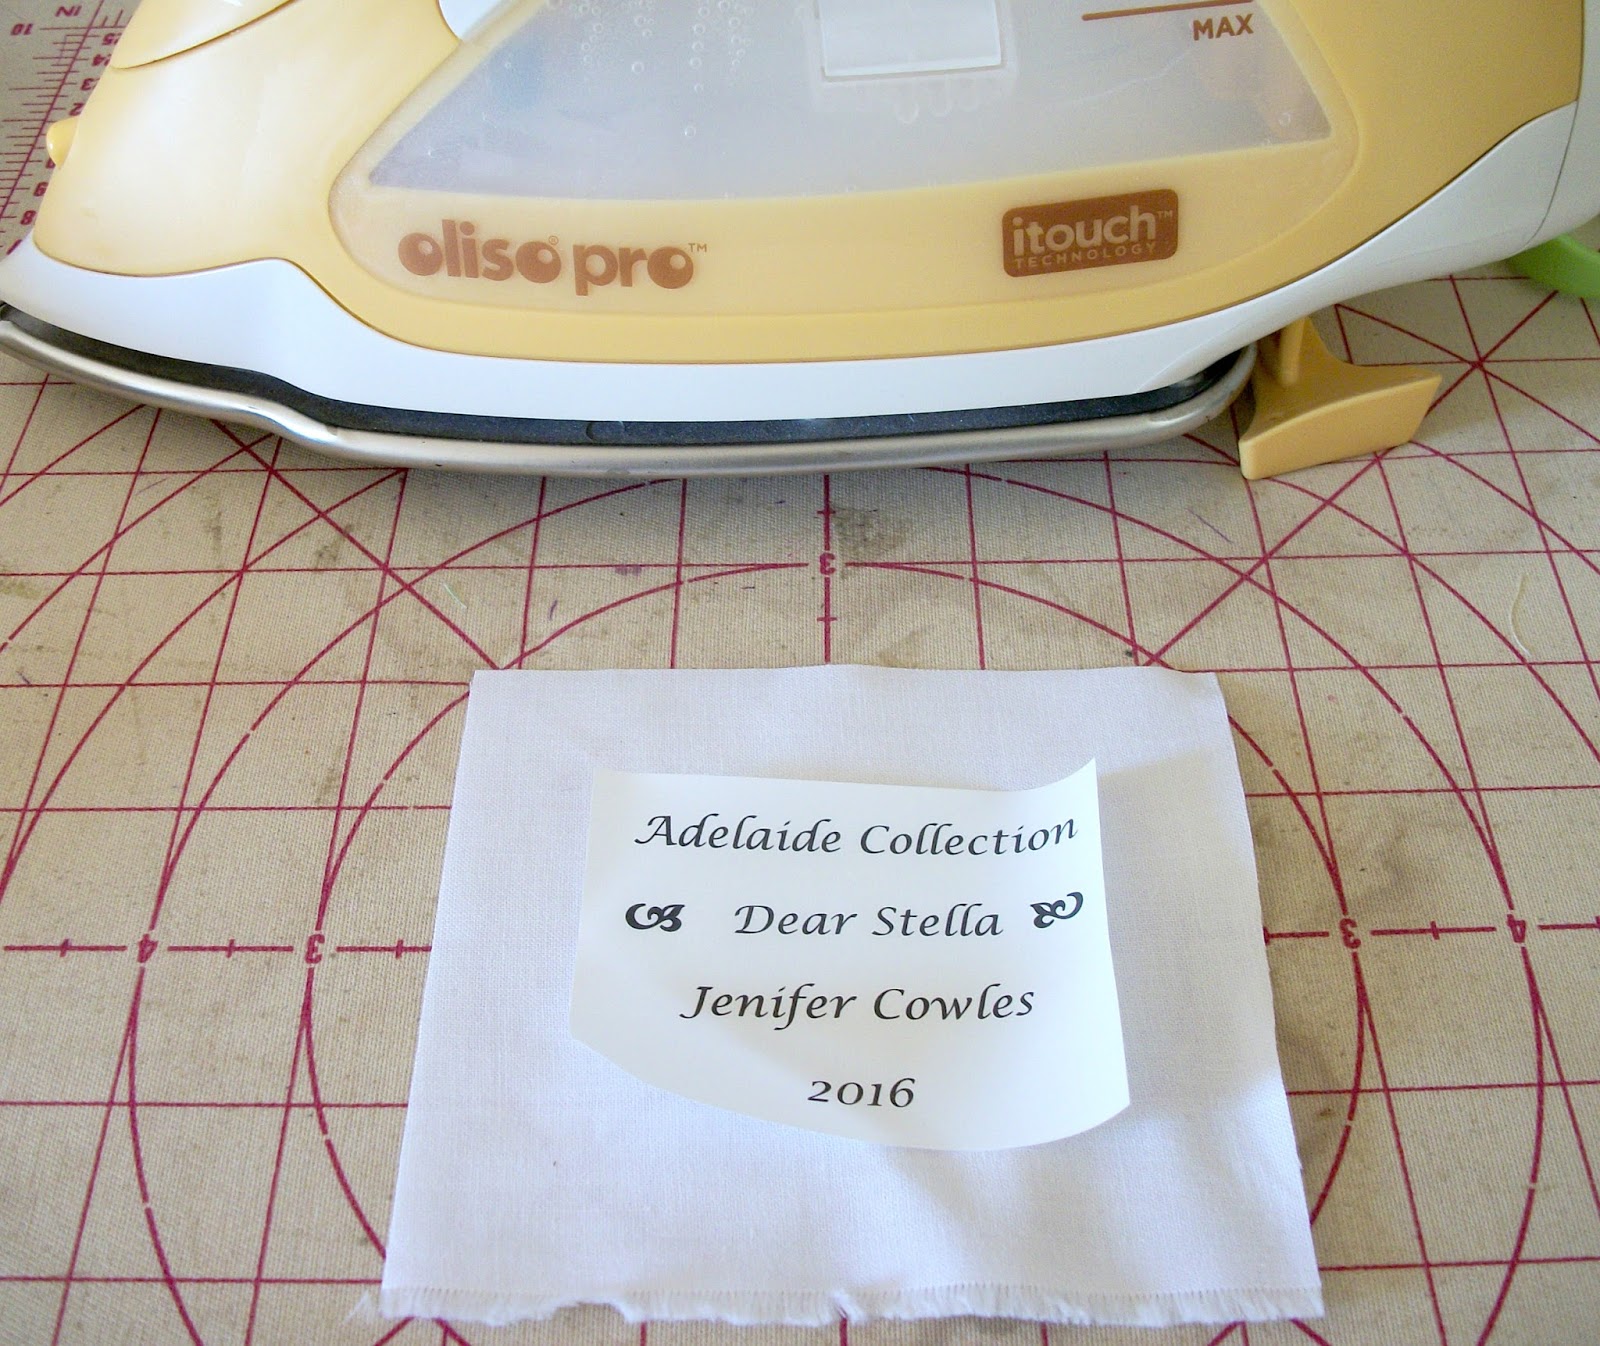
Step 1: Print desired label or image using an inkjet printer.
Peel off the paper backing and place on fabric.

Step 2: Iron image onto the fabric with a piece of parchment between the iron and the fabric.
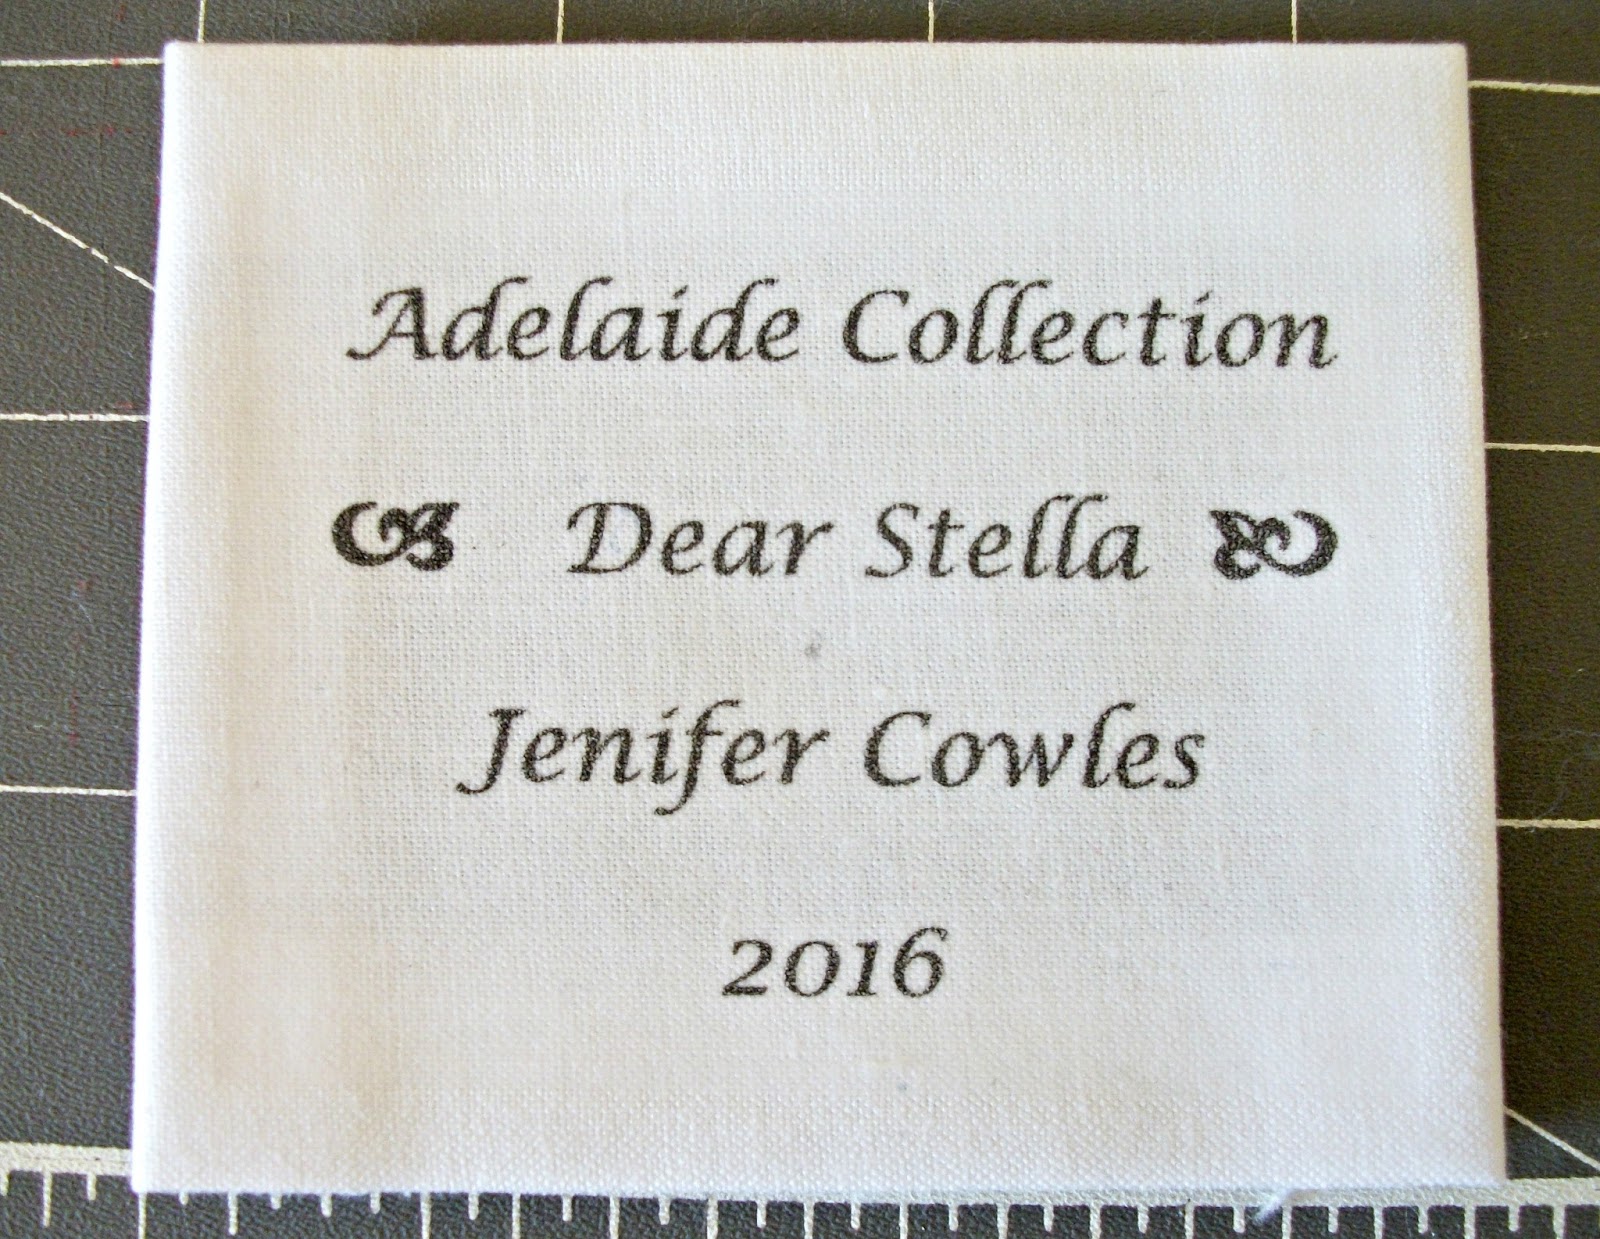
Step 3: Iron carefully around your edges 1/4″ to 1/2″ so you have nice finished edges.
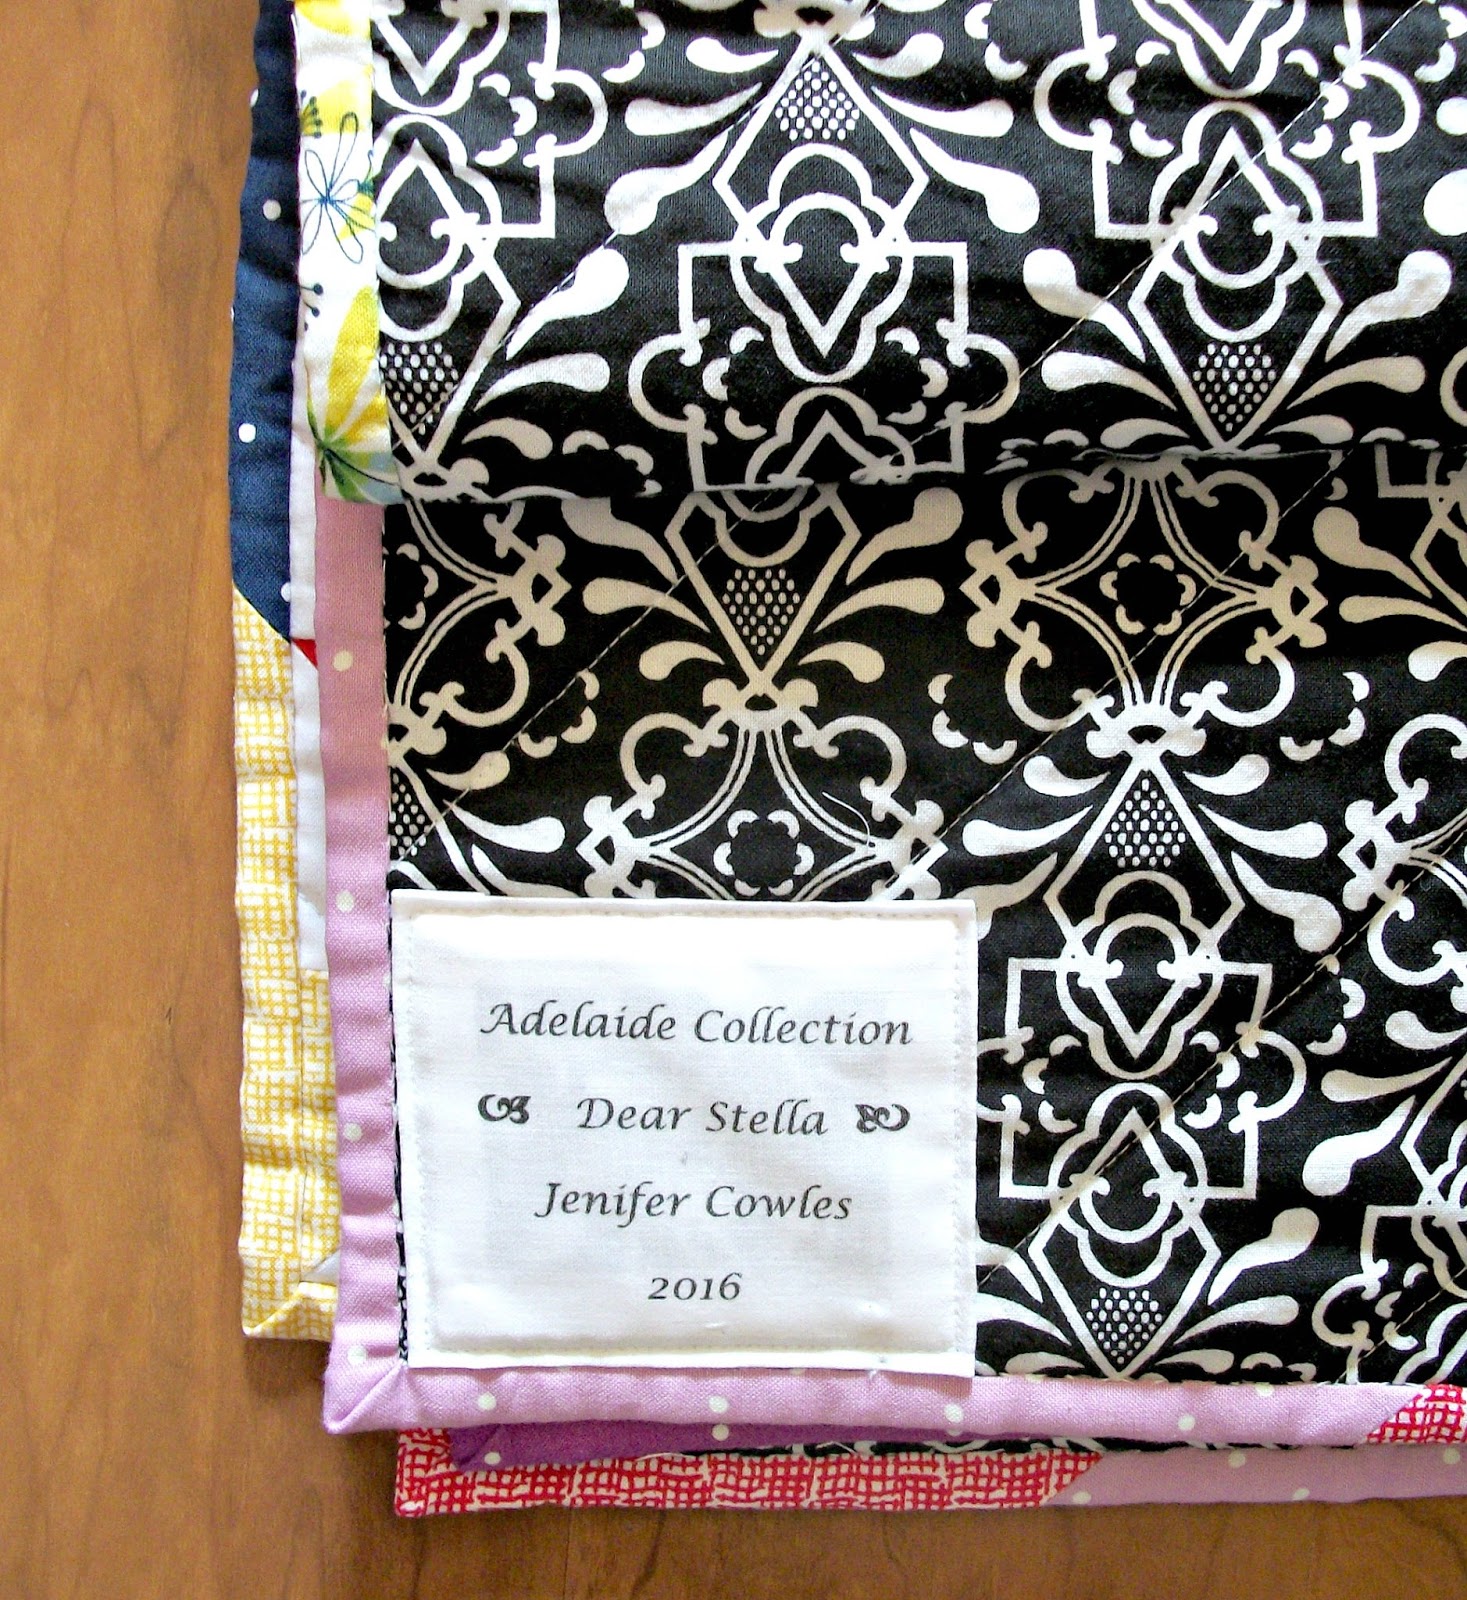
Step 4: Sew your new custom label to the back of your quilt.
Therm O Web products used: