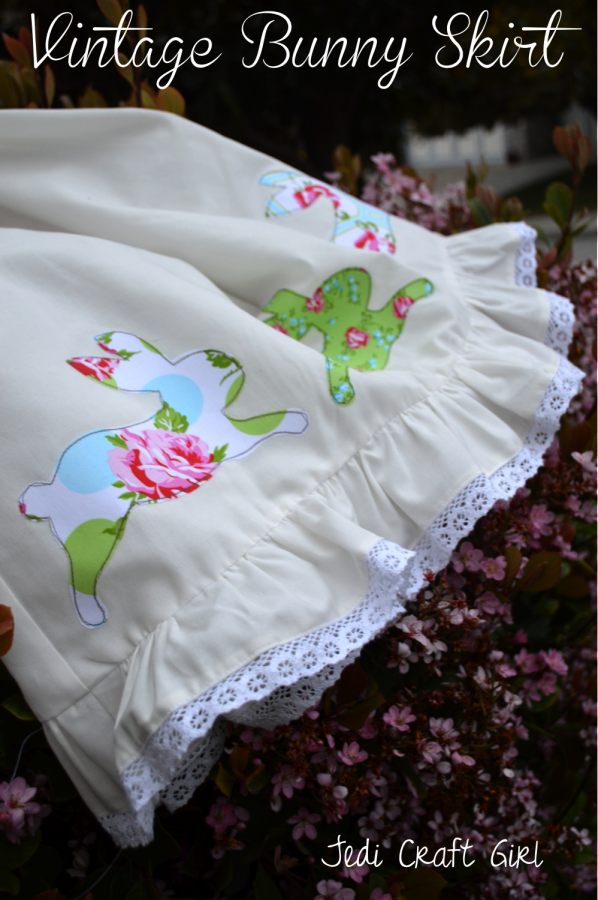
I can’t get enough of rabbits during spring! I was so thrilled to find this Sizzix Die of a rabbit. I have been appliquéing rabbits on EVERYTHING! (Click HERE for my Bunny Quilt.) 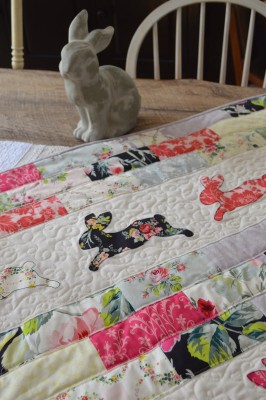
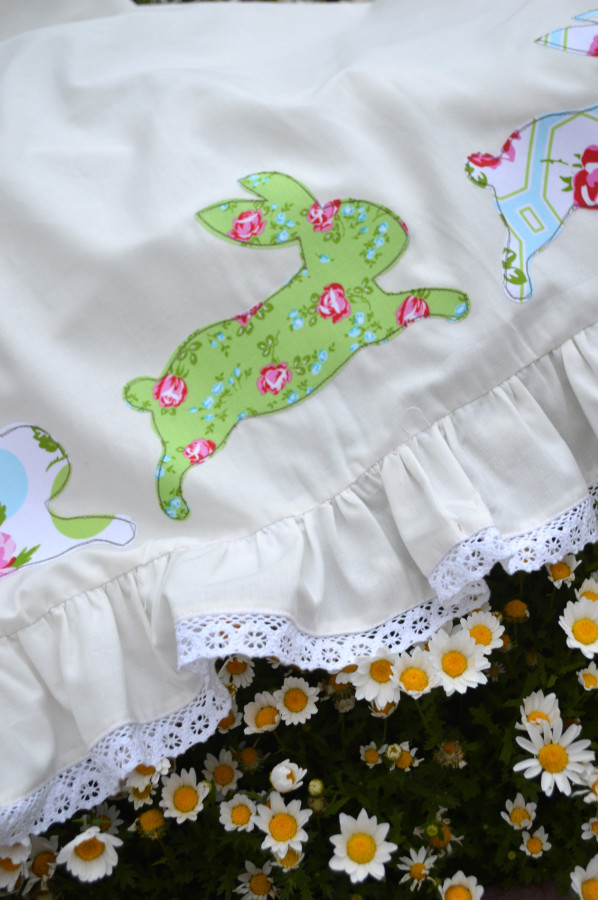
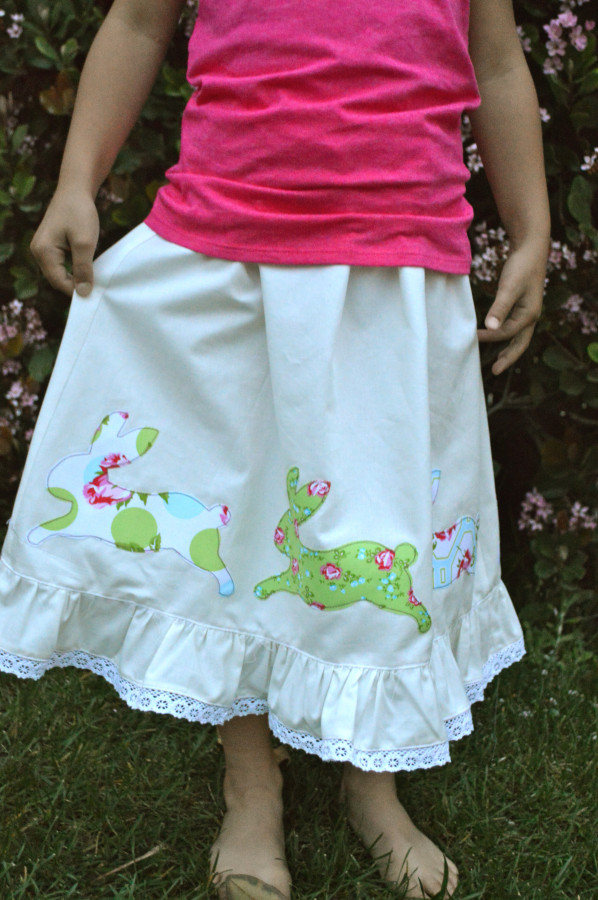
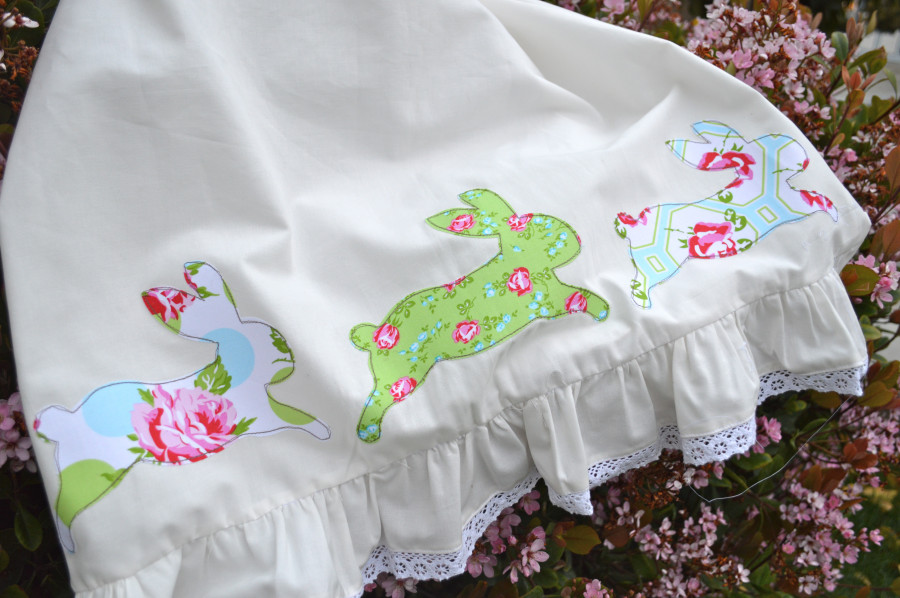
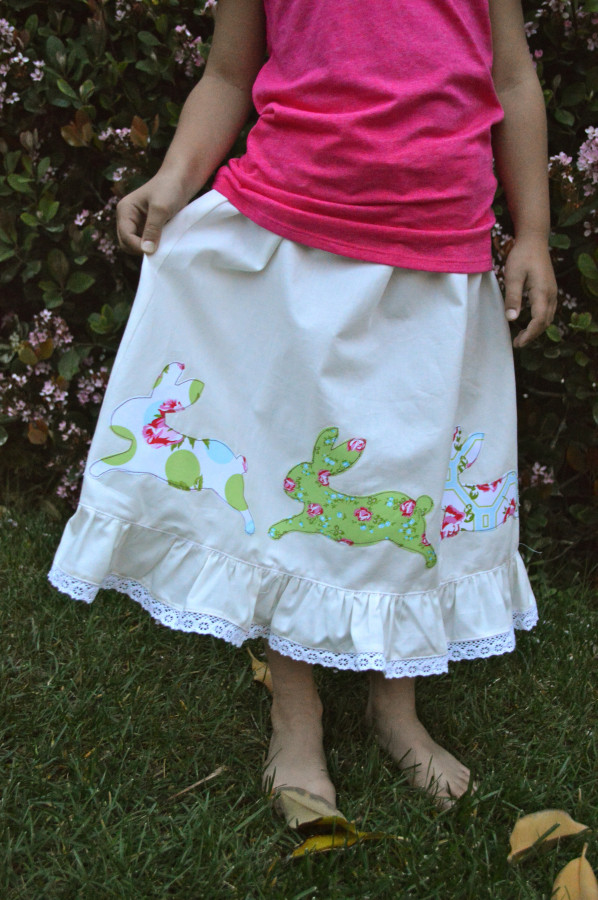
I knew my daughter needed a bunny skirt. The off-white fabric teamed with the darling fabric prints and the crochet lace makes for a vintage feel! You can whip up one in about an hour!
Supplies:
1 yard white or off white cotton fabric
assorted fat quarters for bunnies
Heat n Bond® Lite
3 yards lace
3/4″ elastic
Sizzix Bunny Die Cut
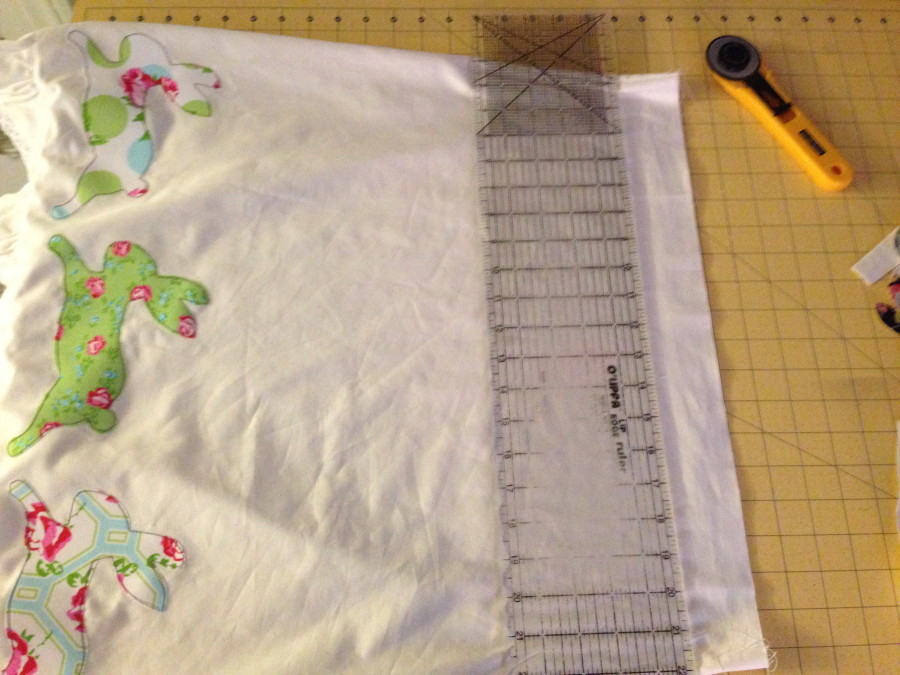
Cut the white fabric (2) 26″ x 21″
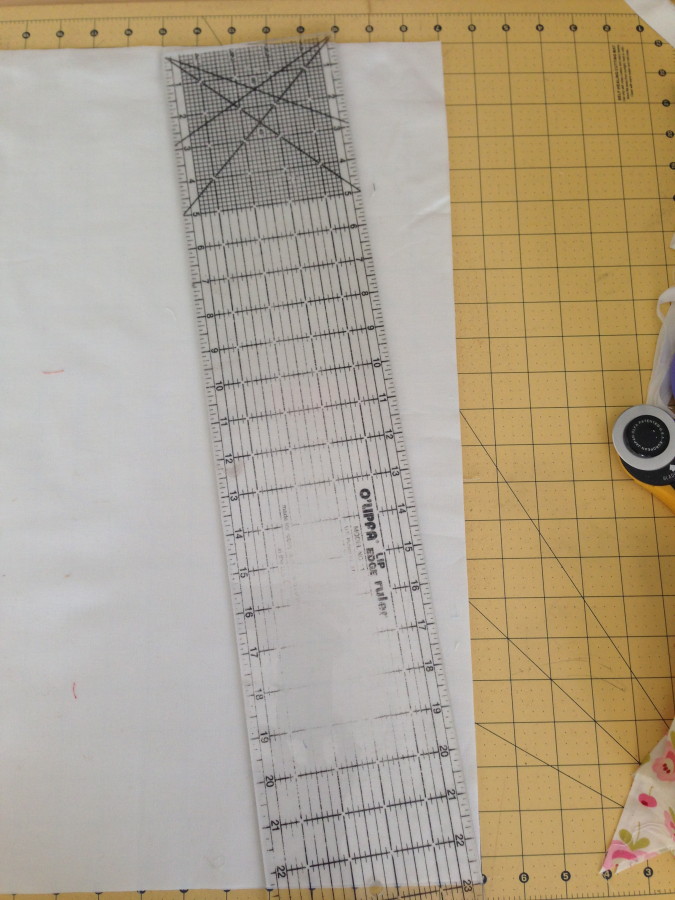
Angle your cutting ruler so it goes in 3″ at the top (below). Cut both sides like this. It will allow the skirt to have slightly less bulk at the top.
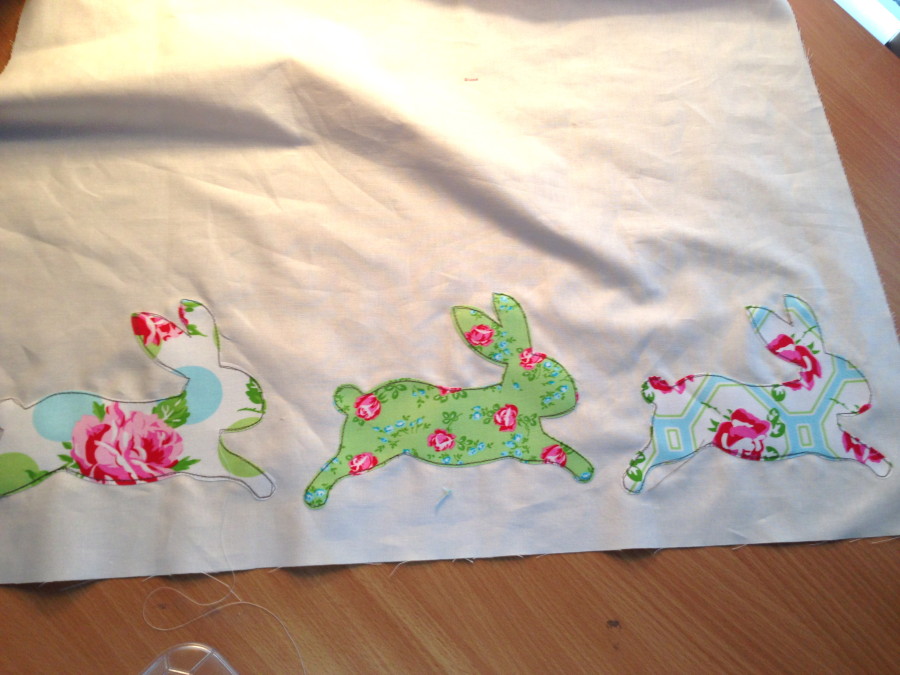
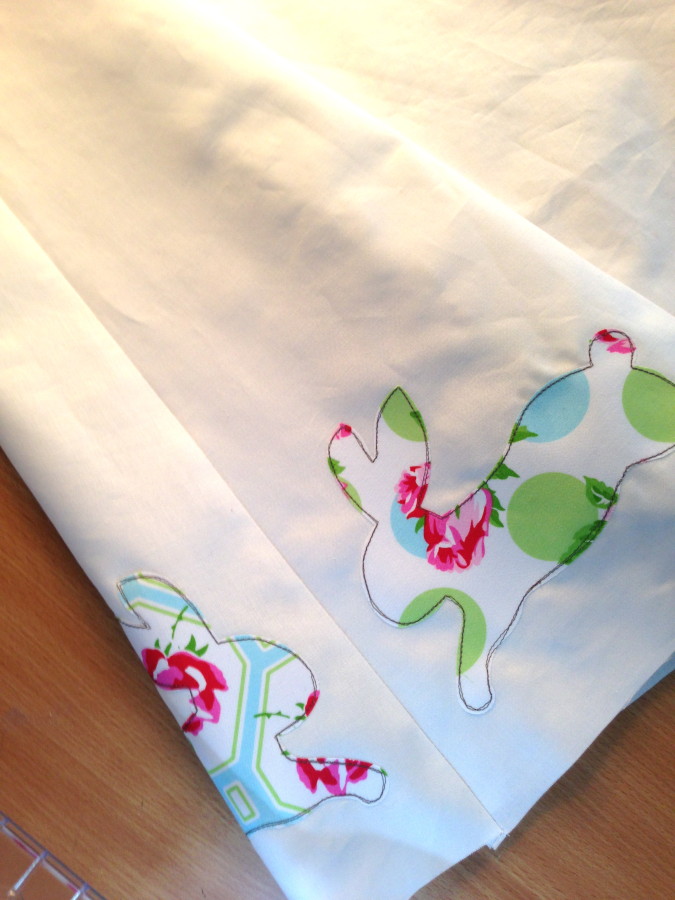
Fuse the Heat n Bond® Lite to the wrong side of the bunny fabrics. Run through the Sizzix machine to cut out the bunnies. Place bunnies along the bottom of the 2 skirt pieces. The back bunnies go the opposite way. Iron into place and straight stitch around the bunnies.
Place right sides together and sew the skirt along the side seams using a generous 1/4″ seam. Zig zag edges and press to one side.
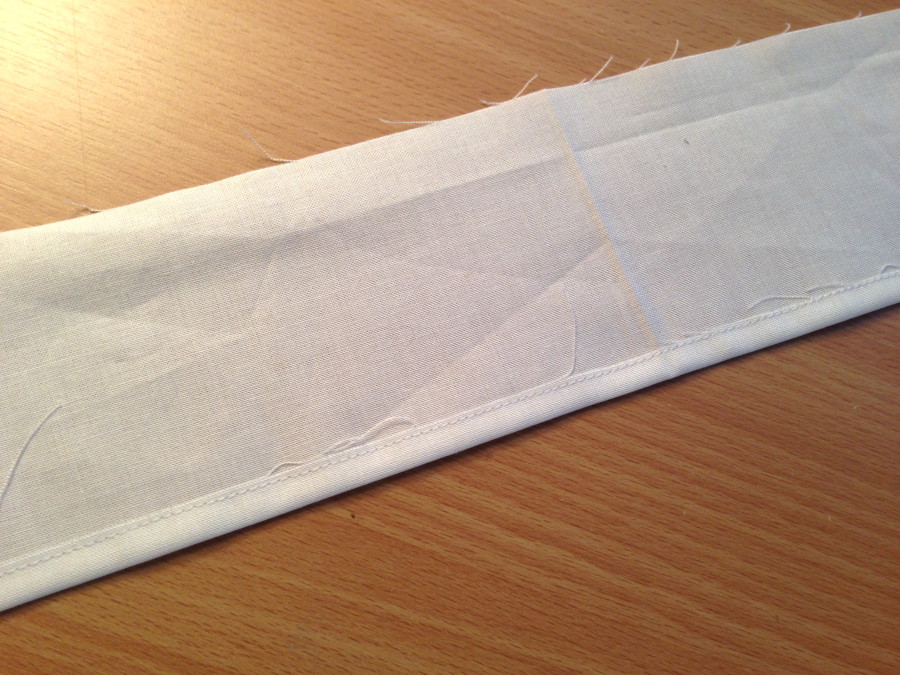
For the ruffle, cut (2) strips of white fabric 3.5″ x WOF. Sew together at side seams, press. Fold the bottom edge of the ruffle 1/4″ and sew into place.
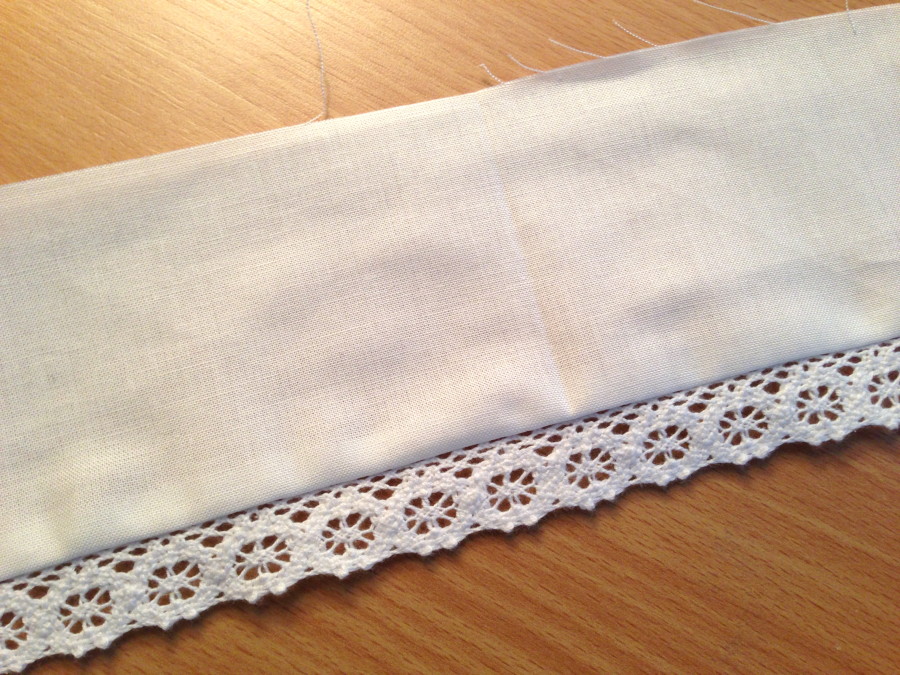
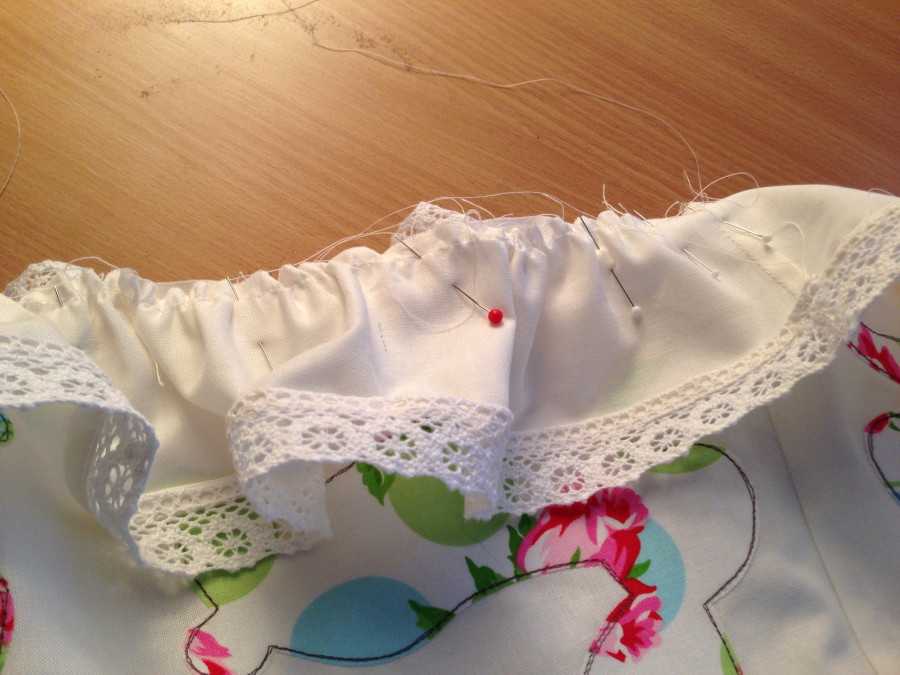
Align lace along side the seam and sew lace into place using 1/4″ seam.
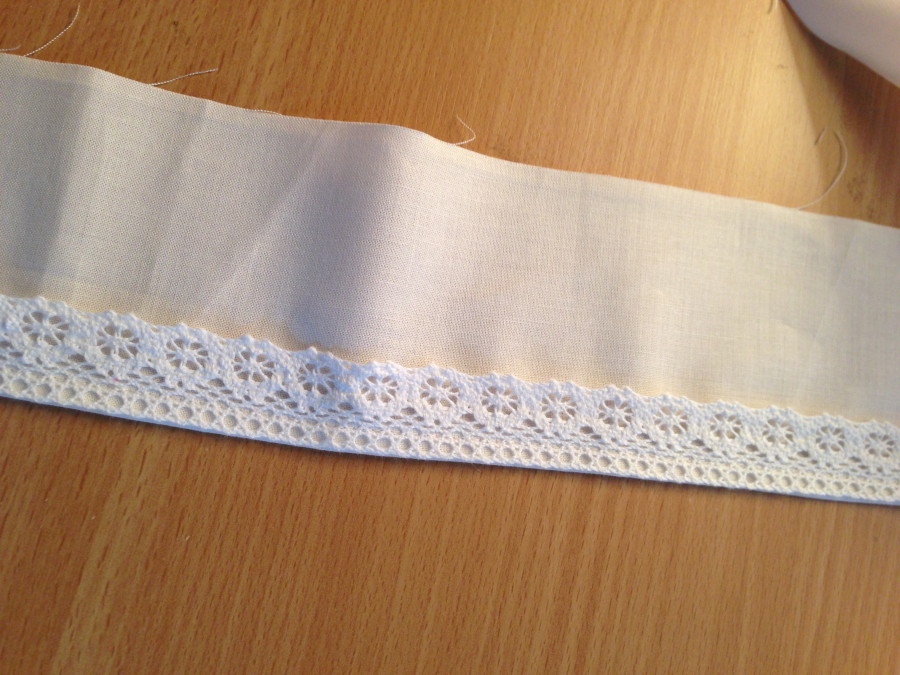
This is how it should look on the back once the lace is folded down and pressed.
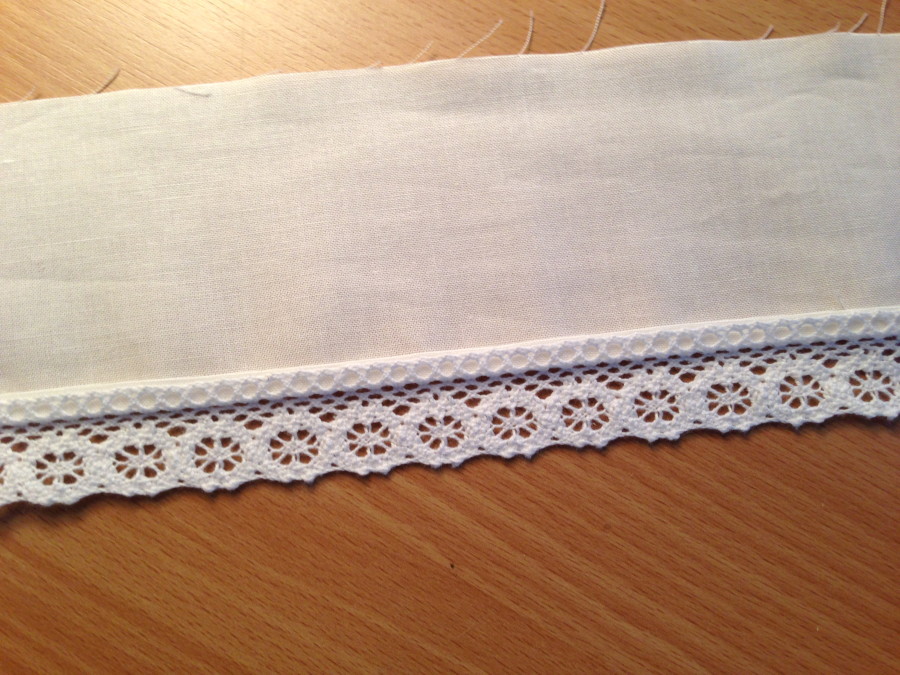
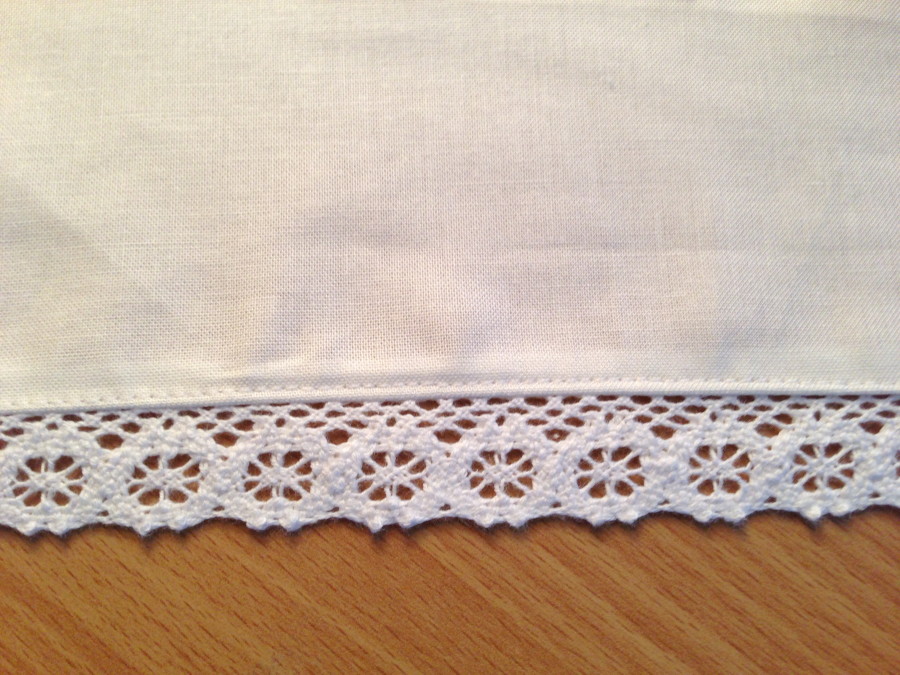
This is how the front looks. Press. Top-stitch next to the lace to hold in place.
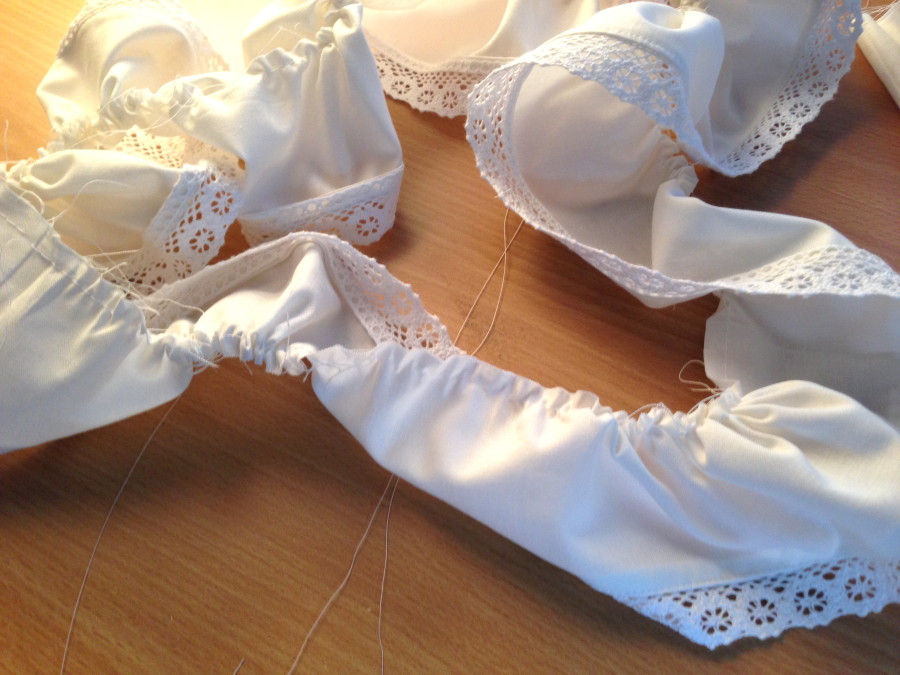
Sew a 1/4″ gathering stitch along the top edge of the ruffle. Pull up threads to gather.
Align side seams of skirt with side seams of ruffle, right sides together, and pin. Distribute the ruffles evenly along the hem of the skirt. Pin in place. Sew along gathering stitch. Zig zag raw edges. Press ruffle in place and top-stitch.
Use this point in the skirt making process to check the length of your skirt with respect to the child who will be wearing it. I decided to cut 2 inches off the top.
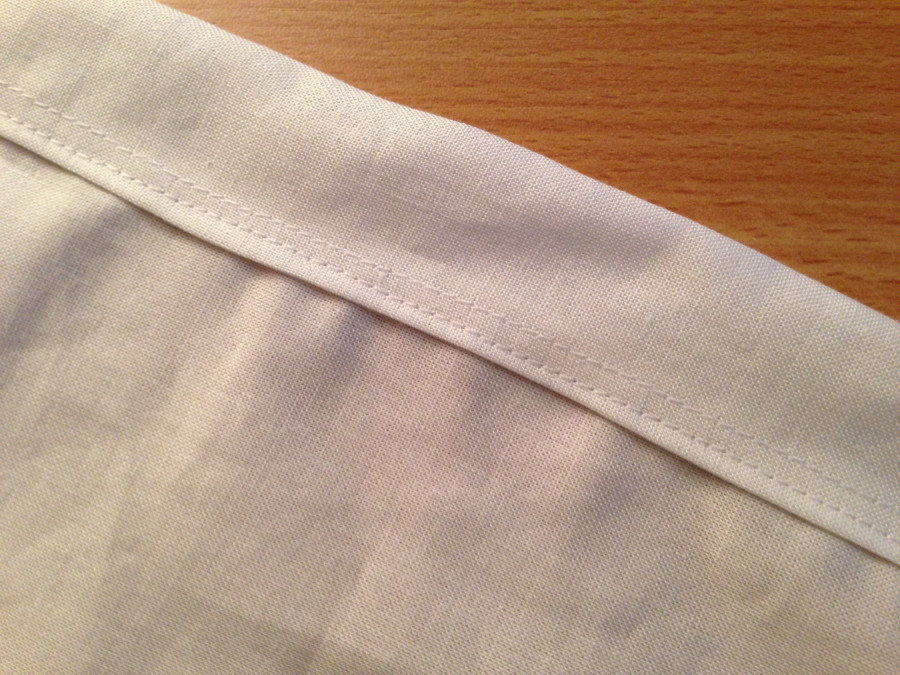
Fold the top raw edge 1/4″ and sew into place. Then fold again, only 1″ and sew along the fold as pictured below. This will form the casing for the elastic. Leave about 2″ open to thread the elastic. Put a safety pin in the end of the elastic and fish the elastic through the casing. Measure the waist to the child and cut elastic accordingly. Sew elastic ends together and tuck into the casing. Top-stitch casing closed.
I ran out of time, but there will be a matching bunny shirt coming soon!!!
Join us as we continue celebrating National Craft Month! That means savings for you and chances to win prizes from some of your favorite companies and your favorite products of ours all month long!
This is our final week of National Craft Month Sales! This week is the perfect time for your to try our Glitter Dust™ Sprays and our Sew-In Interfacings!!

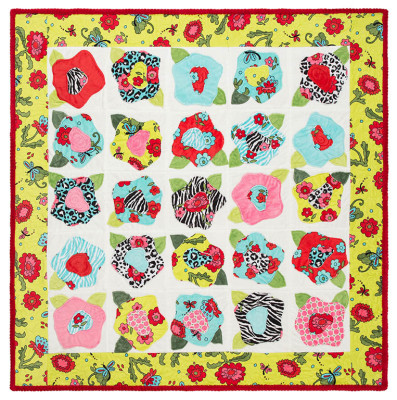
Just a reminder…we have this fantastic giveaway for this beautiful Floral Frenzy Cuddle Quilt Kit from our friends at Shannon Fabrics!
a Rafflecopter giveaway
Plus you can STILL enter to win the Oliso Iron and our Adhesive giveaway as well! Don’t miss out! a Rafflecopter giveawaya Rafflecopter giveawayAnd to finish off National Craft Month we have one more giveaway for our NEW HeatnBond® EZ Print Sheets and Pressing Paper! Enter to win an assortment of them! You’ll love them..that we know! a Rafflecopter giveaway
6 Comments on Create a Vintage Bunny Skirt
3Pingbacks & Trackbacks on Create a Vintage Bunny Skirt
-
[…] become completely obsessed with appliquéing bunny silhouettes on project: quilts, wall hangings, skirts, pillows, and now my latest creation – the vintage bunny zipper pouch! I am calling it […]
-
[…] sews up in no time! The tutorial is being featured over at the Therm o Web blog. Click HERE to check it […]
-
[…] sews up in no time! The tutorial is being featured over at the Therm o Web blog. Click HERE to check it […]



Belinda K-N
March 26, 2014 at 10:08 am (10 years ago)I use HeatnBond fusibles and interfacings in my sewing studio – I always have a selection on hand!
Marcia Dehn-Nix
March 26, 2014 at 7:26 pm (10 years ago)I have used Heat-n-Bond fusibles. Works great for all sorts of projects
Marcia Dehn-Nix
March 26, 2014 at 7:32 pm (10 years ago)I do use fusable interfacings when I sew