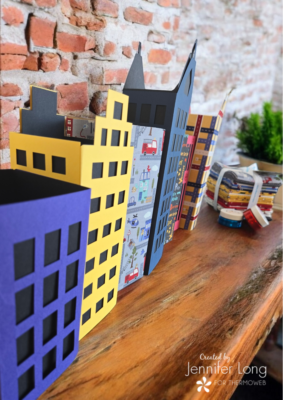
Hi, friends! Jennifer Long from Sew A Story here, and I’m thrilled to share this month’s creative project with you: 3D Paper City Templates! Whether you’re looking to pair these templates with your Cityscape Bench Pillow or simply enjoy a stand-alone craft with your kids, this project is packed with fun, imagination, and a touch of sparkle.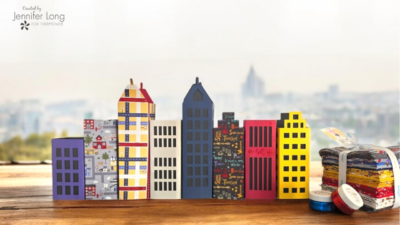
This month, we’re combining ThermoWeb’s amazing products, my It Takes a Village fabric collection, and a sprinkle of Sparkle Paste magic to bring your paper city to life. The best part? We’re gifting ThermoWeb readers a free building template to get you started, plus a special offer for a free month in the Sew A Story Pattern Club. Let’s dive in!
Materials You’ll Need:
Paper City Essentials:
- 3D Paper City Templates Download your free building template HERE and use the code THERMOCITY
- Cardstock or heavy paper for printing
- Scissors or cutting machine
- Glue or double-sided tape
Embellishment Must-Haves:
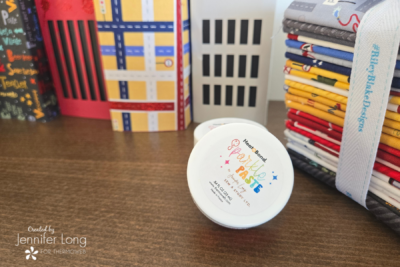
- ThermoWeb Sparkle Paste – Perfect for adding shimmer to your skyscrapers, roads, and more!
Suggested Colors:- Hero Blue for bold building accents
- Silver Shimmer for roads and street signs
- Fire Truck Red for park details and rooftops
- ThermoWeb Deco Foil Transfer Sheets – Use these for metallic highlights on windows or street signs.
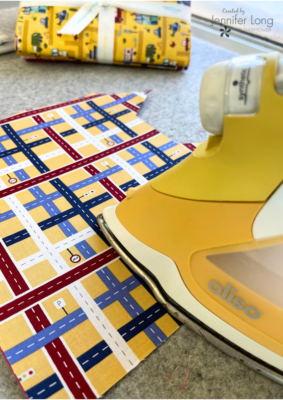
- SpraynBond Fabric Stiffener – Reinforce delicate paper pieces for added durability.
Optional Fabric Add-Ons:
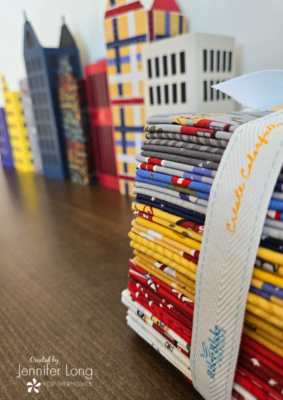
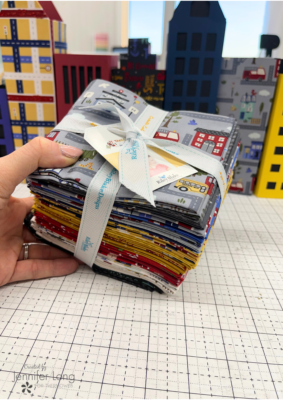
- Scraps from the It Takes a Village fabric collection by Riley Blake Designs – Incorporate fabric details into your buildings for a cozy, textured look.
Step-by-Step: Bring Your Paper City to Life
Step 1: Download and Print
Start by downloading your free 3D building template below. Print the template on sturdy cardstock or heavy paper.
Get your template here: Download Now
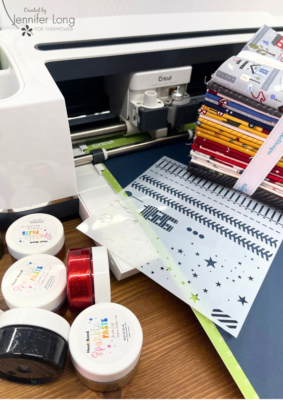
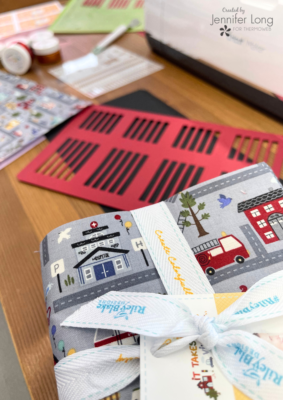
Step 2: Cut and Prepare
Use scissors or a cutting machine to cut along the solid lines. For precise folds, use a ruler to crease along the dashed lines.
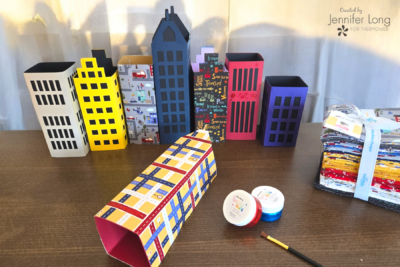
Step 3: Assemble Your Buildings
- Apply ThermoWeb’s Glue Tape Runner or double-sided tape to the tabs labeled “Glue Here.”
- Secure the sides, roof, and base to form the structure.
Pro Tip: Use SpraynBond Fabric Stiffener to reinforce smaller pieces like doors or windows before assembly.
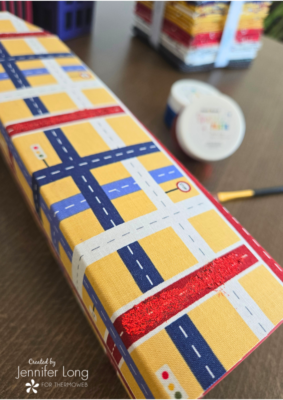
Step 4: Add Sparkle and Shine
Now for the fun part—decorating!
- Apply Sparkle Paste to your buildings using a small brush for details like rooftops, windows, or street signs.
- Add metallic highlights with Deco Foil Transfer Sheets to create shiny, reflective elements.
Step 5: Build Your Cityscape
Arrange your buildings, roads, and trees into a unique layout. Use fabric scraps from It Takes a Village for textured elements like tree trunks or awnings.
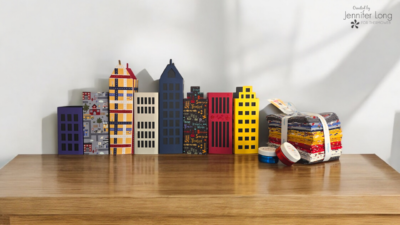
Spark Your Creativity
Once your city is built, the possibilities for play are endless! Pair your paper city with your Cityscape Bench Pillow and create a world of stories:
- Pretend you’re a firefighter rushing to save the day.
- Build a bustling downtown with shops and skyscrapers.
- Add toy cars, action figures, or dolls for interactive play.

Special Gift for ThermoWeb Readers
We’re so excited to share this project with you that we’re gifting ThermoWeb readers one free month in the Sew A Story Pattern Club!
As a member, you’ll receive exclusive access to patterns, tutorials, and creative resources like the full set of 3D Paper City Templates.
Claim your free month here
Use code: THERMOFRIENDS
Share Your Creations
We’d love to see your paper city and hear the stories you create! Share your photos in the Pattern Club Facebook Group or tag us on social media:
- @sewastory_jenniferlong
- @thermoweb
Use hashtags like #SewAStory, #ItTakesAVillageFabric, and #ThermoWeb to connect with our creative community.