Explore Travel Journal by Designer Audrey Pettit
Supplies:
Therm O Web Mini Tape Runner
Therm O Web SuperStik Glue Stick
Therm O Web Medium Zots™ Clear Adhesive Dots
Echo Park Getaway Collection: Patterned Paper, Cardstock Stickers
1/2″ and 1/8″ Circle Punches: Stampin’Up
Eyelets: Making Memories
String: The Kraft Outlet
Floss: DMC
Paper Piercer: Sizzix
Ink: Clearsnap
Scoring Board: Scor-Pal
Raw Chipboard (can use a cereal box if needed)
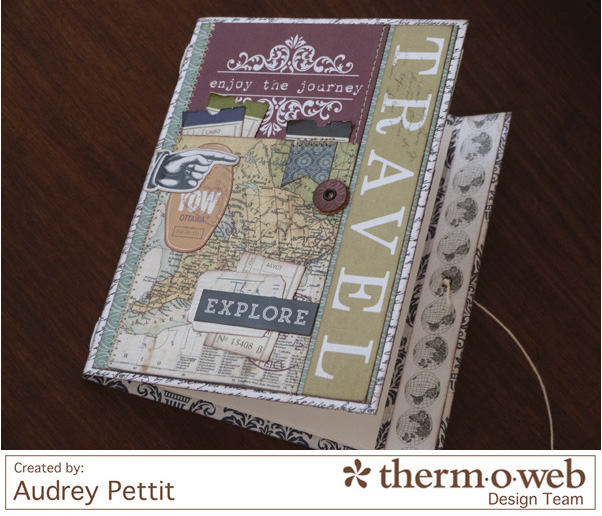
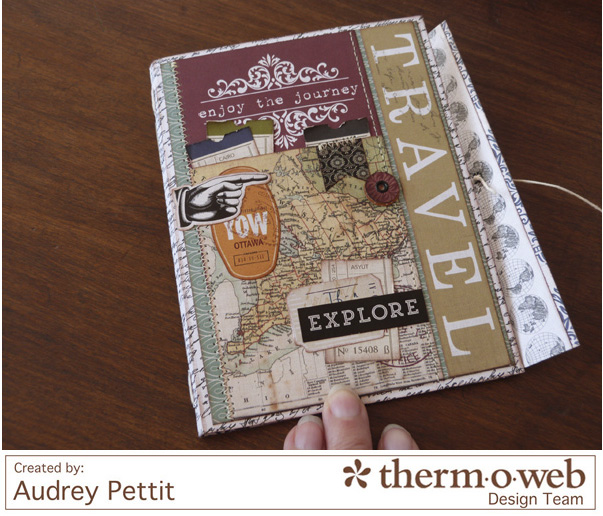 Summer is in full swing, and that means vacation plans are in the air. This year I decided to make a mini travel journal for our annual family holiday. A travel journal is the perfect spot for writing down all the details of your trip, and you can easily add photos, sketches, and memorabilia, too.
Not only that, this travel journal is small and lightweight enough to easily carry around with you. And, it’s simple to put together using only a few basic supplies you probably already have on hand. Love that you can create this journal in any theme to suit your style. For my journal, I used the adorable Getaway collection from Echo Park, our fabulous product partners on the Therm O Web blog this month.
Let’s get started.
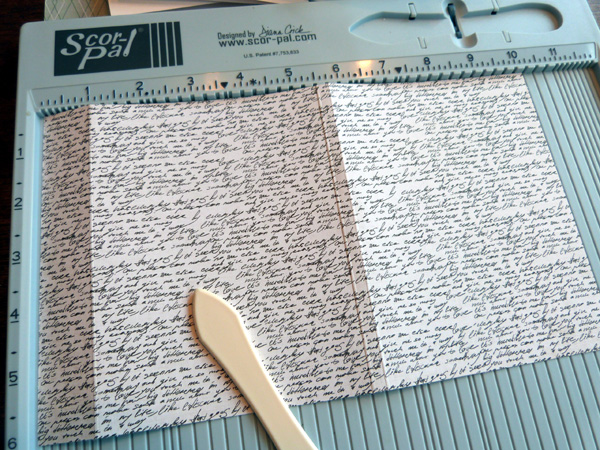
Cut a 10.25″ x 6″ panel of double-sided patterned paper or cardstock for the cover. Using a bone folder or scoring tool, score the long 10.25″ side at 1″, 5.5″, and 5.75″.
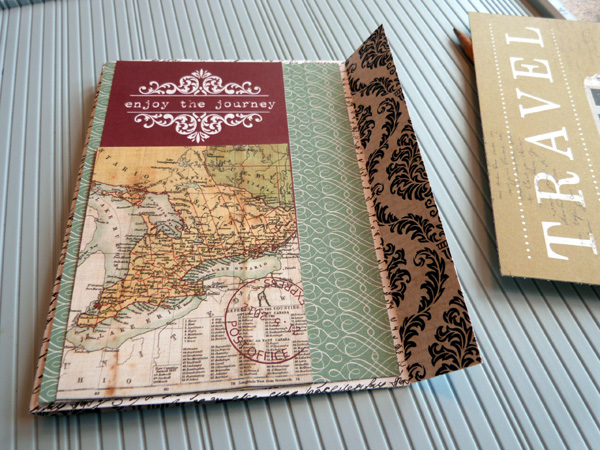
Fold along the creases until you have a basic card shape, with a thin spine on the left side, and the 1″ flap on the right side. Cut a panel of patterned paper to fit the front of the album, then cut two 3×4 journaling cards to embellish. I like to edge all my paper pieces with brown chalk ink, but that is up to you.
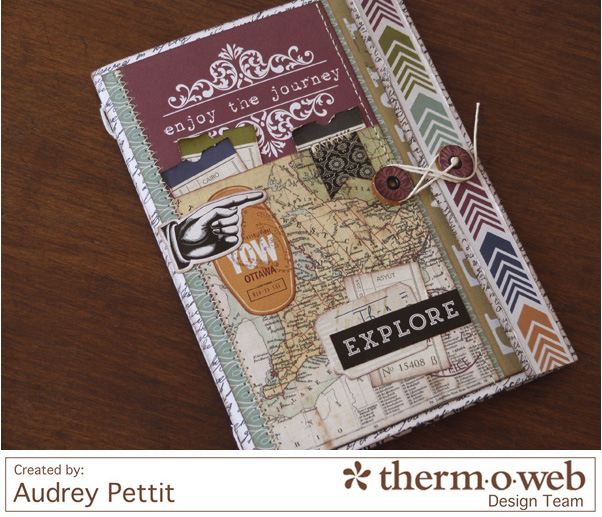
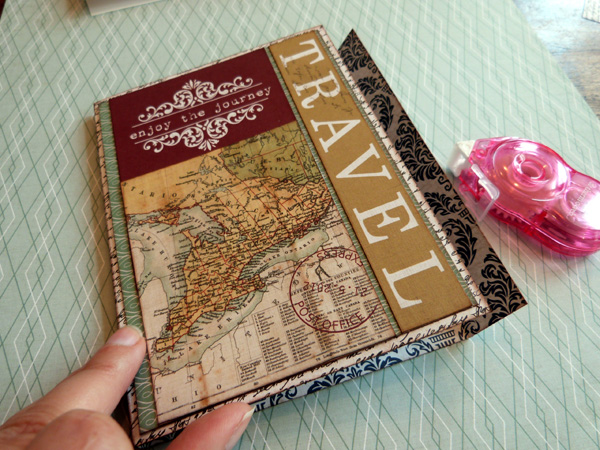
Adhere paper panels, keeping in mind that the 1″ flap will fold over the top- so you’ll want to space the journaling cards far enough to the left to clear the closed flap. Add a decorative paper strip to the extra space on the right. For my journal, I trimmed the word travel from one of the large 4×6 journaling cards.
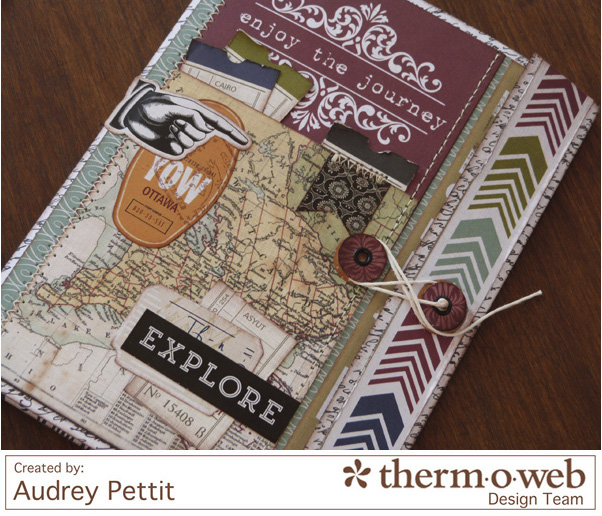
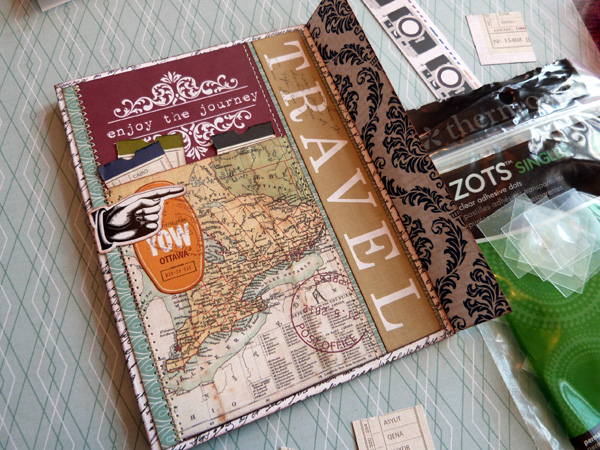
Add cardstock stickers to the cover. Trim several tickets from the patterned paper, and tuck into the pocket between the journaling cards using medium Zots™ dots to keep them in place. If you’ve adhered the journaling cards completely and can’t slide the tickets underneath, simply cut off the tops of the tickets and adhered them to the edge. Add machine stitching, if desired.
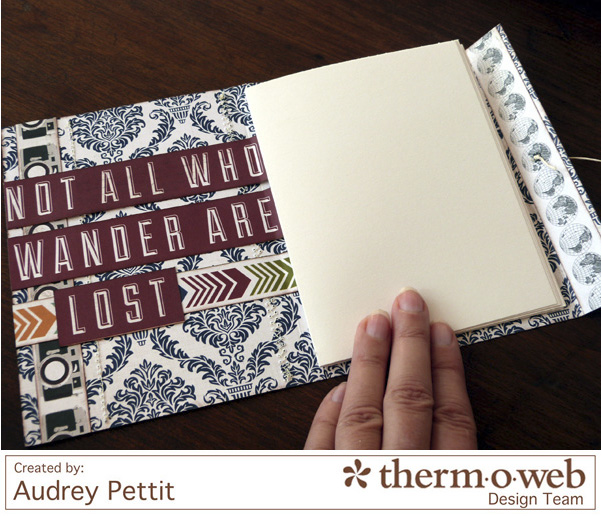
Continue to add decorative paper strips to the inside and outside of the 1″ flap and to the inside cover.
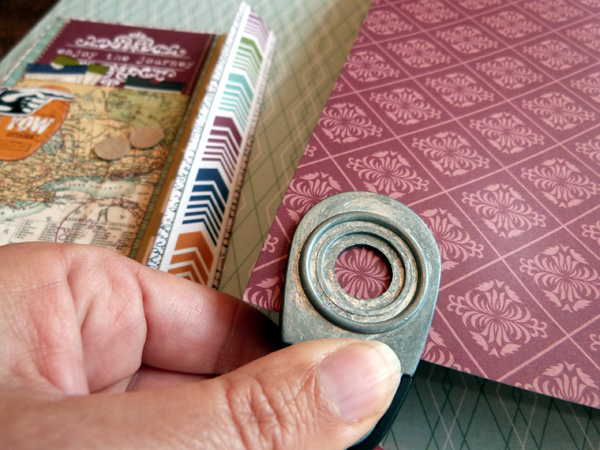
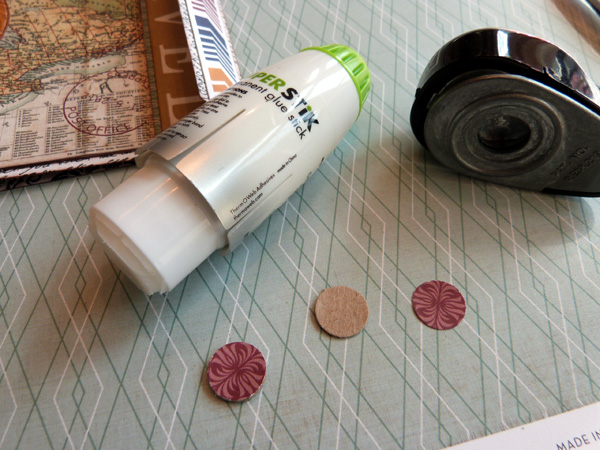
For the album closure, punch two 1/2″ circles from raw chipboard, and two 1/2″ circles from patterned paper using a paper punch.
Adhere the patterned paper to the chipboard using Therm O Web’s Superstick Glue Stick.
Adhere chipboard circles to the album cover with the glue stick, one on the front cover, and the second on the 1″ flap. I added Getaway cardstock stickers under mine. Punch 1/8″ holes through the center of the chipboard, then set with eyelets. Thread string through the flap eyelet, and tie off in the back with a double knot.
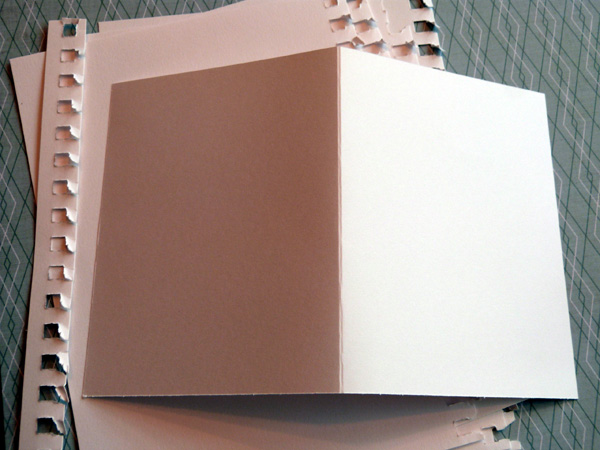
For the inner pages, cut 5 pieces of sketchbook paper or white cardstock to 8.5 x 5.5, and score down the center of each.
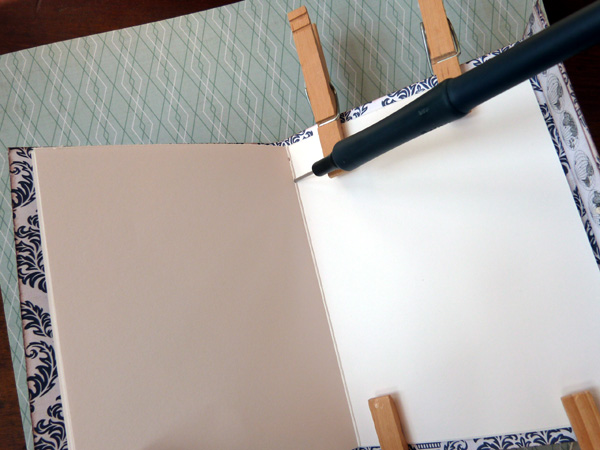
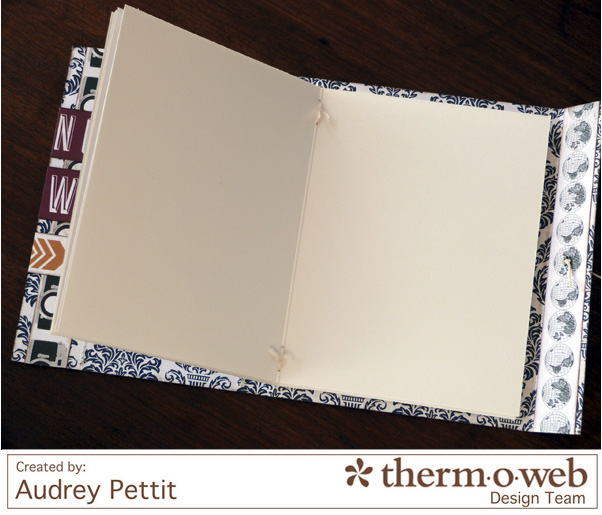
Stack the sketch paper together, and center them inside the album cover. I used clothespins to help keep the paper in place. Then using a paper piercer or strong needle, pierce two holes along the spine at the top, and two holes along the spine at the bottom.
Thread embroidery floss through the holes and tie on the inside with simple double knots. Now you’re ready to create some memories!
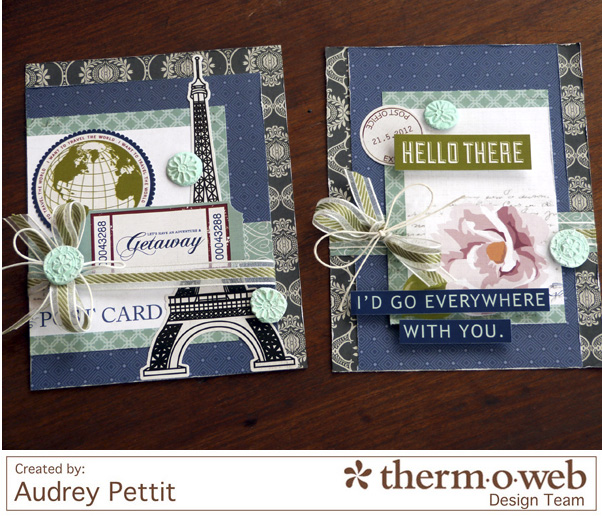
For more project ideas using Therm O Web adhesives and Echo Park’s fabulous Getaway collection, check out my fun cards.
I’ve got all the details on these cards, including a tutorial for creating my faux “wax seal” embellishments here, in case you’d like to learn more.
Enjoy!
We’d like to give you an opportunity to create some of these projects using the same products! Enter to win a Echo Park Paper Getaway Collection Kit along with an adhesive kit including our MUST HAVE Zots™ Adhesive Dots!
Announcing our First Crafty Corners Contest!!

We’re kicking off a fun contest and we hope you’ll join in! We invite you to pick up our Glitter Dust™ Photo Corners and our Decorative Photo Corners to create a Crafty Corner project! Create a fun card, mini book, scrapbook page, mixed media, altered art project …the skies the limit! Then submit your project to craftycorners@thermoweb.com by August 15th! Please include your name, address, products used and 2-3 images of your project.
We’re giving away prizes for the Most Creative Out of the Box use of Photo Corners along with Best Overall Use of Photo Corners. Your project should use our Glitter Dust™ Corners and/or our Decorative Photo Corners.
And to help you get started we’re offering 25% off those products so you can get shopping now and creating!
Best of all…we’re awarding a $50 VISA Gift Card to each winner along with an assortment of our best selling iCraft Adhesives™ and Glitter Dust™ products valued at over $100! Plus the winners projects may be chosen to be used in an upcoming ad! #Craftycorners
Click here for more information on our Crafty Corners Contest!

Heather Thompson
July 8, 2014 at 7:17 am (11 years ago)Great mini, love the idea.