


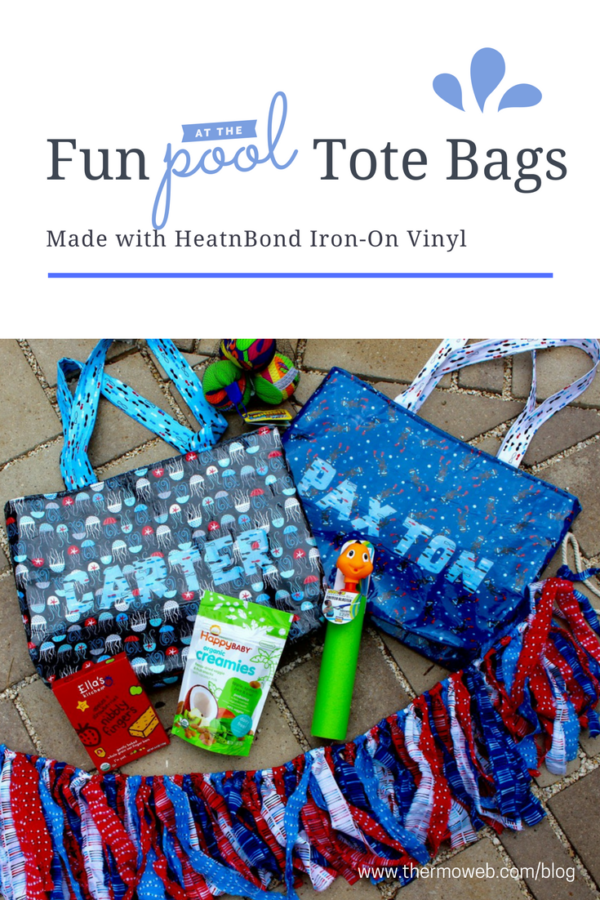
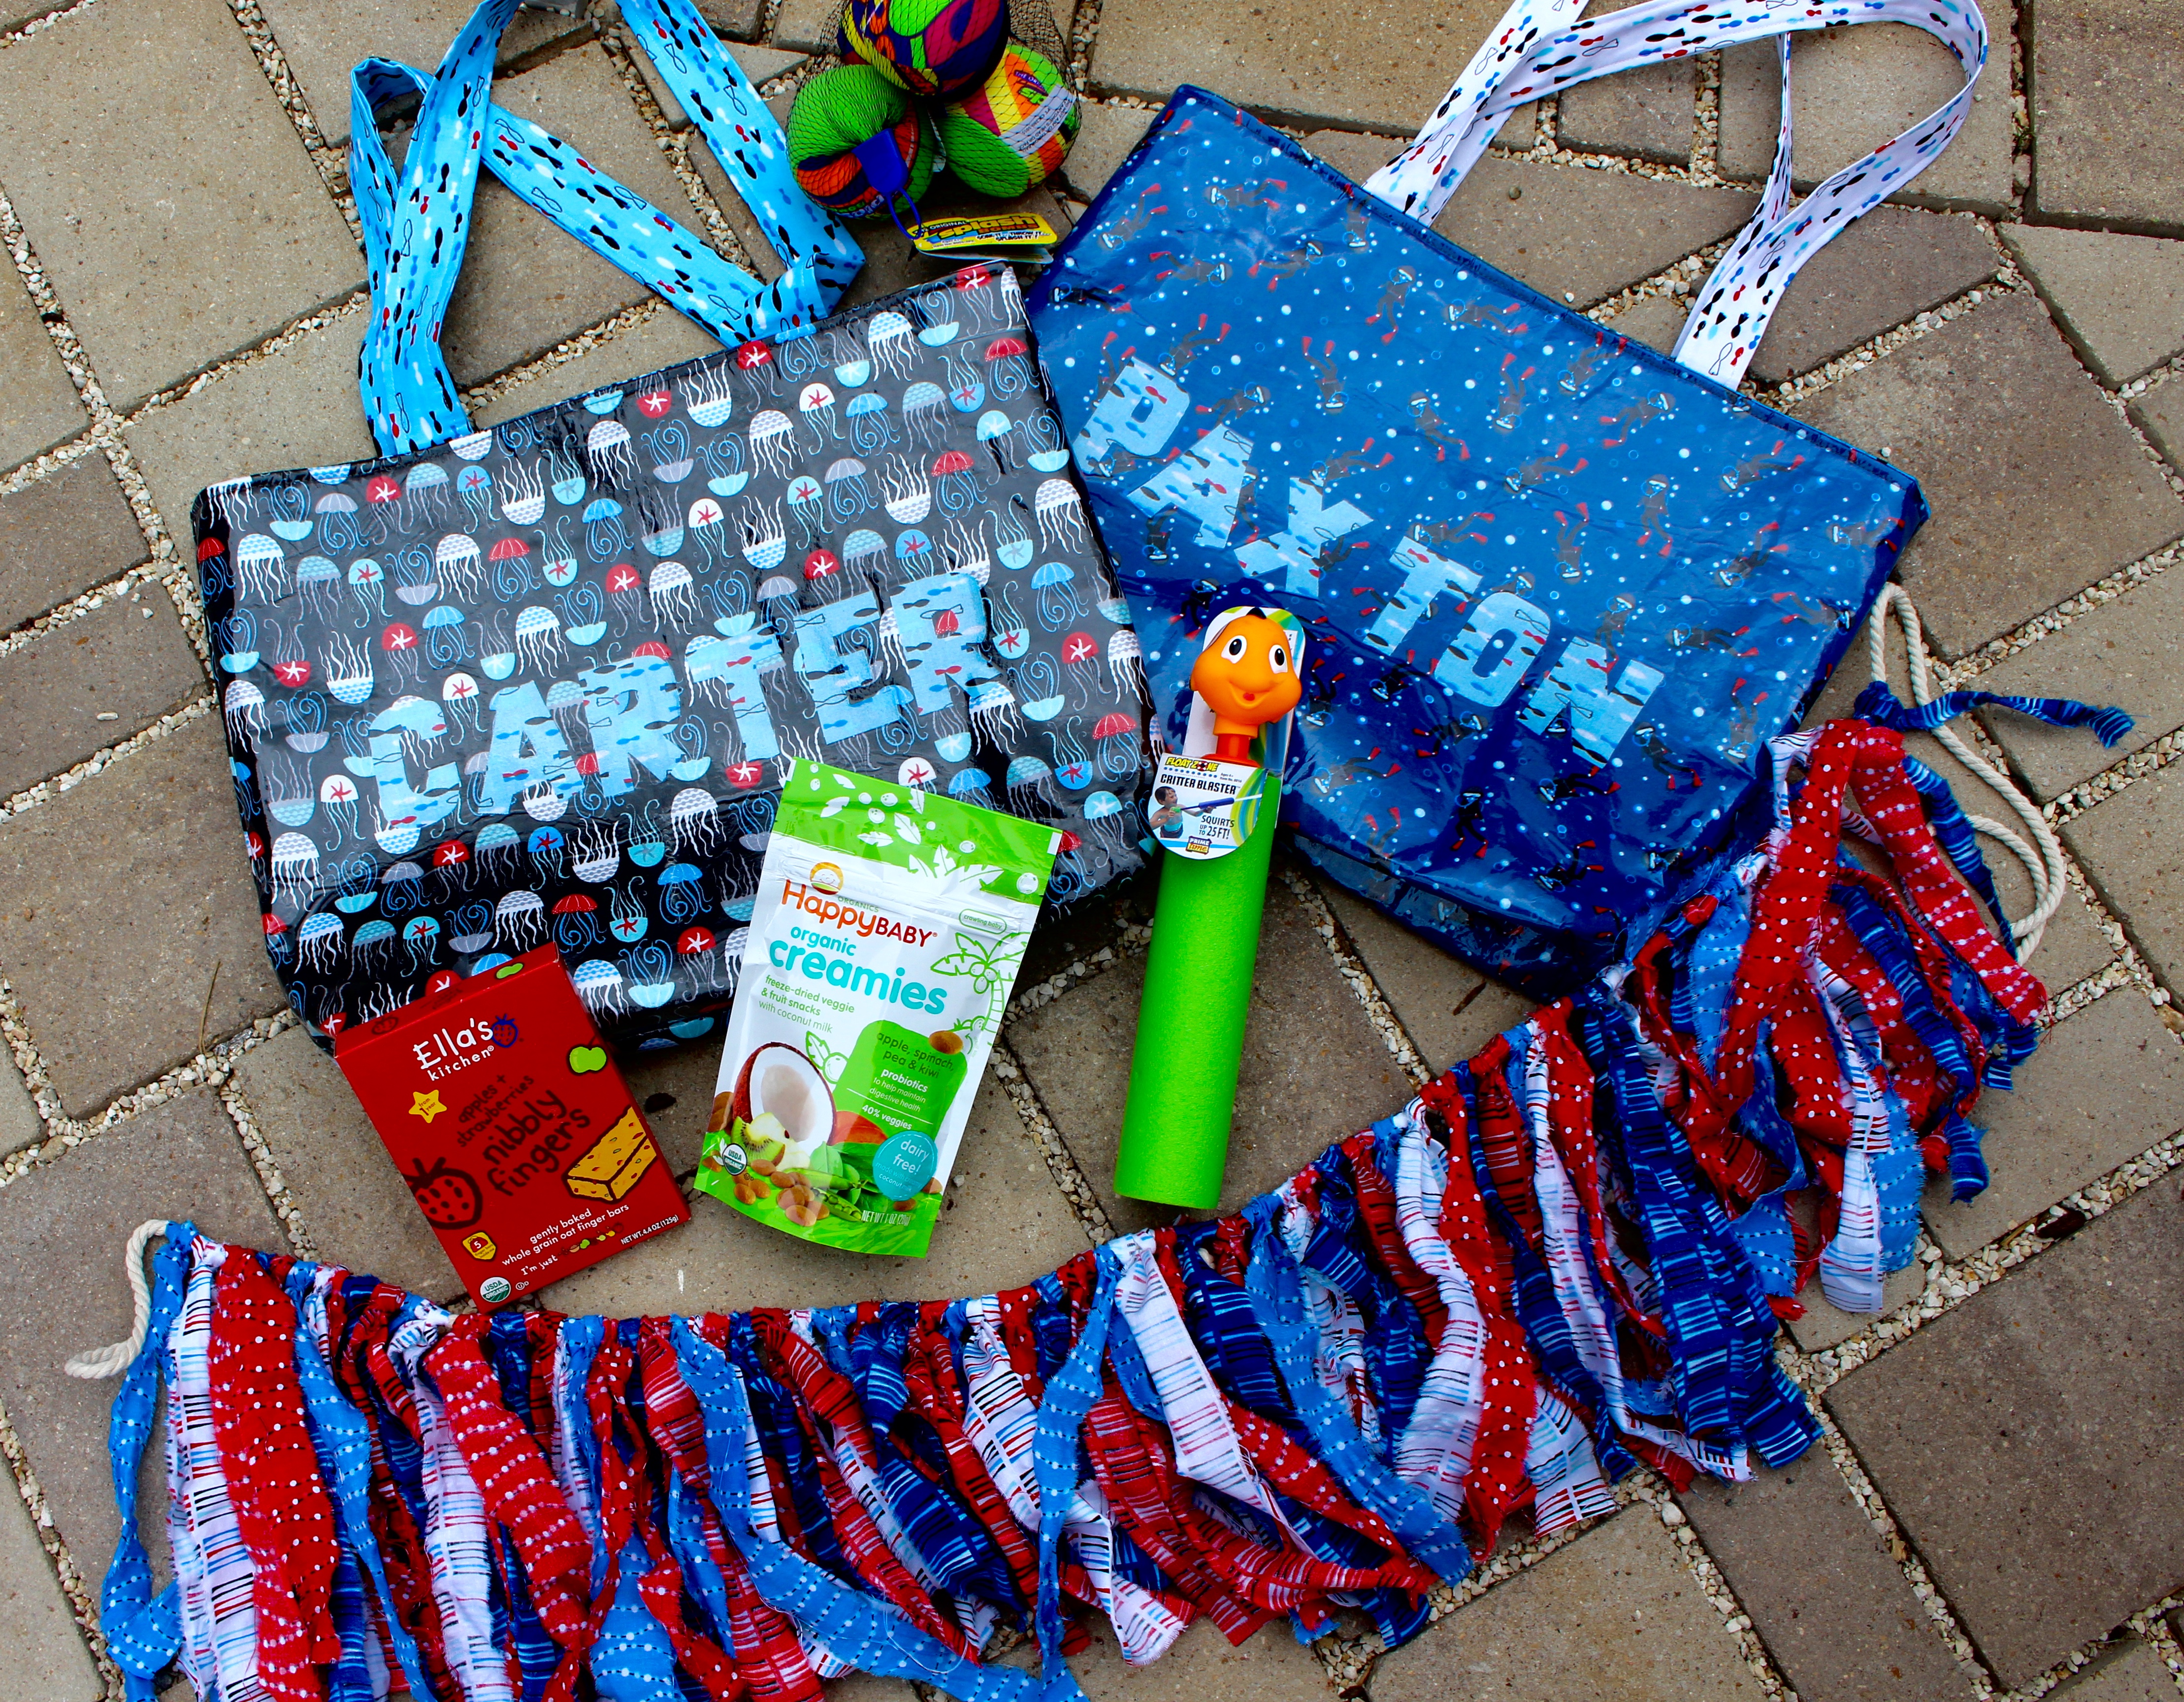
Summer is here and I couldn’t be more excited! I love using Thermoweb HeatnBond® Iron-On Vinyl and I’ve been dying to make a beach bag for my little one’s goodies. He’s too little to really enjoy the beach yet, but that doesn’t stop this new mom from creating everything personalized for him (and for my best friends little one too)!!
Create a Summer Beach Tote with HeatnBond Vinyl and Interfacing!
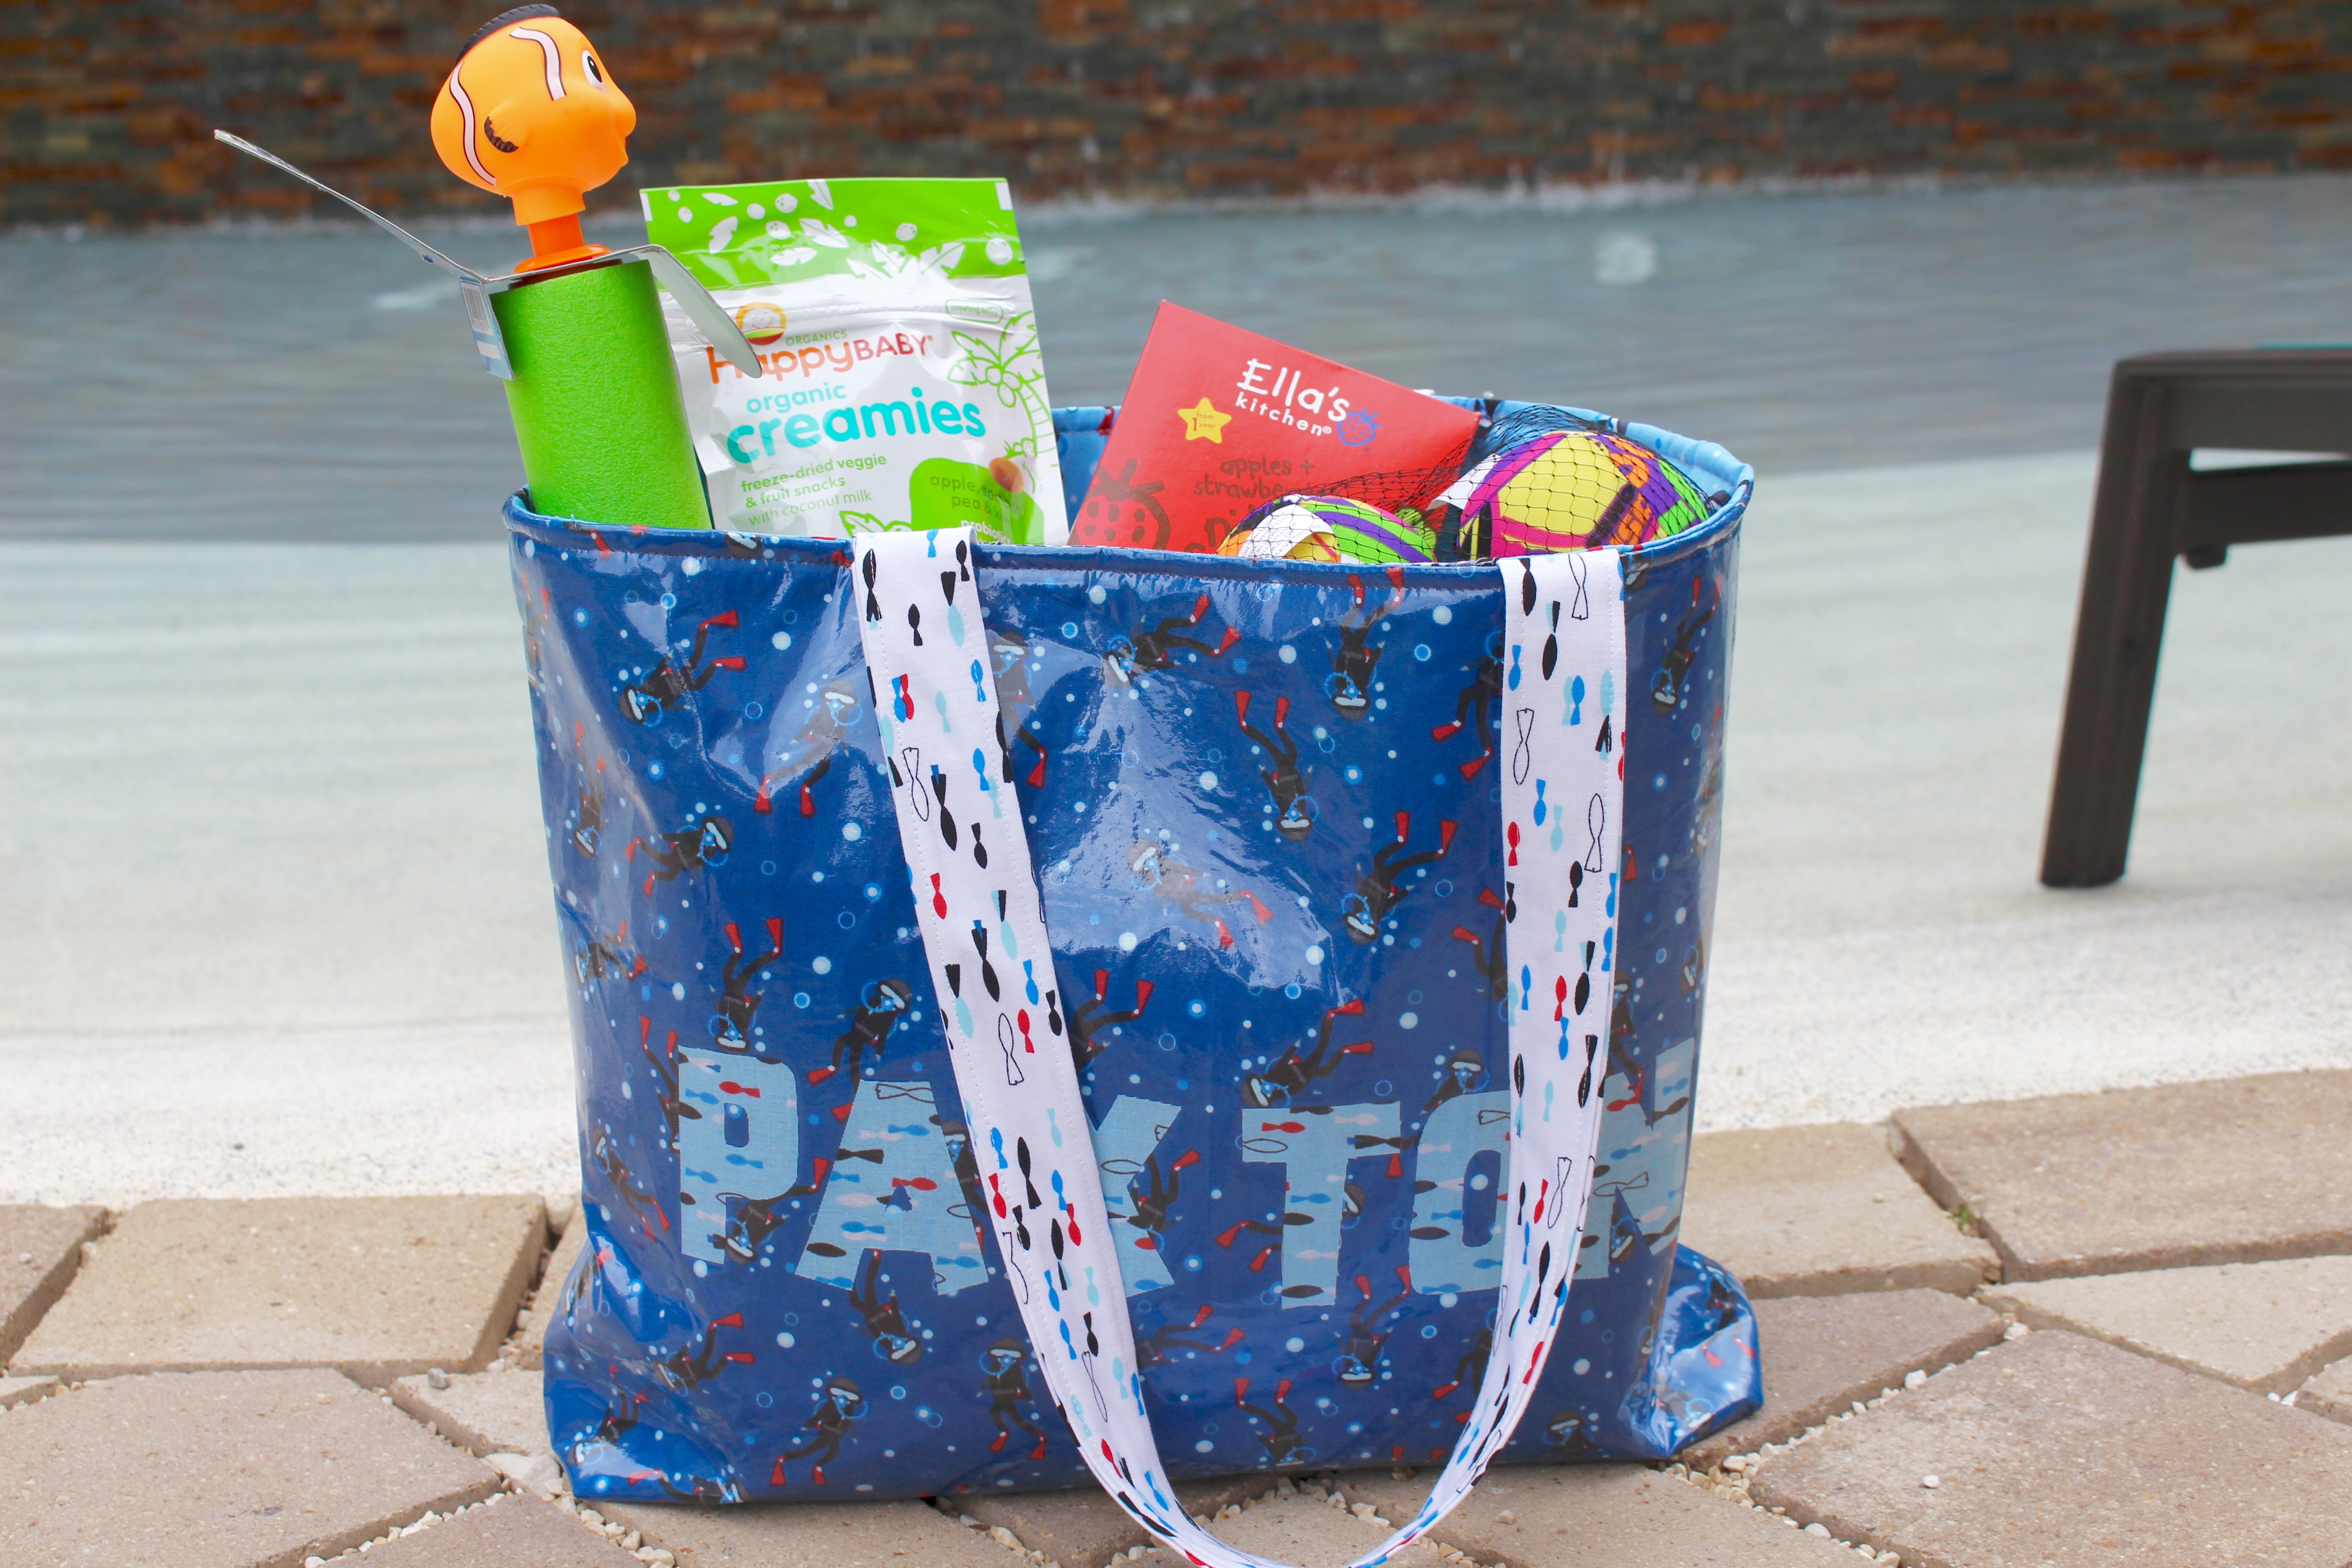
Create a Summer Beach and Pool Tote with Vinyl and Interfacing!
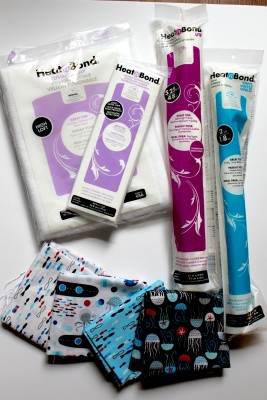
Beach Tote Project Supplies:
-1/2 yard of fabric for exterior
-1/2 yard of fabric for lining
-1/4 yard of fabric for straps
-fat quarter for letters
-fat quarter for inside pocket
–HeatnBond® Fusible Fleece
–HeatnBond® Fusible Craft Extra Firm Interfacing (for bag exterior)
–HeatnBond® Fusible Light Weight Interfacing (for handles)
-HeatnBond® Iron-On Vinyl
–HeatnBond® Light Iron-On Adhesive
–oliso iron
-sewing supplies: rotary cutter, cutting board, thread, sewing machine, pins
Cutting:
-20″ x 16 1/2″ : Exterior (2), Interior (2), Vinyl (2), Craft Interfacing (2), Fusible Fleece (2)
-5″ x 28″: Handles (2), Light Weight Interfacing (2)
-5″ x 14″: Pocket (1)
Assembling the beach tote bag:
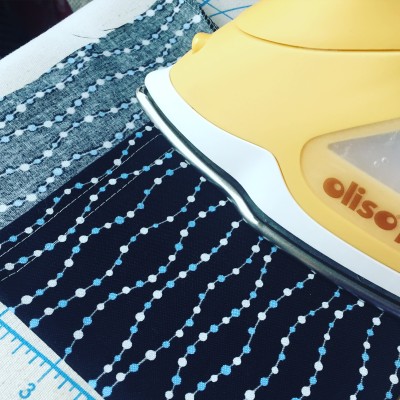
- Start by following the instructions to create your letters. I traced my letters on the adhesive, ironed the adhesive to the letter fabric, cut out the fabric, and ironed it onto the exterior fabric.
- Iron on the craft extra firm to the wrong side of the exterior pieces, then iron on the fusible fleece to the back of the interfacing. This creates an extra firm bag structure. Finally iron on the vinyl to the right side of the exterior pieces.
- Take the pocket piece and serge or zigzag stitch the 14″ sides. Fold one of the 5″ sides in 1/4″ wrong sides together and then another 1/4″. Top Stitch. Fold the pocket right sides together almost in half, leaving about two inches at the top where it will be sewn to the bag. Sew the folded sides together to create a pocket. Turn right side out and iron.
- Iron the lightweight interfacing to the wrong sides of the handle pieces. Fold the long sides of the handles in half wrong sides together and iron it. Open and fold both long pieces into the center and iron. Fold again to the middle enclosing the raw edges, iron, and topstitch on each side
- Attach the handles and pocket to your interior pieces. Place the pocket on the top of one interior lining piece in the middle. Align the handle to the left and right of it, make sure your handle isn’t twisted. Baste the handle and pocket to the interior lining. Align the handle onto the other lining piece using the basted handle as a guideline.
- Place the exterior right sides together and using a 1/2″ seam allowance, sew around the sides and bottom of the bag. Do the same to the interior pieces, leaving a 3-inch hole at the bottom to use when turning the bag right sides out. To create a flat bottomed bag, fold the bottom corners of the exterior and interior by 1 1/2″ and sew a line across, cut off the excess.
- Turn the exterior of the bag right side out and the lining wrong side out. Place the exterior bag piece inside the lining and pin around the top to line everything up. Sew the top of the exterior to the interior with a 1/2″ seam allowance.
- Pull bag exterior through the interior and close the hole in the lining. Topstitch around the top of your bag and iron one more time.
- Fill with all your beach goodies and enjoy!
Happy Summer my sewing friends!
Kristen Wright
barb macaskill
June 3, 2016 at 10:06 pm (8 years ago)Coolio!!!
Allison
June 6, 2016 at 9:57 am (8 years ago)Very cute!! Love the vinyl fabrics!