


 This Valentine’s Day, create gifts for the little ones with the help of HeatnBond. This drawstring bag is the perfect size for a couple of coloring books and all the crayons too. HeatnBond interfacing keeps the bag in shape and you can add HeatnBond Liquid Vinyl to the lining to prevent stains and make cleaning a breeze.
![]()
Crayon Drawstring Bag with HeatnBond
by Carla at Creatin’ in the Sticks
Finished size: 9” x 14”
Supplies:
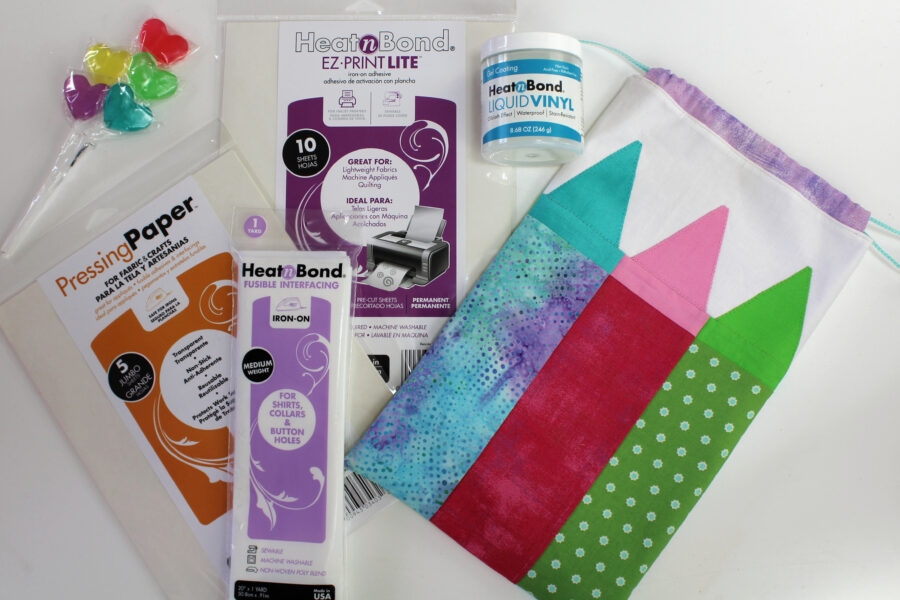
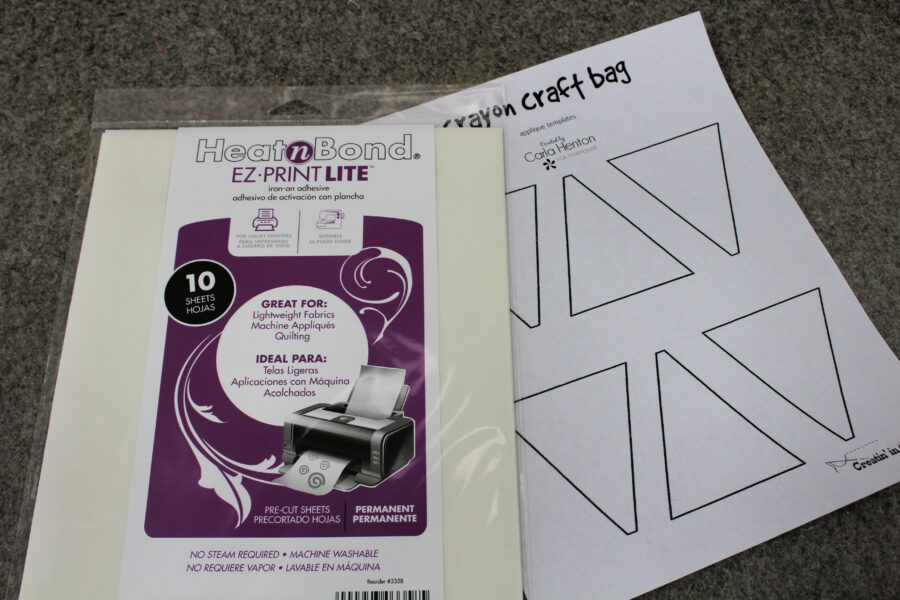
Template free download: Crayon Craft Bag templates by Carla at Creatin in the Sticks
HeatnBond EZ Print Lite iron-on adhesive – 1 sheet
HeatnBond Medium Weight Non-Woven Fusible Interfacing – cut two 9 1/2″ x 14 1/2″
Pressing Paper for Fabric and Crafts
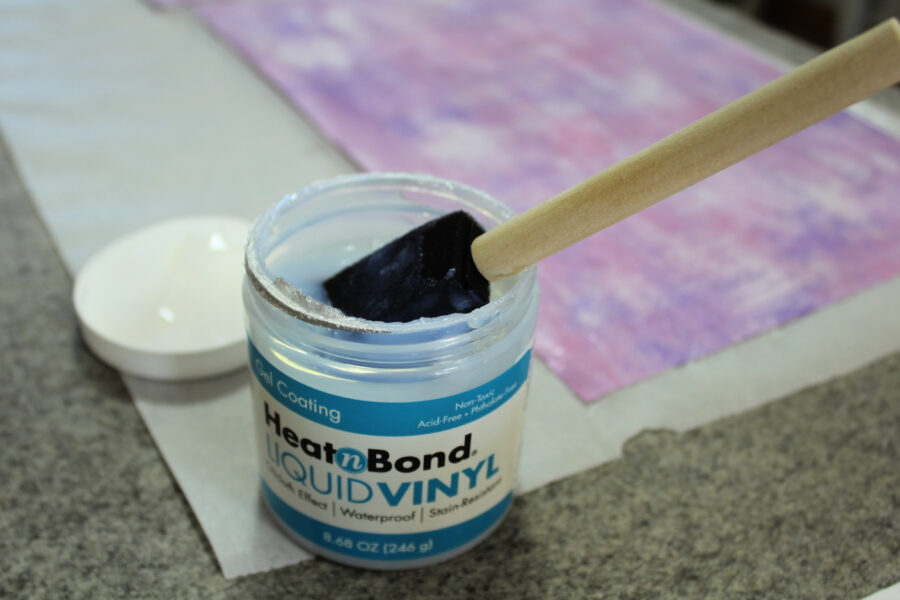
HeatnBond Liquid Vinyl Gel Coating, 8.68 oz
Fabric: cutting
Green print: Two 3 1/2″ x 9 1/4″
Pink print: Two 3 1/2″ x 9 1/4″
Teal print: Two 3 1/2″ x 9 1/4″
Green solid: Two 1 1/4″ x 3 1/2″ and two 4″ x 4″ for the appliques
Pink solid: Two 1 1/4″ x 3 1/2″ and two 4″ x 4″ for the appliques
Teal solid: Two 1 1/4″ x 3 1/2″ and two 4″ x 4″ for the appliques
White: Two 5″ x 9 1/2″
Purple Print: From one fat quarter, cut two 9 1/2″ x 14 1/2″ for lining
and cut two 2″ x 9 1/2″ for the drawstring casing
Other supplies:
Aurifil thread, 2 pieces of narrow cording or ribbon for drawstring – each 30”, InkJet Printer, Iron (I love my pink Oliso), sewing machine, sharp scissors, foam brush, safety pin, and other basic sewing supplies.
Instructions:
All seams are stitched at 1/4″ unless stated otherwise.
Step 1:
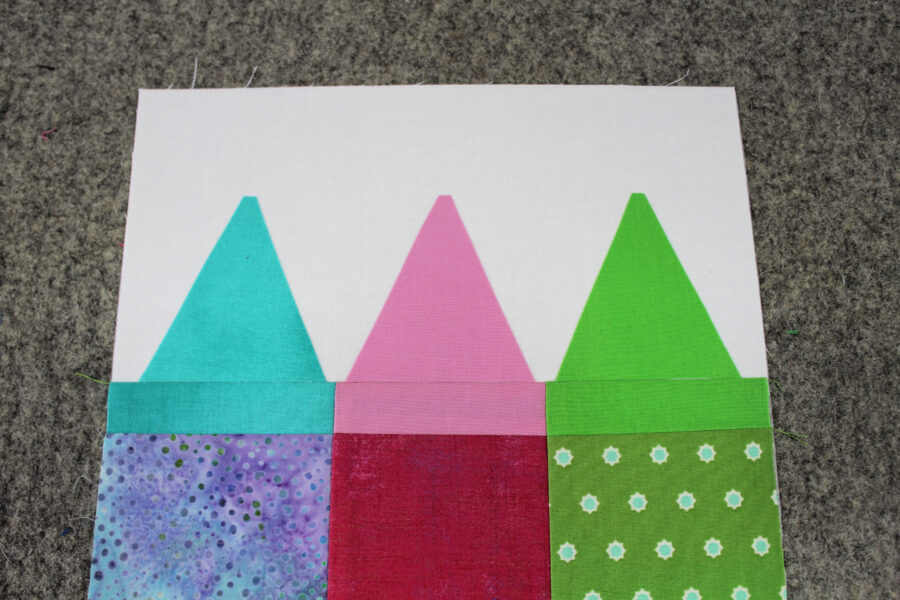
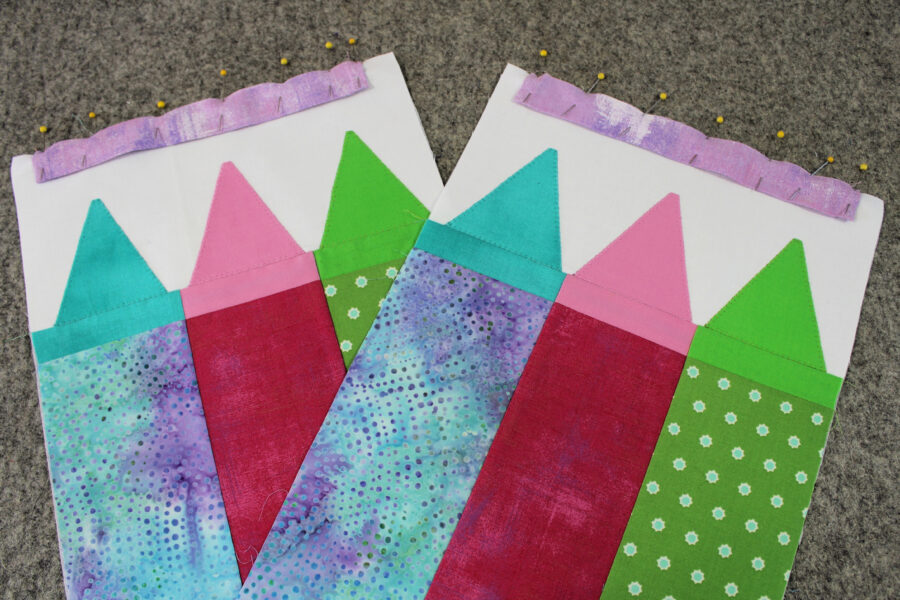
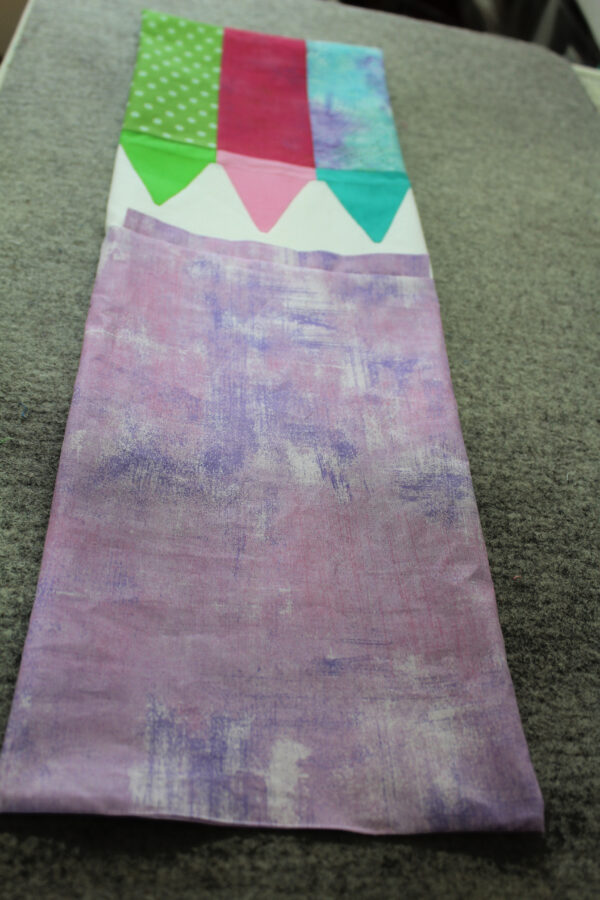
The first step is to make the outside of the drawstring bag. Place one of each of the print strips, one of each of the solid 1 1/4″ x 3 1/2″ pieces, and one of the white rectangles as shown below.

Stitch the strips to the small solid pieces first, then stitch the colors together, and lastly add the white rectangle. Next, press the 9 1/2″ x 14 1/2″ unit well.
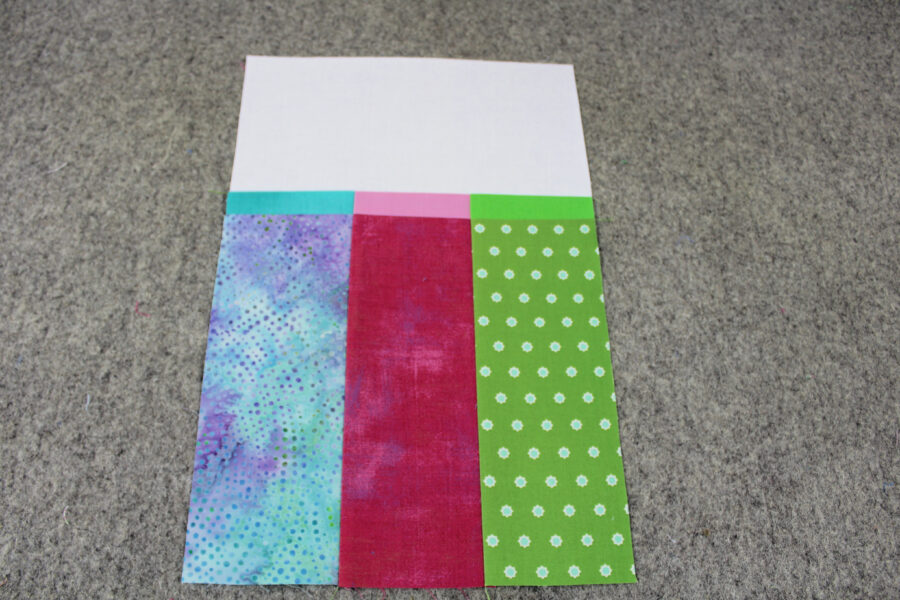
Repeat step one to make another 9 1/2″ x 14 1/2″ unit.
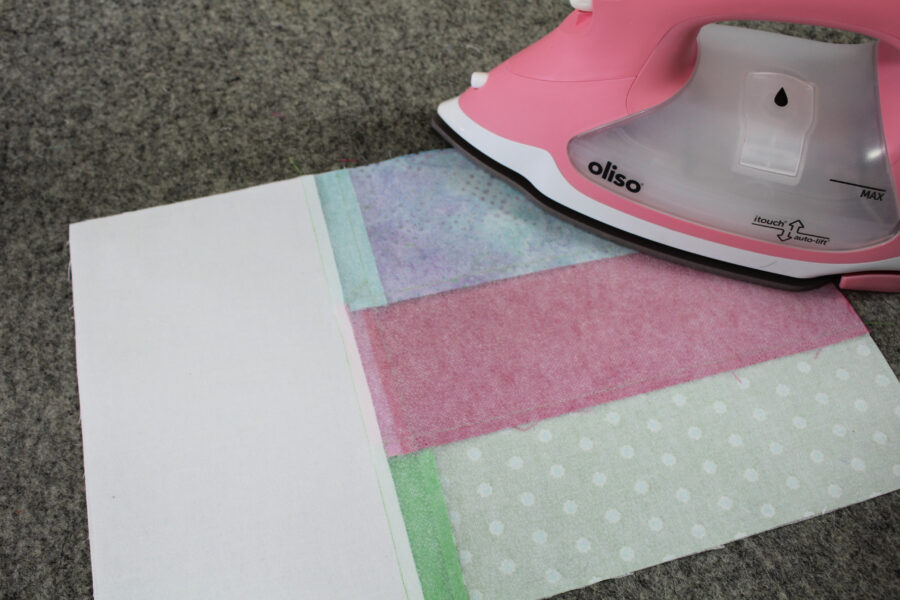
Step 2:
Place the 2 units that were pieced together, right side down on an ironing surface. Follow the package instructions to apply the HeatnBond Medium Weight Non-Woven Fusible Interfacing to the wrong sides of the units. The interfacing will stabilize the fabric for applique and keep the bag in shape.
Step 3:
Print the applique pattern template pieces onto the HeatnBond EZ Print Lite sheet with your inkjet printer. Follow the package instructions for printing and bonding to the wrong side of the fabrics. NO TRACING! How awesome is that? Cut each triangle leaving about 1/4″ around and bond each triangle to one of the 4″ solid fabrics.
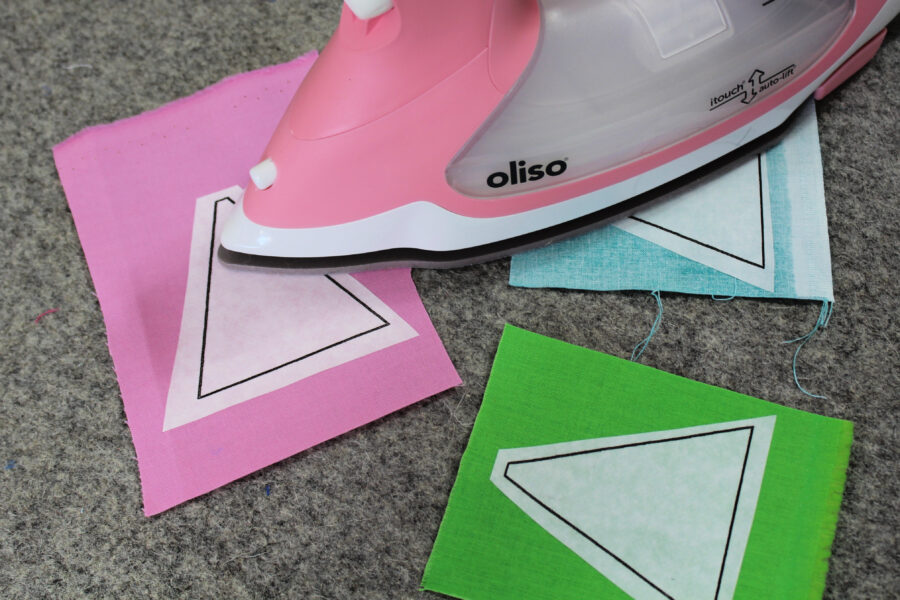
Cut out all applique pieces following the solid black lines, peel off the backing paper, and place applique with the adhesive side down on the prepared background fabric. The center triangle should be centered and the outside triangles are 1/2″ from the edge of the fabric to allow for the 1/4″ bag seams.
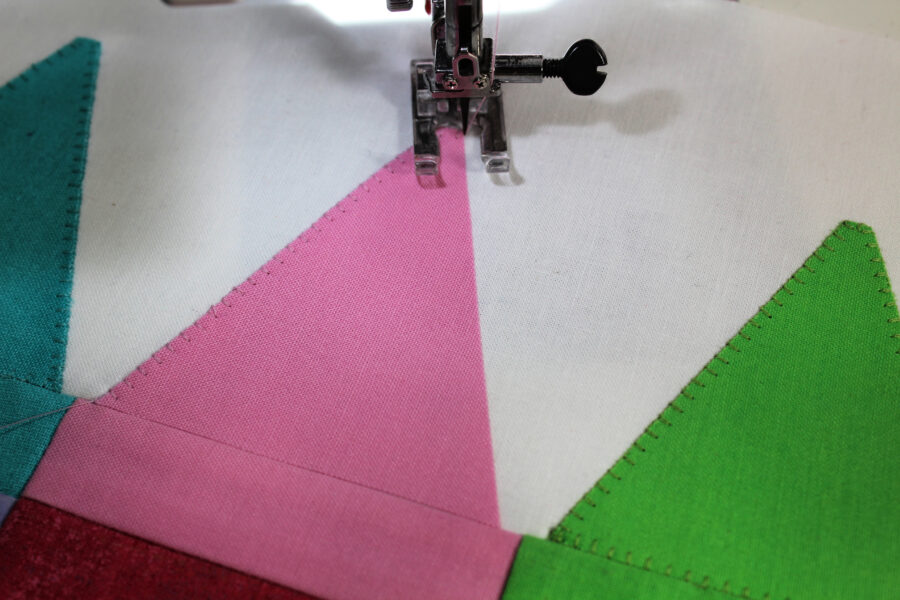
Following the package instructions, work in sections to press the entire applique to the background until the entire applique is fused. Finally, stitch a blanket stitch around each crayon tip with matching Aurifill thread.
Step 4:
Cover a workspace with Pressing Paper for Fabric and Crafts and lay the two 9 1/2″ x 14 1/2″ pieces of lining fabric right side up on the paper. Follow the jar instructions to coat the fabric with HeatnBond Liquid Vinyl Gel Coating.
Step 5:
While the lining fabric is drying, prepare the casings by hemming the short ends of both 2″ x 9 1/2″ pieces. Make the hems by turning 1/4″ to the wrong side, press, and then fold 1/4″ again and press.
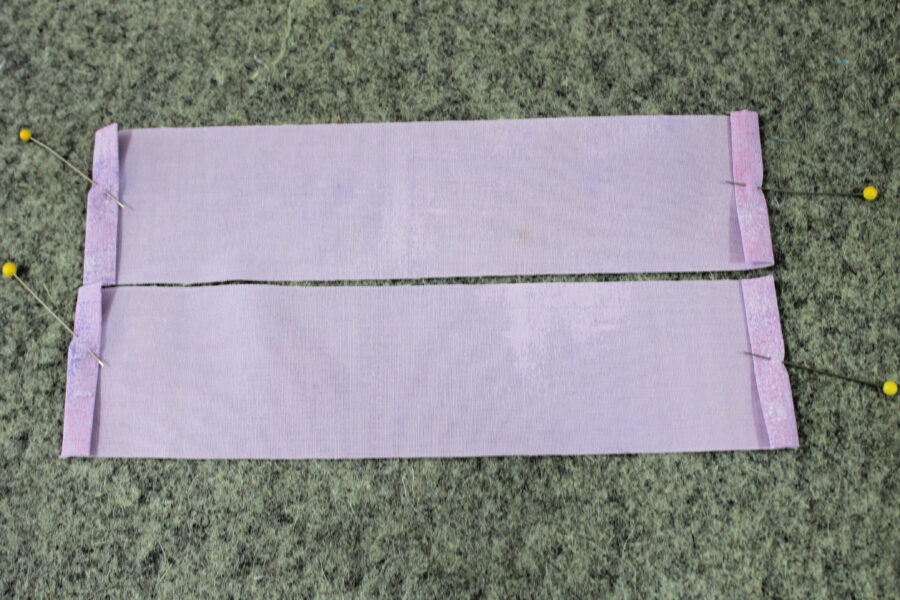
Do this to all four ends and then stitch the hems in place. Now, fold the strips in half lengthwise with wrong sides together and press. Pin both of the casing pieces to the top, right sides of the exterior pieces matching all the raw edges.
Machine baste 1/8″ from the raw edges being careful to catch all the raw edges. Next, stitch the front exterior to the back exterior, with right sides together and a 1/4″ seam. Stitch the sides and bottom, leaving the top open.
Step 6:
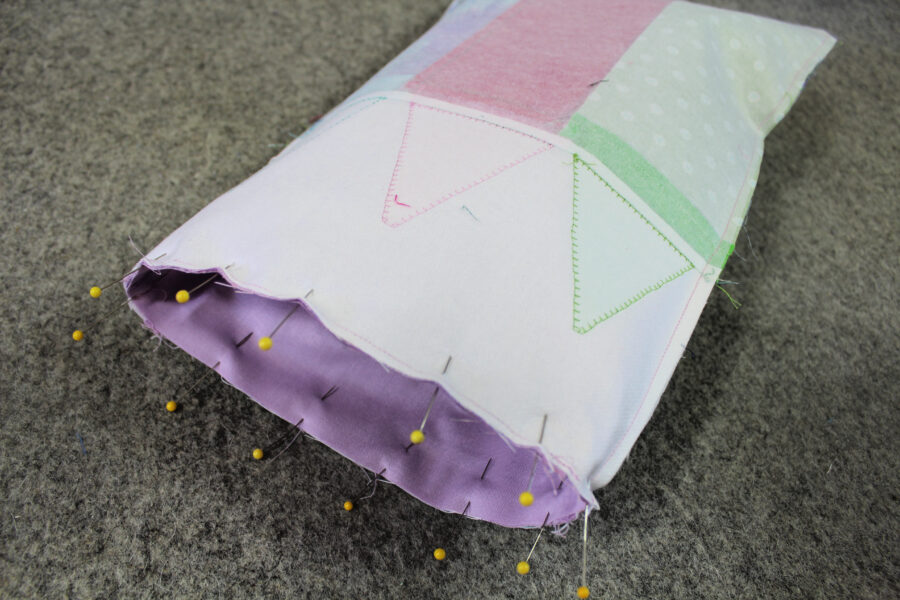
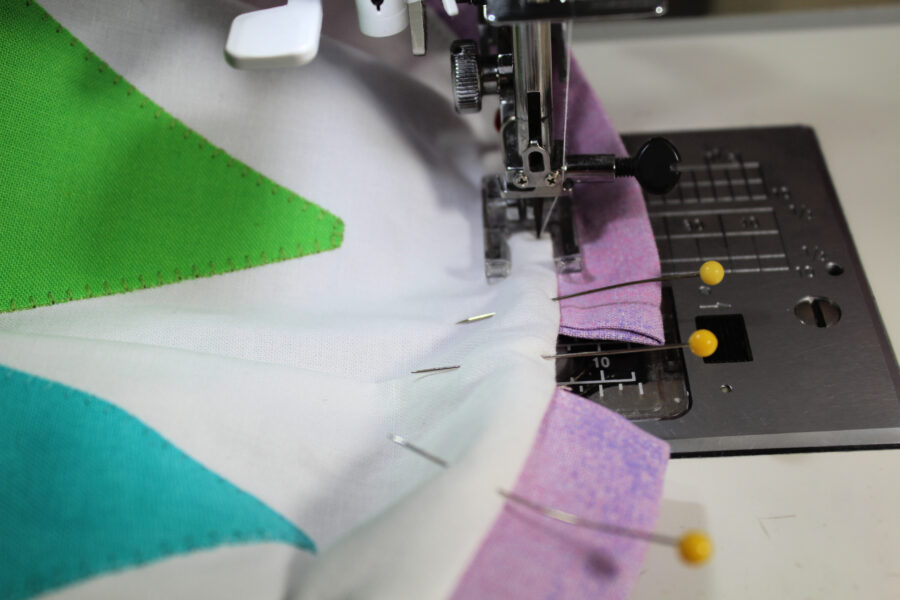
Once the final step is finished for applying HeatnBond Liquid Vinyl Gel Coating., pin the lining pieces together around the sides and bottom with the right sides together. Stitch with a 1/4″ seam leaving a 4″ opening in the bottom for turning later. After the seam is sewn, turn the lining right side out and slide it into the exterior of the bag with the right sides together. Pin around the top of the bag, matching the side seams. The casings are sandwiched between the lining and the exterior of the bag. Now stitch the 1/4″ seam around the top of the bag.
Turn the bag right side out through the opening in the lining. Press the opening (with pressing paper to protect the vinyl fabric) and stitch it closed.
Step 7:
Finally, tuck the lining into the exterior of the bag, press, and pin around the top of the shoe bag. Topstitch around the top of the Crayon bag.
Step 8:
The last step is to cut 2 pieces of cording or ribbon 30″ long and attach a safety pin to each one. String the cords through both casings with the ends on opposite sides of the bag. Knot the ends of both cords to form the drawstrings.
![]()
Fill the bag with crafty goodness for your favorite little one!
Carla
![]()
![]()
![]()
Carol Kussart
February 6, 2022 at 6:27 am (2 years ago)That is a sweet bag, Carla! Your little valentine will love it!
Kathleen McCormick
February 6, 2022 at 4:24 pm (2 years ago)Terrific project for that little coloring-loving Valentine.