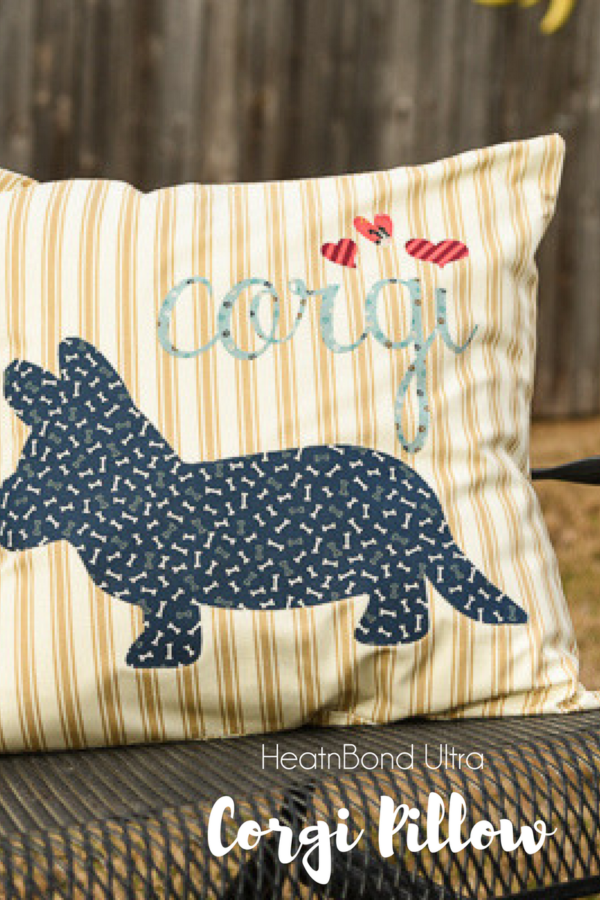
 Hey Thermoweb fans! Katrina here from Paper, Scissors and Glue sharing a fun DIY project that can be done in an afternoon, even for a beginning sewer like me!
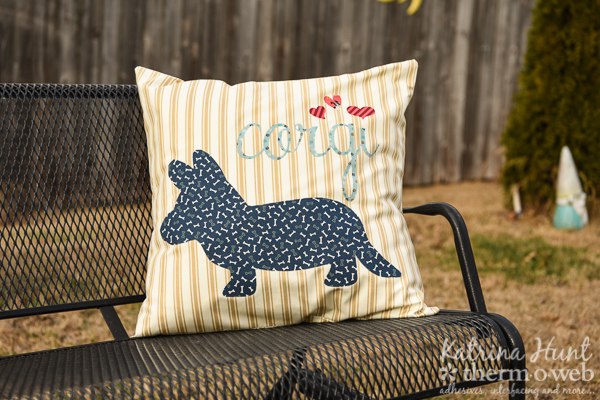
Corgi Dog Envelope Pillow with HeatnBond Ultra
Pillows are fun home decor, but making your own to match can make them more fun because you can customize them any way you like! The first project I learned in my sewing class was an envelope pillow, which is what I am sharing today. I used a couple of different sites for directions, but there are things that I would change, and I will note them as I go along.
Therm O Web Supplies:
HeatnBond Ultrahold-Single Pack 17inches by 5 yards
Other Supplies: Moda Woof, Woof, Meow Fabric, Pillow Form (22×22 inches), Fabric (22.5 x 22.5 inches and 22.5 x 27.5 inches); Hand-drawn pattern, Silhouette Cameo, Font-Riddle, Heart Cut File
Corgi Dog Envelope Pillow with HeatnBond Ultra Instructions:
I knew I was making a dog-themed pillow because the adorable fabric from Moda needed to be used! I went to the fabric store and found some heavier home decor fabric for my actual cover. One of the tutorials that I followed from The Seasoned Homemaker uses quilting fabric that interfacing is applied to. But with the hounds in the house, I wanted something that would stand up to cleaning!
My pillow form was 22 x 22 inches. To make my cover, I added .5 inch for cutting. I cut my front cover 22.5 x 22.5 inches, I wanted a tighter cover, rather than a looser one. For the back, I added .5 on the short side and then 5.5 inches on the longer side. I cut the back piece 22.5 inches by 27.5 inches. I then cut that in half to 22.5 inches by 13.25 inches to create the envelope back. Here is where I would have made a change, I would have probably added another couple inches for the flaps to fold over more. I probably would add 7-8 inches next time. The other site I followed, So Much Better With Age, is more like my first pillow and I like the flap over better.
After I had my covers cut, I then started on the design part. (Note, I jump around in my sewing a lot because I am new and do NOT have any sort of system that makes anything easy!) My roomie drew the corgi body for me on just regular copy paper. I cut it out and then laid it on my fabric and cut it out, evening it up after it was all cut out.
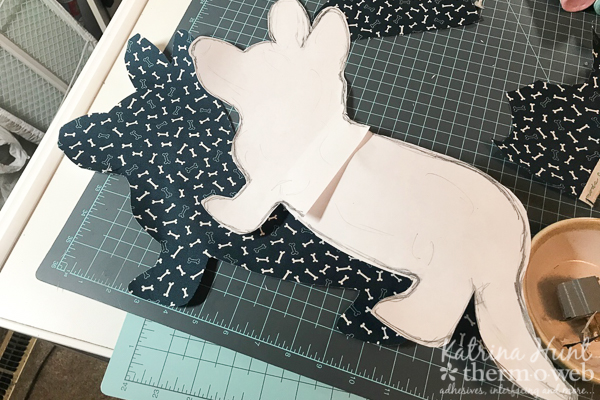
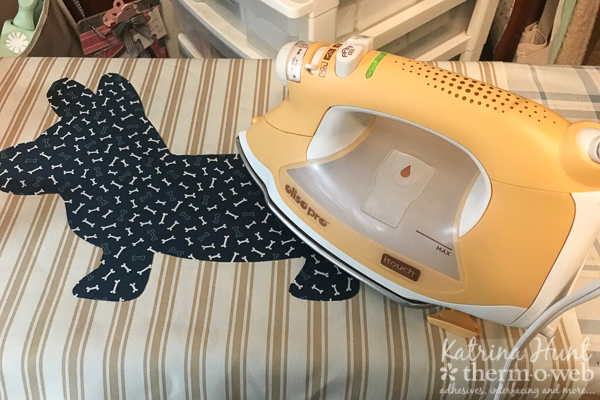
I trimmed the same shape out of a sheet of HeatnBond Ultahold and then ironed it onto my fabric. I forgot to get a shot of the package because I had helpers grabbing fabric scraps and playing tug with them! And I love the Oliso iron that I picked up on Black Friday! It lifts up so that if I am distracted it won’t burn my project by sitting on it!
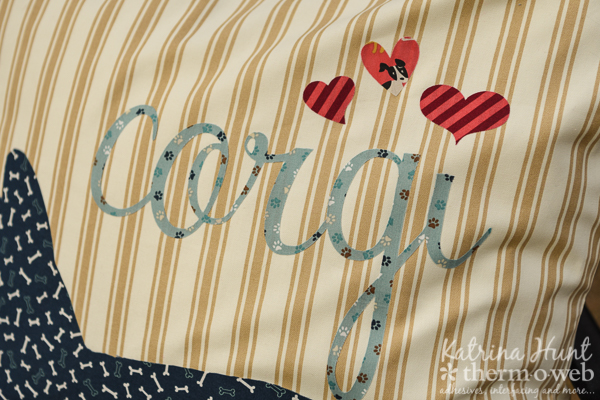
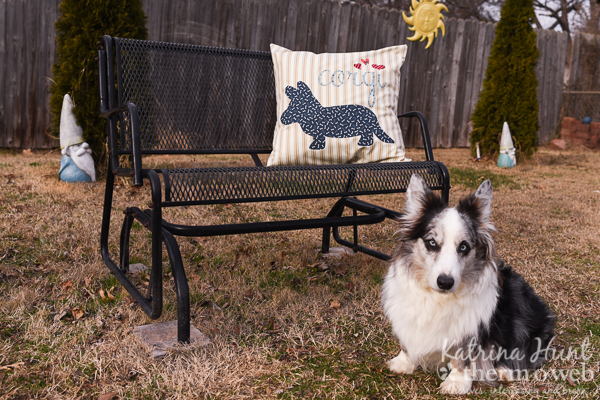
I knew I wanted to use the word “corgi” and put hearts somewhere. As I was scrolling thru fonts, I found the Riddle font that I had downloaded and loved the cursive feel. And then I came up with the idea of dotting the ‘i’ with hearts! I adhered some HeatnBond Ultra to the fabrics I had chosen and then cut those on my Silhouette Cameo on the fabric setting. I then applied them to the front cover.
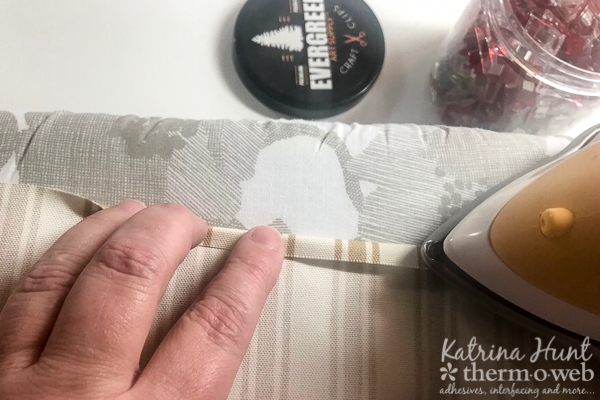
I did a double hem on each edge of the back covers by folding over 1/4 inch and then 1/4 inch again to hide the fabric edge. I iron the seam to set it and then used clips to hold it in place while stitching. This will give you a nice clean seam since it shows!
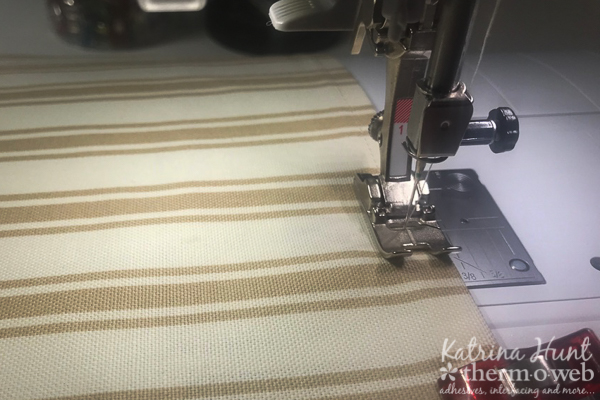
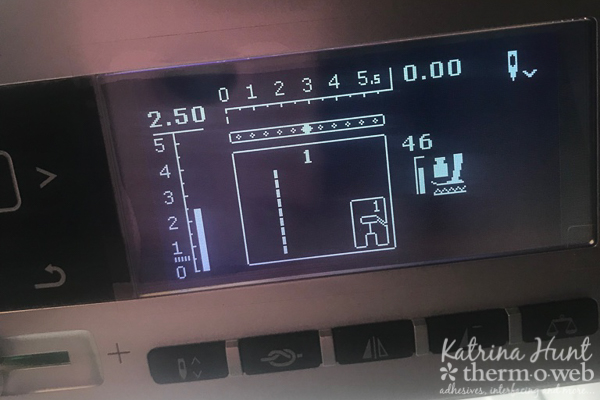
I then placed the covers, wrong sides together and stitched all the way around the pillow cover. You could also serge for a cleaner finish, but my serger was not playing nicely and I didn’t want to throw it thru the window! I used the edge of my presser foot again as a guide and also a 2.5-inch stitch length.
 Snip the corners off at an angle and then flip the cover right side out. Poke out the corners with a blunt point, I used the end of a paintbrush. Stuff your pillow form in and enjoy!
This is Jetson, one of the pups that were playing tug with the scraps and one of the inspirations for the pillow! He loves to play and has those big ears!
Have a great day and thanks for stopping by!!!!
