 Hey there! It’s Katrina from Paper, Scissors, Glue and Hybrid Too on the blog today!! Snow, do you love it or hate it? I LOVE it! And Therm O Web’s Deco Foil Flock is perfect for a snowy layout to give it texture and softness!
 But FIRST, Therm O Web is having a sale!!! You can find all the sale items HERE and some you can save up to 50% on!!
Be sure to check it out, because once these are gone, I think they are gone! There are some of my favorites in there also!
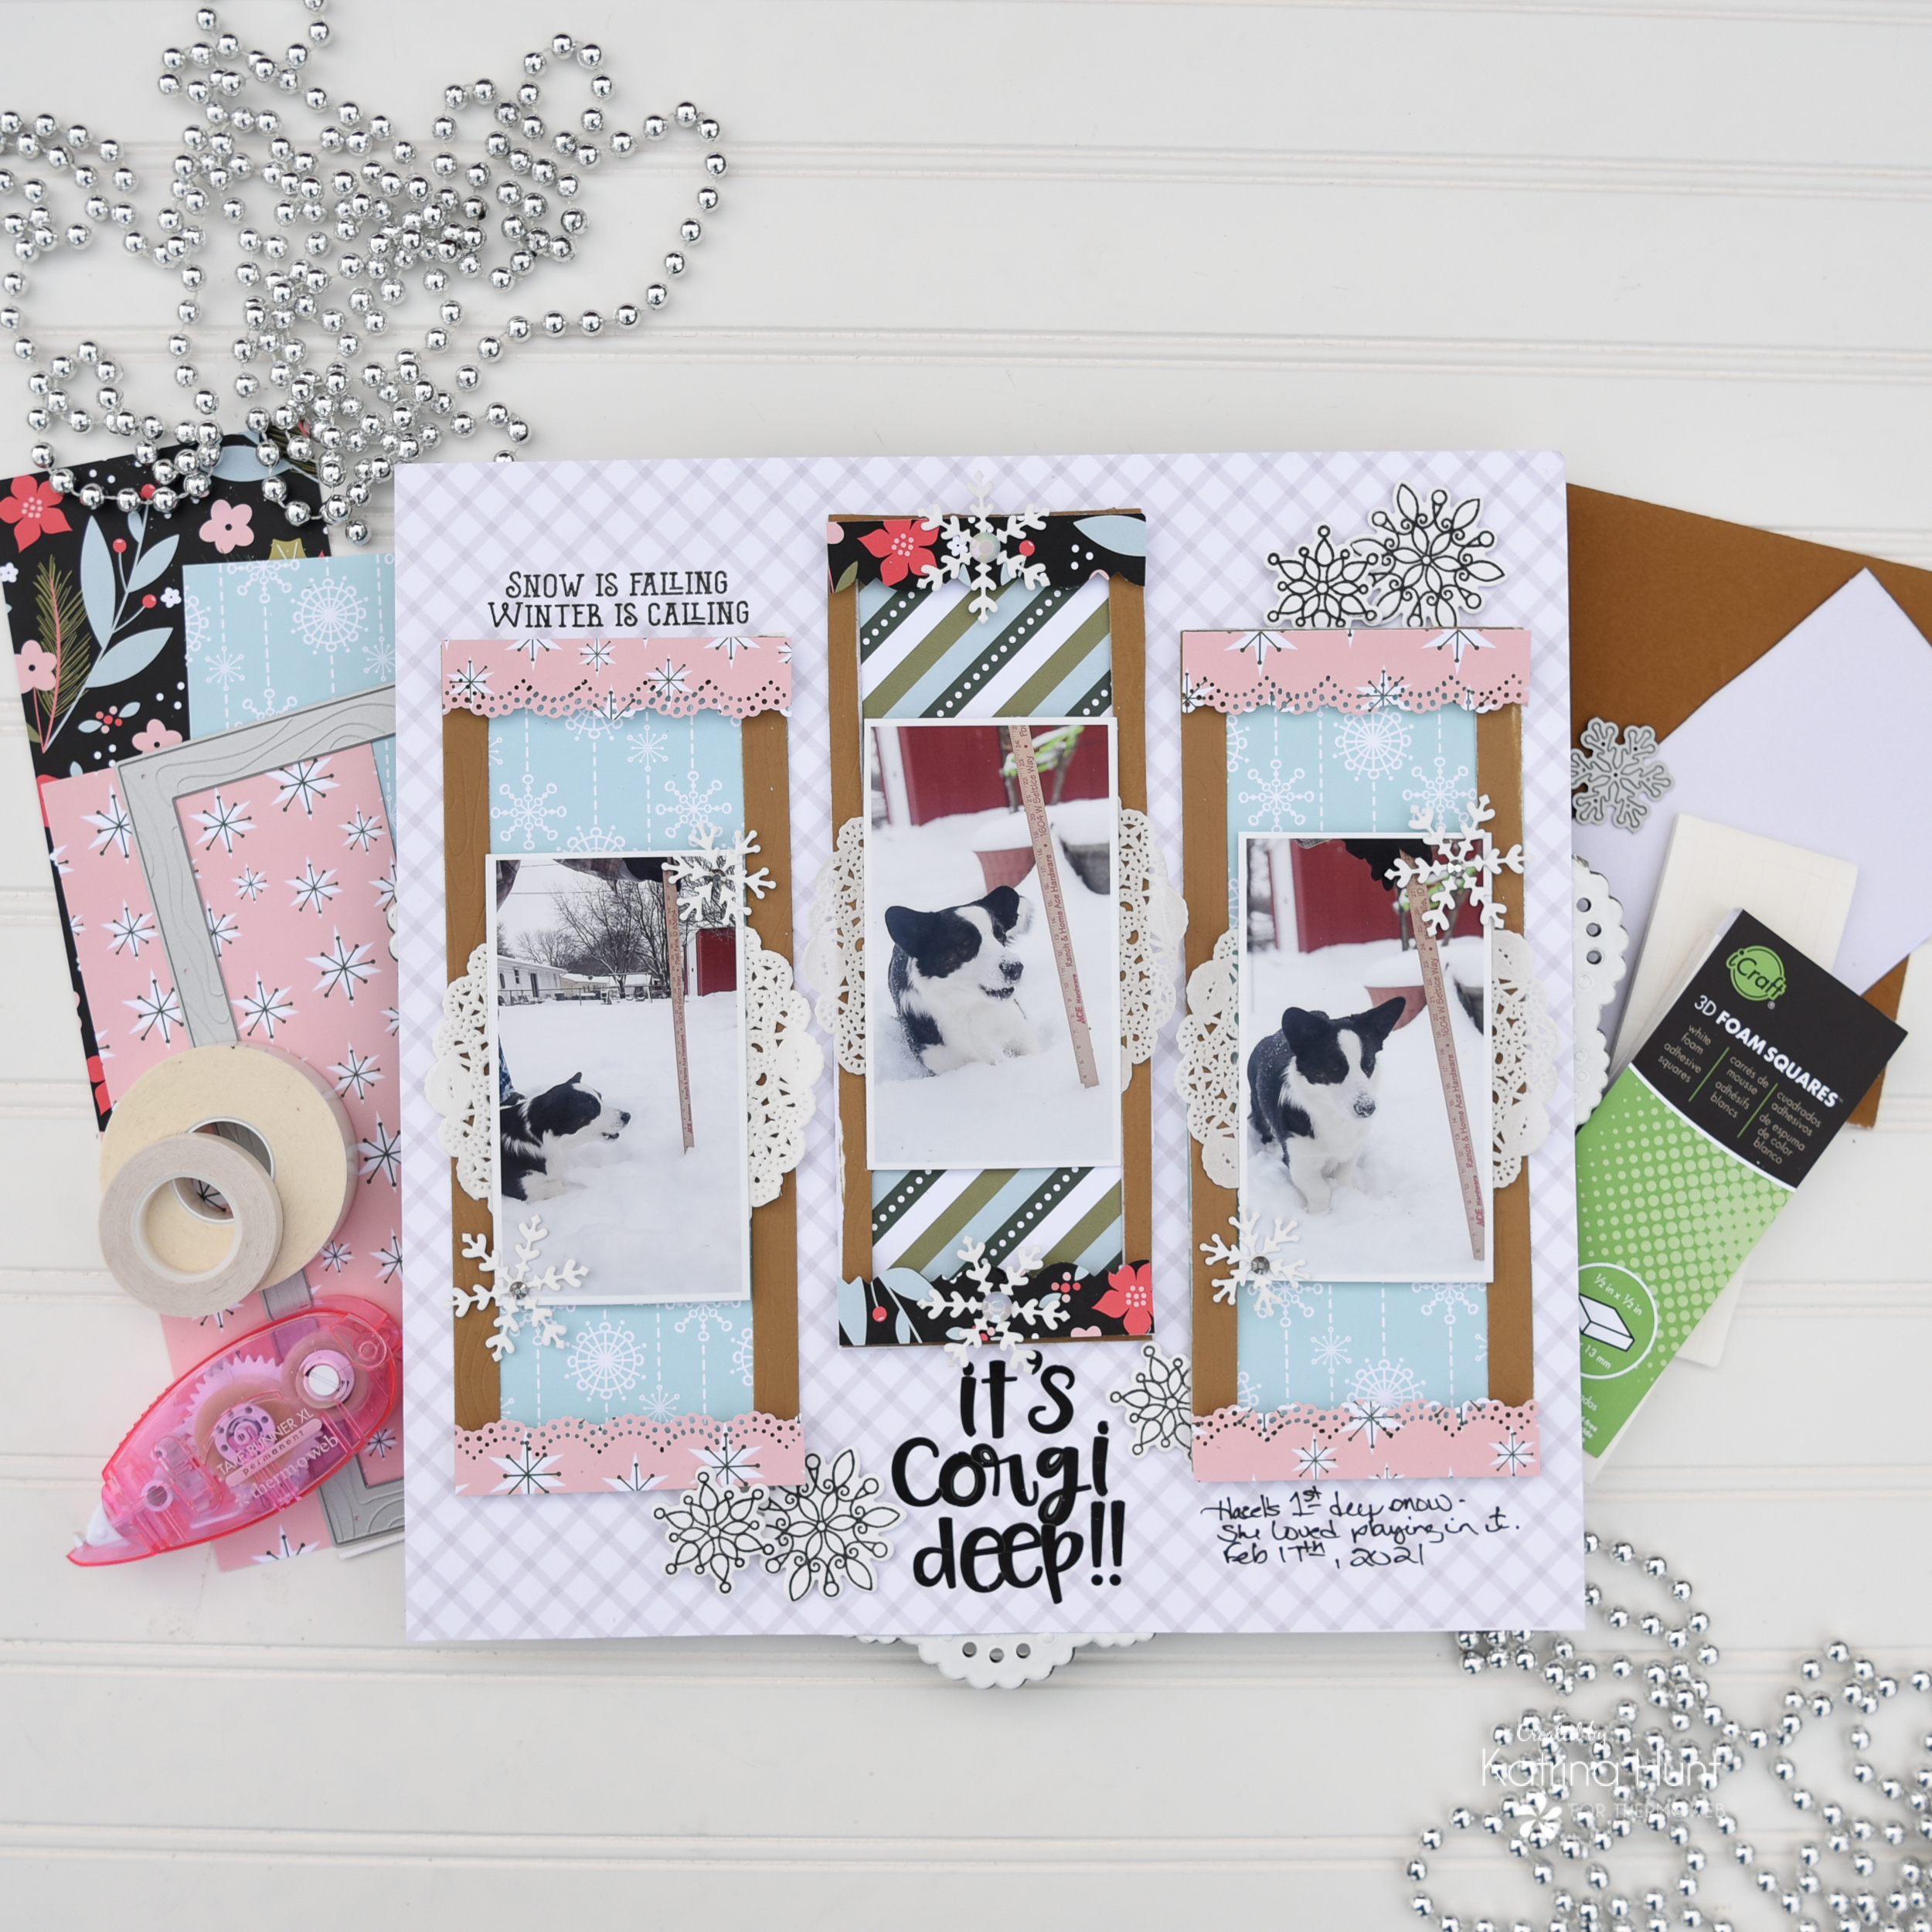
Therm O Web Supplies Used
Memory Runner XL
Memory Runner XL Refill
3D Foam Squares – Combo Pack
NEW 3D FOAM SQUARES BOX
NEW 3D FOAM TAPE ROLL 1/16
Deco Foil Flock Transfer Sheets – White Latte
Deco Foil Flock Transfer Sheets – Tuscan Gold
iCraft Easy Tear Tape 1/8 inch
iCraft Easy Tear Tape 1/4 inch
iCraft Easy Tear Tape 1/2 inch
iCraft Easy-Cut Adhesive Sheets
Eileen Hull Easy-Cut Adhesive Sheets 6×12 inch
Ultra Bond Liquid Adhesive
NEW ULTRA BOND LIQUID ADHESIVE PEN
Other Supplies Used
WeR Memory Keepers Border Punch-Scallop Lace Edge
PinkFresh Pattern Paper-USE CODE KATRINA FOR 20% OFF your entire order at Paper Issues
Catherine Pooler Supplies
Grandma’s Attic Slimline Paper Pad
Winter Frames Slimline Dies Set
Scrolling Snowflakes-Stamps and Dies
Scrolling Snowflakes Bundle
This Christmas Bundle
Winter Wonders I Want It All Bundle
This Christmas I Want It All Bundle
It’s Corgi Deep Scrapbook Layout Details
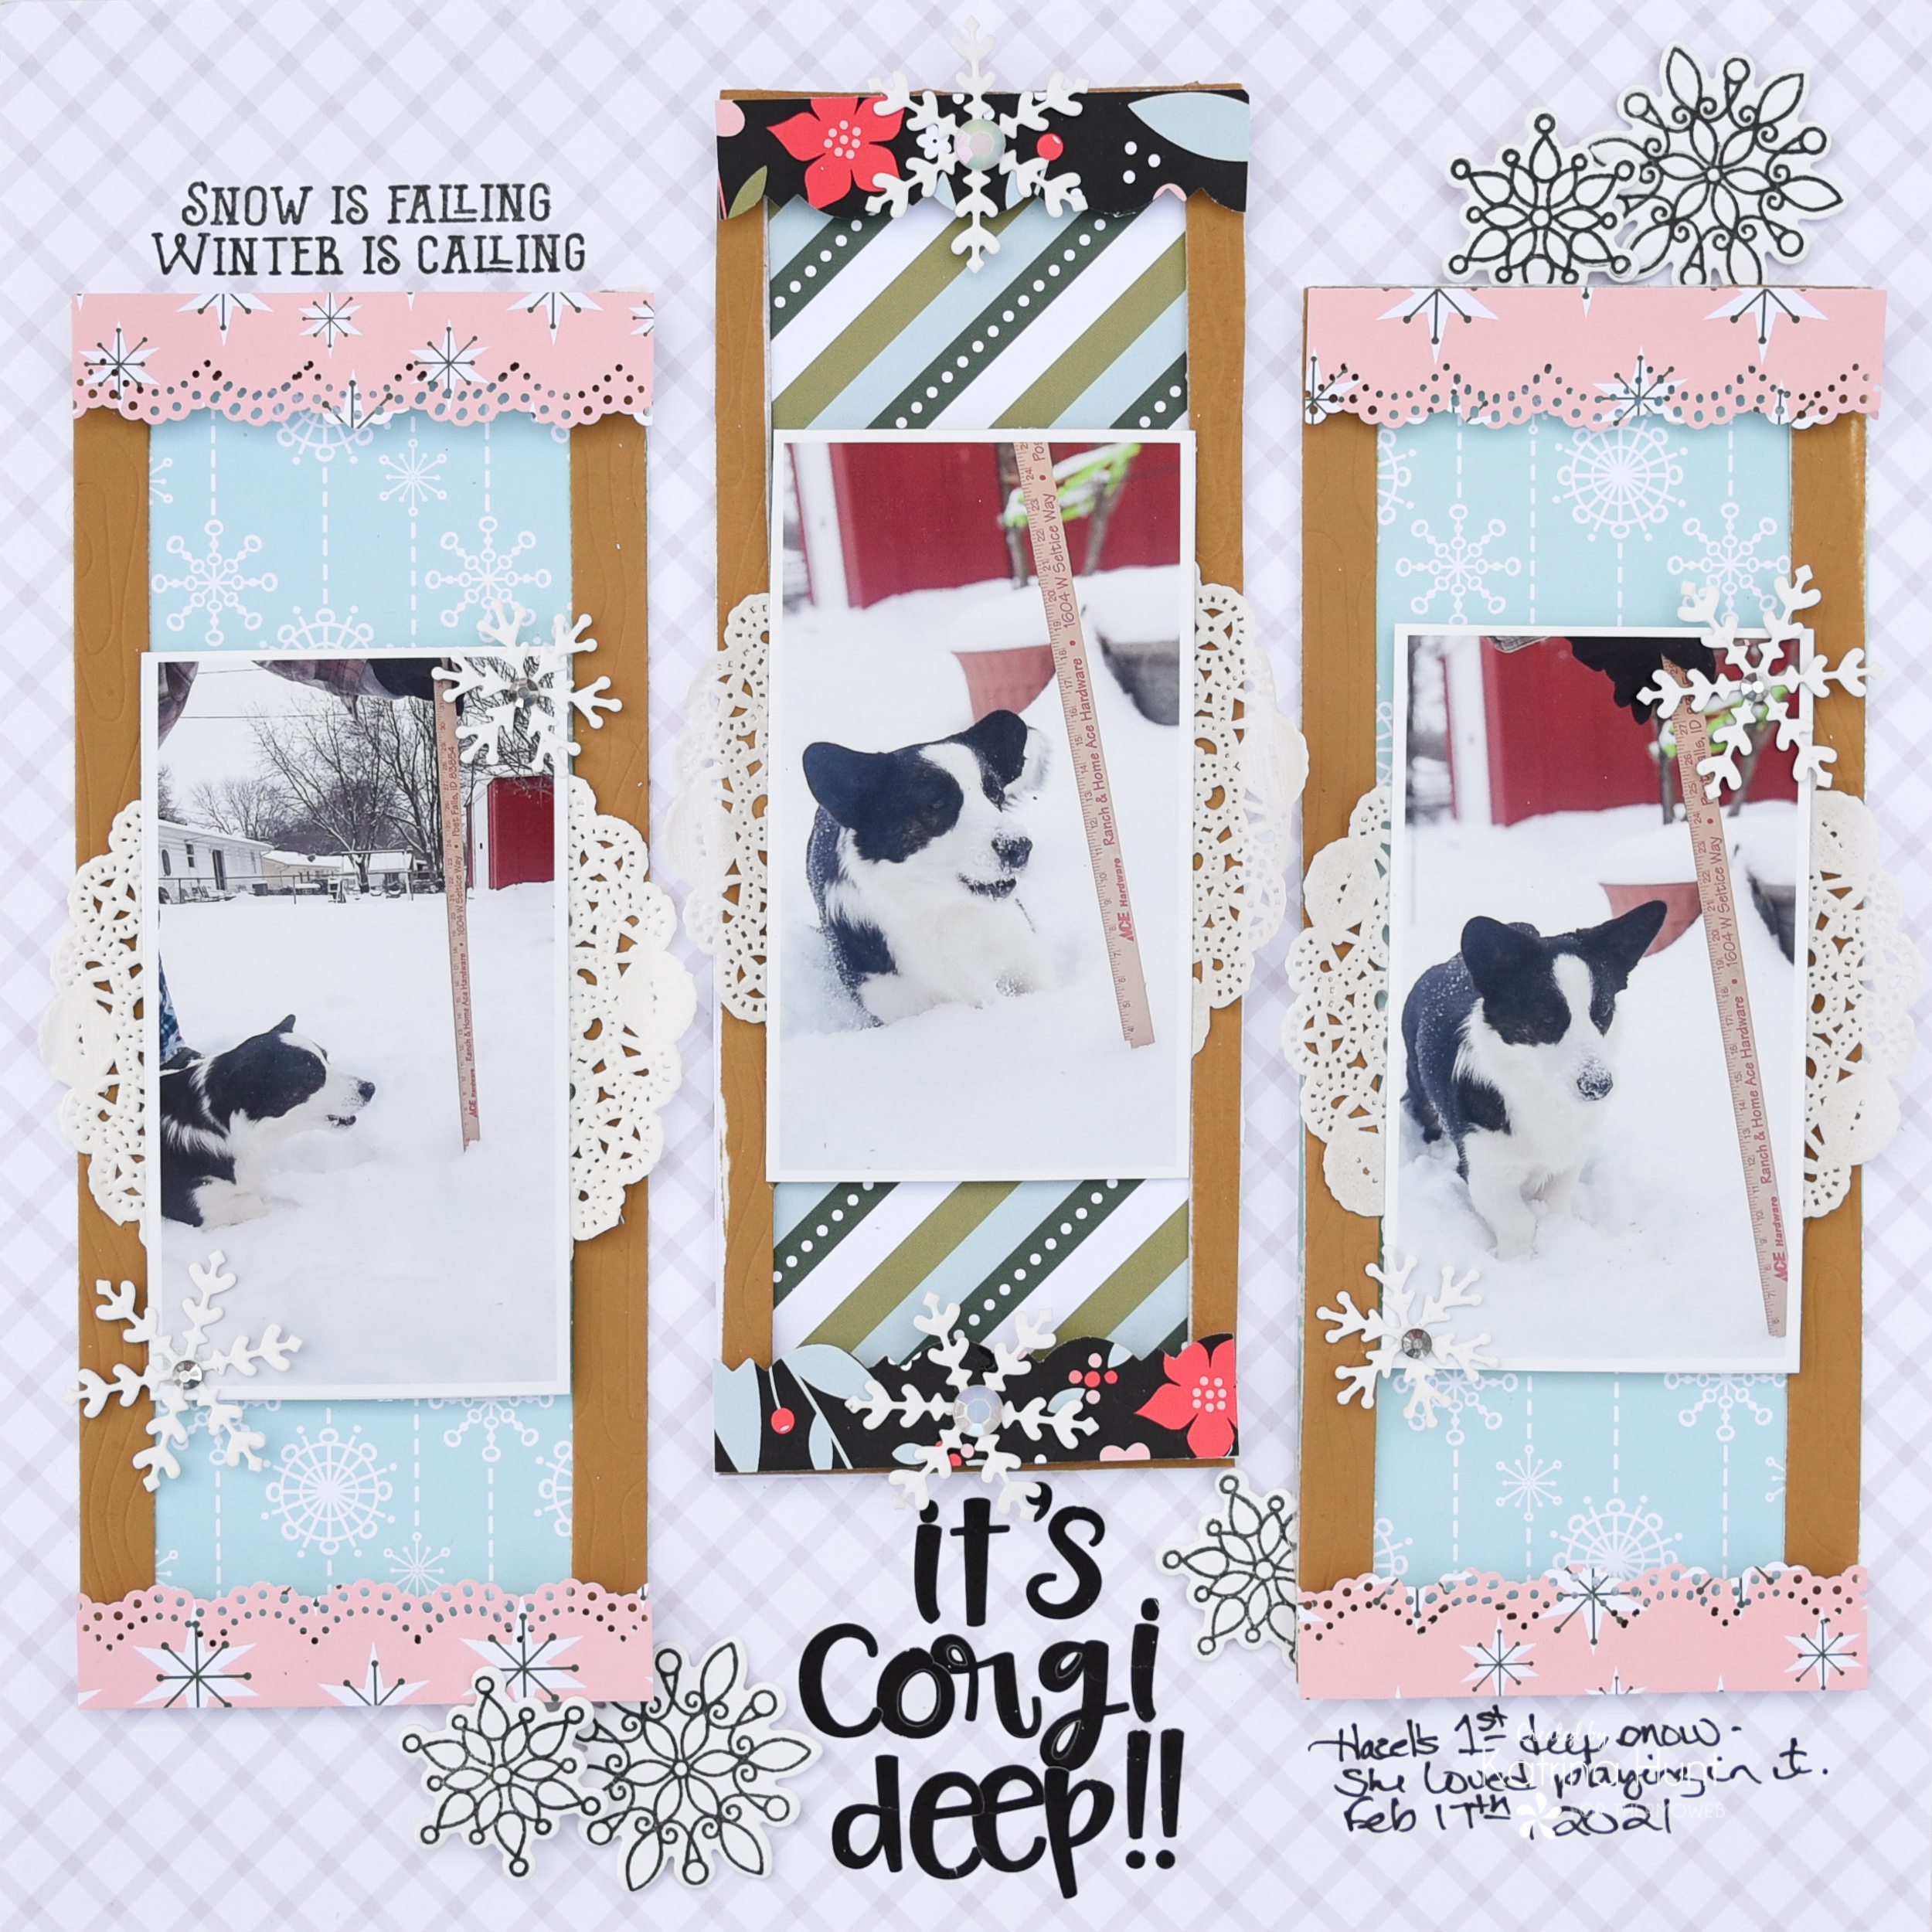
This layout came about because I had some slimline frame dies that I wanted to use. They have a wooden/bark look to them that I thought would look fun with the red shed in the background. I also thought they would look really cool with the Deco Foil Flock in Tuscan Gold.
Making The Die Cut Frames
There are several different ways I could have done this and I possibly might have chosen the hardest way, but it was the way it made sense for me! So, I am going to take you thru step by step and share the process I used. For supplies, you will need heavier weight cardstock, iCraft Easy Cut Adhesive, iCraft Easy Tear Tape, and a die cutting machine.
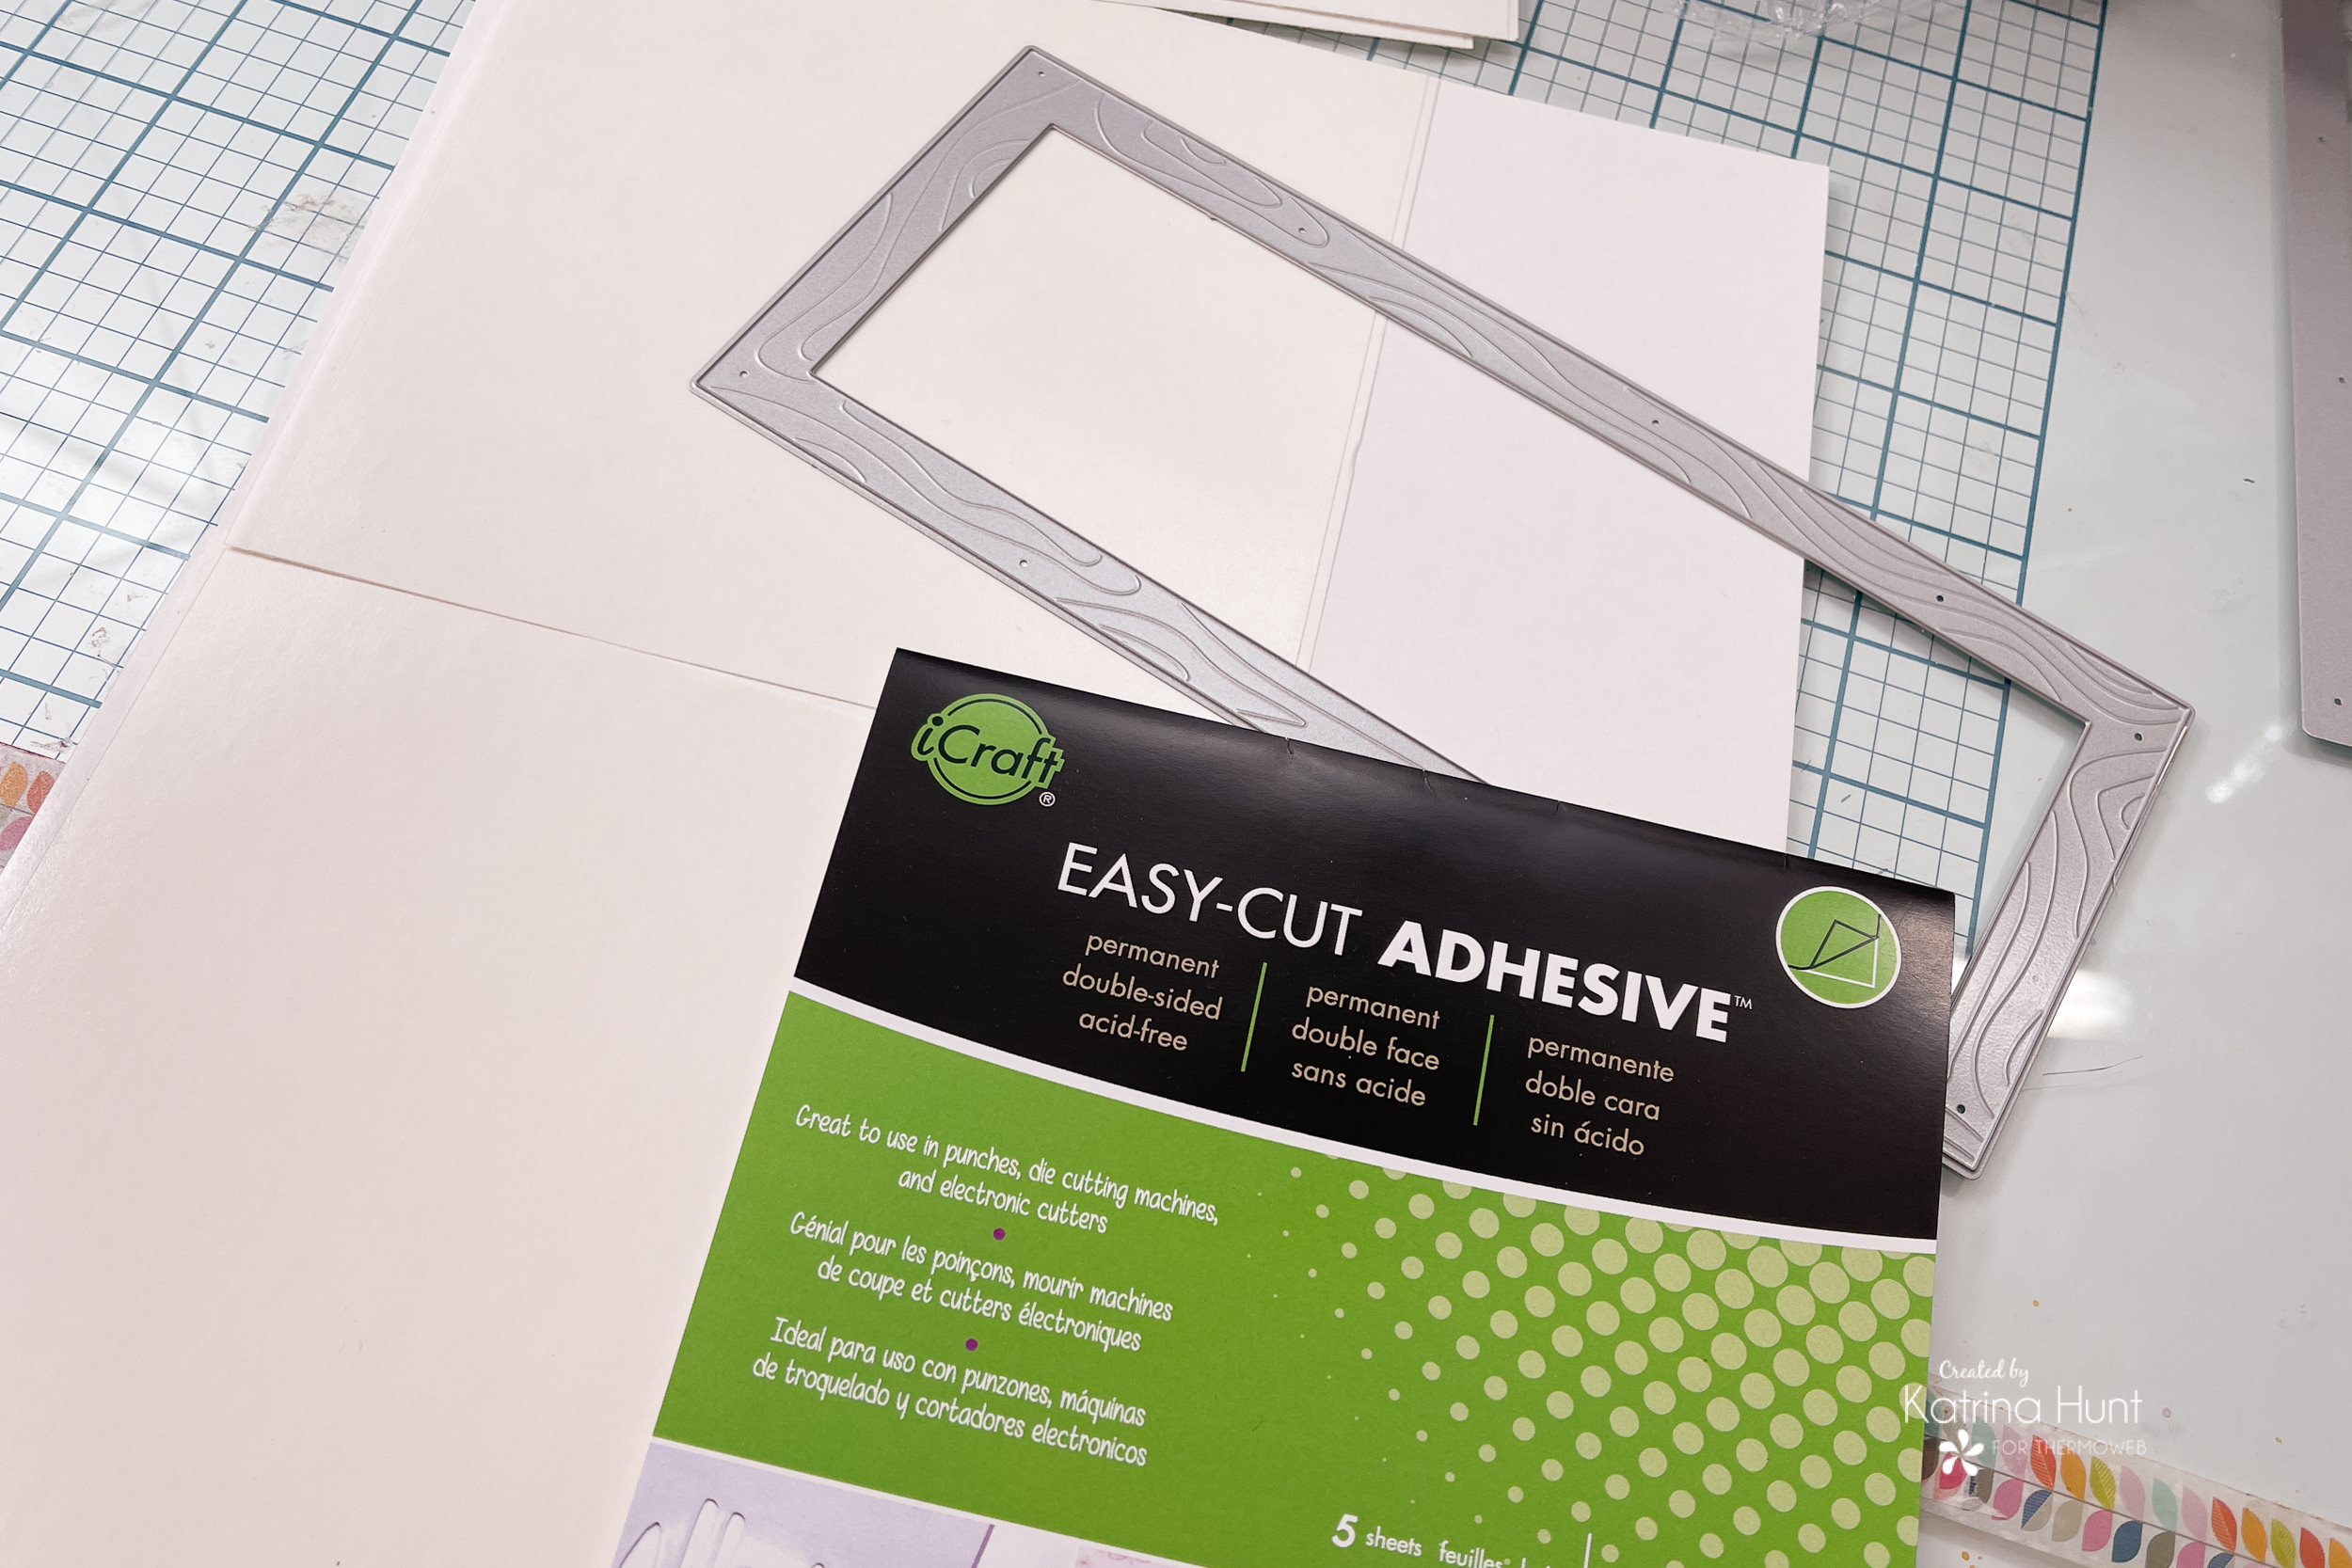
The first step is to apply one side of the Easy-Cut Adhesive sheets to the cardstock. If you have the 6×6 sheets, just match up the ends touching as close as they can. The sheets do come in a 6×12 option also, but I only had one sheet of those! Either way will work and once flocked, it is really hard to tell that it wasn’t one big adhesive sheet! Once your adhesive has adhered to your cardstock, you will cut out the slimline frame. I cut three for my layout, so this meant that I had to do the adhesive sheet/cardstock process three times.
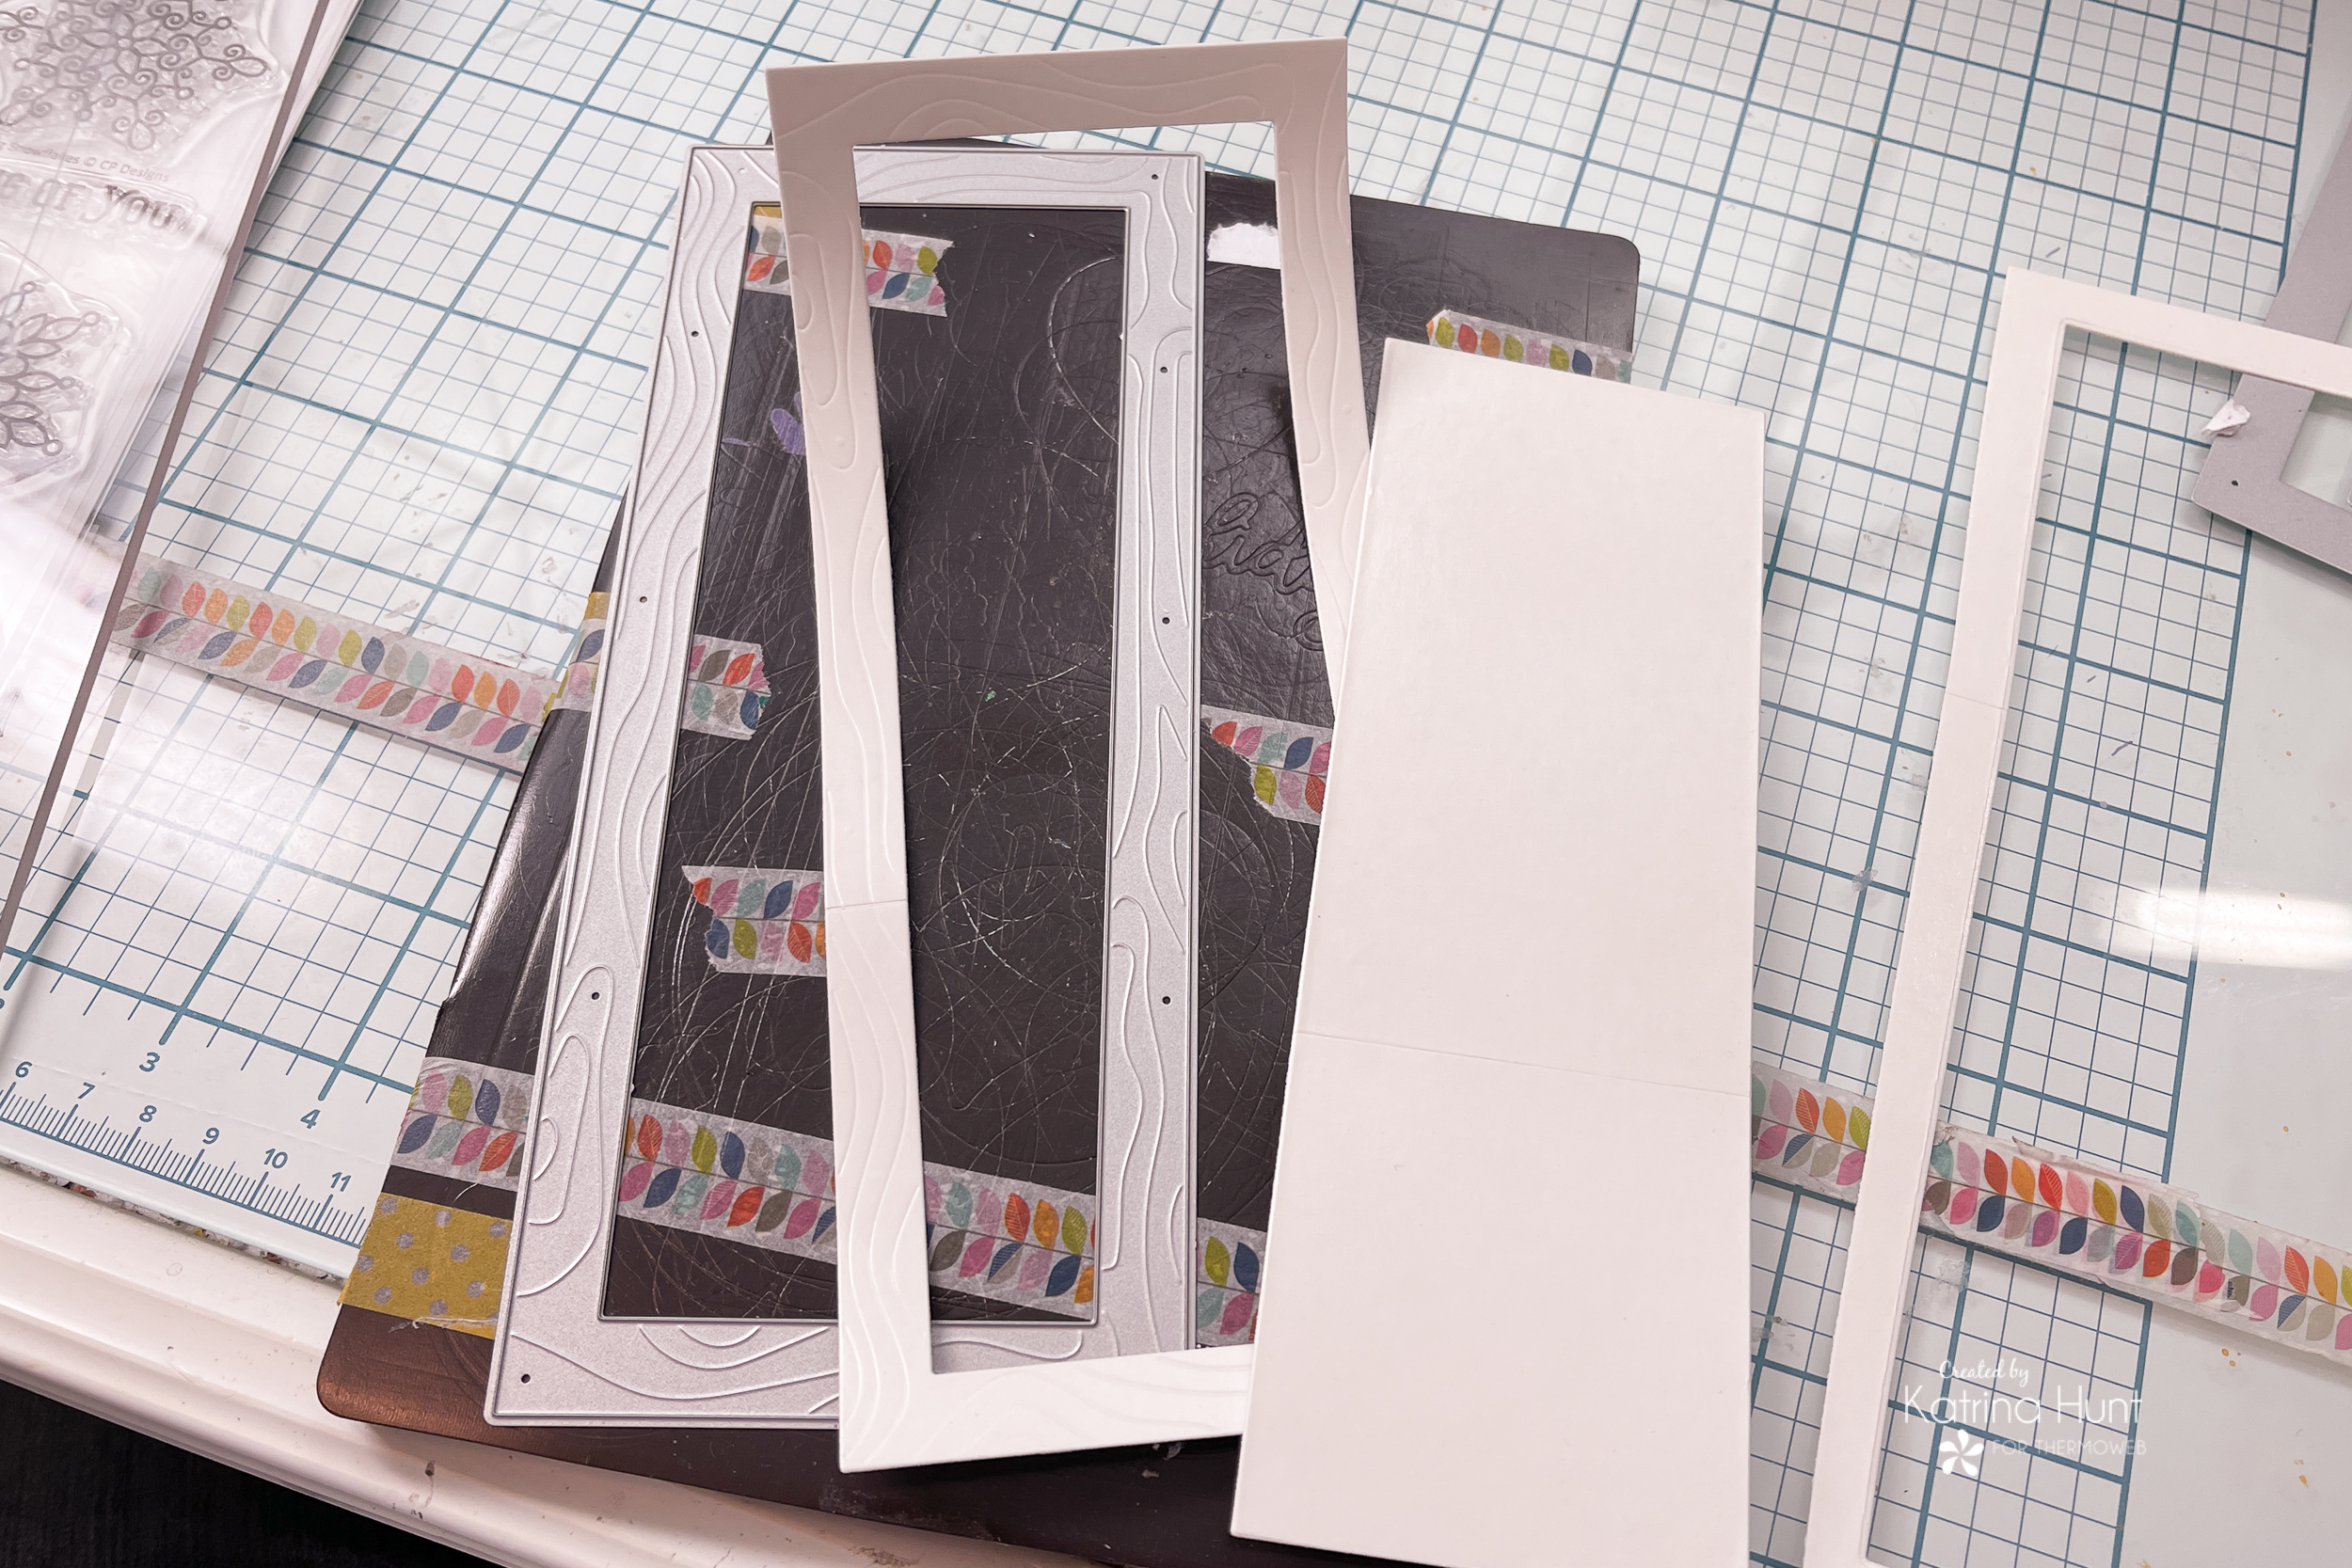
Keep that middle cut-out section of the frame, because it will come into play a little later in my process!
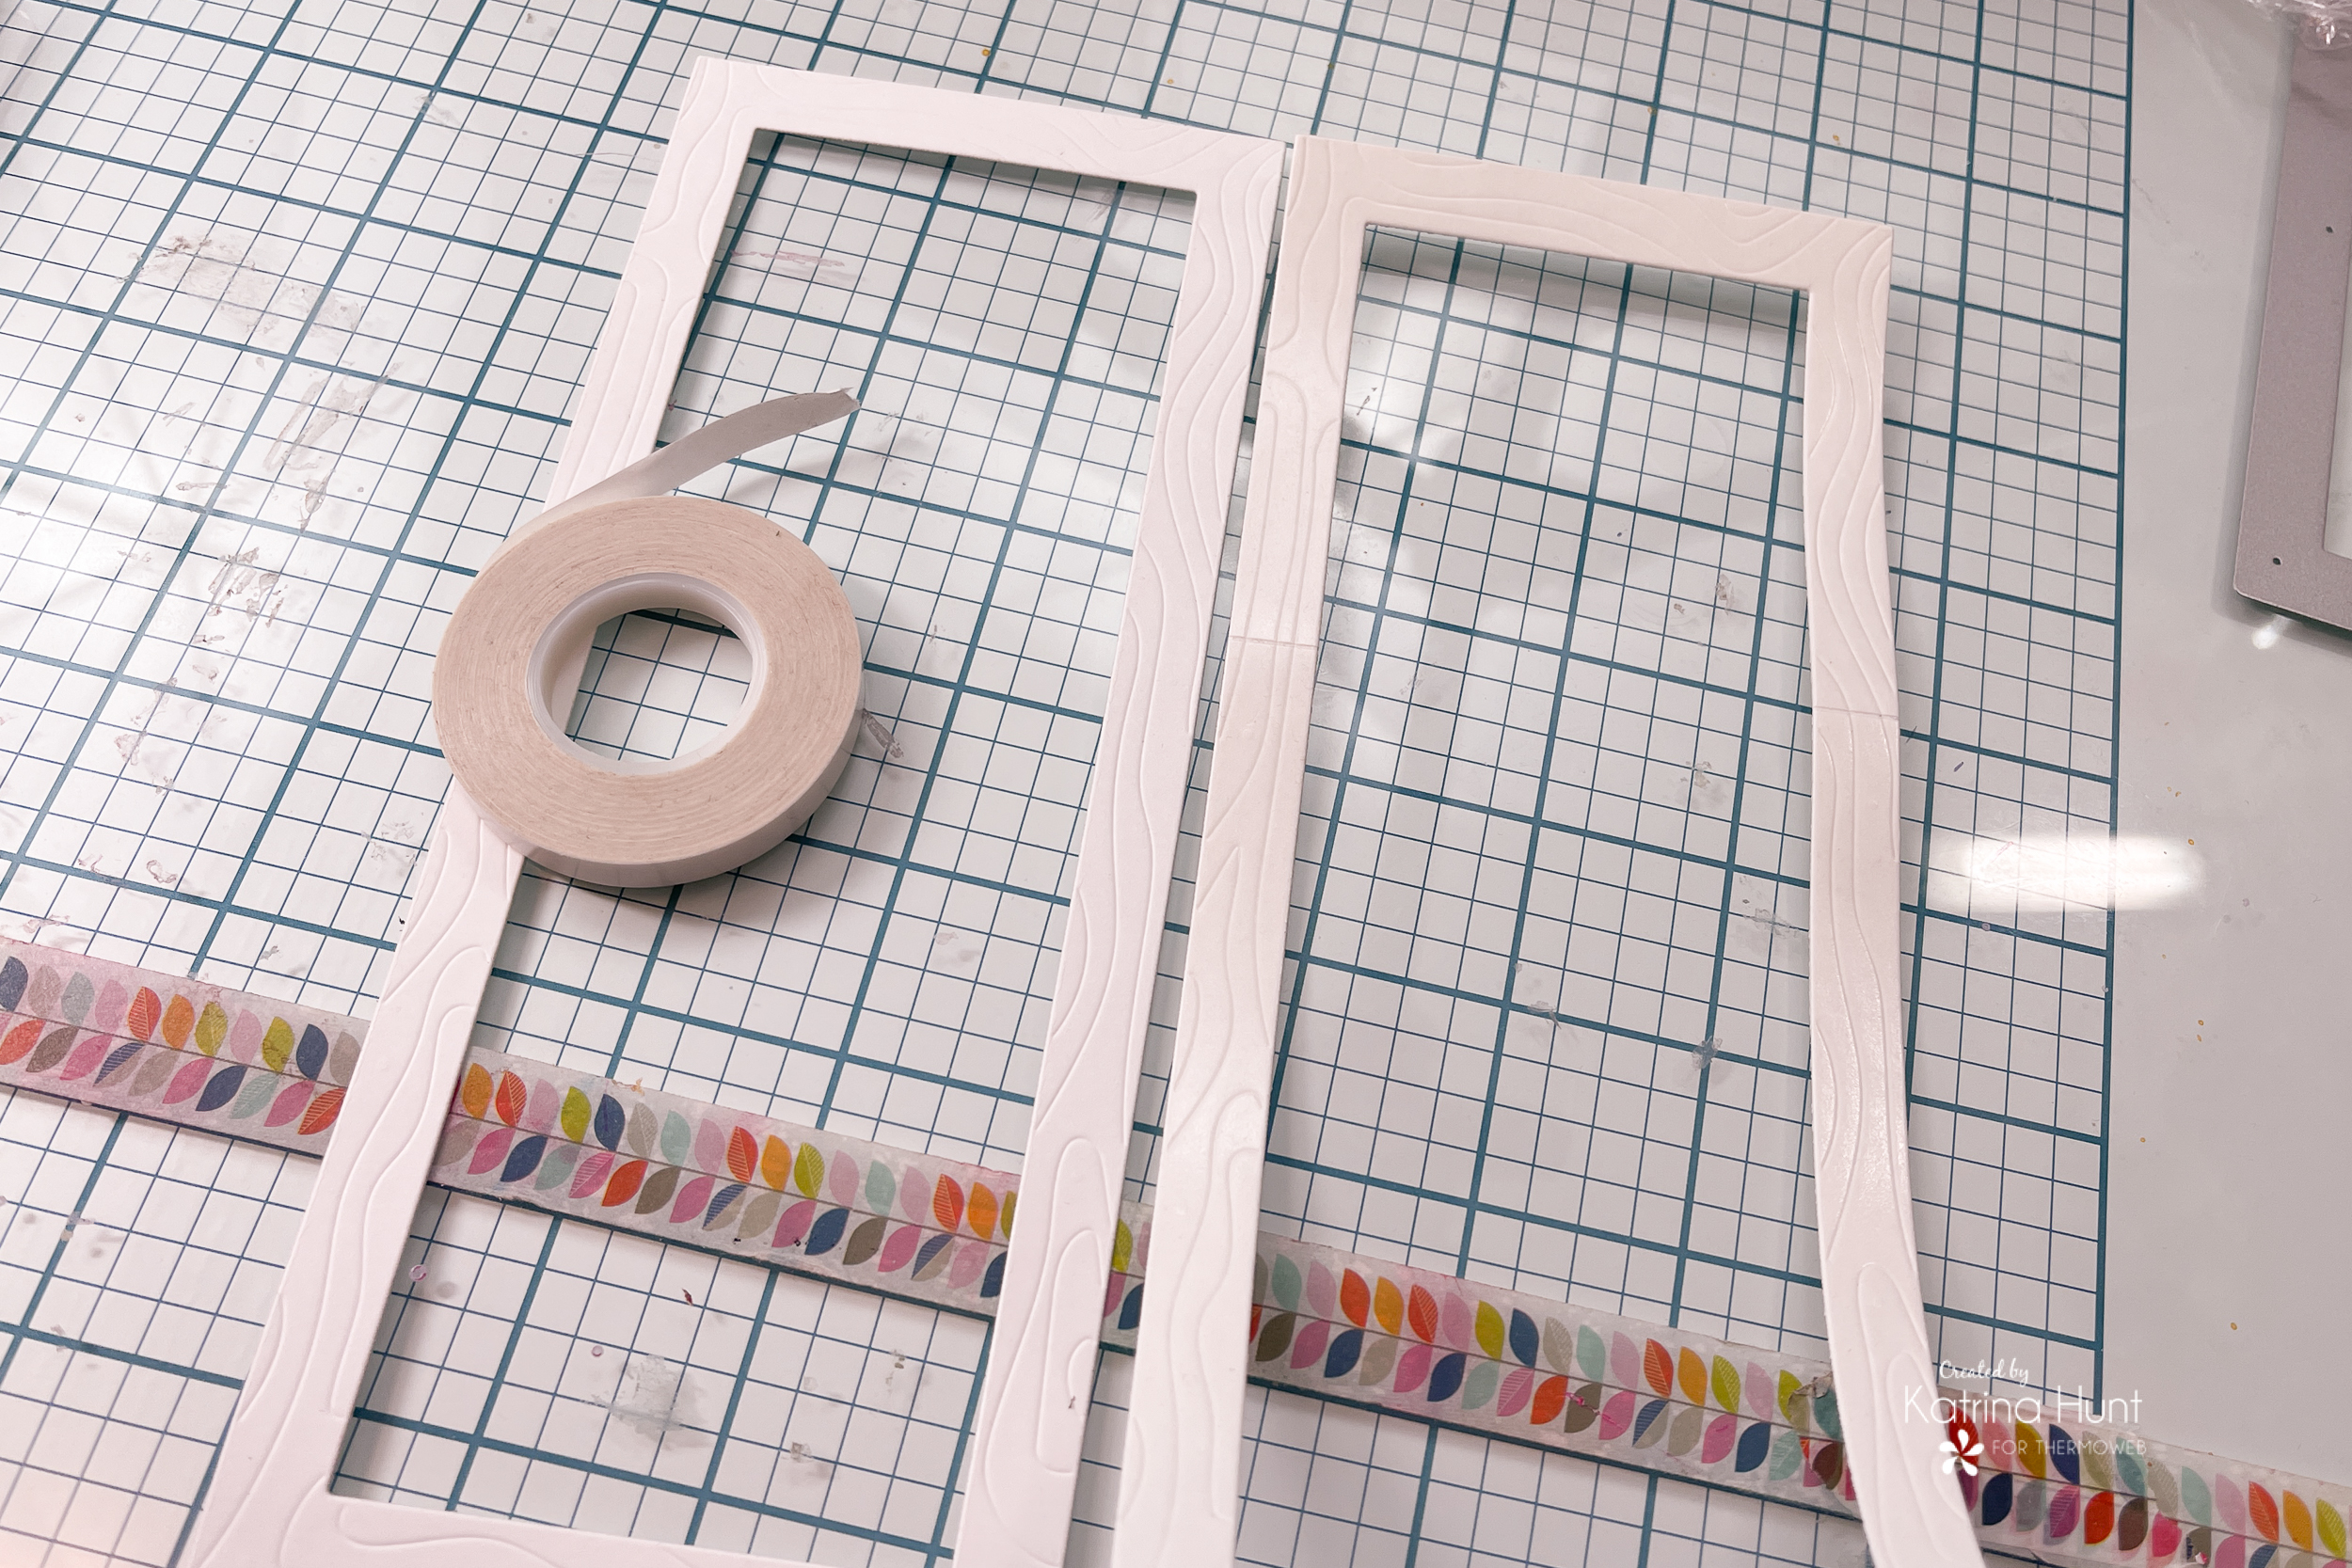
As you can see, my frame is a little wonky! It was really humid here and it was affecting my paper. Also, I should have used heavier cardstock, to begin with. In order to solve my wonky frame issue, I cut two more just plain cardstock frames and adhered them with the iCraft Easy Tear tape to the back of the first frame There are three different widths of the tape, so it makes it easy to adhere to different widths. For this frame, I used 1/4 inch tape.

Hazel is such a cutie!!! And she was about 10 months old here and it was her first deep snow!
Flocking the Frames
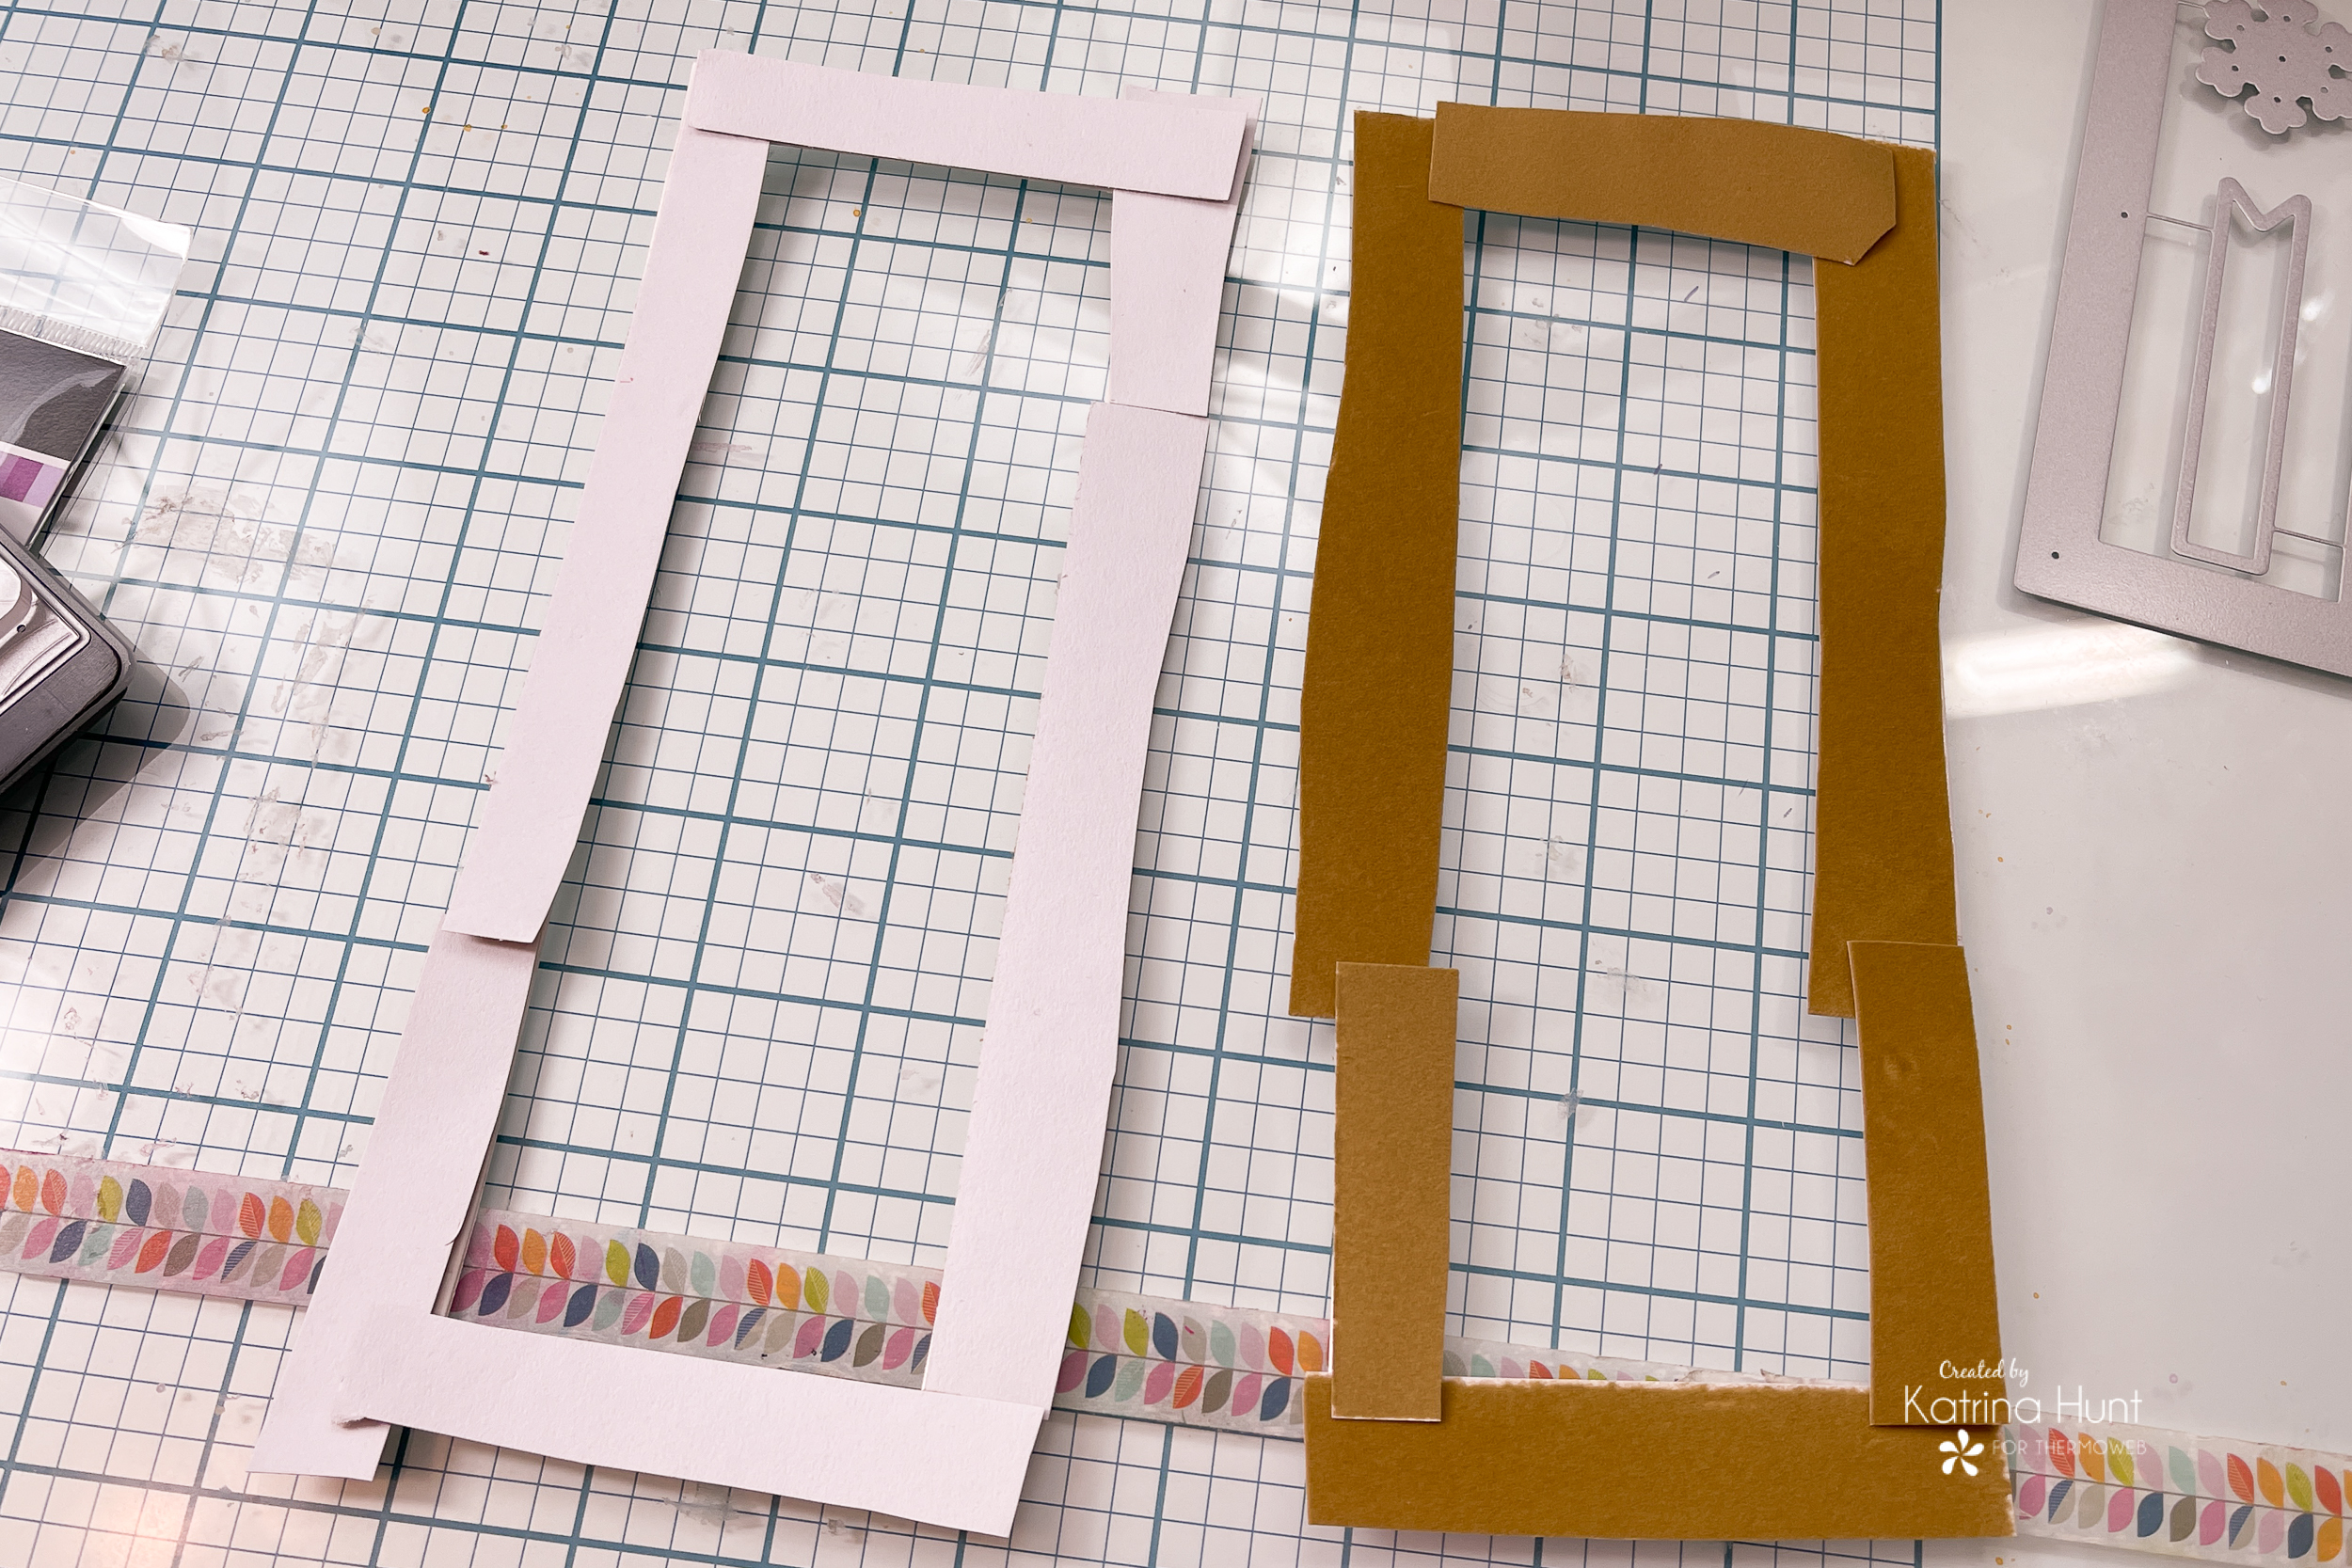
Next in the process is to apply the flock. I want to tell you that you do NOT have to have a full strip or piece of the flock to cover an area. I took this picture to show how you can overlap the flock and you won’t be able to see the overlapping areas once the piece is flocked. This is a GREAT way to use up scraps, which is what I did. Instead of using full sheets for every single frame, I cut and pieced my flock on the frame. This saves on supplies and also uses up smaller pieces! To adhere to the flock, I just ran thru my die-cut machine.
Details on Flocked Frame
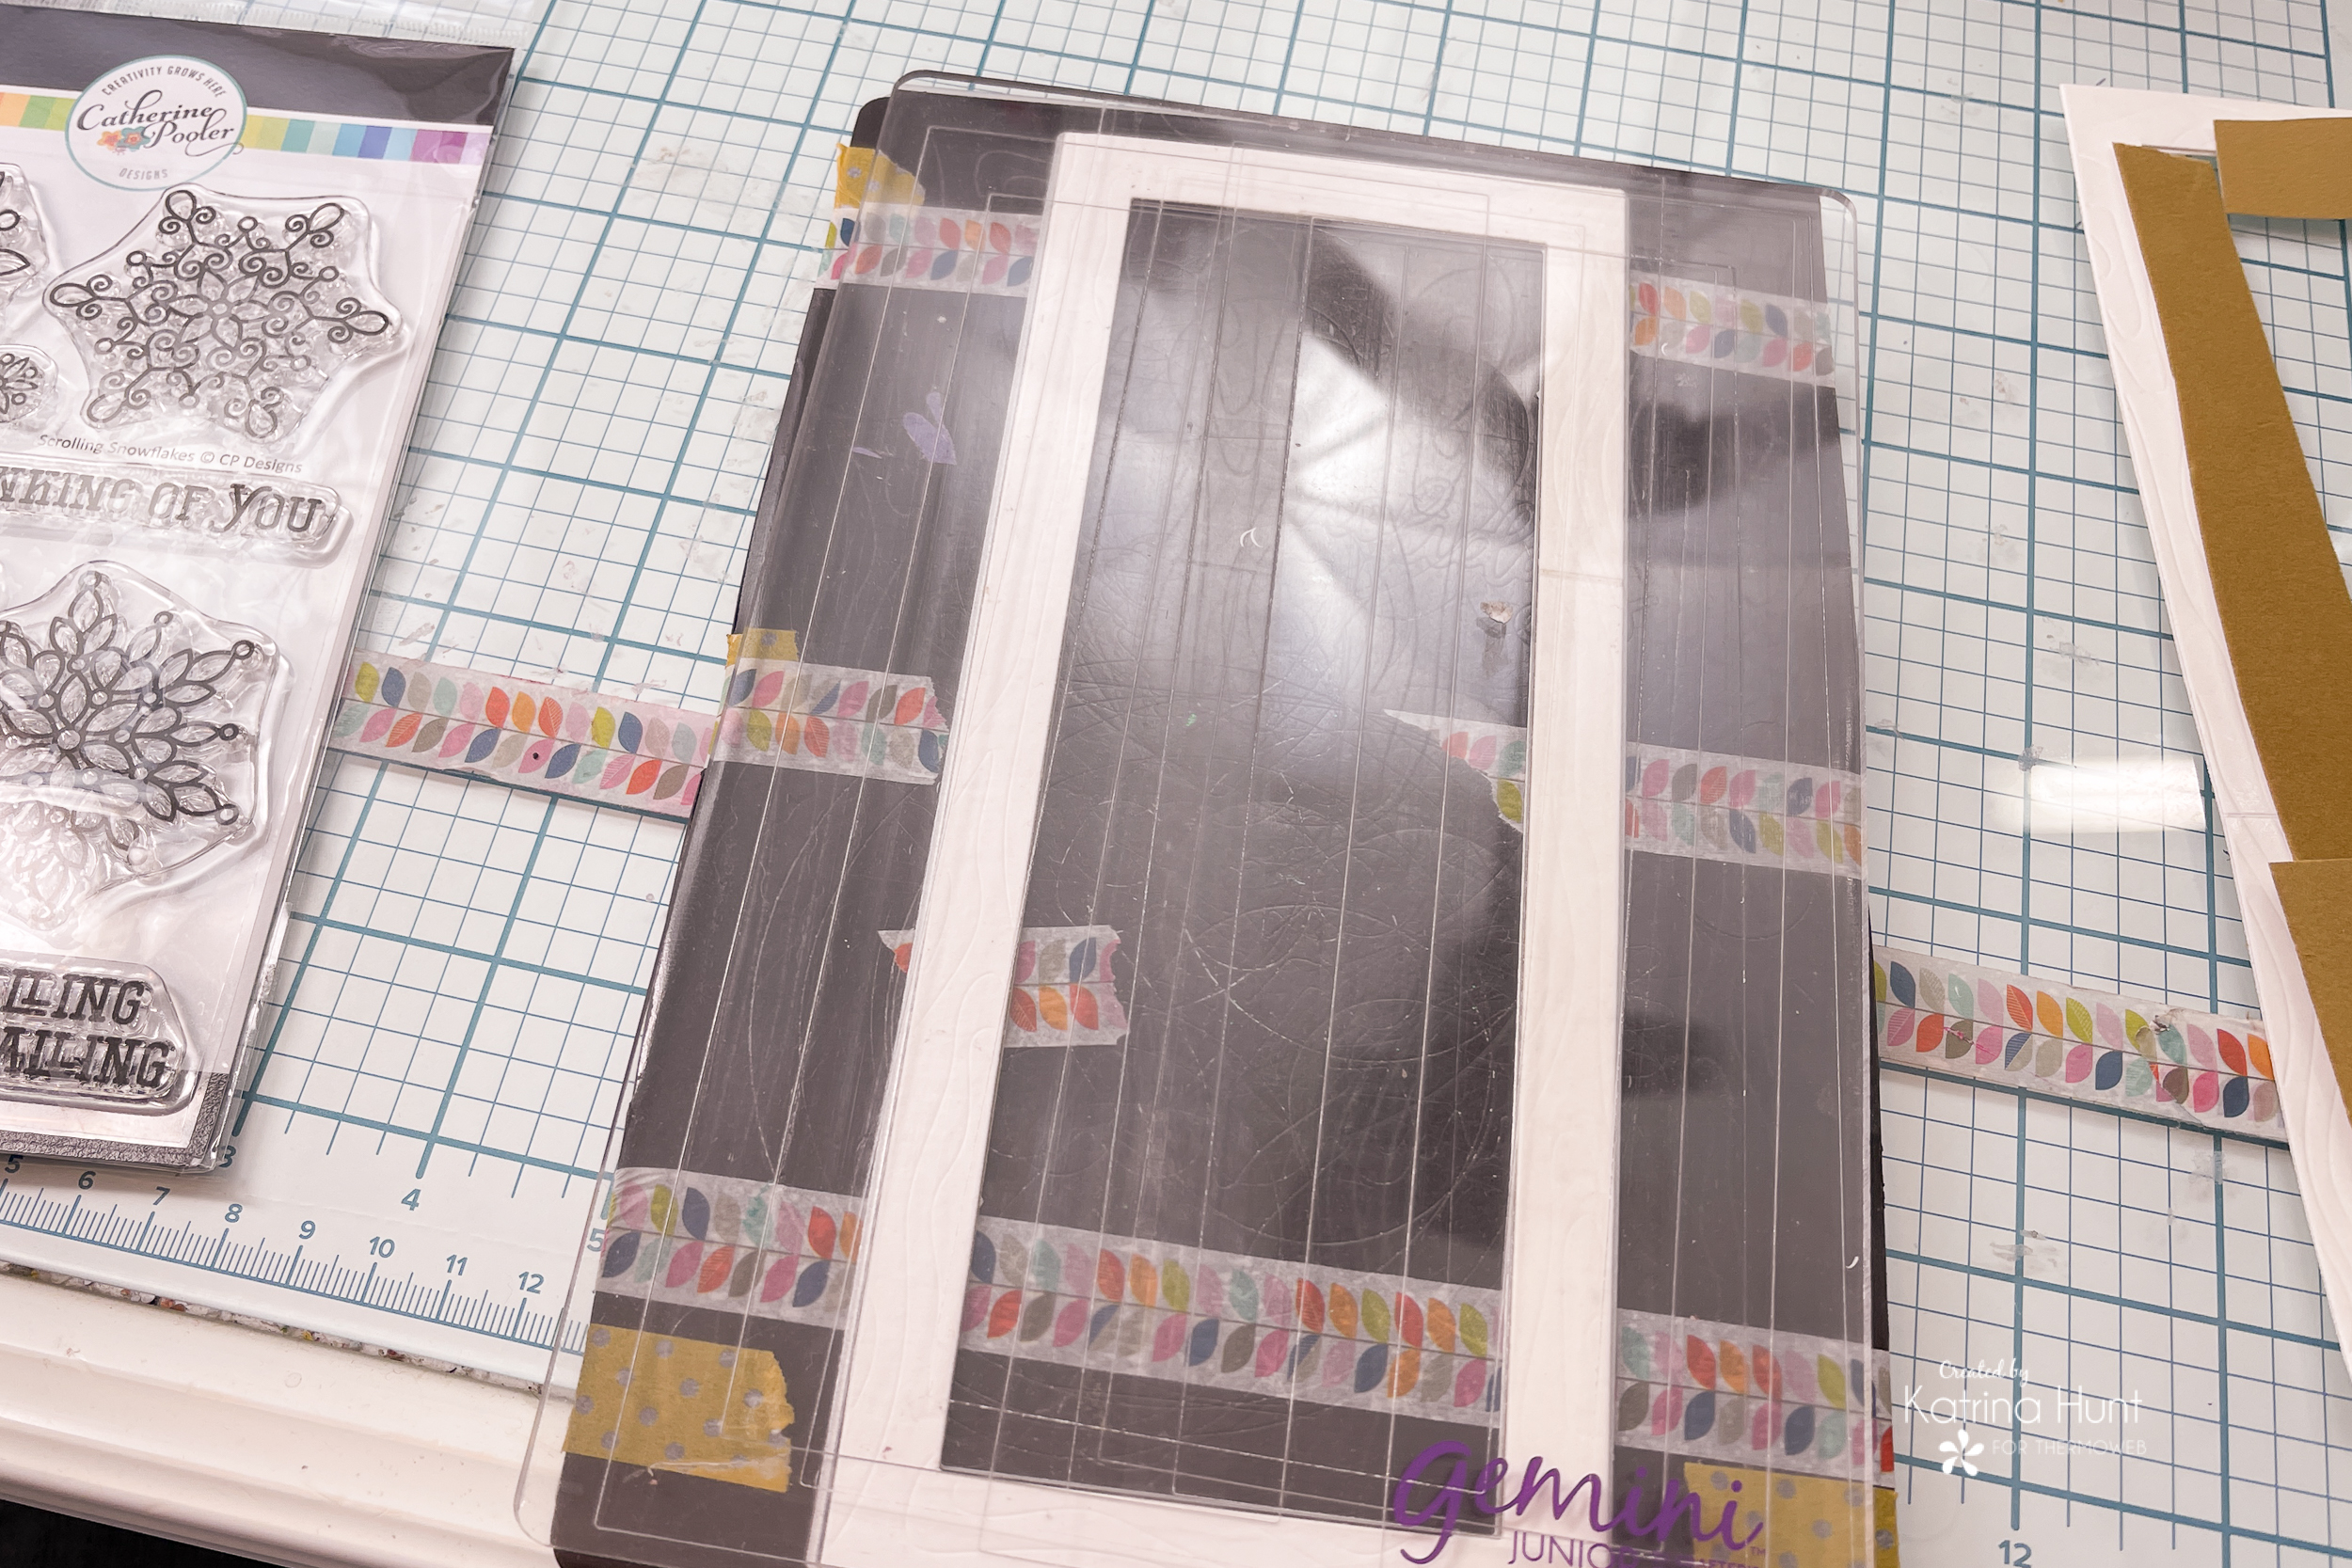
Now the problem was that the wood grain on the frame didn’t show on the flock! The problem is easily solved by lining up your flocked die cut with the actual die, flocked side toward die and running back thru your die cut machine.
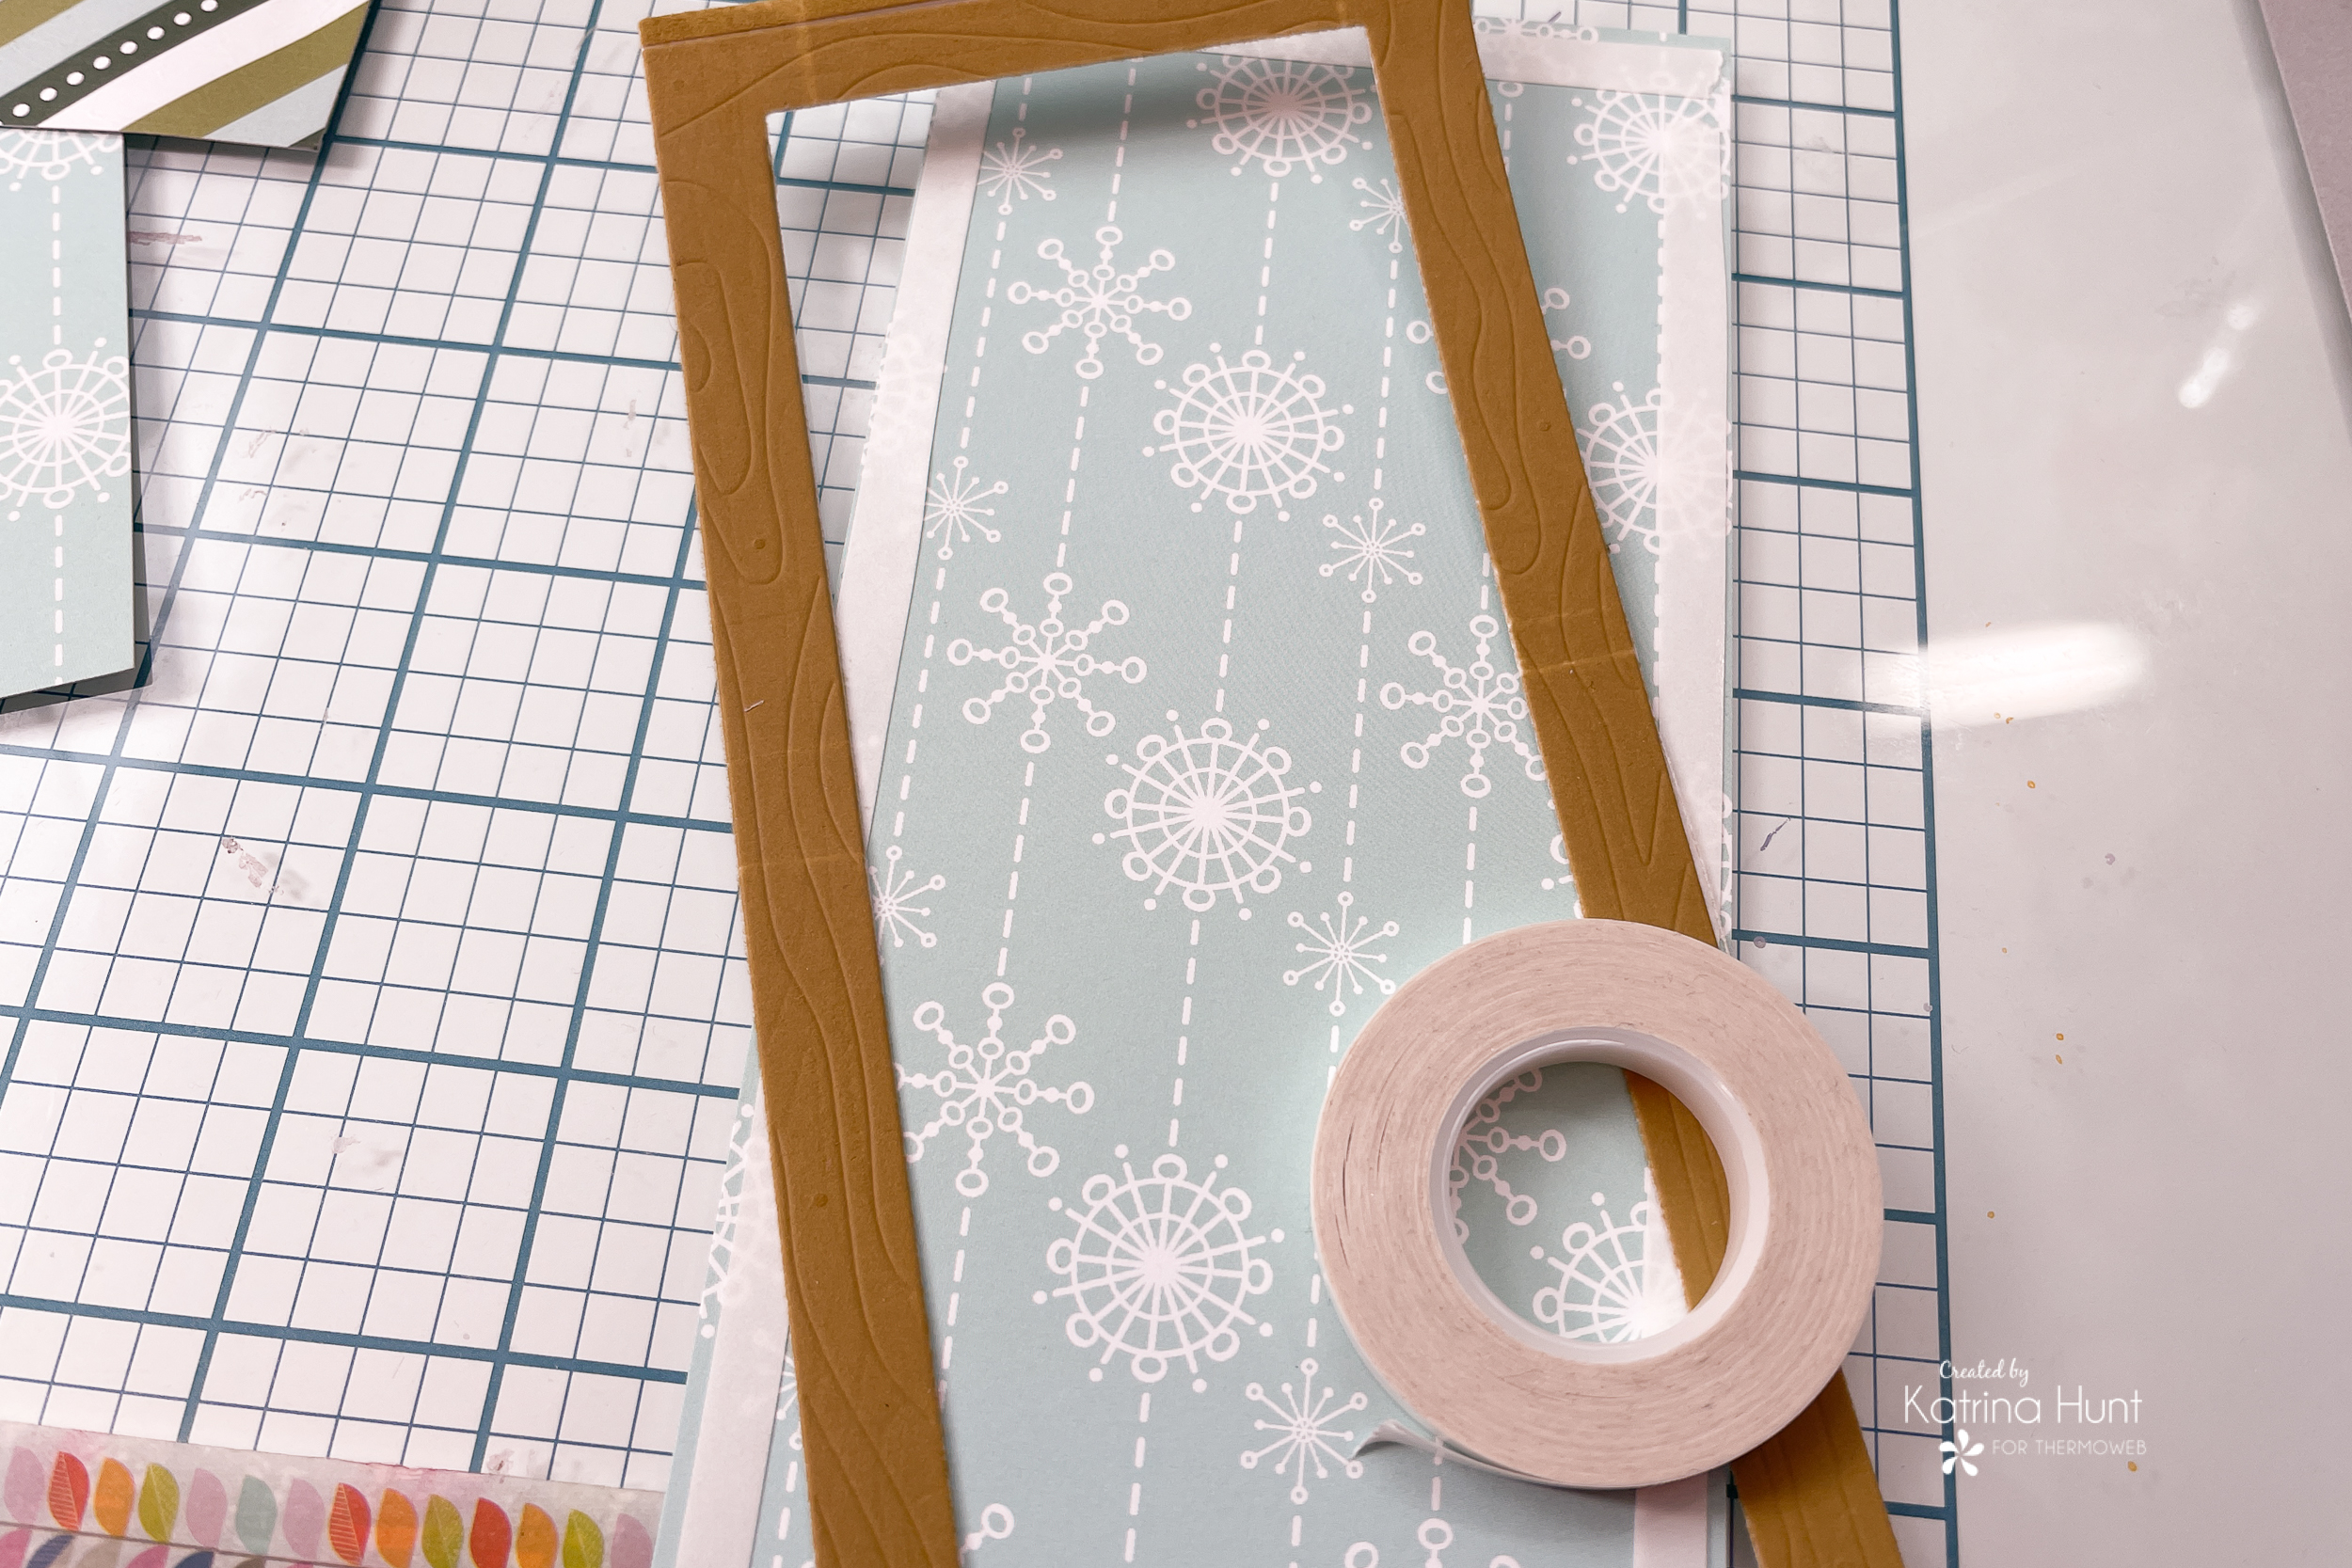
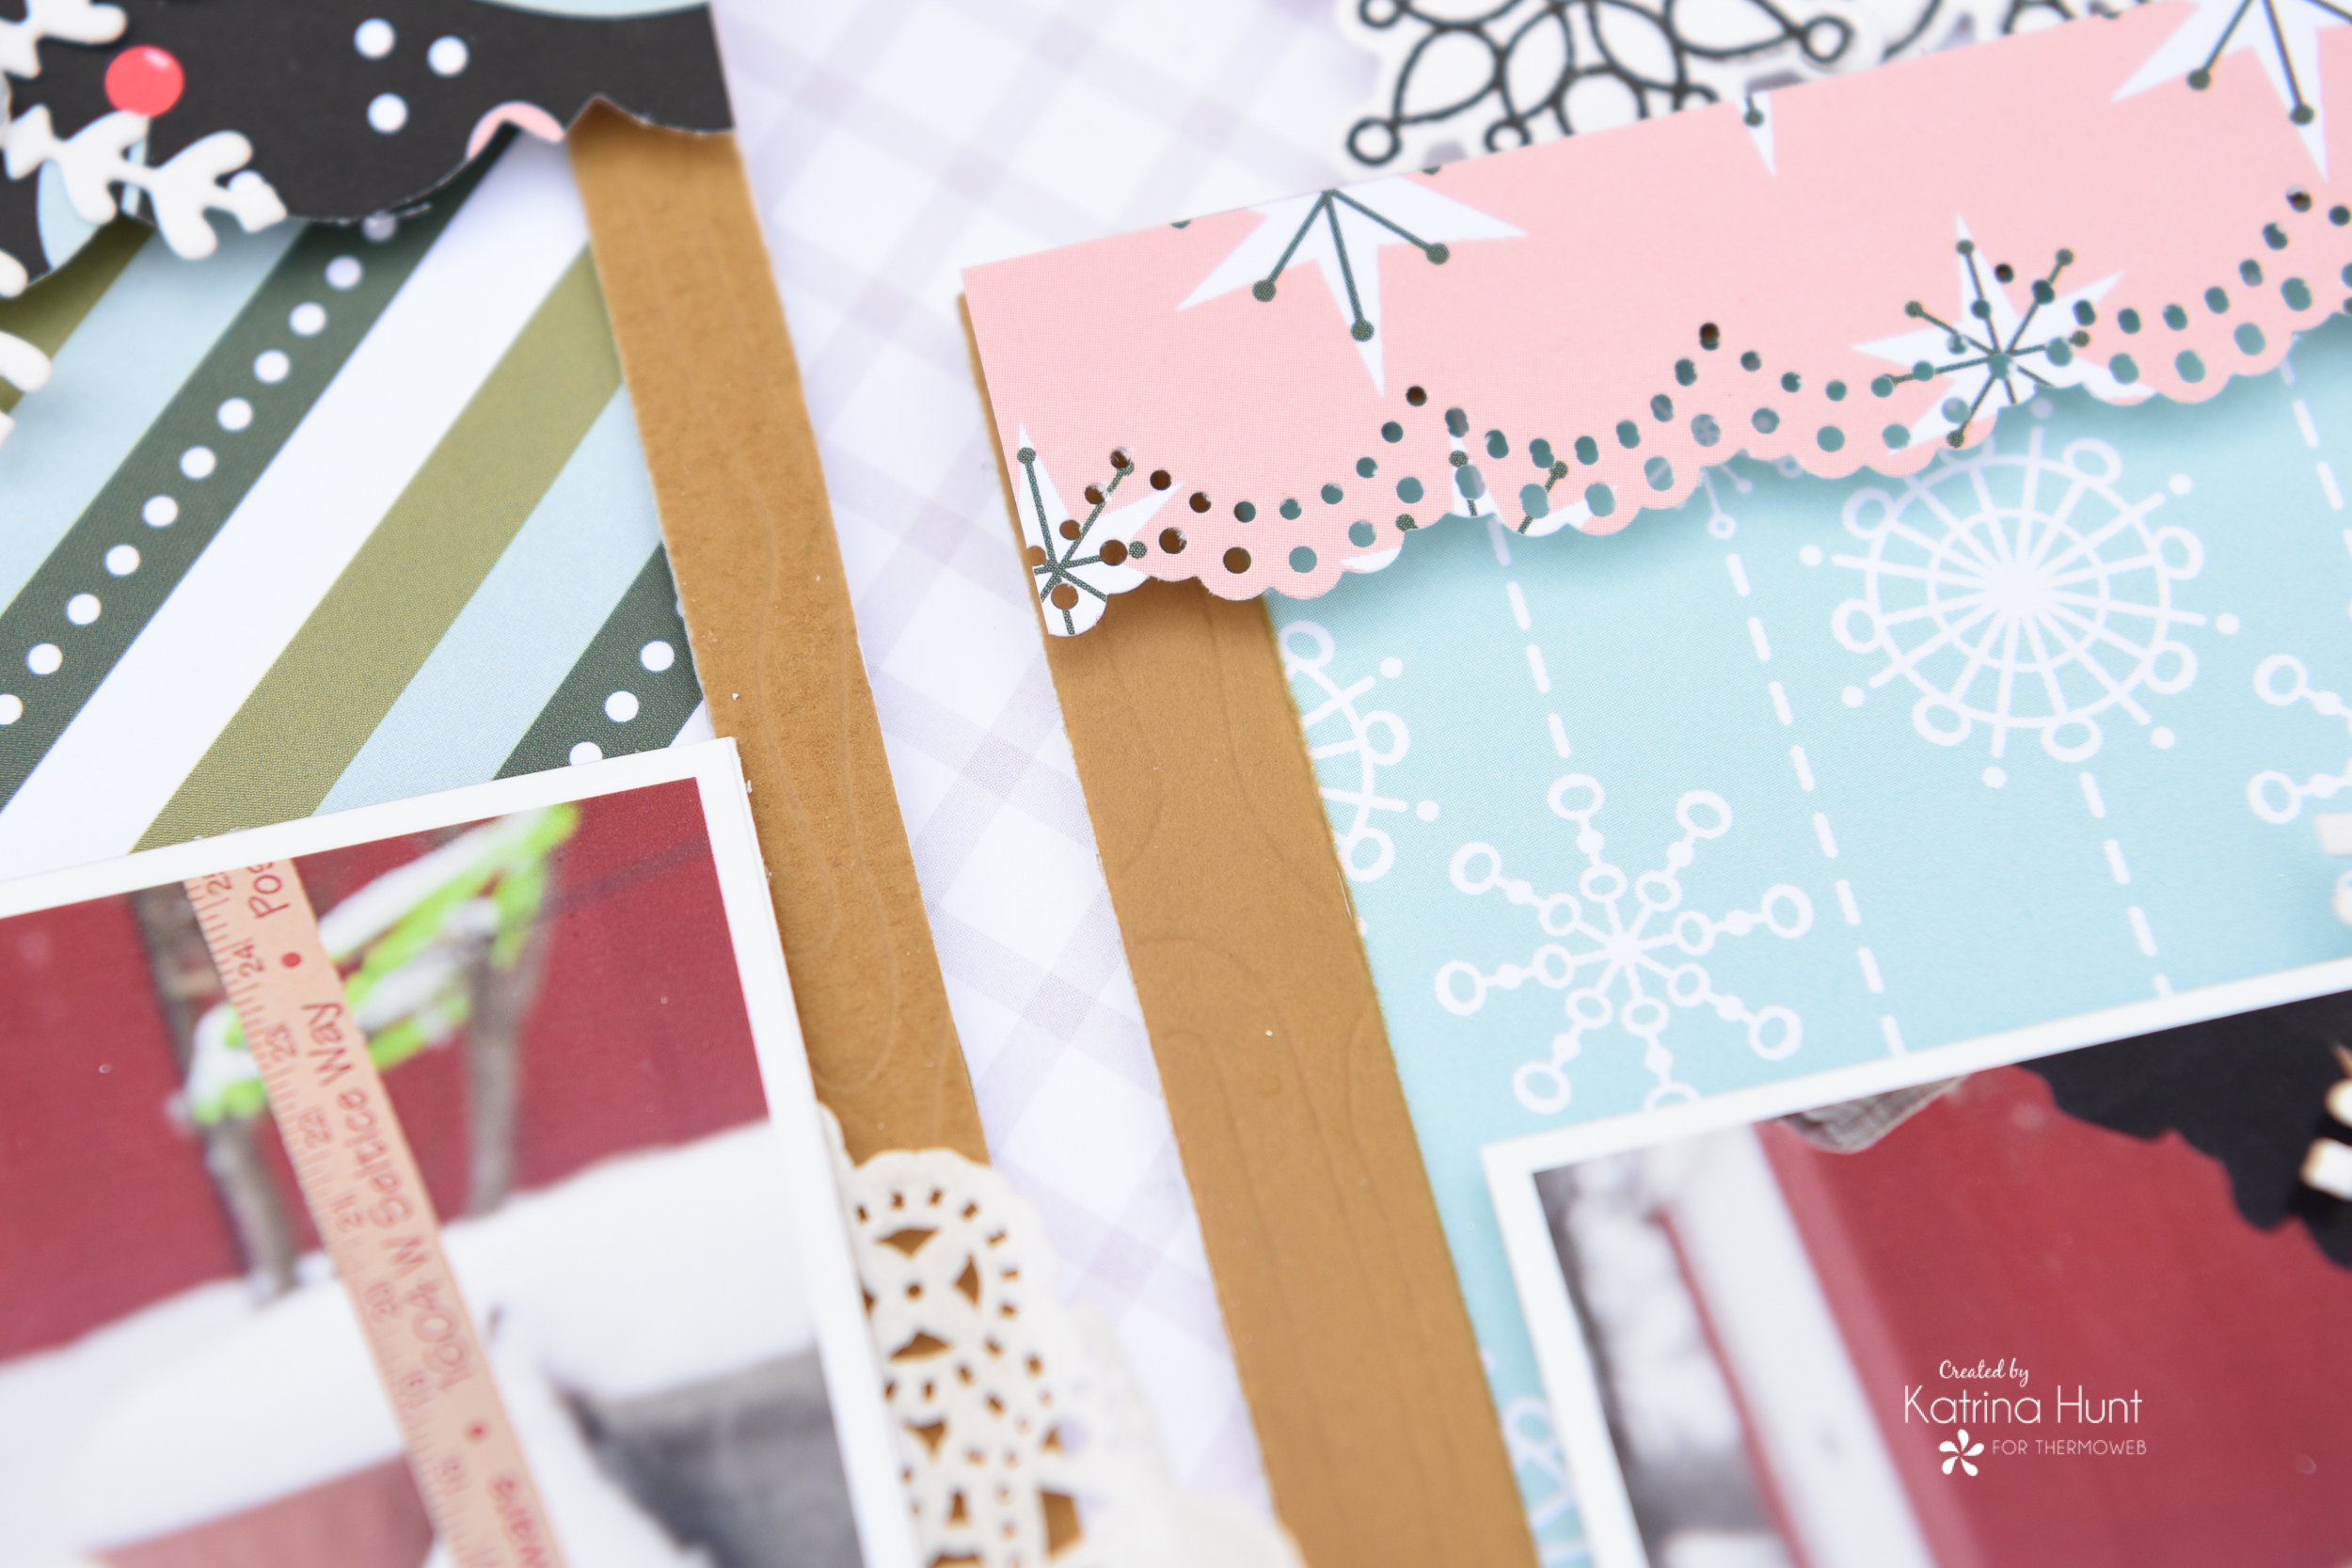
Yay!!! We now have a woodgrain flocked frame! I backed the frame using the 1/2 inch Easy Tear tape and a piece of slimline paper.
Finishing Up The Layout
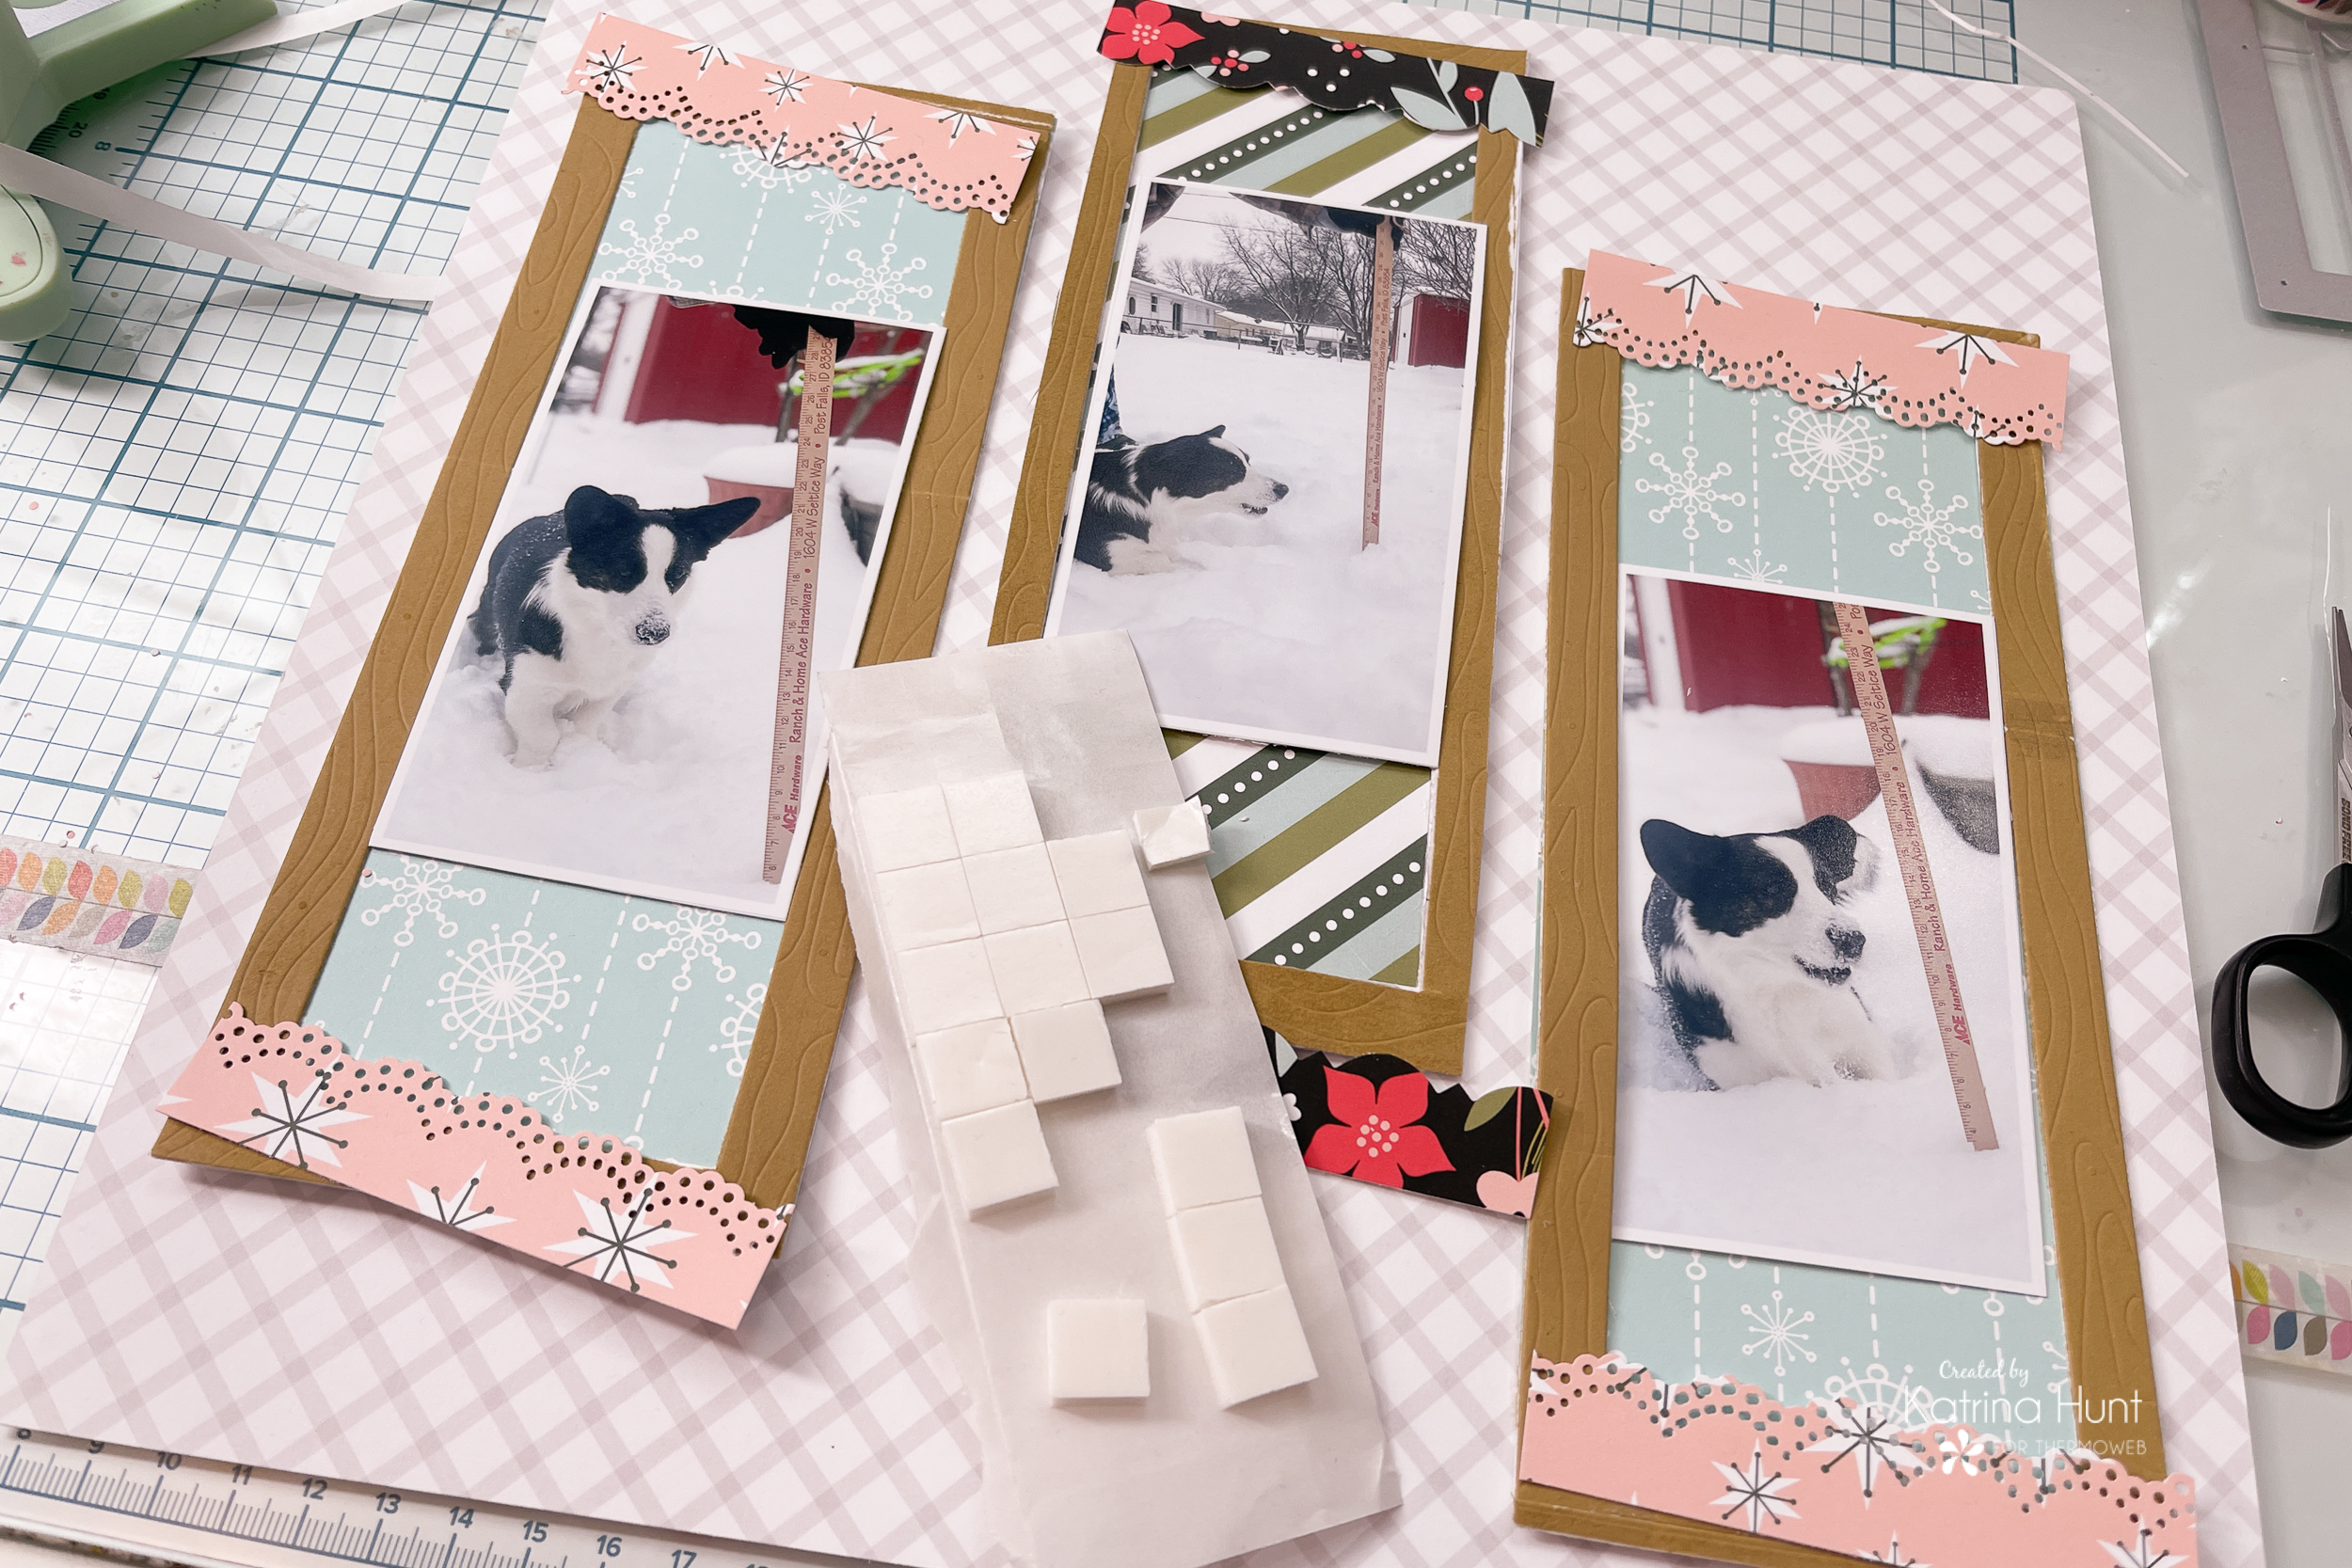
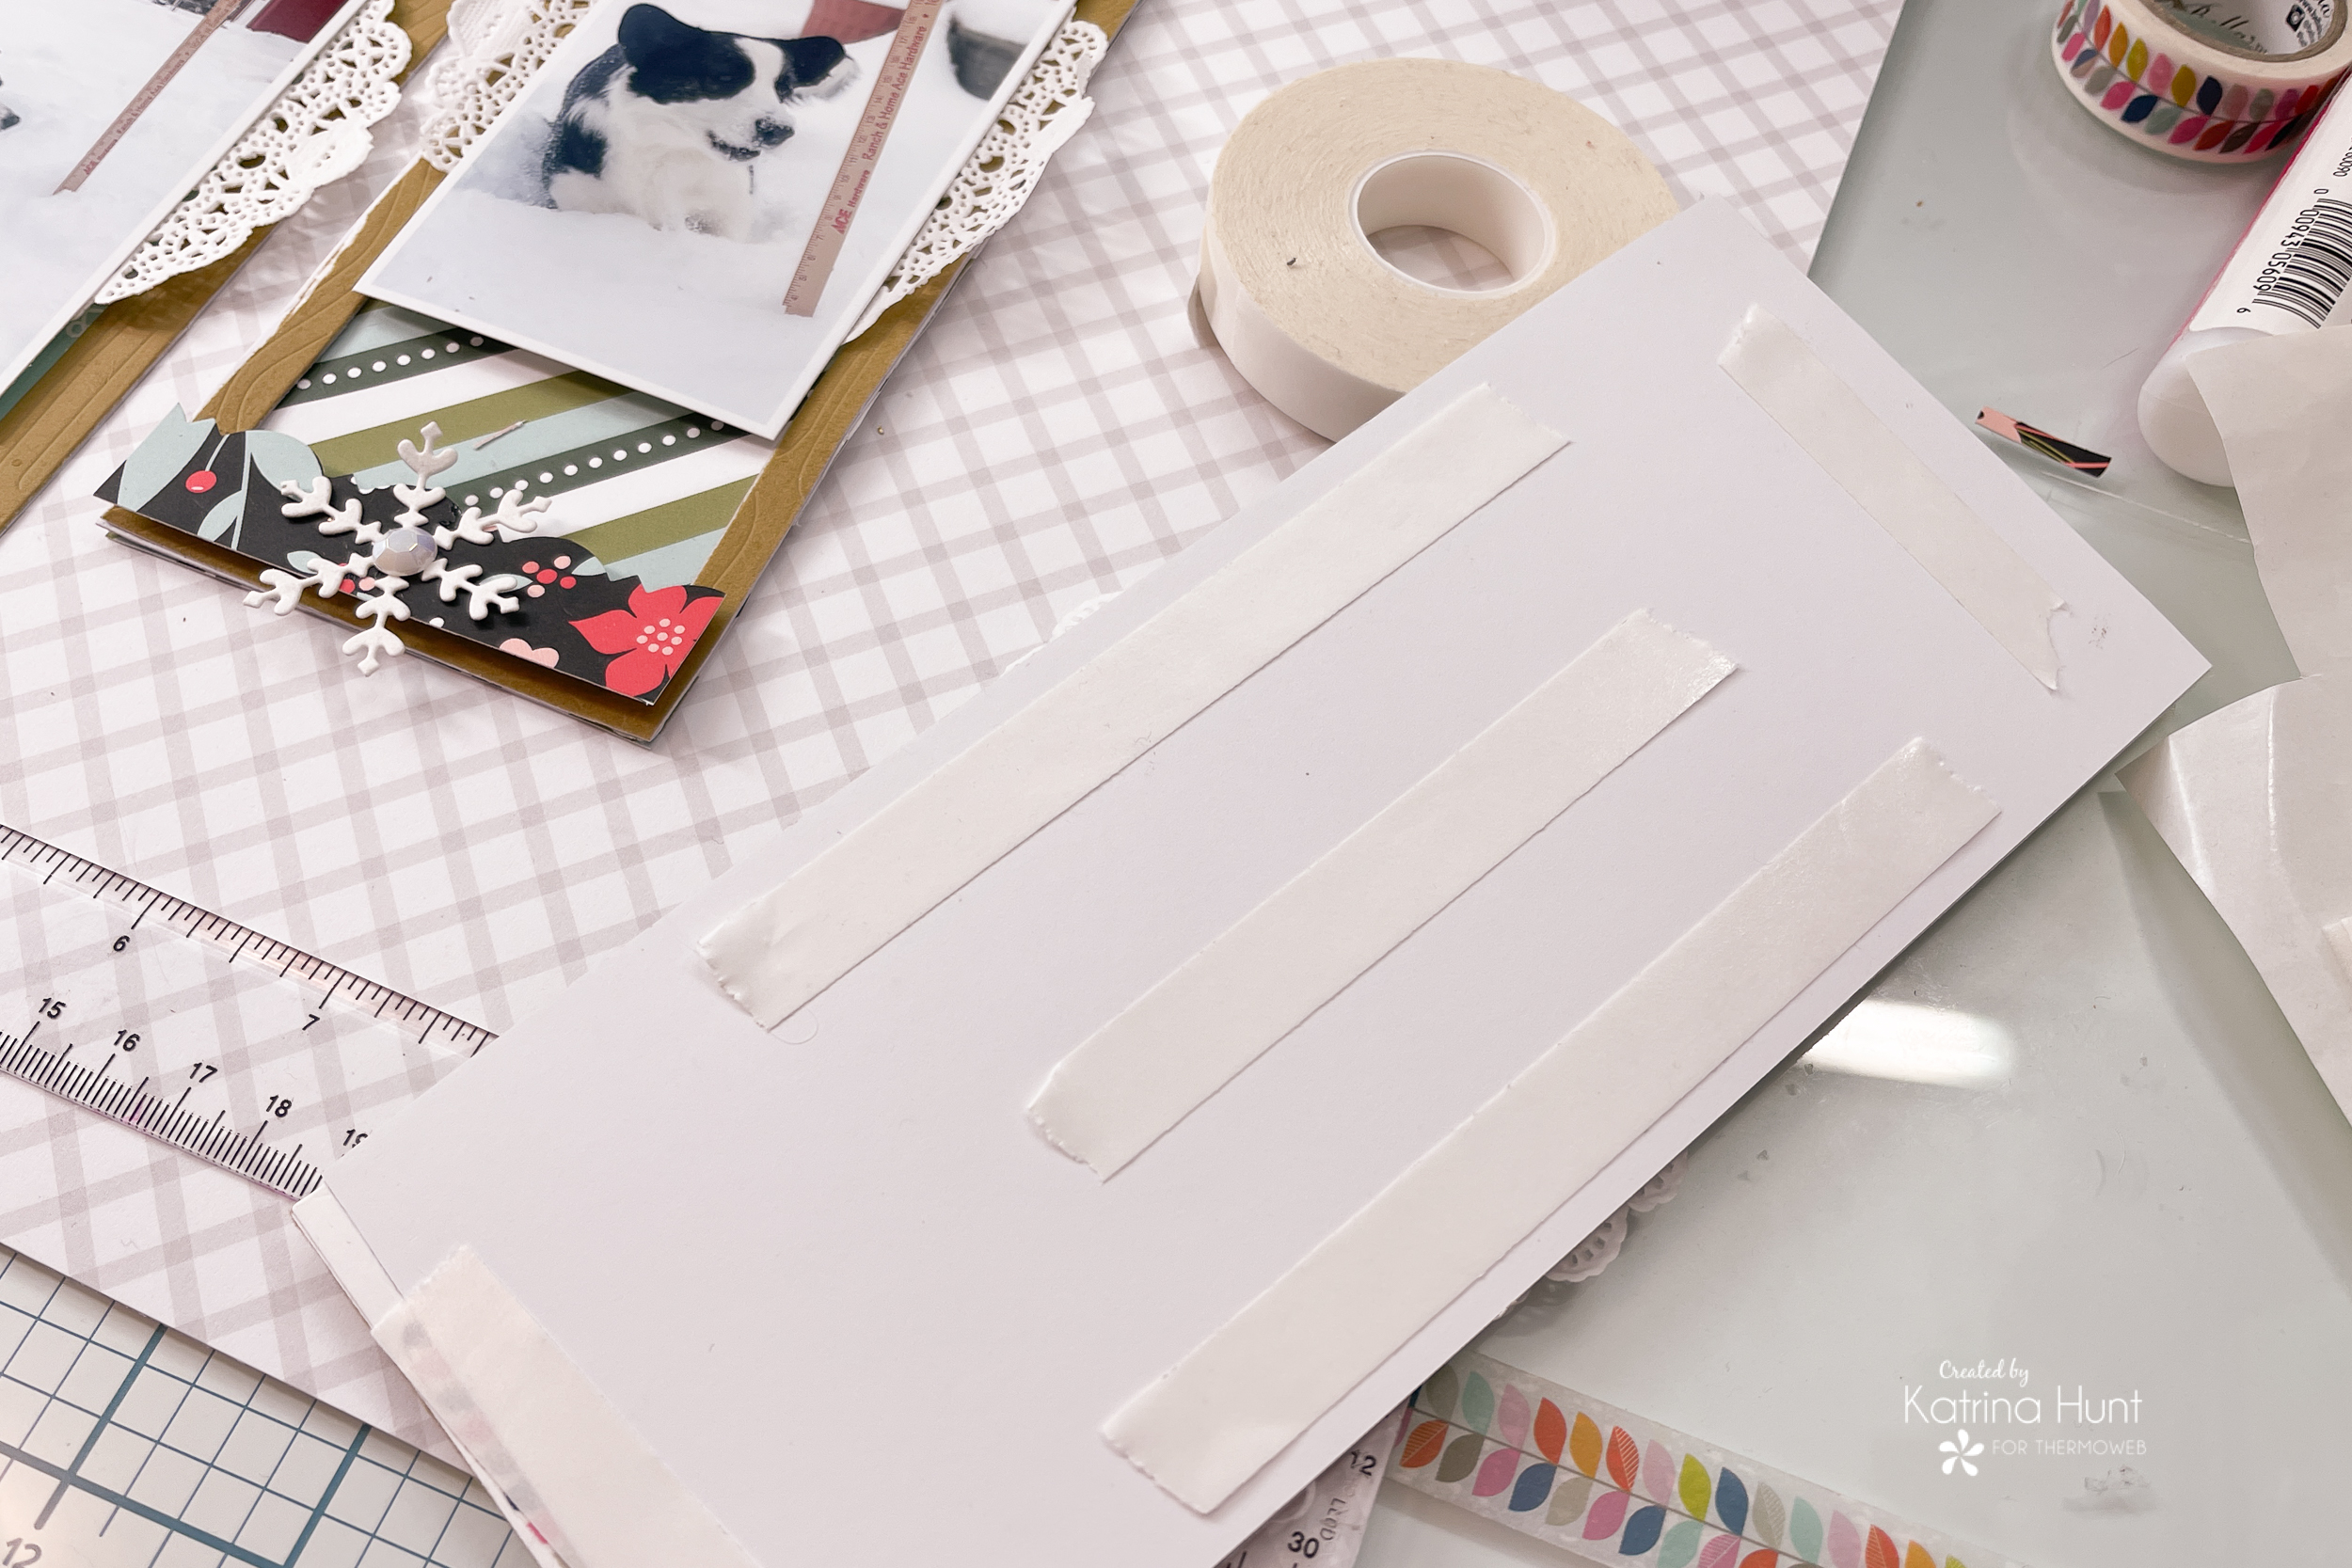
I continued creating and embellishing my frames using slimline papers, 3D Foam Squares and a border punch. I adhered the completed frames to the background paper using the 1/2 Inch Easy Tear Tape. I love this tape for adhering to larger pieces of paper!
Snowflake Creation
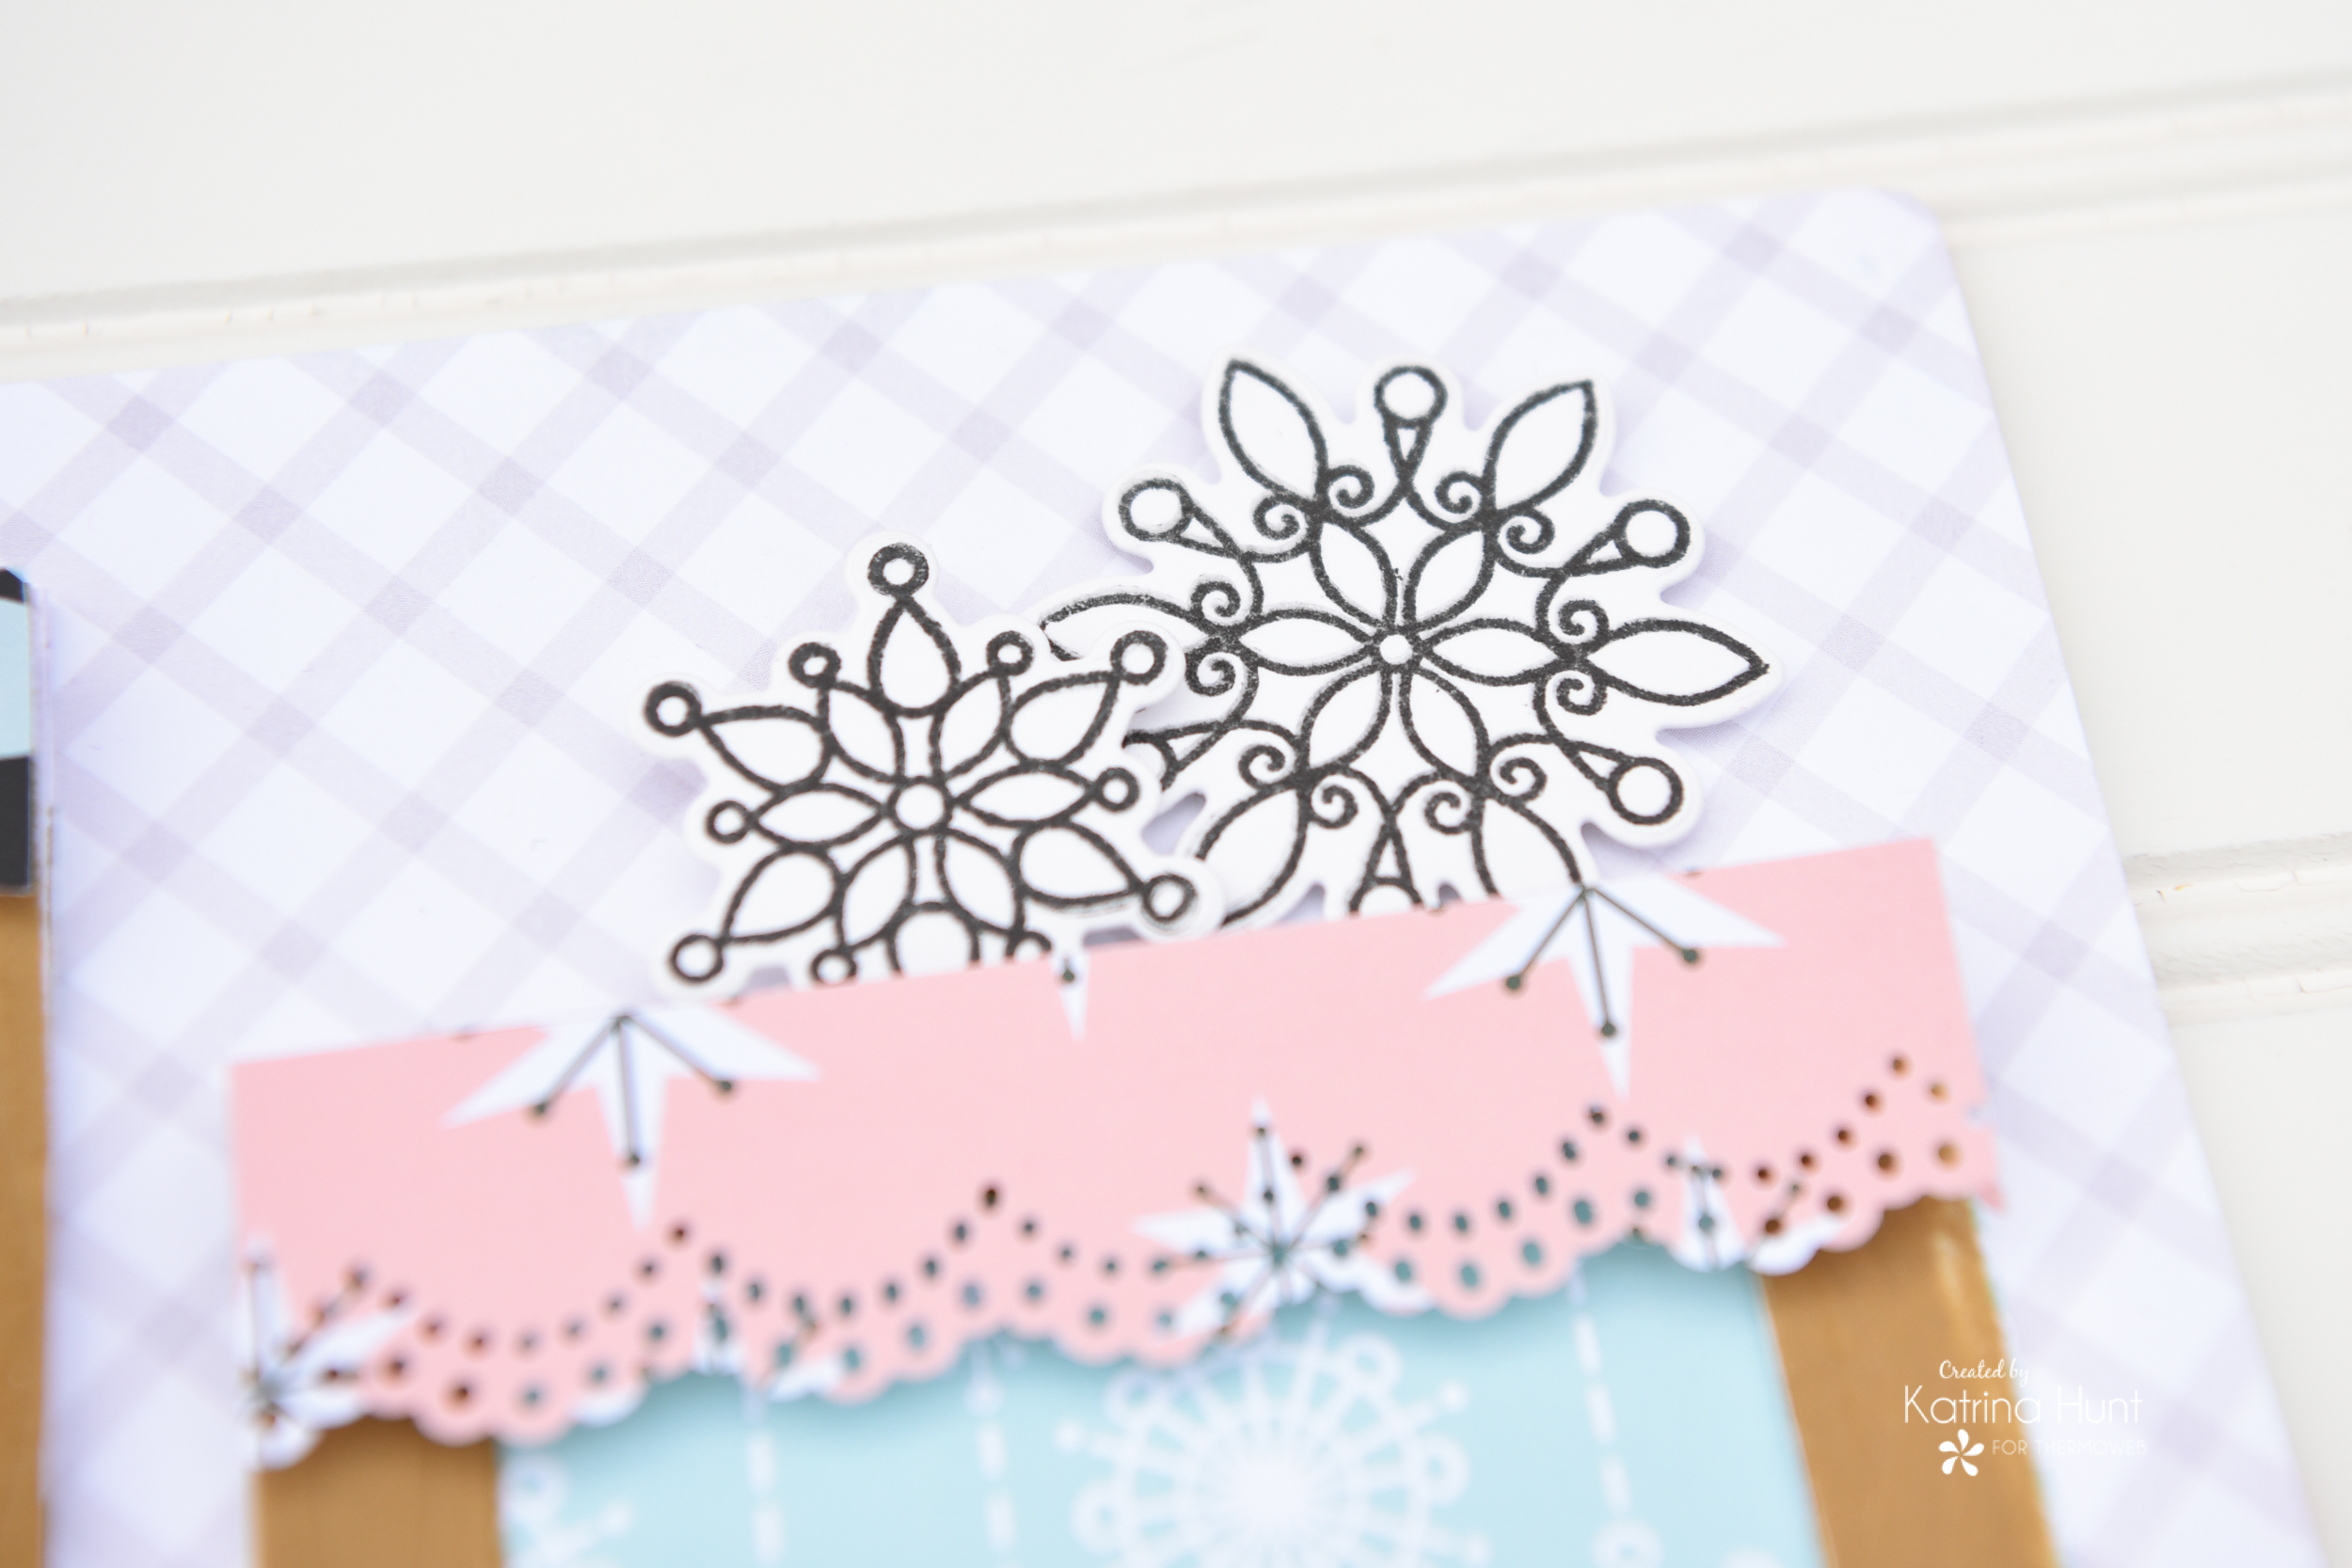
Every snow layout needs snowflakes! Deco Foil White Latte Flock and our middle of the frame scrap die cut piece from above to the rescue!! Apply the white flock to a scrap of the frame and die-cut flocked snowflakes out! I also stamped and die cut just a few regular snowflakes from another stamp set also. The Winter Frame Slimline Die Set comes with a couple of snowflakes, which are the ones I flocked and die cut.
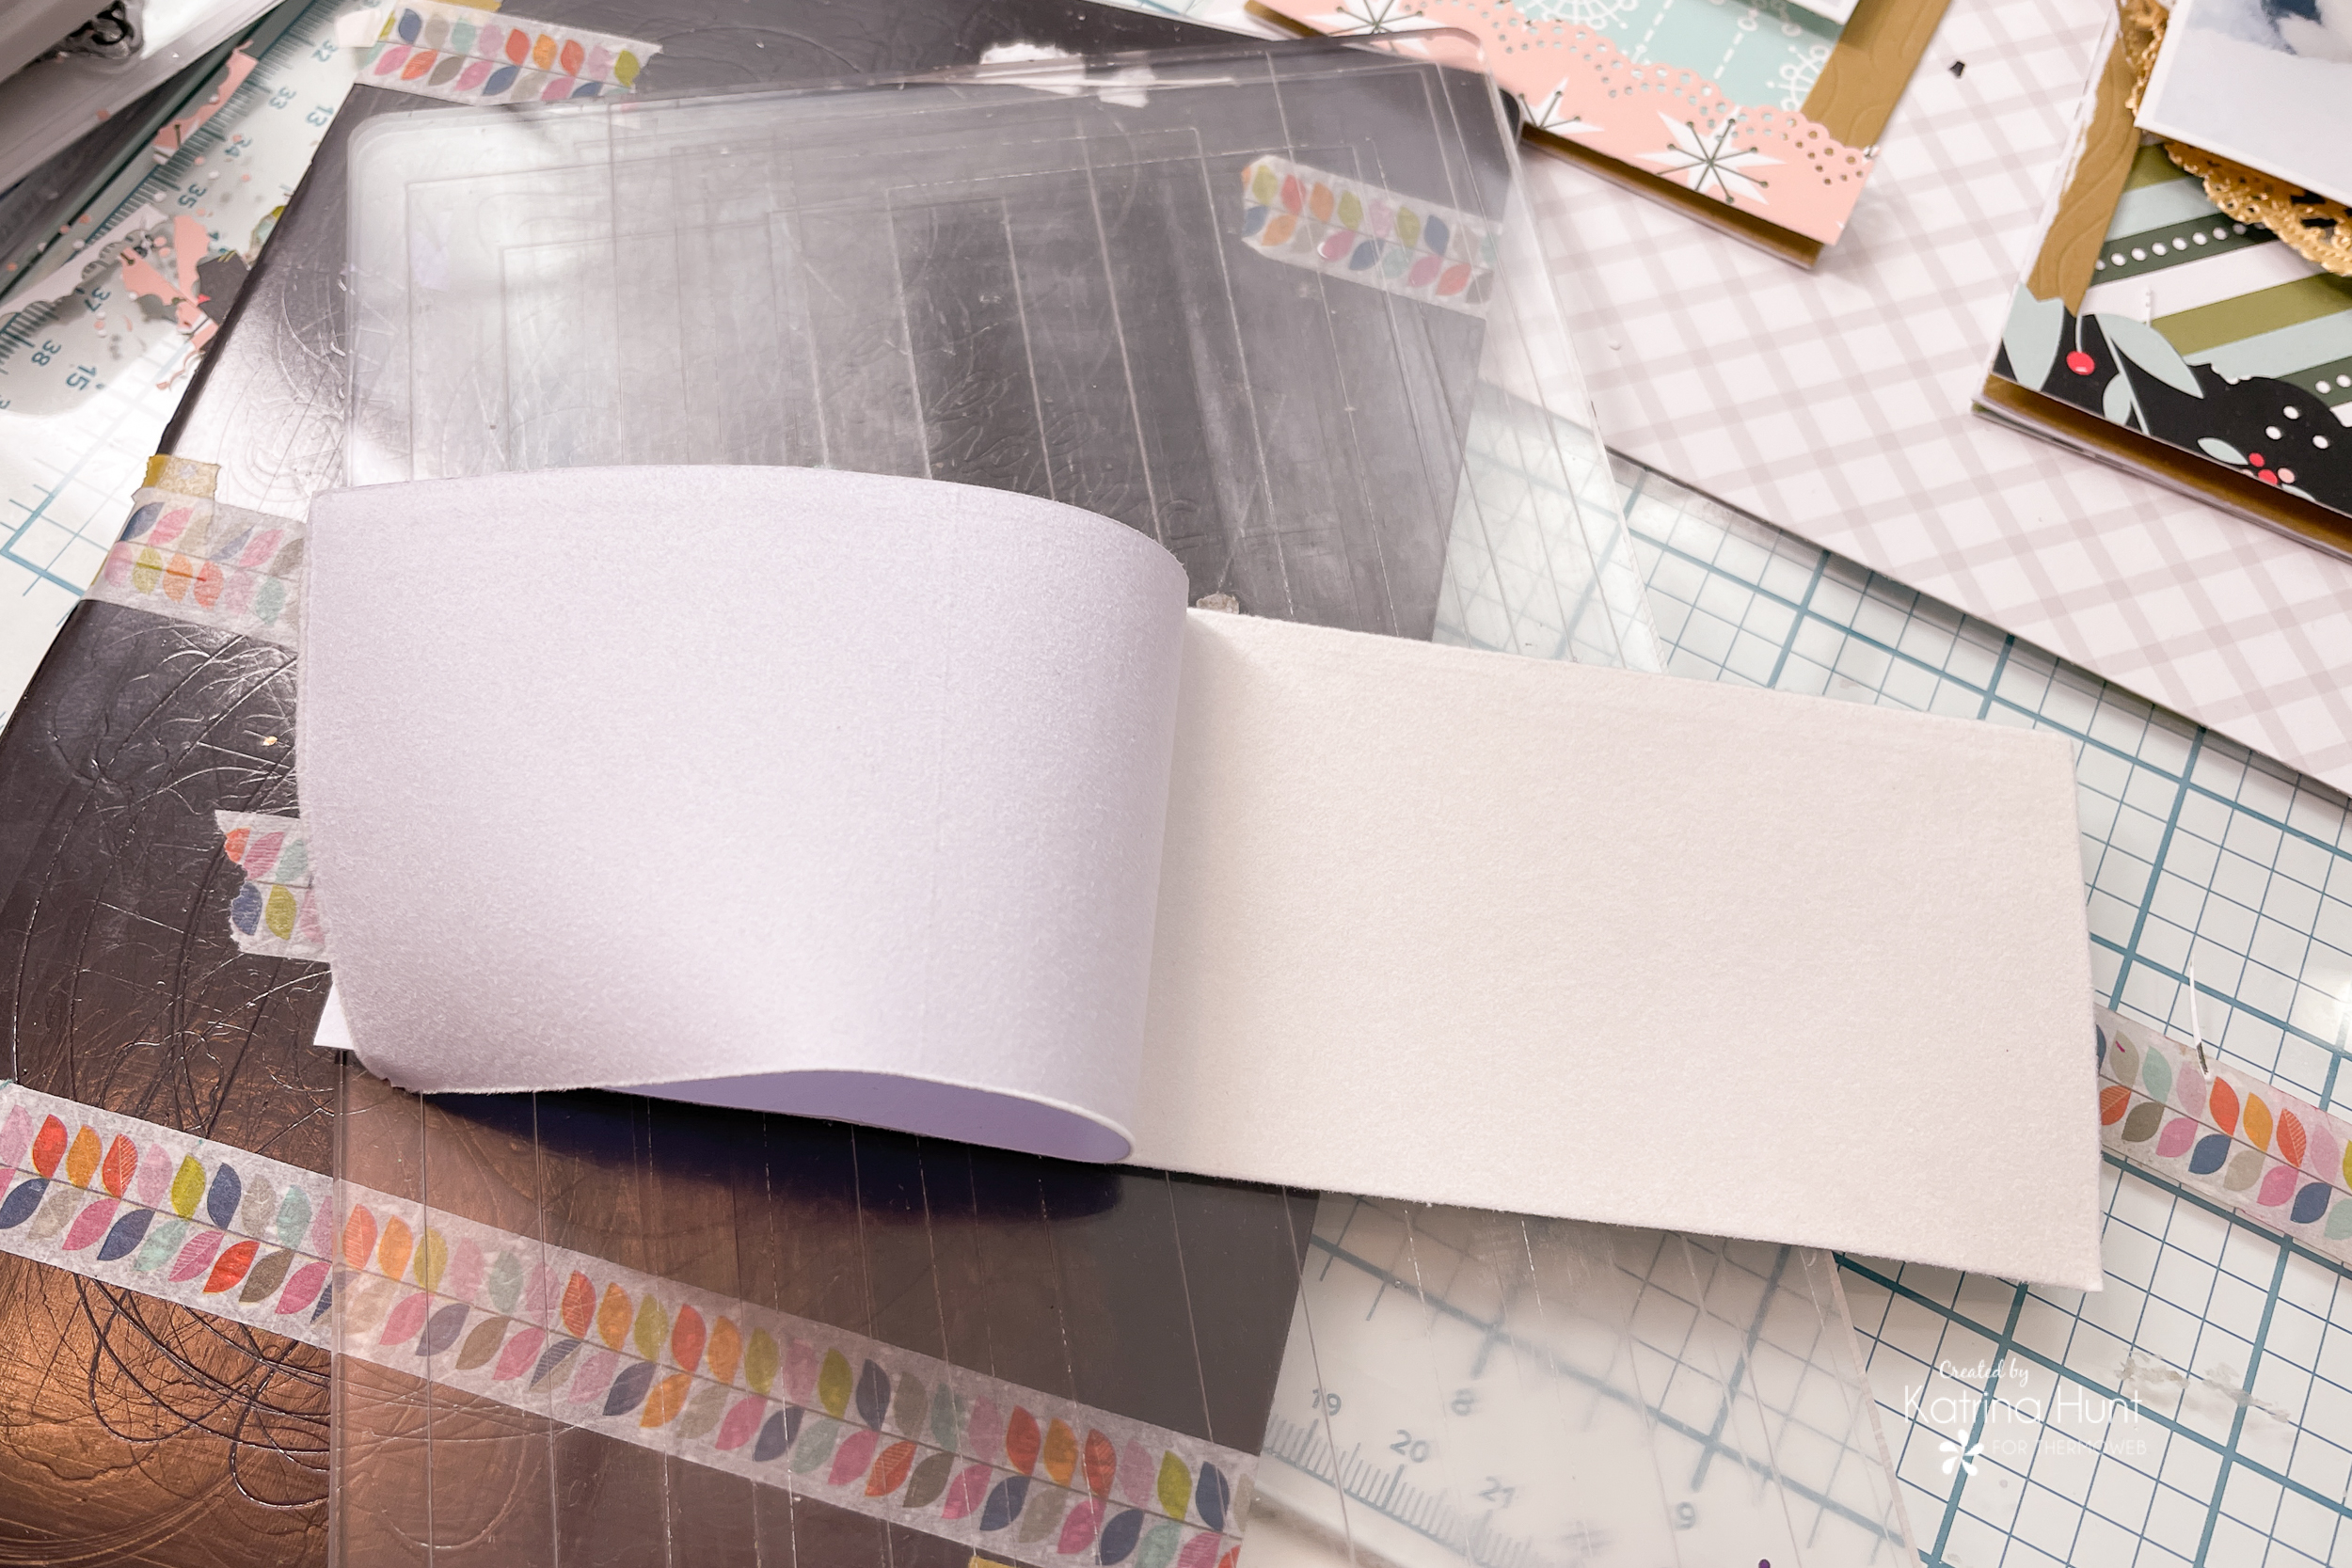
For the snowflakes that I stamped and die-cut, I used the 3D Foam Adhesive to pop those on different places around my layout.
Finishing Touches
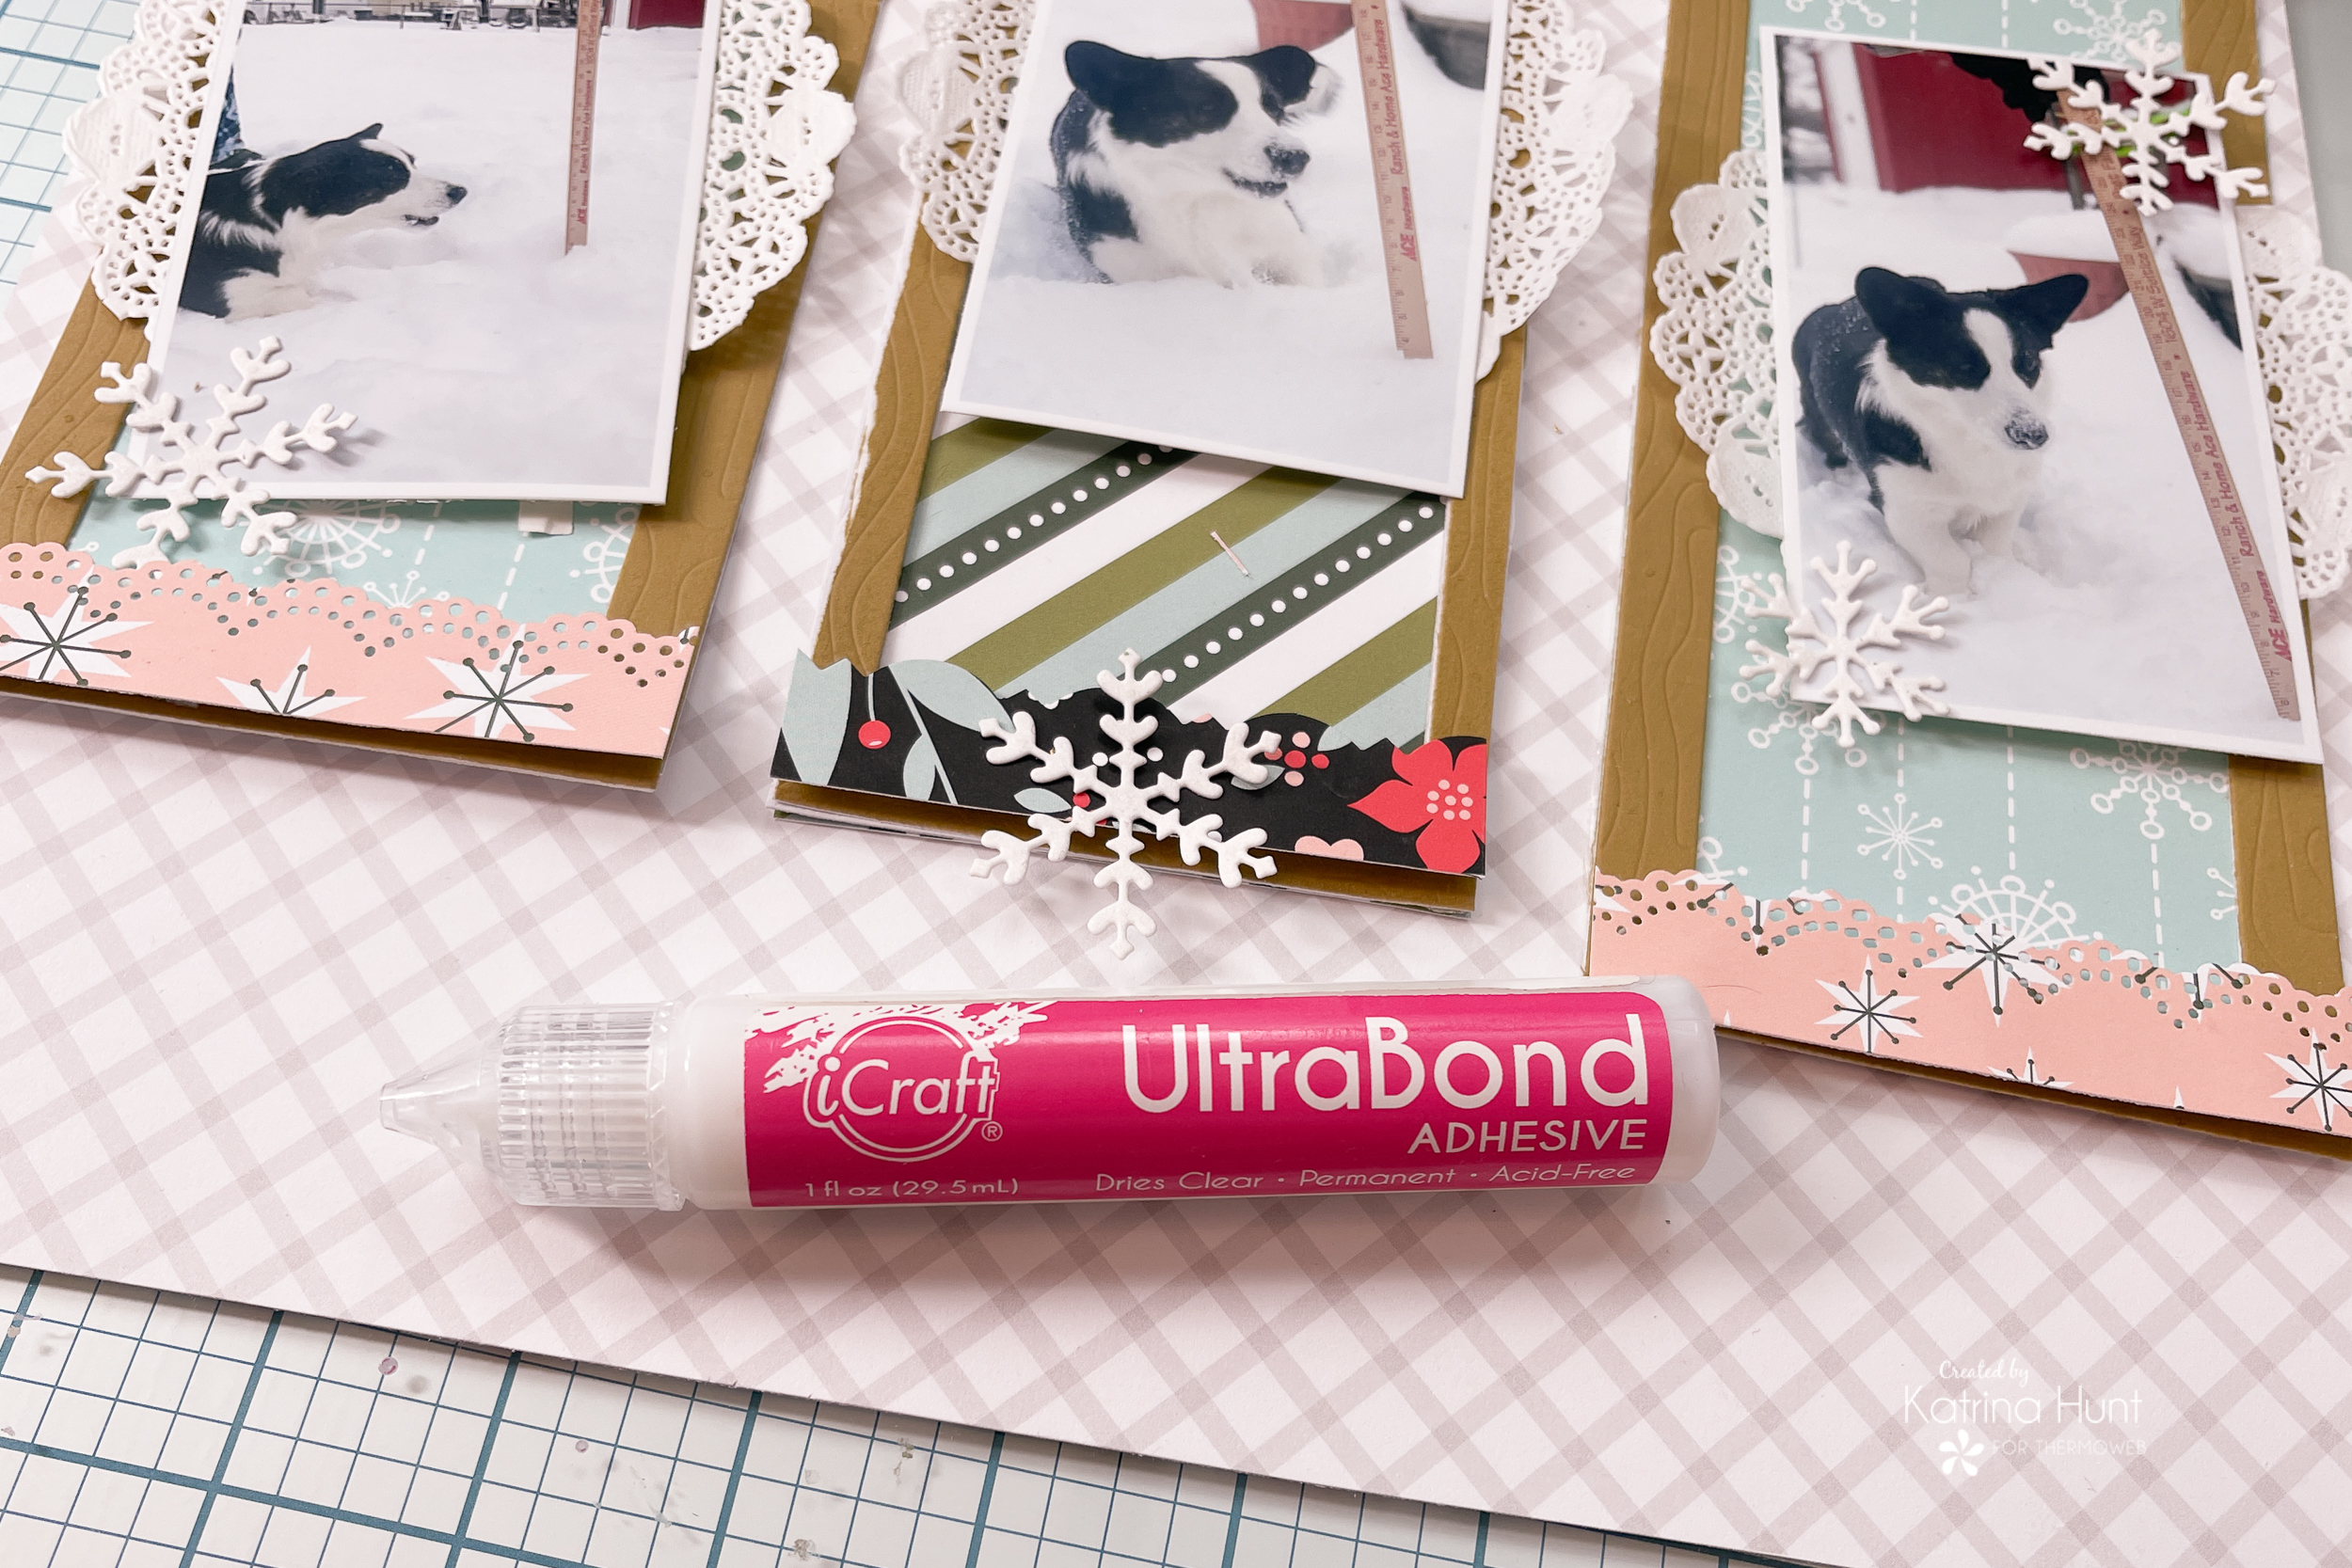
I jazzed up the flocked snowflakes by adhering some gems to the middle sections using the Ultra Bond Liquid Adhesive Pen.
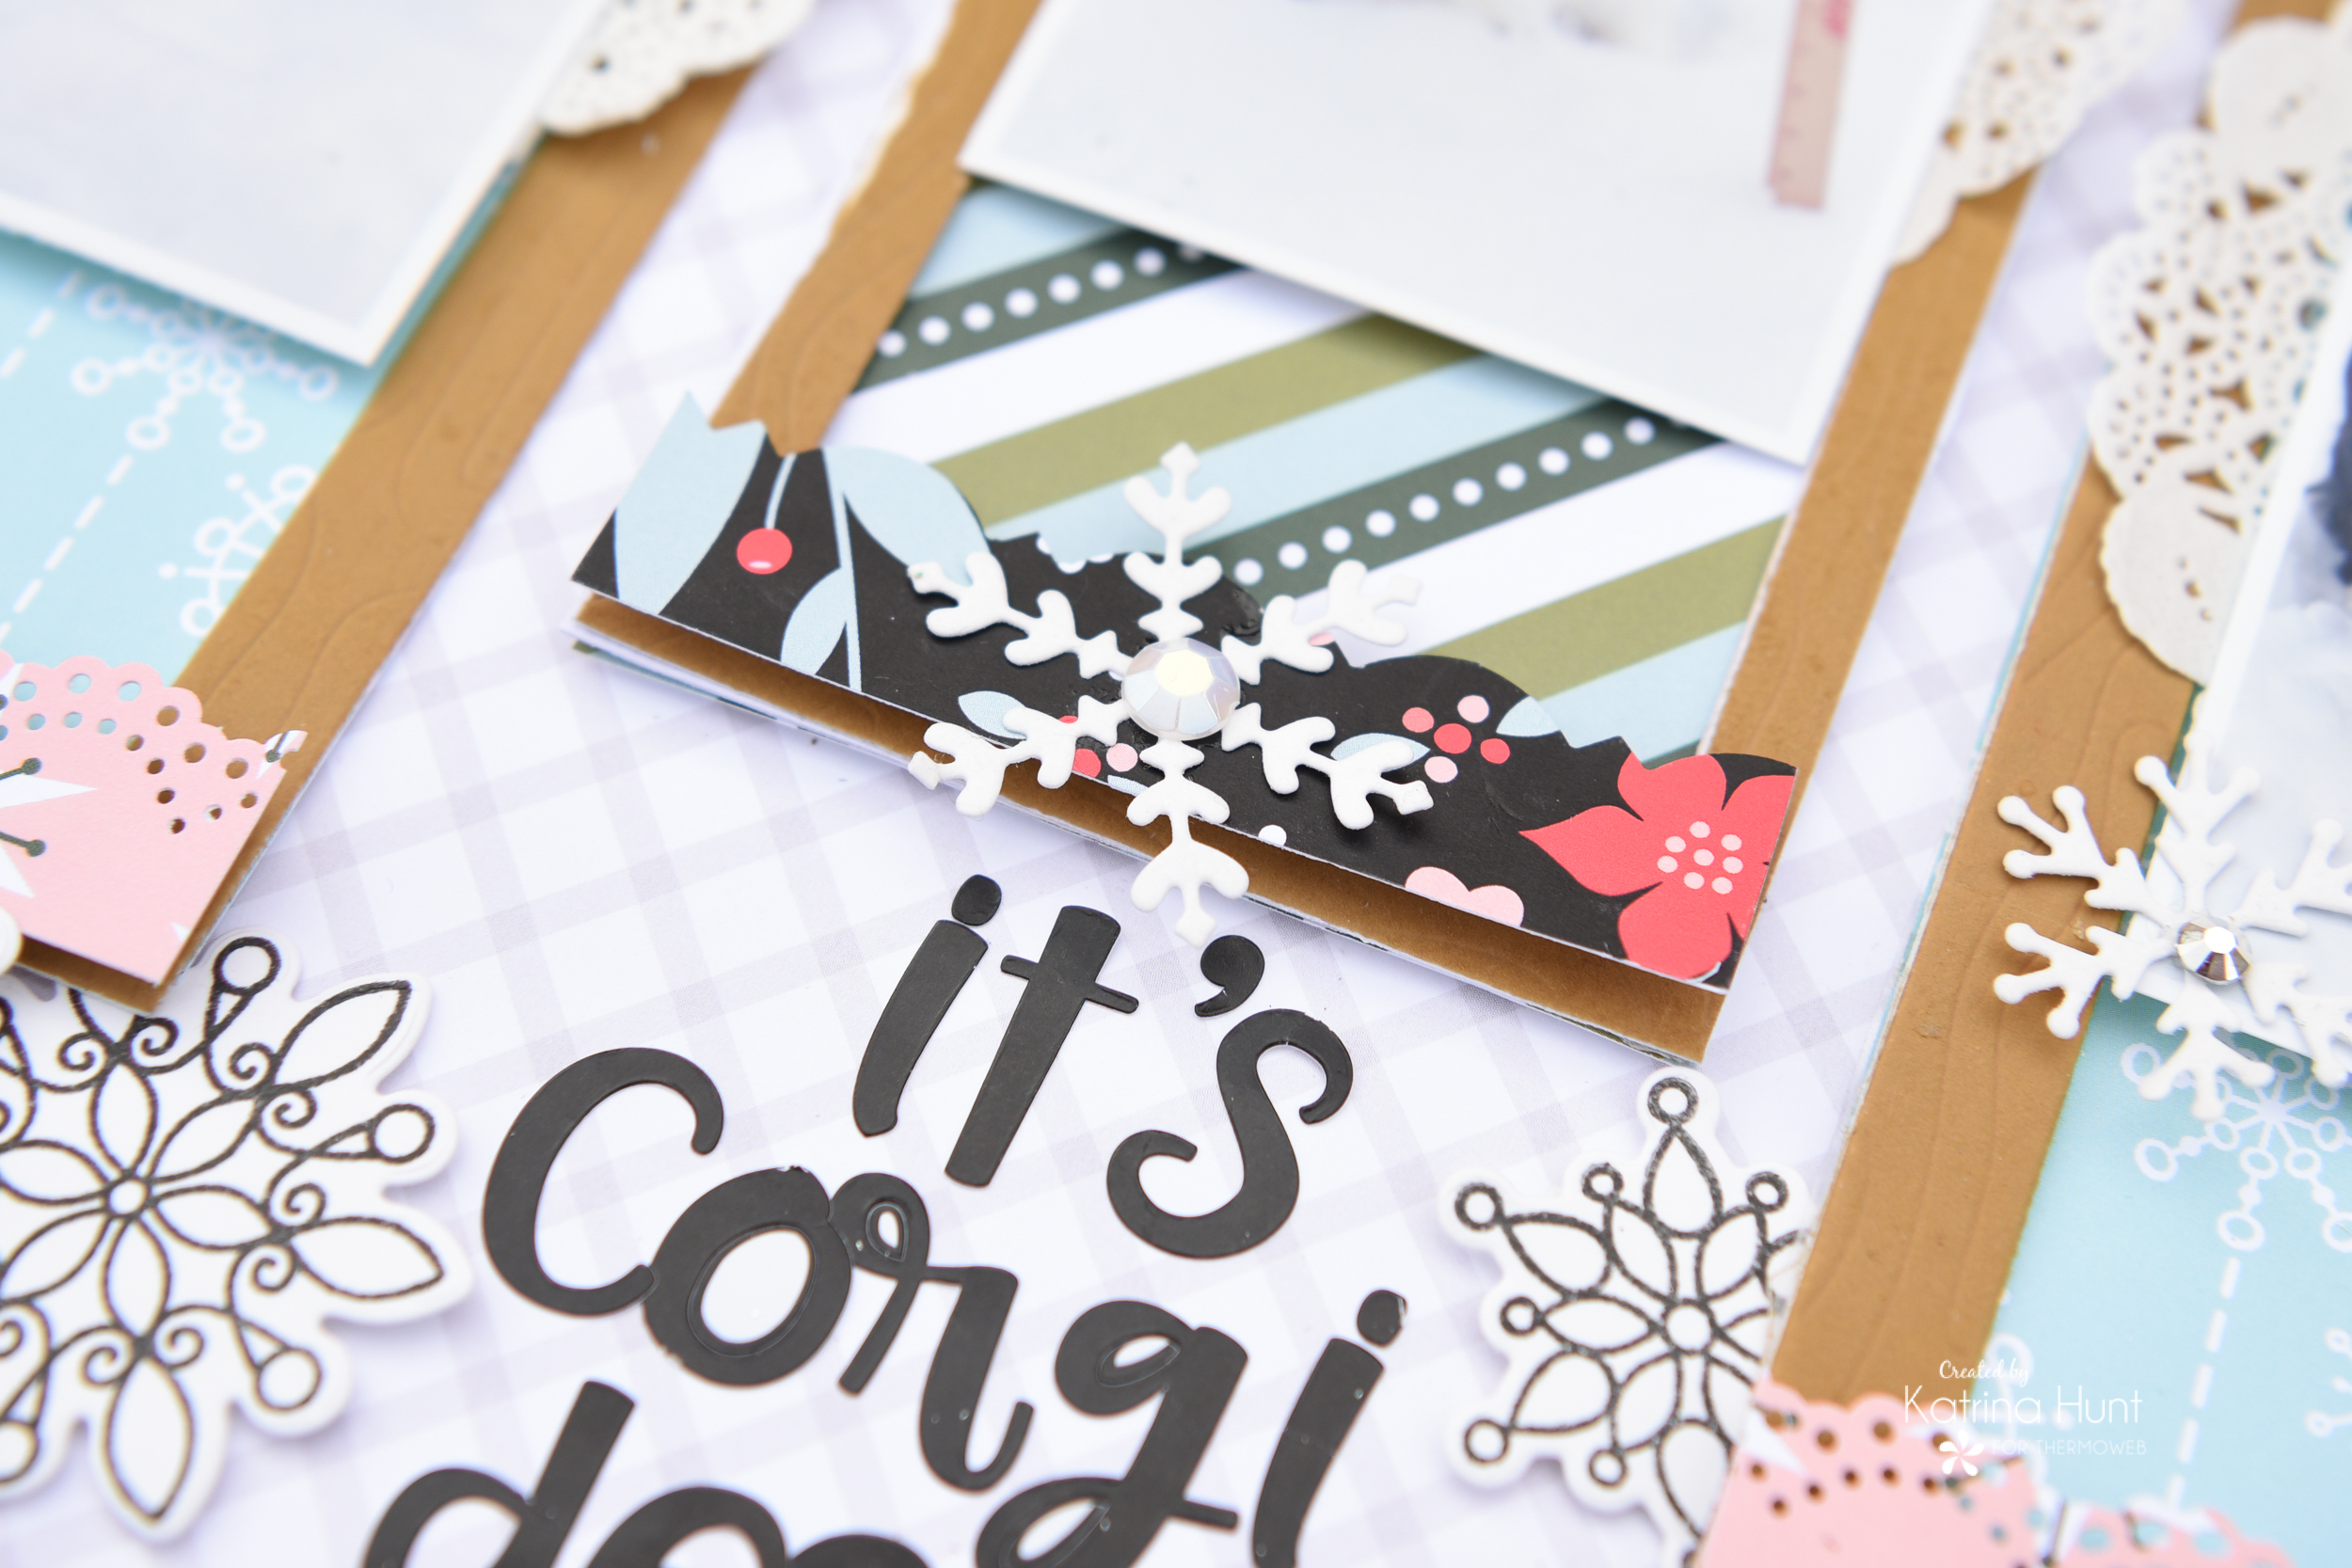
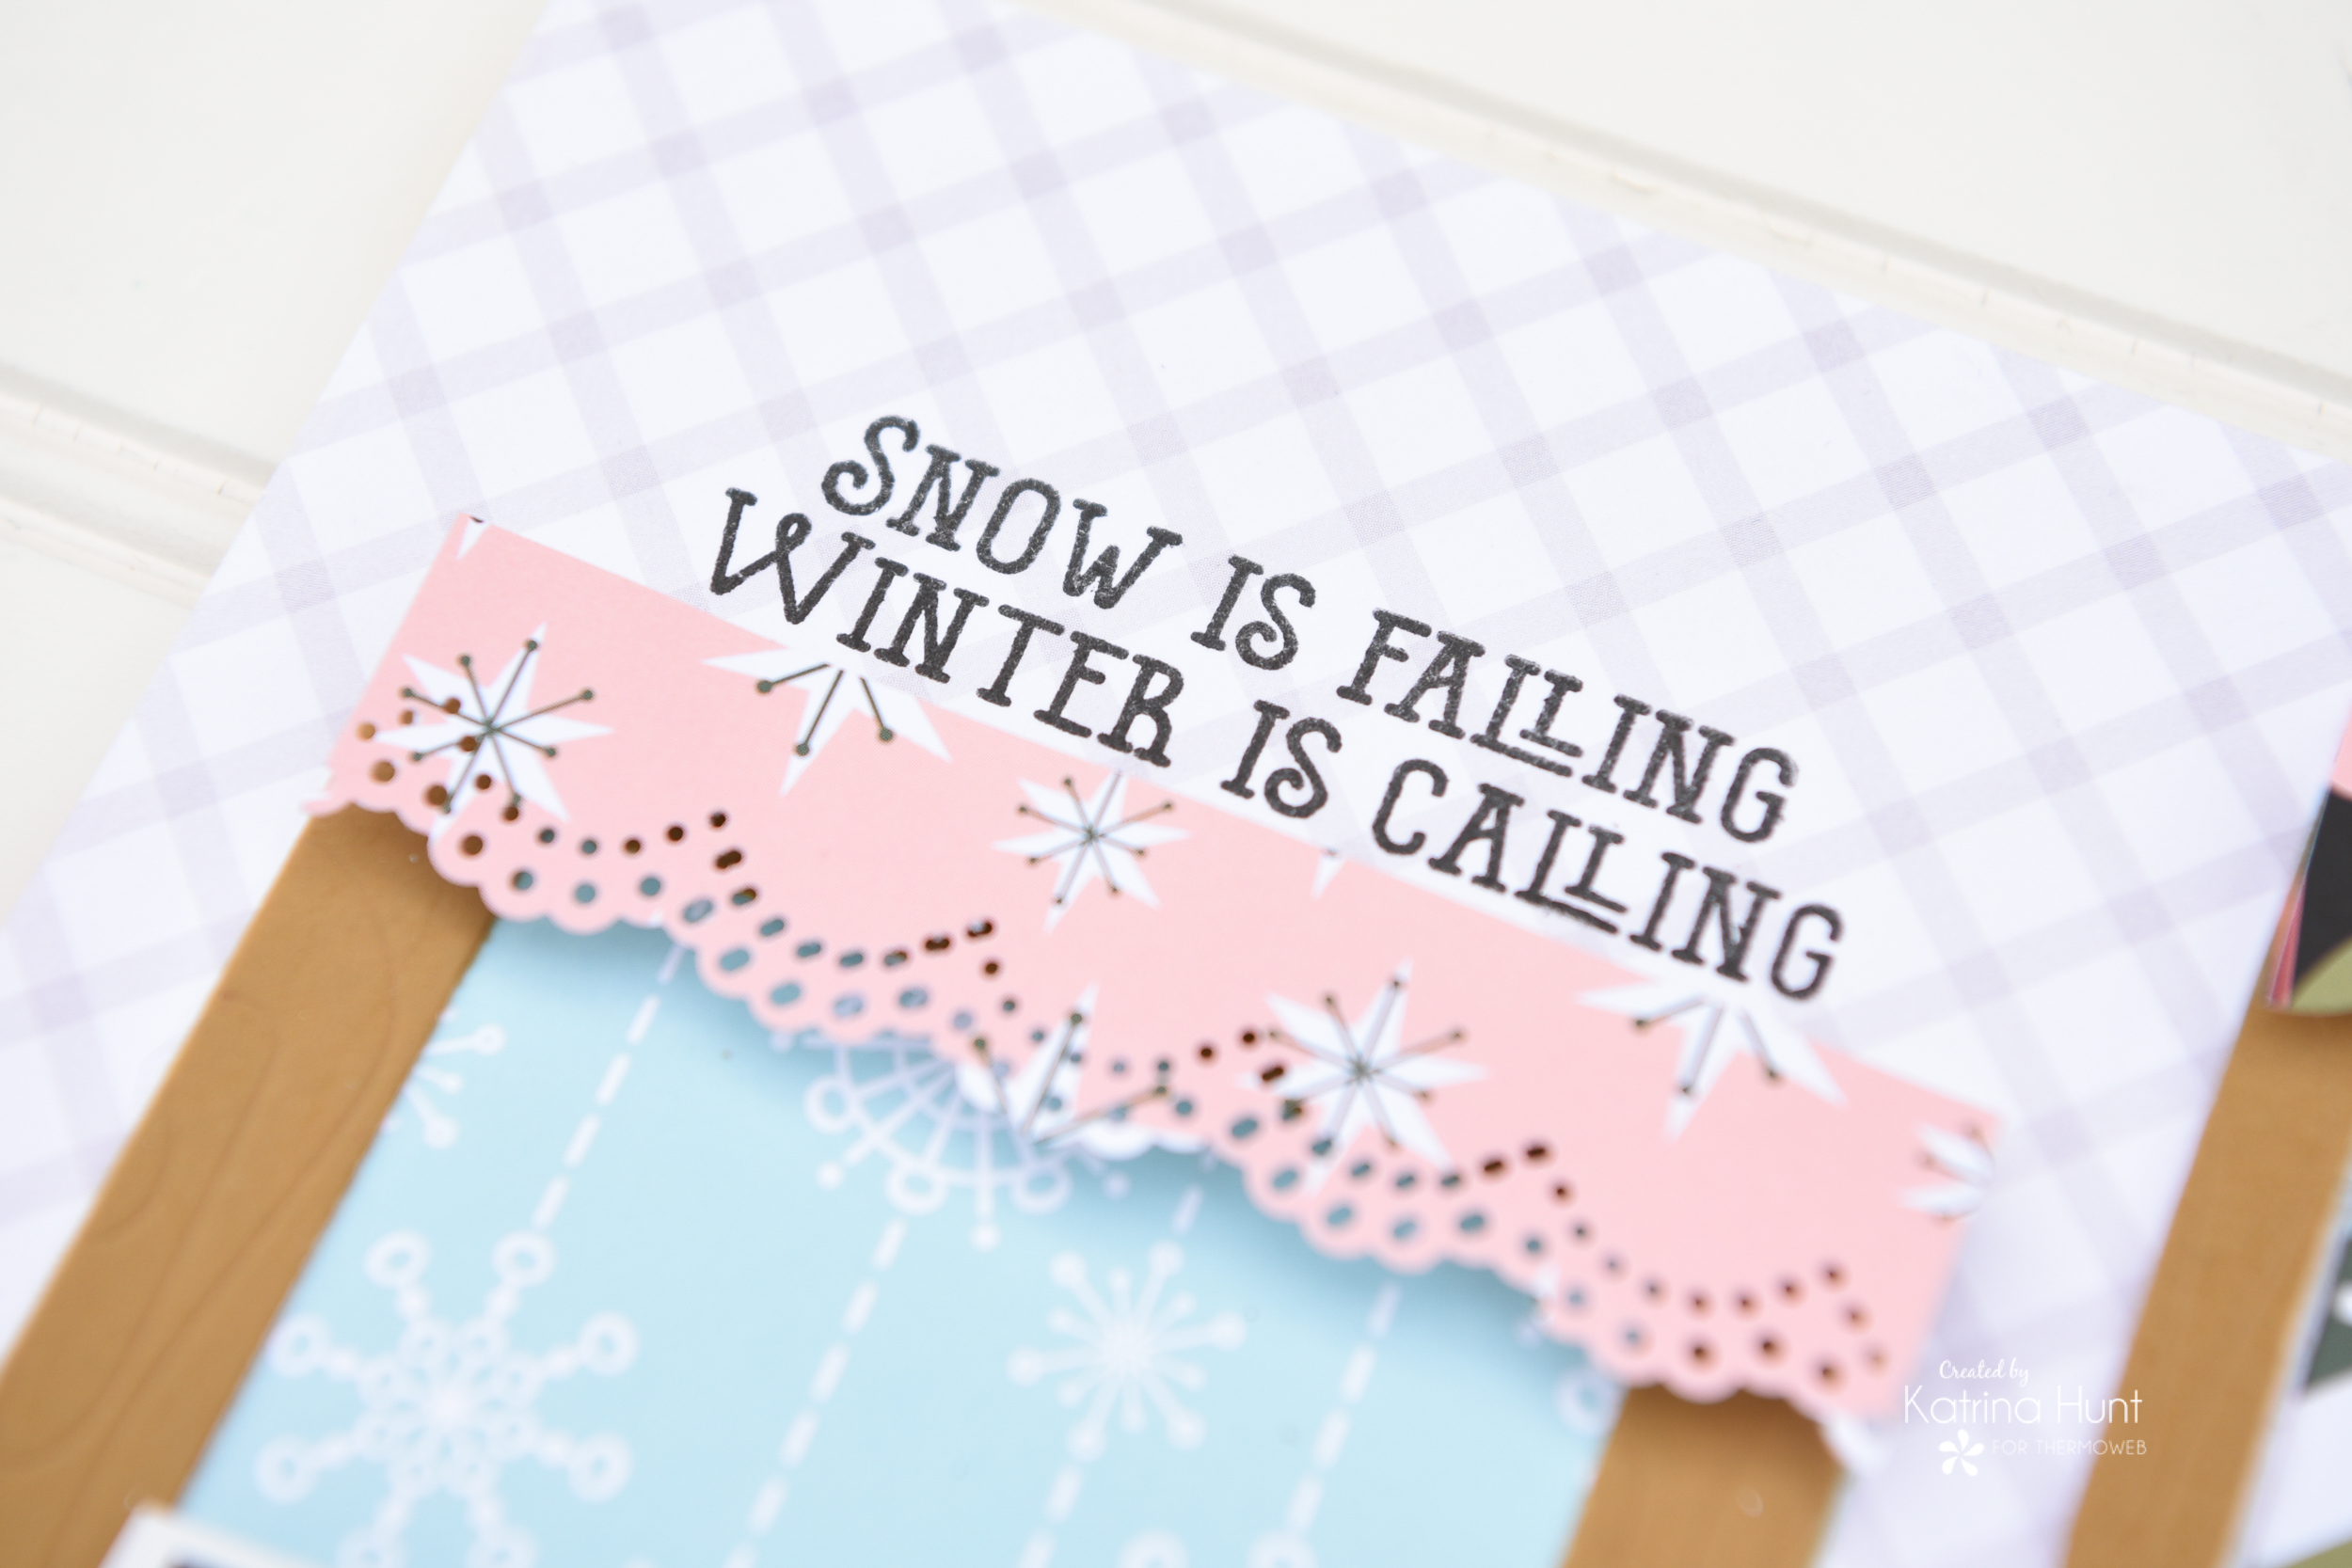
Finally, I added a stamped sentiment at the top of the first frame, since it went so perfectly with the theme of my layout. Added a title and some journaling and I now have a fun snowy layout!
Thanks for stopping by and I hope I have given you some fun ways to use flock, scraps AND those new slimline products that are everywhere! Happy Winter and Happy New Year!!!
This post contains affiliate links. For more information, see our disclosure HERE.

stampiljke
January 4, 2022 at 6:41 am (3 years ago)Thank you for sharing with us a tutorial. Thank you.