


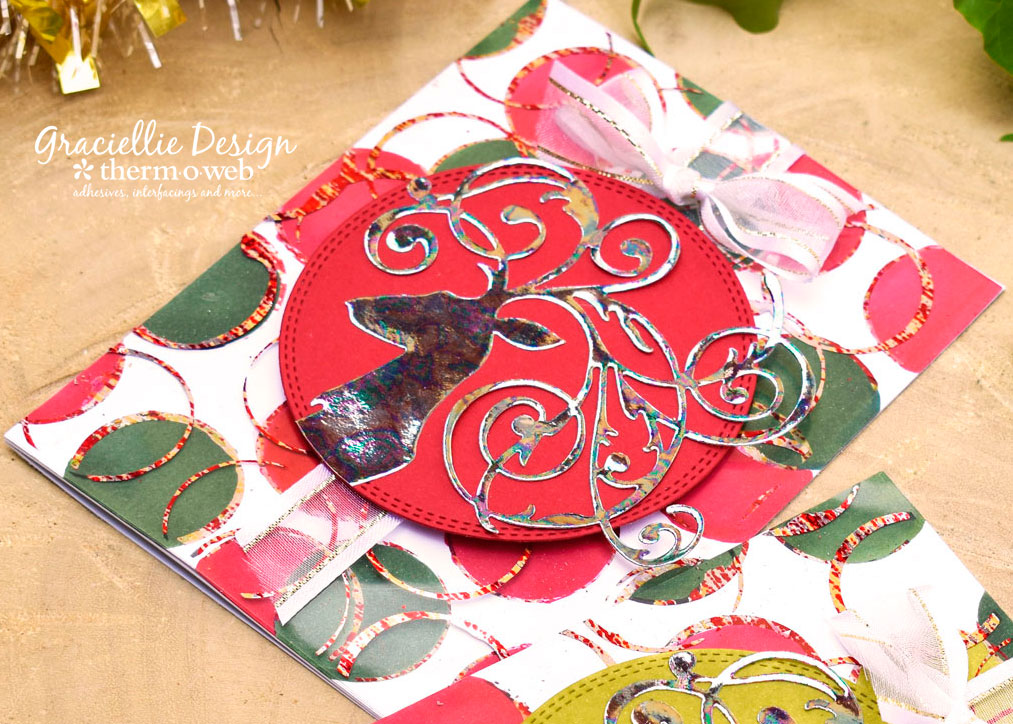
Hello, it’s Gracie with another colorful card tutorial! This time I went for traditional Christmas colors for our Christmas Week over at Therm O Web’s blog! I’m also trying out the new Brutus Monroe Collection for the very first time and of course, I HAD to give the new Designer Toner Sheets a twist! I turned the Coffee Rings Toner Sheet pattern into a layered and foiled polka dot background in traditional Holiday colors… Gotta love the possibilities! Make sure to scroll down to check out my step by step tutorial!
Coloring and Layering Brutus Monroe Designer Toner Sheets for Christmas Cards

Therm O Web Supplies:
Brutus Monroe Designer Toner Sheets • Coffee Rings
Brutus Monroe Foil Transfer Sheets • Sunrise
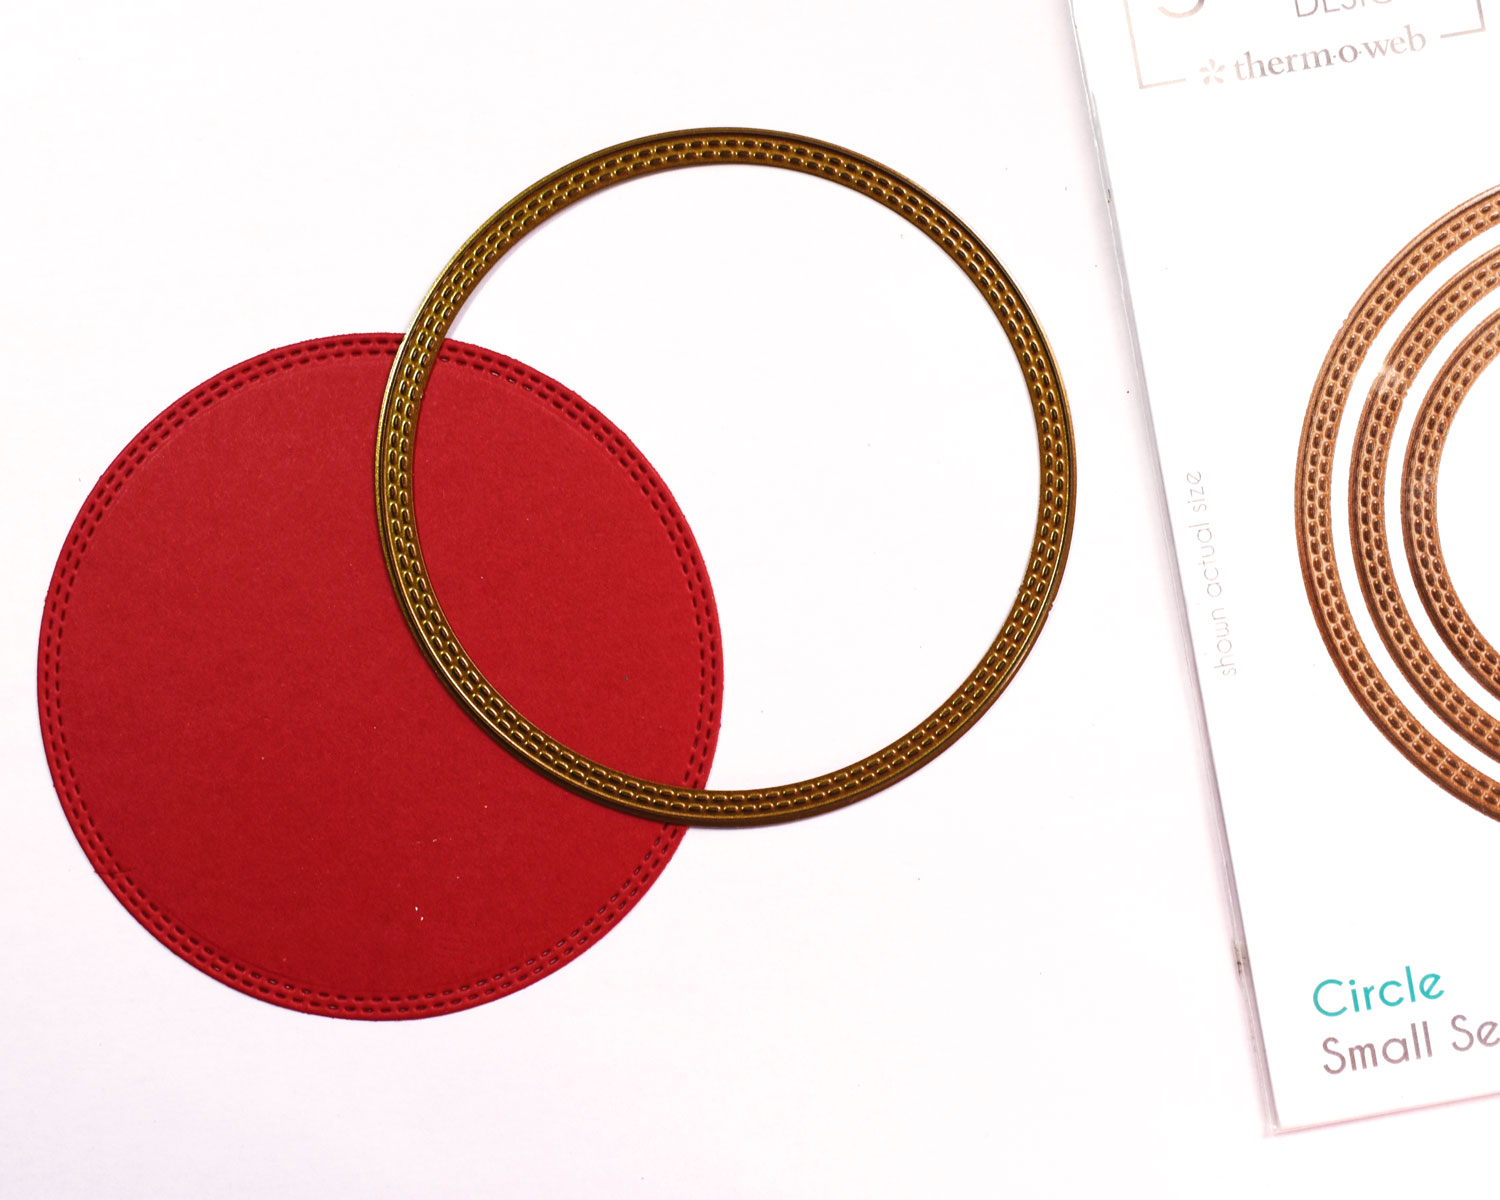
Gina K. Designs (3) Nested Circle Dies • Double Stitch Design • Small Set
Deco Foil™ Toner Sheets
Brutus Monroe Foil Transfer Sheets • Tide Pool
Laminator
Gina K. Designs Sheer Satin Fancy Ribbon 5/8″ x 10 yd • White/Gold
Gina K. Designs Premium Cardstock • Red Velvet
Memory Tape Runner XL™
3D Zots
Zots™ Roll • Small
Purple Tape
Other Supplies:
Alcohol markers in red and green
Reindeer Die
Die Cutting Machine
Paper Trimmer
Scissors
Coloring and Layering Brutus Monroe Designer Toner Sheets Tutorial
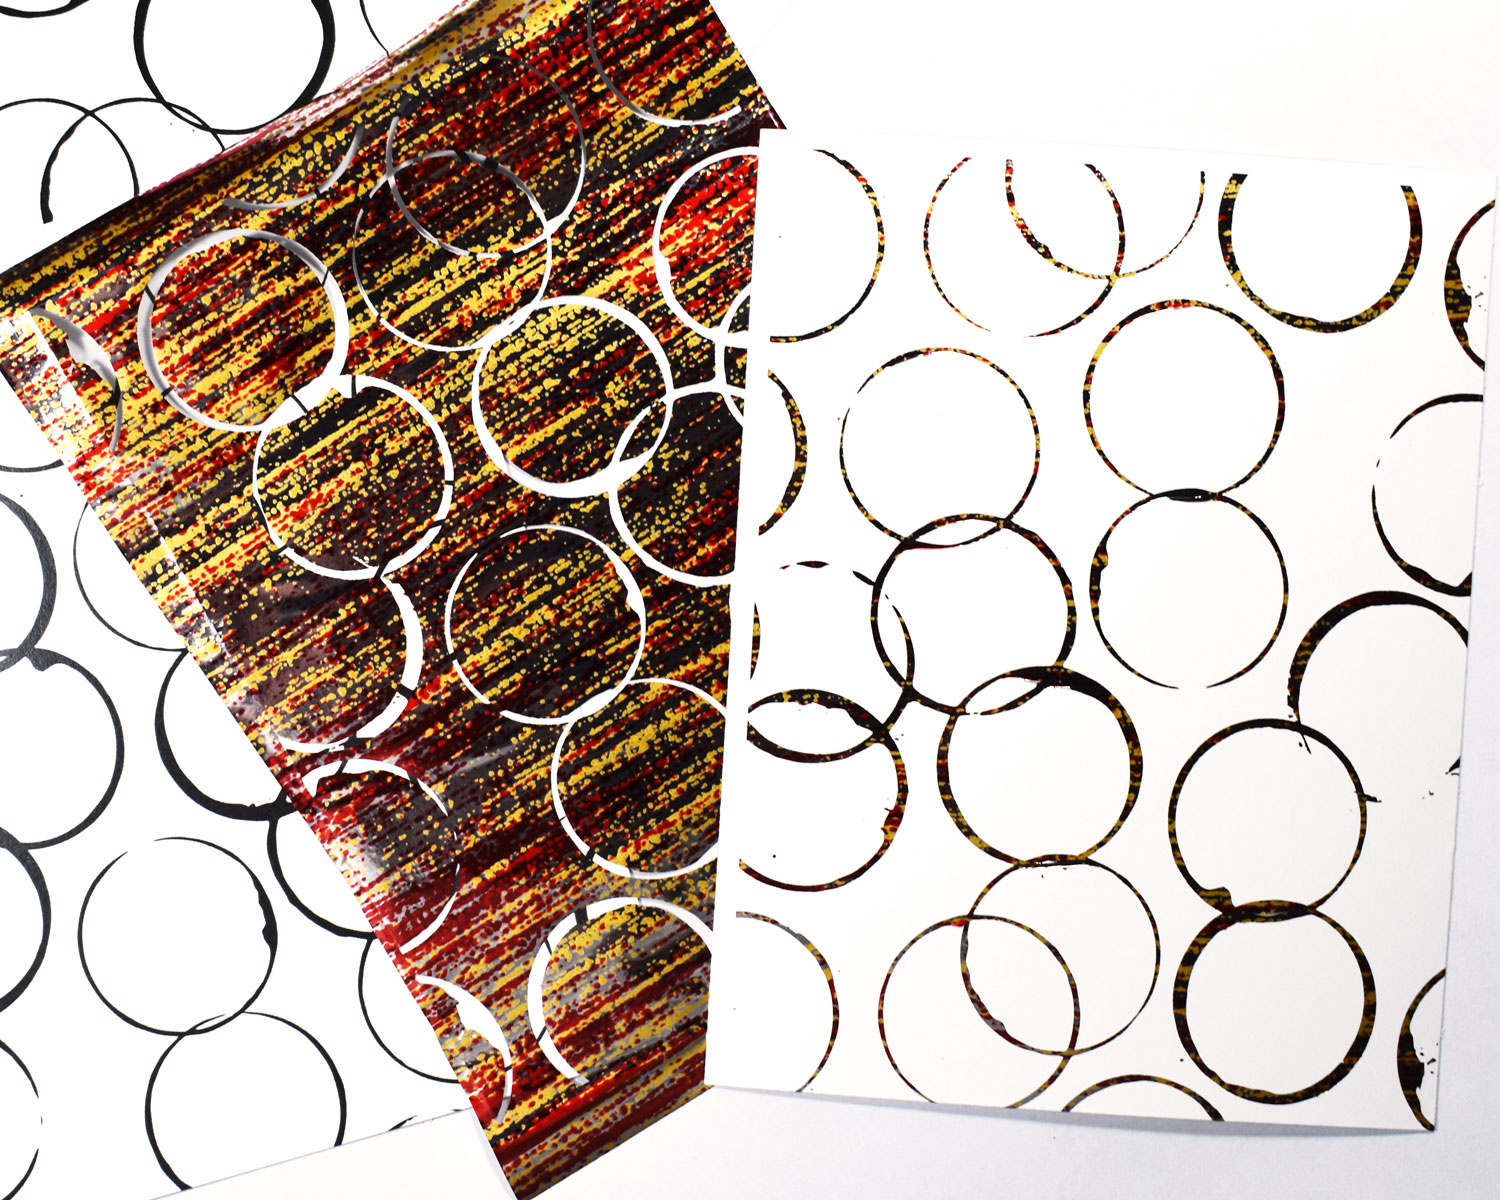
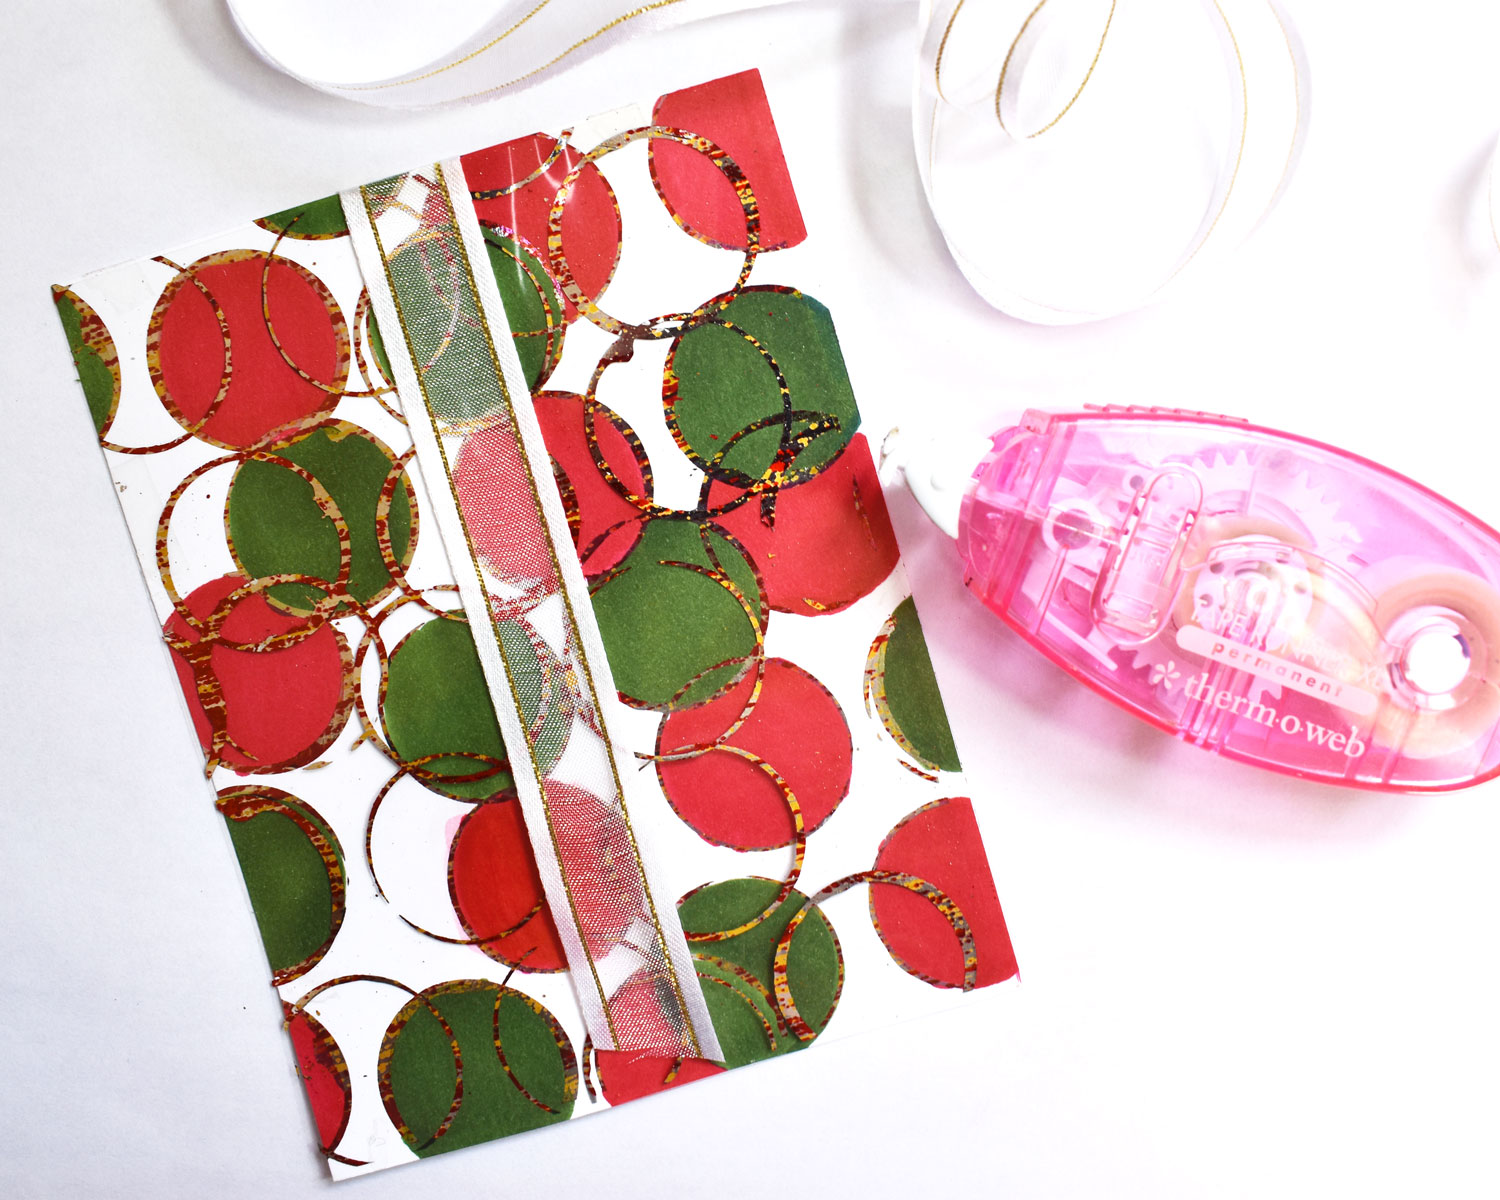
Step 1. Cut the Coffee Rings Designer Toner white sheet into two pieces of 5 1/2″ by 4 1/4″. You get four A2 pieces from each sheet and each piece is perfect for a card front.
Step 2. Cover the A2 Coffee Rings card mat with a piece Sunrise Foil Transfer Sheet, then cover both with parchment paper and run them through a preheated laminator. Peel off the foil sheet to reveal your foiled pattern!
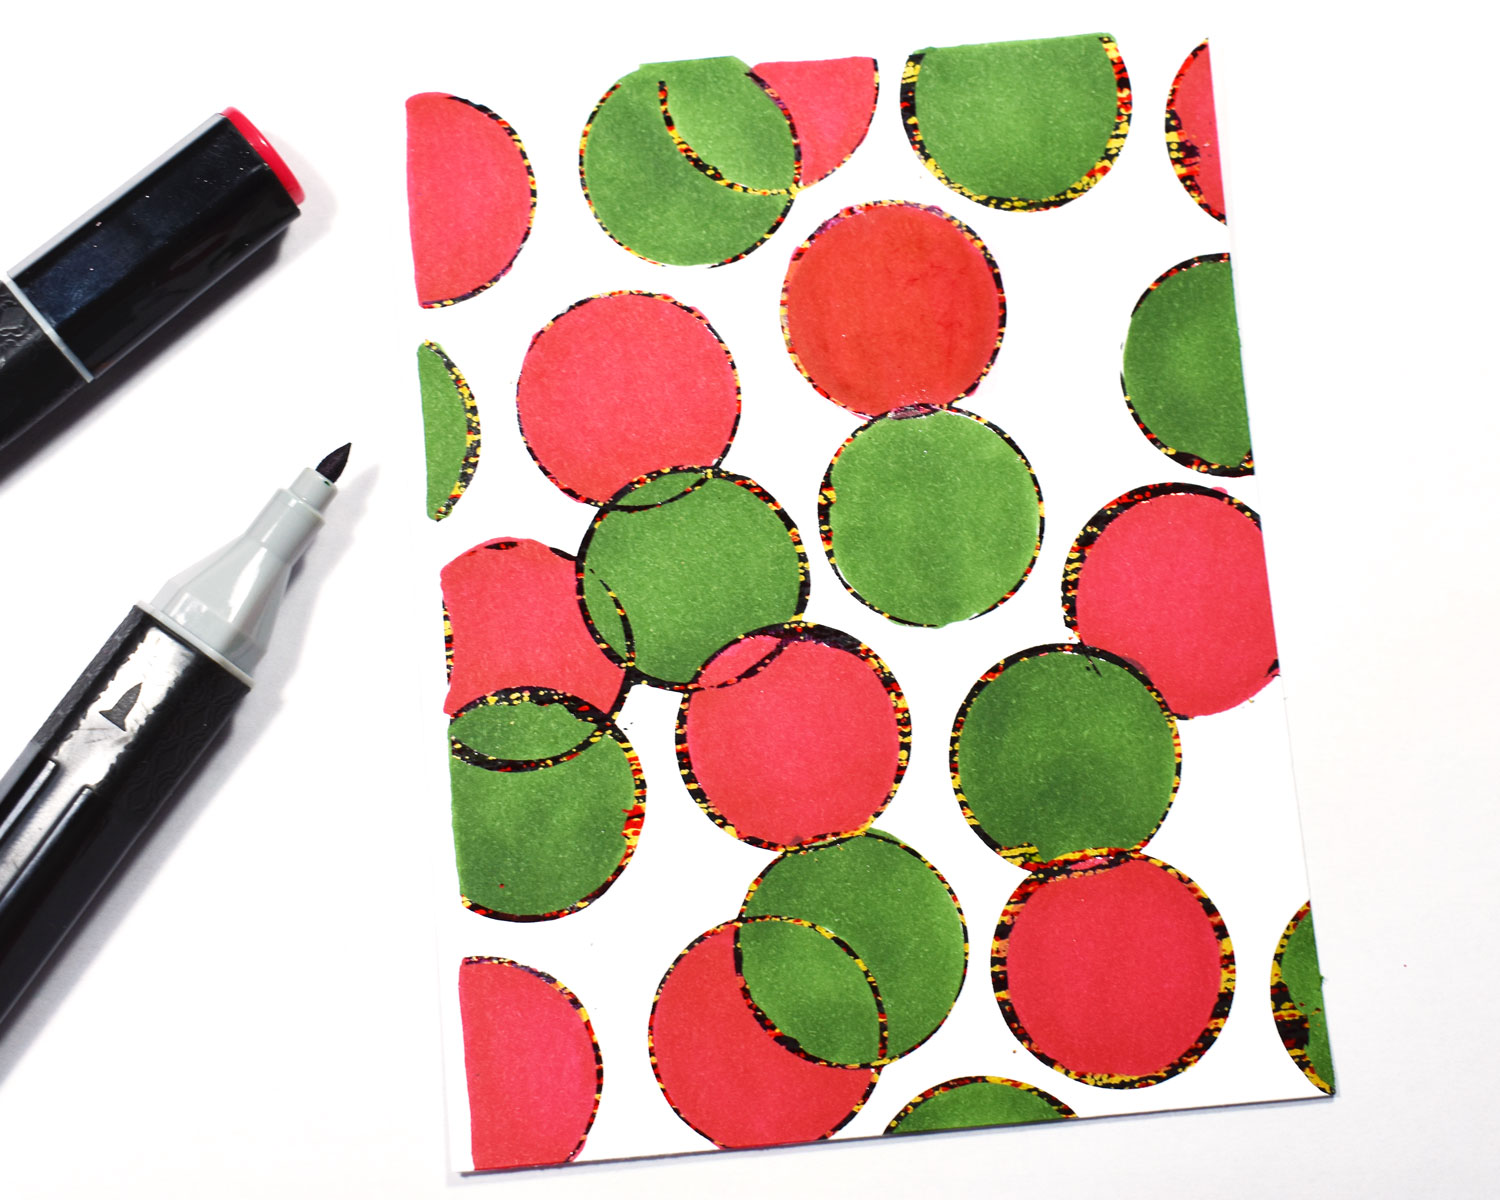
Step 3. Use alcohol markers to color randomly the pattern on the foiled Designer Toner Sheet. You can use any colors of your preference, but because I’m going for a traditional Christmas design I chose to use red and green.
Step 4. Repeat step 1 and 2, but instead of using the white Designer Toner Sheet use the clear one to create a second A2 card mat. Foil the clear Designer Toner piece with the same Foil Transfer Sheet used before to make it coordinate.

Step 5. Use the Tape Runner XL adhesive to attach the clear Designer Toner card mat on top of the white clear one.

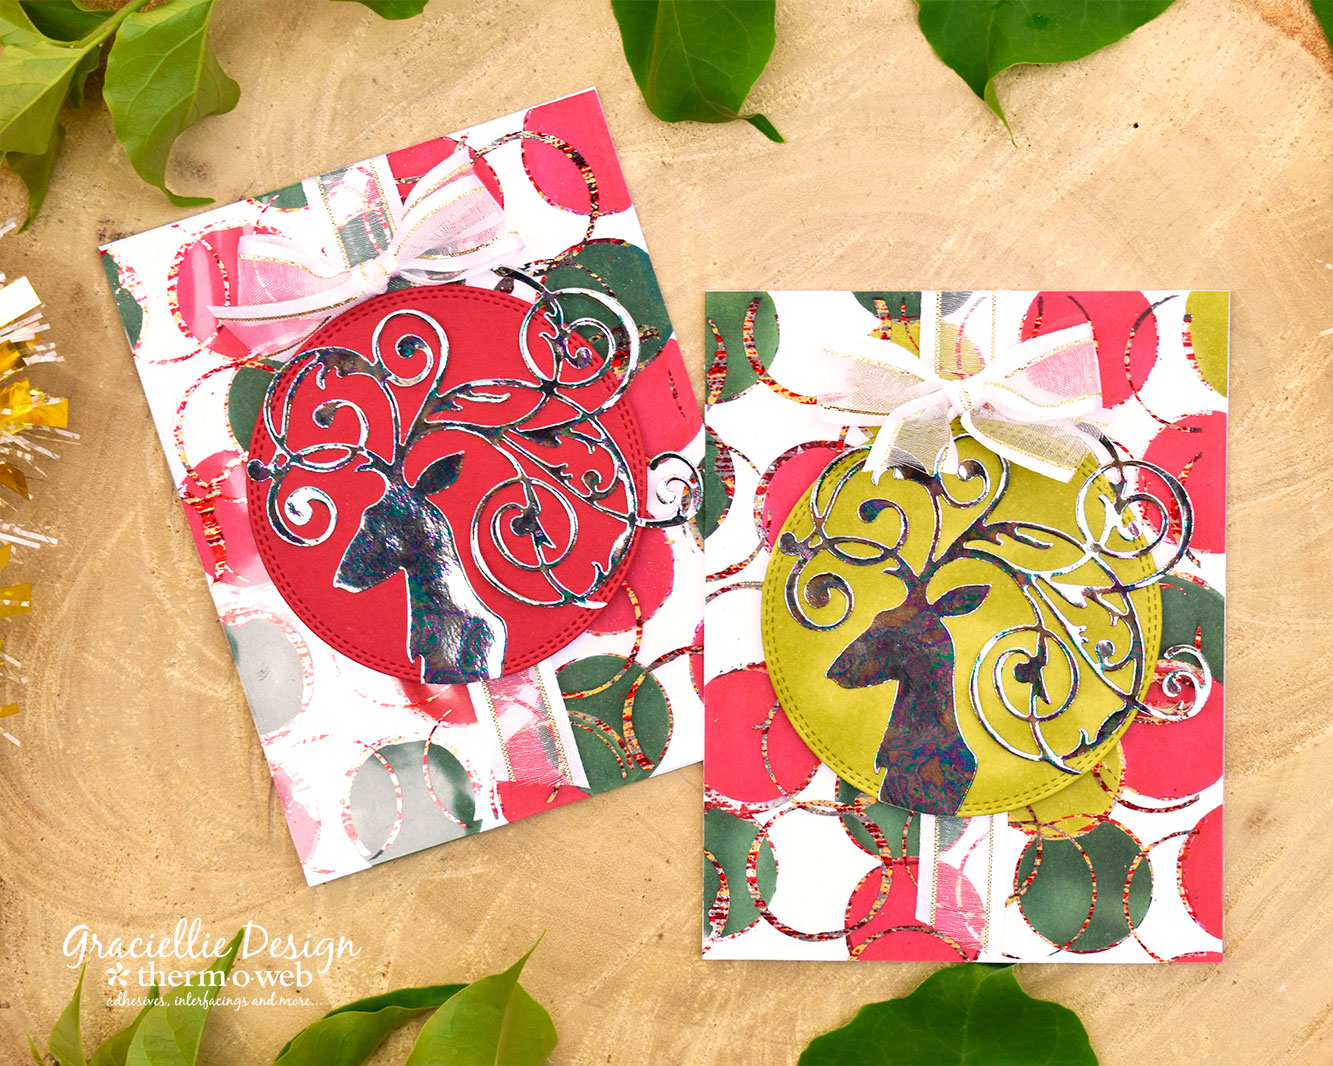
As you can see, these backgrounds are fun, colorful and very easy to put together with the new Brutus Monroe Designer Toner Sheets. Each design comes with sheets in white and clear which makes it even more convenient and perfect to mix and match to create backgrounds!
To finish off your Christmas cards:
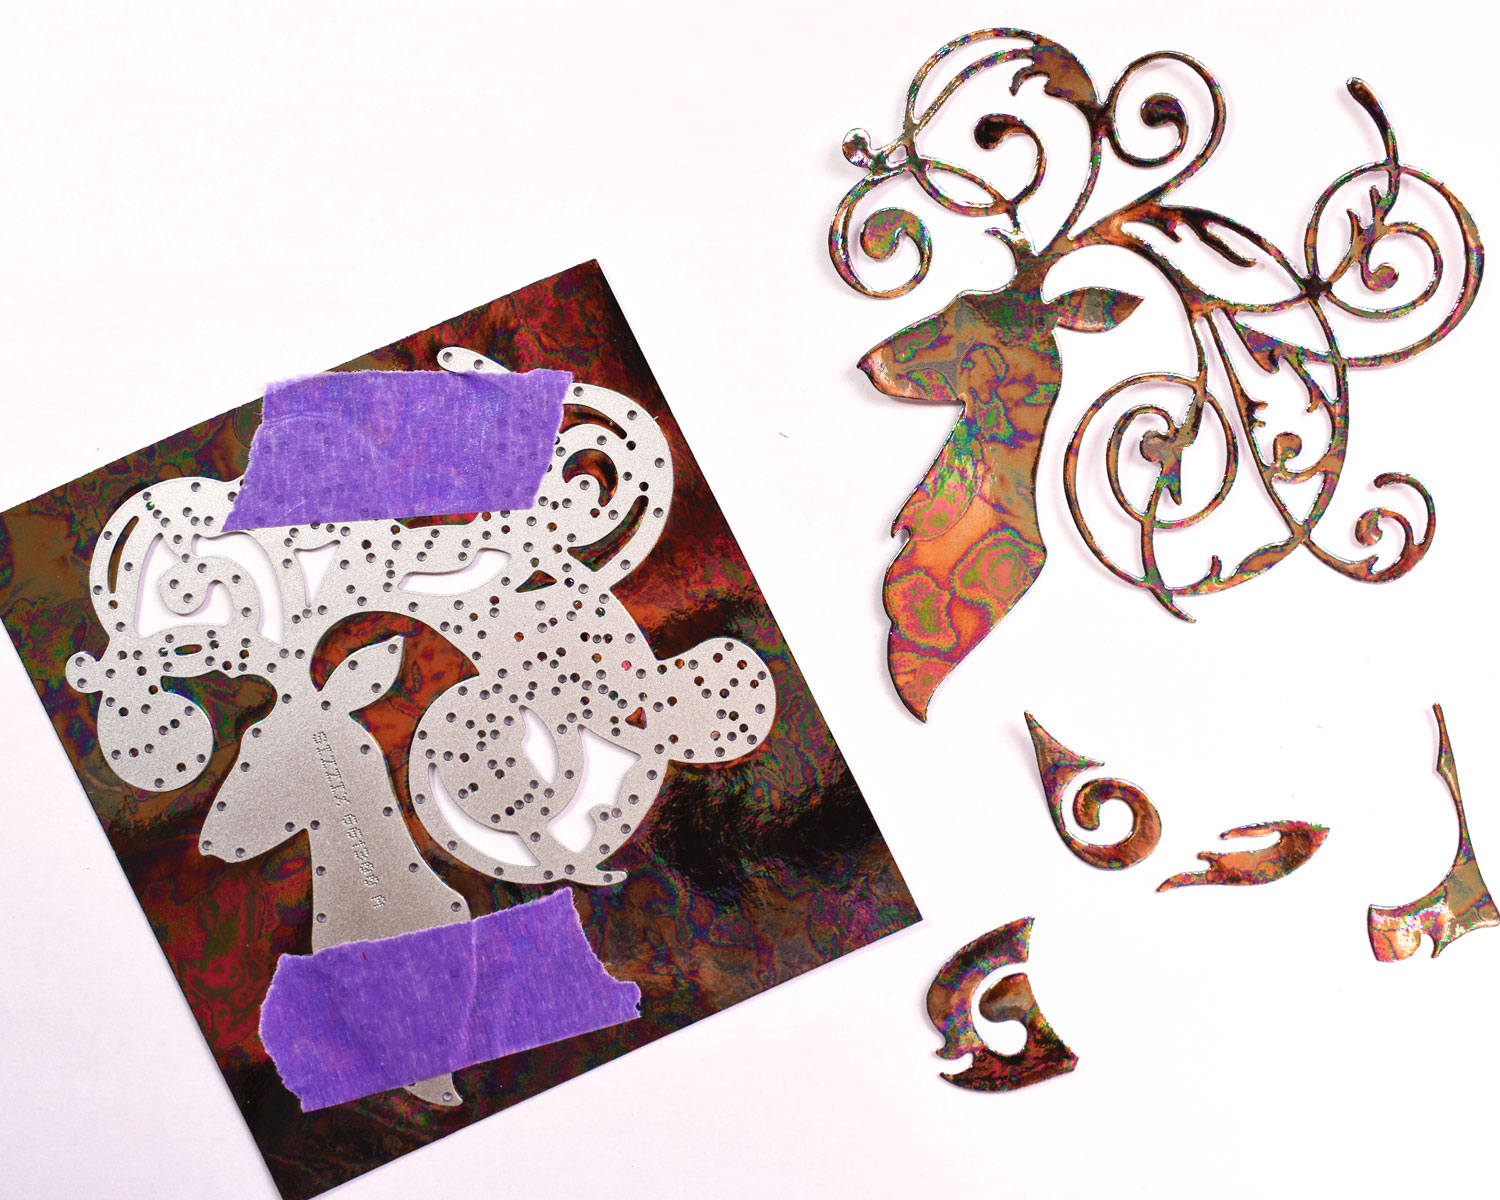
Step 6. To decorate the background, cover a piece of Toner Sheet with the new Sunrise Foil Transfer Sheet, cover both with parchment paper and run them through the preheated laminator. Peel off to reveal your perfectly foiled sheet!
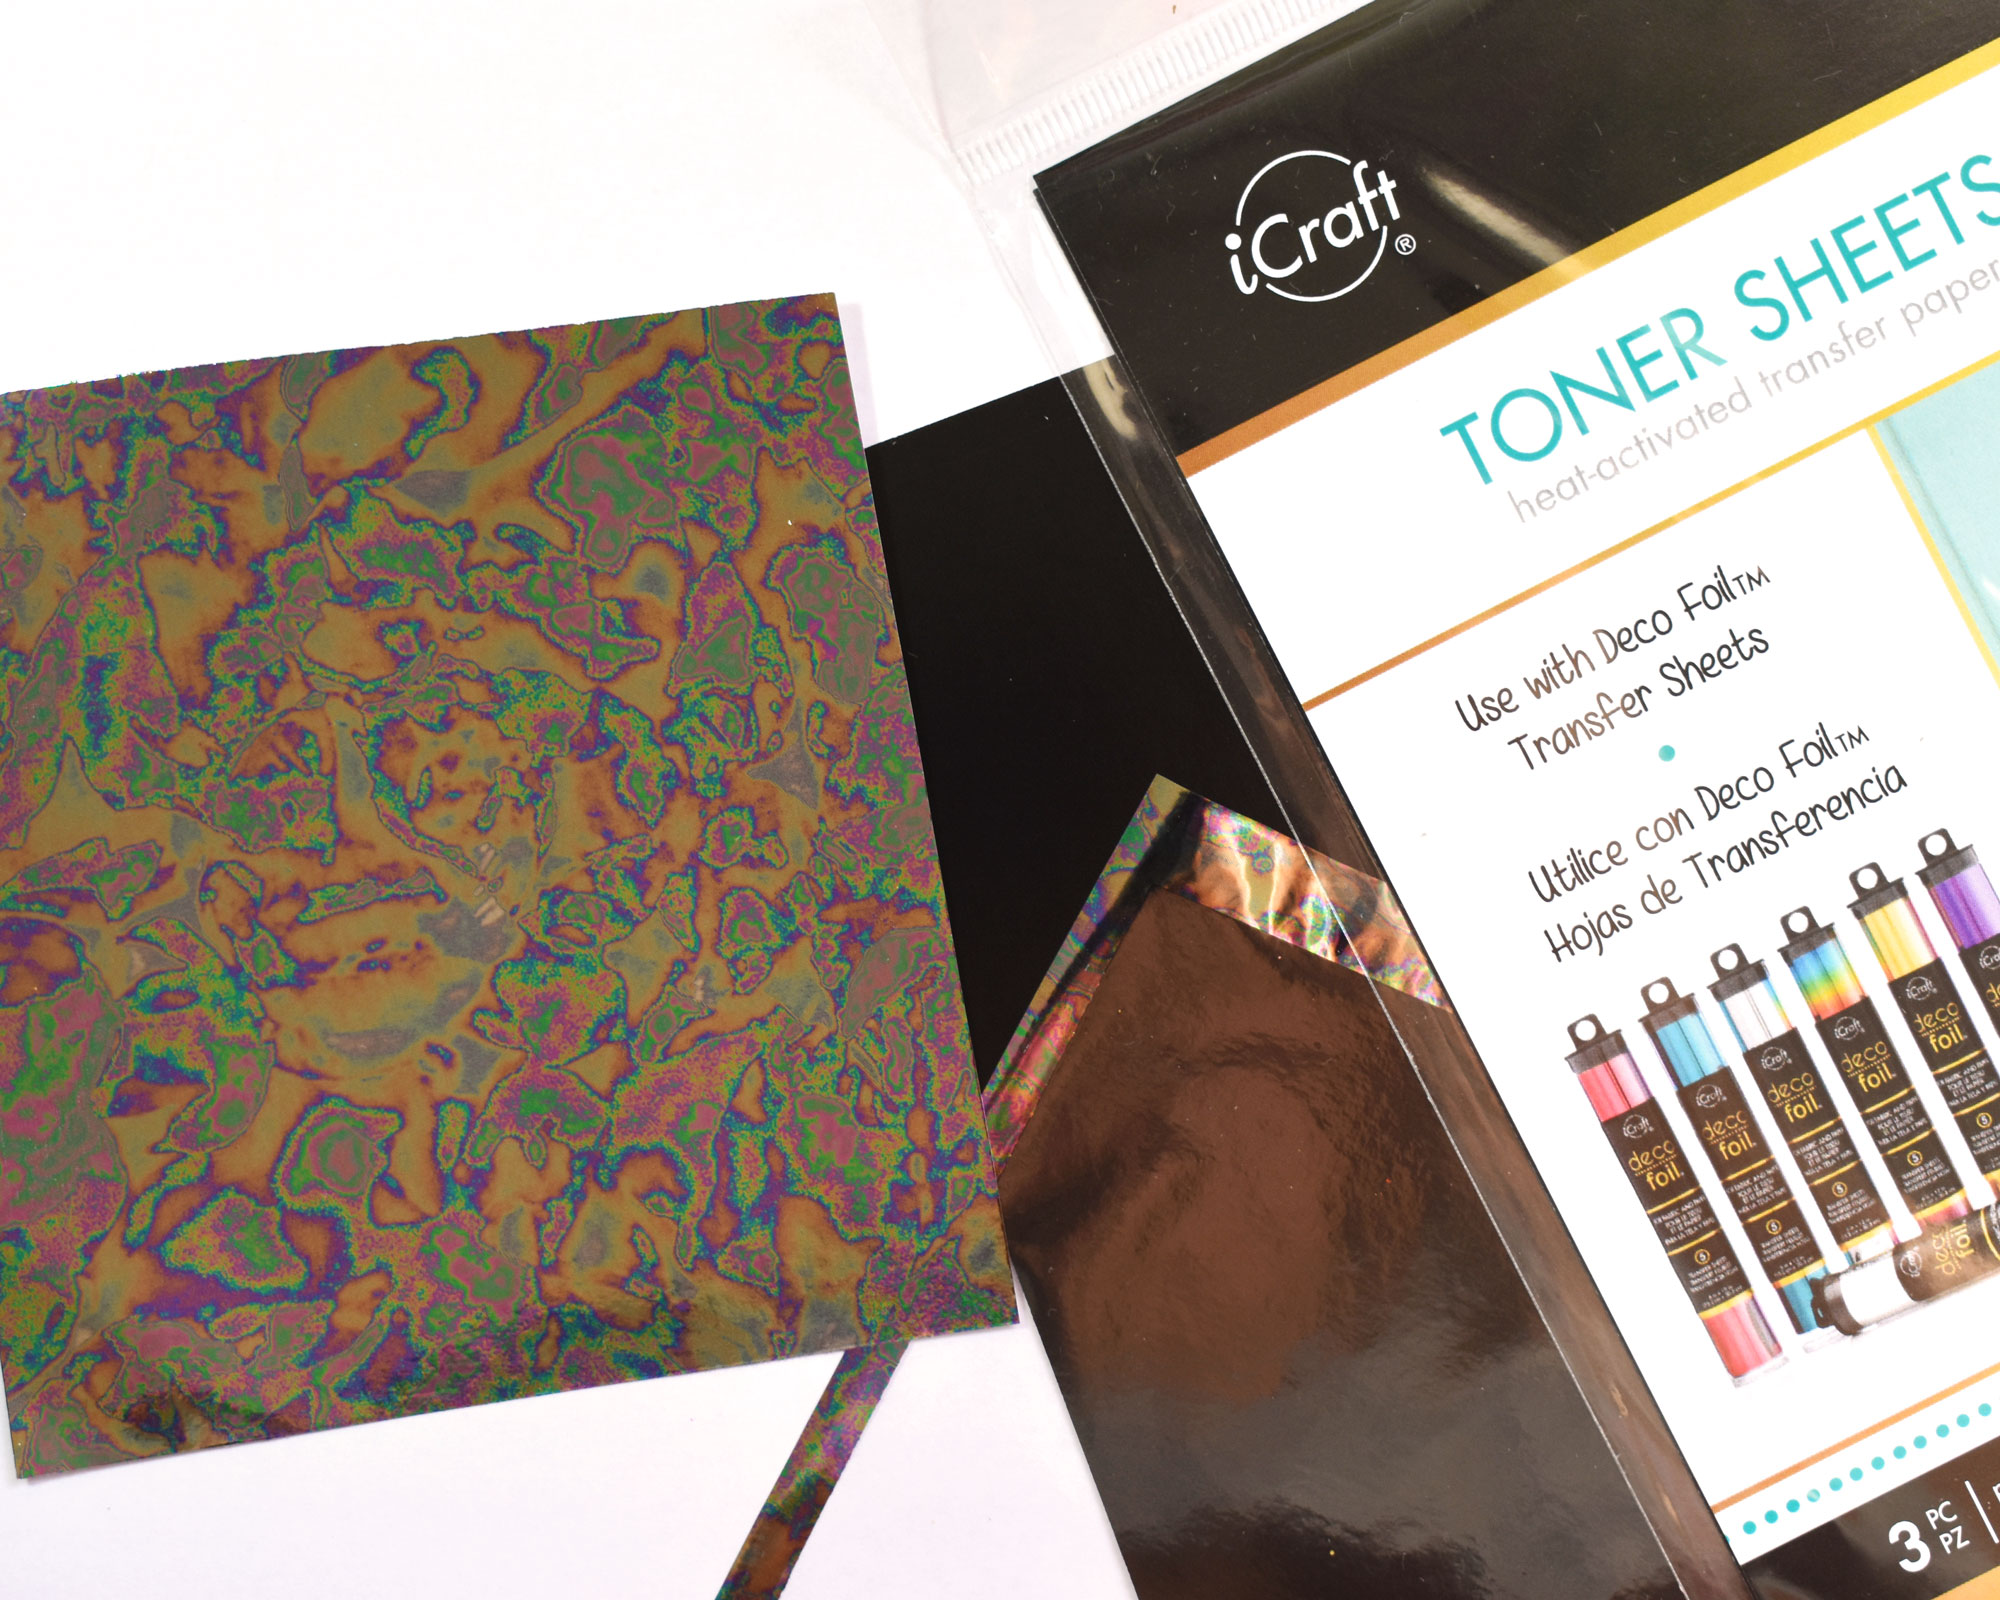
Step 7. Use the foiled Toner Sheet to die cut a Christmas themed embellishment. In this case, I went for a reindeer. Use Purple Tape to hold the die in place.
Step 8. Die cut a Double Stitched Design Circle from Red Velvet Cardstock.
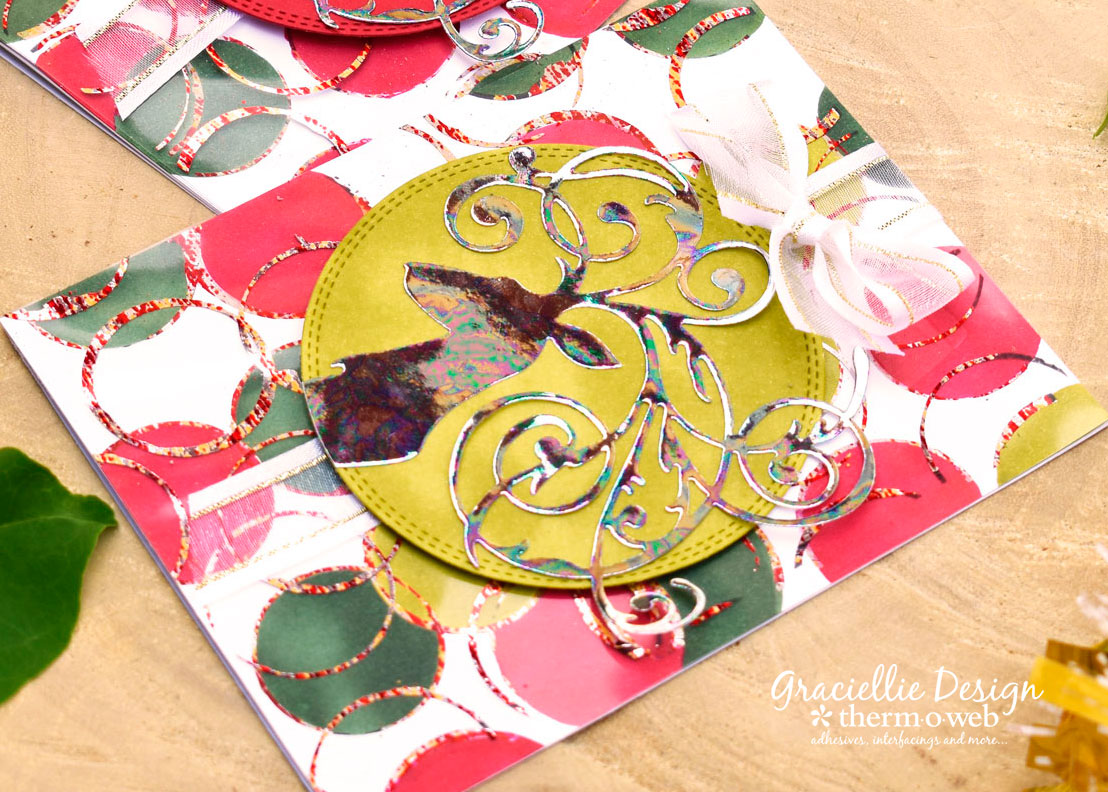
Step 9. Add a piece of White and Gold Sheer Satin Ribbon across the center of the card background, vertically, using XL Tape Runner Adhesive.
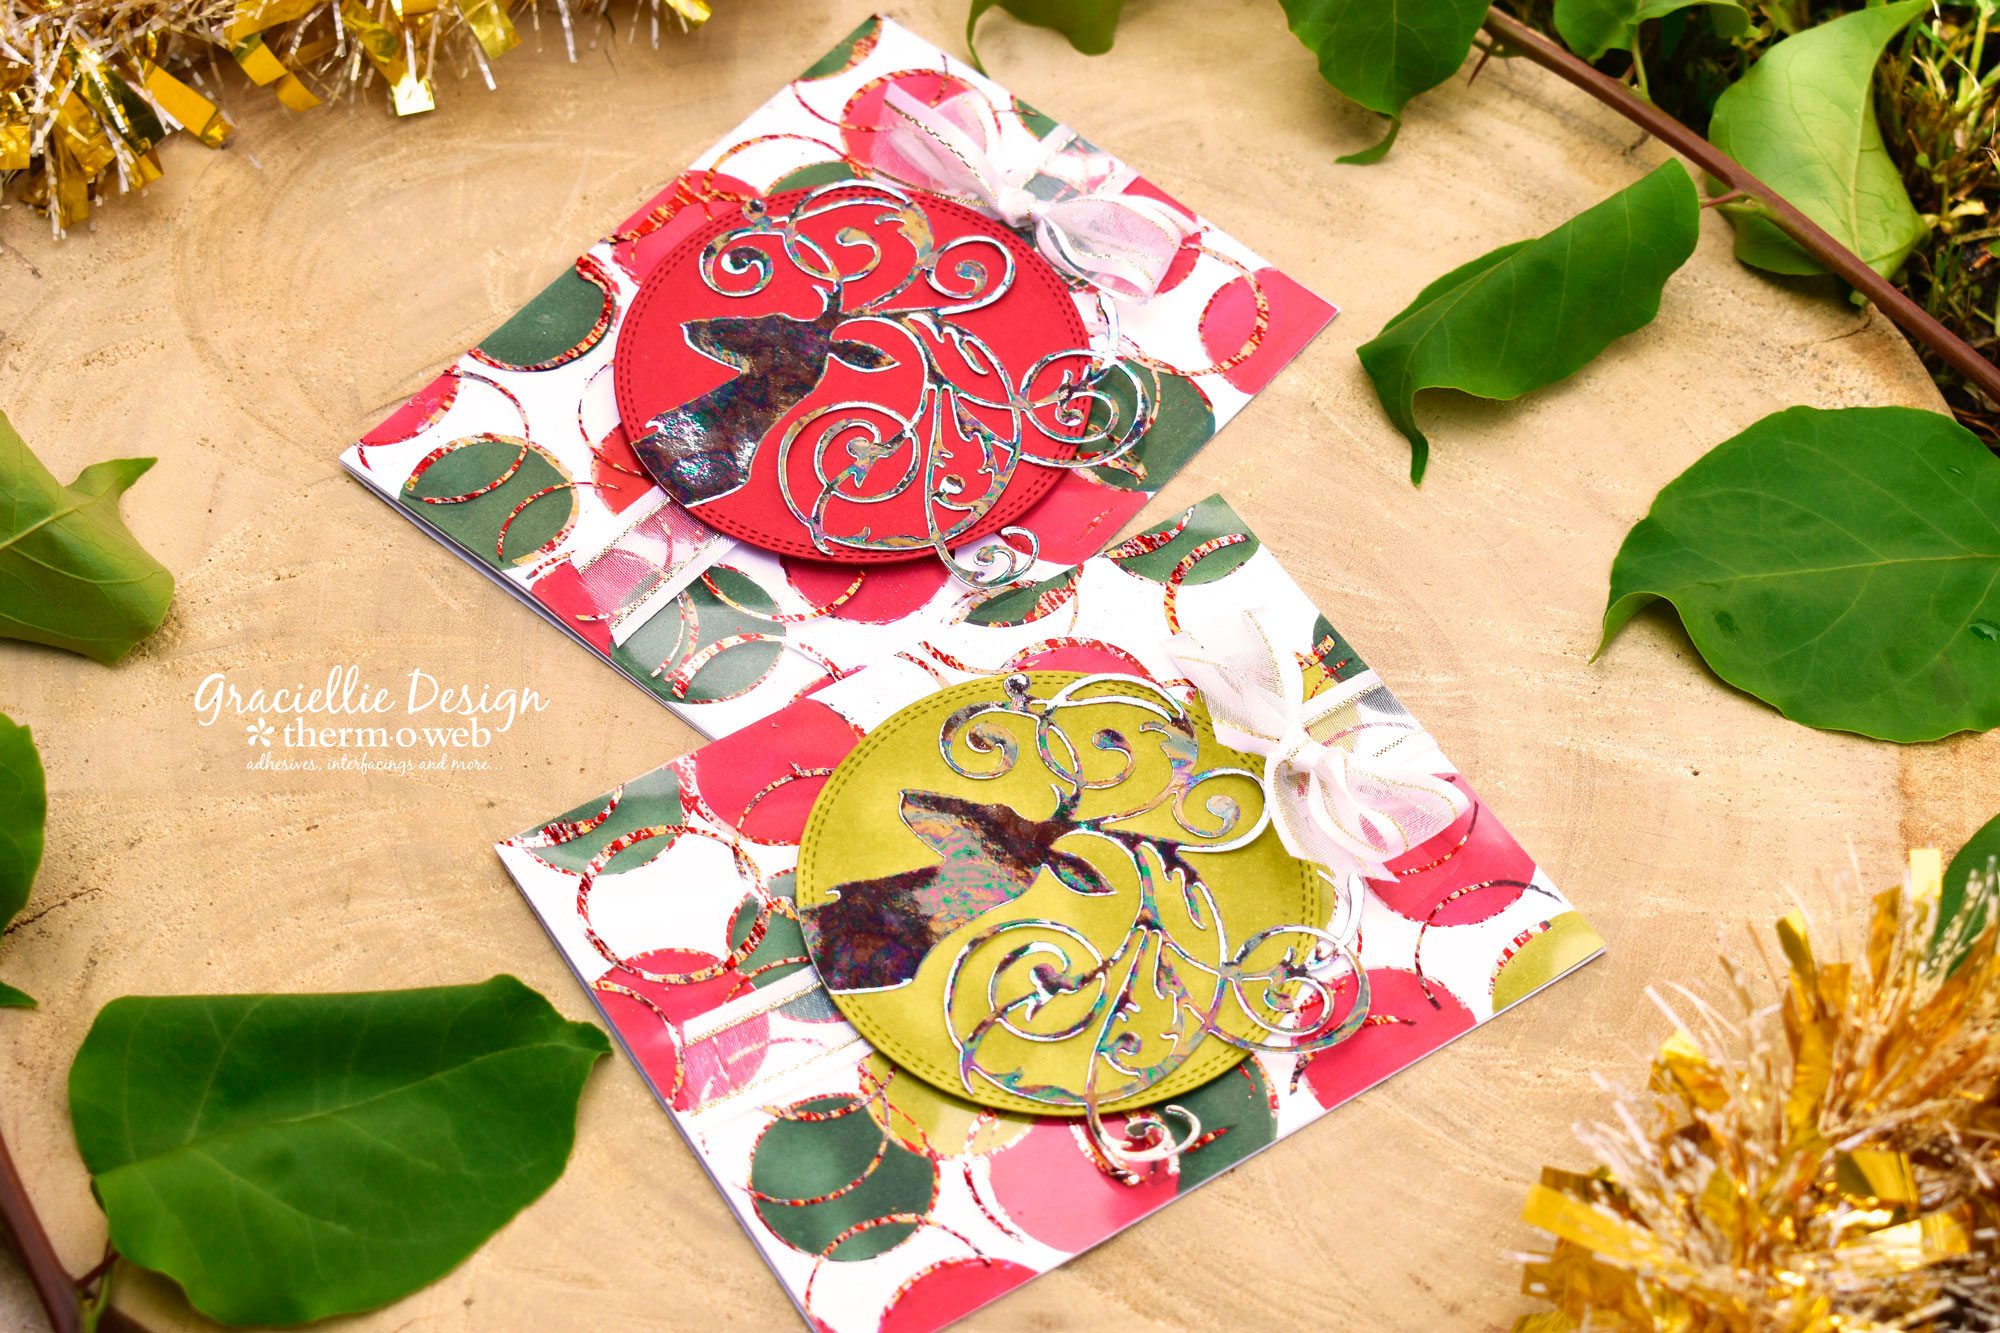
Step 10. Finally, attach the circle die cut with 3D Zots and the foiled reindeer die cut with XL Tape Runner Adhesive. Add both pieces to the center of the background and finish off the card with a small bow made with White and Gold Sheer Satin Ribbon. Attach the bow using Small Zots.

Love how these new Designer Toner Sheets work together! They make cardmaking super easy and as you can see, although the patterns seem very modern and mixed media, they work great for traditional Christmas cards! I can’t wait to try them out for Fall cards!
Make sure to visit Therm O Web’s site to check out the entire Brutus Monroe collection! The textures both on the foil and the Toner Sheets are amazing!
That’s all for now. Thanks so much for stopping by. For more Christmas inspiration using Deco Foil visit Therm O Web’s blog and take a peek at our Christmas Week’s projects and tutorials.
Denise Bryant
August 24, 2018 at 2:17 pm (6 years ago)These cards are so pretty!
Carla Hundley
August 24, 2018 at 2:51 pm (6 years ago)They all look
fabulous!
Carla from Utah