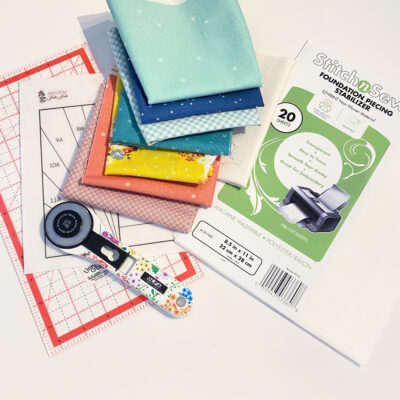
SUPPLIES:
- 9″ x 12″ rectangle StitchNsew High Loft Sew-In Fleece
- StitchnSew Foundation PIecing Stabilizer Sheets (formerly EZ Print Quilt Block Sheets)
- Various quilter’s weight cotton prints. The largest piece is 6.5″ x 9.5″ for the backing.
- Premade bias tape or make your own using a strip of 2.5″ x WOF (width of fabric) of quilter’s weight cotton
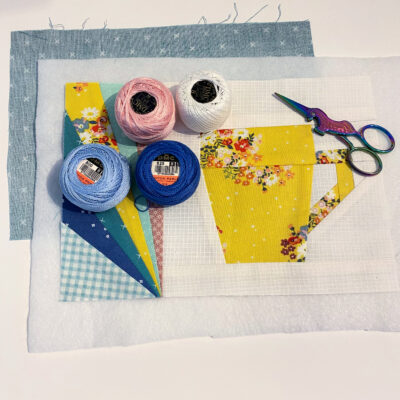
- DMC pearled cotton embroidery thread size 8
- Thread
- PDF file Mug Rug Cup TOW Paper piecing
i used different fabrics from my stash including prints from Ruby Star Society.
TOOLS:
- Iron & ironing board
- Coordinating thread
- Sewing machine
- Hand-sewing needle
- Scissors
- Rotary cutter and self-healing mat
GETTING STARTED:
1. Download and print the templates. Print actual size – do NOT “fit to page” or “shrink to fit.”
Get the PDF file here - Mug Rug Cup TOW Paper piecing
You will notice in the files that the first page is with color for inspiration, the second page will help you produce a mug rug with the mug handle on the right side and the last page is mirrored image if you should want to have the mug handle on the left side.
2. Cut out the required elements for your mug rug in quilter’s weight cotton. You’ll need the following:
- Pieces to cover and overlap the surface of all the different sections in the pattern by at least 1/2″
- 1 – 6.5″ x 9.5″ rectangle for backing
- 1 – 2.5″ x WOF for binding
NOTE: If you are brand new to foundation paper piecing (FPP), designer Leila Gardunia shares an excellent overview and tutorial on her website HERE. You might find it helpful to read through these tips and step-by-step photos before proceeding with the mug rug. Designer Angela Walters of Quilting is My Therapy also offers a terrific 4-minute video tutorial on the basics of FPP; watch it HERE.
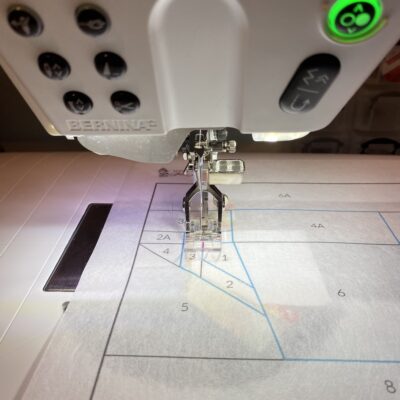
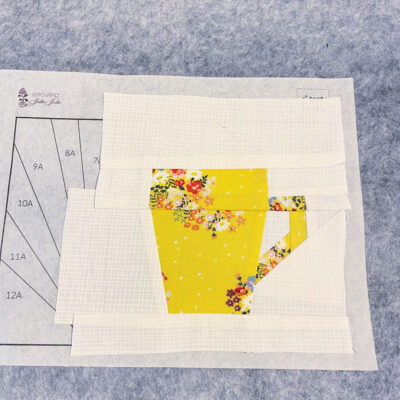
3. You’ll notice on the printed pattern that the sections are numbered 1 through 8 and then 1A through 12A. Start by placing fabric piece #1 right side down on your work surface and cover it with template section 1, printed side up. NOTE: While foundation pieced designs are usually assembled on the wrong side of the printed template and sewn on the right side of the printed template, as Leila and Angela show in their tutorials, seeing that the Foundation Piecing Stabilizer is easy to see through you can work the pattern with the printed side up on the printed side down,
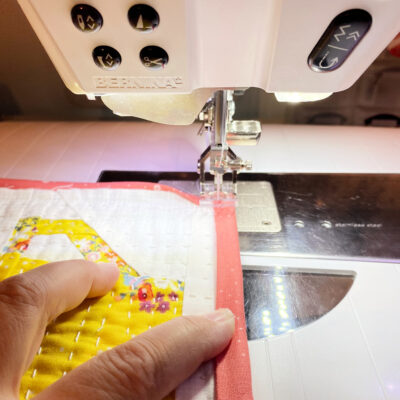
Next, place fabric piece #2 under fabric piece #1 with right sides facing, making sure fabric piece #2 completely covers and overlaps the printed borders of section 2. Sew along the line between section 1 and section 2, starting and ending slightly beyond the ends of the printed line. As you can see in the picture, I’m stitching with the paper side up and the fabric facing the needle plate. Press section 2 open, then move it back and trim the excess fabric below the stitch line to remove extra bulk and to keep your work tidy, making sure to leave 1/4″ seam allowance beyond the stitched line.
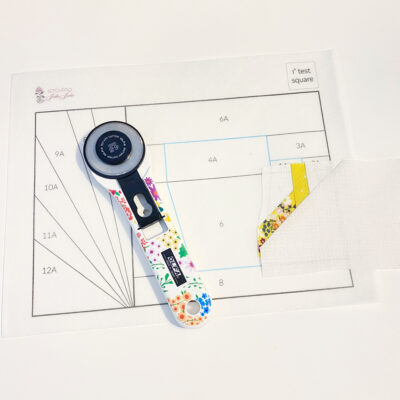
4. Continue in this manner until you have completed sections 1-8 of the pattern. Either start on a new sheet or cut off the sections 1 through 8 you’ve just finished and start the process over at section 1A and work your way to 6A.
5. You will now need to pin the two blocks together, making sure the top of the mug on the pattern lines up with the bottom of the mug. Use a 1/4″ seam allowance to stitch the blocks together.
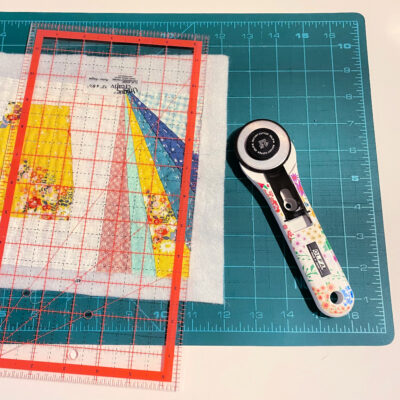
6. Continue on to section 7A and remember to trim your seam allowances to 1/4″ to keep your work tidy! When completed, trim along the edges of the completed mug rug top, leaving 1/4″ seam allowance. Gently tear away the stabilizer and press your completed mug rug top.
5. Layer the backing, right side down, the fleece, and top of your mug rug, right side up. Make sure the backing is lined up with the top and simply hand-baste everything in place. The fleece will be larger than the backing and mug rug top to give you some room to work the running stitches through the layers and not have to stretch out the fleece when you get to the end.
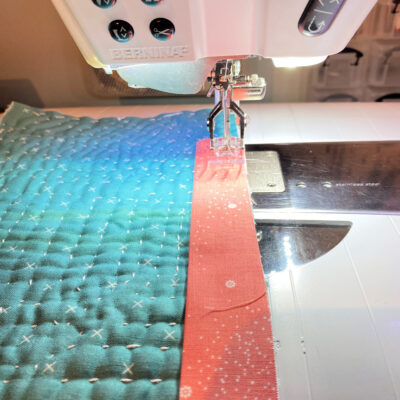
8. Trim your work to 6.5″ x 9.5″ to remove the excess fleece. Place the binding, folded in half lengthwise, along the backing side of your work and stitch around the perimeter.
9. Turn your work over and top stitch your binding into place.
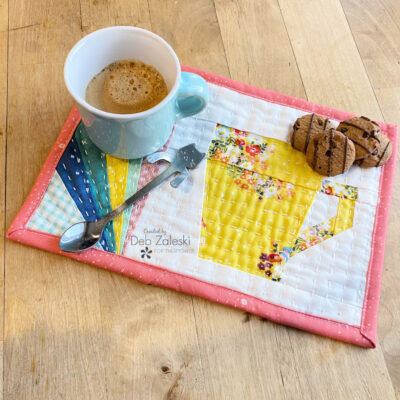
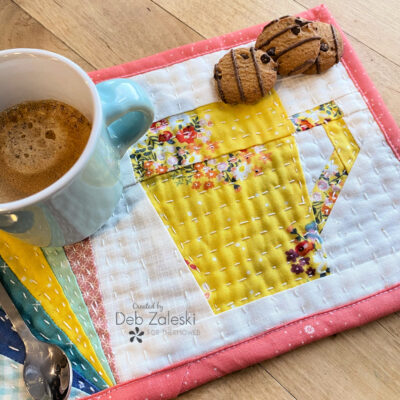
The only thing left to do is bake some cookies to serve with some coffee of tea on your new little mug rug!
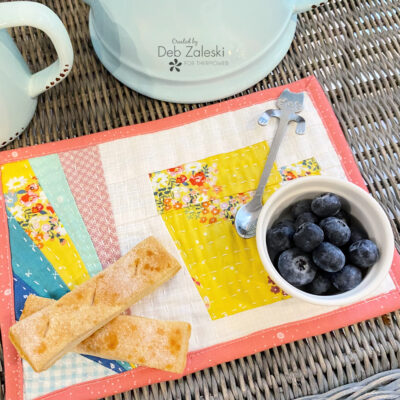
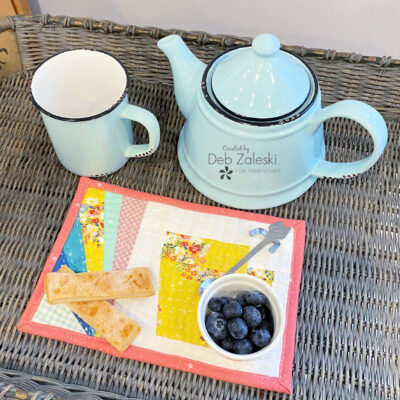
Thanks for joining me and I hope I’ve inspired you to create a cheerful little mug rug using up a lot of little leftovers. This little mug rug is a fun way to add some color to your home and it’s also great for gift giving! If you liked this project, please let me know by posting a comment. And don’t forget to stop by my Instagram and say HI!