


Hello! It’s Stephanie from Sissy Belle Sews back to share this fun butterfly wall-hanging project with you!
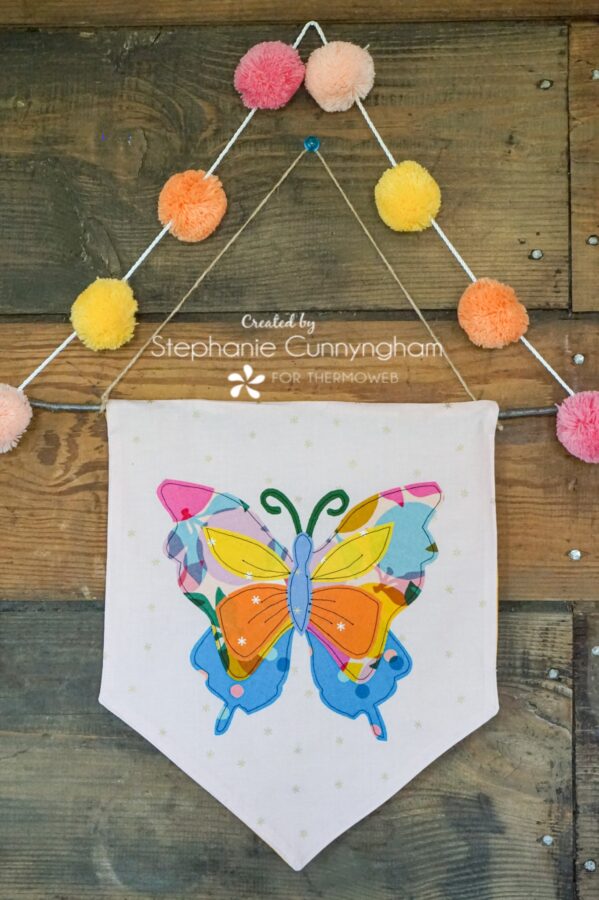
Fabric Butterfly Applique Wall Hanging
I recently painted and re-decorated my sewing space, and I’ve been busy making new pretty things to hang on my light-pink walls. I don’t know if it’s because I’m so excited it’s no longer winter, or if it’s because the days are getting longer and there is more sunshine, but for some reason, pink and orange have been my go-to colors for my new space! I made this little wall hanging in just a couple of hours, and I’m so happy with how it turned out! If you want to make one too, keep reading and I’ll tell you how!
Supplies Needed
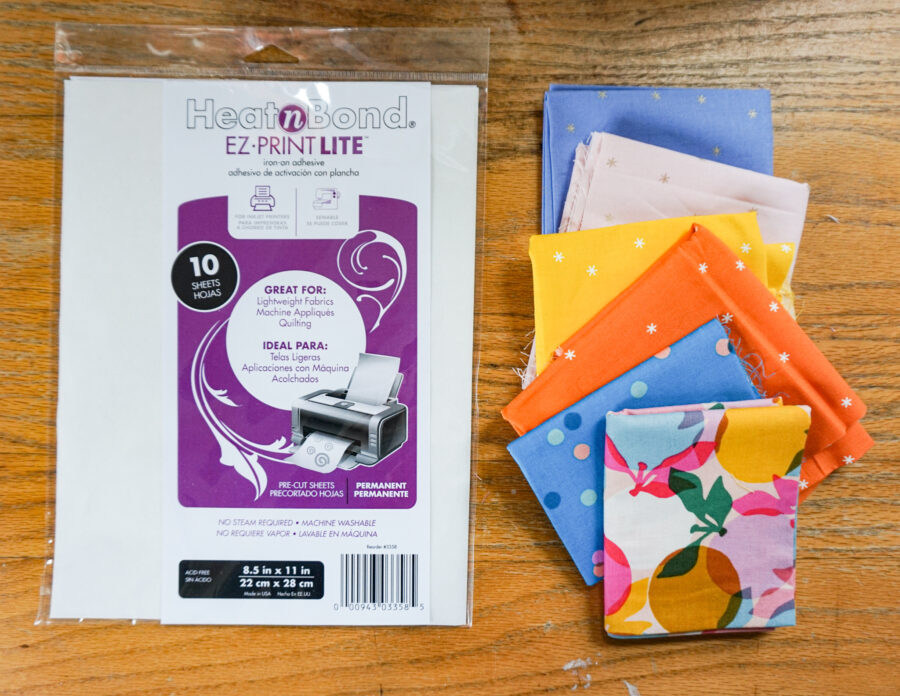
- Scraps of fabric (I used Clementine by Ruby Star Society) for the butterfly
- 2 pieces of fabric measuring 10″ x 12″ for the background and back of wall-hanging
- 1 package of HeatnBond EZ Print Lite sheets
- Contrasting thread for stitching down applique pieces
- Dowel rod or stick and twine or ribbon for hanging your finished piece
- Butterfly applique pattern pieces
Sewing Instructions
- Fold the 10″ x 12″ pieces of background fabric in half lengthwise to mark the center. Measure up 4″ from the bottom on each side of the background rectangles. Make a mark from the 4″ mark to the center.

- Cut along drawn lines to give you the pointed bottom of your wall-hanging. Do this for both background pieces.
- Print the butterfly applique pattern on to the EZ Print Lite sheets
- Make sure you only print page 2. Page 1 is the template for how to arrange all the pieces when you have them cut out.
- Cut generously around each pattern piece. Fuse the pieces onto the backside of your fabric scraps.
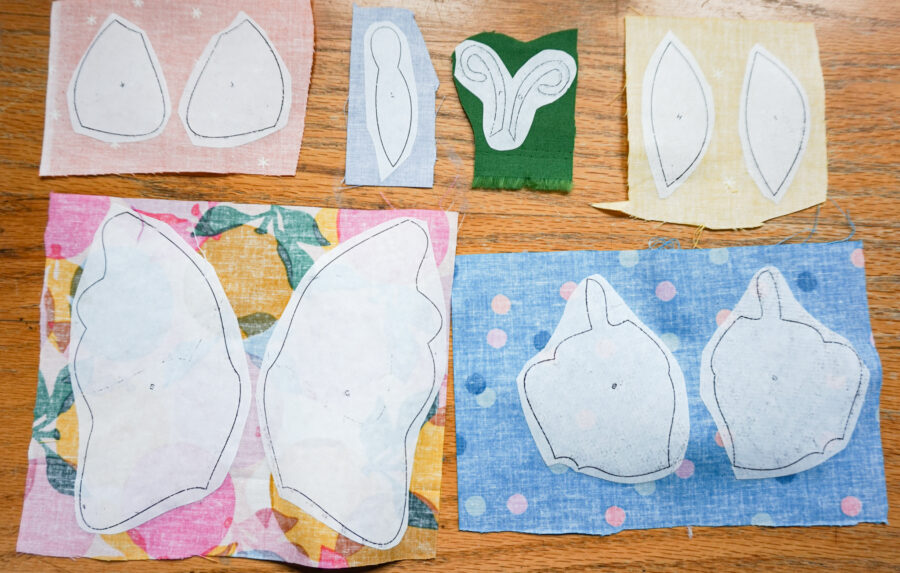
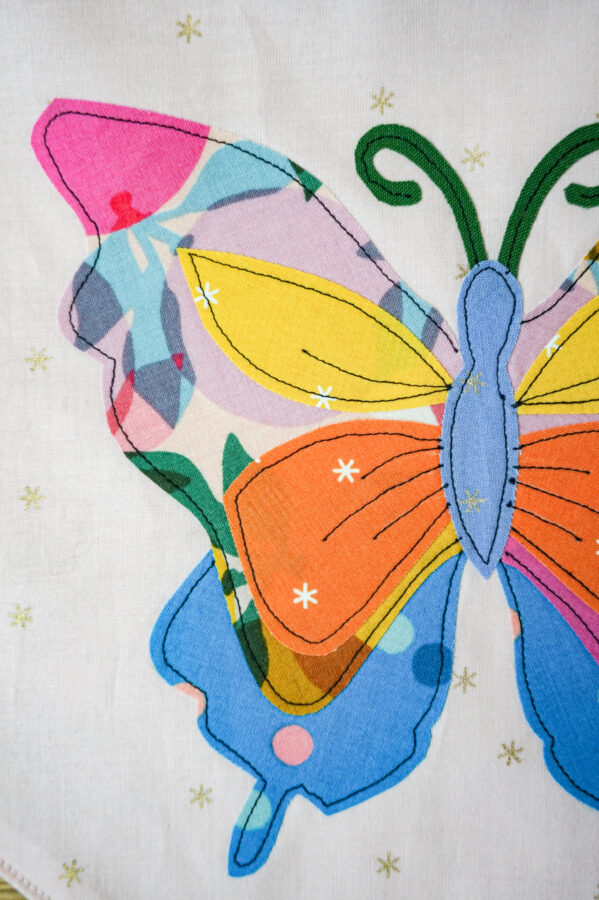
- Once they are fused in place, cut out each shape along the line. Peel off the backing and arrange the pieces on one of the background fabrics and fuse in place. Follow the template included with the pattern as a guide for where to put your shapes.
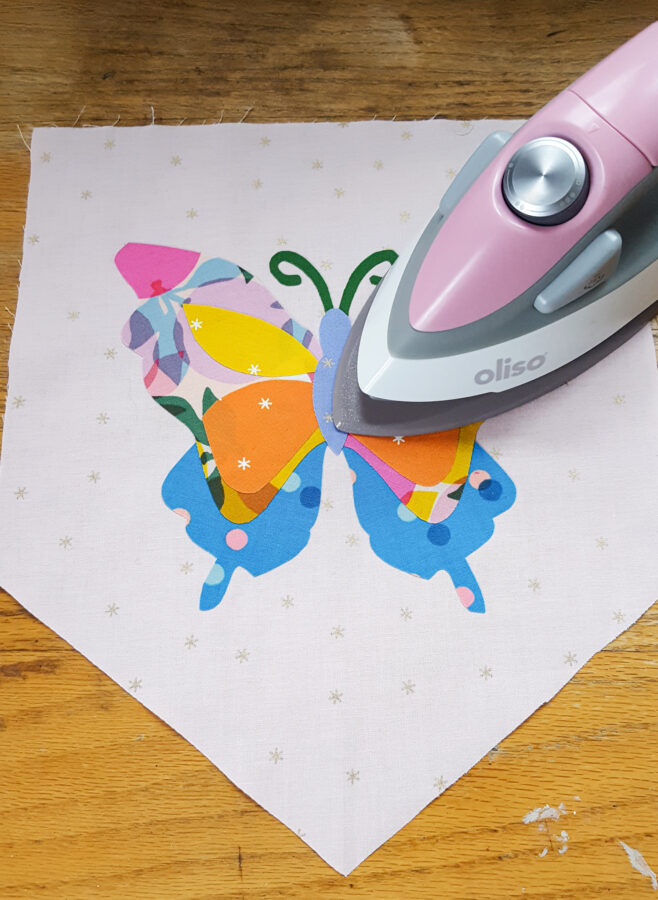
- Using contrasting thread, stitch applique pieces in place to secure. Add some decorative stitching to the wings if desired.
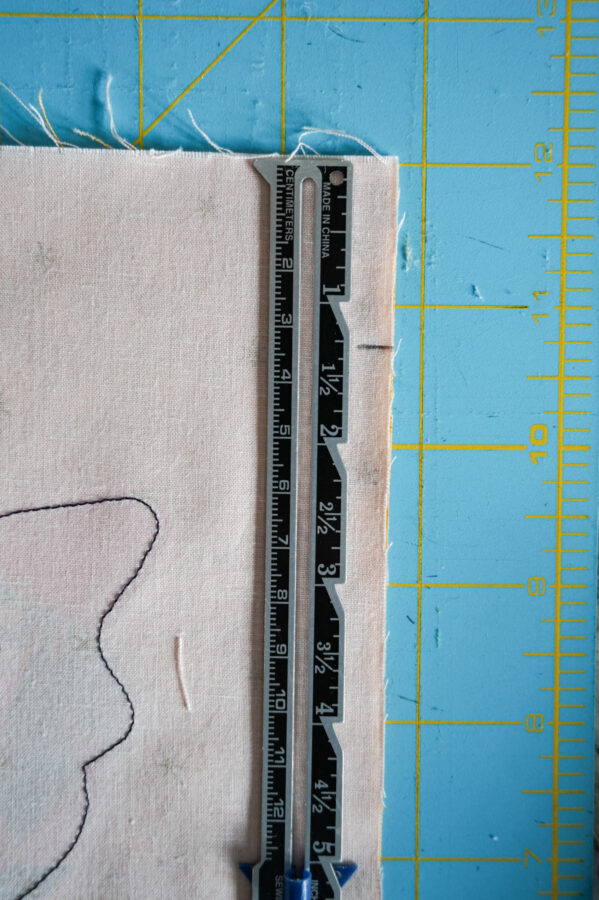
- Place background and backing right sides together. Measure down 1 1/4″ from the top on both sides of one of the pieces and make a mark.
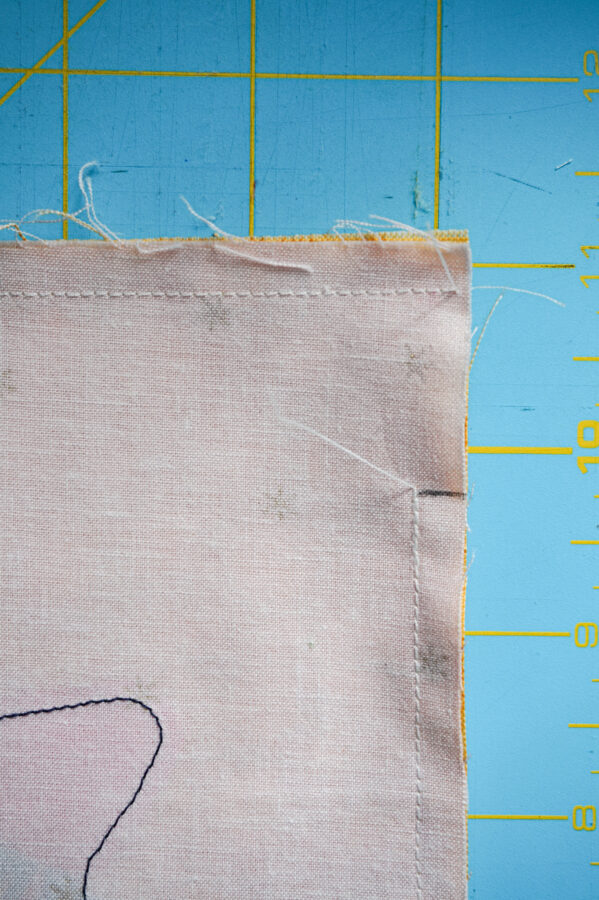
- Stitch across the top of the two background pieces. Starting at one of the marks, stitch the rest of the way around, leaving one 4″ opening for turning.
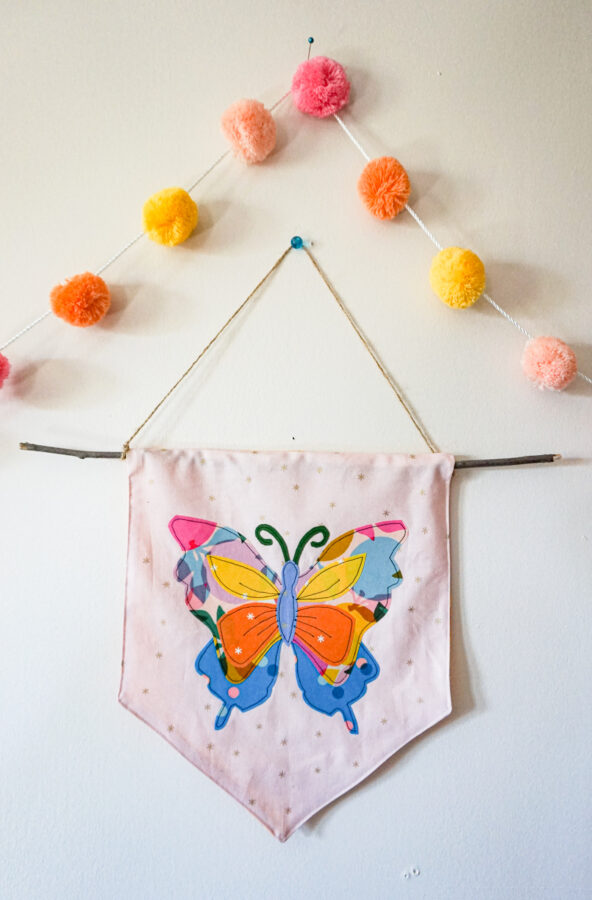
- Turn right side out and press. Insert dowel rod or stick through the opening in the top of the wall-hanging. Tie a piece of twine or ribbon to both sides of the stick and hang it up! This is what mine looks like on my light-pink walls. I love how it turned out, and I especially love the little pom-poms I found to go with it!
Thanks for following along today! I hope you enjoyed this quick and easy project!
Happy Sewing!
-Stephanie-

We’d like to thank you for your patience with us as our company blog has been undergoing some behind-the-scenes maintenance. That means lots of updates and changes that might not be visible however yesterday it clearly was. Several of our project tutorials that had missed their scheduled days to be on our blog posted at the same time and that meant multiple emails might have landed in your email box and we apologize for that. Again we thank you for your understanding while we get things settled and work to continue to bring you more amazing projects and content.