


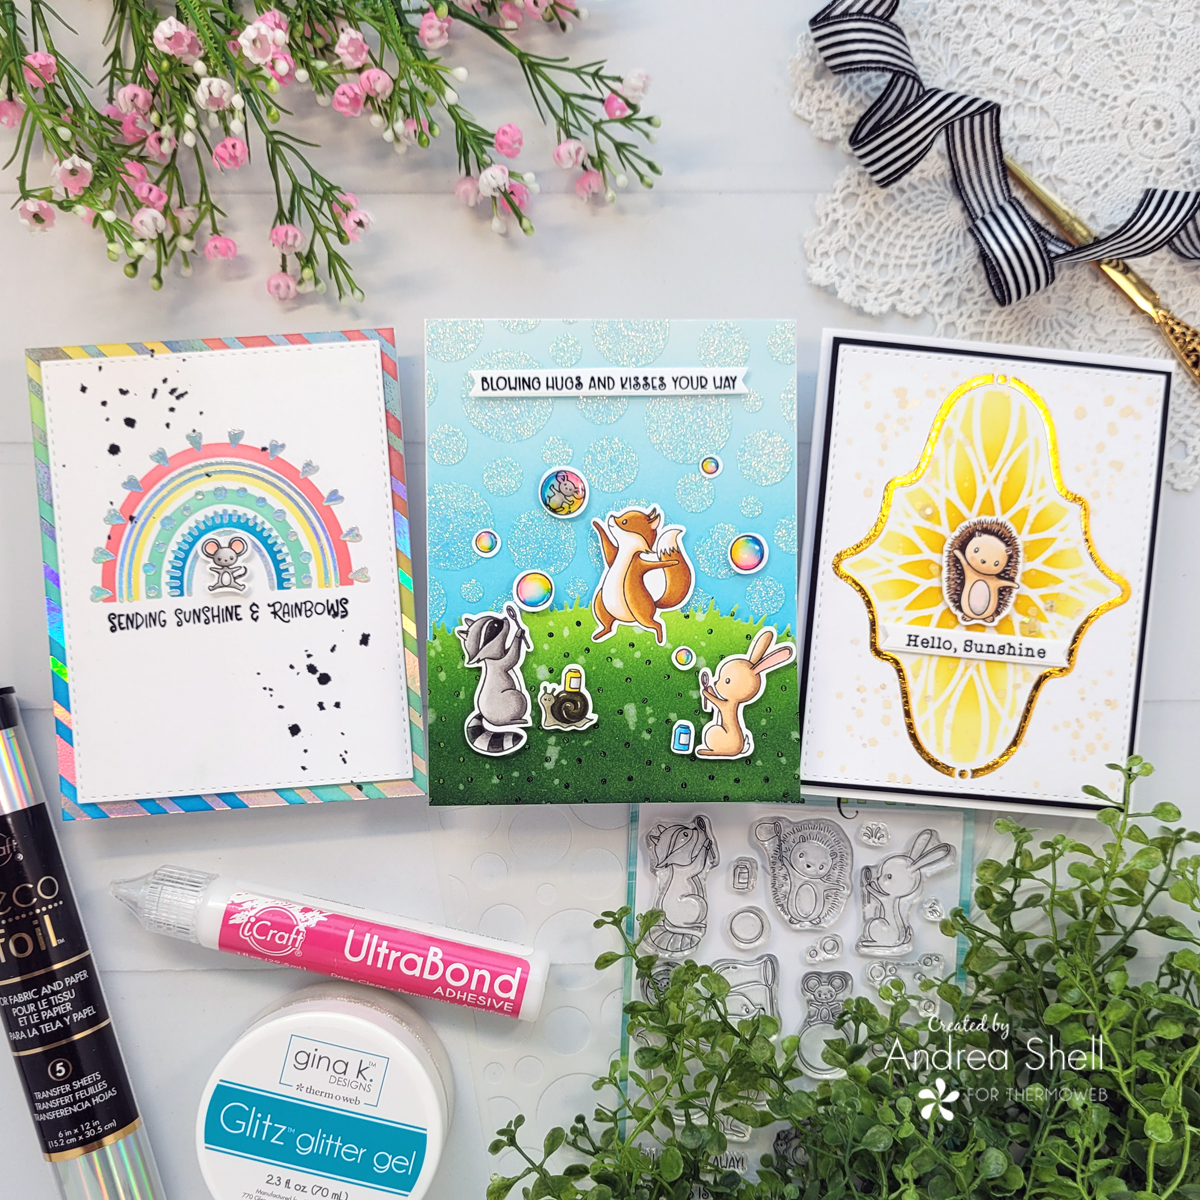
Hello there! It’s an exciting week on the Therm O Web blog as we team up with Miss Ink Stamps for lots of cuteness and inspiration! My cards feature the oh-so-adorable critters from the Bubbles stamp set, as well as several of Miss Ink Stamps’ fabulous stencils.
Blowing Bubbles Card
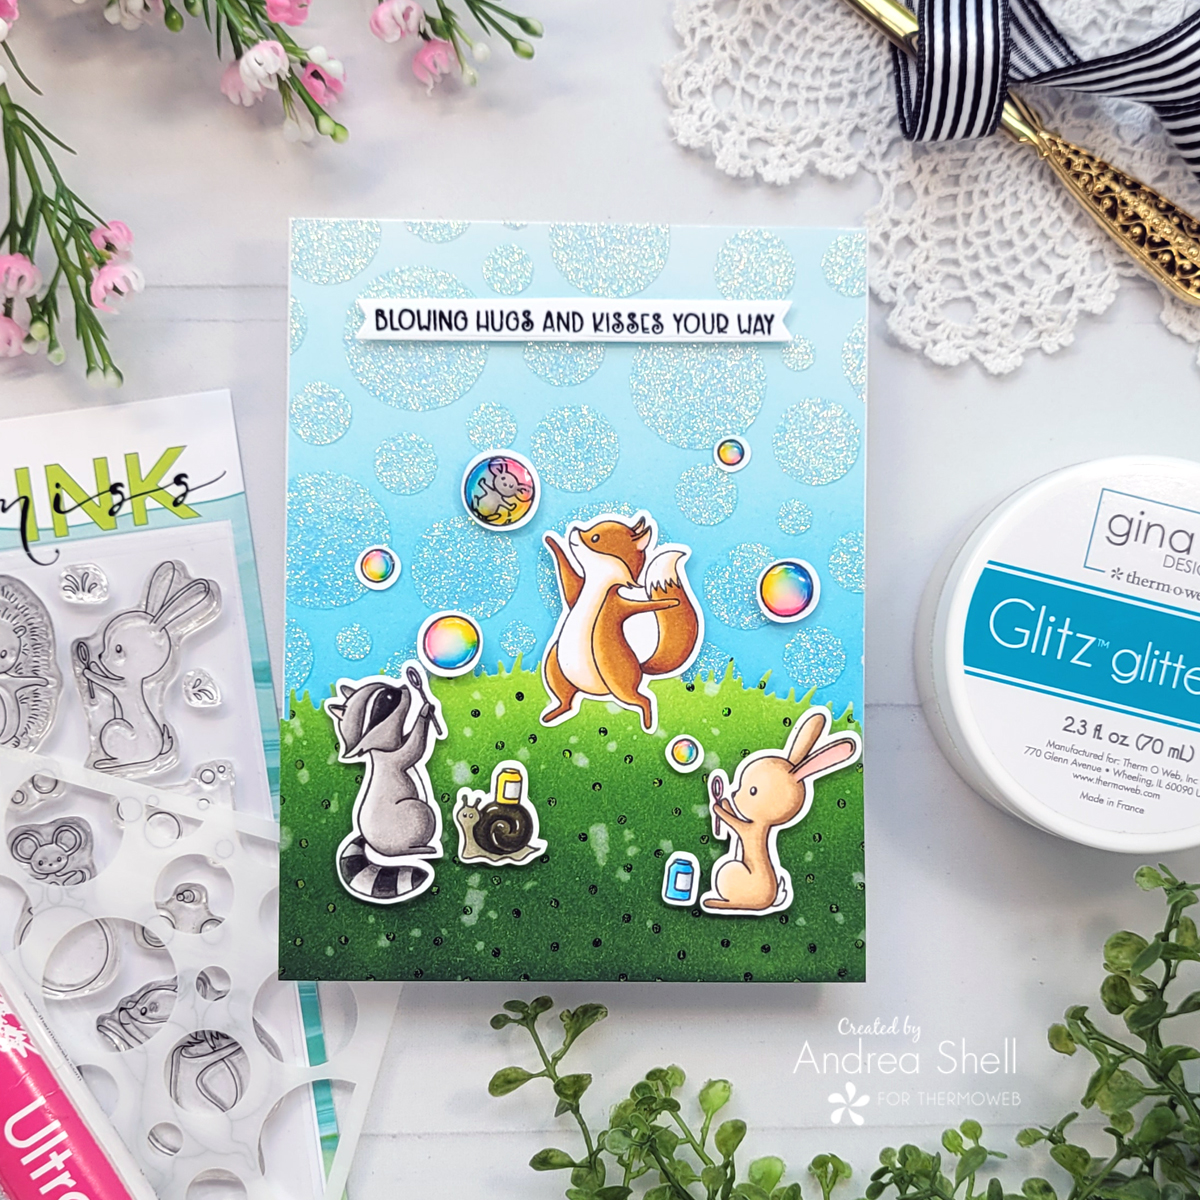
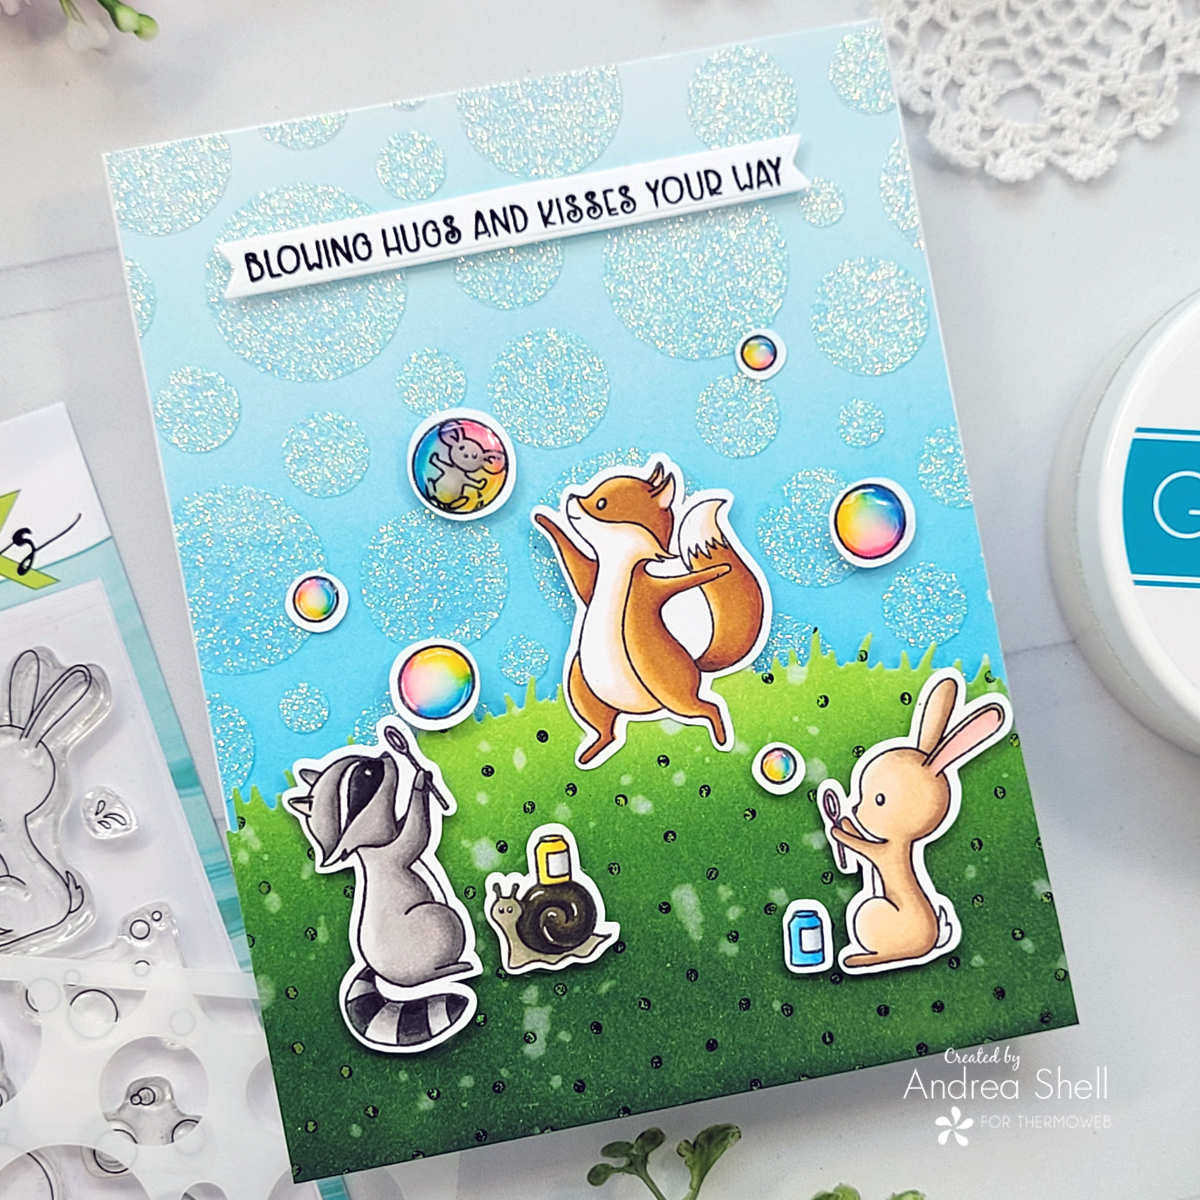
I couldn’t resist making a scene with these bubble-blowing cuties. The Random Dots Stencil was the perfect complement! I colored the images from Bubbles with Copics, cut them out, and added highlights with a white gel pen.
Bubble Background
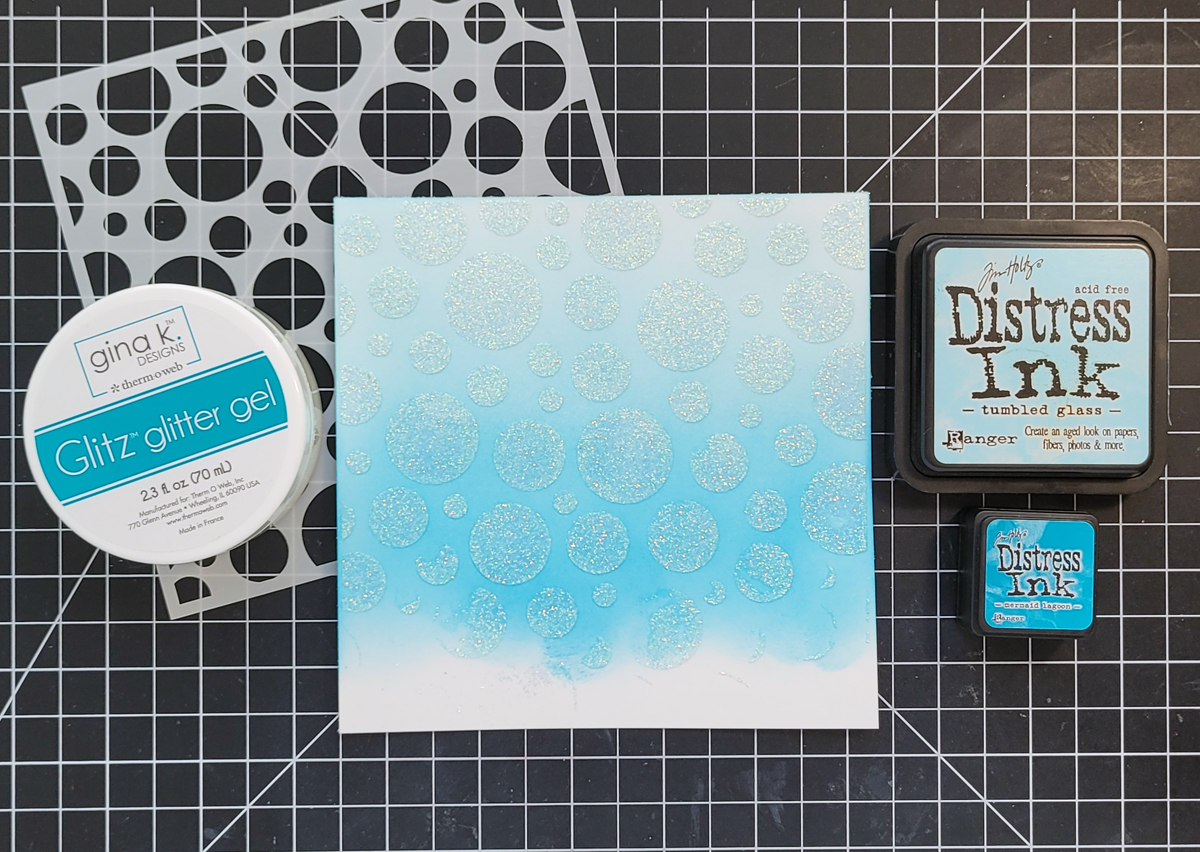
I blended white cardstock with Tumbled Glass and Mermaid Lagoon Distress Inks. After spraying the Random Dots Stencil with Pixie Spray, I applied a layer of Iridescent Glitz Glitter Gel with the Stencil Pal.
Grassy Hill
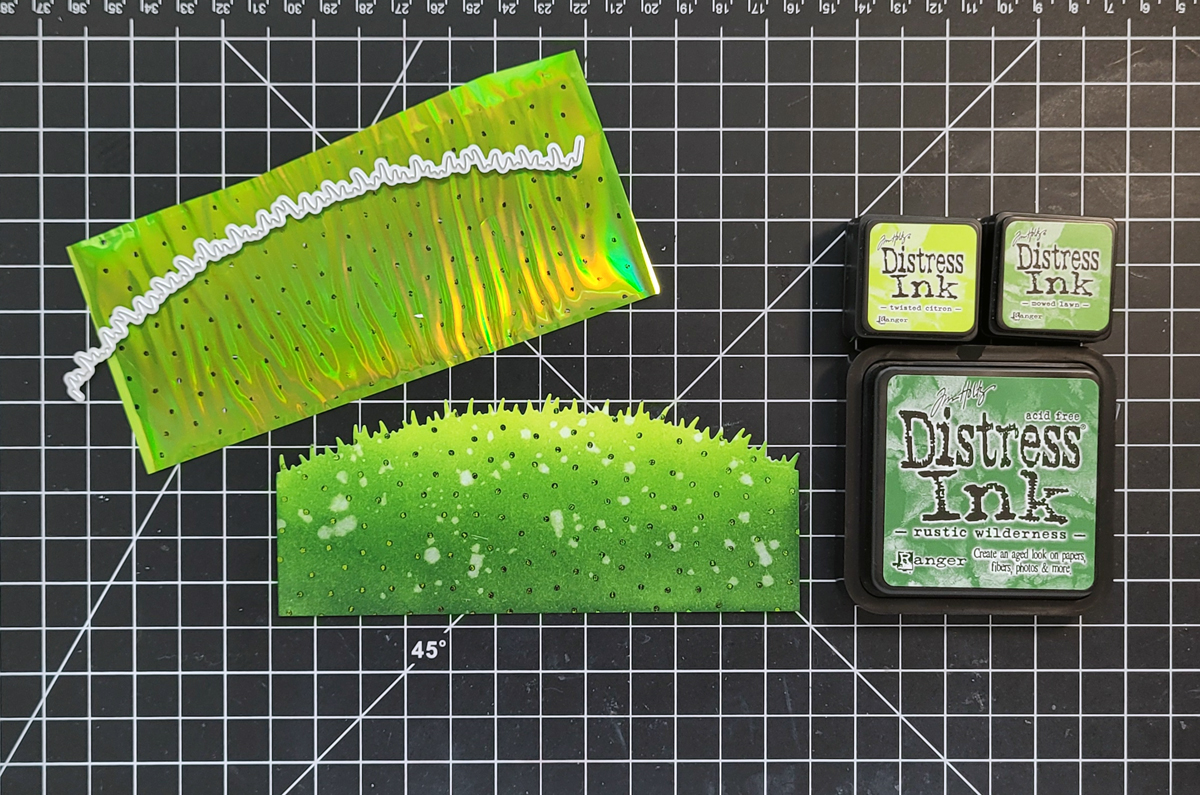
After trimming a Laura Kelly Baby Swiss Dots Toner Sheet in half, I adhered Lily Pad Deco Foil with my laminator. I then blended the piece with Twisted Citron, Mowed Lawn, and Rustic Wilderness Distress Inks and buffed the foiled areas with a towel to remove the pooled ink. I die-cut the sheet with a grassy border die and added droplets of water.
Assembling the Card
I trimmed down the blue panel and adhered it to a card with Gina K. Designs Terrific Tape. I also trimmed down the grassy hill before attaching it with the 3D White Foam Tape Roll.
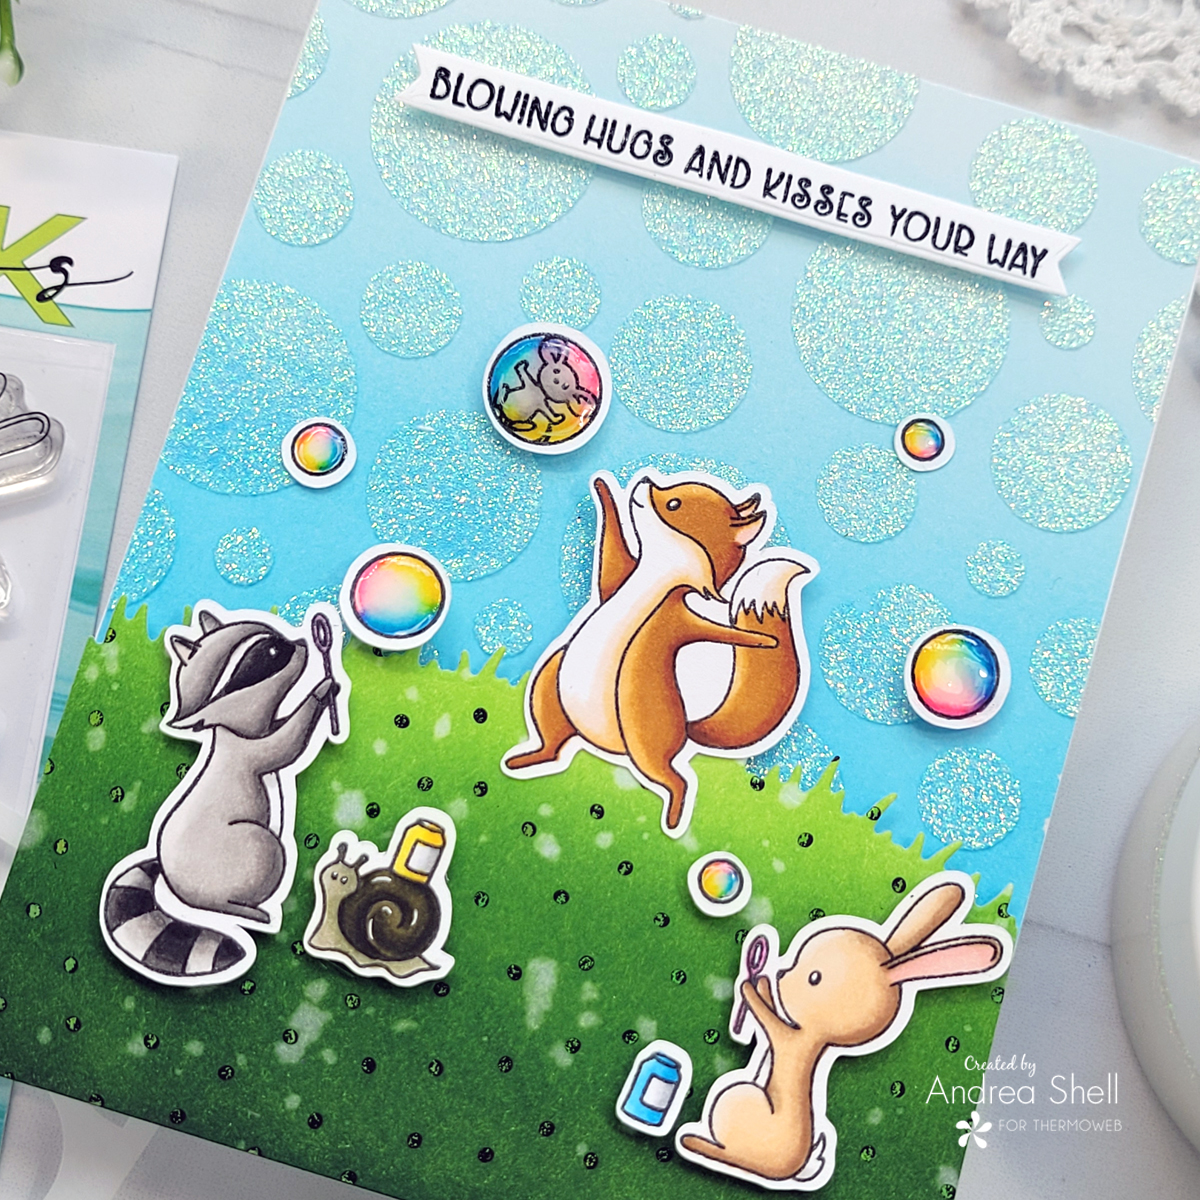
I affixed my colored images with a combination of 3D White Foam Squares and the Ultra Bond Adhesive Pen. I heat-embossed a sentiment from Bubbles, die-cut it, and attached it with foam squares. Finally, I coated the bubbles with Glossy Accents.
Rainbows Card
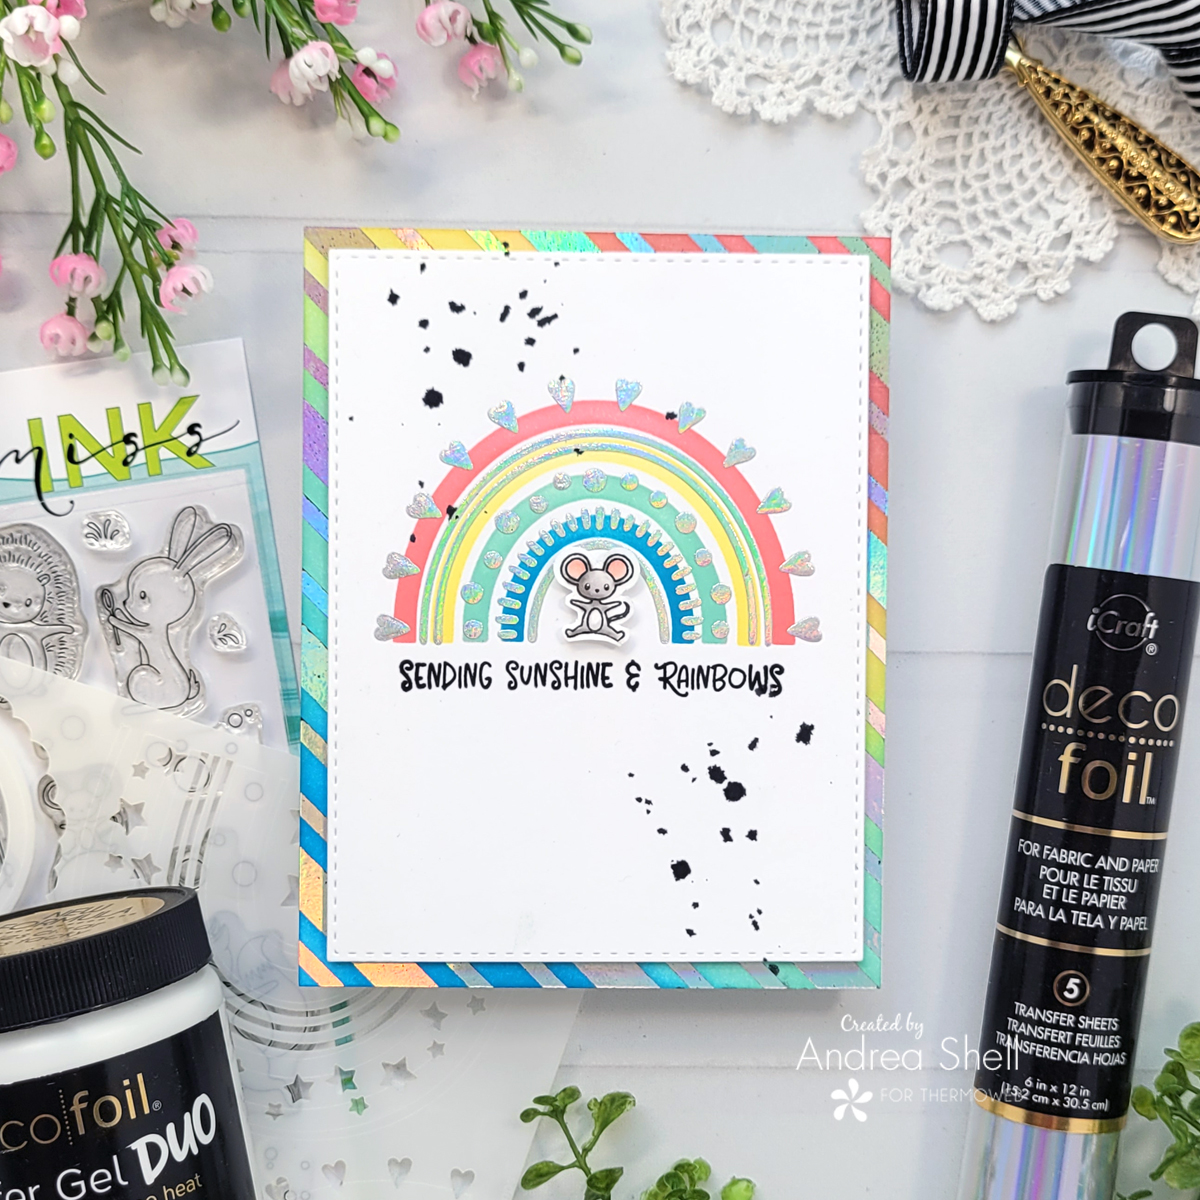
I couldn’t resist Miss Ink Stamps’ Rainbow Builder Stencil – so many options! That little mouse, from the Bubbles set, is normally perched atop a bubble, but I masked the bubble when stamping. I colored the mouse with Copics and fussy-cut him.
Stenciling a Rainbow
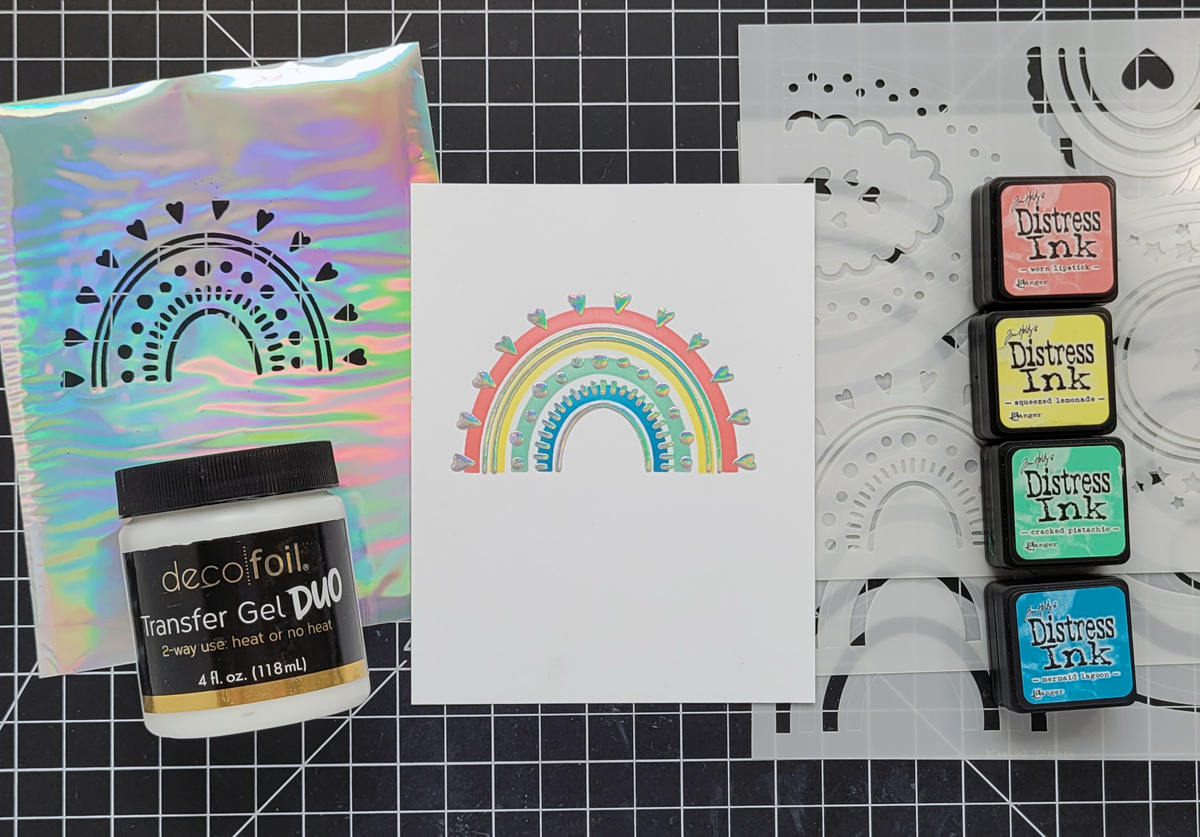
I decided to focus on just one of the rainbows from the Rainbow Builder Stencil. For the first stencil layer, I blended with Worn Lipstick and Cracked Pistachio, masking areas to prevent bleeding. The second layer was created with Squeezed Lemonade and Mermaid Lagoon. On the final stencil layer, I applied Deco Foil Transfer Gel Duo. Once the gel was ready, I transferred Iridescent Deco Foil with my laminator.
Foiling a Rainbow Background
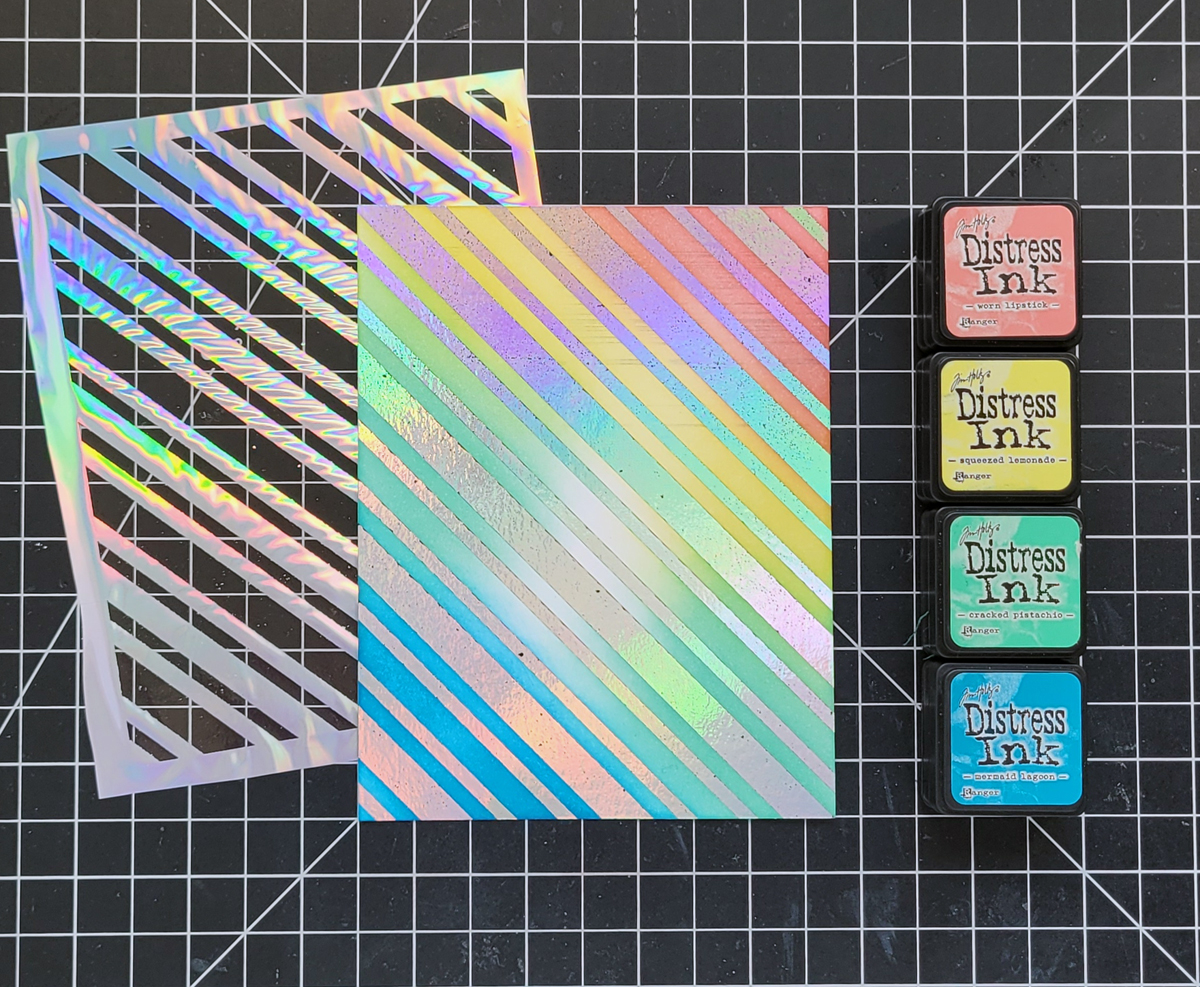
With my laminator I applied Iridescent Deco Foil to a Candy Stripes Toner Card Front. Next, I blended the panel with the same distress inks used earlier and buffed the foiled areas with a towel.
Assembling the Card
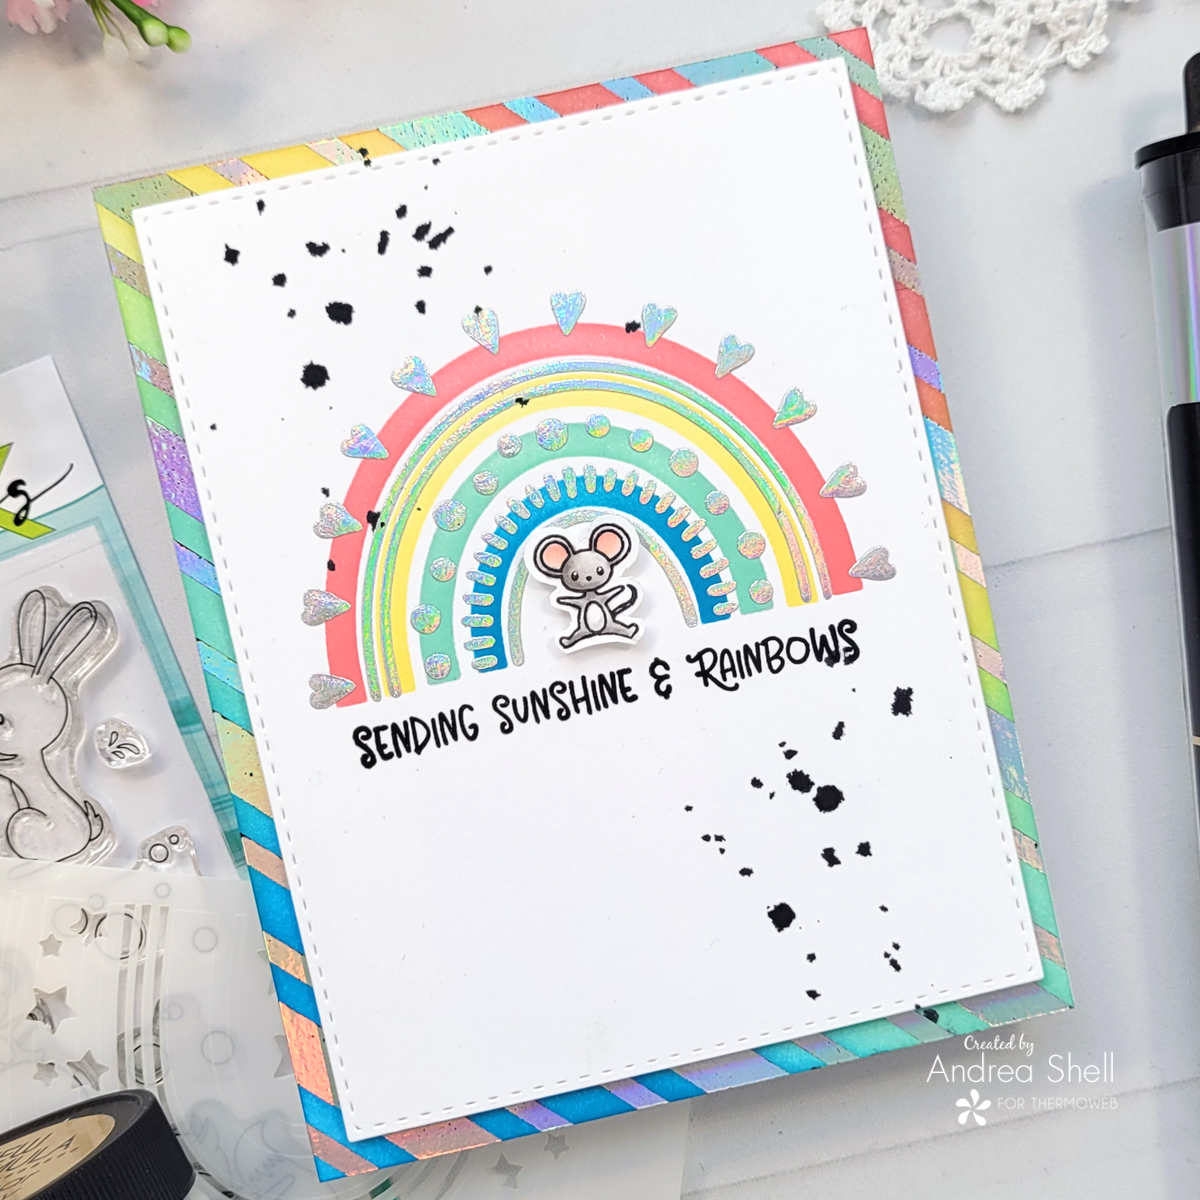
I adhered the Toner Card Front to my card with Gina K. Designs Terrific Tape. After die-cutting the stenciled panel, I affixed it with the 3D White Foam Tape Roll.
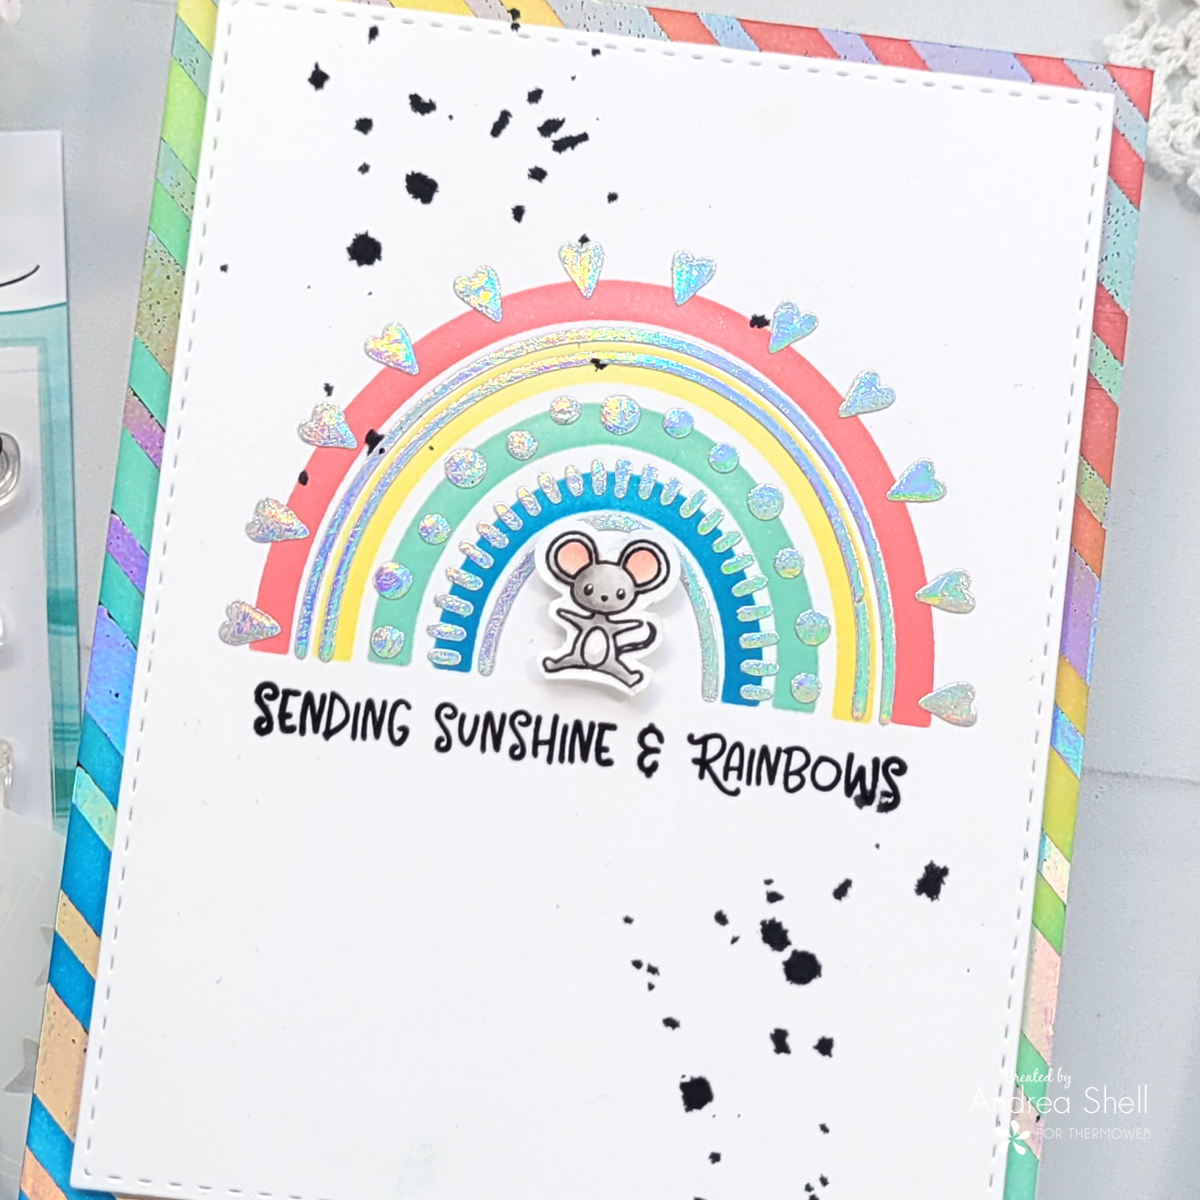
I stamped a sentiment from the Sunshine & Rainbows stamp in black and attached the mouse with a foam square. I splattered the card with black ink for a bit of edginess (If I could have a do-over, I probably would omit the splatter).
Sunshine Card
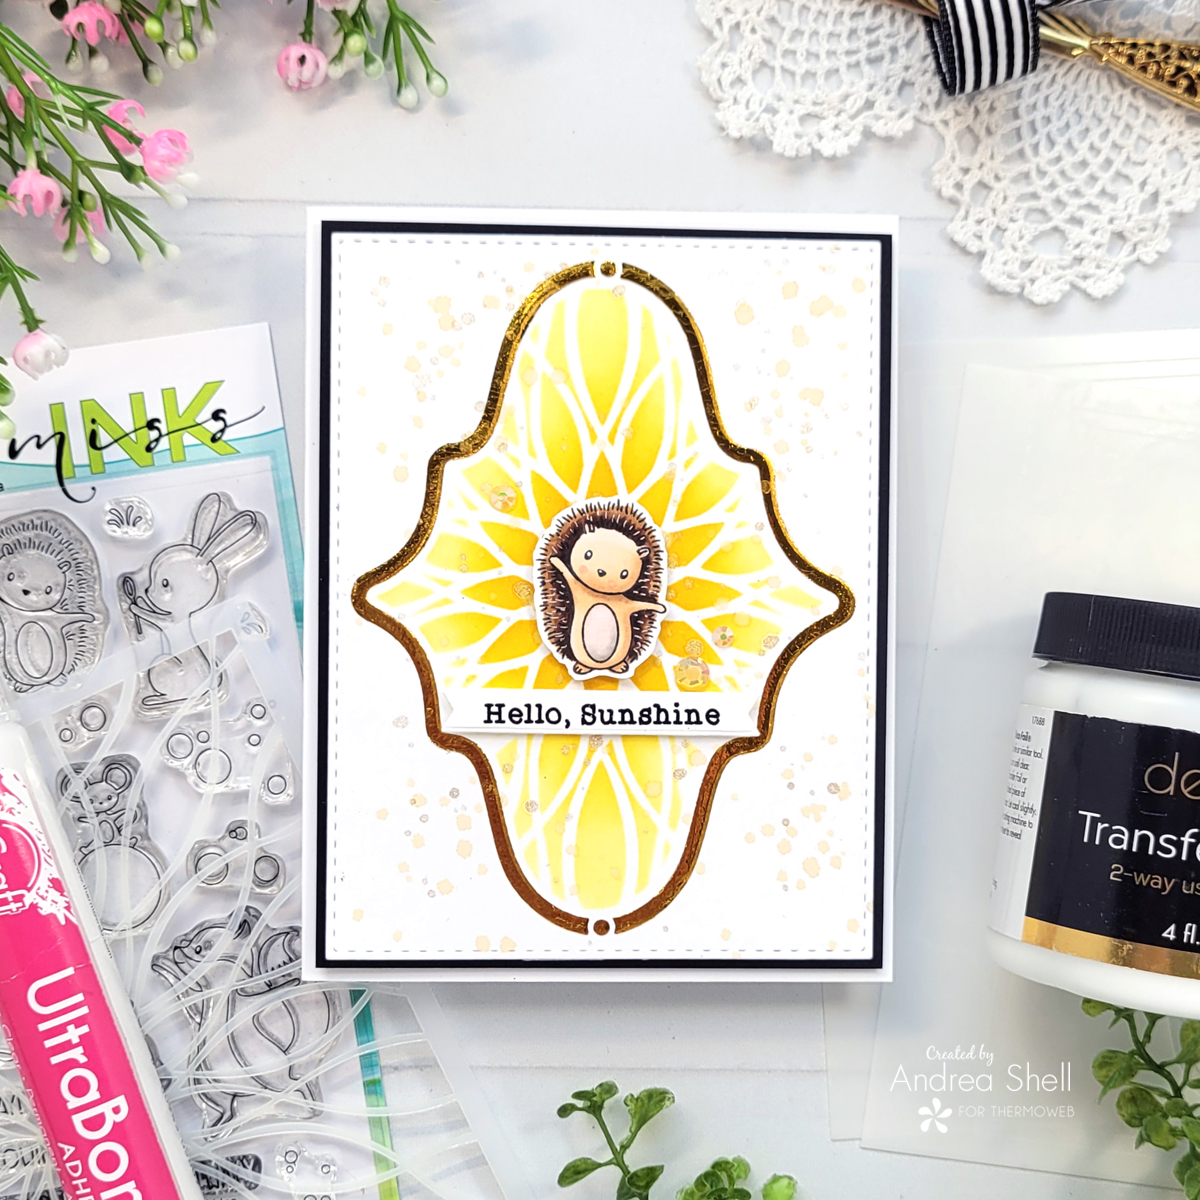
This card features another cutie from the Bubbles set. As with the mouse, I masked parts of the image I didn’t want to use before stamping. I colored the hedgie with Copics, fussy-cut him, and added details with a white gel pen.
Adding a Foiled Border
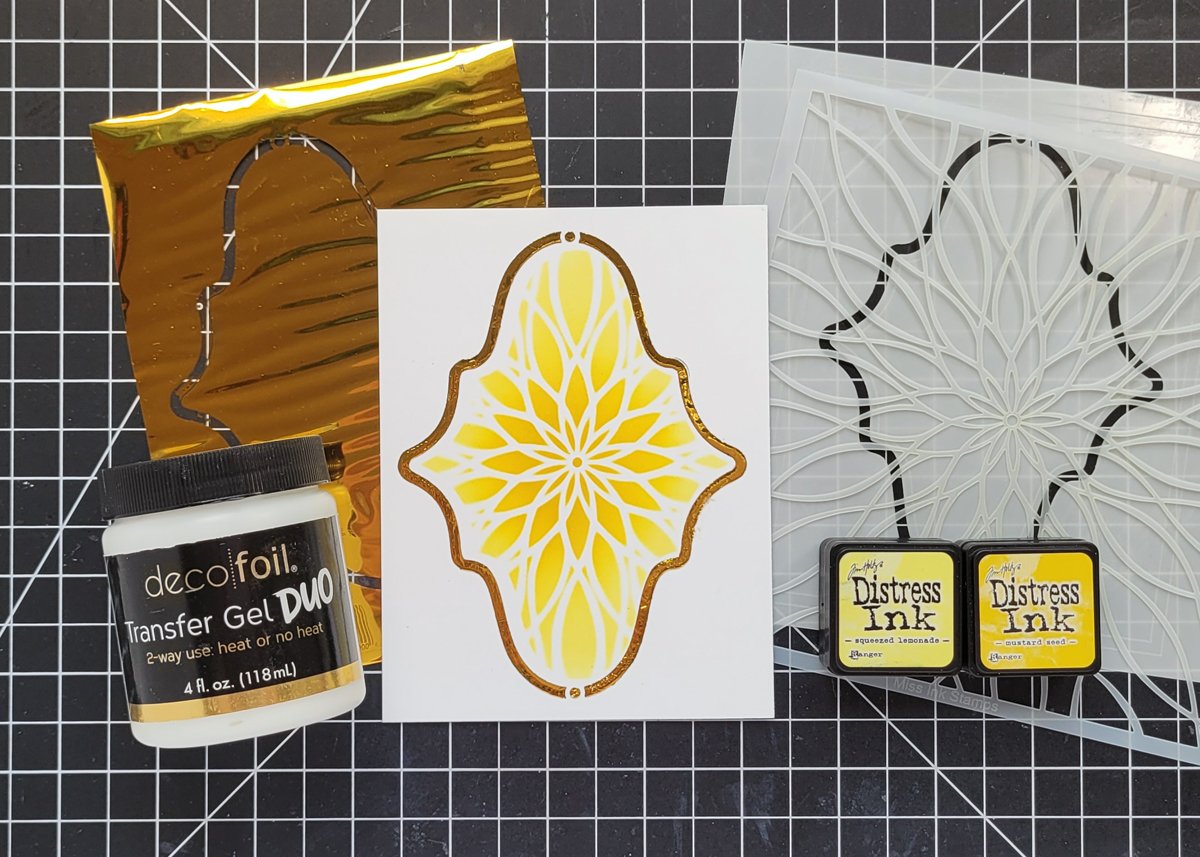
The Ins & Outs Stencils from Miss Ink Stamps are so cool – I want the entire collection! This card uses the Bohemian set, which I paired with the Floral Wave Stencil. With the first layer of the Bohemian set taped to my panel, I secured the Floral Wave Stencil on top and blended it with Mustard Seed, and Squeezed Lemonade. Next, I taped the border layer to my panel and applied Transfer Gel Duo with the Stencil Pal. Once the gel was dry, I used my laminator to transfer Sunshine Yellow Deco Foil to the panel.
Assembling the Card
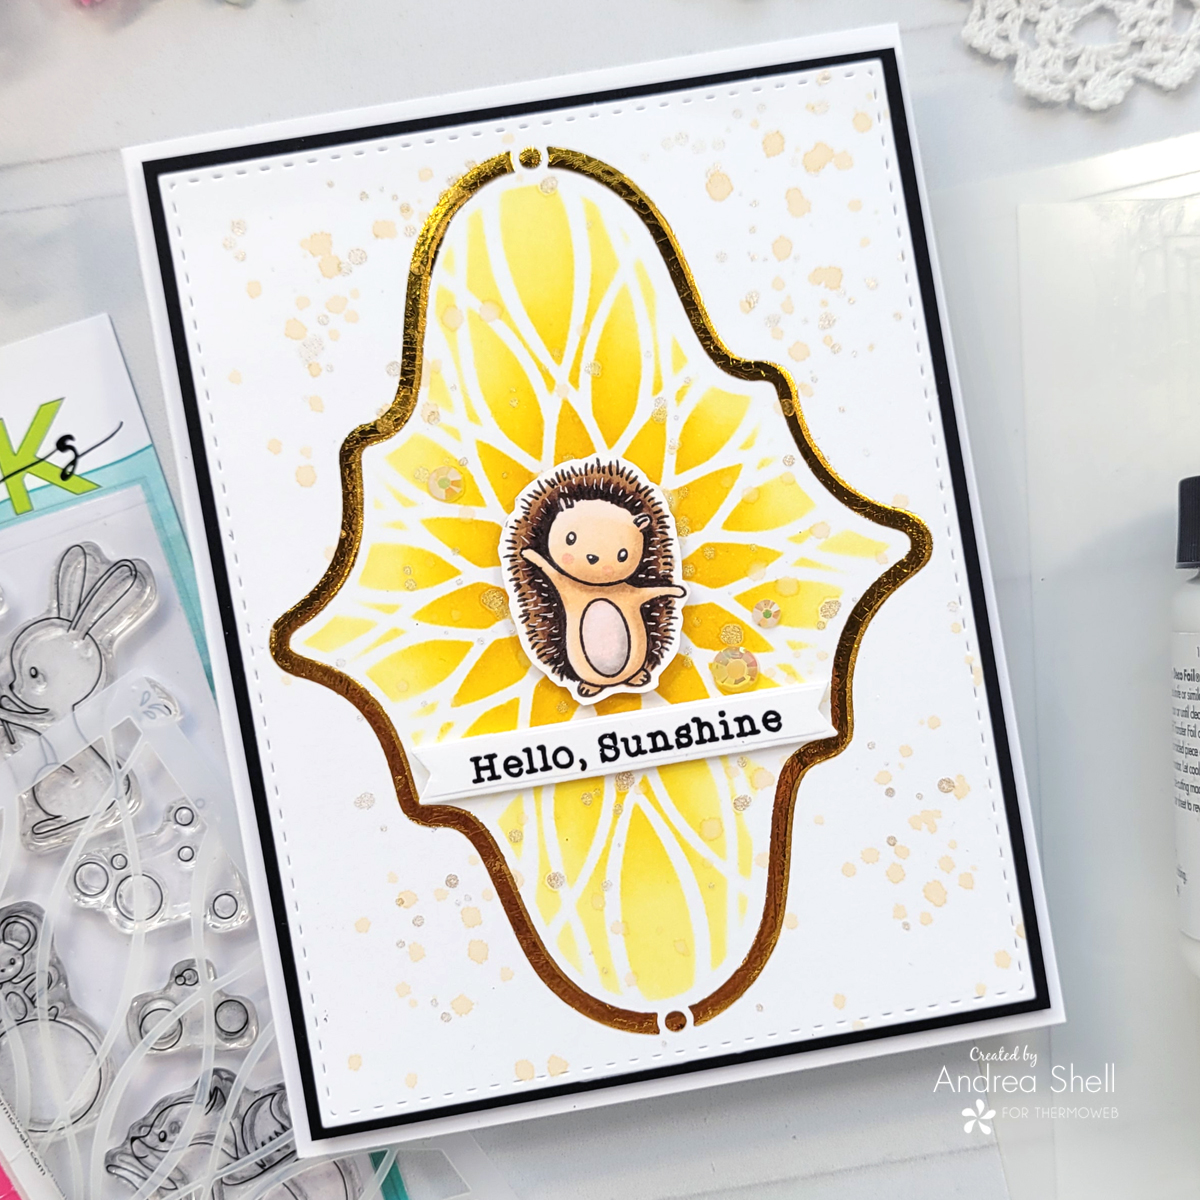
I die-cut the stenciled panel with a stitched rectangle die and splattered it with two gold sprays. I adhered a black mat to the panel with Gina K. Designs Terrific Tape and affixed the piece to a white card with the 3D White Foam Tape Roll.
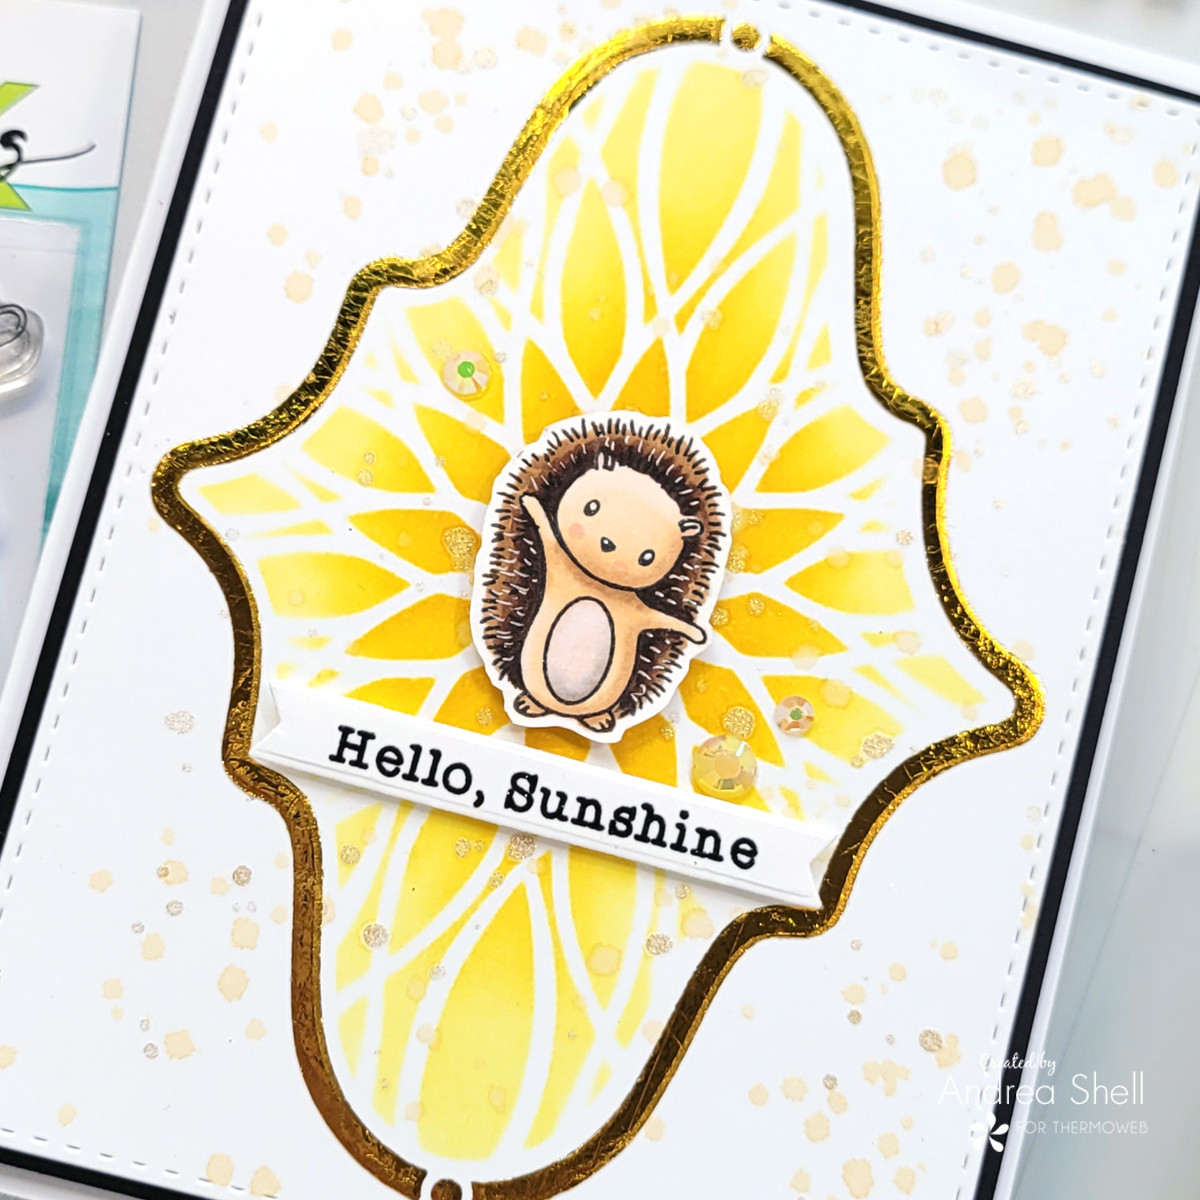
I heat-embossed a sentiment from Sunshine & Rainbows and die-cut it into a banner. I popped up the banner and hedgehog with 3D Foam Squares and finished with a scattering of gems attached with the Ultra Bond Adhesive Pen.
Thanks for stopping by!
*Affiliate links used at no cost to you.
Therm O Web Products:
Deco Foil Transfer Sheets, Iridescent
Deco Foil Transfer Sheets, Lily Pad
Laura Kelly Foil Transfer Sheets, Sunshine Yellow
Laura Kelly Toner Sheets, Baby Swiss Dots
Deco Foil Toner Card Fronts, Candy Stripes
Gina K. Designs Glitz Glitter Gel, Iridescent
Deco Foil Transfer Gel Duo
3D Foam Squares, White
3D Foam Tape Roll, White
Gina K. Designs Terrific Tape
Ultra Bond Adhesive Pen
Pixie Spray
Stencil Pal
Miss Ink Stamps Products:
Bubbles stamp set
Sunshine & Rainbows stamp set
Rainbow Builder Stencil set
Random Dots Stencil
Floral Wave Stencil
Ins & Outs: Bohemian Stencil
That’s right! It’s not a collaboration with friends unless you have a Giveaway too! And it’s not too late to join us on Instagram for an IG Hop with our two teams. Just check for our Tuesday post with the fun graphic to hop your way through PLUS get entered into a bonus chance to win there too!
Now that you’ve got yourself entered to WIN….go visit the Miss Ink Blog and see their projects + more ways to win!
trainwithmeghan
June 29, 2021 at 4:08 pm (3 years ago)Such cute critters!
Denise Bryant
June 30, 2021 at 9:32 am (3 years ago)Adorable cards with these cute critters! I love the bubble background on your first card!
Sue D
July 2, 2021 at 4:40 pm (3 years ago)Very cute cards. I like the one with the bubbles.