


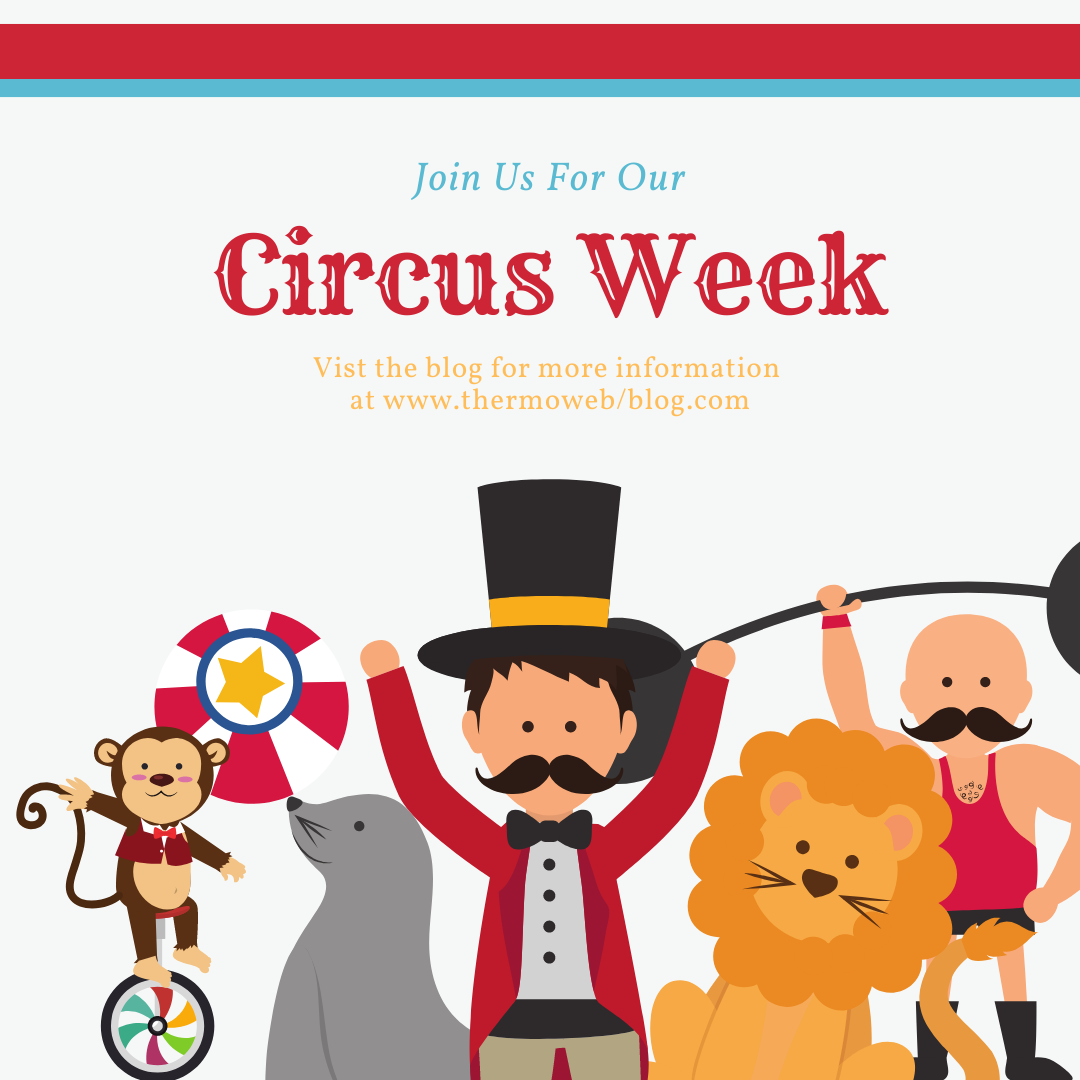
“No one ever made a difference by being like everyone else.”
P.T. Barnum
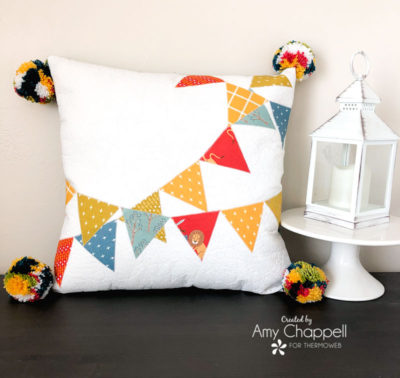
I love a good throw pillow. And a throw pillow that looks like a party? Even better! This Circus Bunting Pillow is quick to stitch up and easily customized to your favorite color scheme. Perfect for a circus-themed nursery or just as a fun, happy pillow, this cushion is bound to delight all!
Circus Bunting Pillow Tutorial
Supplies:
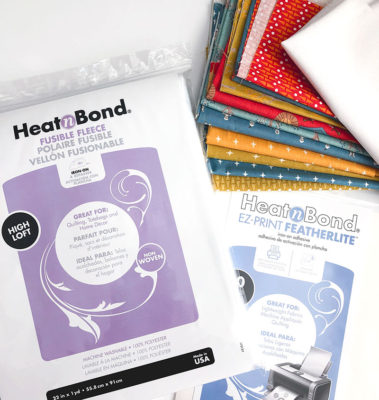
- Heat n Bond Fusible Fleece
- Heat n Bond EZ-print Feather lite
- fabric scraps for bunting
- 1/2 yard fabric for pillow cover (or fat quarters for front and back)
- 18″ pillow form
- Click Here for the Circus Bunting Pillow Flag Pattern
- *optional: zipper for pillow closure
Prepare Bunting Flag applique:
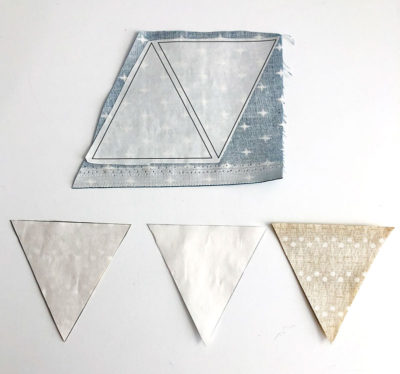
- First, print or trace your pattern onto the Heat n Bond Featherlite.
- Next, cut apart the flag pieces, leaving a slight margin of heat n bond around the pattern pieces.
- Fuse the HeatnBond to the wrong side of the fabric for your flags.
- Cut out each flag along the pattern lines.
- Finally, remove the paper backing and set aside.
Prepare Pillow front:
- Cut your pillow fabric into an 18-19″ square. I prefer to cut it a bit larger than my finished square because I find my piece shrinks just a bit with the quilting. If you only have 18″ of fabric, you will be just fine!
- Cut a square of HeatnBond fusible fleece the same size or slightly smaller than the fabric you cut for your pillow front.
- Fuse the fleece to the wrong side of your pillow front fabric.
- *Optional: Quilt your pillow front. I like the dimension this adds to the pillow, but it is not necessary.
- Make sure your pillow front measures 18″ square, cut it down if necessary.
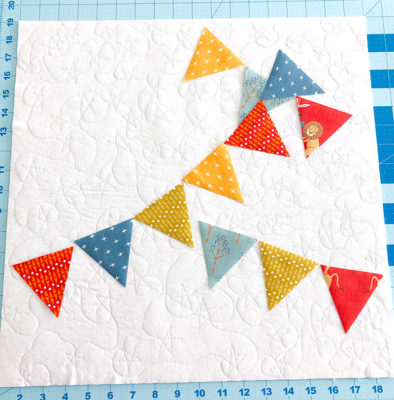
- Arrange the bunting flags on the pillow front as desired and then fuse into place.
Finish Bunting Pillow
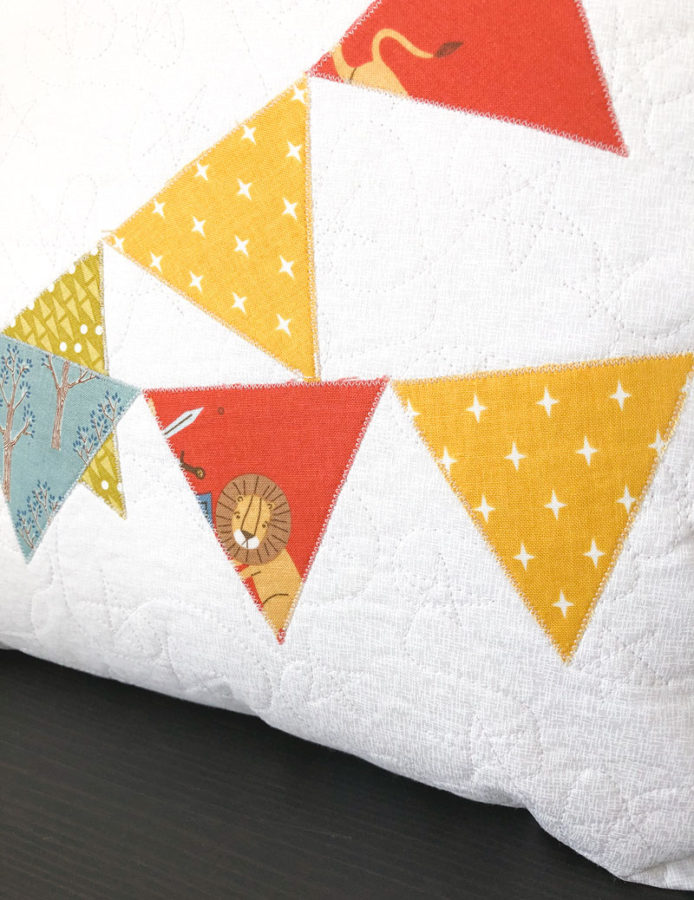
Use a narrow zig-zag stitch to sew around each of the bunting flags.
Create a pillow back using the method of your choice. I used this hidden zipper method for mine. Sew the pillow back to the pillow front, turn right side out and insert your pillow form! I chose to add some pom poms to the corners of my pillow, but it’s not necessary.
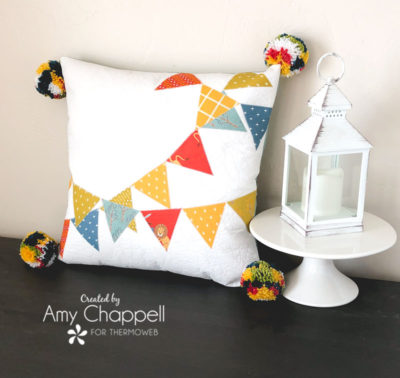
Step back, and enjoy your fabulous new pillow!
For more pillow ideas, you might like this Wavy ruffle pillow for lots of texture, or this Pleated layers pillow to incorporate lots of fun fabrics and color!
Happy Sewing my friends! xoxo, Amy