


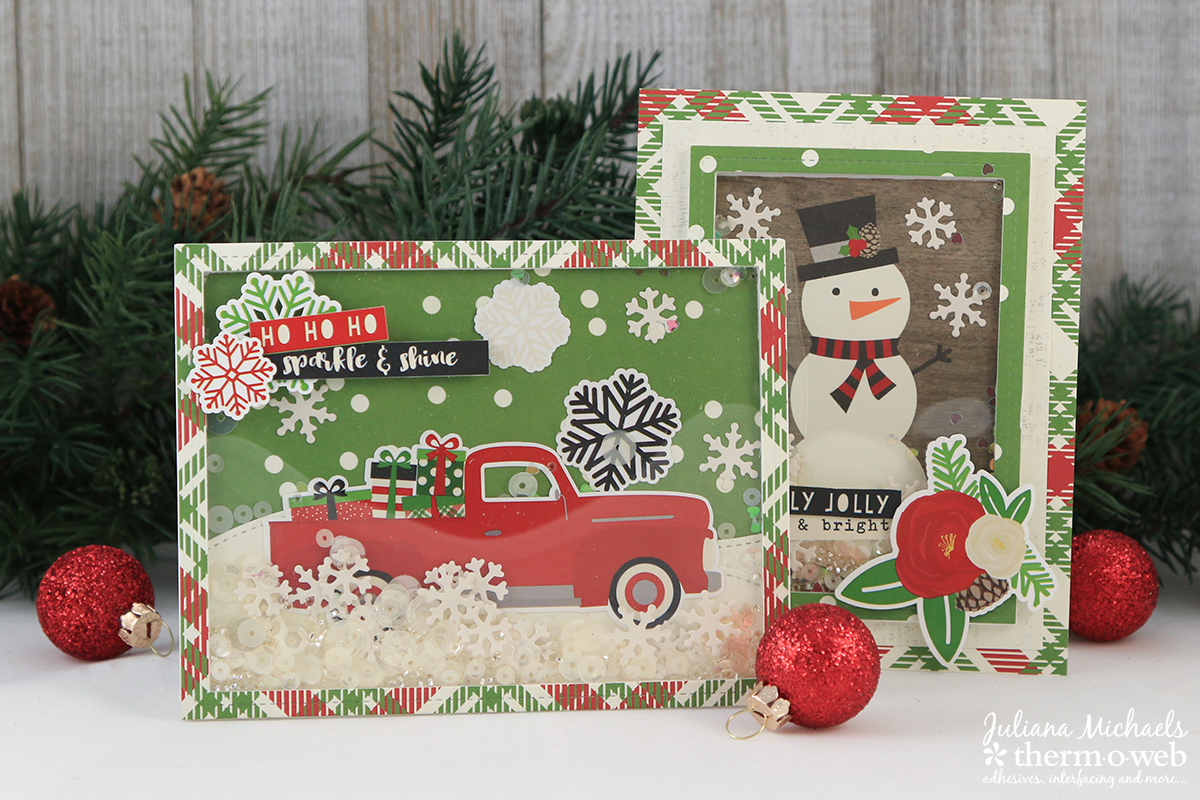
Christmas will be here before you know it and if you haven’t started making your Christmas cards yet, now is the perfect time to get started. It’s Juliana and today, I’m sharing how to create Christmas Shaker Cards using Therm O Web adhesives along with some fun papers and stickers from Simple Stories. Shaker cards may seem a bit intimidating. but I’m going to show you how easy they are to create.
Christmas Shaker Cards Made Easy
Let’s get this project started by gathering your supplies. This includes patterned paper, stickers (Simple Stores Very Merry), clear acetate/or transparency, frame dies ( Lawn Fawn Stitched Rectangle Frame Dies), manual die cutting machine, sequins, beads, Therm O Web iCraft Mixed Media Adhesive, and Therm O Web 3D Foam Mounting Squares.

Christmas Shaker Card Tutorial
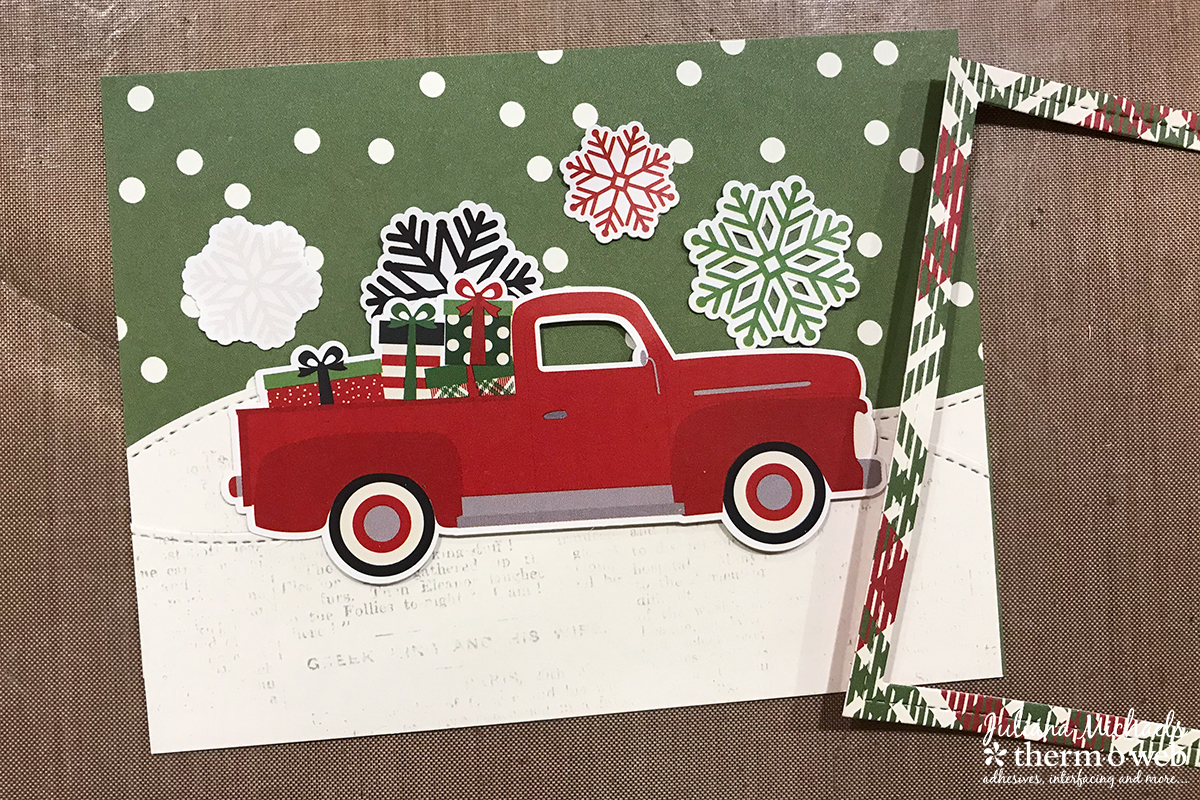
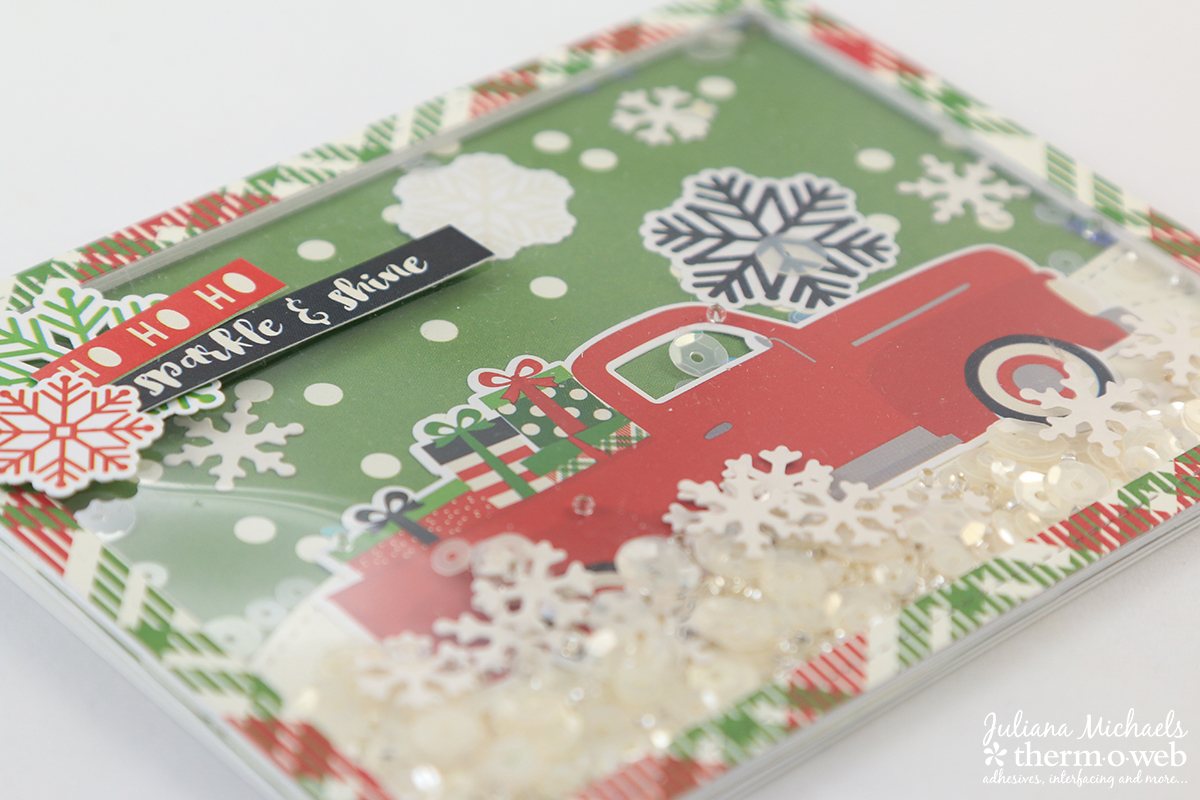
Once you have gathered all of your supplies, it’s time to start creating the background of your shaker card. Cut a piece of patterned paper to 4.25 x 5.5 inches. Decorate it with die cuts and stickers to build a cute little scene.
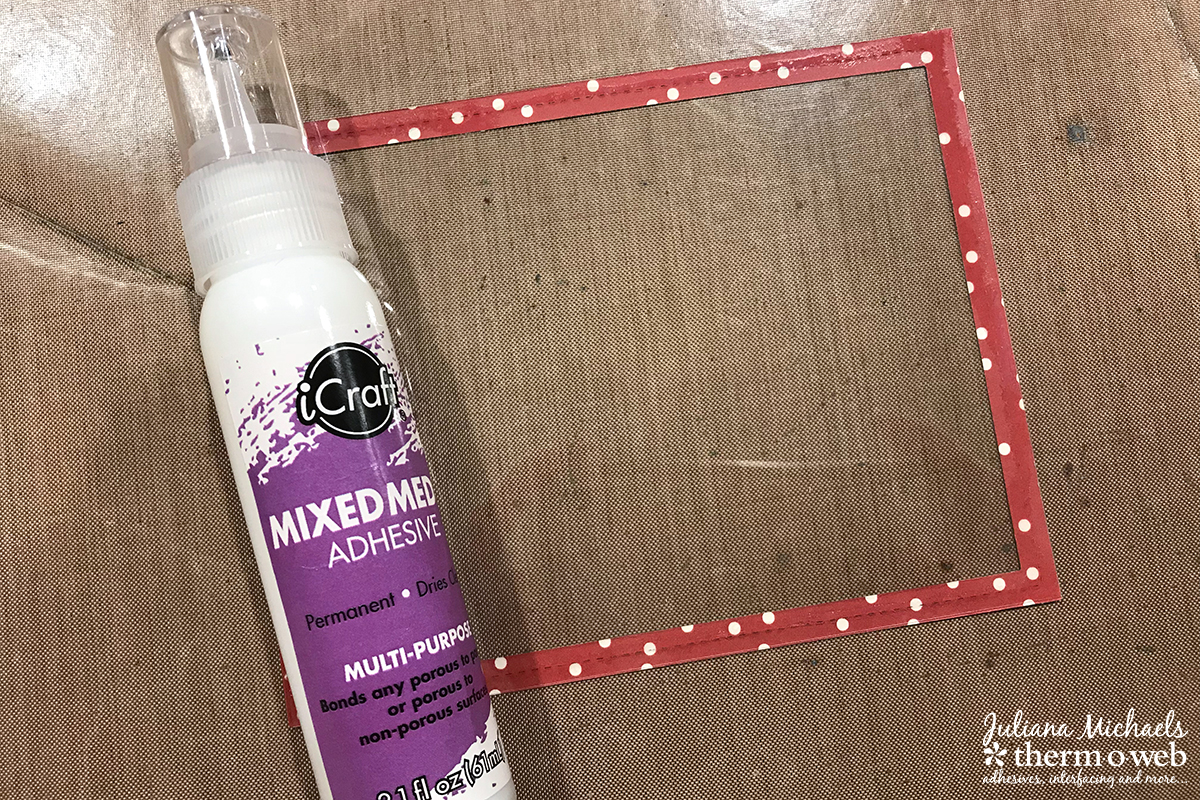
Next, die cut the frame of the shaker box from a piece of patterned paper using the largest Stitched Rectangle Frame Die. Cut a piece of acetate to the same size. Adhere it to the back side of the frame using Mixed Media Adhesive.
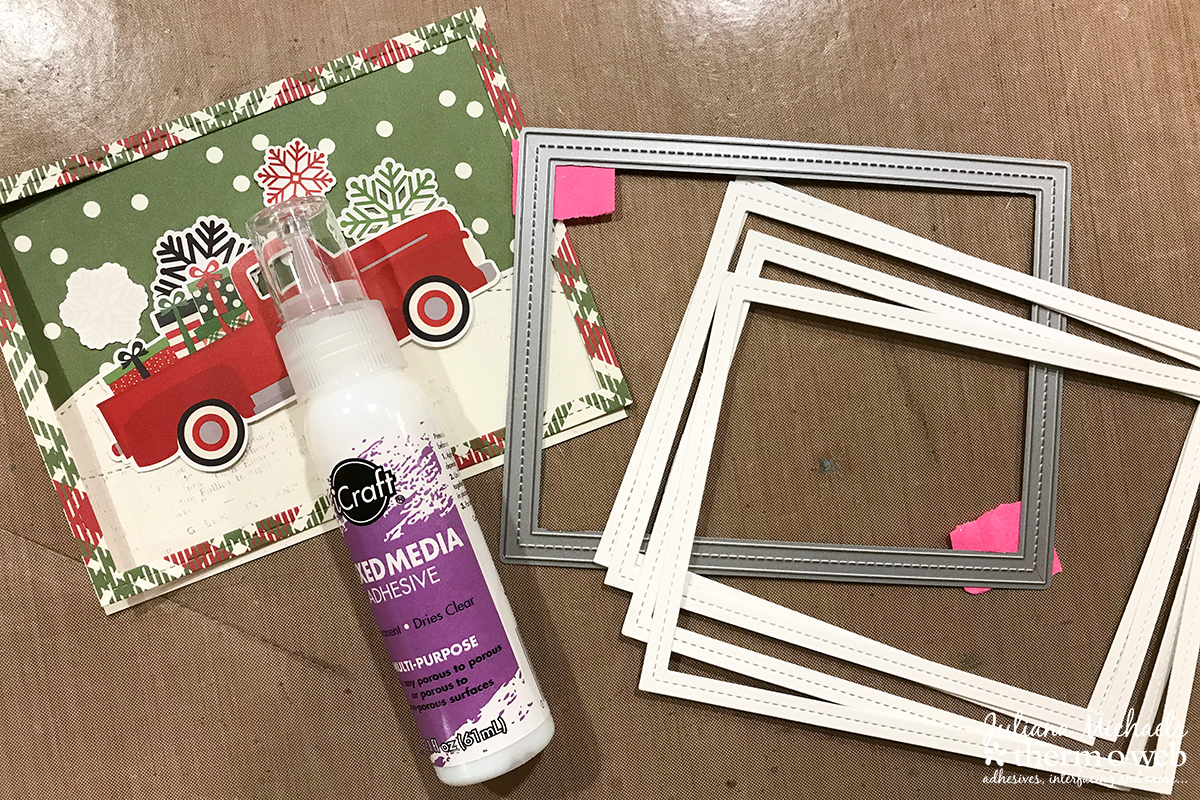
Now it’s time to create the shaker box. Die cut 5-6 frames from white cardstock using the largest Stitched Rectangle Frame Die. Glue them together using Mixed Media Adhesive. By using 5-6 pieces the frame will be thick enough for you to include small beads in the shaker. If you only plan to use sequins, you can do less layers of cardstock. I personally love the addition of beads, because of the sound they add to the shaker!
Once you have created the box, glue these to the backside of the acetate. Your shaker box is now complete. To fill the shaker, carefully pour the beads and sequins in the middle of your background piece and then adhere the box on top with Mixed Media Adhesive. Your shaker is now ready to be adhered to your card base.
For the final touch, add stickers and/or embellishments to the top of the card front. Pop them up for more dimension using Therm O Web 3D Foam Squares.
Snowman Shaker Card
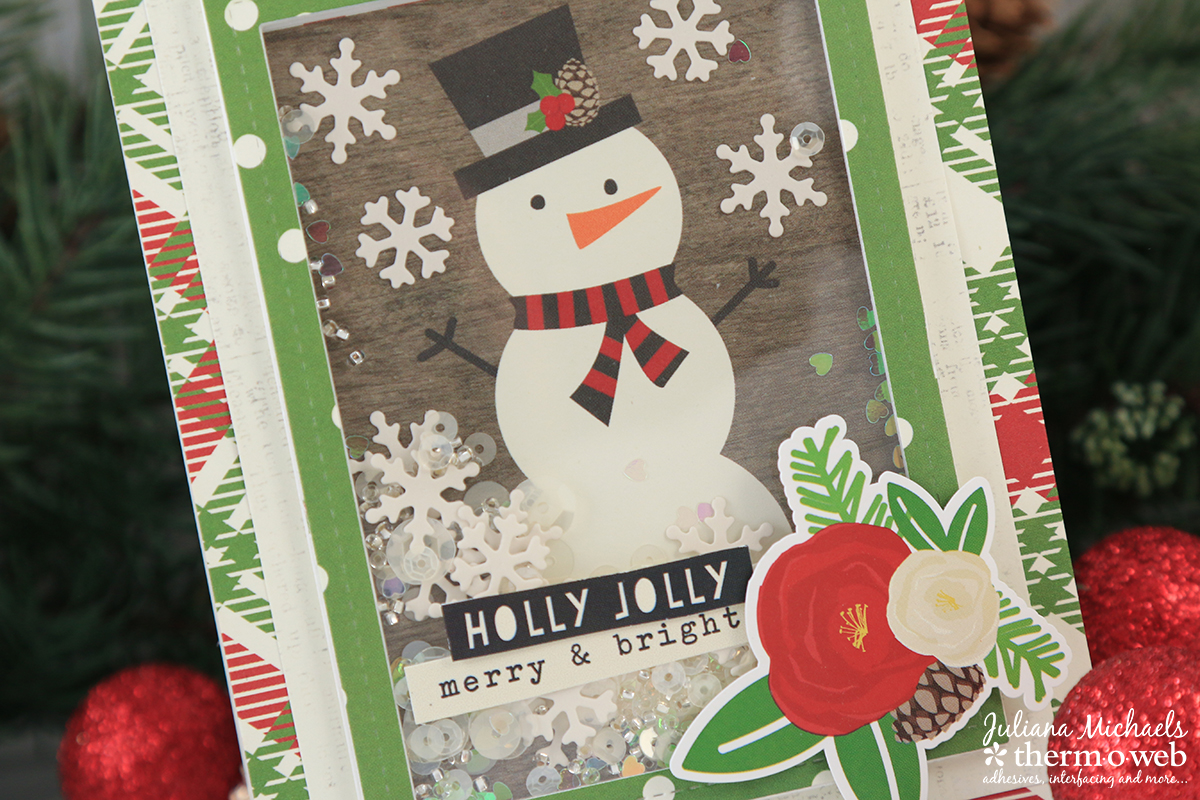
Here’s another shaker card example I created to share with you. Instead of creating your own scene for the background, use one of the 3×4 journaling cards included in the patterned papers from this collection. Die cut a frame using the second largest Stitched Rectangle Frame Die. Repeat the same process as above to build the shaker box.
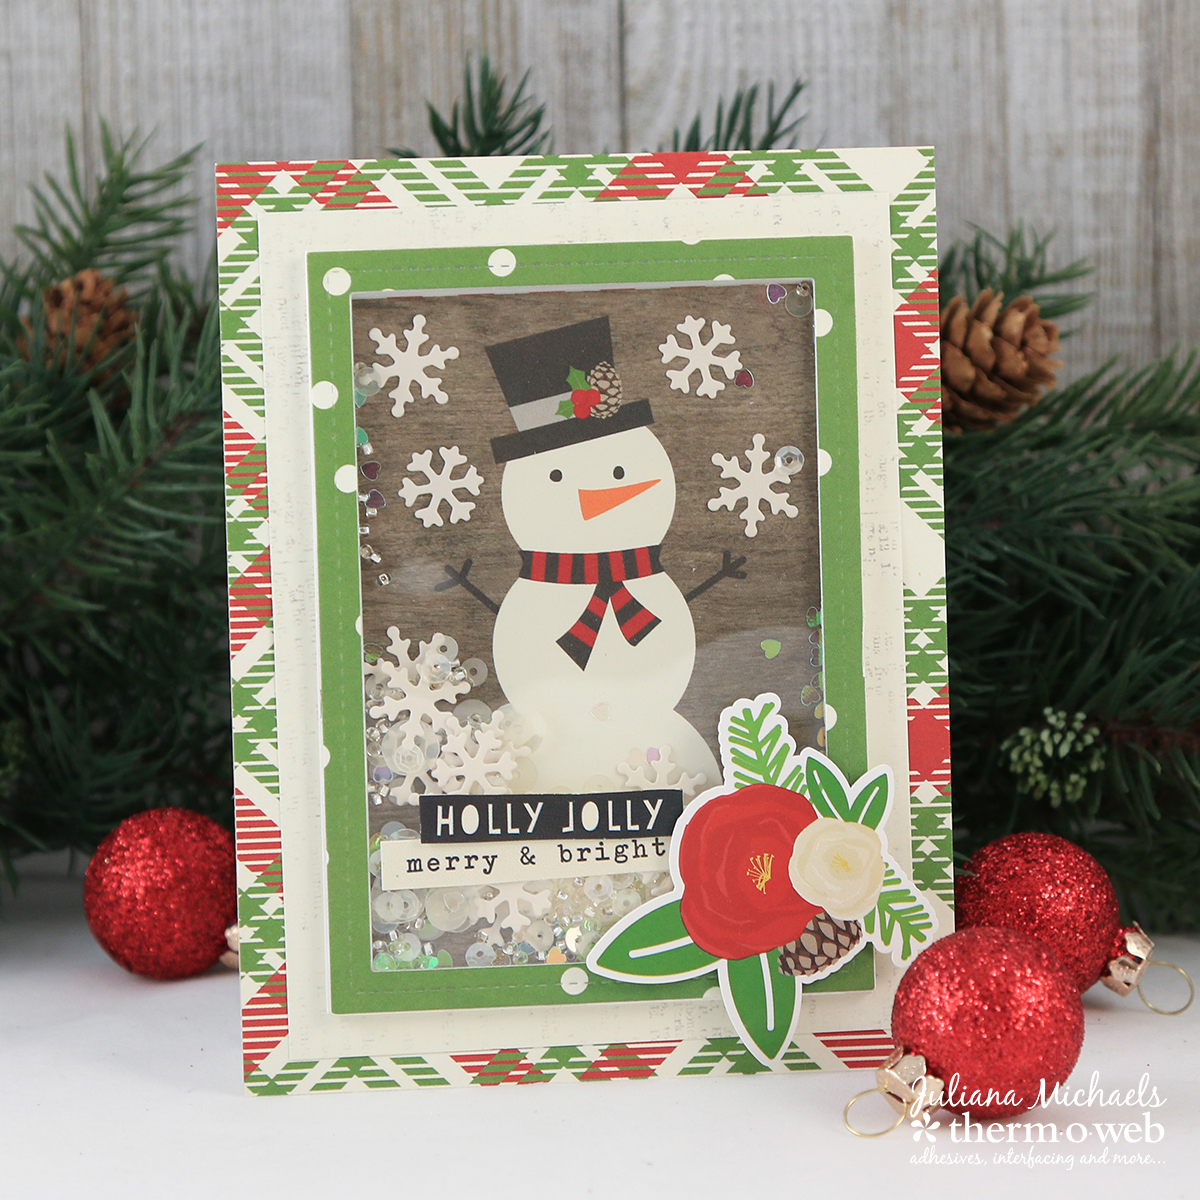
Cut a piece of patterned paper to 4 x 5.25 inches and adhere the shaker box on top. Cut another piece of patterned paper to 4.25 x 5.5 inches and adhere this layer. Your shaker card is now complete and ready to attach to your card base.
You may not make all of your Christmas cards as shakers, but now you know how easy they are to create a few of these for the special people in your life.
I hope you enjoyed learning how to create your own Christmas Shaker Cards using Therm O Web iCraft Mixed Media Adhesive and the Echo Park A Perfect Christmas Collection.