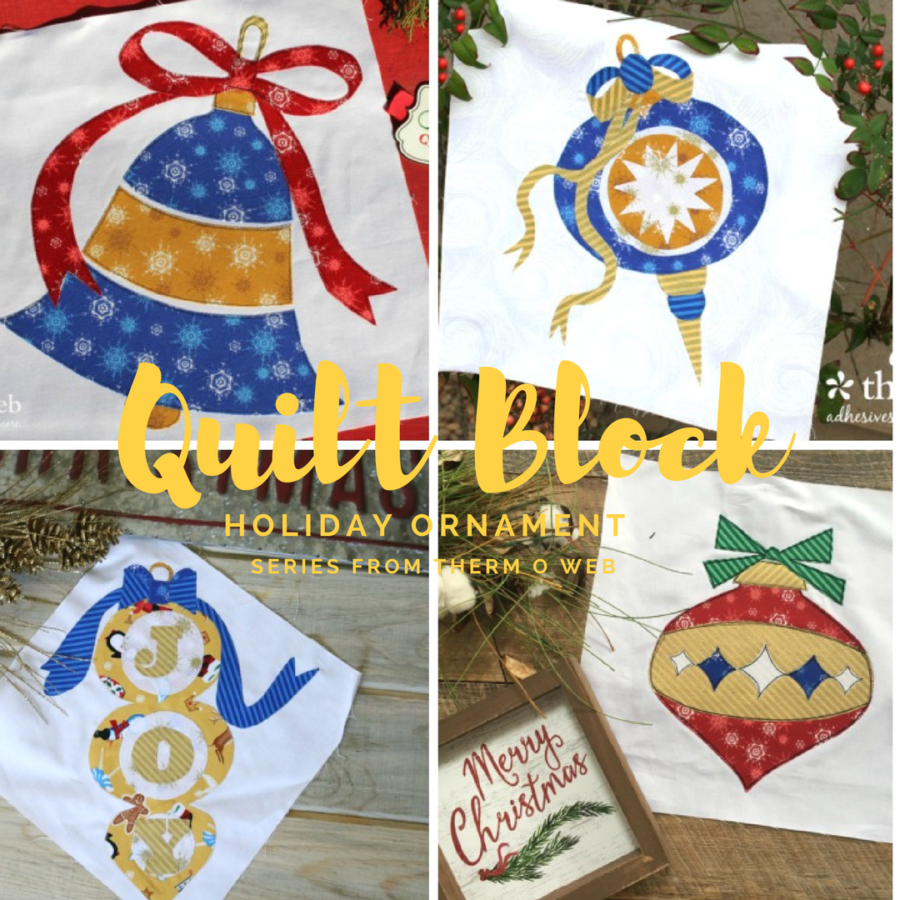
Christmas Ornament Quilt Block Wrap Up
We hope you enjoyed our Christmas Ornament Quilt Blocks! We had a blast coordinating these for you!
Today we wanted to share the final projects the designers created with all four ornament quilt blocks. However, before we do…we want to send a big THANK YOU to our friends at Windham Fabrics for their kindness in sending their O Christmas Tree Fabric collection for the projects!
Up first Designer, Amy Warner shares her completed quilt with a few tips on how to change the look!
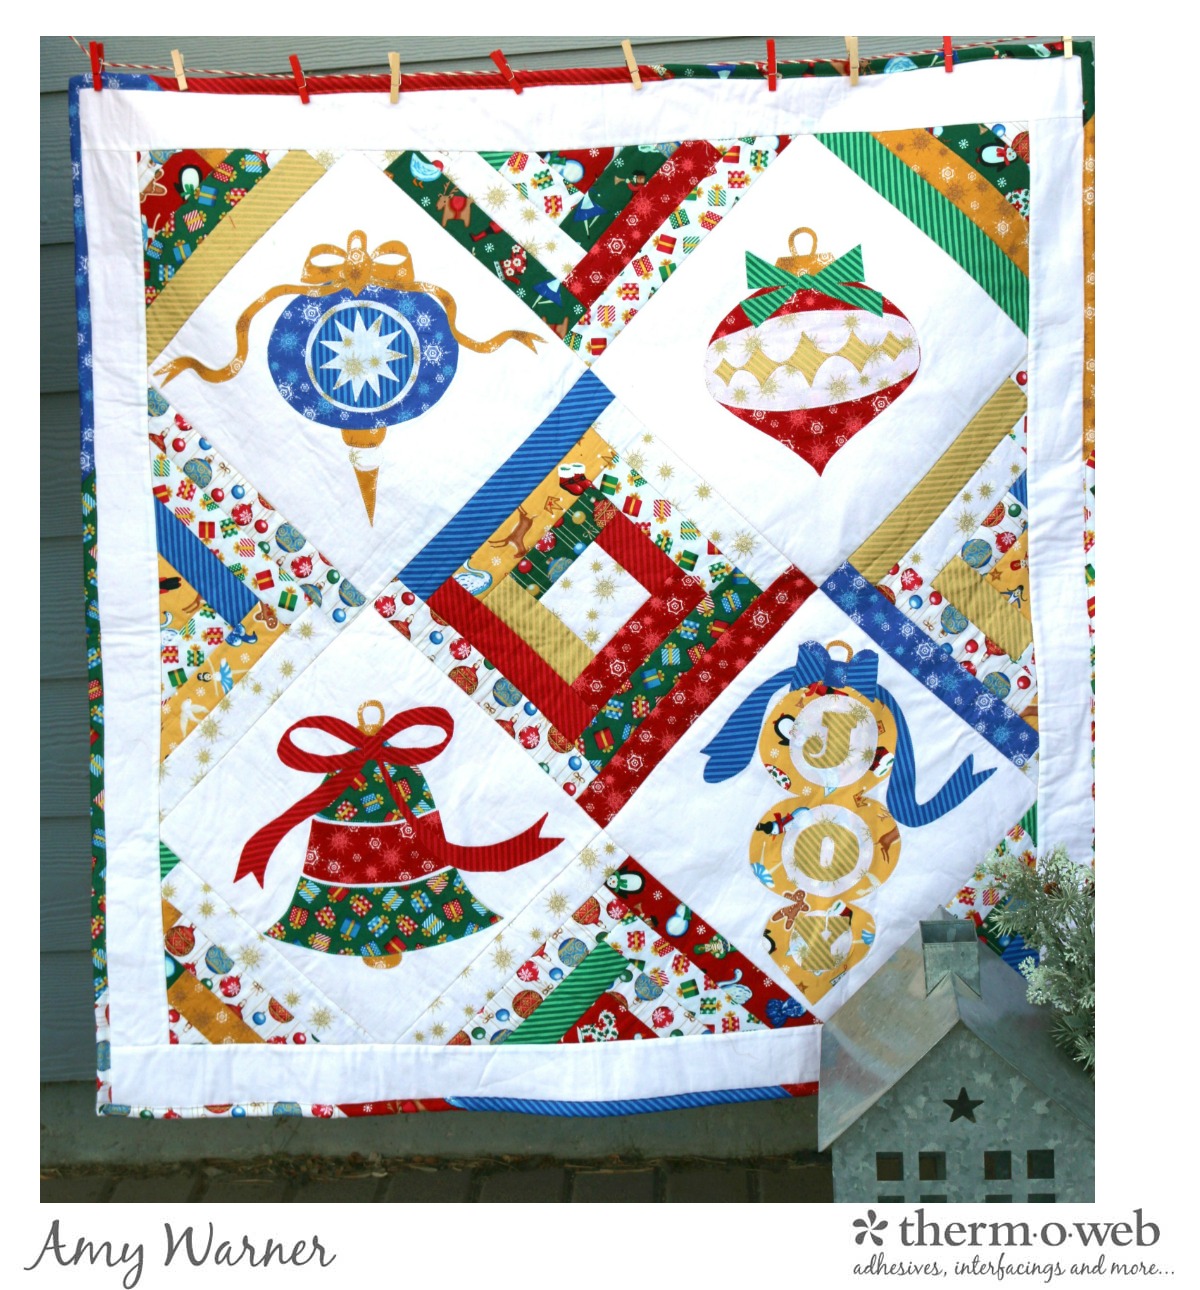
Hi again, Amy of Sew Incredibly Crazy here to show you my finished project using the Christmas Ornament blocks. You can totally change the look of your appliqued blocks by putting them on point.
To make the above quilt, create the previously released Christmas Ornament Blocks. Applique them on point. Make 4 of your favorite quilt blocks. The ones shown are log cabin block. Cut 2 of the blocks on the diagonal.
Cut the last block across the diagonal twice, yielding four triangles for each corner. Sew them in rows and use the above quilt as a reference. Add a 3″ white border around the quilt. Quilt and Enjoy. I hope that enjoyed making the four Christmas Ornament Blocks as much as I did. If you did make a project using my Joy block, please tag me on Facebook at Sew Incredibly Crazy. I would love to see it.
Teaming up with other Thermoweb designers for the Holiday Quilt Block Sew Along has been so much fun! Each ornament block has been gorgeous and now it’s time to put them all together into a festive holiday decor project. Carla here from Creatin’ in the Sticks and I’m excited to show off my new table runner.
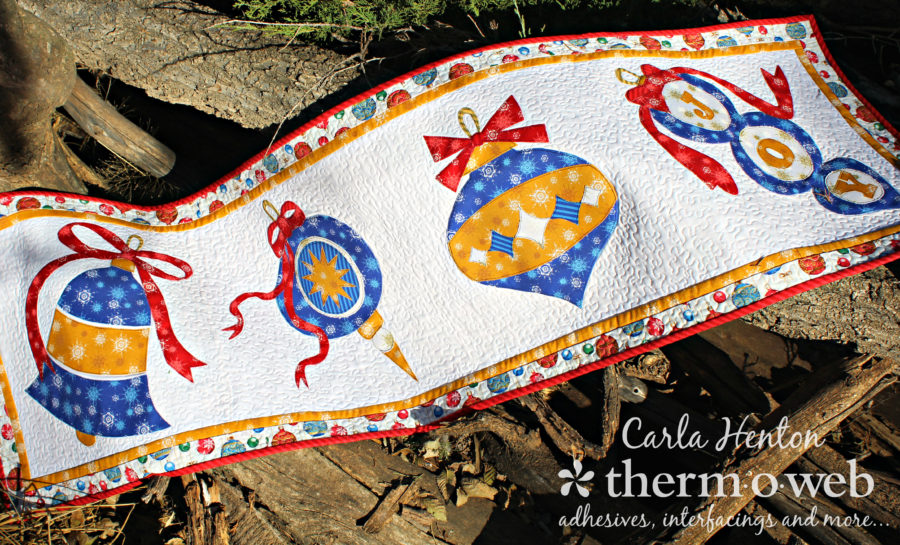
Christmas Table Runner
By Carla Henton at Creatin’ in the Sticks
Finished size: 51″ x 15 1/2″
Supplies:
4 – quilt blocks from the Thermoweb Holiday Quilt block series
HeatnBond Fusible Fleece
Aurifil 50 wt. thread (#2024)
Windham Fabrics – O Christmas Tree by Whistler Studios
Backing fabric (3 fat quarters), binding fabric (1 fat quarter), gold border (1 fat quarter), ornament border (1 fat quarter)
Instructions:
First, stitch the quilt blocks together with 1/4″ seams.
Second, cut the gold borders: 2 – 1″ x 12 1/2″ for the ends and 2- 1″ x 49 1/2″ for the top and bottom. Stitch the end borders first and then the top and bottom with 1/4″ seams and press.
Next, add the ornament borders by cutting 2 – 1 1/2″ x 13 1/2″ borders for the ends and 2 – 1 1/2″ x 51 1/2″ borders for the top and bottom. Stitch the end borders first and then the top and bottom with 1/4″ seams and press.
Stitch the backing fat quarters together and press. The next step is to cut the fusible fleece. Measure the size of the backing or just lay it on the fleece and cut it out. Now, fuse it to the wrong side of the backing fabric.
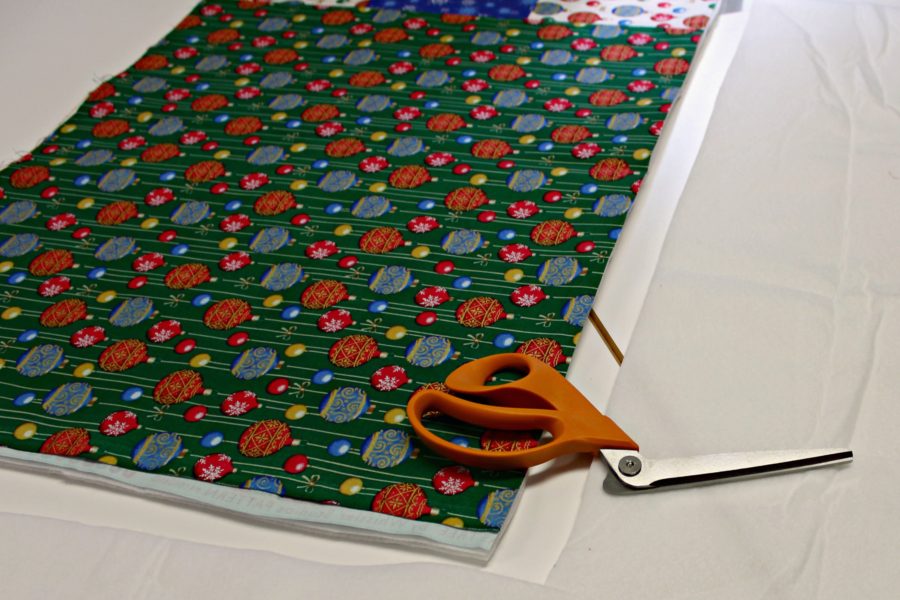
Next, lay the quilt top right side up on the fusible fleece and give it a light press with an iron. This step will hold it in place while you quilt it with just a few pins to hold it in place.
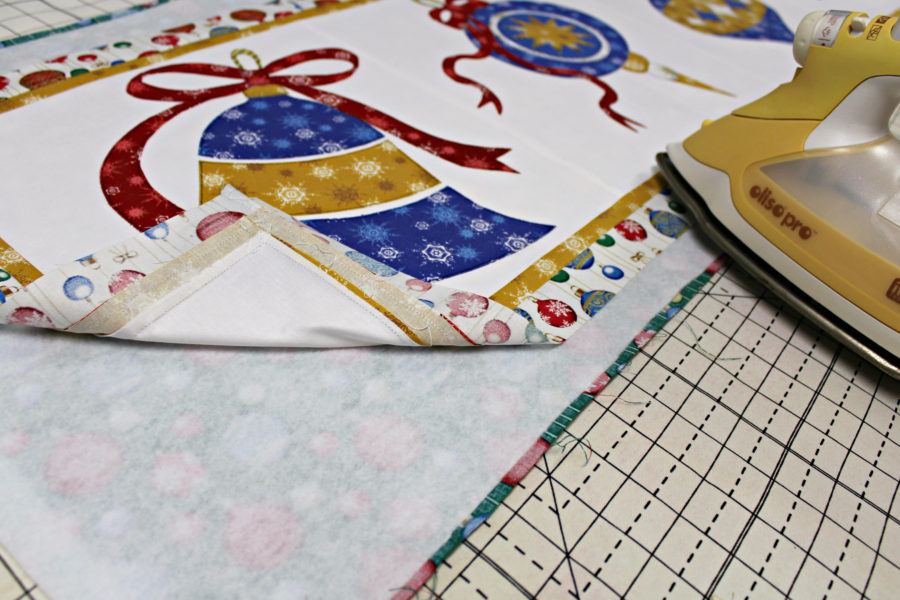
Finally, quilt the table runner as desired with Aurifil 50 wt. thread (#2024) and apply binding with a preferred method
Next is Carol Swift…Christmas Ornament Table Runner by Carol Swift, Just Let Me Quilt , finished size: 18″ x 73″ Created for Therm O Web’s Holiday Quilt Block Series
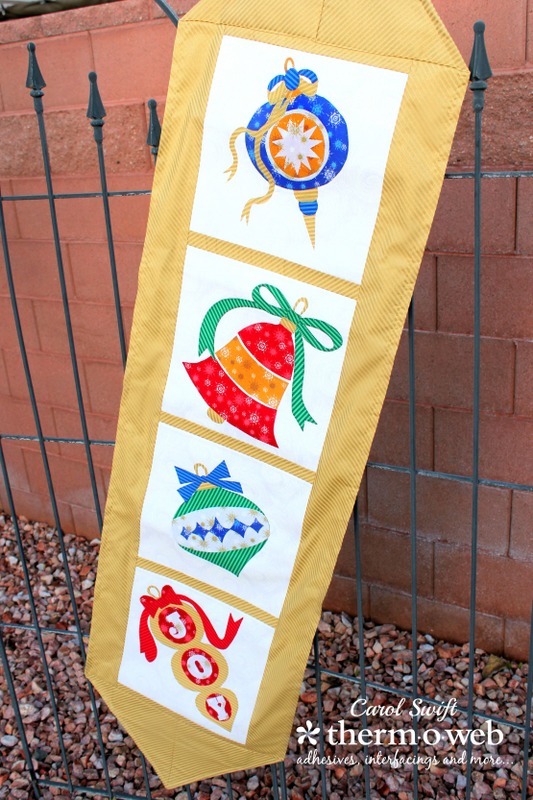
Supplies:
Heat n Bond Lite, Iron-on Adhesive
Therm O Web Heat n Bond Fusible Fleece
Oliso Iron
Fabric – O’ Christmas Tree by Windham Fabrics
Cutting instructions:
Cut 4 – 12½” x 12½” completed applique squares
Cut 3 – 1½” x 12½” sashing strips
Cut 2 – 10½” x 12½” end pieces
Cut 1 – 25½” x 73½” runner backing
Cut 1 – 12½” x 73½” HeatnBond Fusible Fleece
Sewing instructions: All seams sewn 1/4″ wide
Step 1: Sew 1½” sashing strips between 12½” x 12½” blocks. Press seams. Sew 10½” x 12½” end pieces to both ends of row. Press seams.
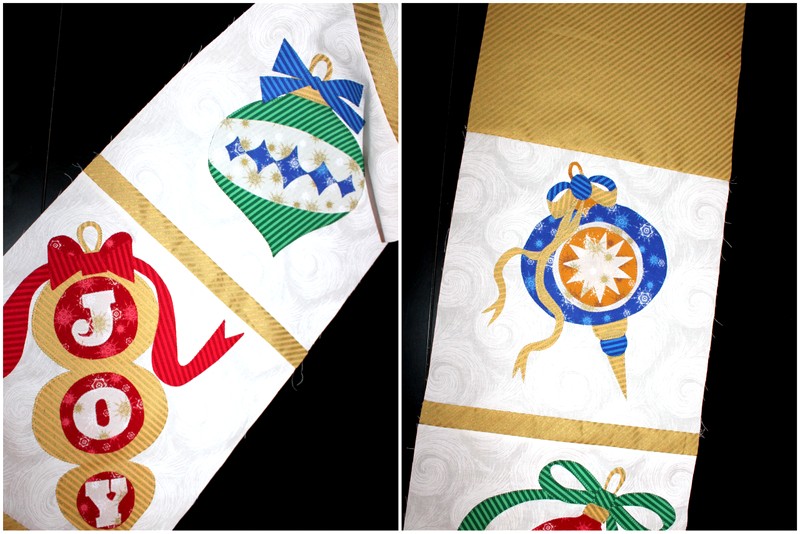
Step 2: Iron HeatnBond Fusible Fleece to the wrong side of the row following package directions.
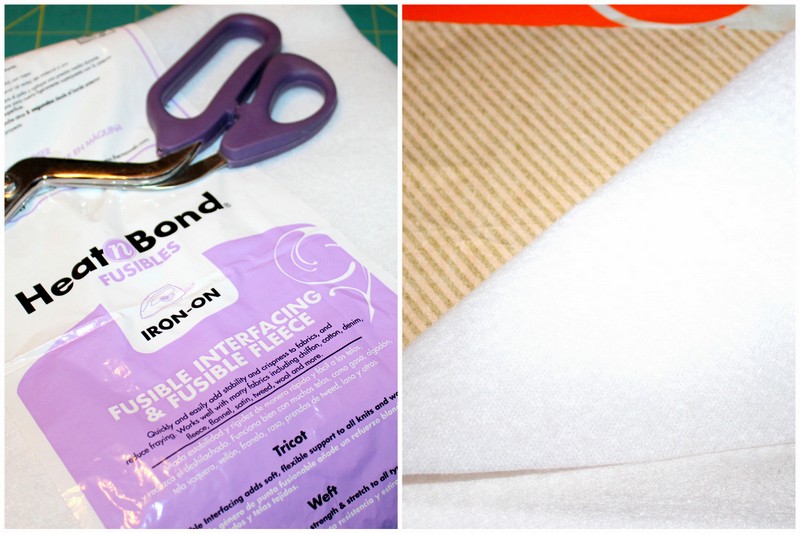
*Cover fleece with pressing cloth before ironing in place. You can use a scrap of fabric as a pressing cloth.
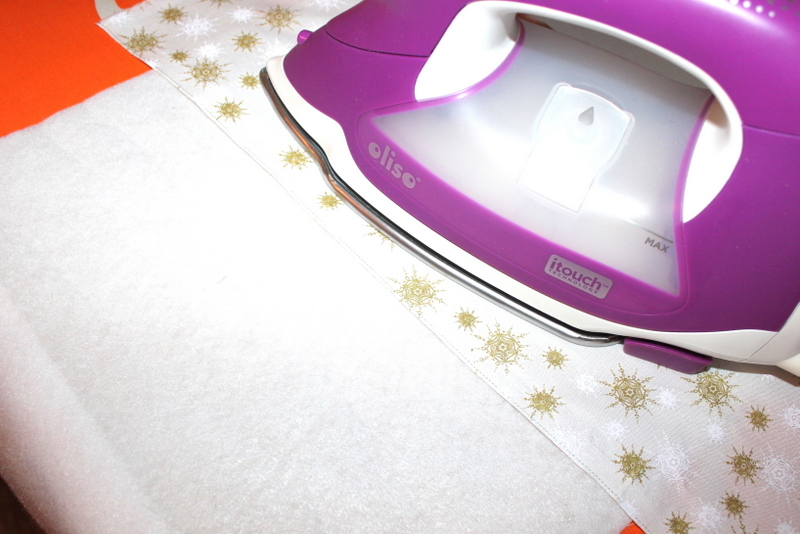
Step 3: Lay runner front and runner backing right sides together. Sew a ¼” seam down one lengthwise side. Bring lengthwise right sides together and sew a ¼” seam down the side to create a cylinder.
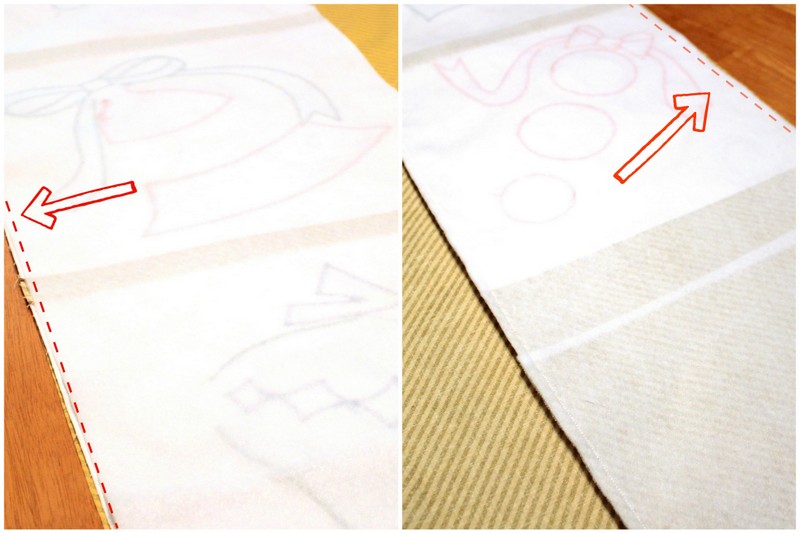
Step 4: Turn cylinder right side out and press flat making sure borders are equal on each side. Trim ends to be even if needed.
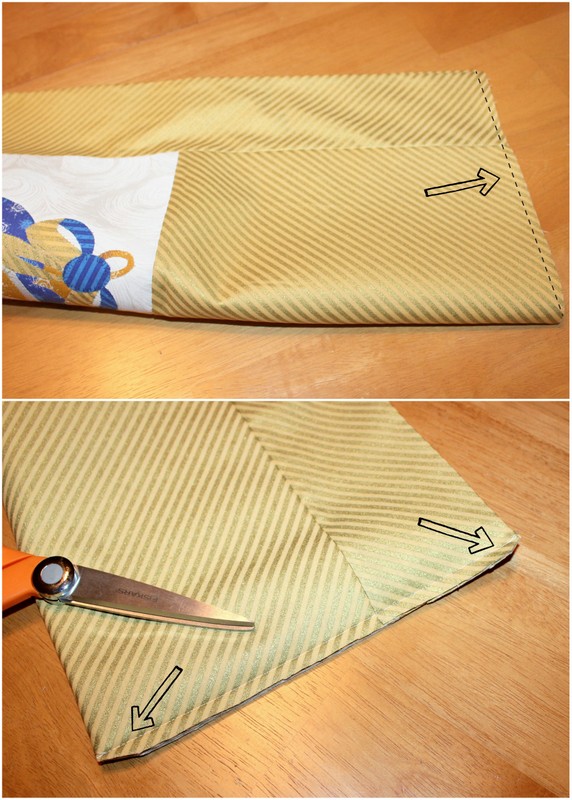
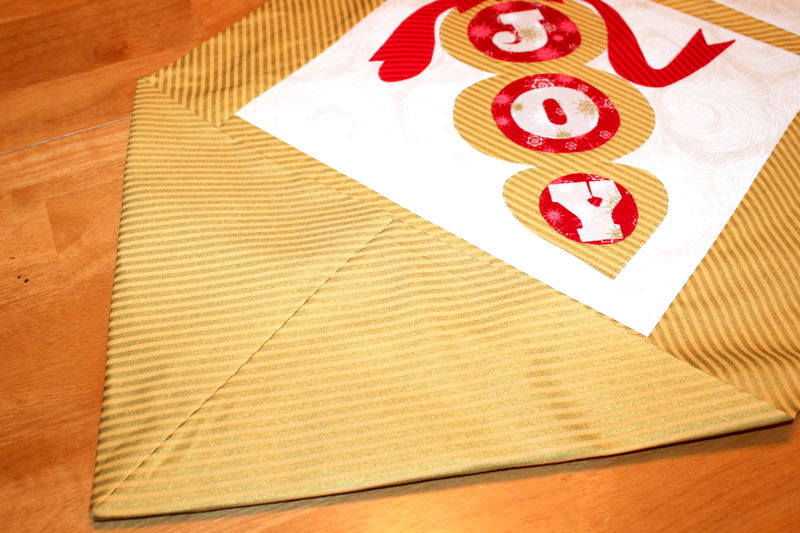
Step 5: Fold ends in half with runner backing sides together. Sew ¼” seam through all layers. Clip corners.
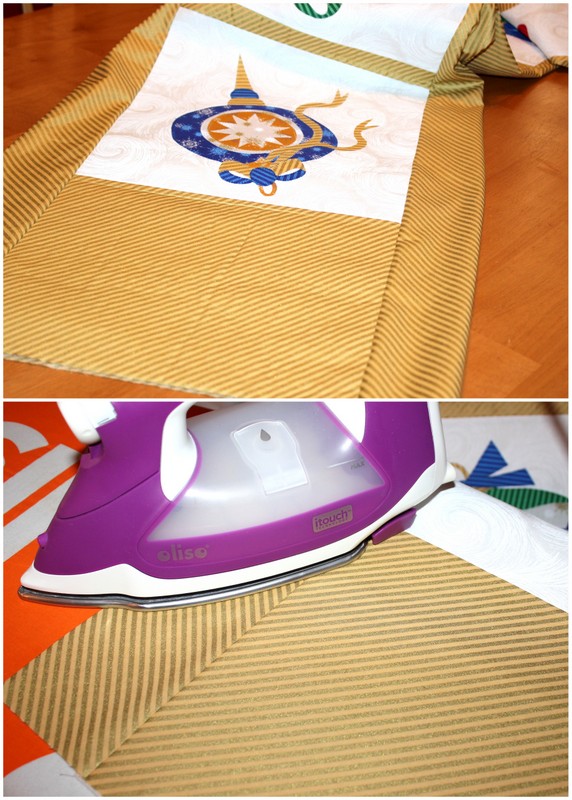
Step 6: Turn out points and press flat. Topstitch or add a button to hold down triangle end. Quilt if desired.
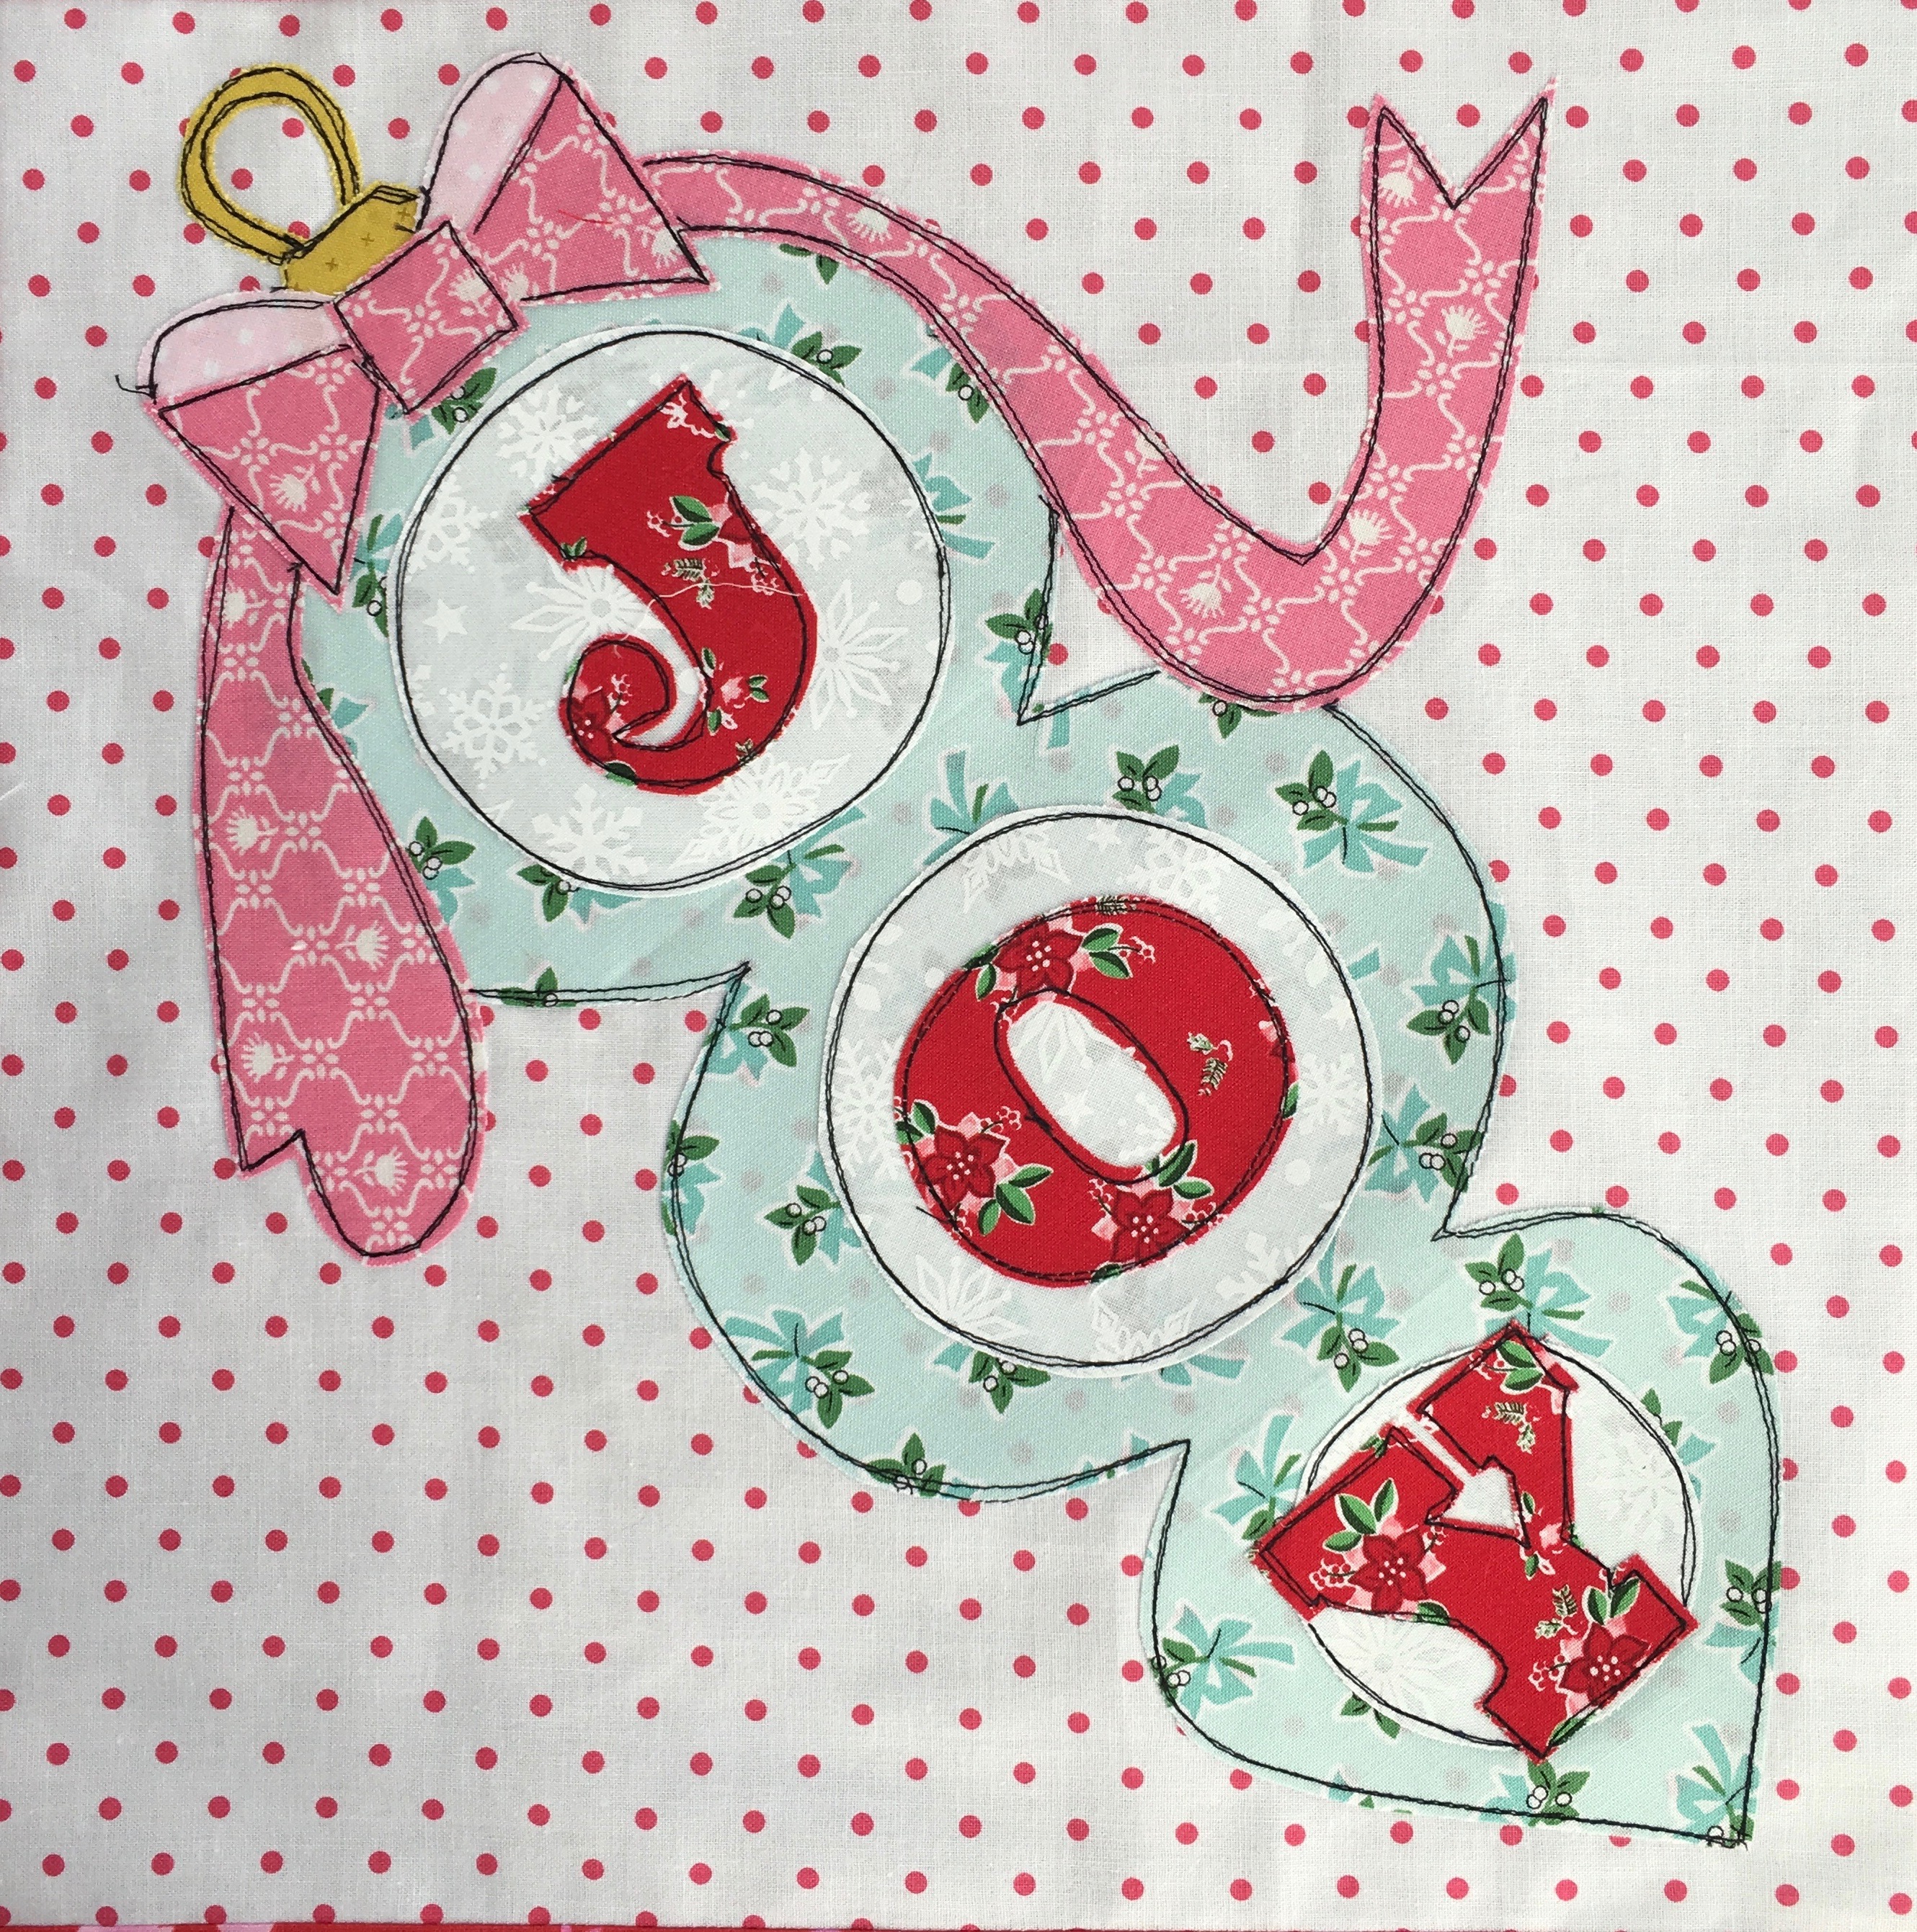
Last is Amanda Niederhauser. Amanda recently moved into a new house and wanted to remake the blocks in a fun, retro colorway to match her home and new decor! We think you’ll agree…it’s fabulous!
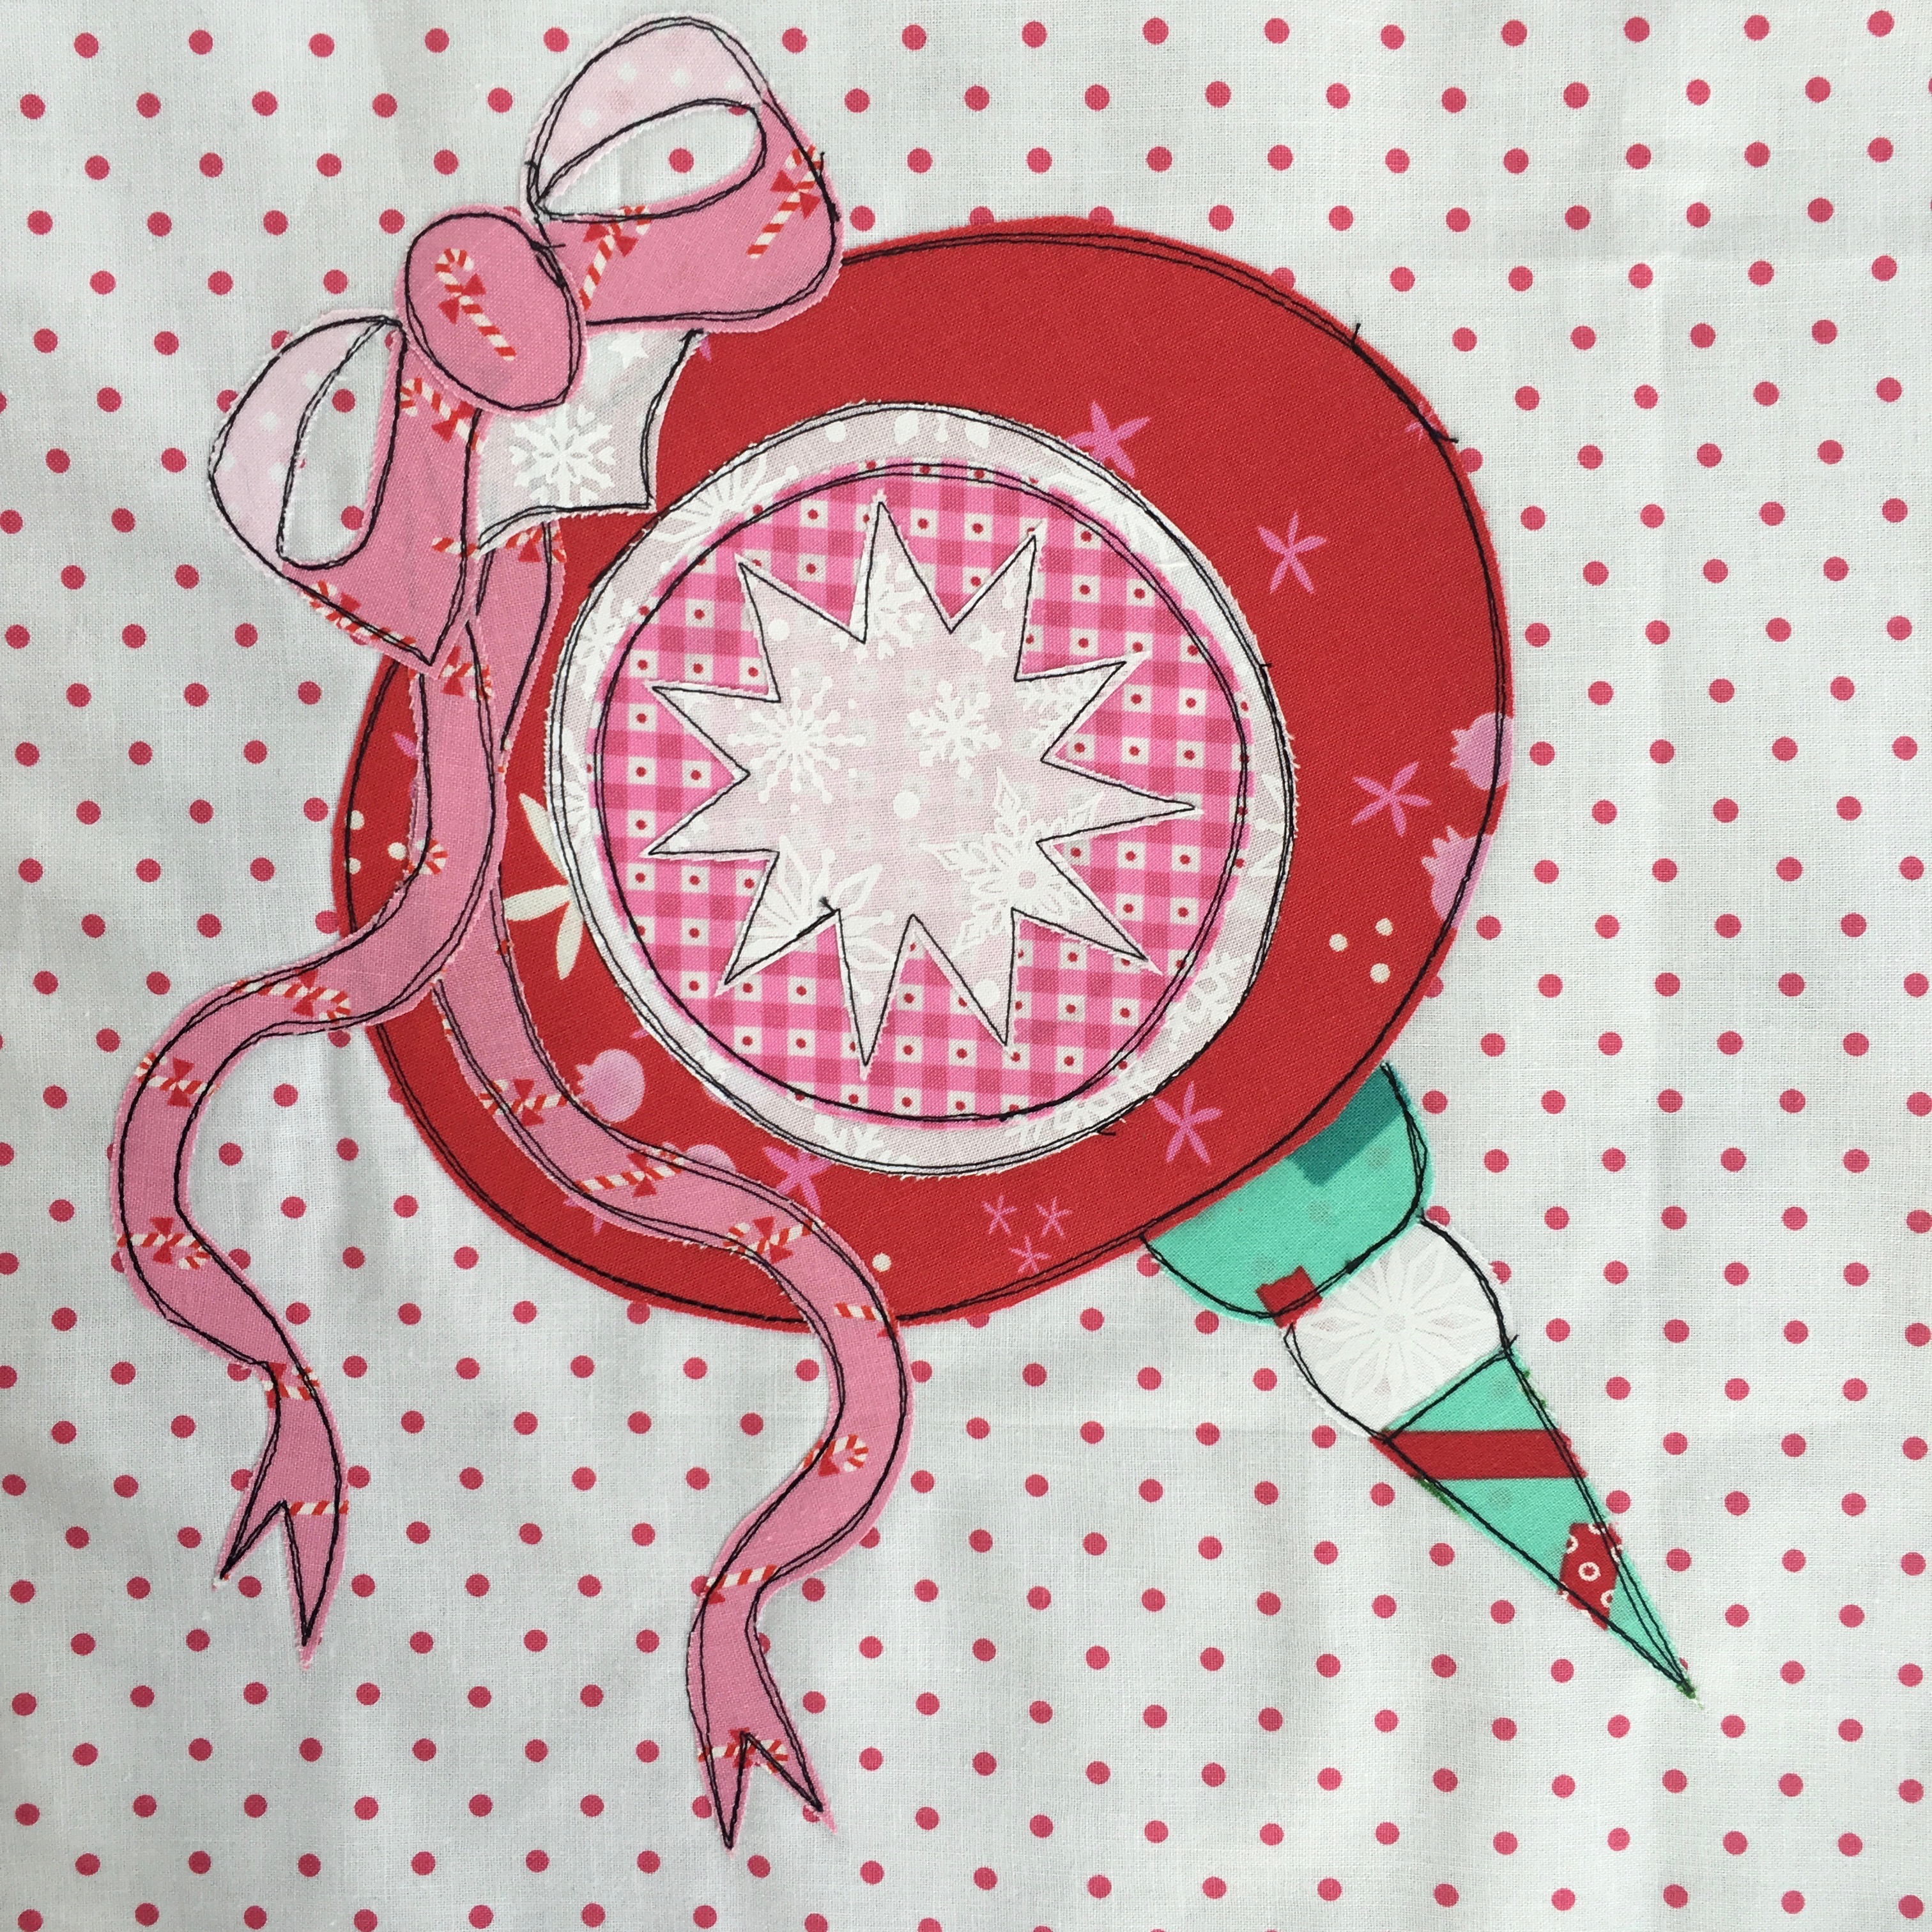
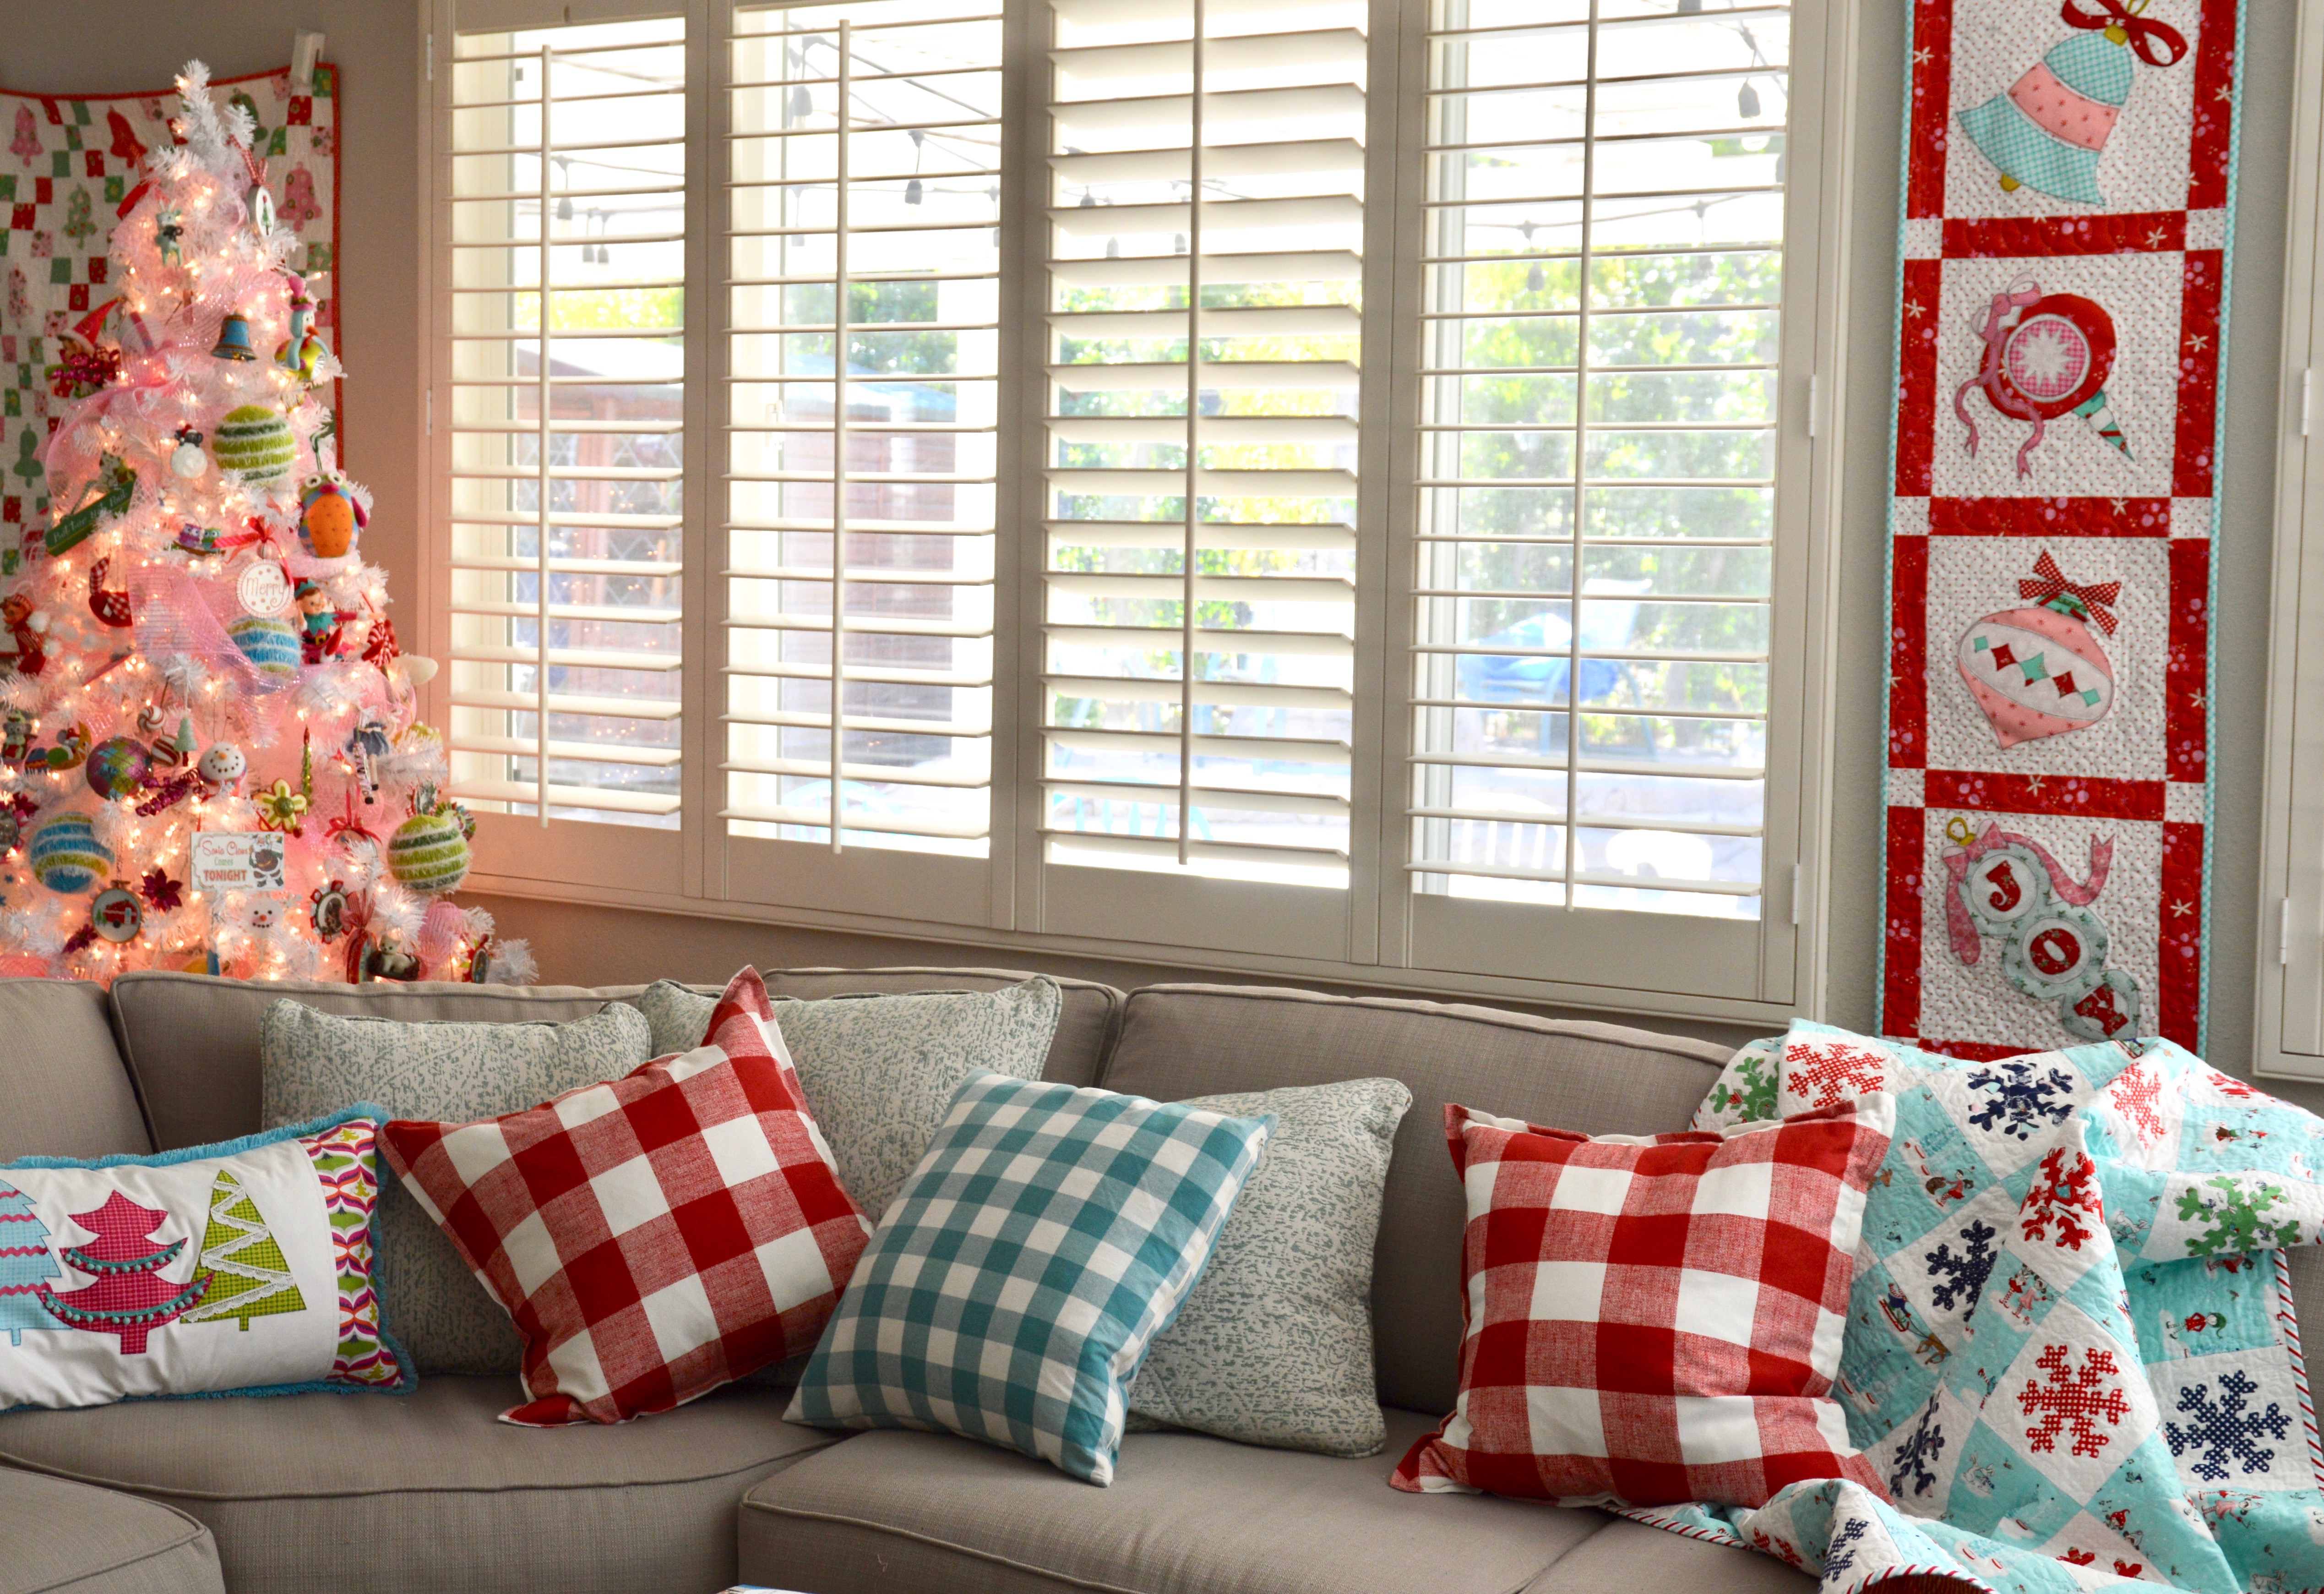
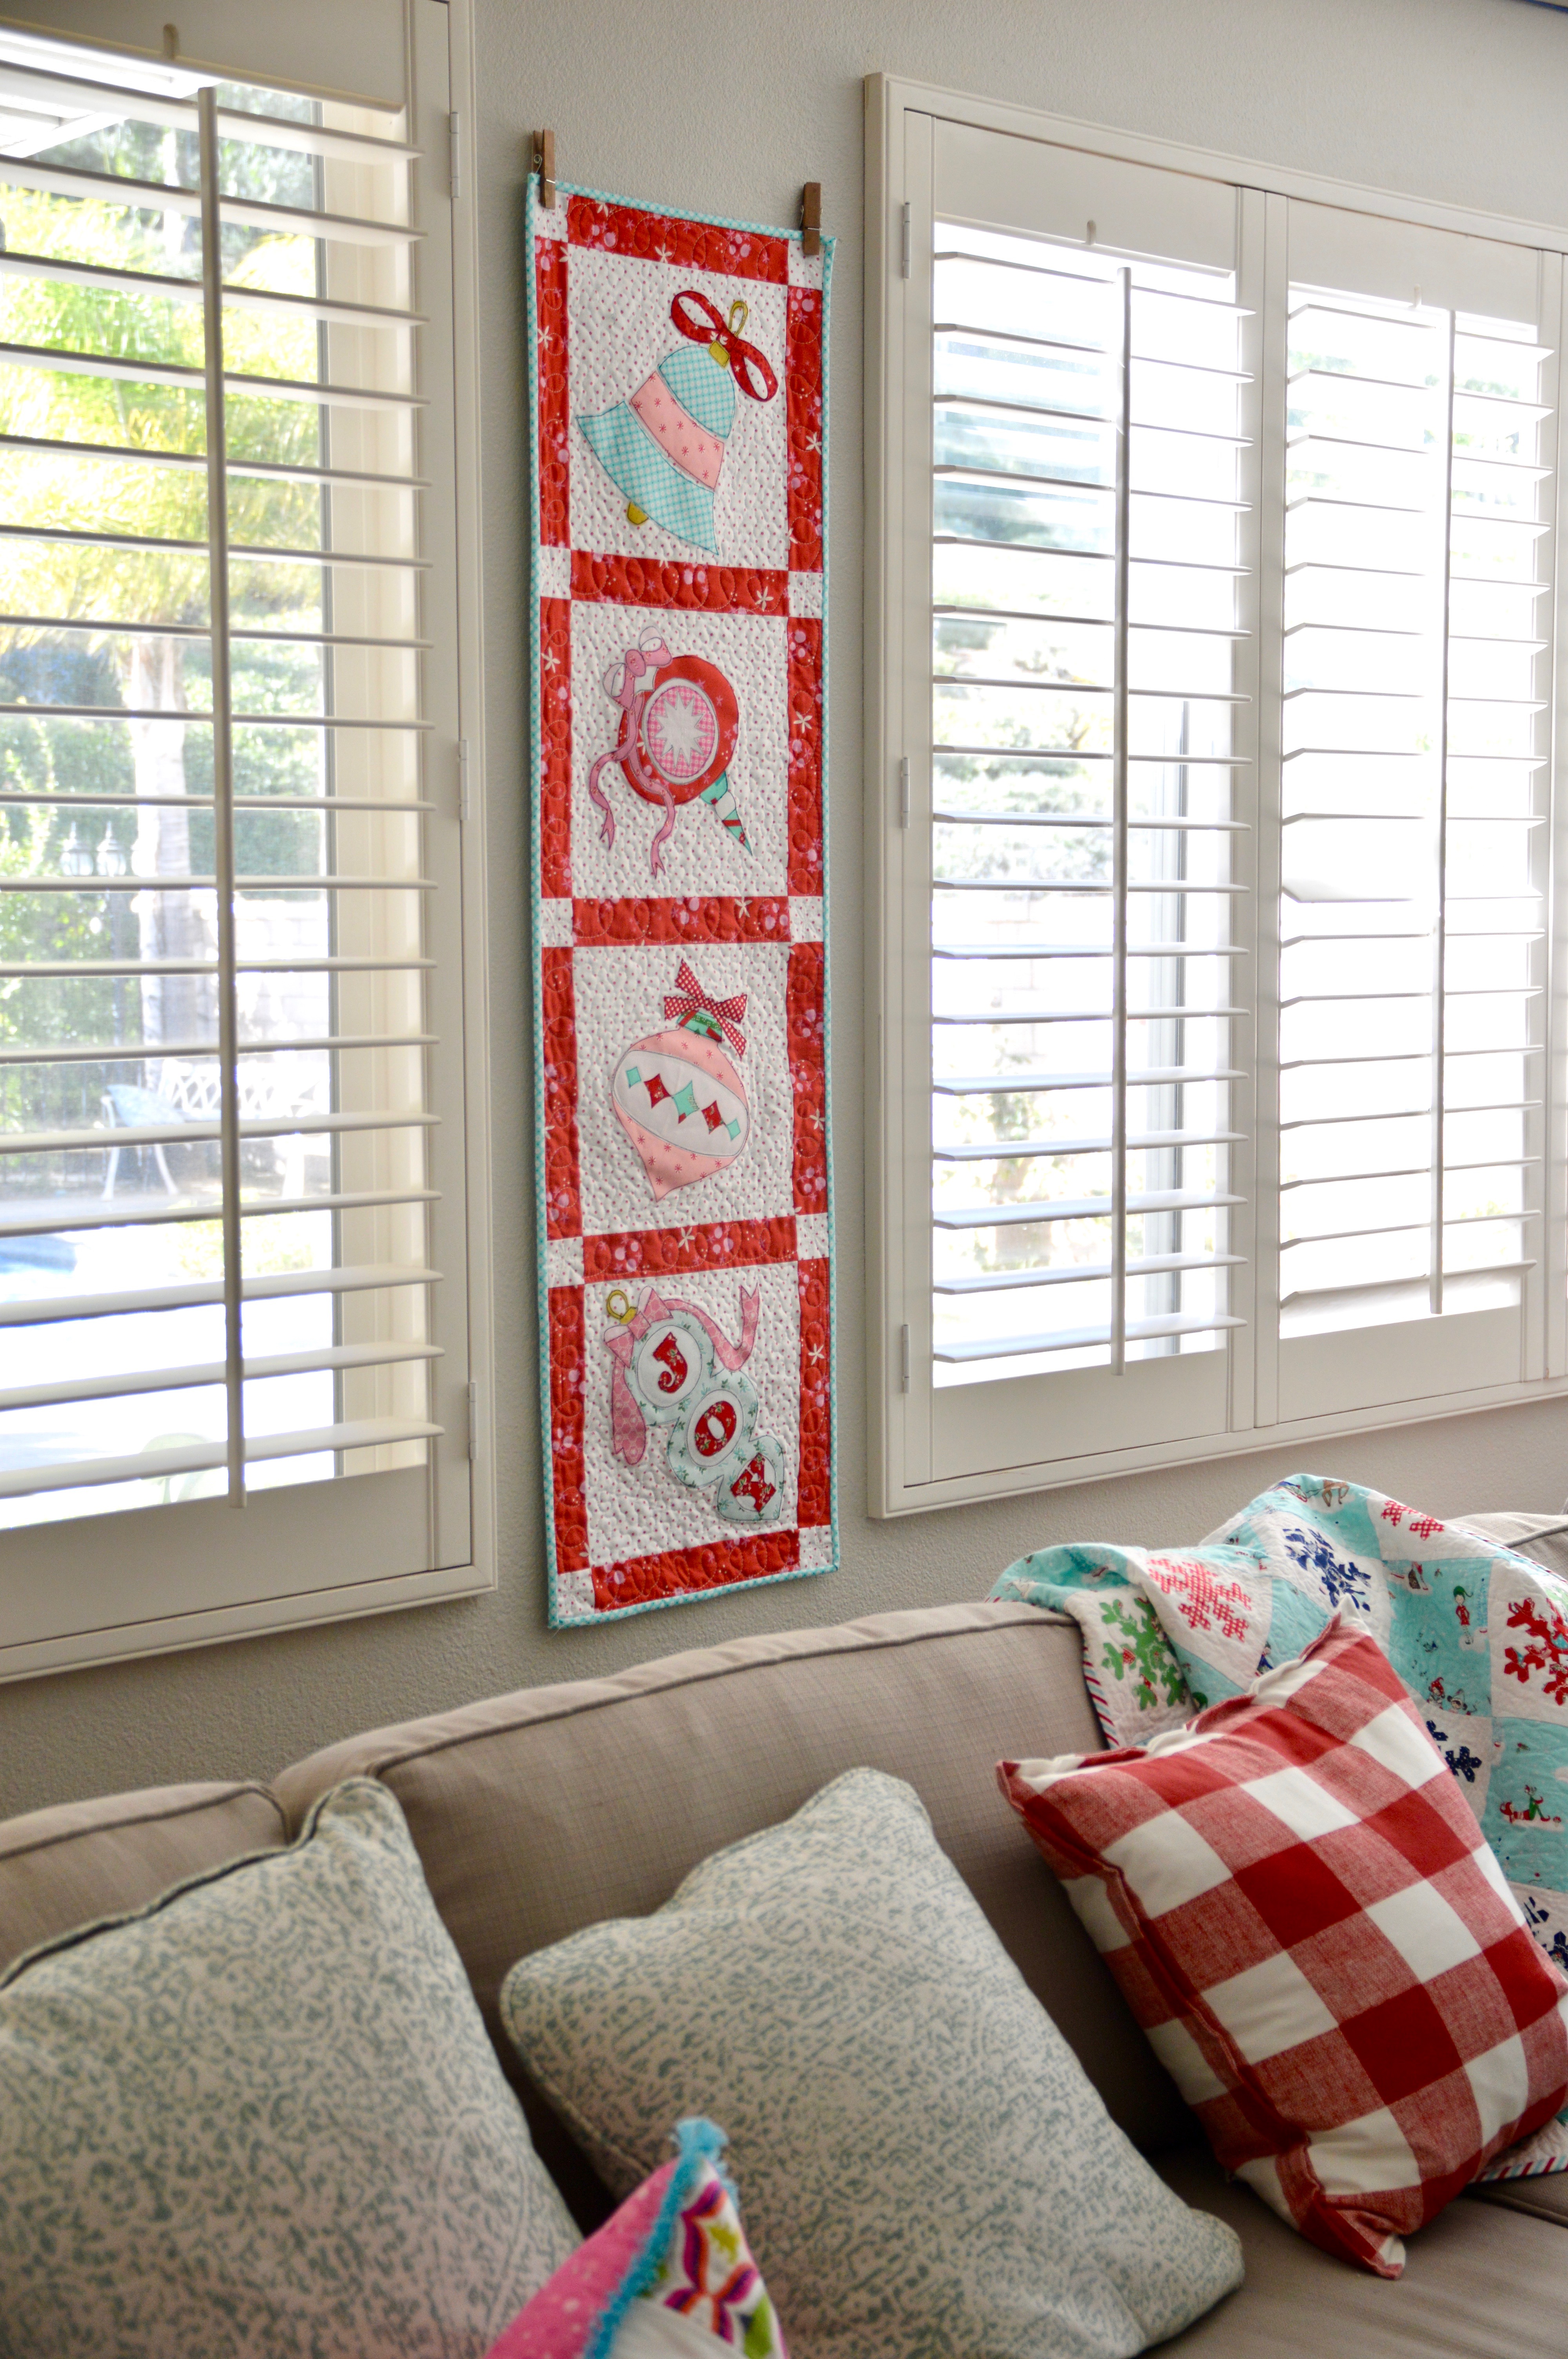
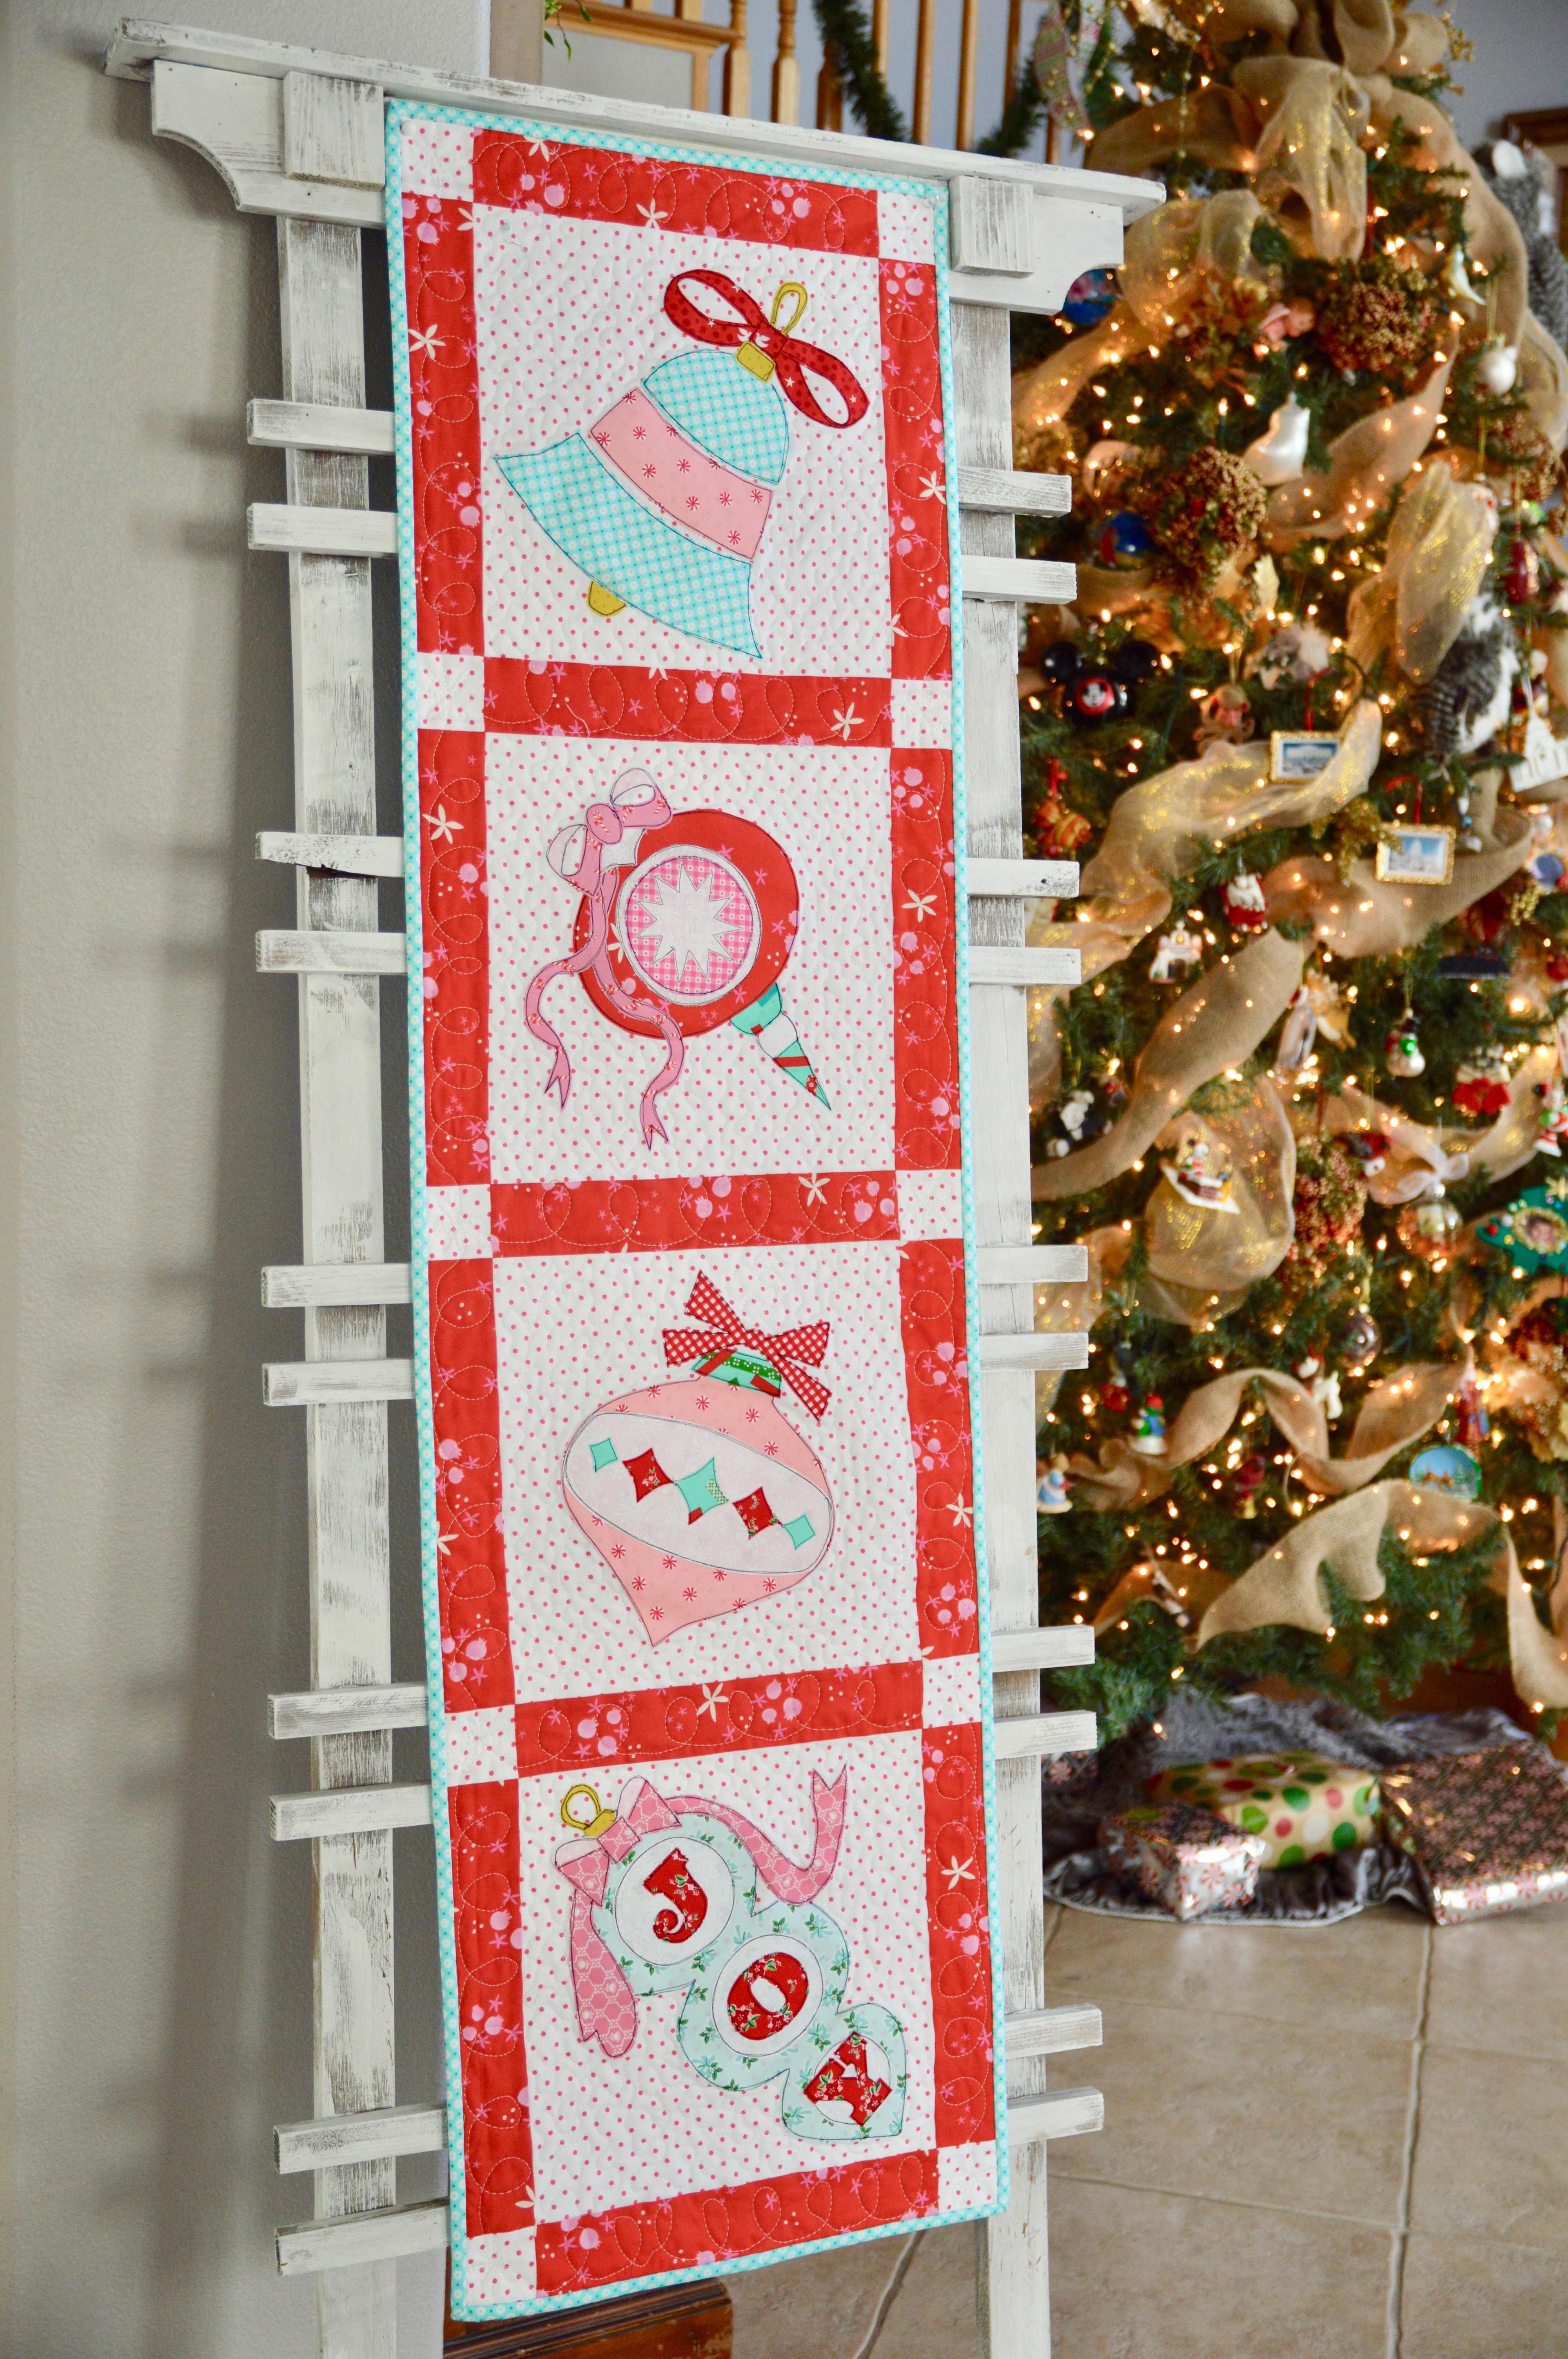
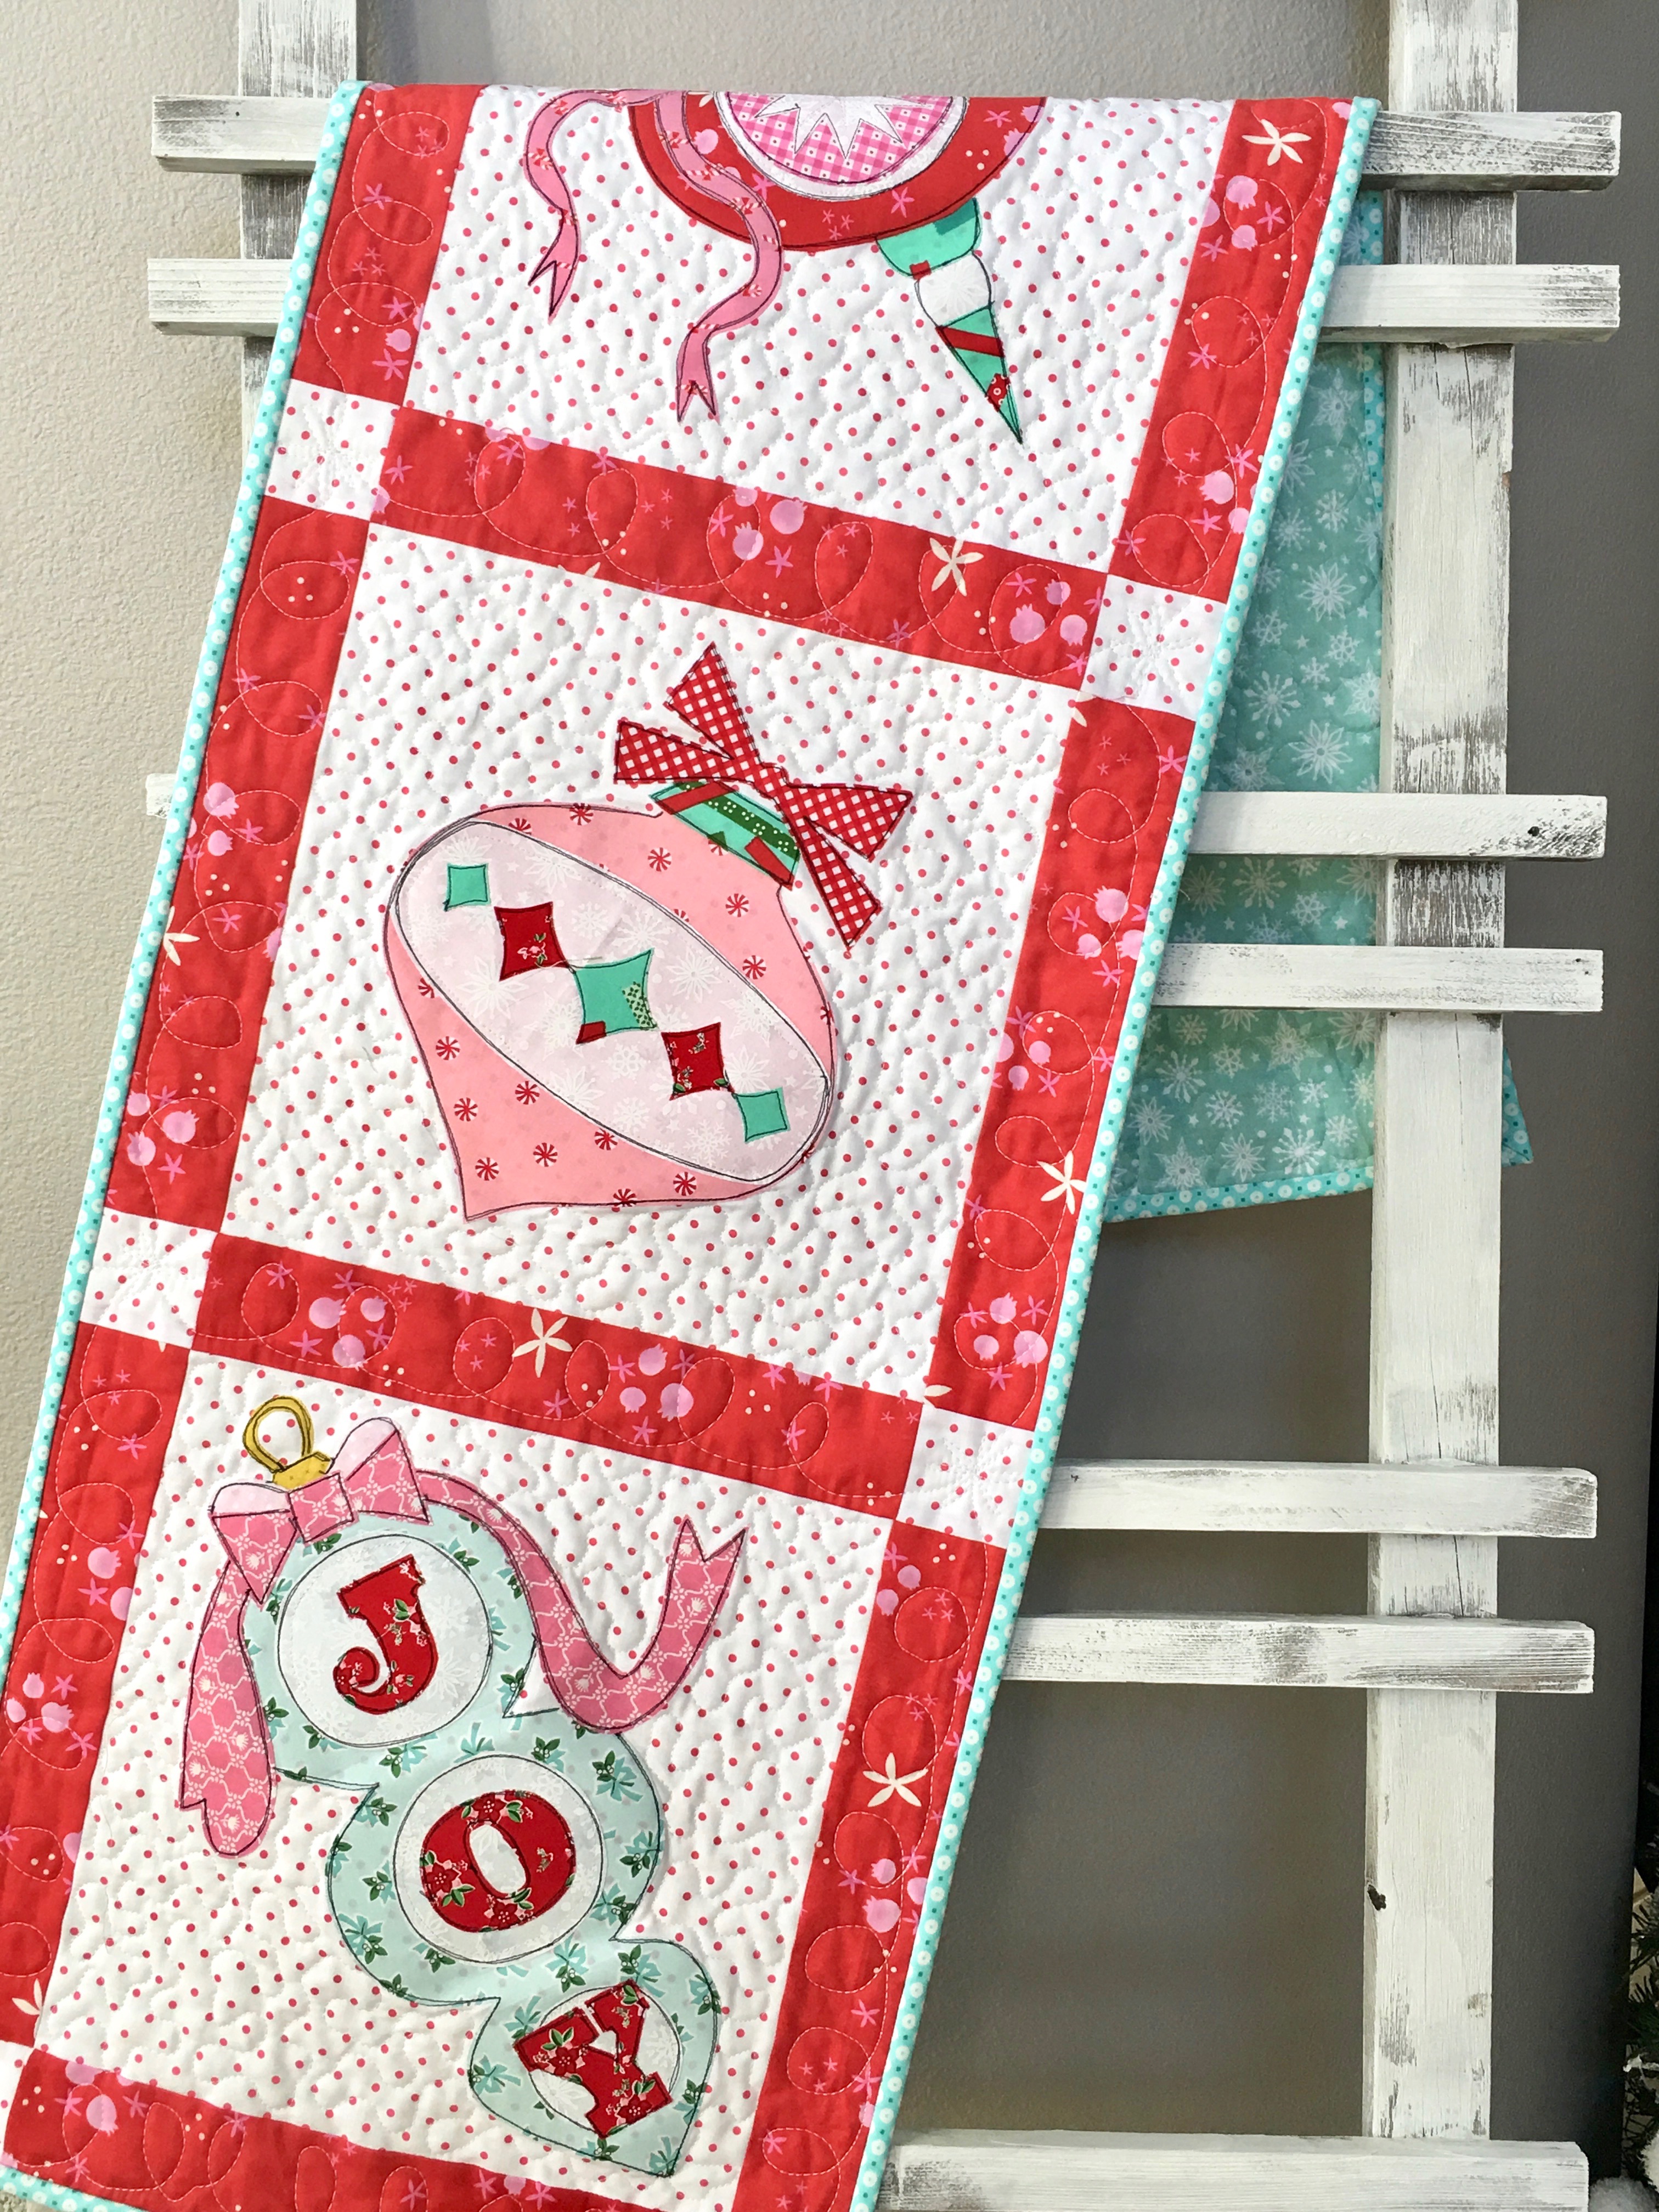
I am so excited to share my finished ornament wall hanging! I went with retro Christmas colors to fully embrace the mid-century vibe.
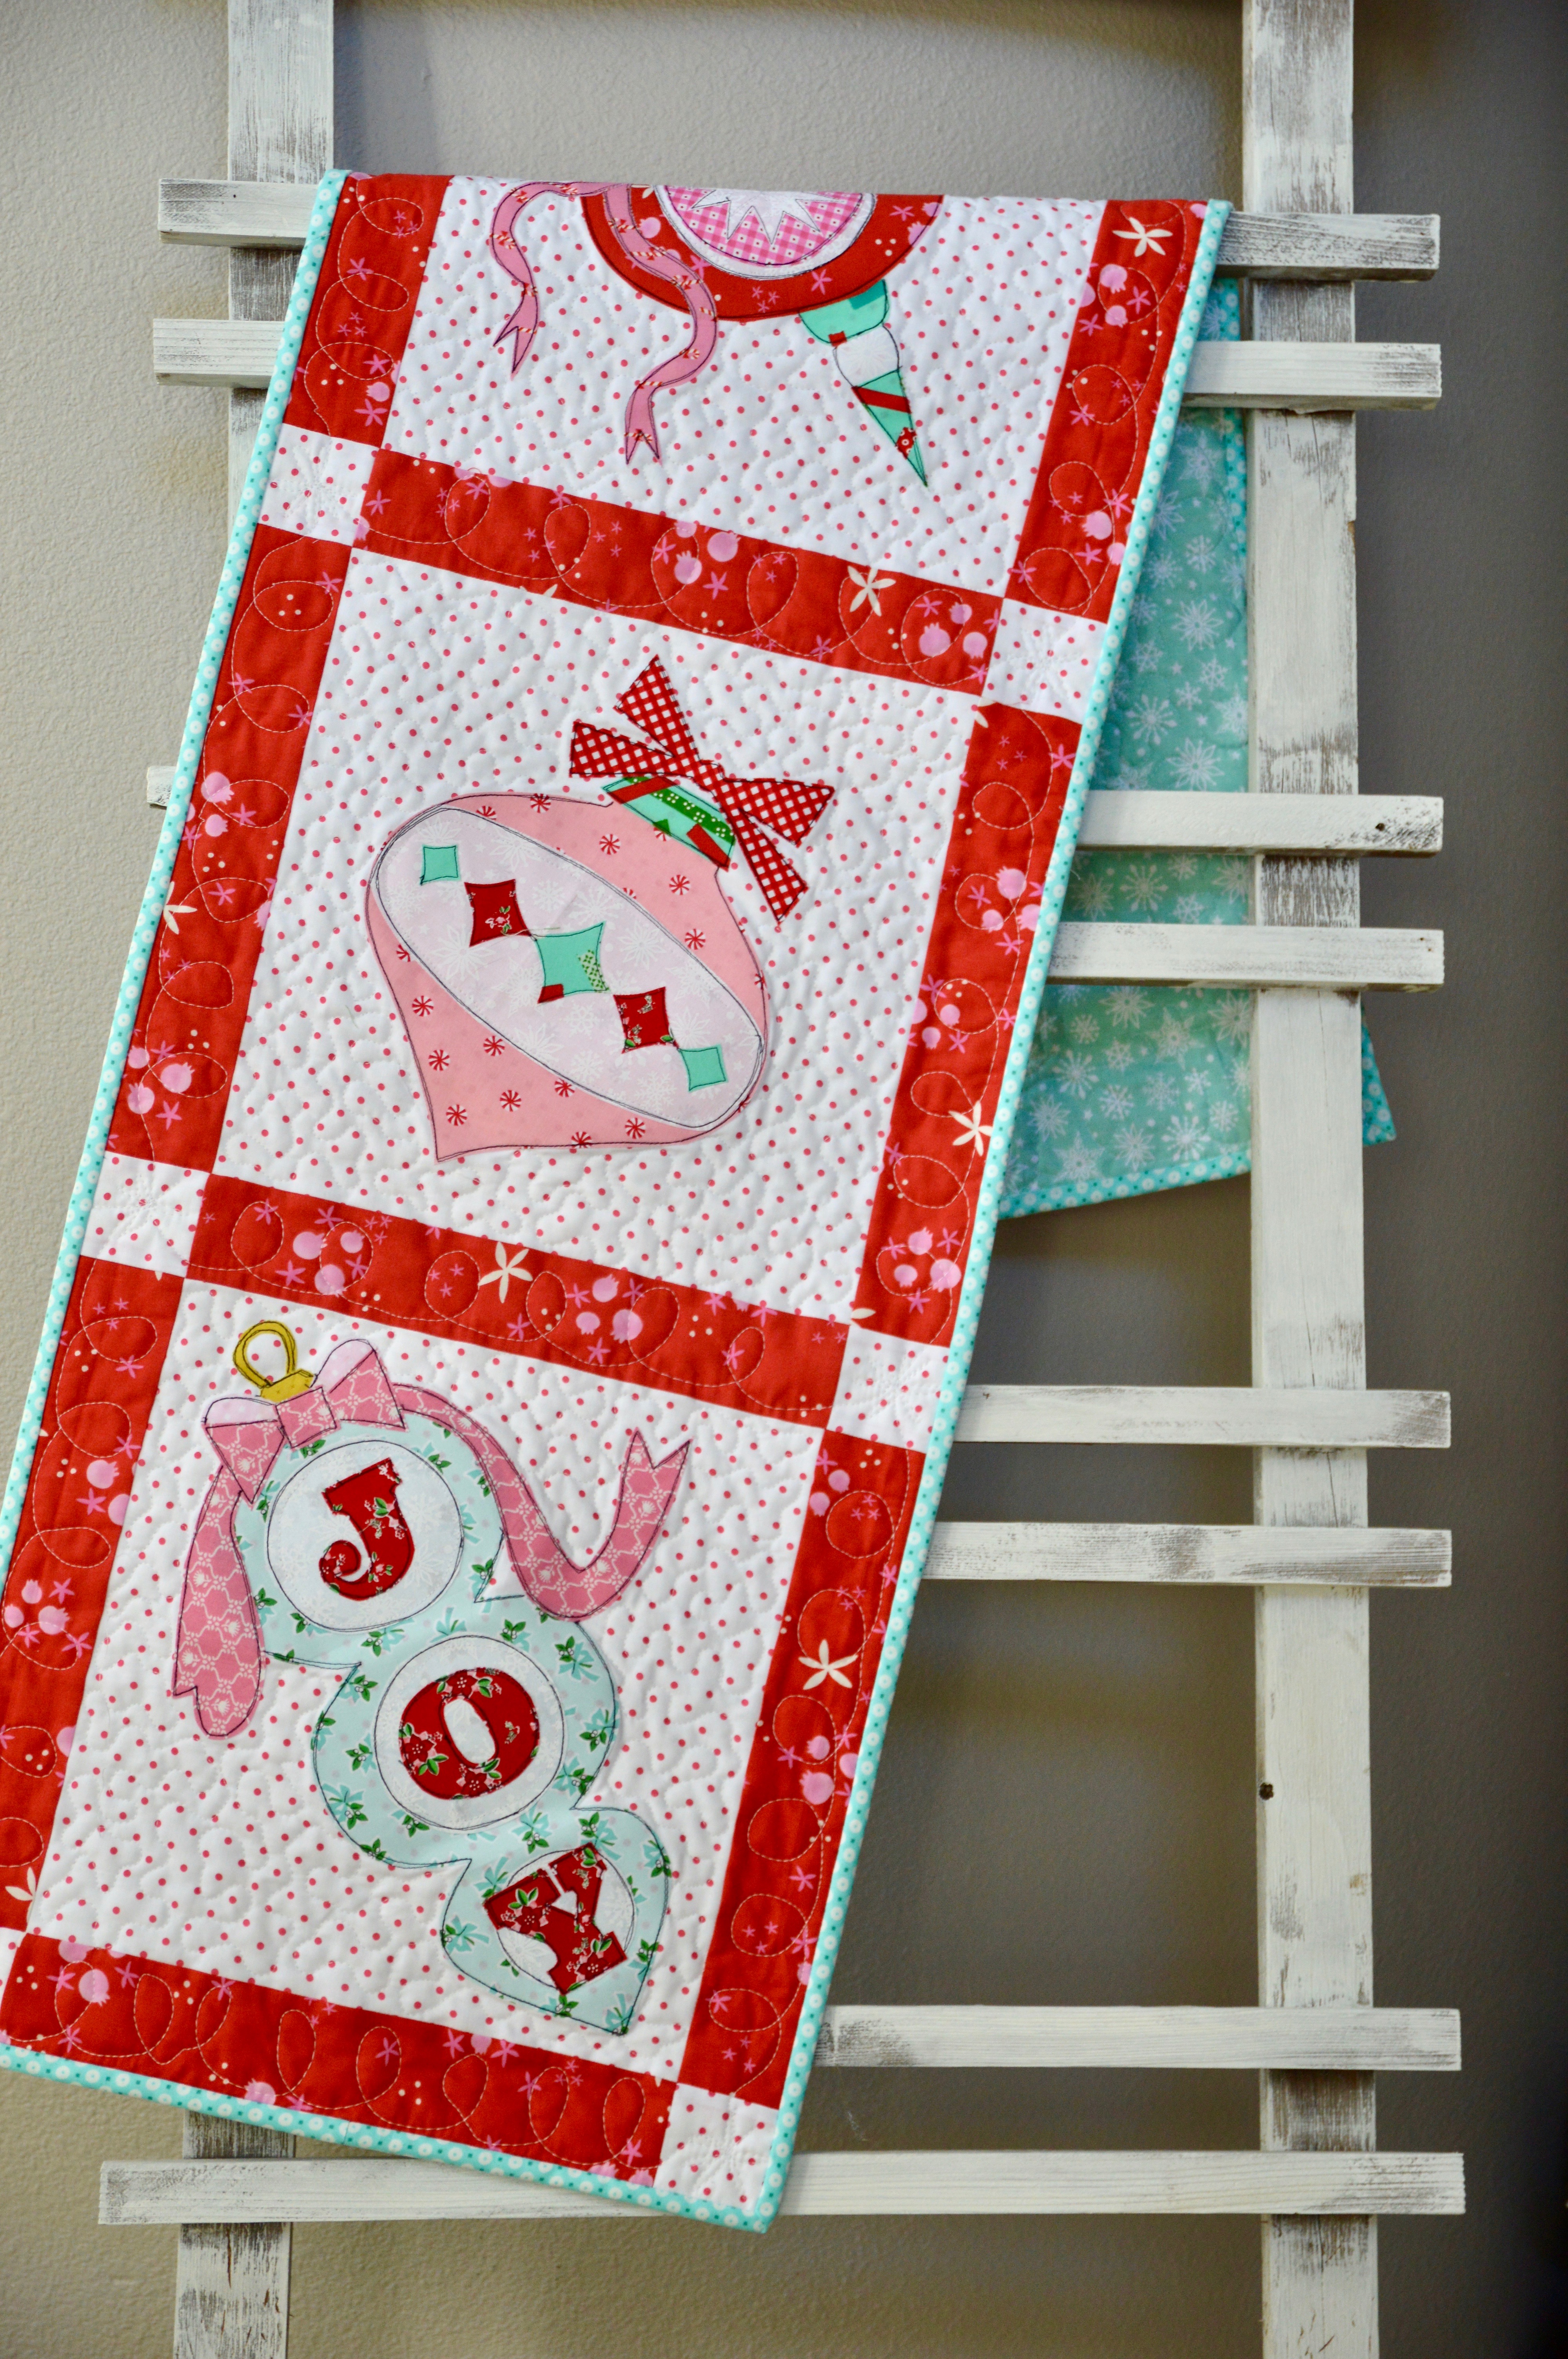
Now that you have all your blocks finished, it’s time to put them together! They would make a cute 4-patch style wall quilt, but I decided to make mine into a long, table runner shape.
I can’t decide which block is the cutest!
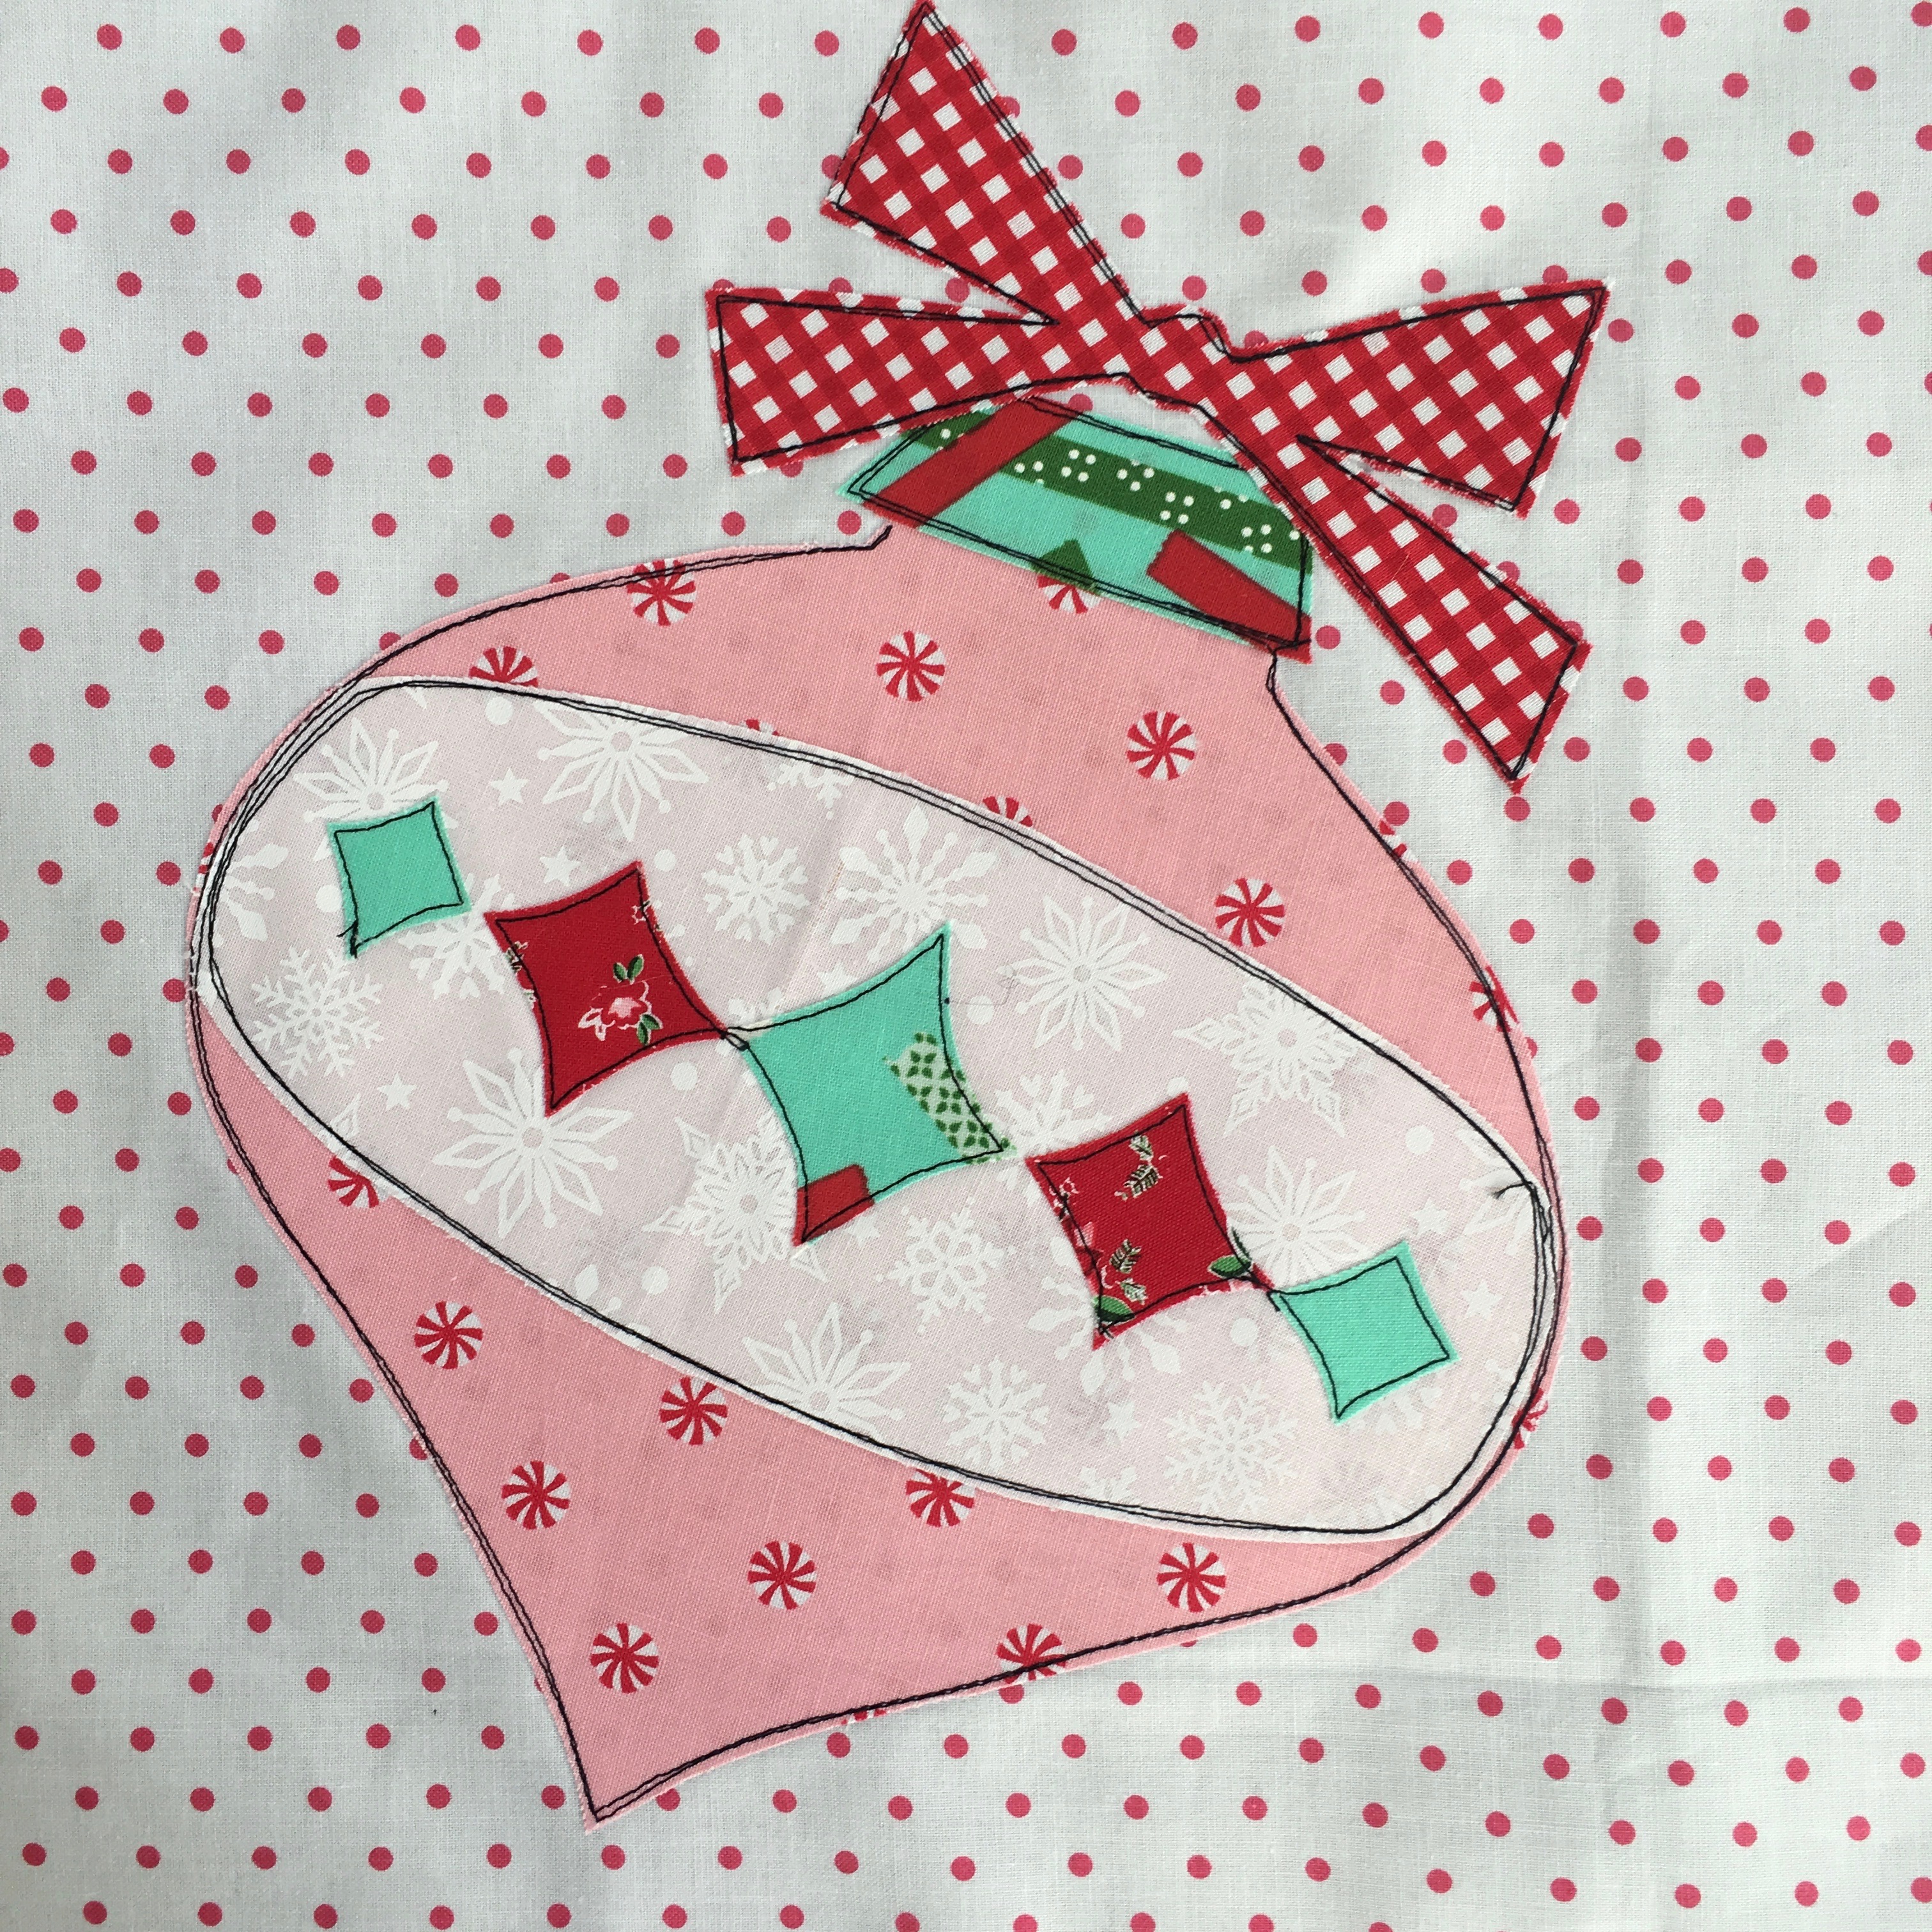
I love how they just feel like Christmas!
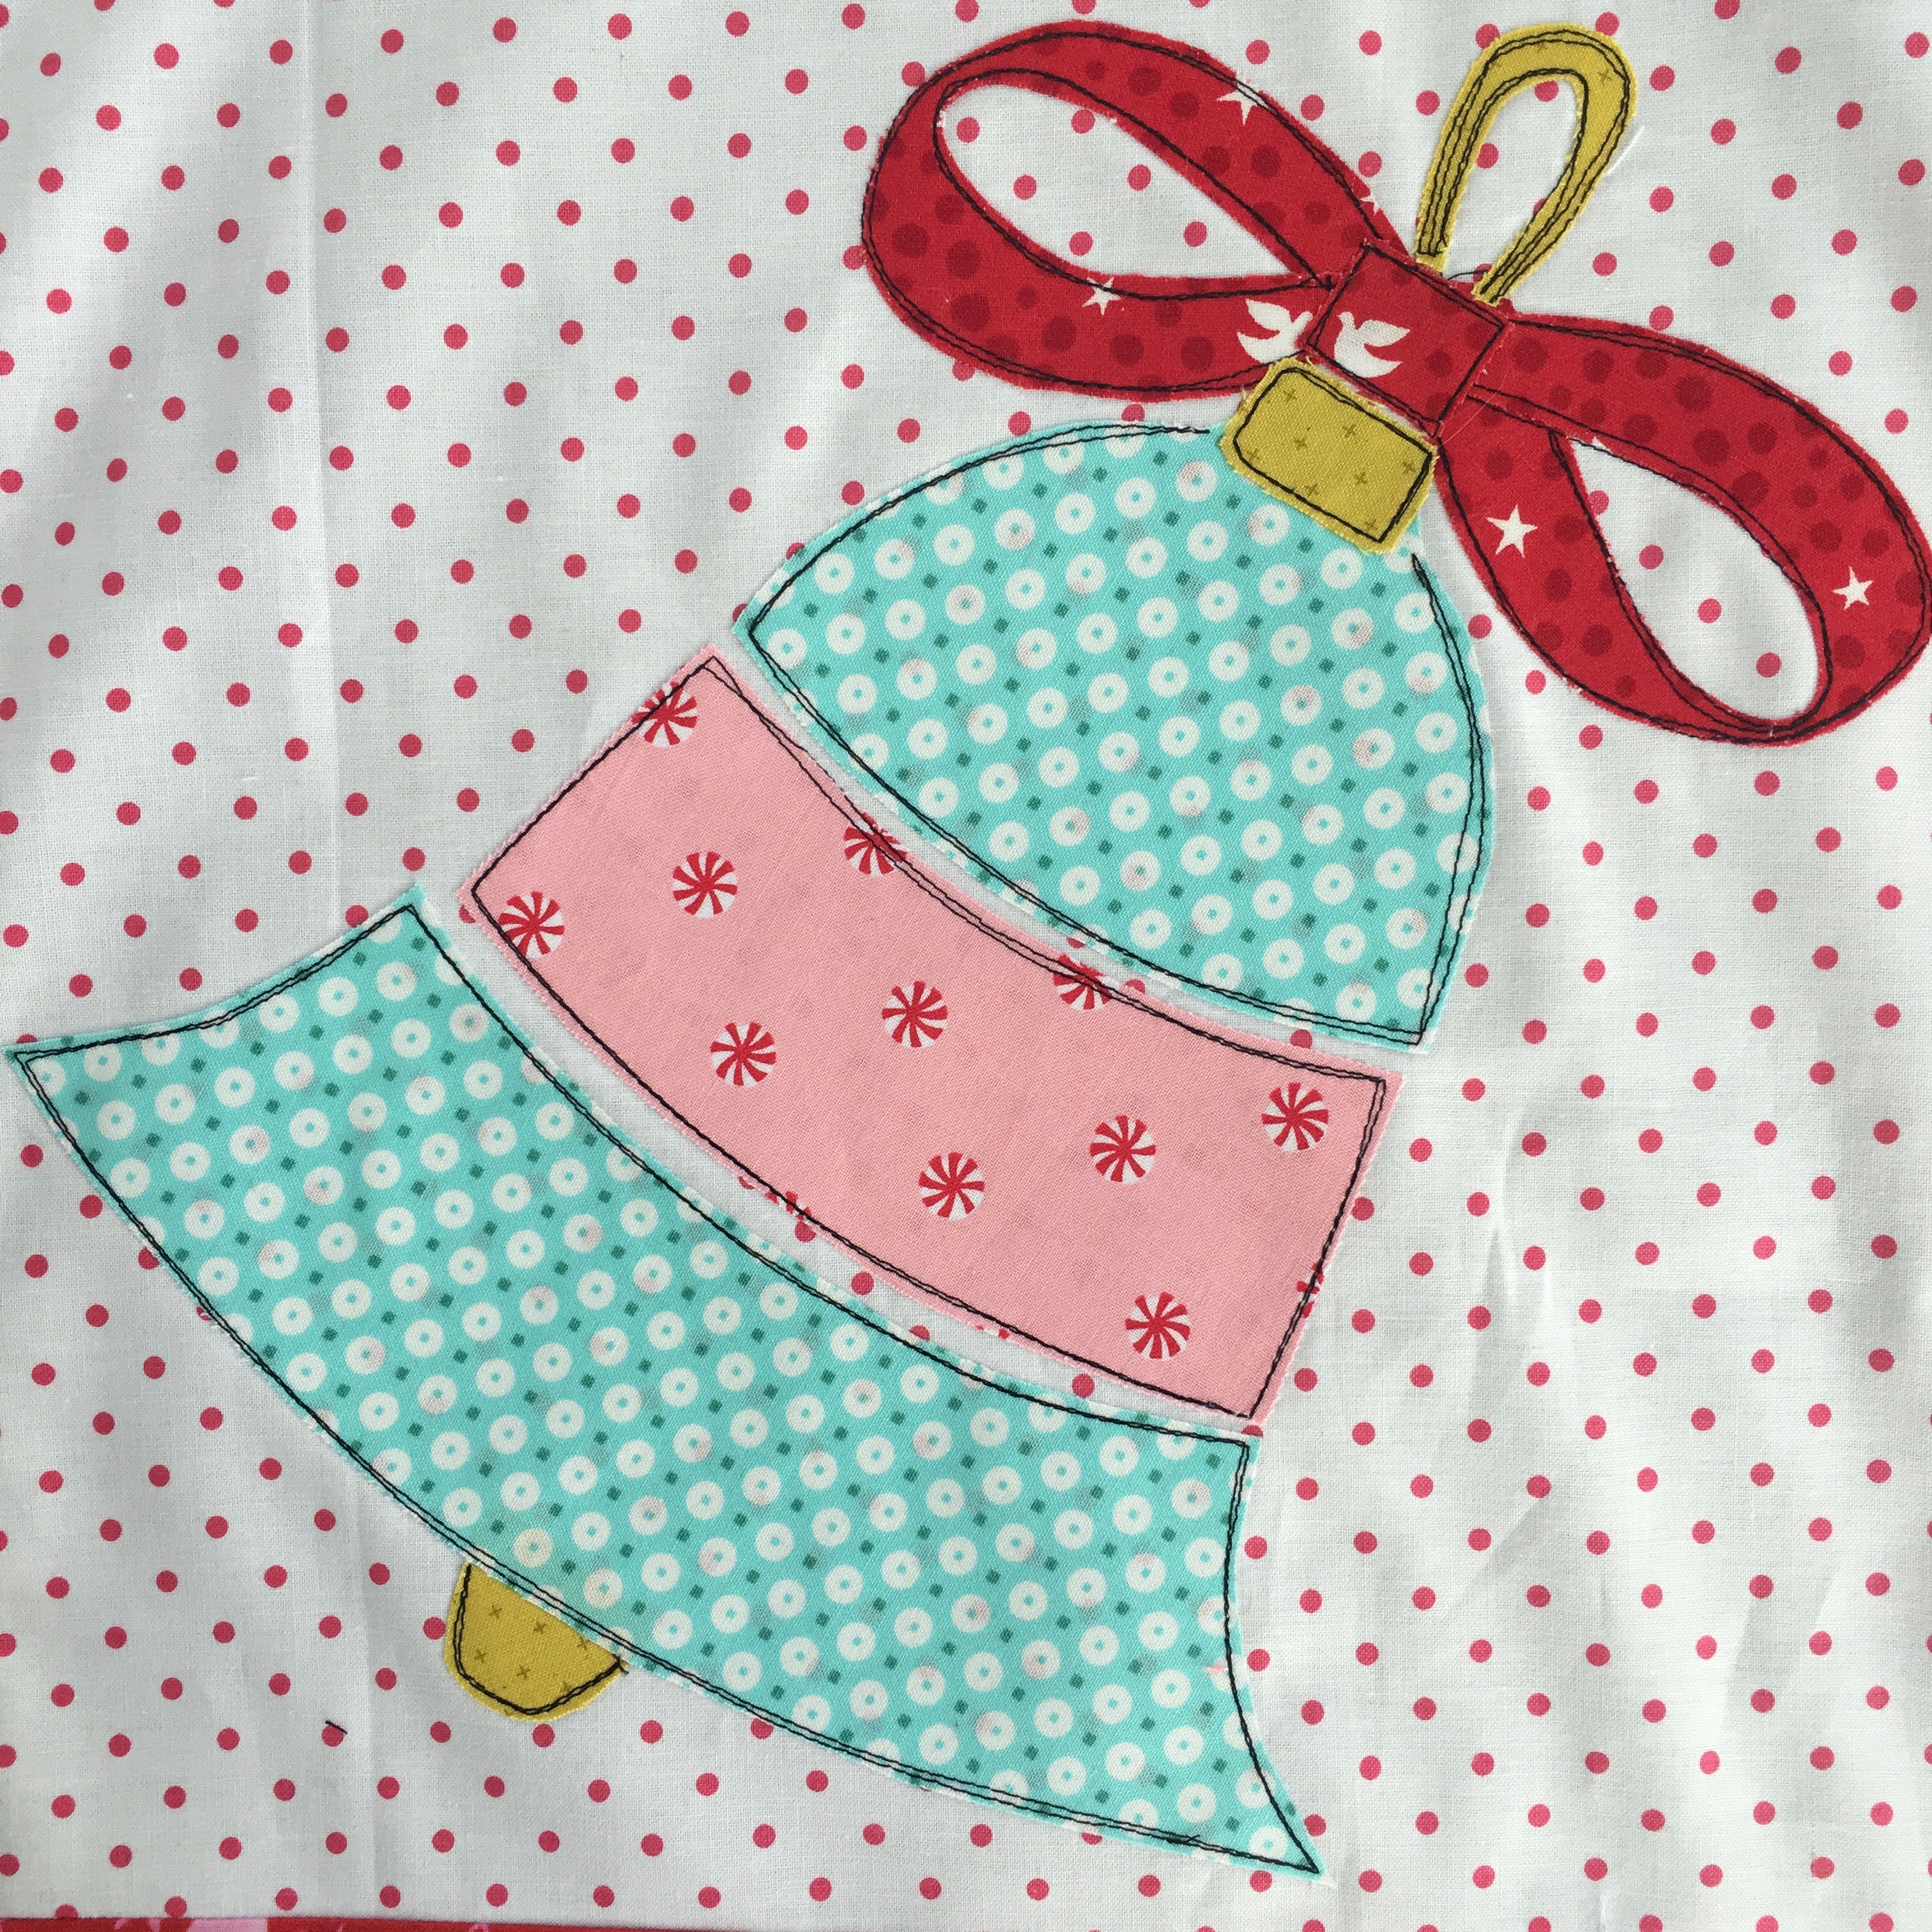
I have this small space in-between the windows in my family room and I’ve always wanted to hang something there. This is perfect!
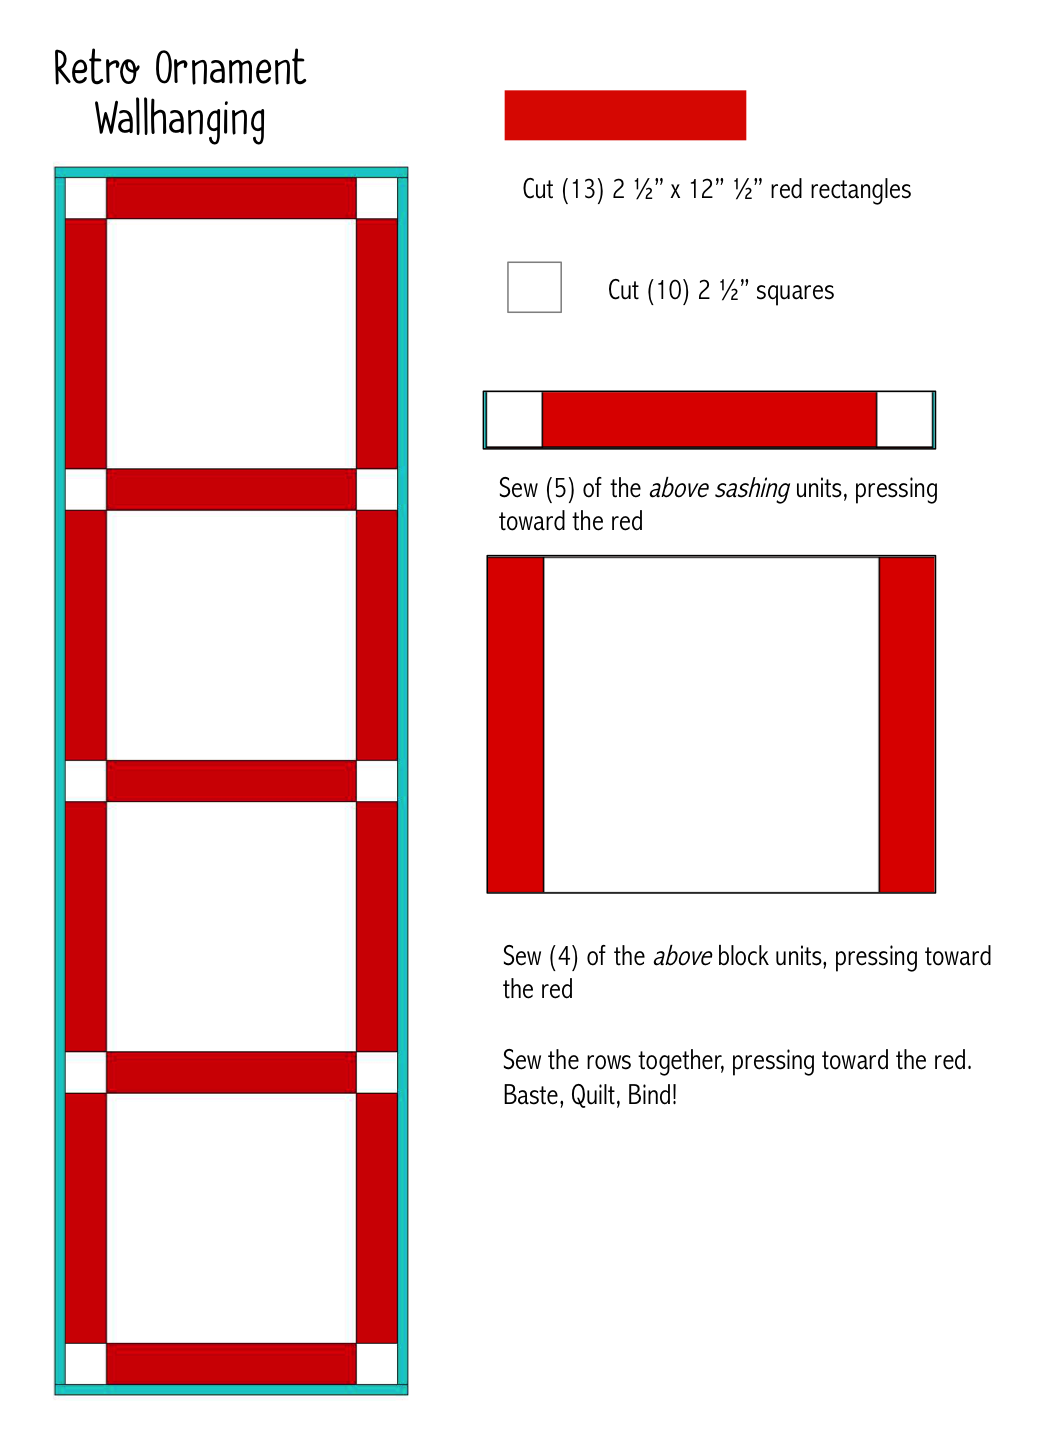
Here’s how you can make your ornament blocks into a wallhanging or table runner.
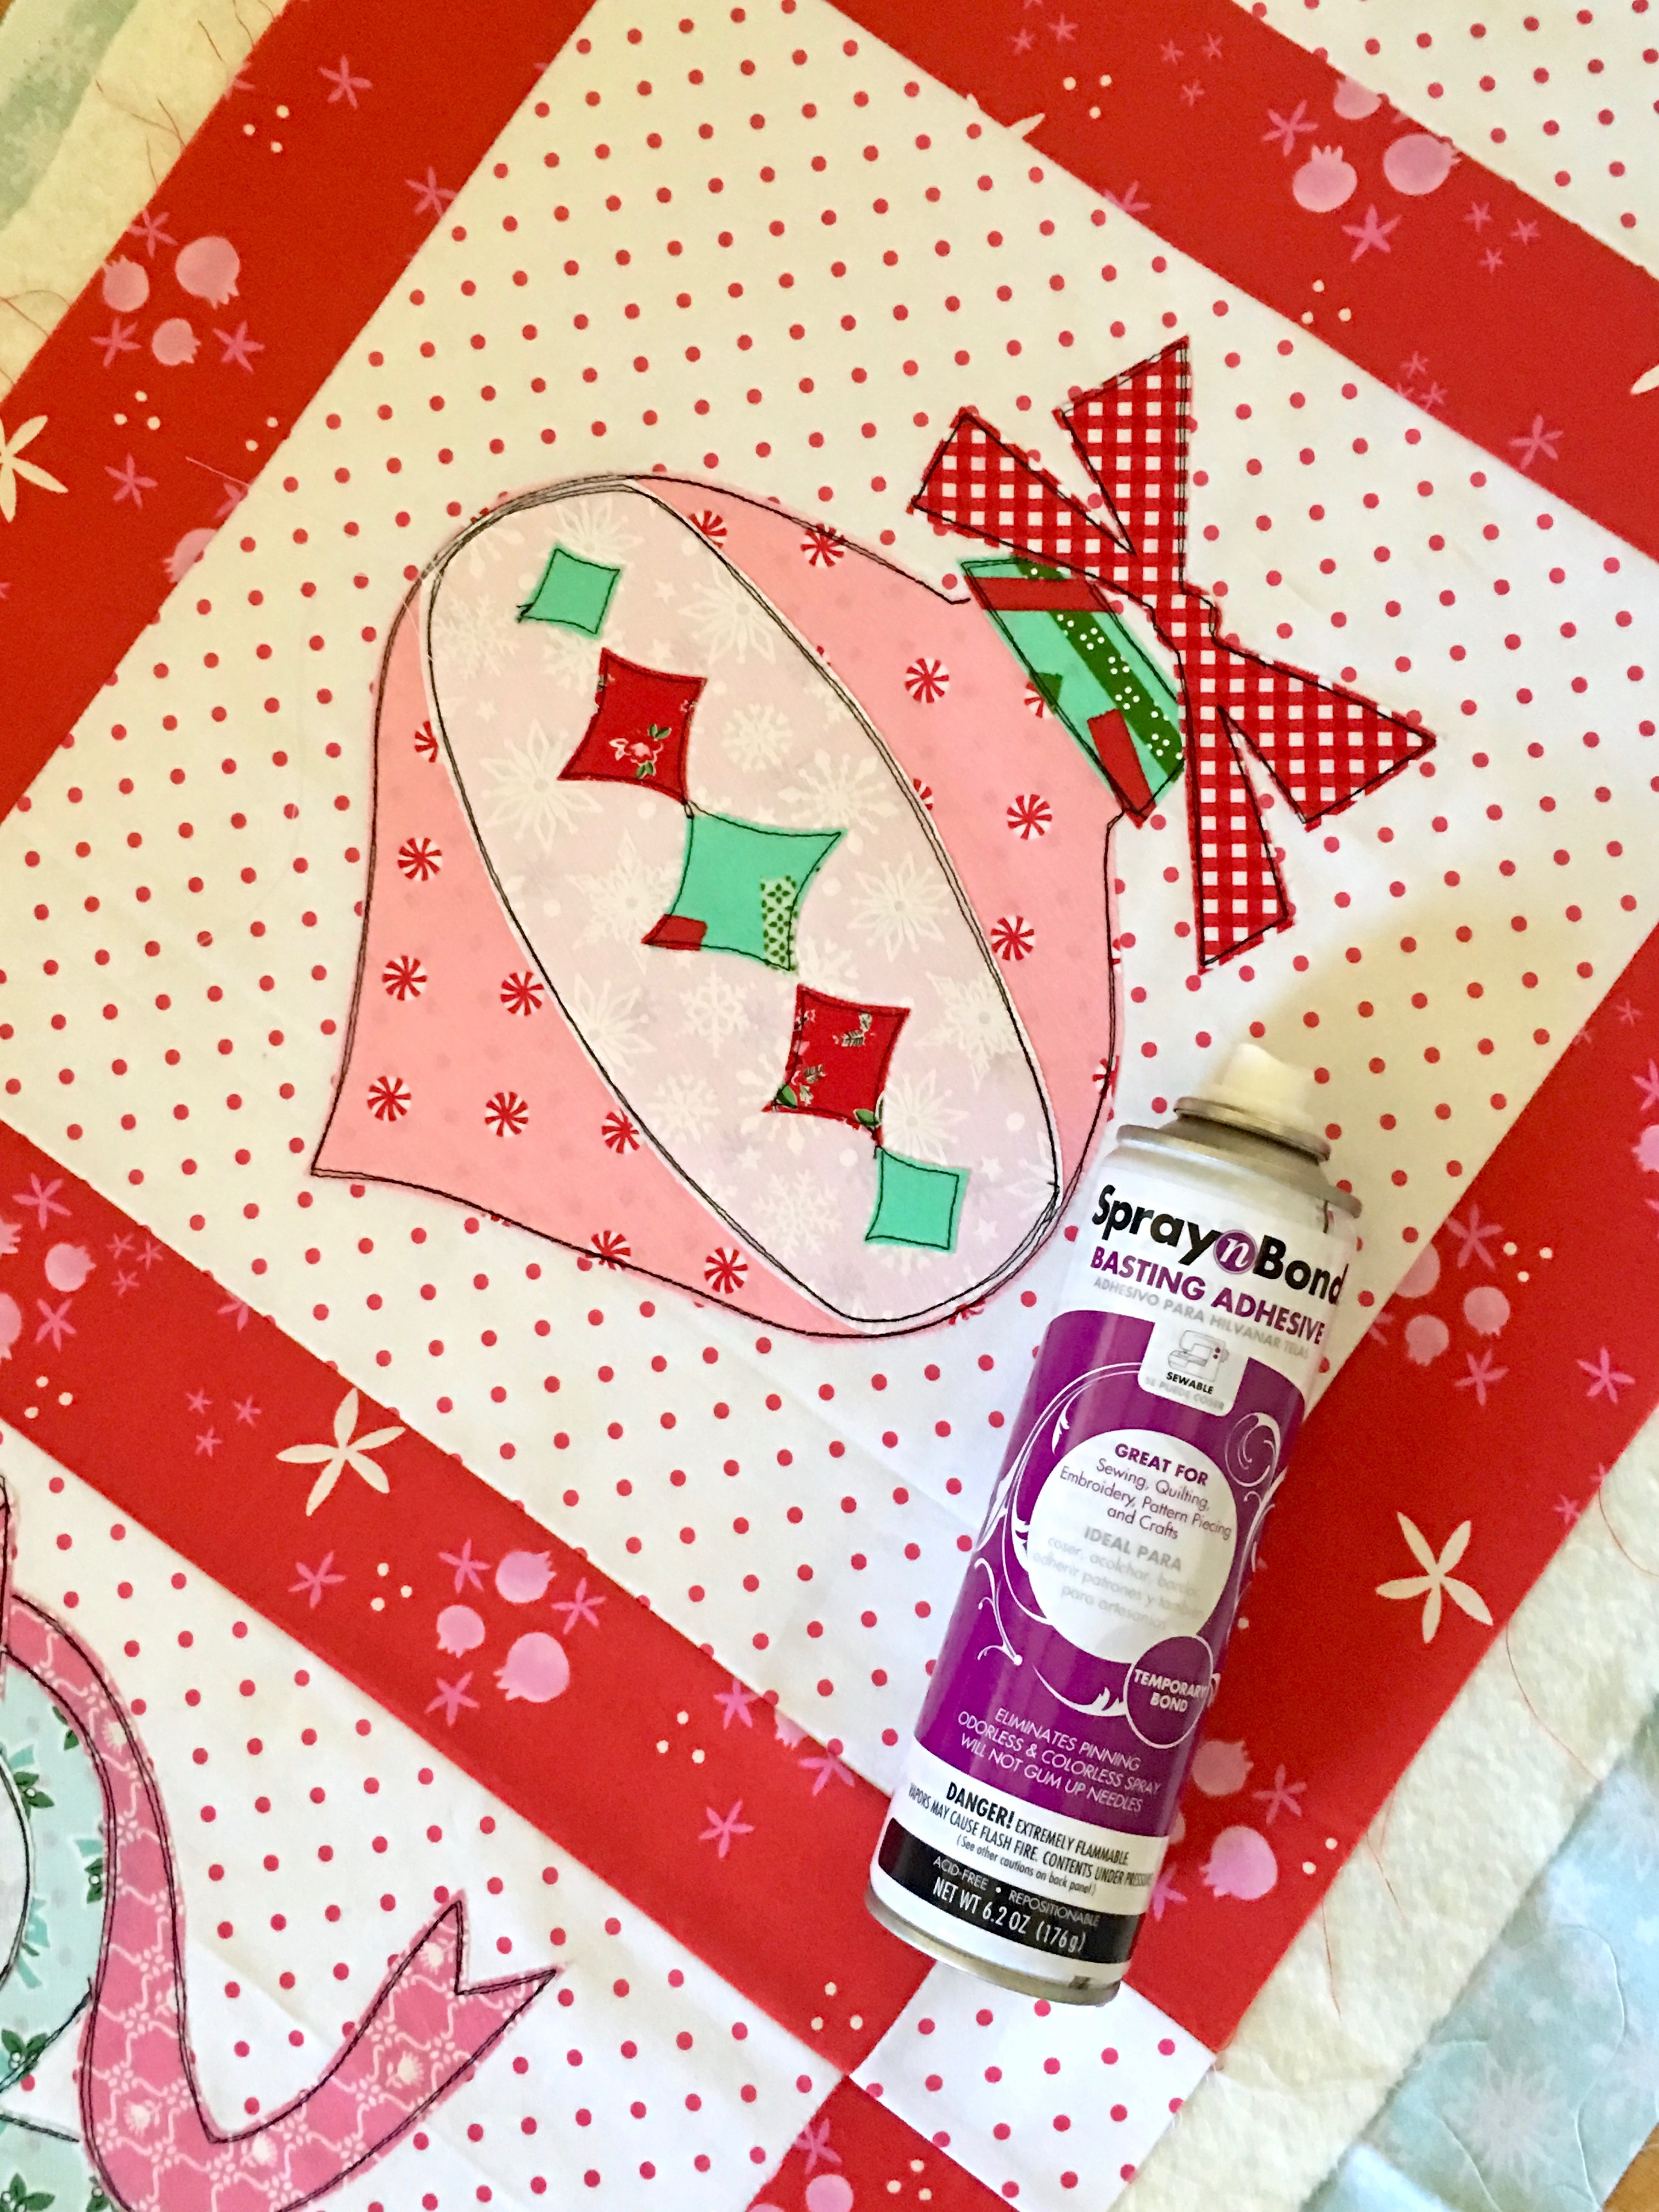
 Once the quilt top is finished, use Spray n Bond for fast and pinning free basting!!!
Seriously I love this so much!!!!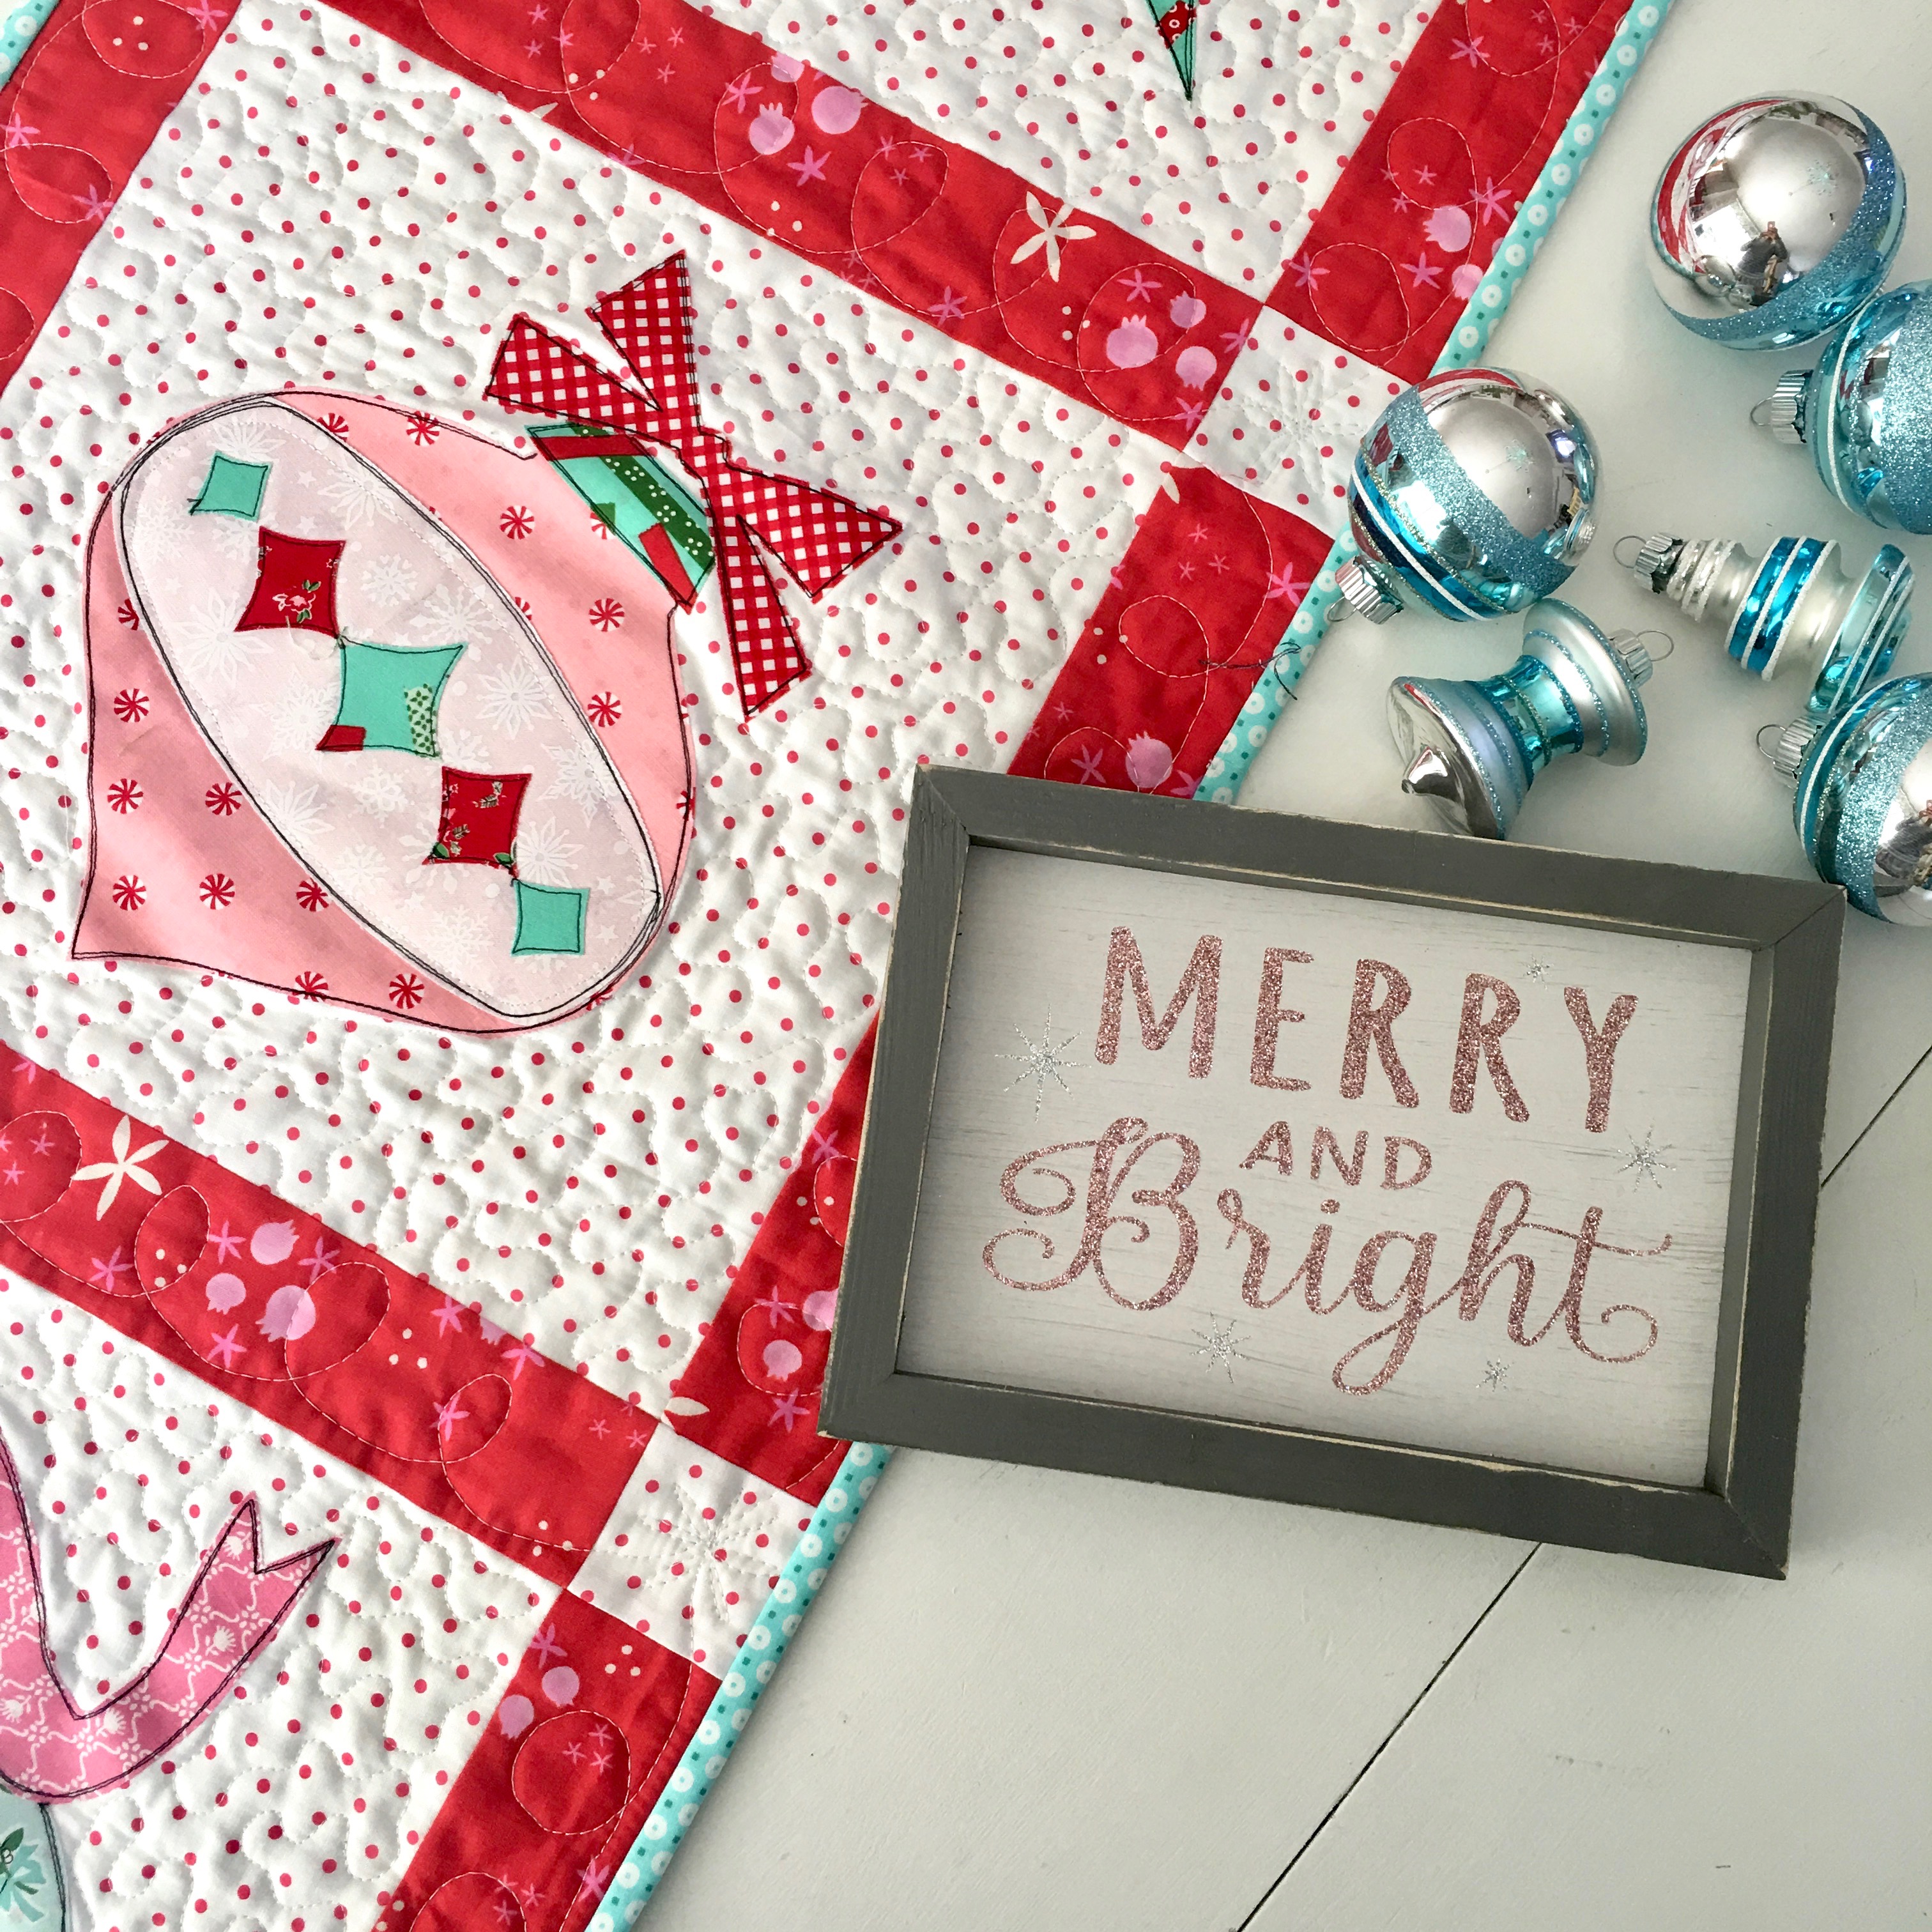
We hope you enjoyed our holiday ornament quilt block series! Big thanks to our talented Designers Carla Henton, Carol Swift, Amy Warner, and Amanda Neiderhauser for the incredible blocks they created as well as the stunning quilt projects!
We want to give YOU a chance to win some of our Designers favorite supplies plus a stack of the Windham Fabrics O Christmas Tree! We’ll include our HeatnBond Basting Spray, HeatnBond EZ Print Sheets, HeatnBond Fusible Fleece and our HeatnBond Lite Fusible Adhesive. Just follow the Rafflecopter entry form to get yourself entered to win some goodies!

Edi
December 9, 2017 at 8:07 am (8 years ago)Love this project. It will be challenging to choose Just one layout for finishing. Thank you.
Kathleen
December 9, 2017 at 12:08 pm (8 years ago)WOW WOW WOW!!!! These projects are beautiful!!! Thank you so much for the patterns and tutorials. I’ve saved all four and look forward to making something just as beautiful.
VickiT
December 9, 2017 at 2:07 pm (8 years ago)Thank you all for such beautiful blocks and amazing projects. It’s hard to choose which I like the most, because each have a different reason for me to love them.
Teatime Creations
December 9, 2017 at 2:40 pm (8 years ago)Love the way these blocks are put together. This is a fun project to work on. Thanks for sharing your creativity.
Joan M Wallrich
December 9, 2017 at 3:24 pm (8 years ago)The quilt blocks are adorable I love the retro theme. All the quilt layouts bring the blocks together and make a perfect holiday project! Now I need to get mine ready to put into a quilt. Thank you.
cathyquiltsblog
December 10, 2017 at 3:52 pm (8 years ago)I’m not a fan of applique, because I haven’t found a method that works best for me other than needle turn, which is time consuming and planned to skip this project altogether. I started to regret my decision as each block came out, lovely all, so in the end, I downloaded each. Thanks to each designer and Thermoweb.
admin
December 10, 2017 at 6:16 pm (8 years ago)We’re so glad you enjoyed the patterns!! Happy Holidays to you!