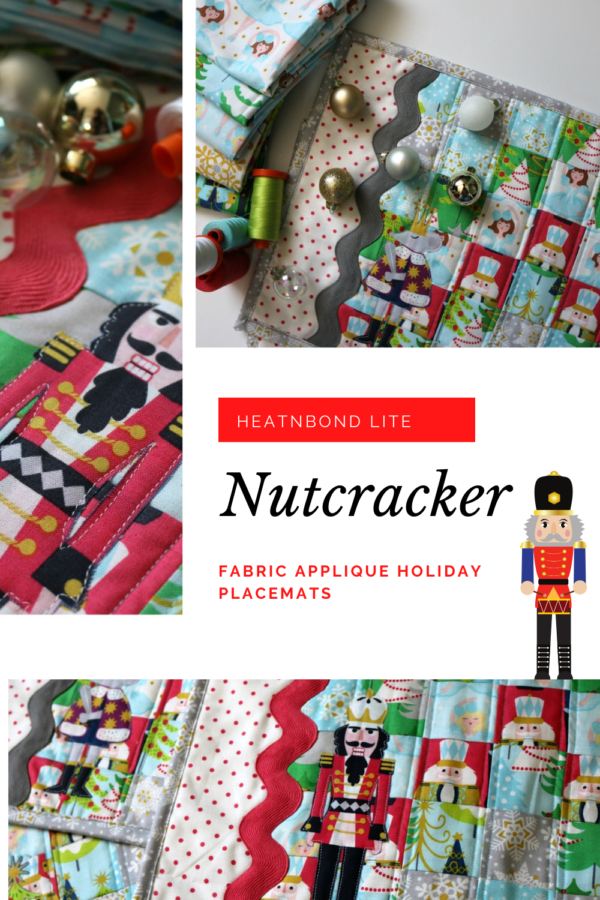
Christmas will be rushing up upon us faster than we know it. Now is the perfect time to make something for your décor or a special little something for someone you know. Making Christmas placemats can be an easy task when you have beautiful fabrics with larger fun prints.
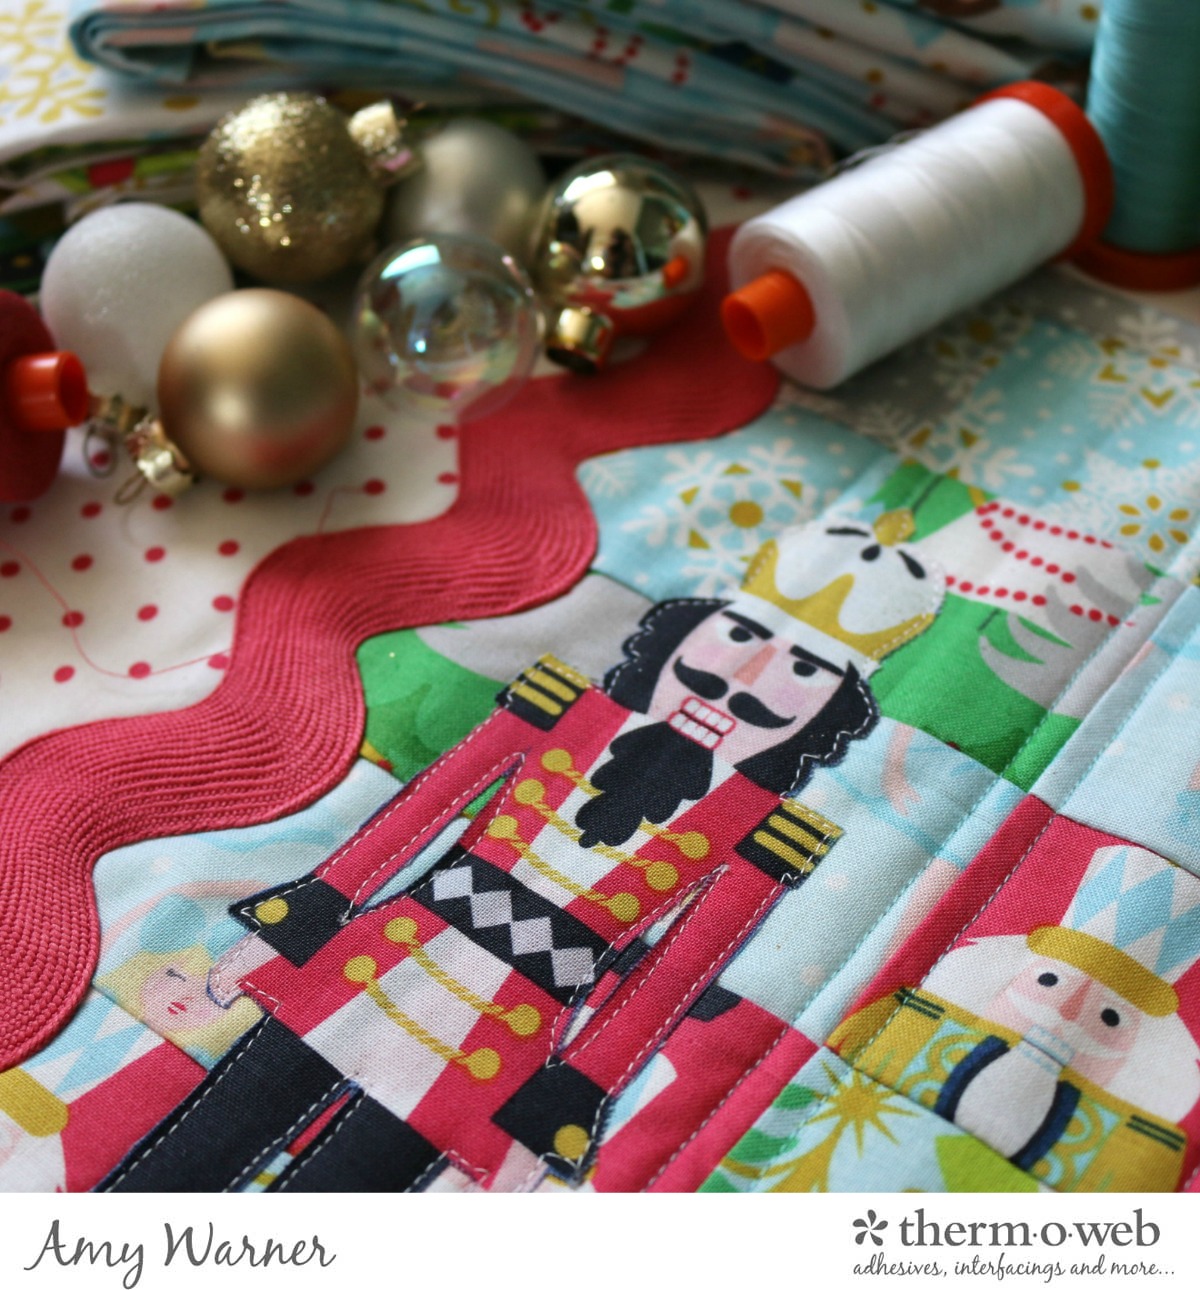
Christmas Nutcracker Placemats with Blend Fabrics
To make your own set of placemats you will need:
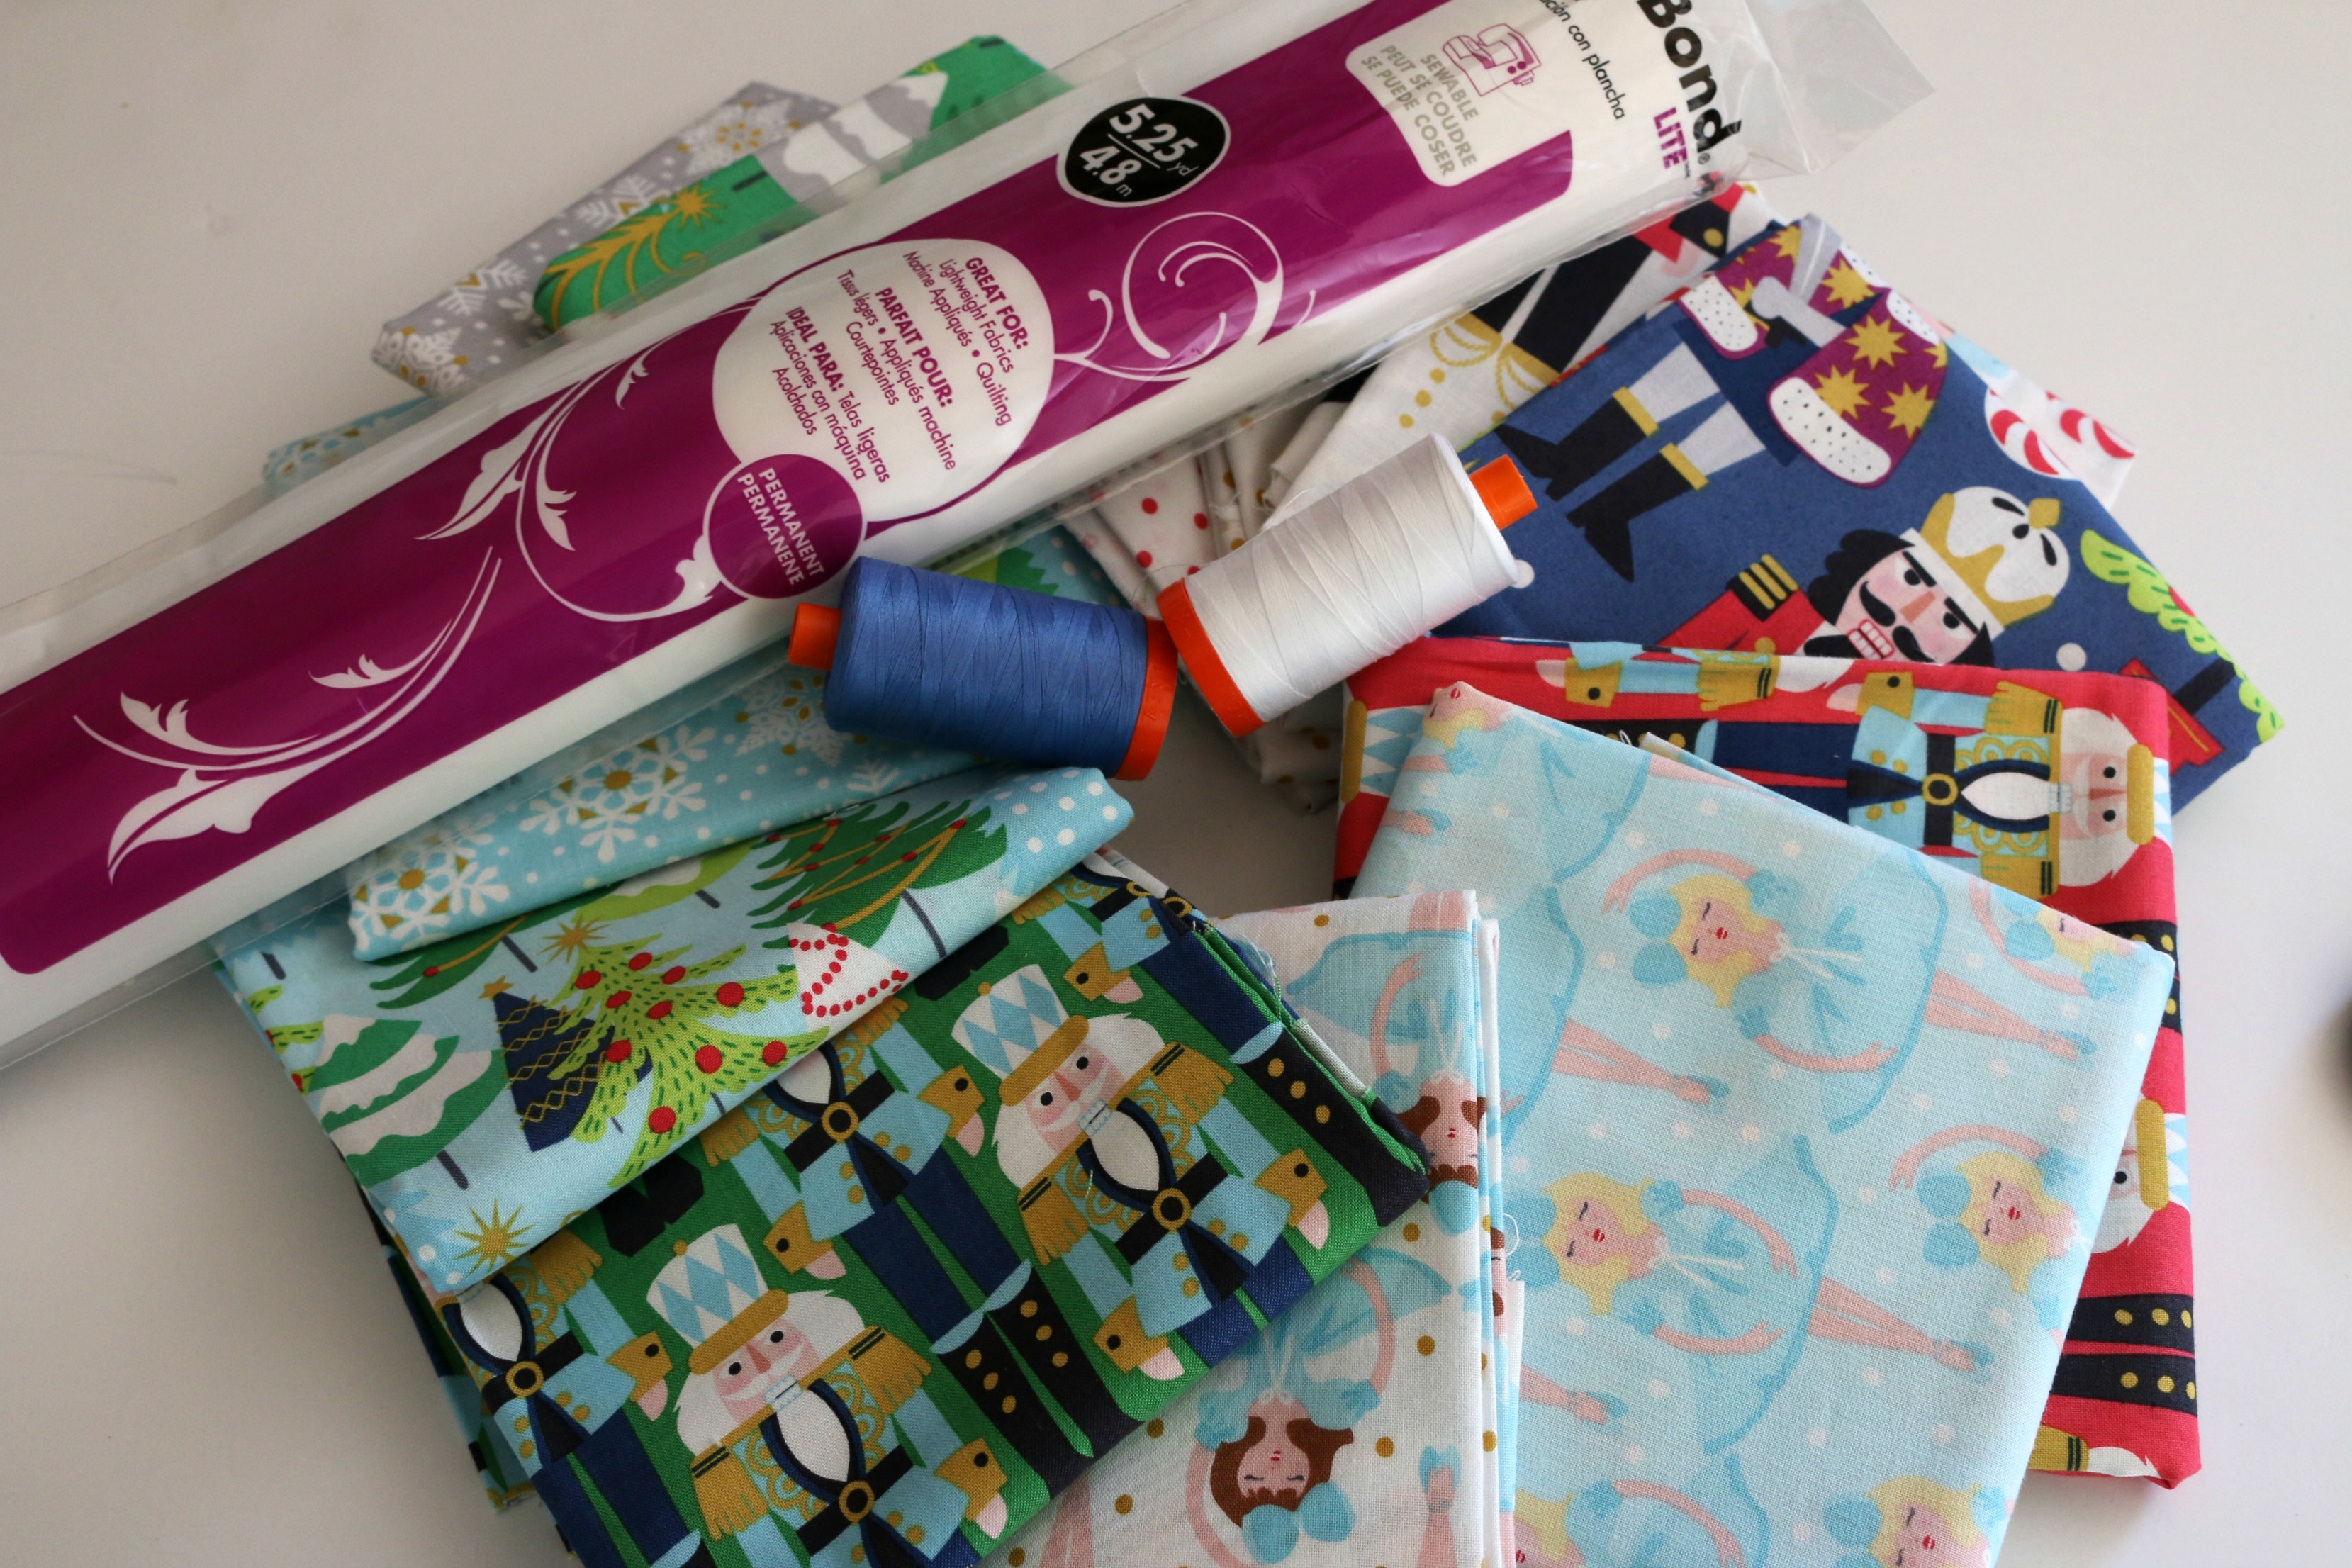
Christmas Blend Placemat Supplies:
HeatnBond® Lite Fusible Adhesive
A variety of Christmas fabrics – This line is Snowflake Waltz by Blend (You will need a print that has a fun character to fuse to your placemats)
Aurifil Threads: #2024, #5006, #2440, #2606 & #1231
Oliso Pro Iron
1 1/2 yards of 1 1/2″ RicRac of one color or 12 1/2″ of four different colors (optional)
SpraynBond® Basting Adhesive (with use of ricrac)
Christmas Placemat Instructions:
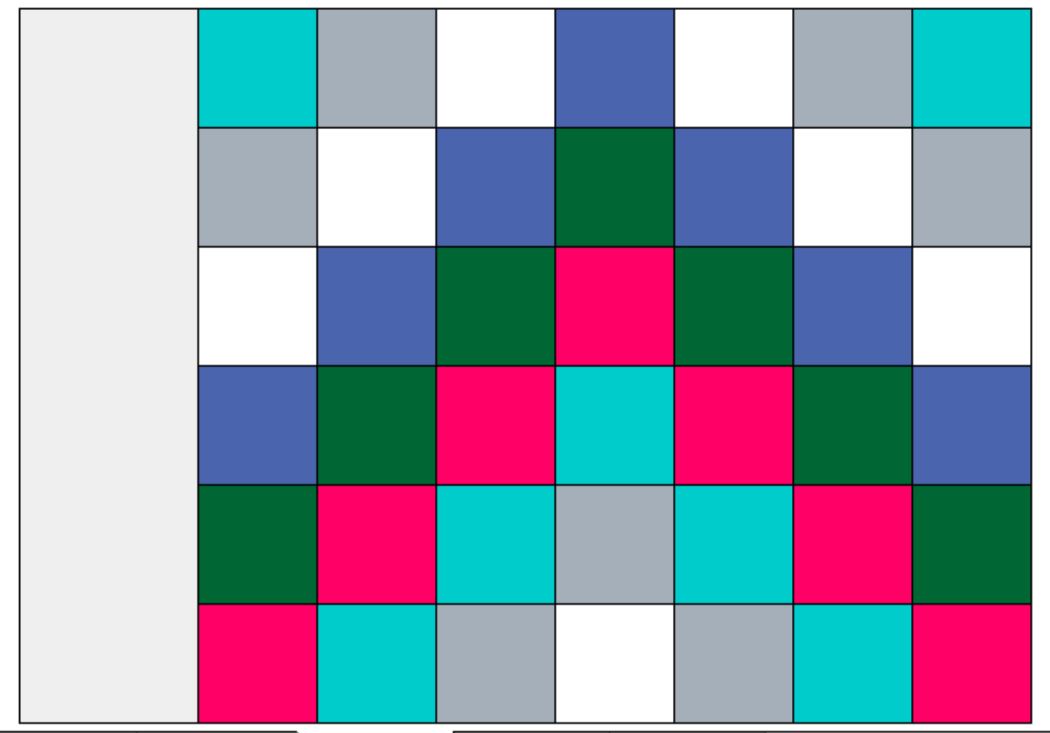
You will need 42 – 2 1/2″ squares for each placemat. The layout is above. Each of the Nutcracker and the dancer pieces was fussy cut, so you can only see their cute little faces. It might be a bit odd-looking to have legs dangling with no head. After completing the piecing of the 2 1/2″ squares, sew a 3 1/2″ x 12 1/2″ piece of fabric to the left-hand side. Press. After you complete the pieced placemat, quilt them. These were quilted using Aurifil color #5006.
Next, comes the fun part. With your large print, take a piece of HeatnBond® Lite Fusible Adhesive, and iron it to the wrong side of the fabric.
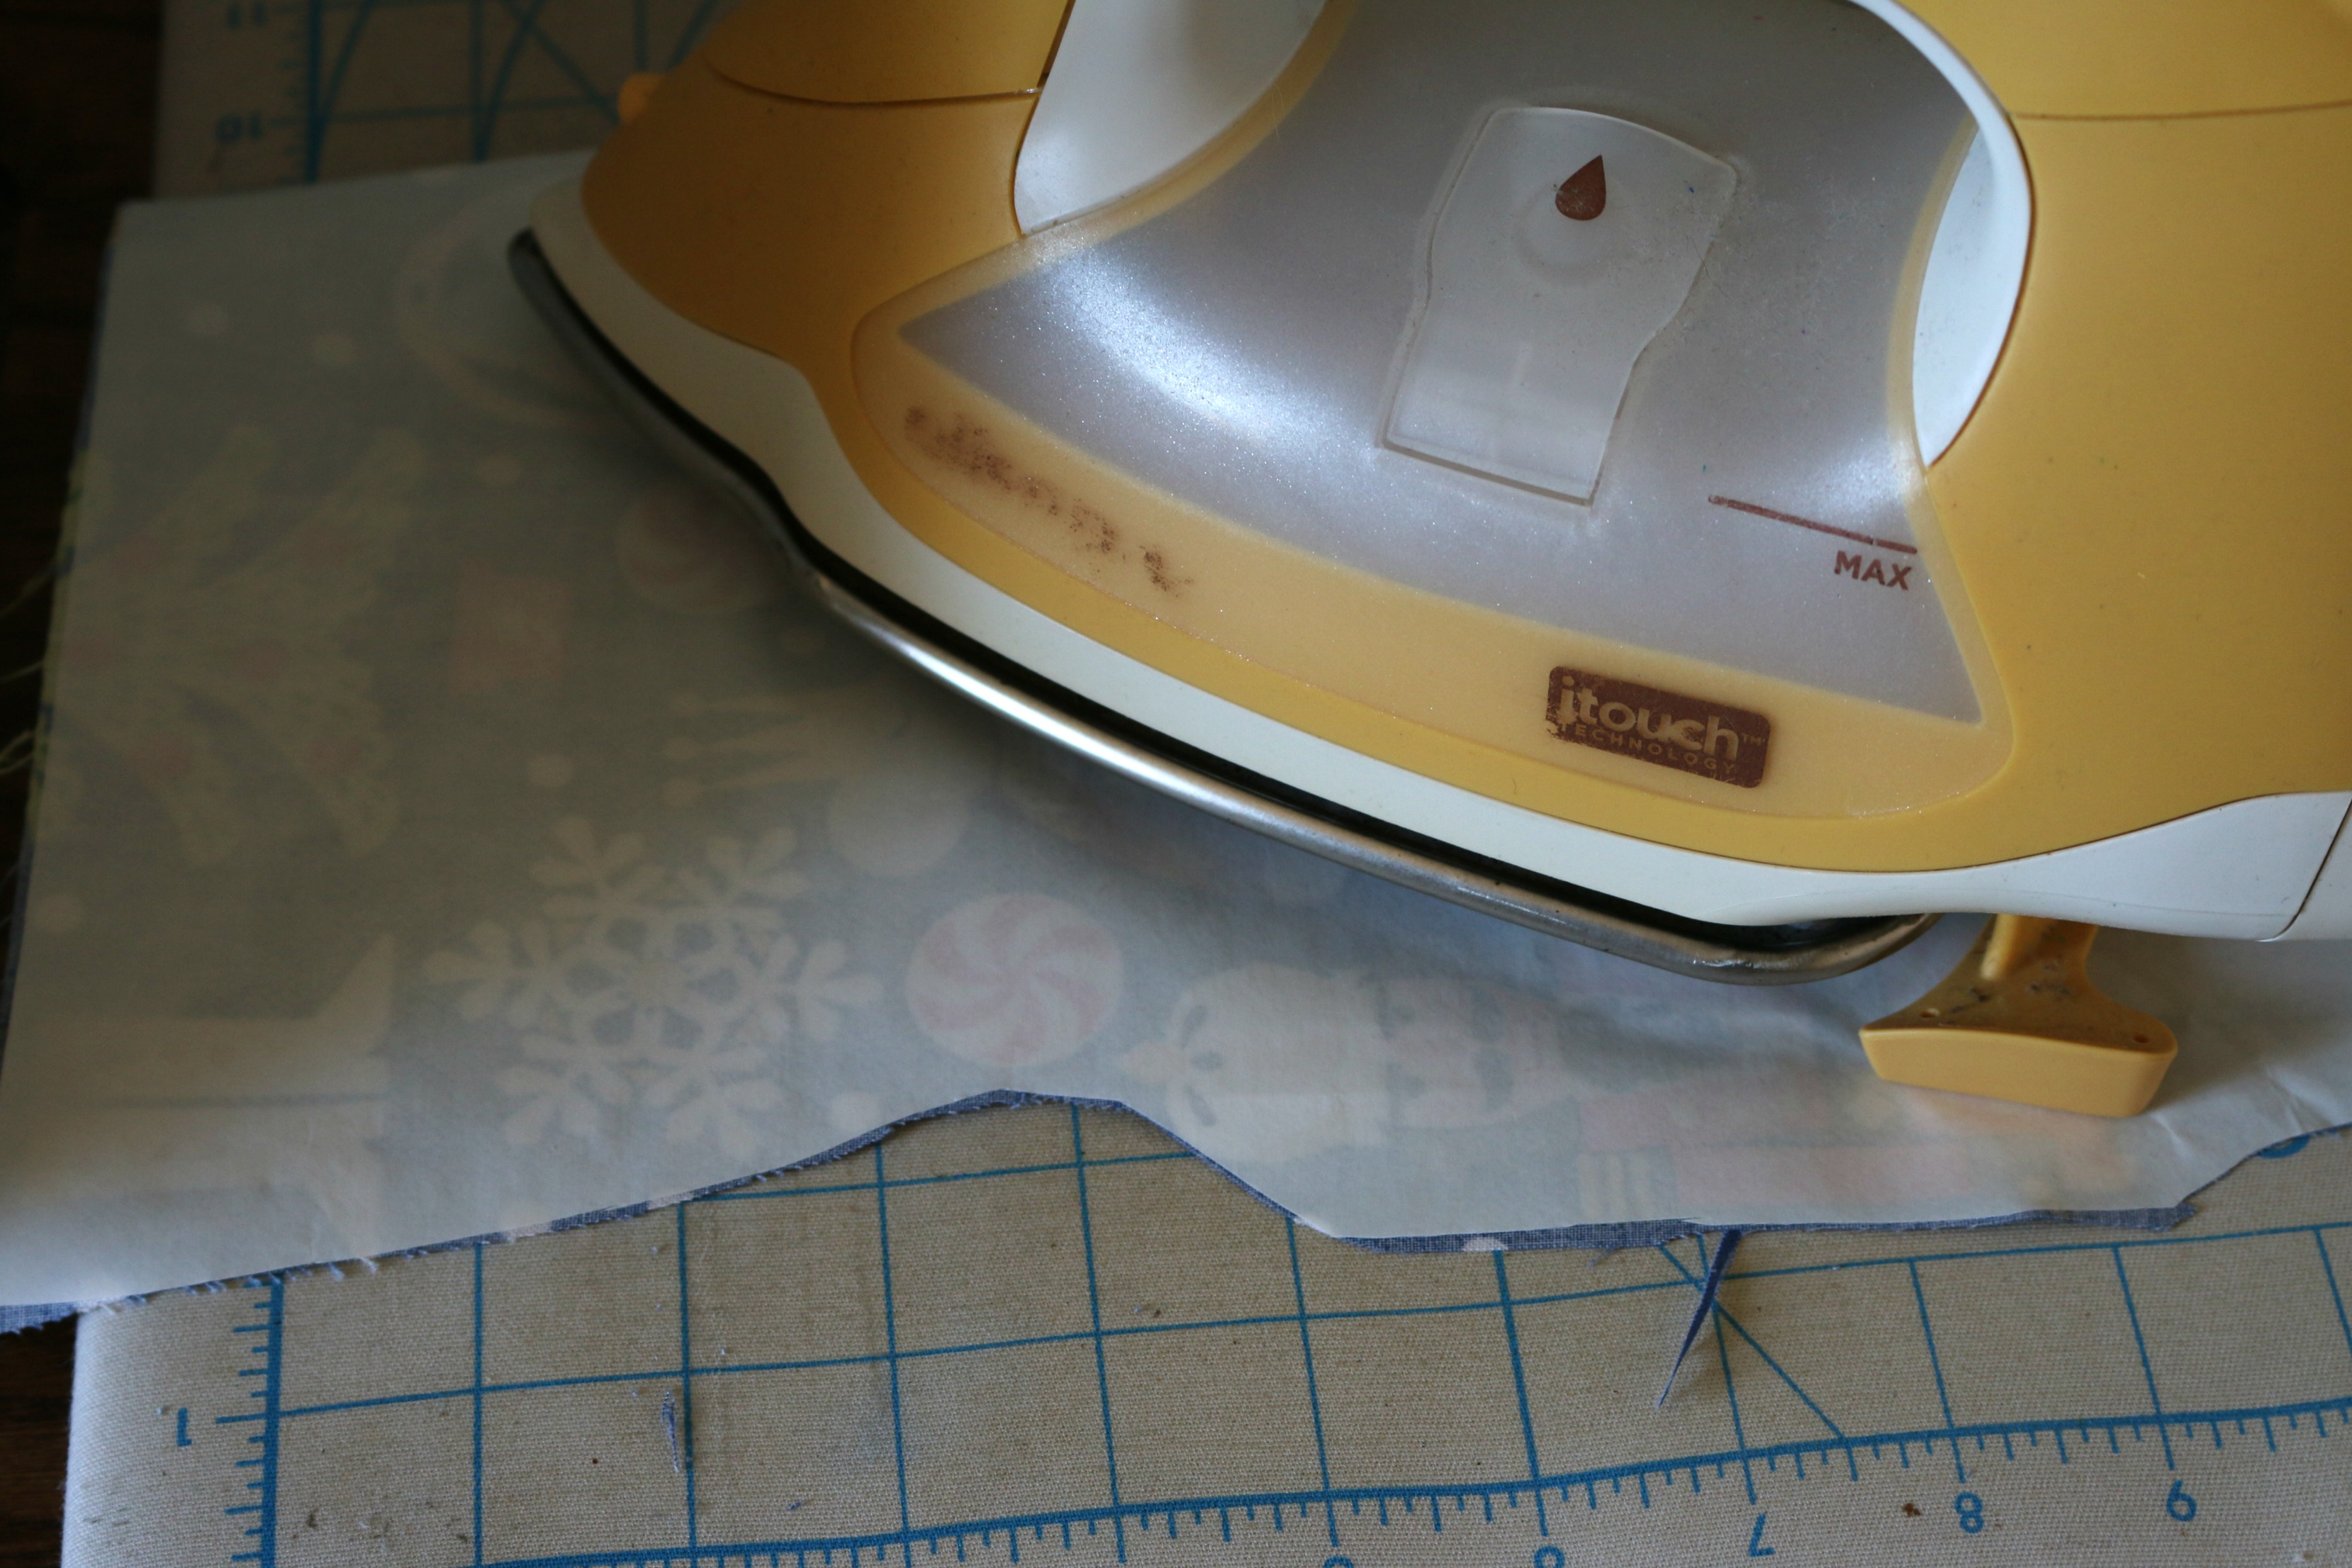
Cut around each of the shapes you desire to adorn your placemat. Iron in place,
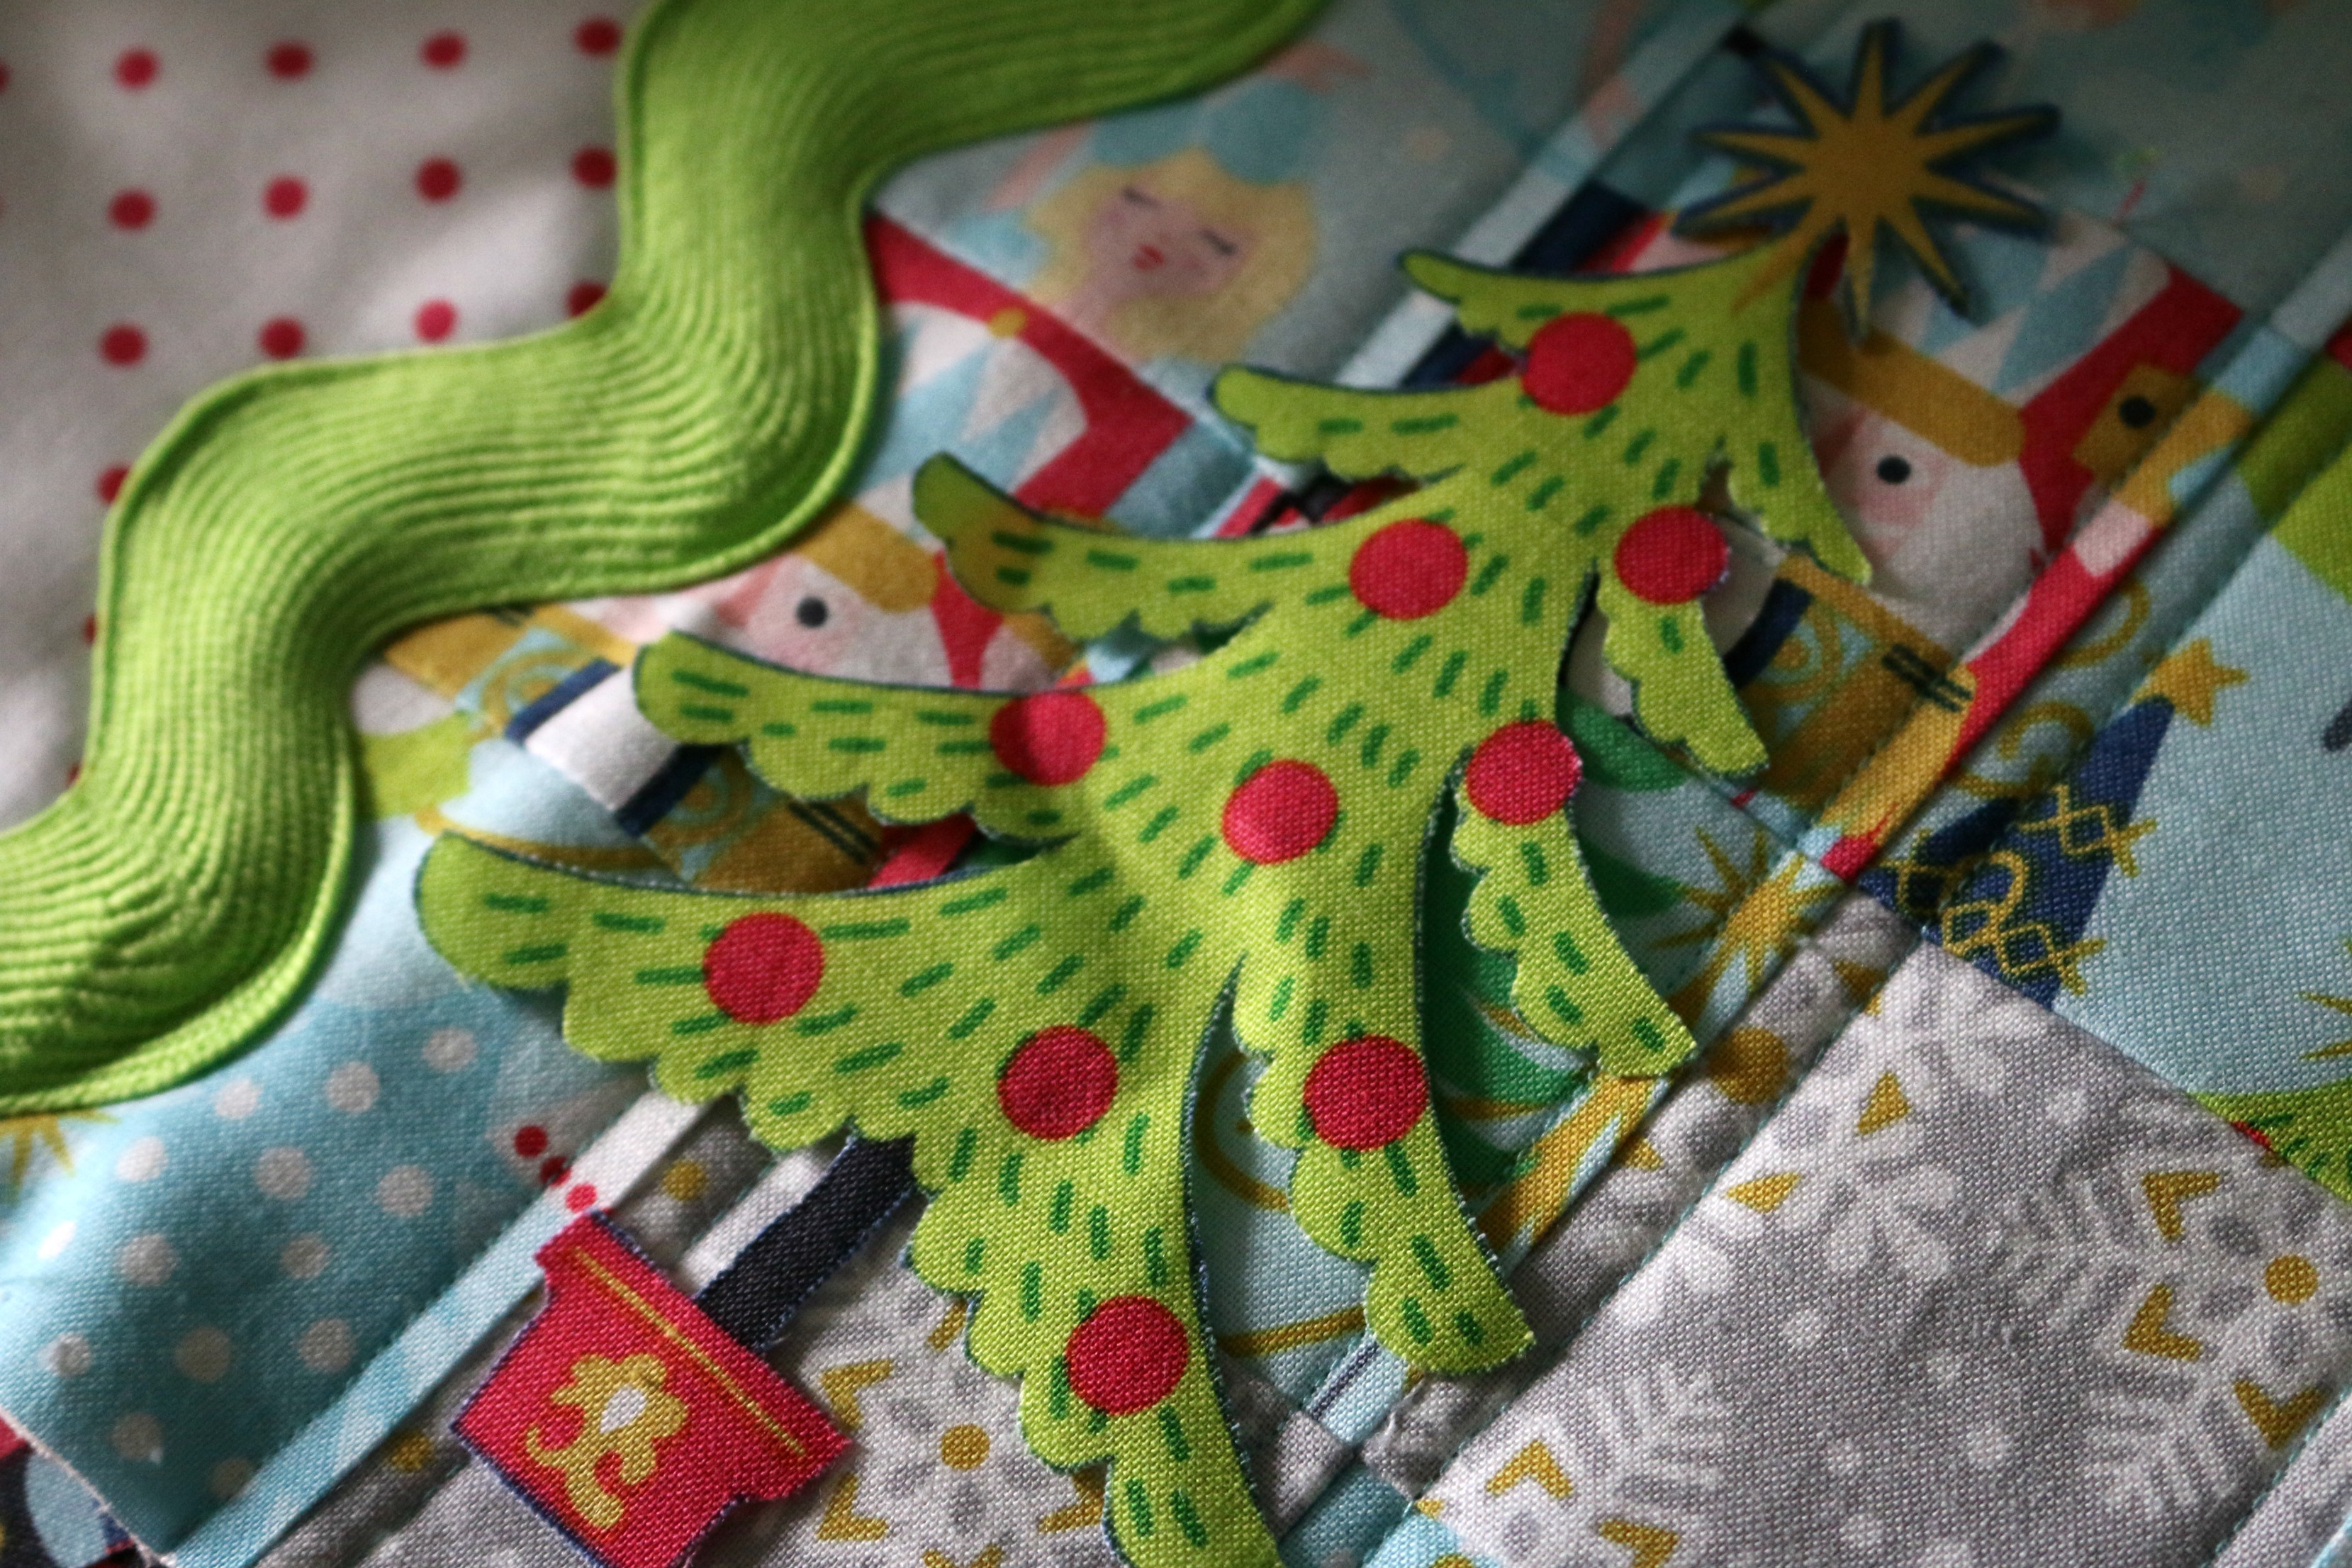
These each has a different character on them: a tree, mouse, dancer, and the Nutcracker. Sew down around each of the shapes that you have ironed to your mat. These were completed by using the colors Aurifil White #2024. You could also applique around them using a coordinating thread color.
To add a little special touch, you can add a giant ricrac to the seam between your squares and the rectangle to the left. Sometimes, pins can be a pain to use and some sewing machines do not appreciate them so much. A quick and easy way to place your embellishment onto your mat without slipping is to use SpraynBond® Basting Adhesive.
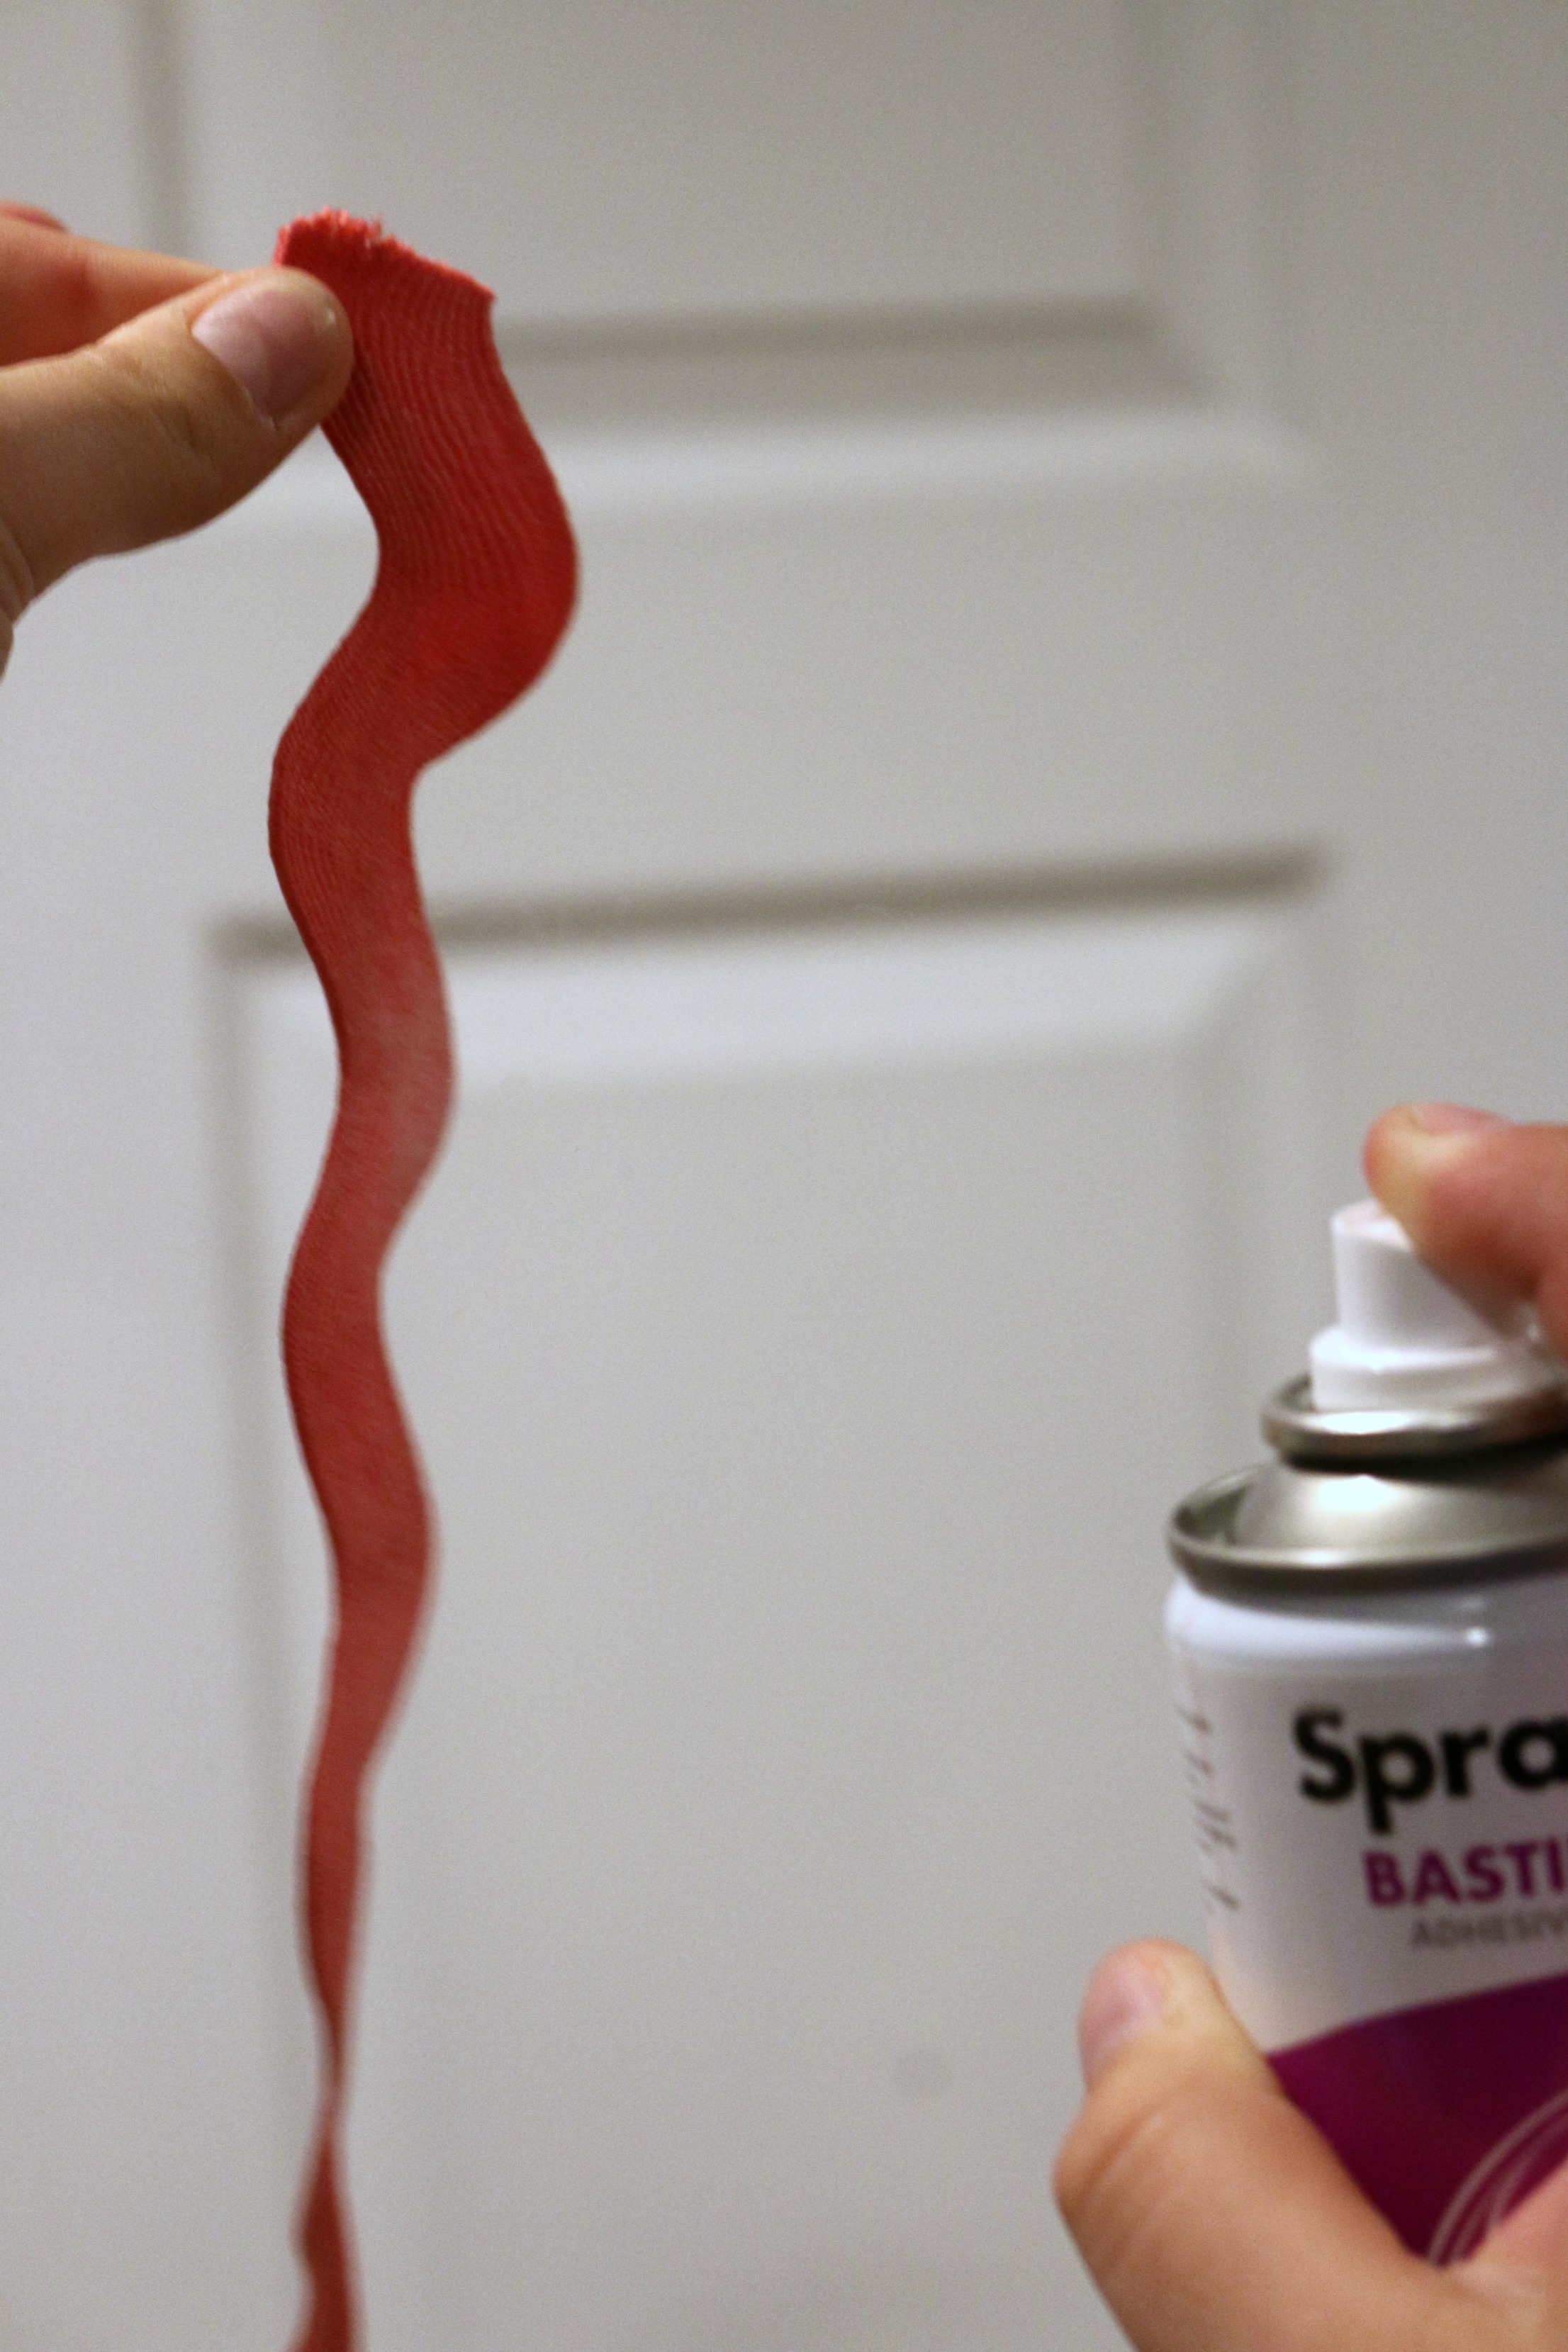
Lightly spray one side of your ricrac from top to bottom.
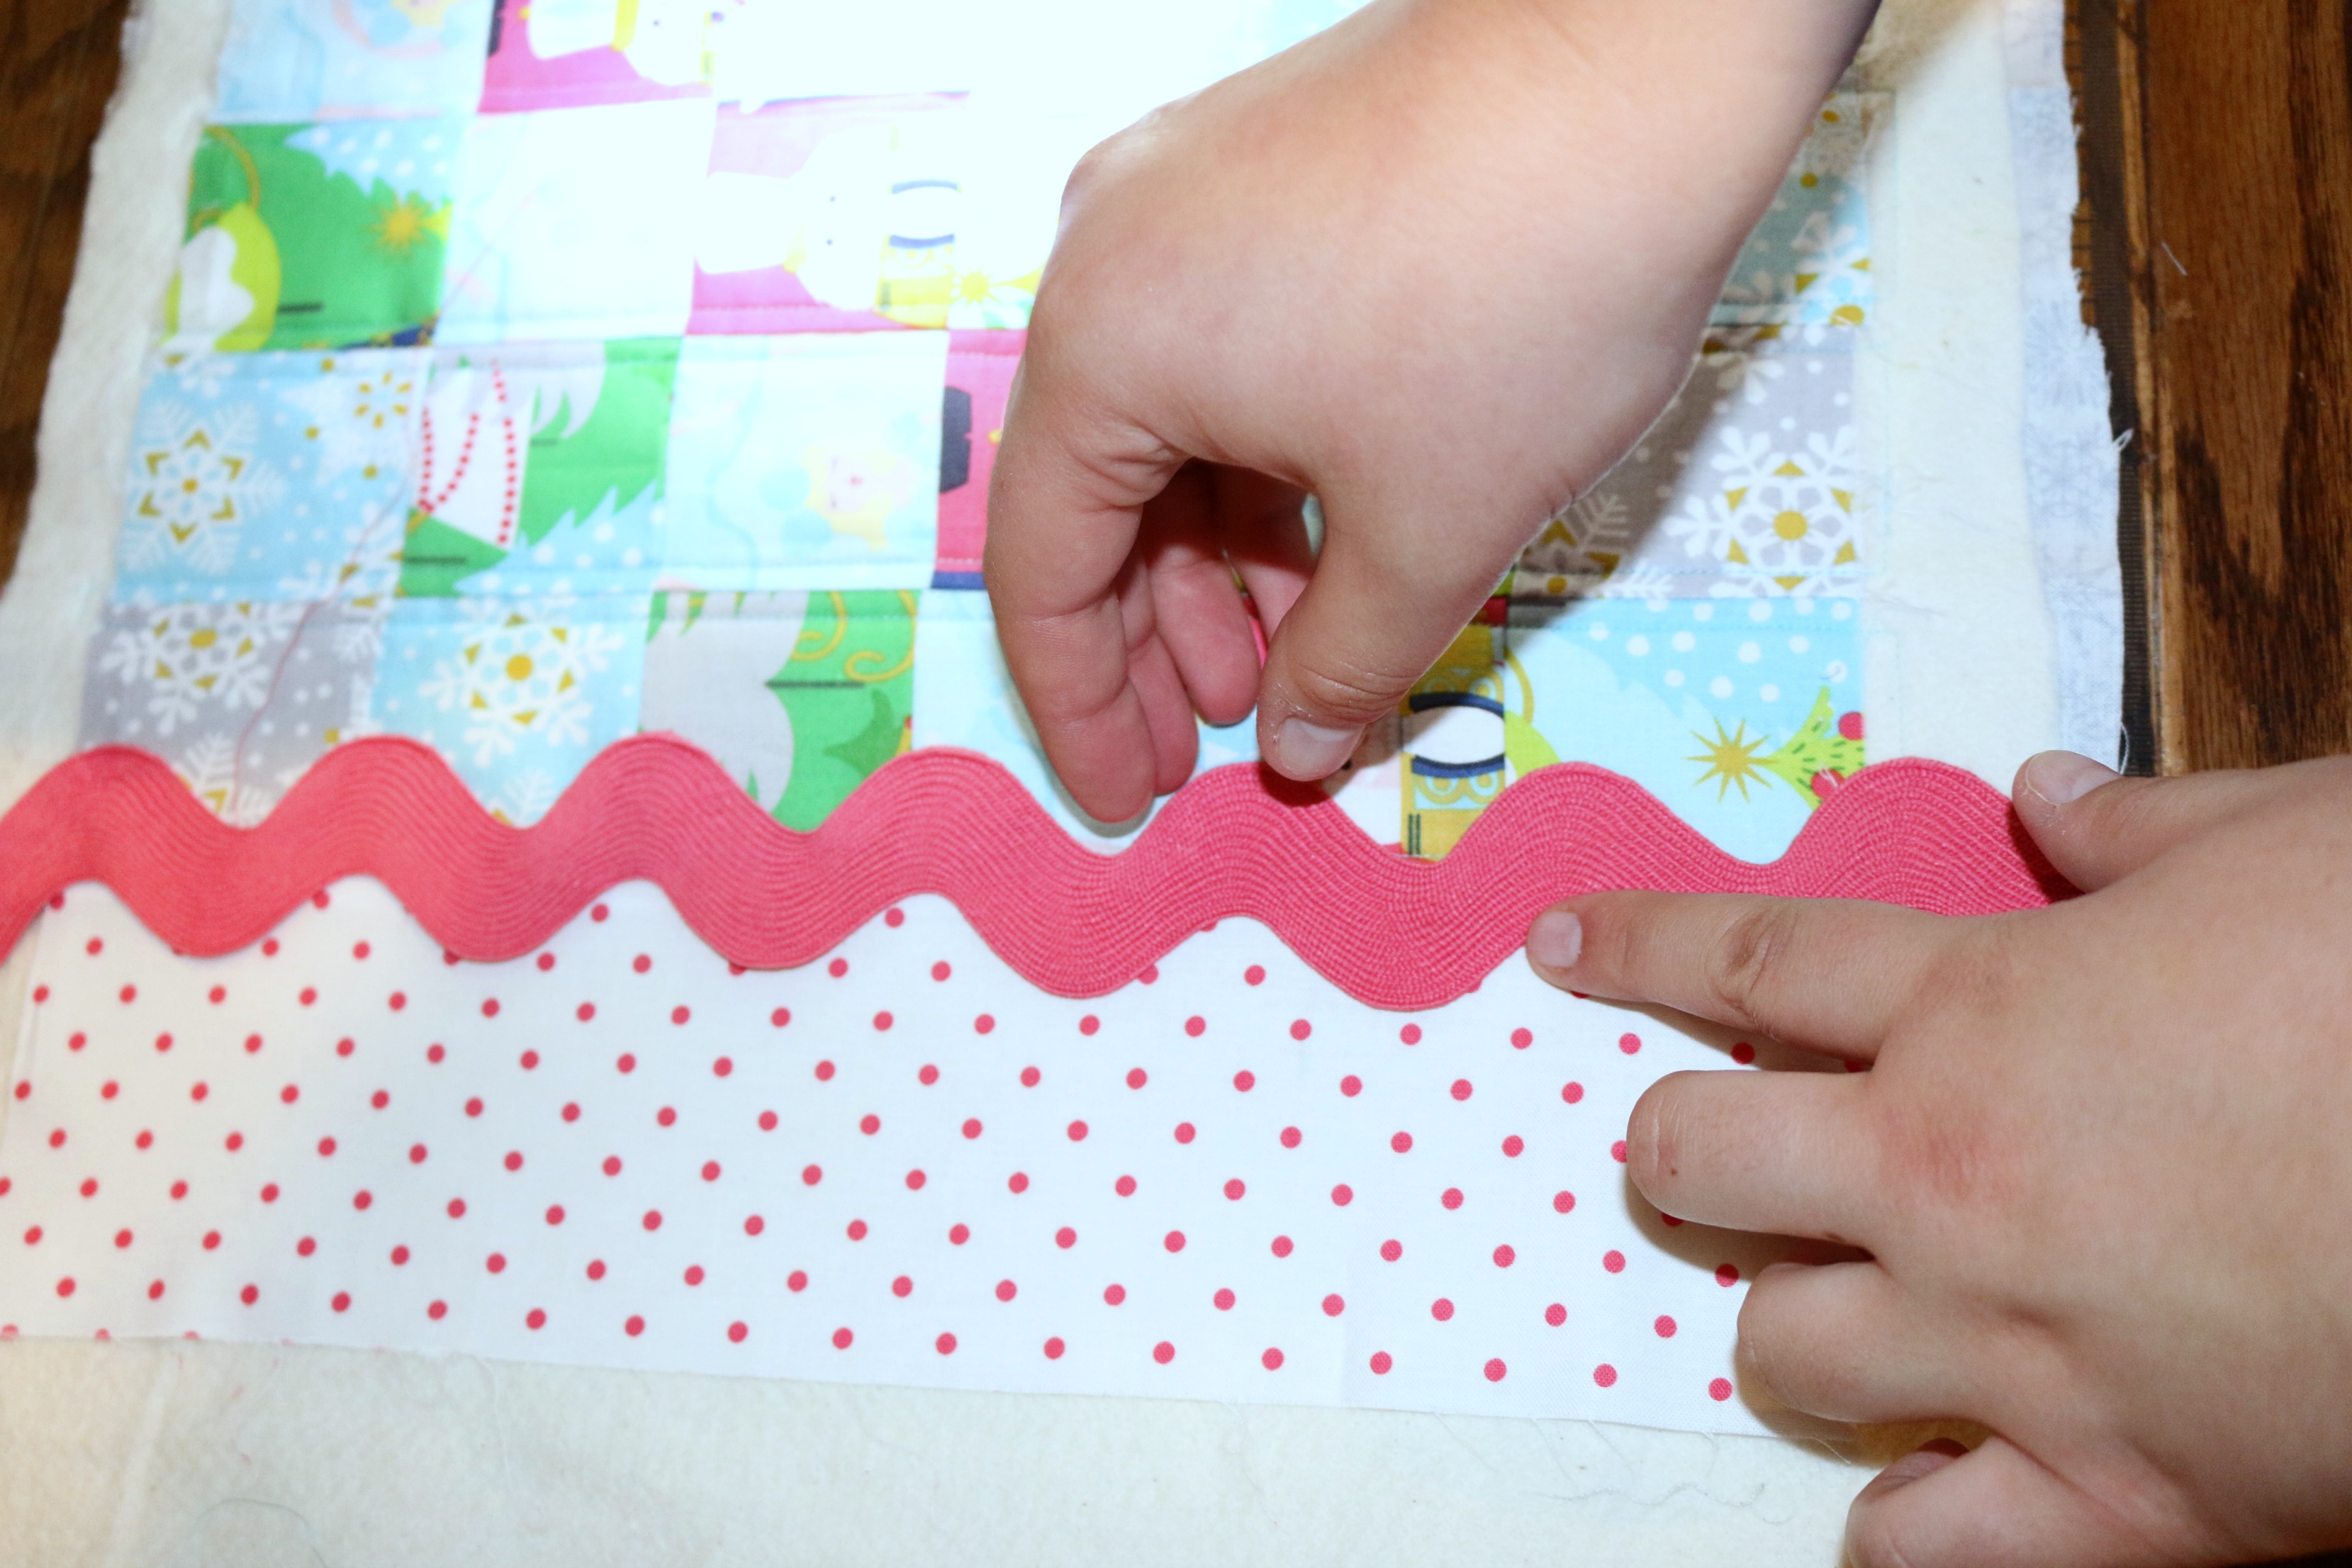
Put in place and stitch it down. It makes it a lot simpler than removing pins or worrying about it moving out of place. After completing this step, trim and bind.
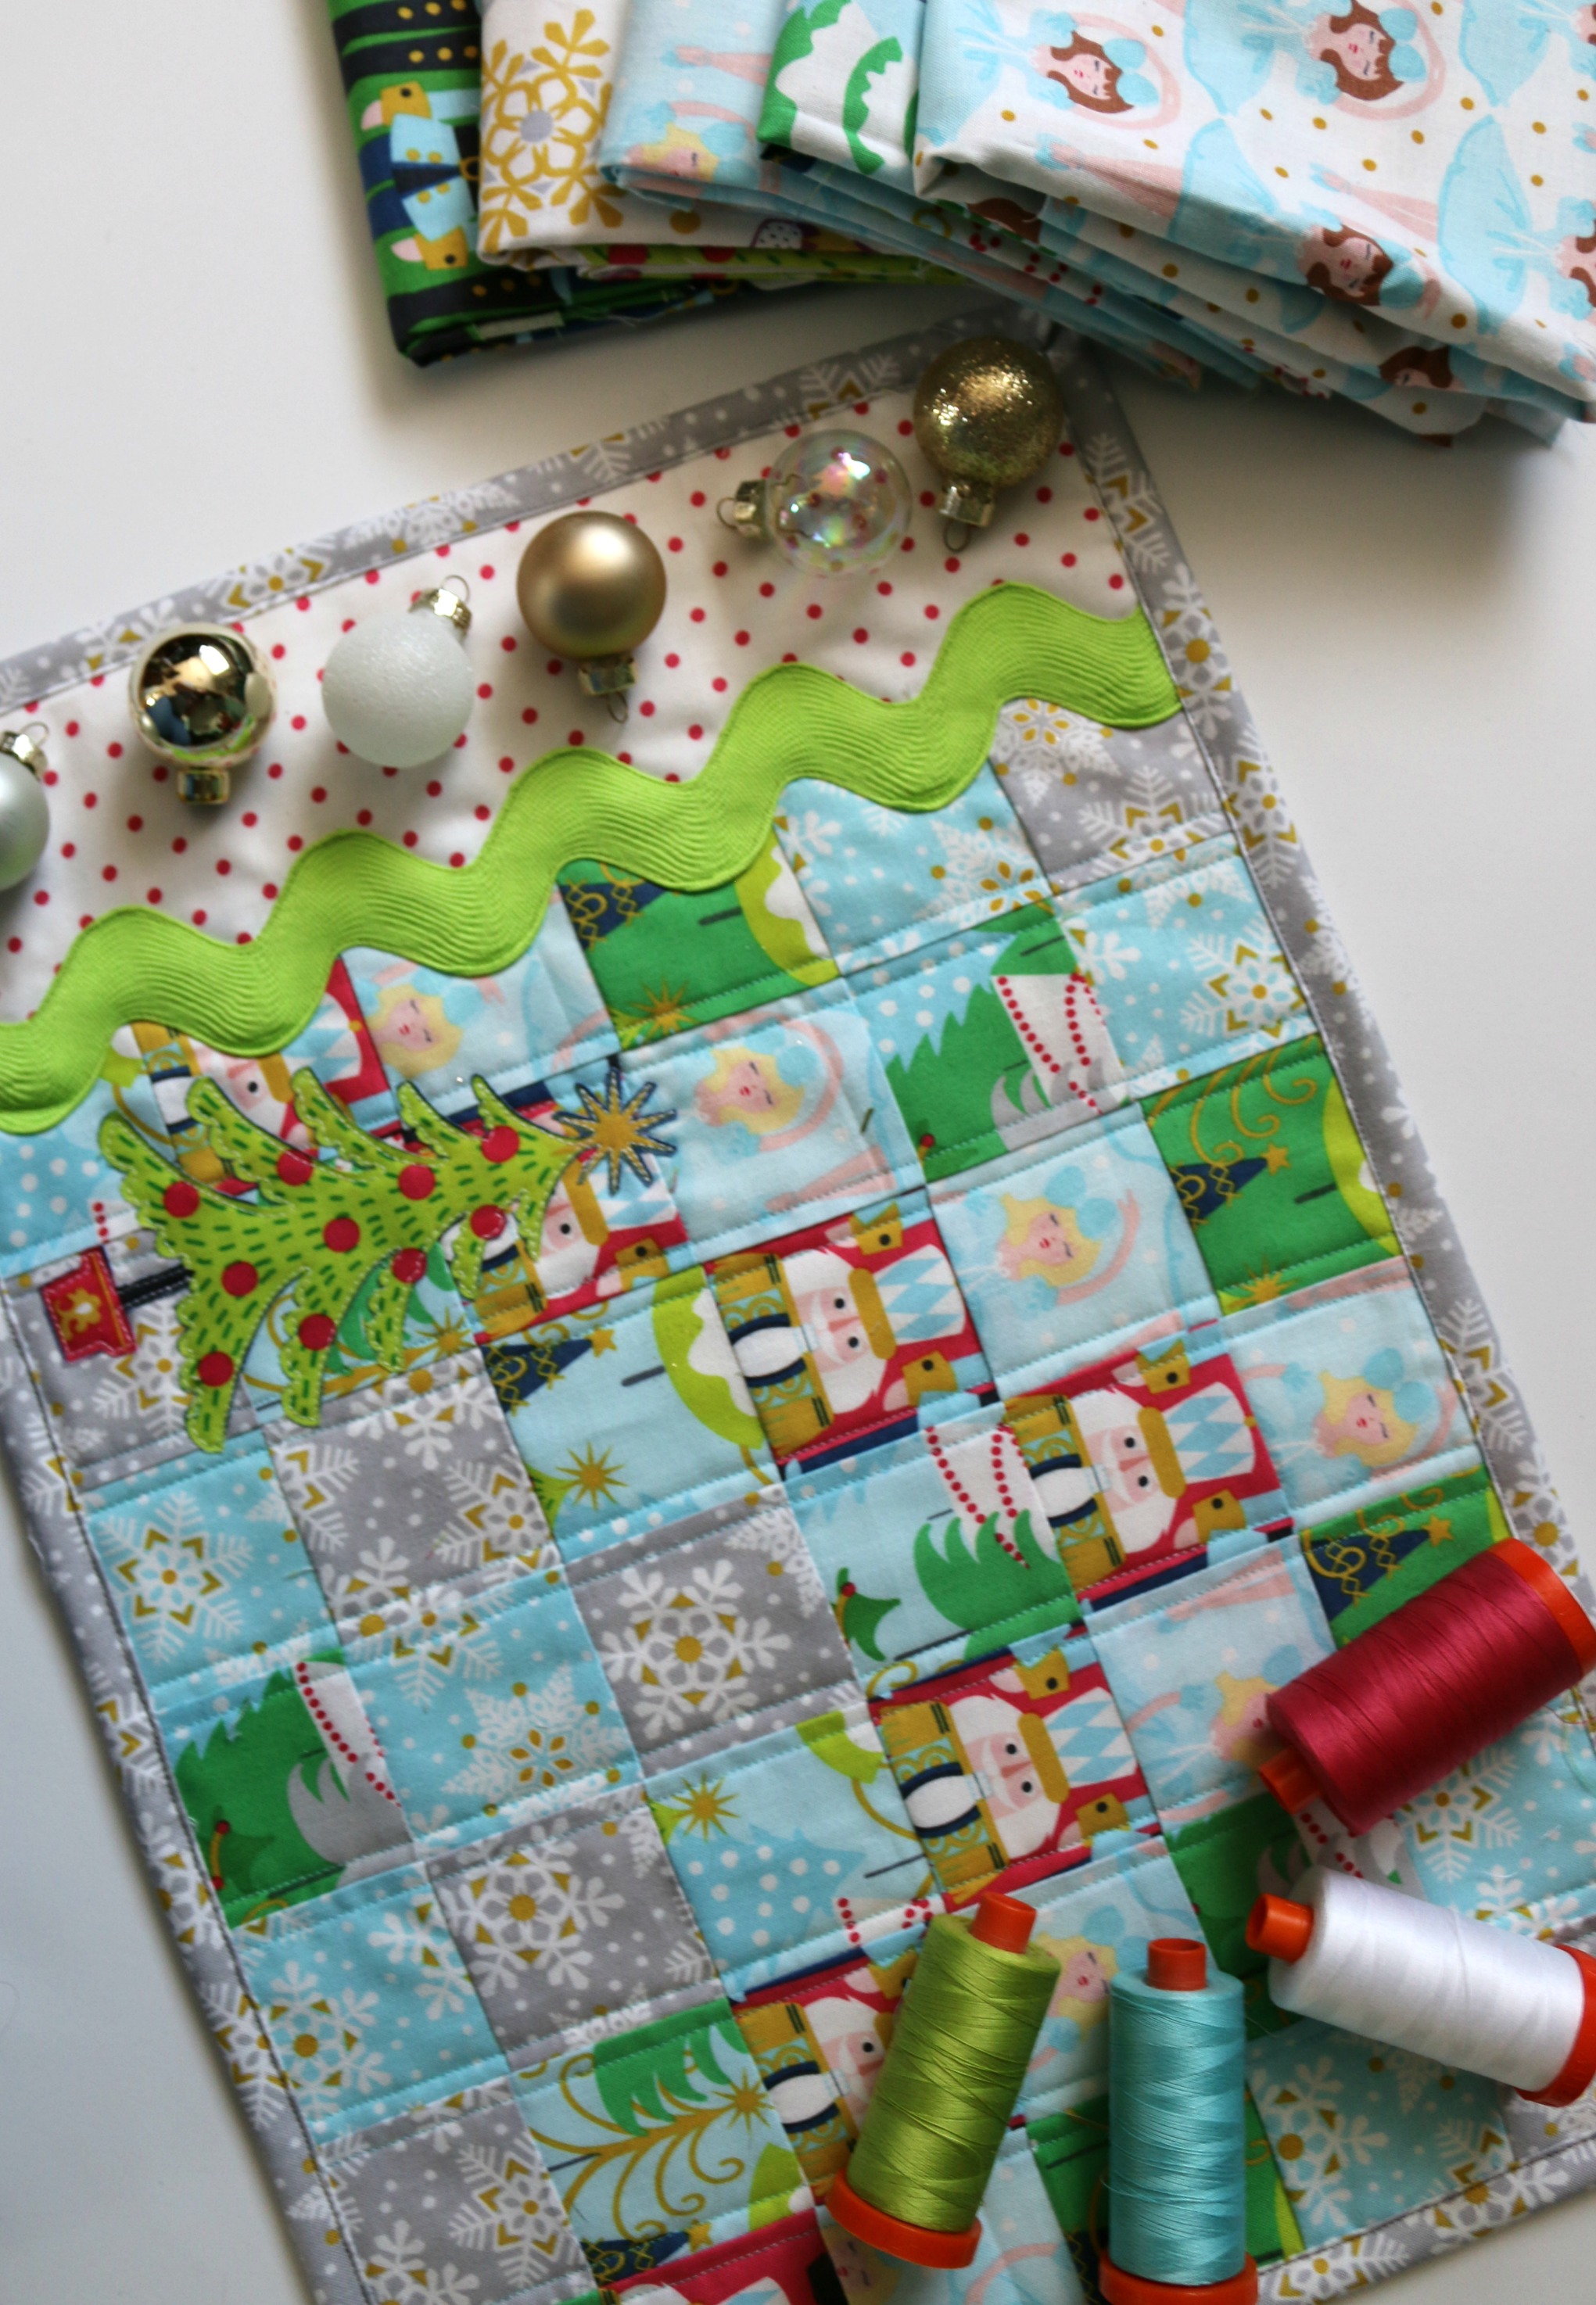 It can be a lot of fun making coordinating placemats with each having a slightly different look and personality.
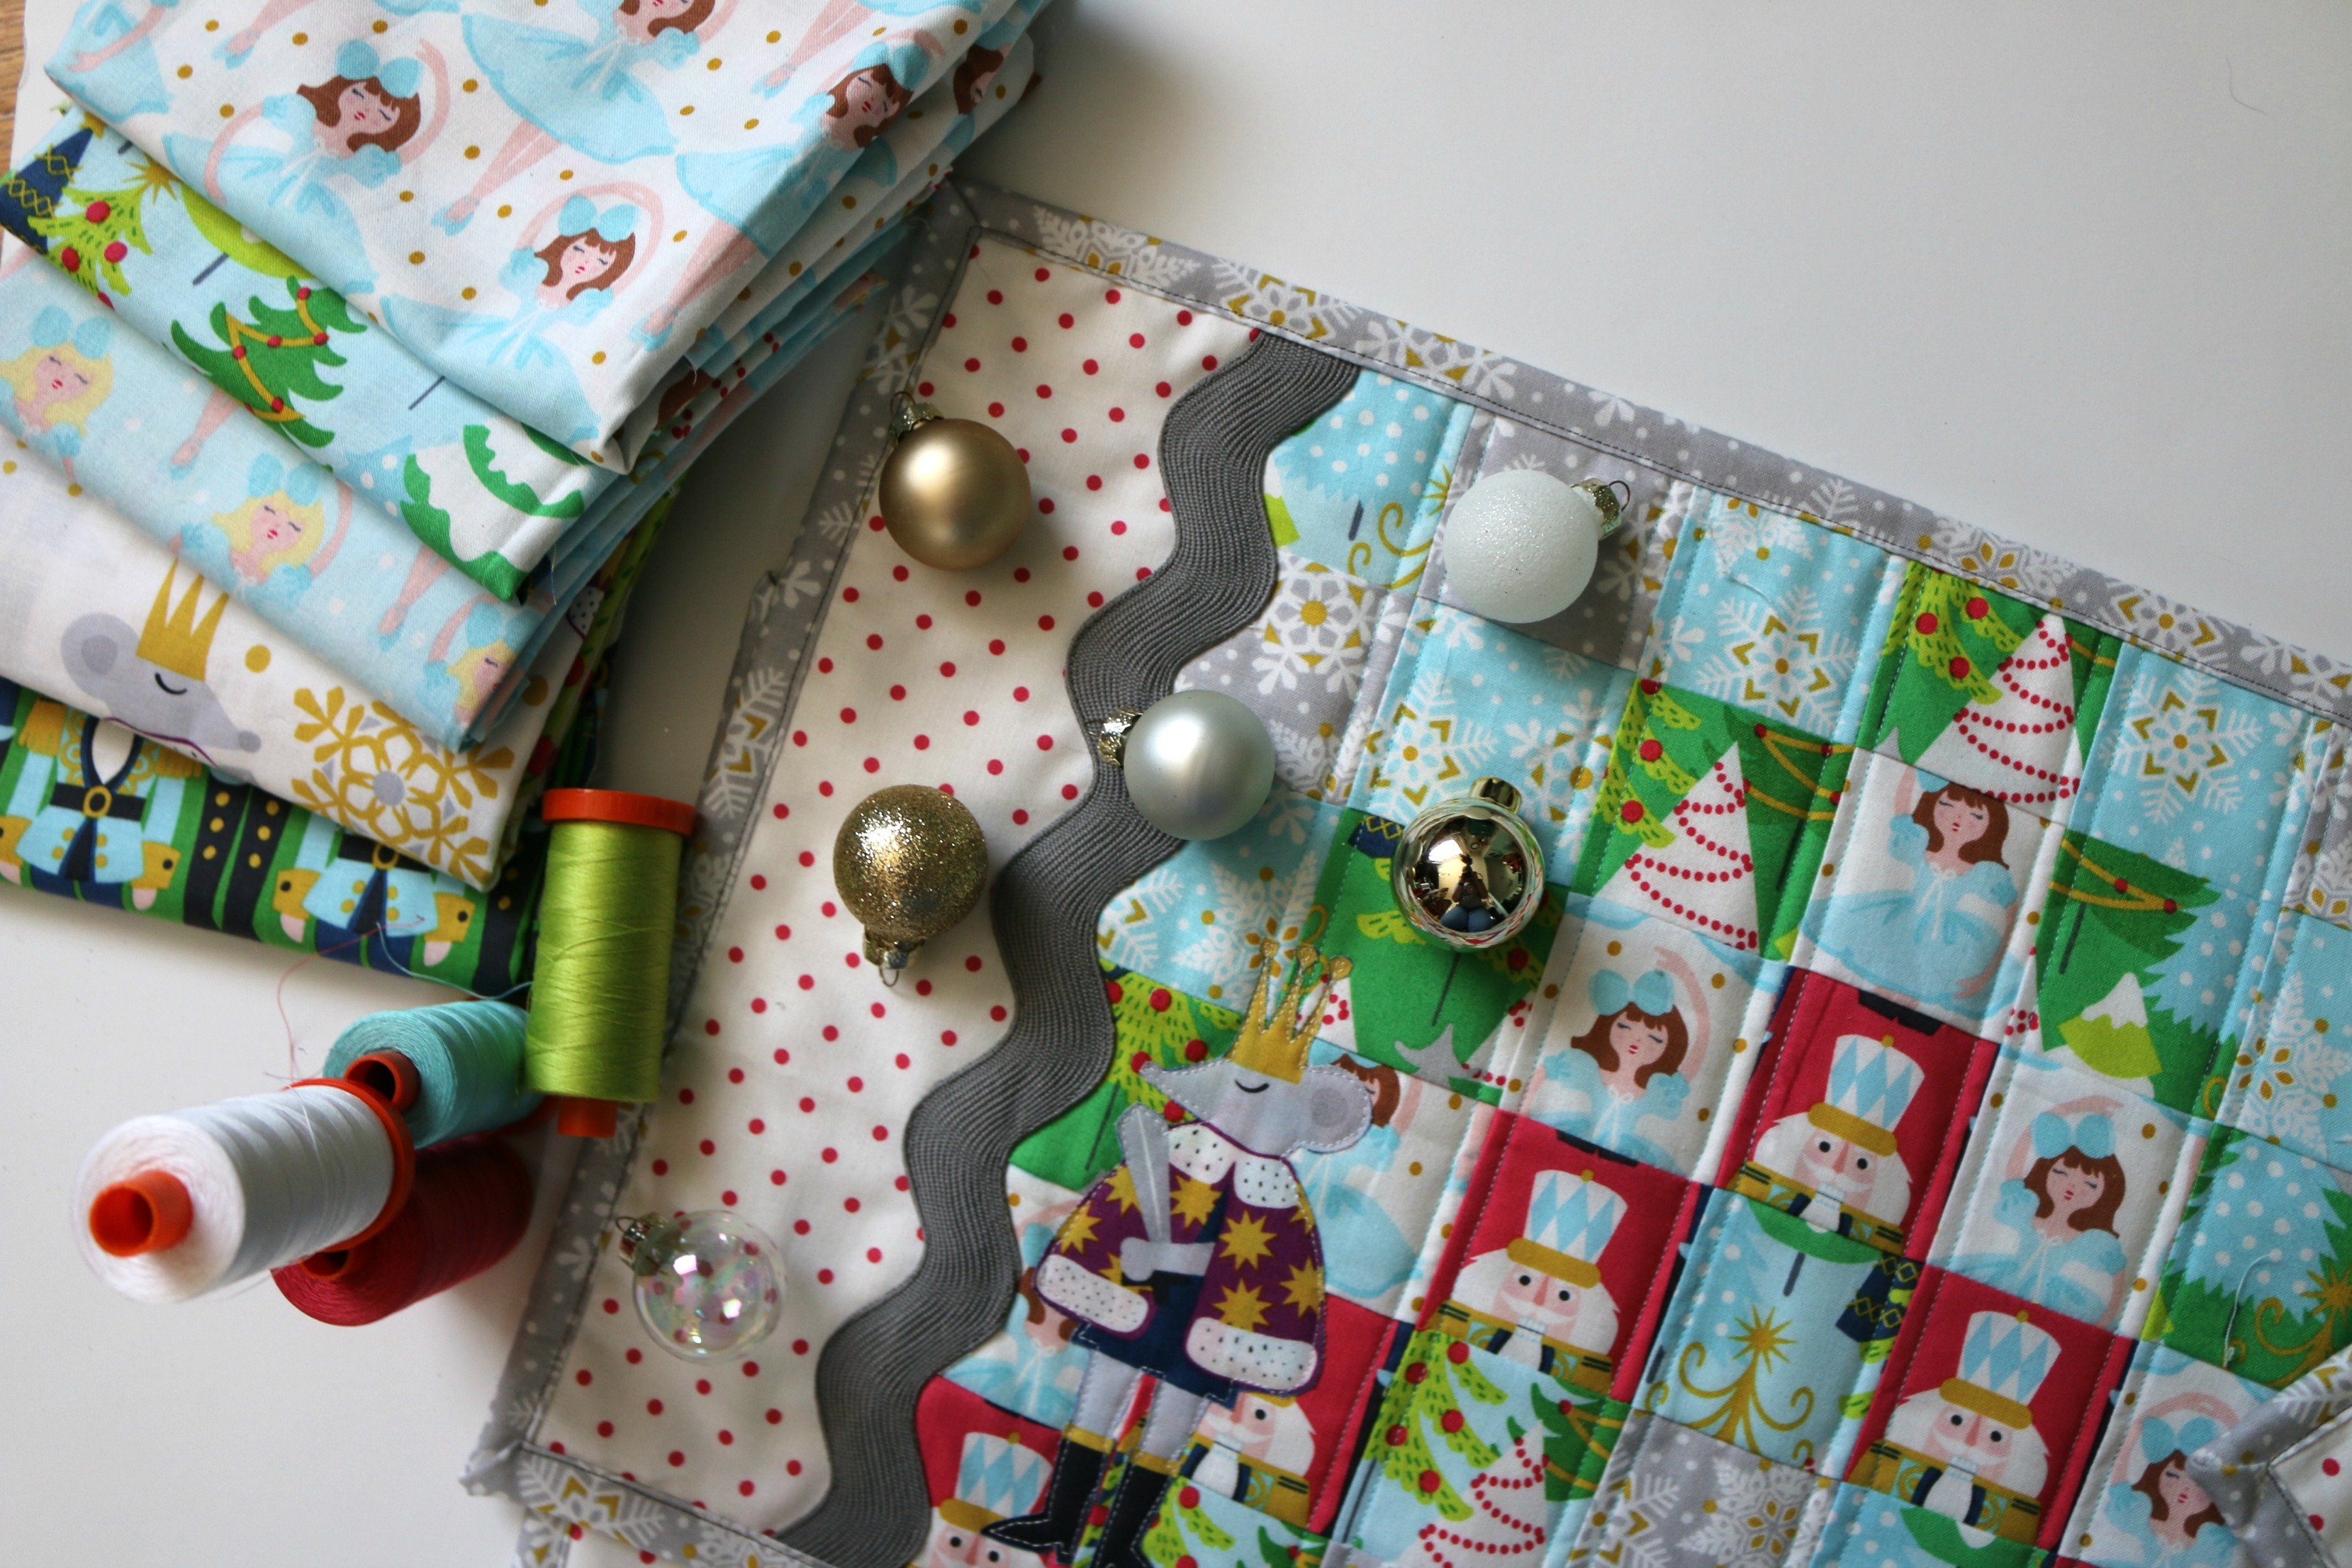
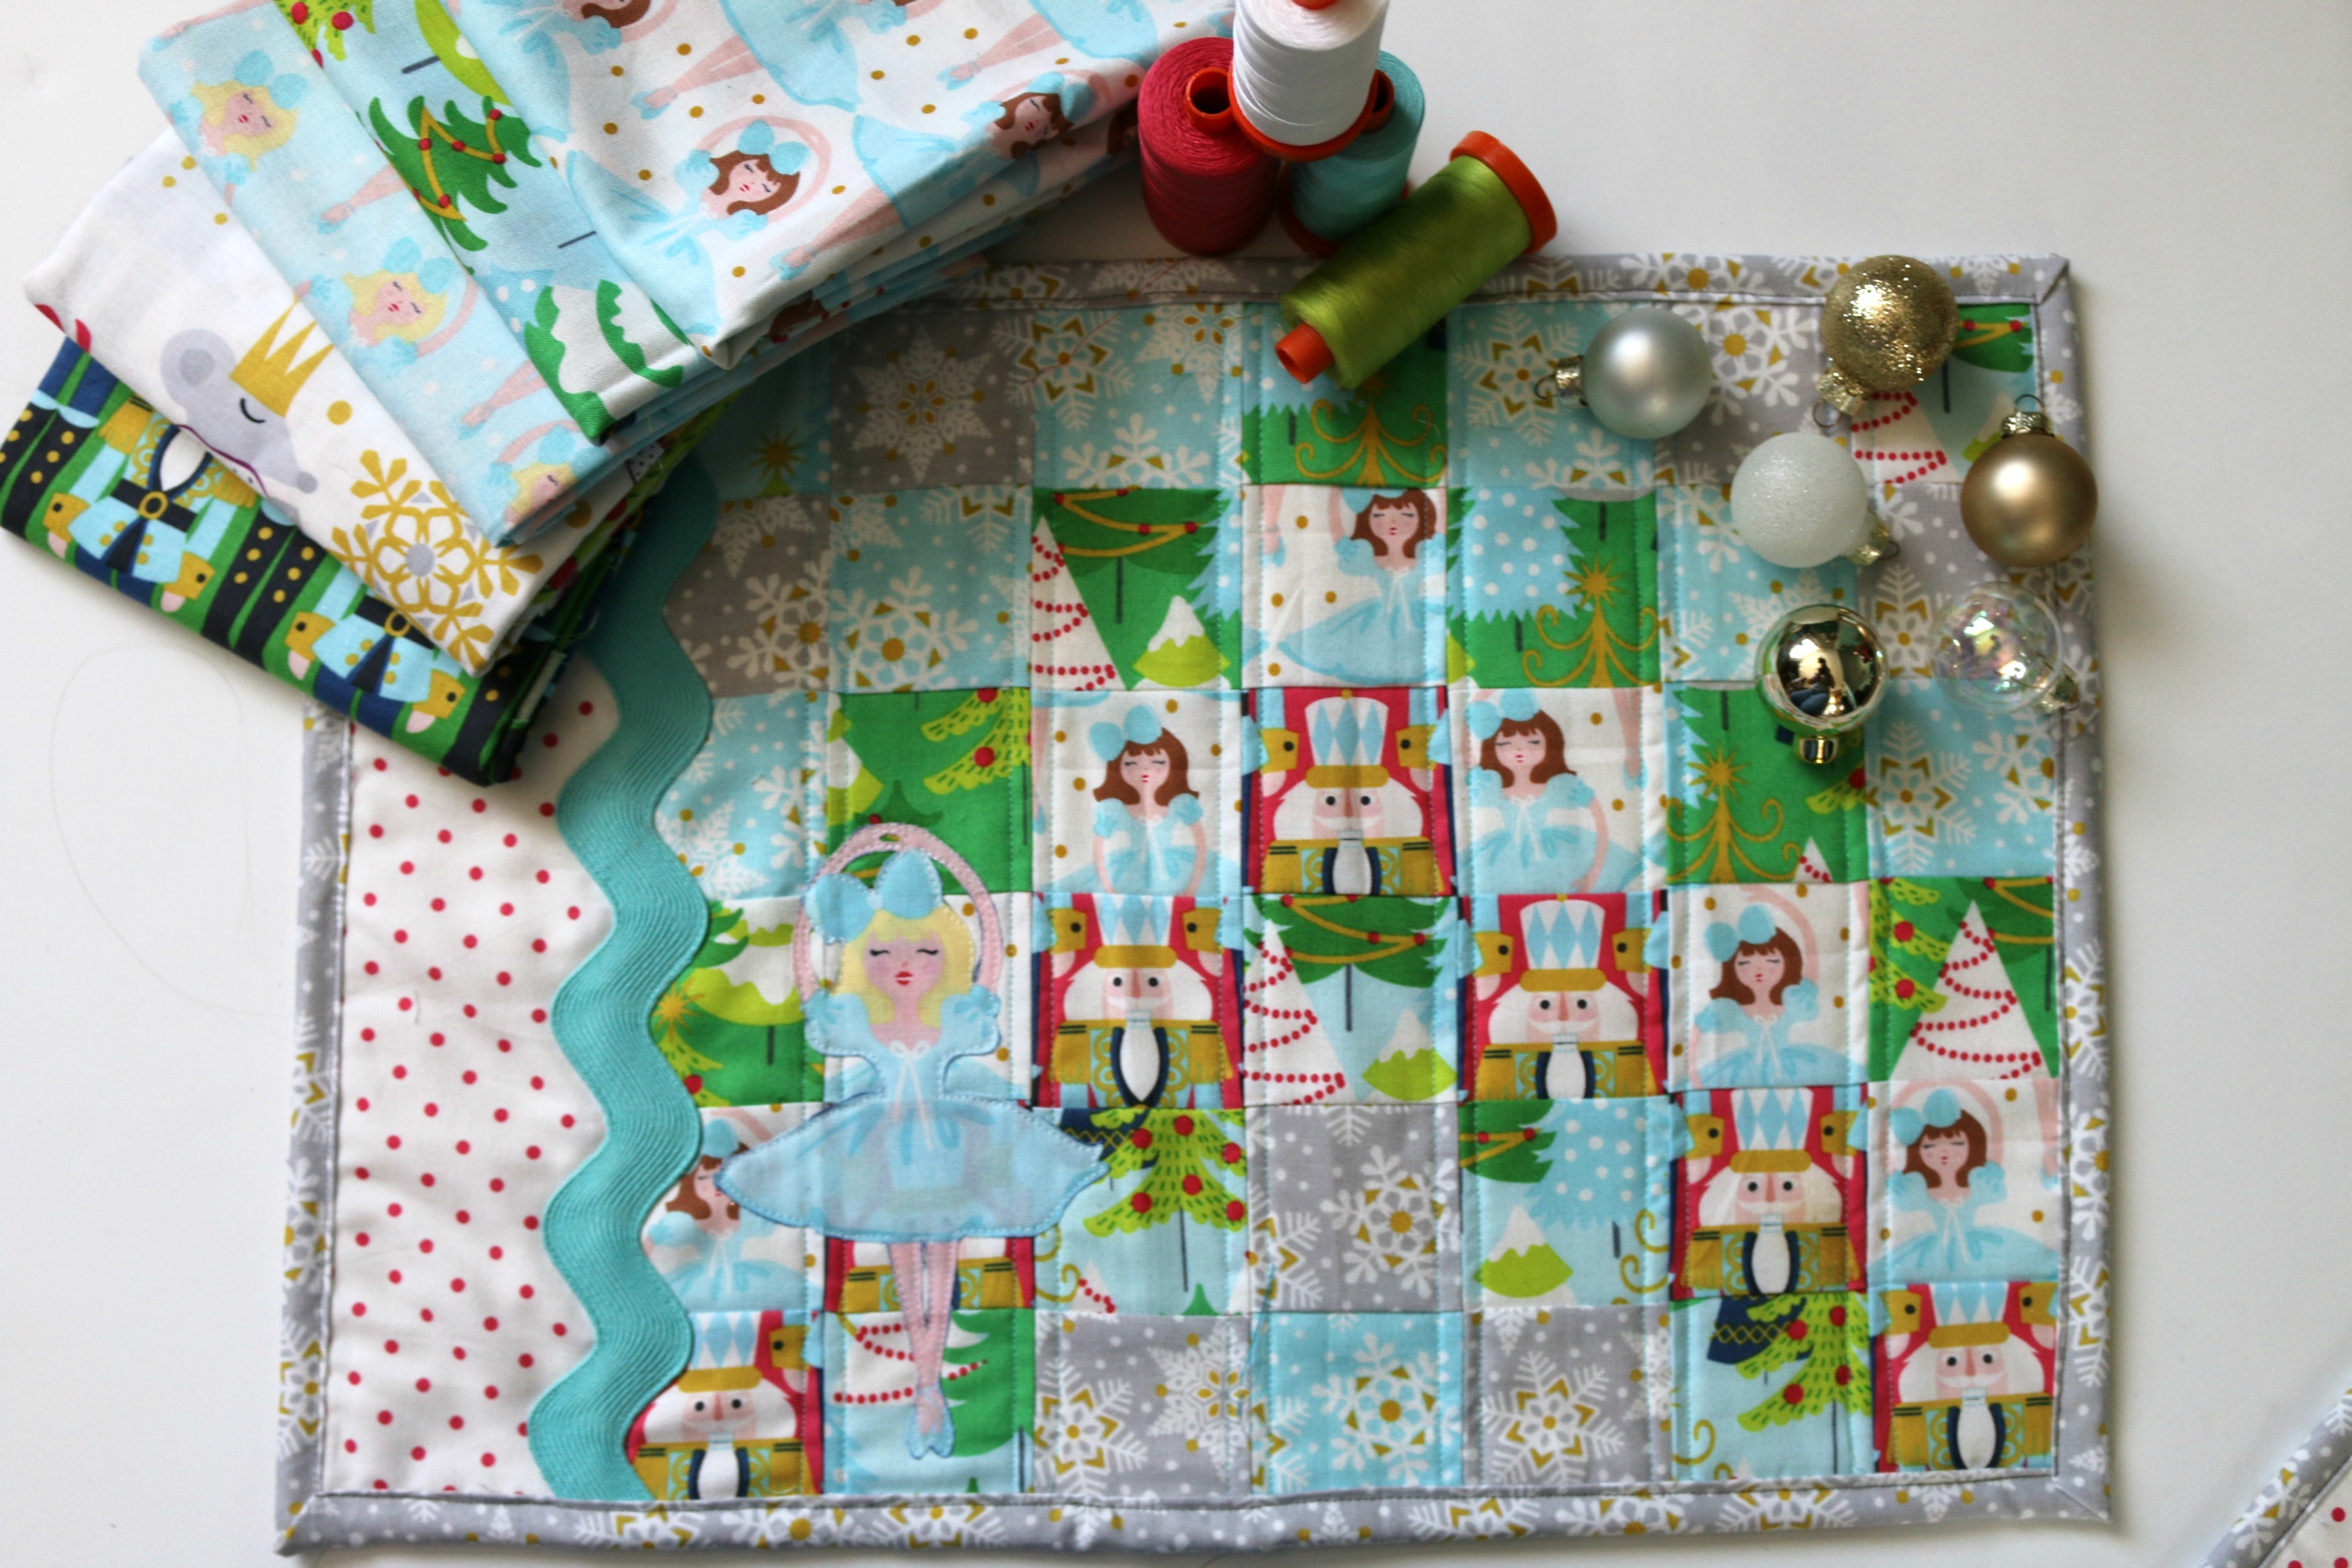
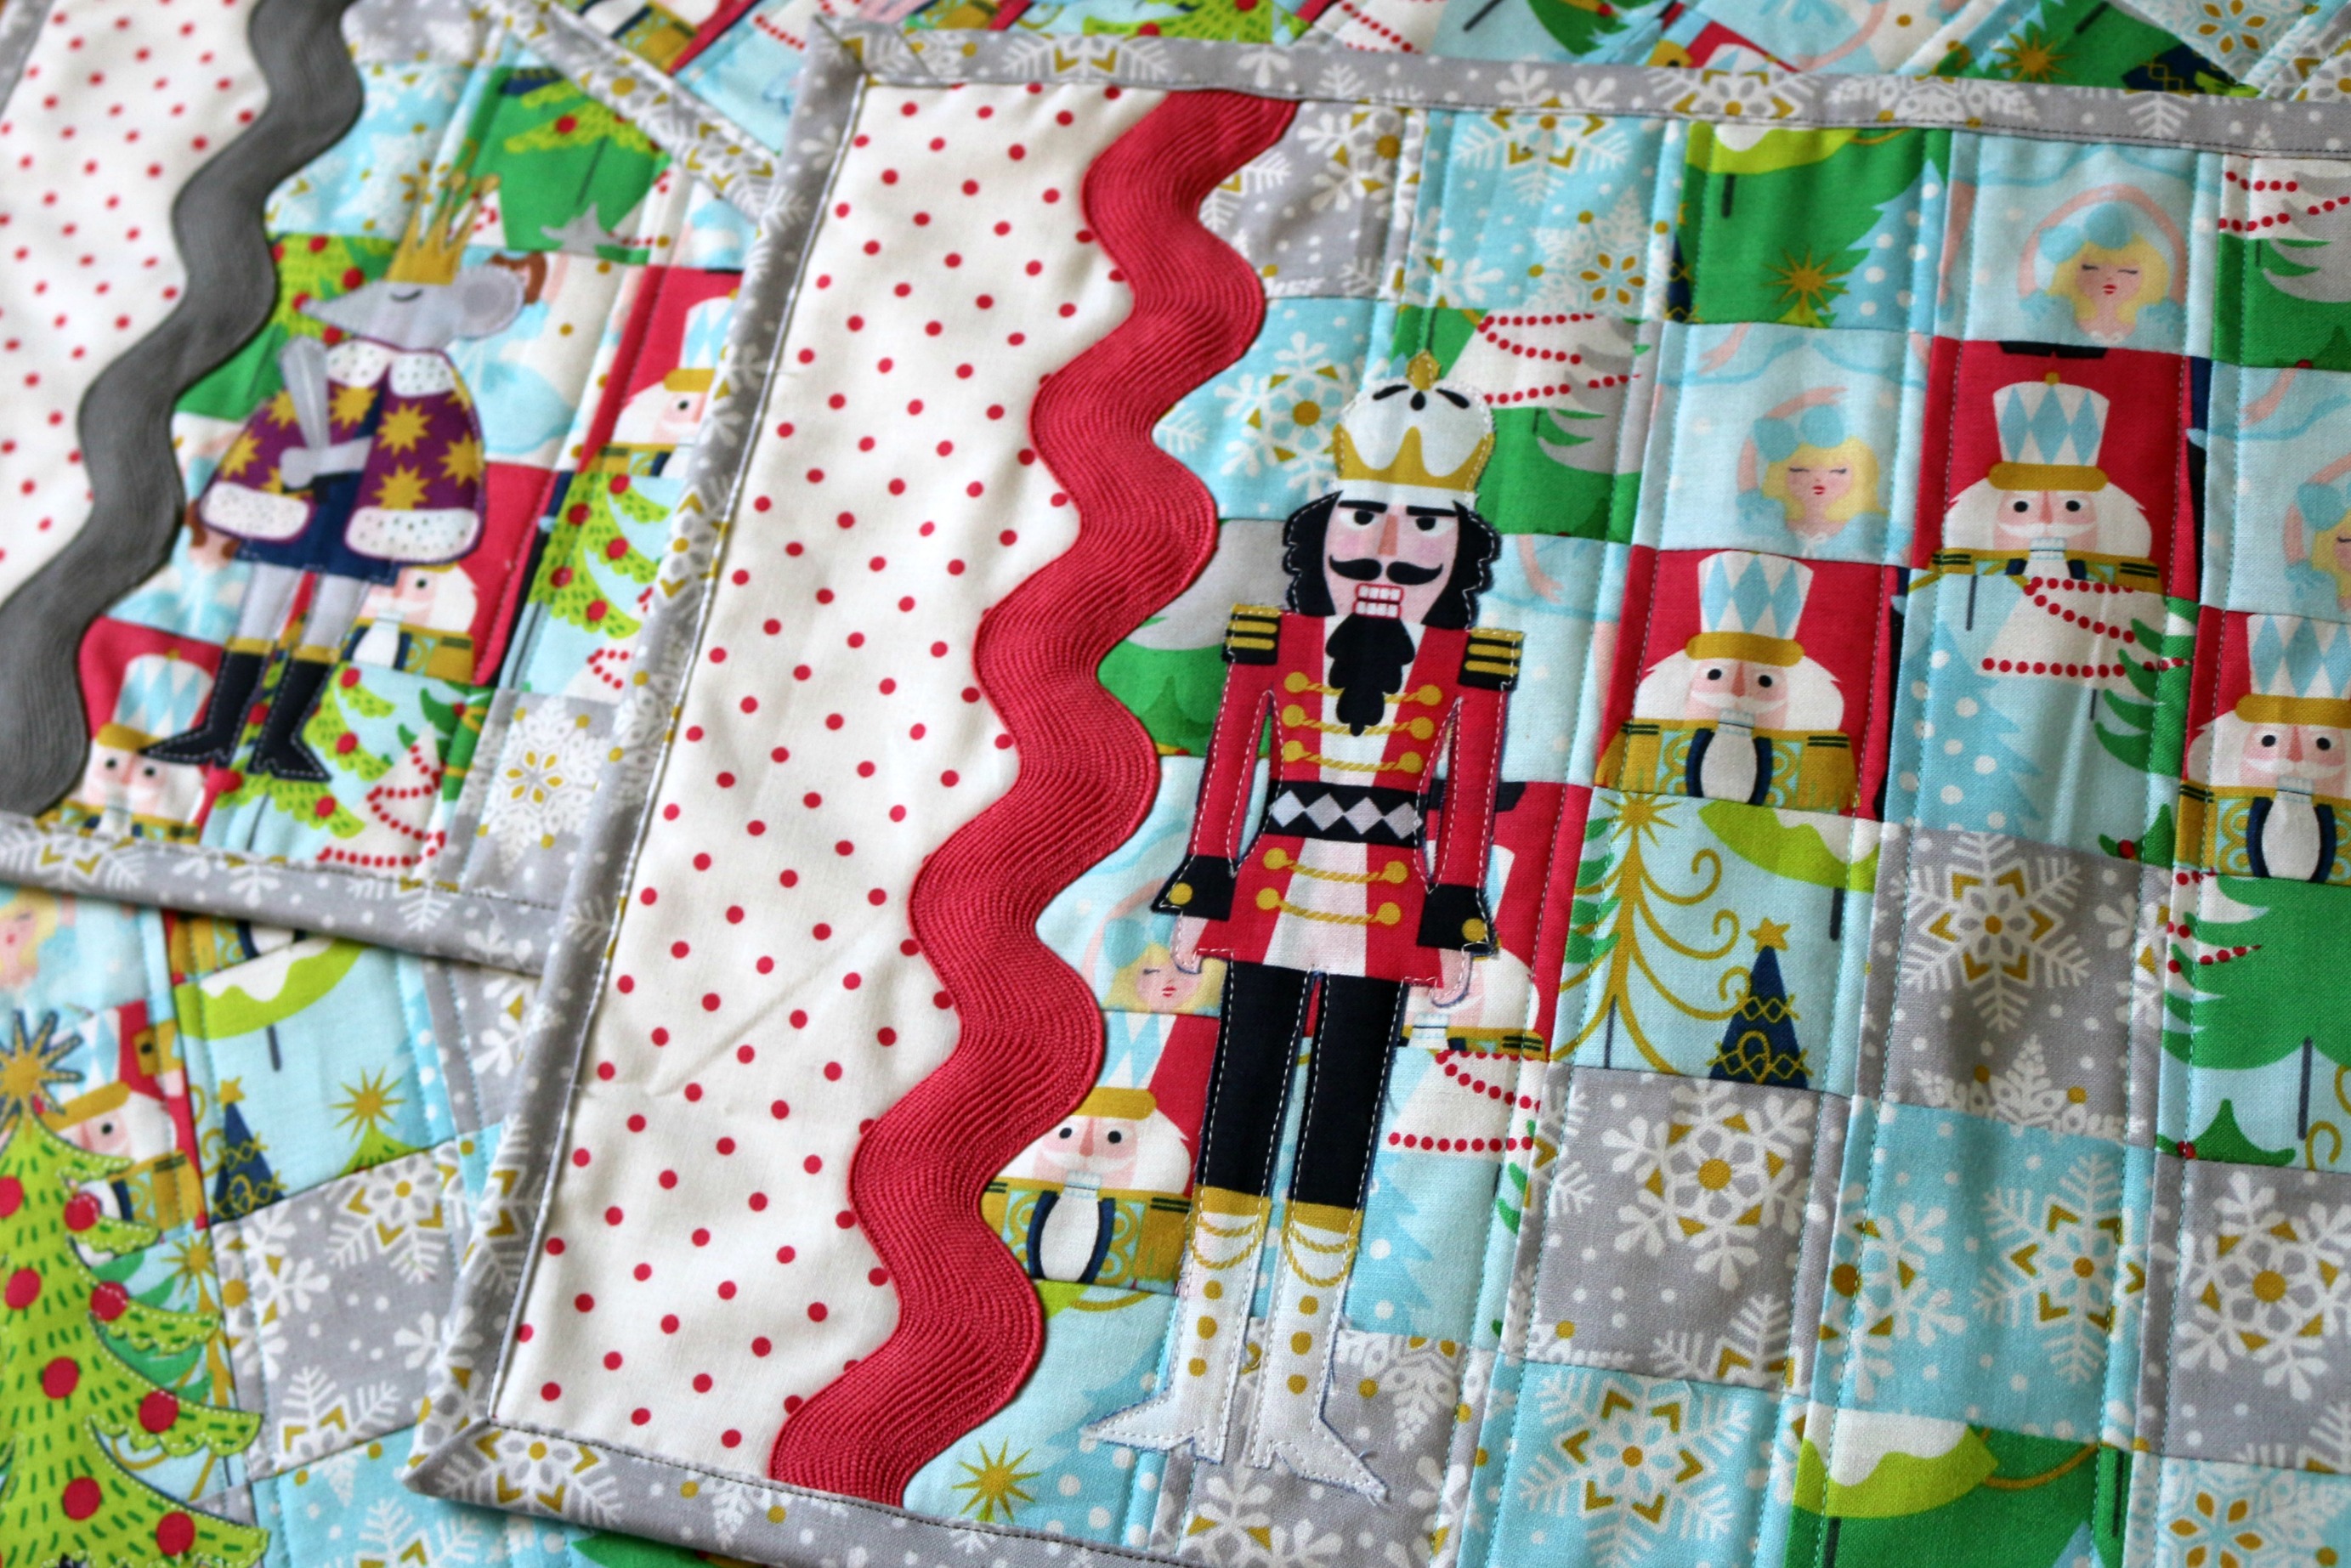
I am looking forward to seeing these cuties on my dining room table come December. Each family member has already chosen which will grace their place for dinner.
