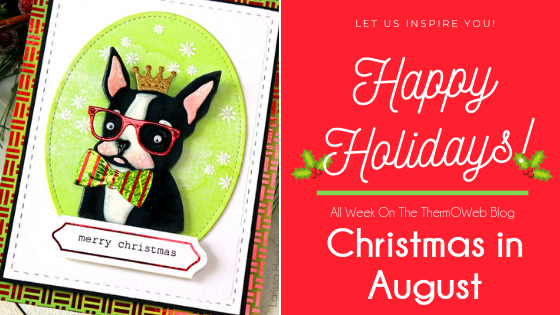
 Hello and welcome to Christmas In August here on Therm O Web’s blog!
It’s Deb Riddell here to kick off our week of Christmas crafting and I have some Christmas Greetings gift tags to share with you, created with Deco Foil’s Metallix Gel and Flock Transfer Sheets.
Christmas Gift Tags
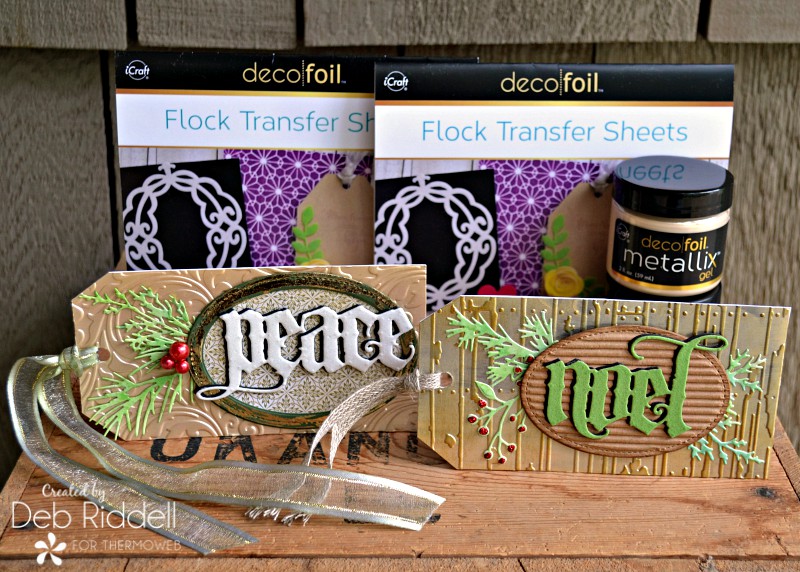
Therm O Web Supplies Used:
Deco Foil Metallix Gel – Champagne Mist
Deco Foil Metallix Gel – Glazed Pewter
Deco Foil Flock Transfer Sheets – White Latte
Deco Foil Flock Transfer Sheets – Green Envy
Deco Foil Stencil Pal
Deco Foil™ Adhesive Pen .34floz
Deco Foil Transfer Sheets – Champagne
Deco Foil™ White Foam Adhesive
iCraft Easy Cut Adhesive™ Sheets • Sm
Gina K. Designs (3) Nested Oval Dies • Single Stitch Design • Large Set
Gina K. Designs Premium Cardstock • Luxury White
Gina K. Designs Premium Cardstock • Black Onyx
Gina K. Designs Sheer Satin Fancy Ribbon 5/8″ x 10 yd – White & Gold
iCraft Ultra Bond Adhesive 2 fl oz
Purple Tape – 1.5″
Memory Tape Runner XL™
iCraft Adhesive™ Tape • 1/2 in
Other supplies used:
Sizzix: Flourish Texture Fades Embossing Folder; Wood Planks Texture Fades Embossing Folder; Vintage Tidings Thinlits dies; Mini Holiday Greens Thinlits dies
Advantus: Yuletide Paper Stash; Linen Ribbon; Baubles
Ranger Ink: Red Pepper Alcohol Ink; Distress Ink; Distress Archival Ink
Miscellaneous: kraft cardstock; kraft corrugated cardstock; green acrylic paint; die cutting machine; paper trimmer; hole punch
Christmas Greetings Gift Tag Instructions
Cover a piece of Gina K. Designs Luxury White cardstock with Champagne Mist Deco Foil Metallix Gel with your Stencil Pal. Cover a second piece of cardstock with a thin coat of Glazed Pewter Metallix Gel and then add another thin coat of Champagne Mist Metallix Gel over top, blending the two colours together (make sure to apply the two colours of Metallix Gel to your Stencil Pal with different palette knifes to prevent contaminating your jars of Metallix Gel).
Let dry thoroughly and then emboss the Champagne Mist cardstock with the Flourish embossing folder and the other piece with the Wood Planks embossing folder. Lightly apply a dark brown permanent ink over the embossed areas on the Wood Planks embossed cardstock to emphasize the design.
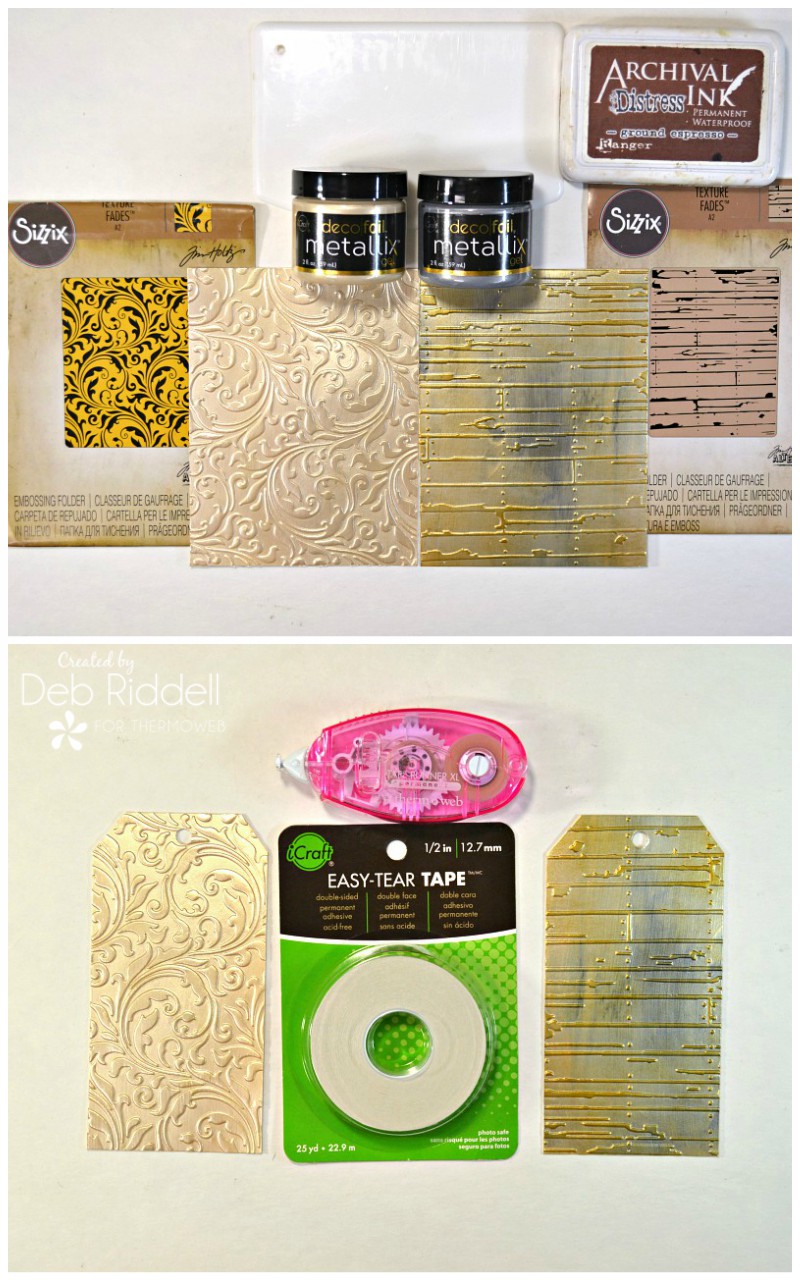
Metallix Gel
Cut two tags from your Metallix Gel embossed cardstock, backing them with more Gina K. Designs Luxury White cardstock so that you have a smooth surface to write your sentiments on. My tags ended up being about 5 1/2″ x 2 3/4″, about halfway between the size of a #8 and #10 sized hangtag. Punch a hole in the top for your ribbon. Note: if you don’t want to make gift tags, you can easily adapt this design to make Christmas cards, just cut your Metallix embossed cardstock to fit your card blanks rather than cutting them into tags.
Tape two of Gina K. Designs Large Oval dies together with Purple Tape so they are spaced evenly. I chose to use the two smaller oval dies from this set. Die-cut kraft cardstock three times with the taped dies. You will end up with three frame pieces and three oval die cuts. Die-cut a piece of kraft corrugated cardstock with the smallest of the Oval dies (you don’t need to cut a frame from the corrugated cardstock).
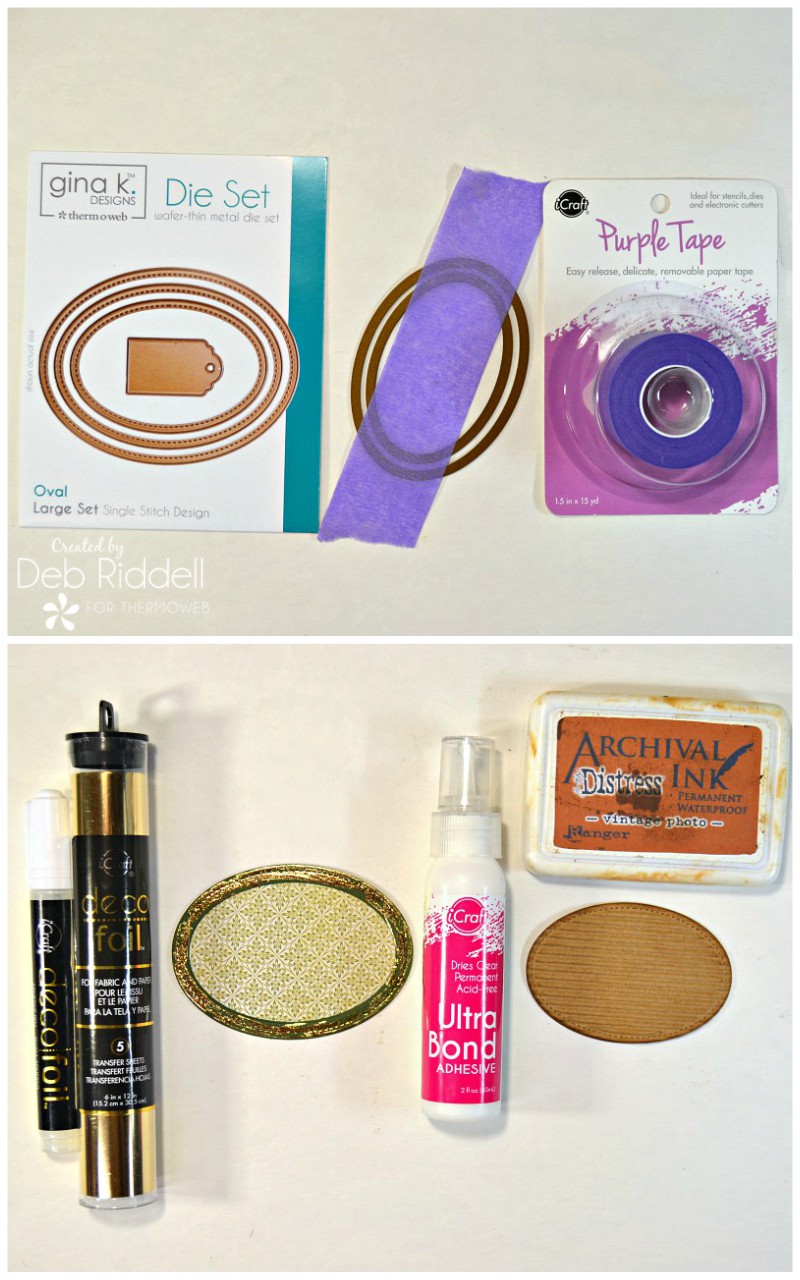
Ultrabond Liquid Adhesive
Adhere the frame pieces together with iCraft Ultra Bond adhesive. Paint the frame with green acrylic paint and when dry apply Deco Foil Adhesive with the Adhesive Pen and burnish on Champagne Deco Foil Transfer Sheet once the adhesive is tacky (just takes a few minutes). Back the foiled frame with a piece of green patterned cardstock. Adhere the three kraft die cut ovals together with iCraft Ultra Bond Adhesive and top them with the corrugated cardstock oval. Lightly ink the corrugations on the oval with brown permanent ink.
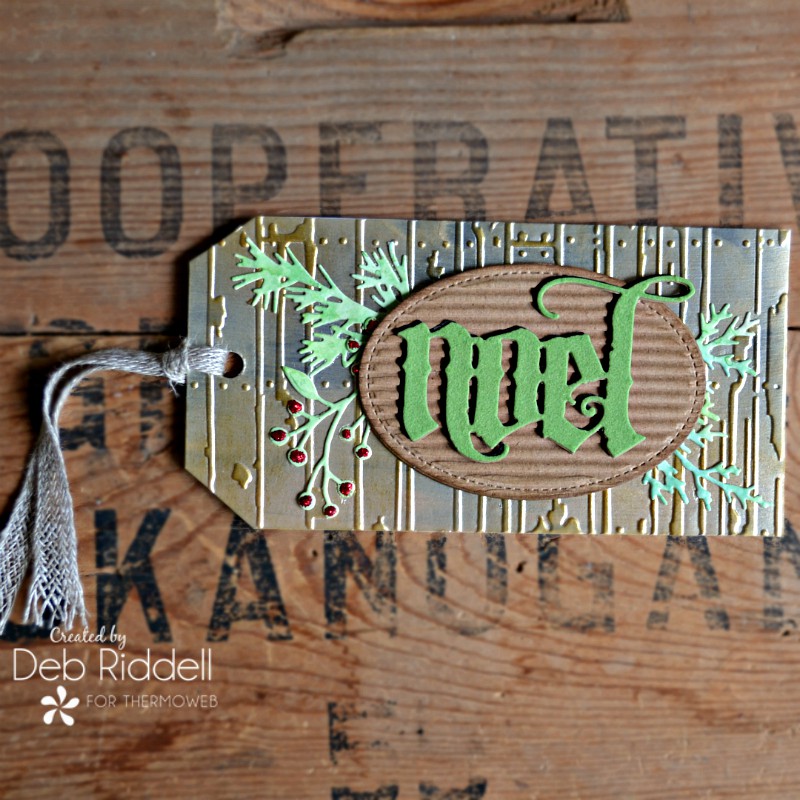
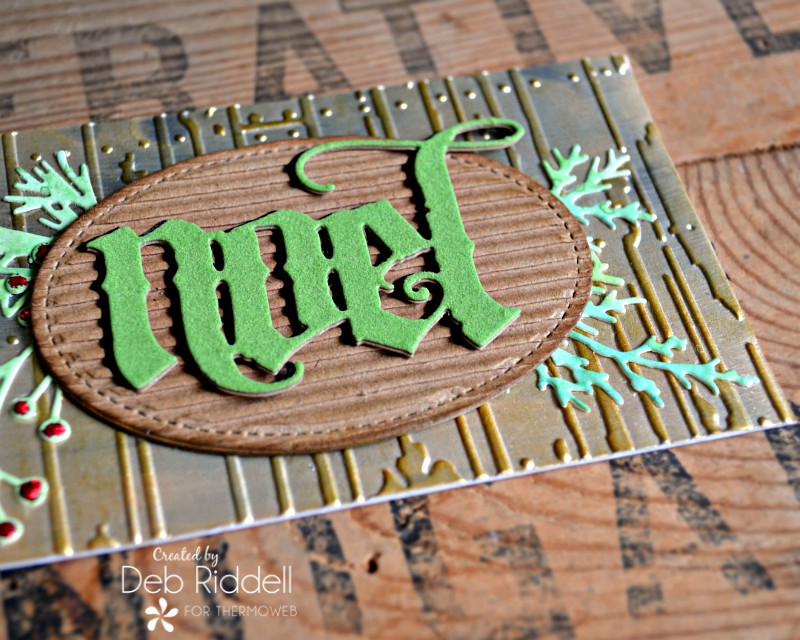
Apply a piece of iCraft Easy-Cut Adhesive to kraft cardstock. Remove the adhesive backing and apply a piece of Green Envy Deco Foil Flock Transfer Sheet to the adhesive (remember, fuzzy side down!). Run the cardstock through your die cutting machine or foil laminator on the cold setting to ensure good adhesion of the flock. Peel off the flock backing paper and die cut the ‘noel’ word. Die-cut a second ‘noel’ word from Gina K. Designs Black Onyx cardstock and adhere it behind the flocked word with iCraft Ultra Bond Adhesive, offsetting the die cuts slightly to form a shadow line.
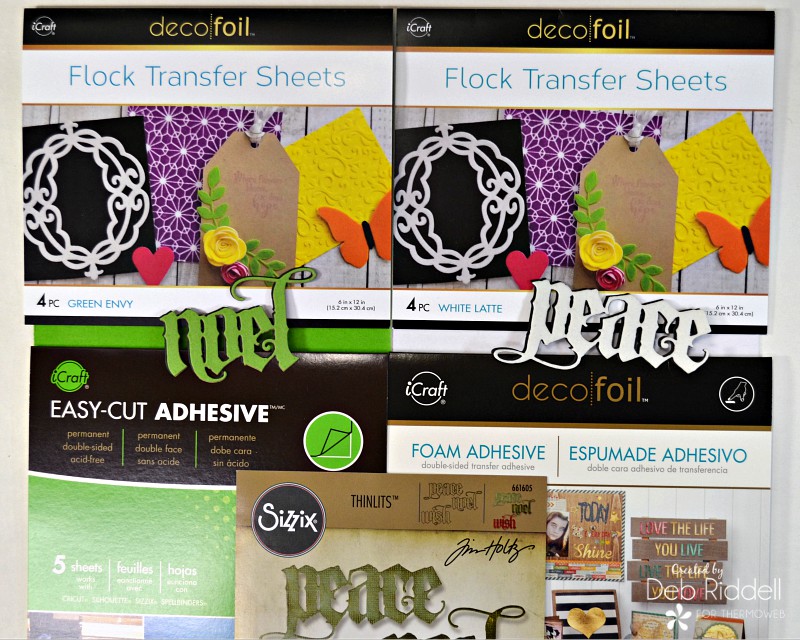
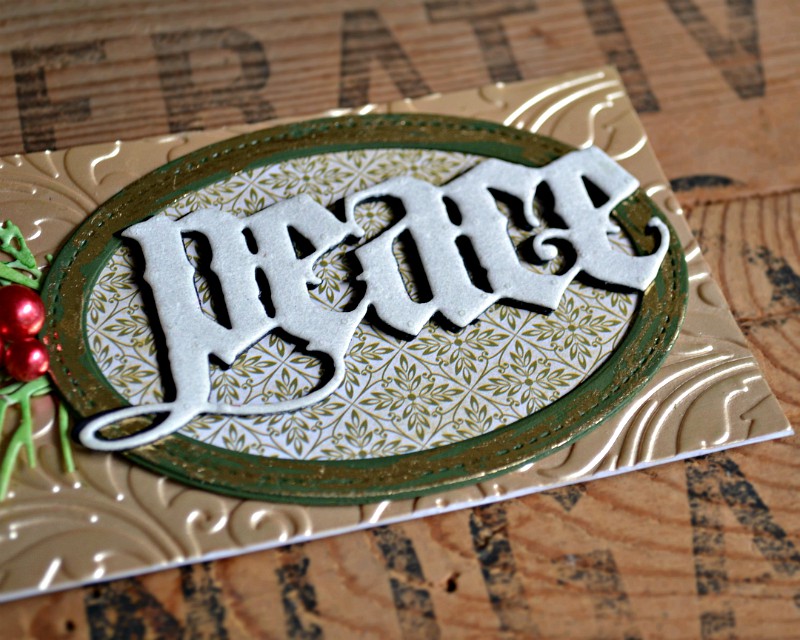
Apply White Latte Deco Foil Flock Transfer Sheet to a piece of Deco Foil Foam Adhesive. Back the flocked foam adhesive with a piece of cardstock for stability and die cut the ‘peace’ word. Die-cut a second ‘peace’ word from Gina K. Designs Black Onyx cardstock and adhere it behind the flocked word, bumping it slightly again to form a shadow line.
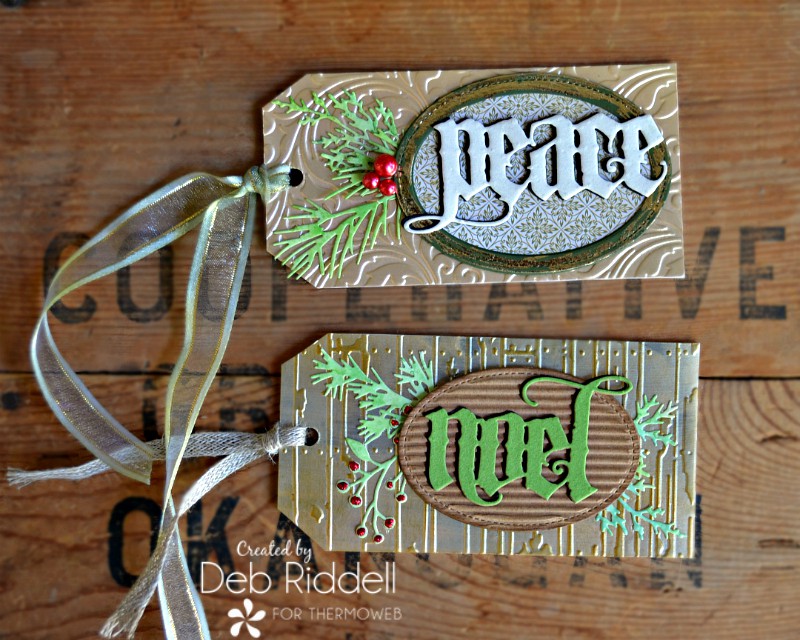
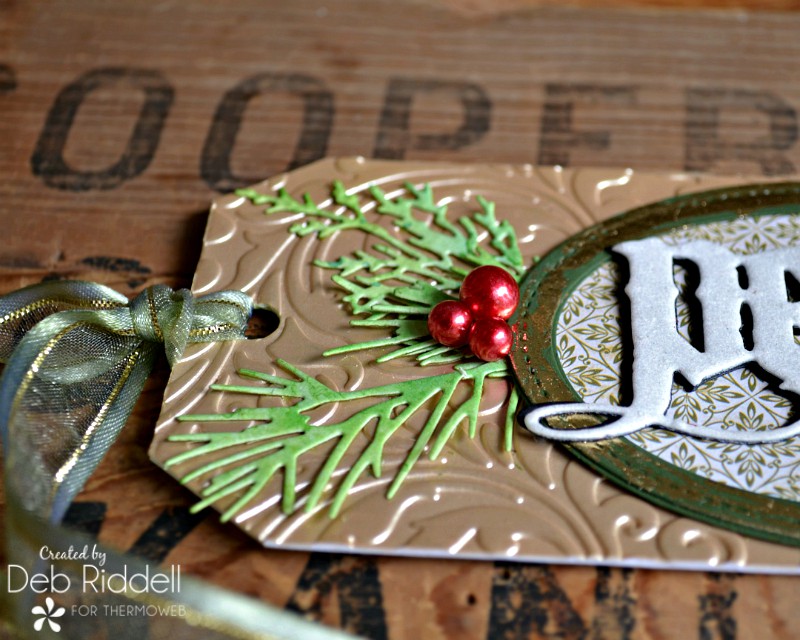
Die-cut some greenery from cardstock inked with shades of green Distress inks. Colour three Baubles with Red Pepper Alcohol Ink. Adhere the foiled frame onto the Flourish embossed tag, layering the die cut greenery underneath the frame. Adhere the ‘peace’ flocked word on top of the frame with iCraft Ultra Bond Adhesive and adhere the three Baubles on top of the greenery. Ink a length of Gina K. Designs White/Gold Sheer Satin Fancy Ribbon with green ink and string it through the punched hole on the tag.
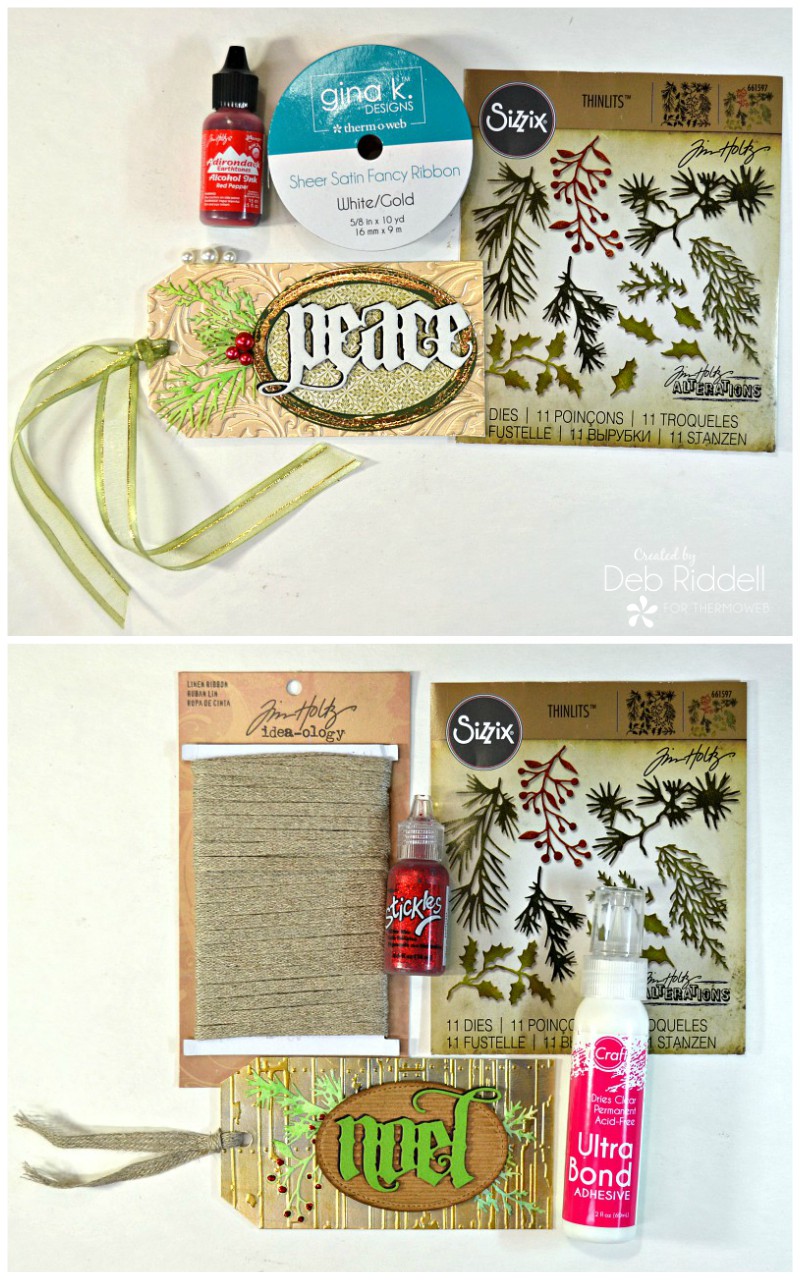
Die-cut more greenery from the green inked cardstock. Add a few dots of red Stickles Glitter Glue to one of the die cuts. Adhere the corrugated cardboard oval to the Wood Plank embossed tag with iCraft Ultra Bond Adhesive, tucking the greenery in behind. Adhere the flocked ‘noel’ word on top of the oval. String a piece of Linen Ribbon through the punched hole on the tag and you are done!
Here are a few closeups of the finished Christmas Greetings gift tags.
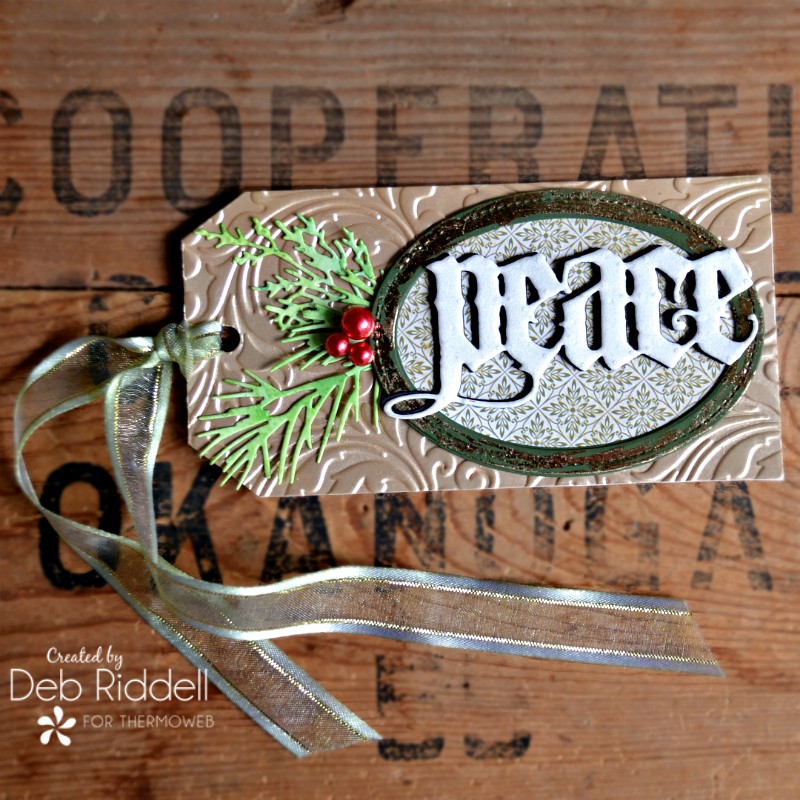
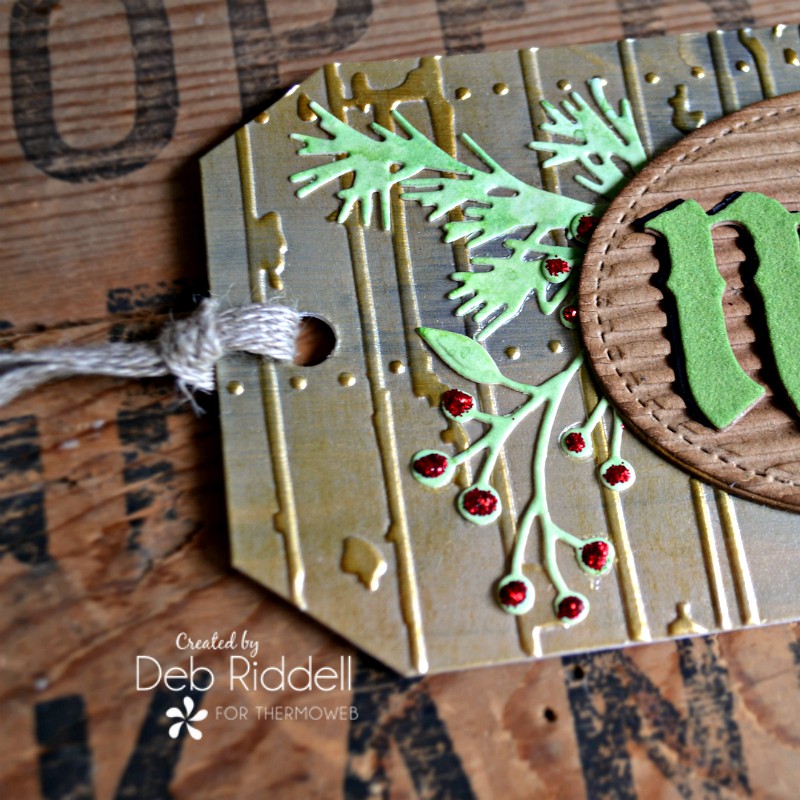
I love the look of the two Metallix Gel colours blended together, can’t wait to play with this technique more!
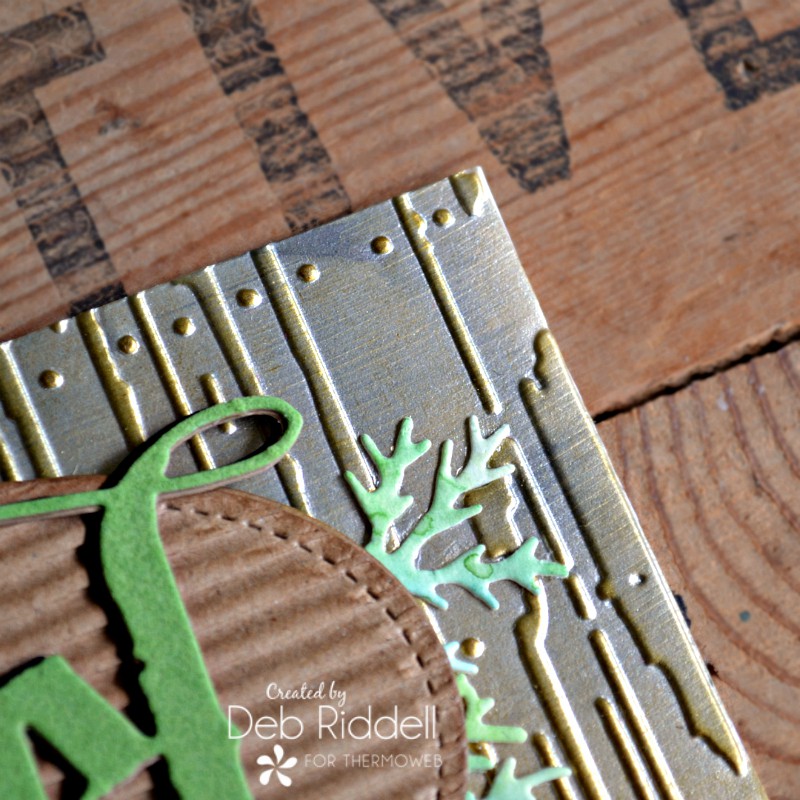
I hope that you have enjoyed seeing how my Christmas Greetings Gift Tags came together and that you’ve been inspired to incorporate Therm O Web’s wonderful Metallix Gel’s and Flock Transfer Sheets into some of your Christmas makes!

And be sure to pop by all this week as the rest of the Design Team shares more creations for our Christmas In August celebration, lots of inspiration for you to enjoy. Thanks as always for stopping by today and happy creating!
Deb xo

Andre M.
August 12, 2019 at 10:09 am (6 years ago)Fab embossed detail on these festive cards. Thanks for sharing this inspiration with these fun products.
Deb Riddell
August 12, 2019 at 1:56 pm (6 years ago)You’re very welcome Andre, glad you enjoyed seeing them! Deb