Today I would like to share with you how to add little bits of sparkle to your scrapbook pages using Deco Foil™ in a few easy ways. In this Celebrating You layout I will show you several fun ways you can incorporate Deco Foil Accents into your projects!
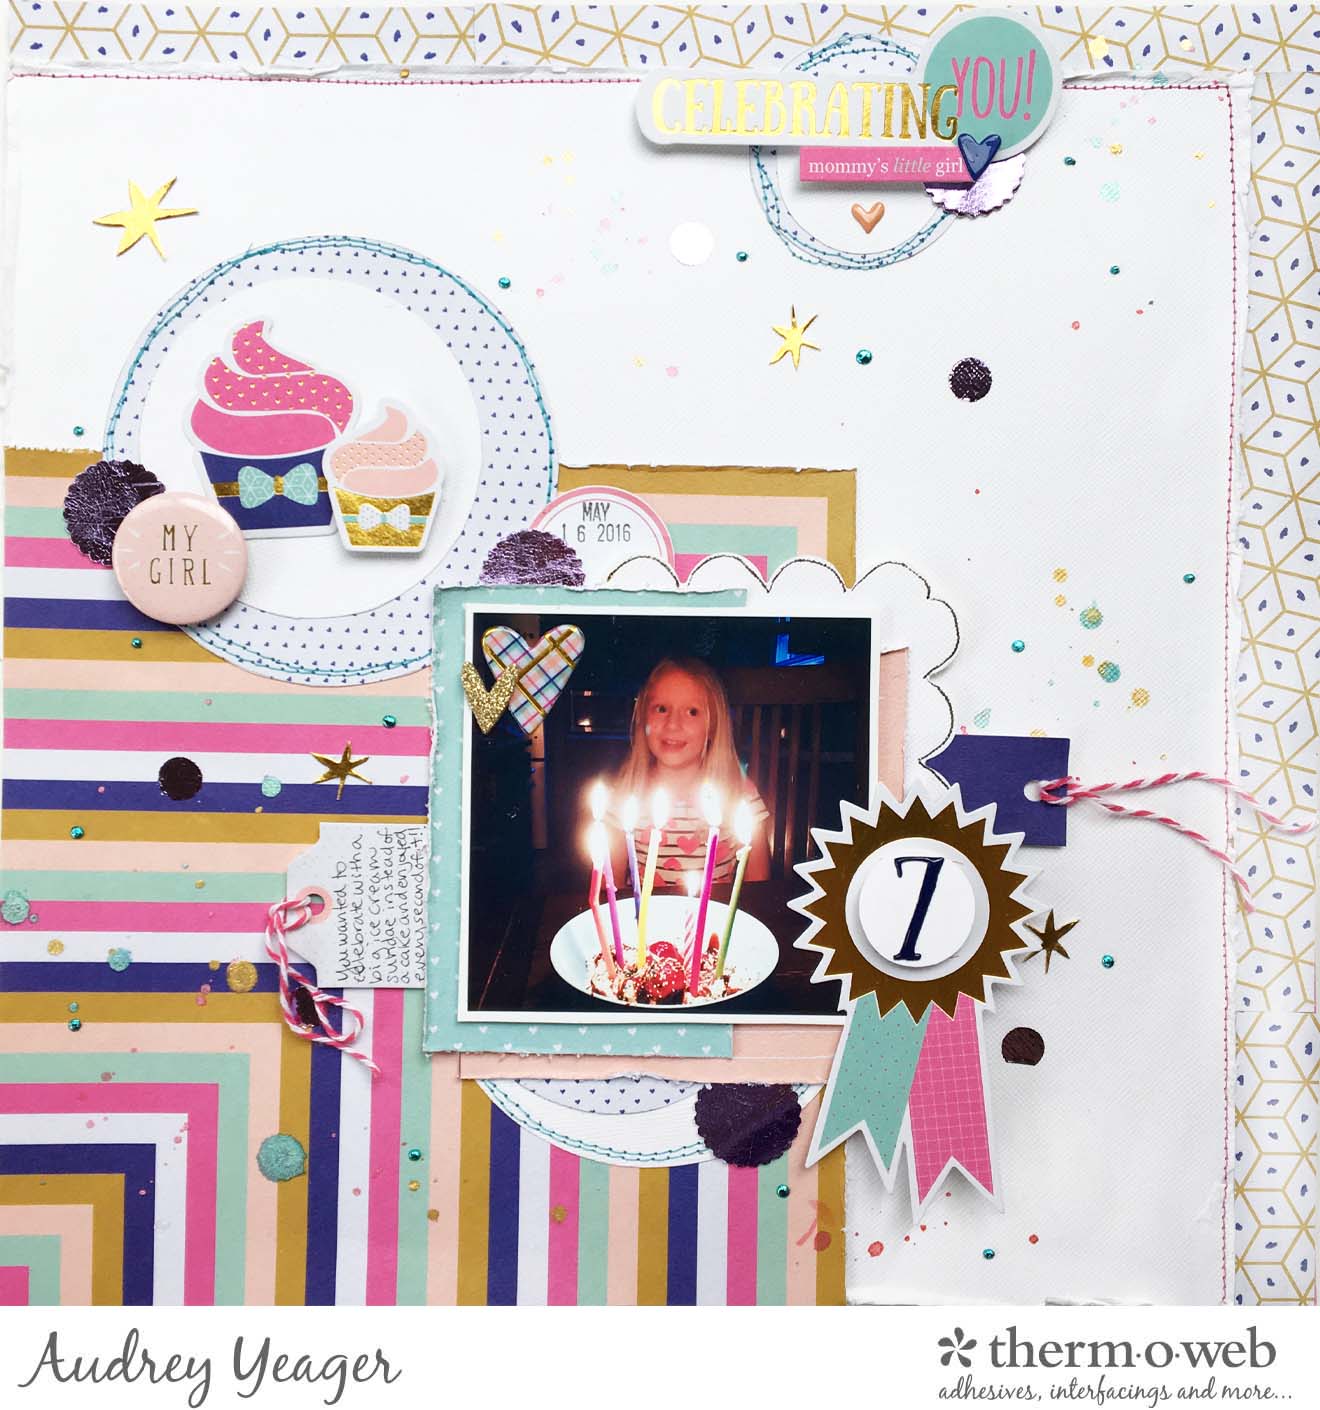
Celebrating You in the Little Details with Deco Foil Accents
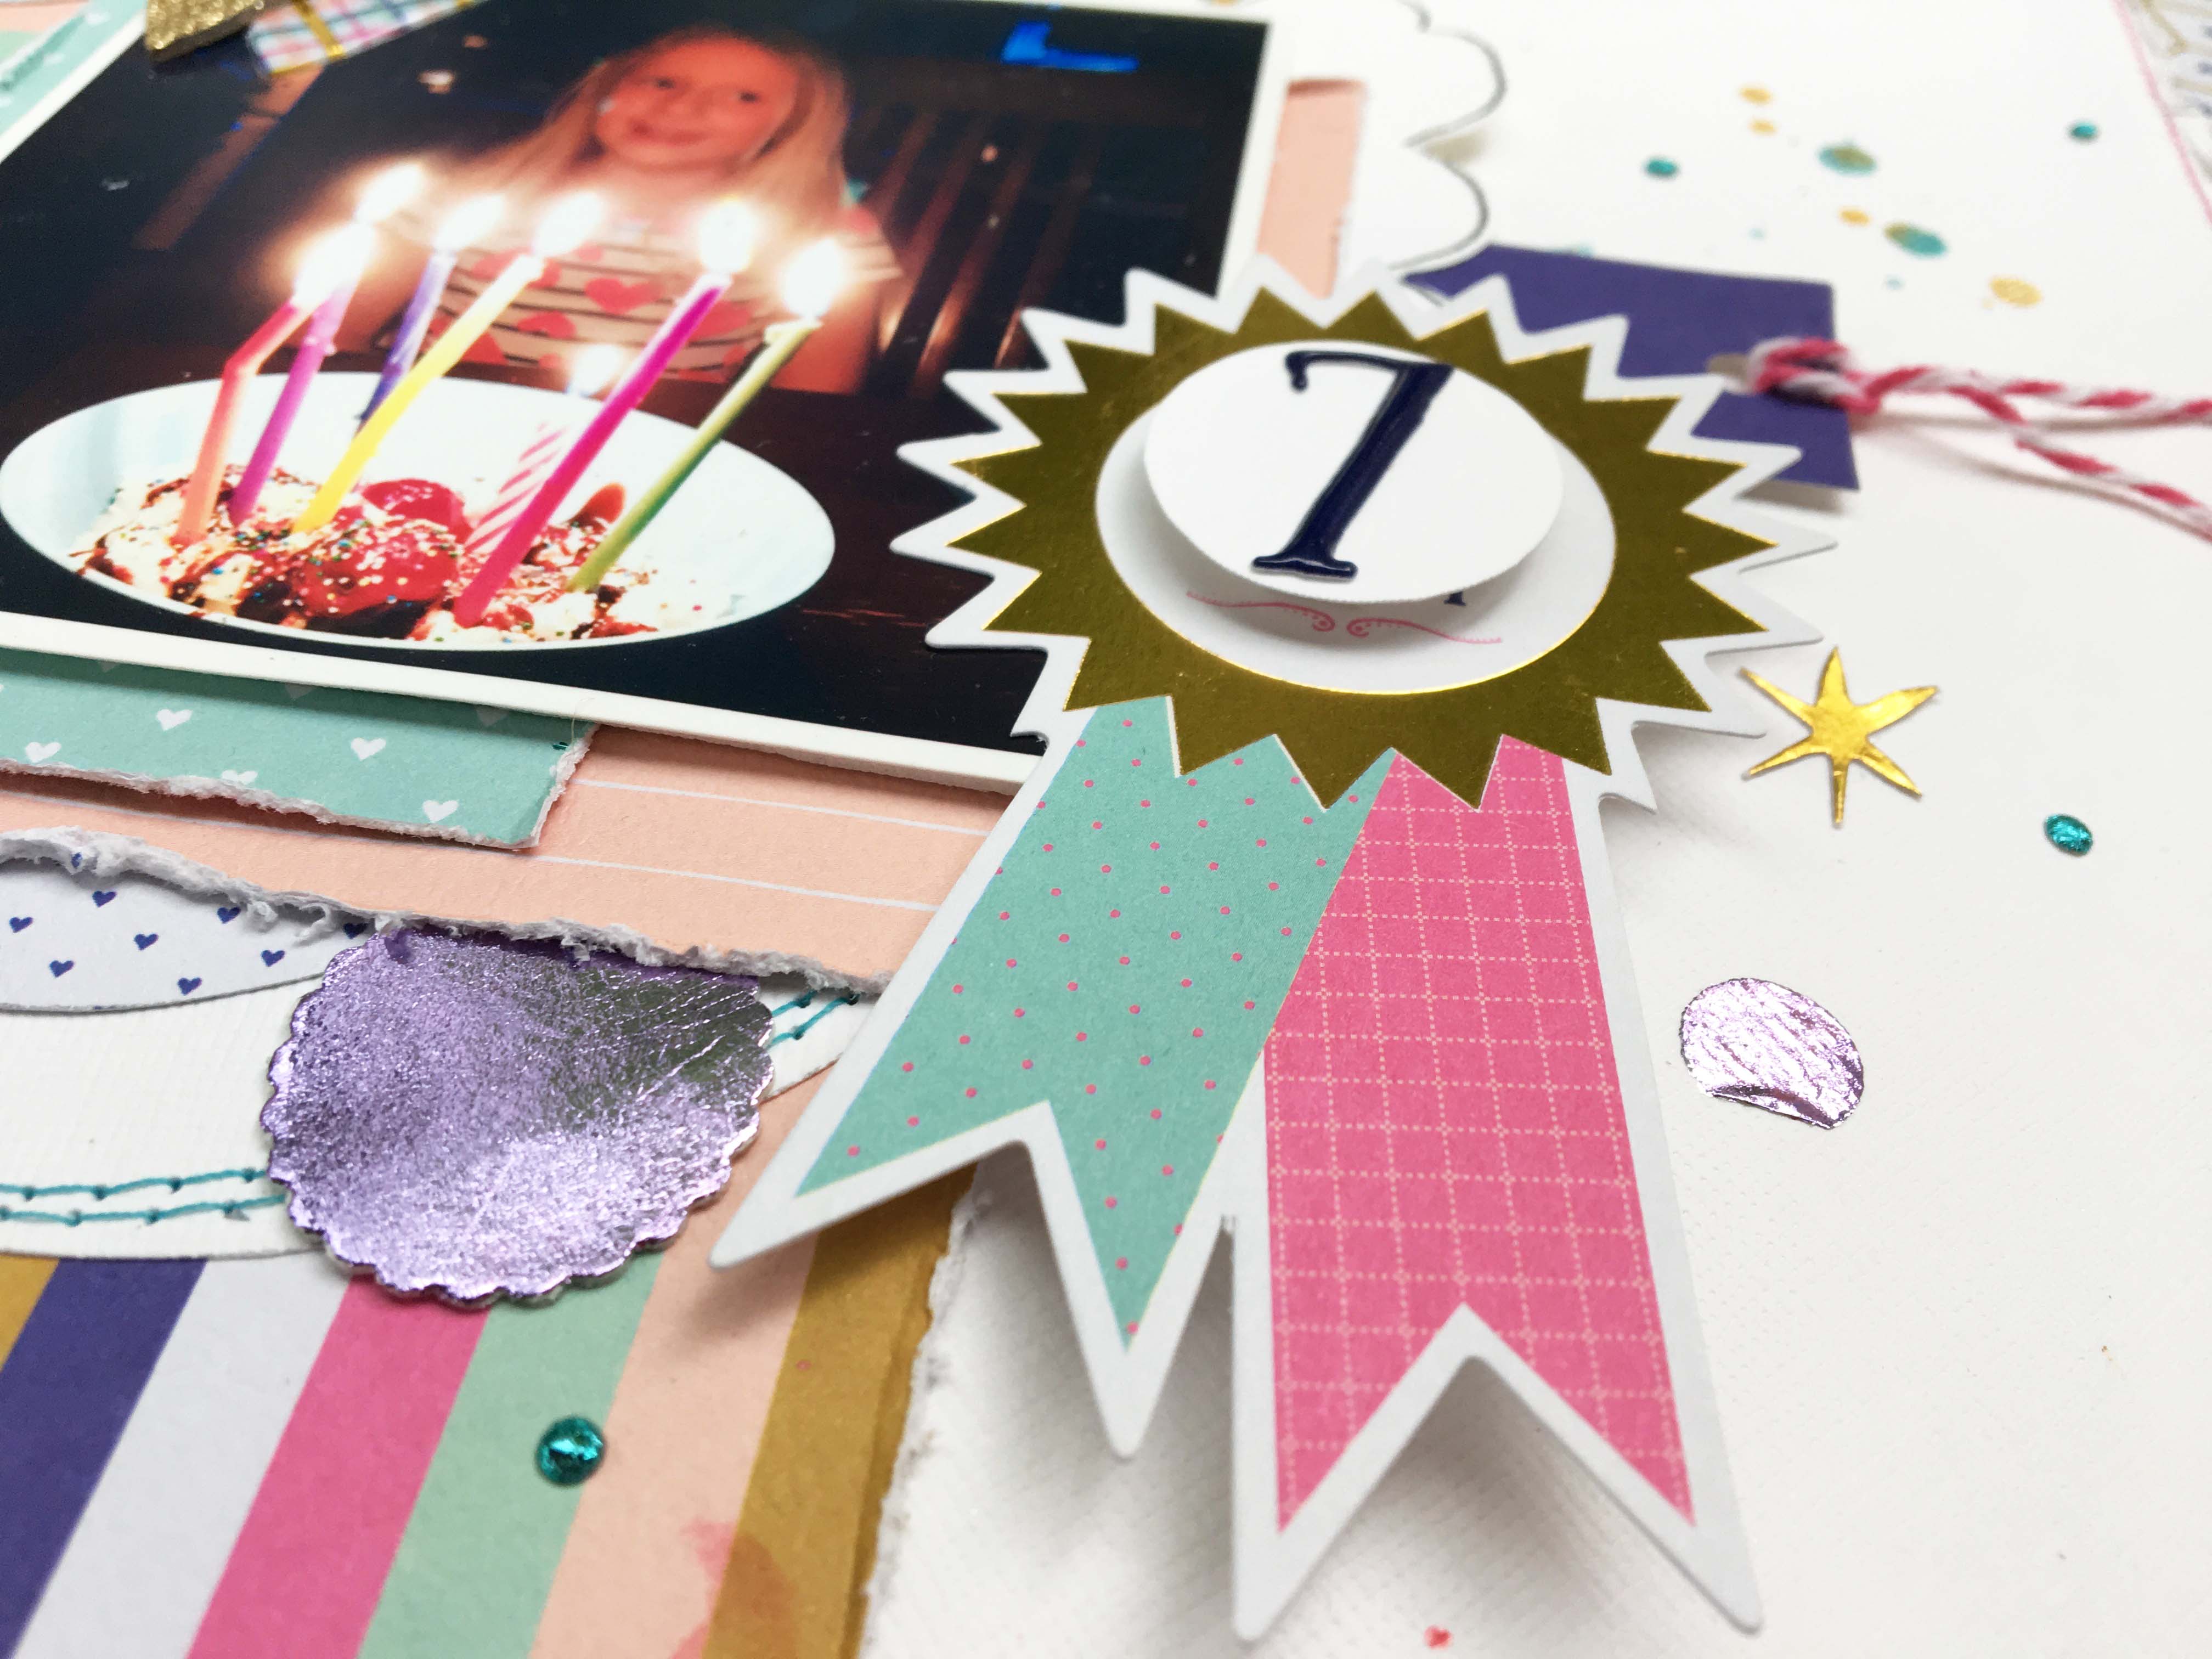
I created this layout about my daughters 7th birthday and wanted to add some more glitz besides the gold foiled ephemera and die cut pieces I already had, and I also wanted to bring in a bit more color.
Celebrating You Project Supplies:
DecoFoil™ Foam Adhesive
Lilac DecoFoil™ Transfer Sheets
iCraft® Easy-Cut Adhesive Sheets
Celebrating You Layout Project Instructions and Tips:
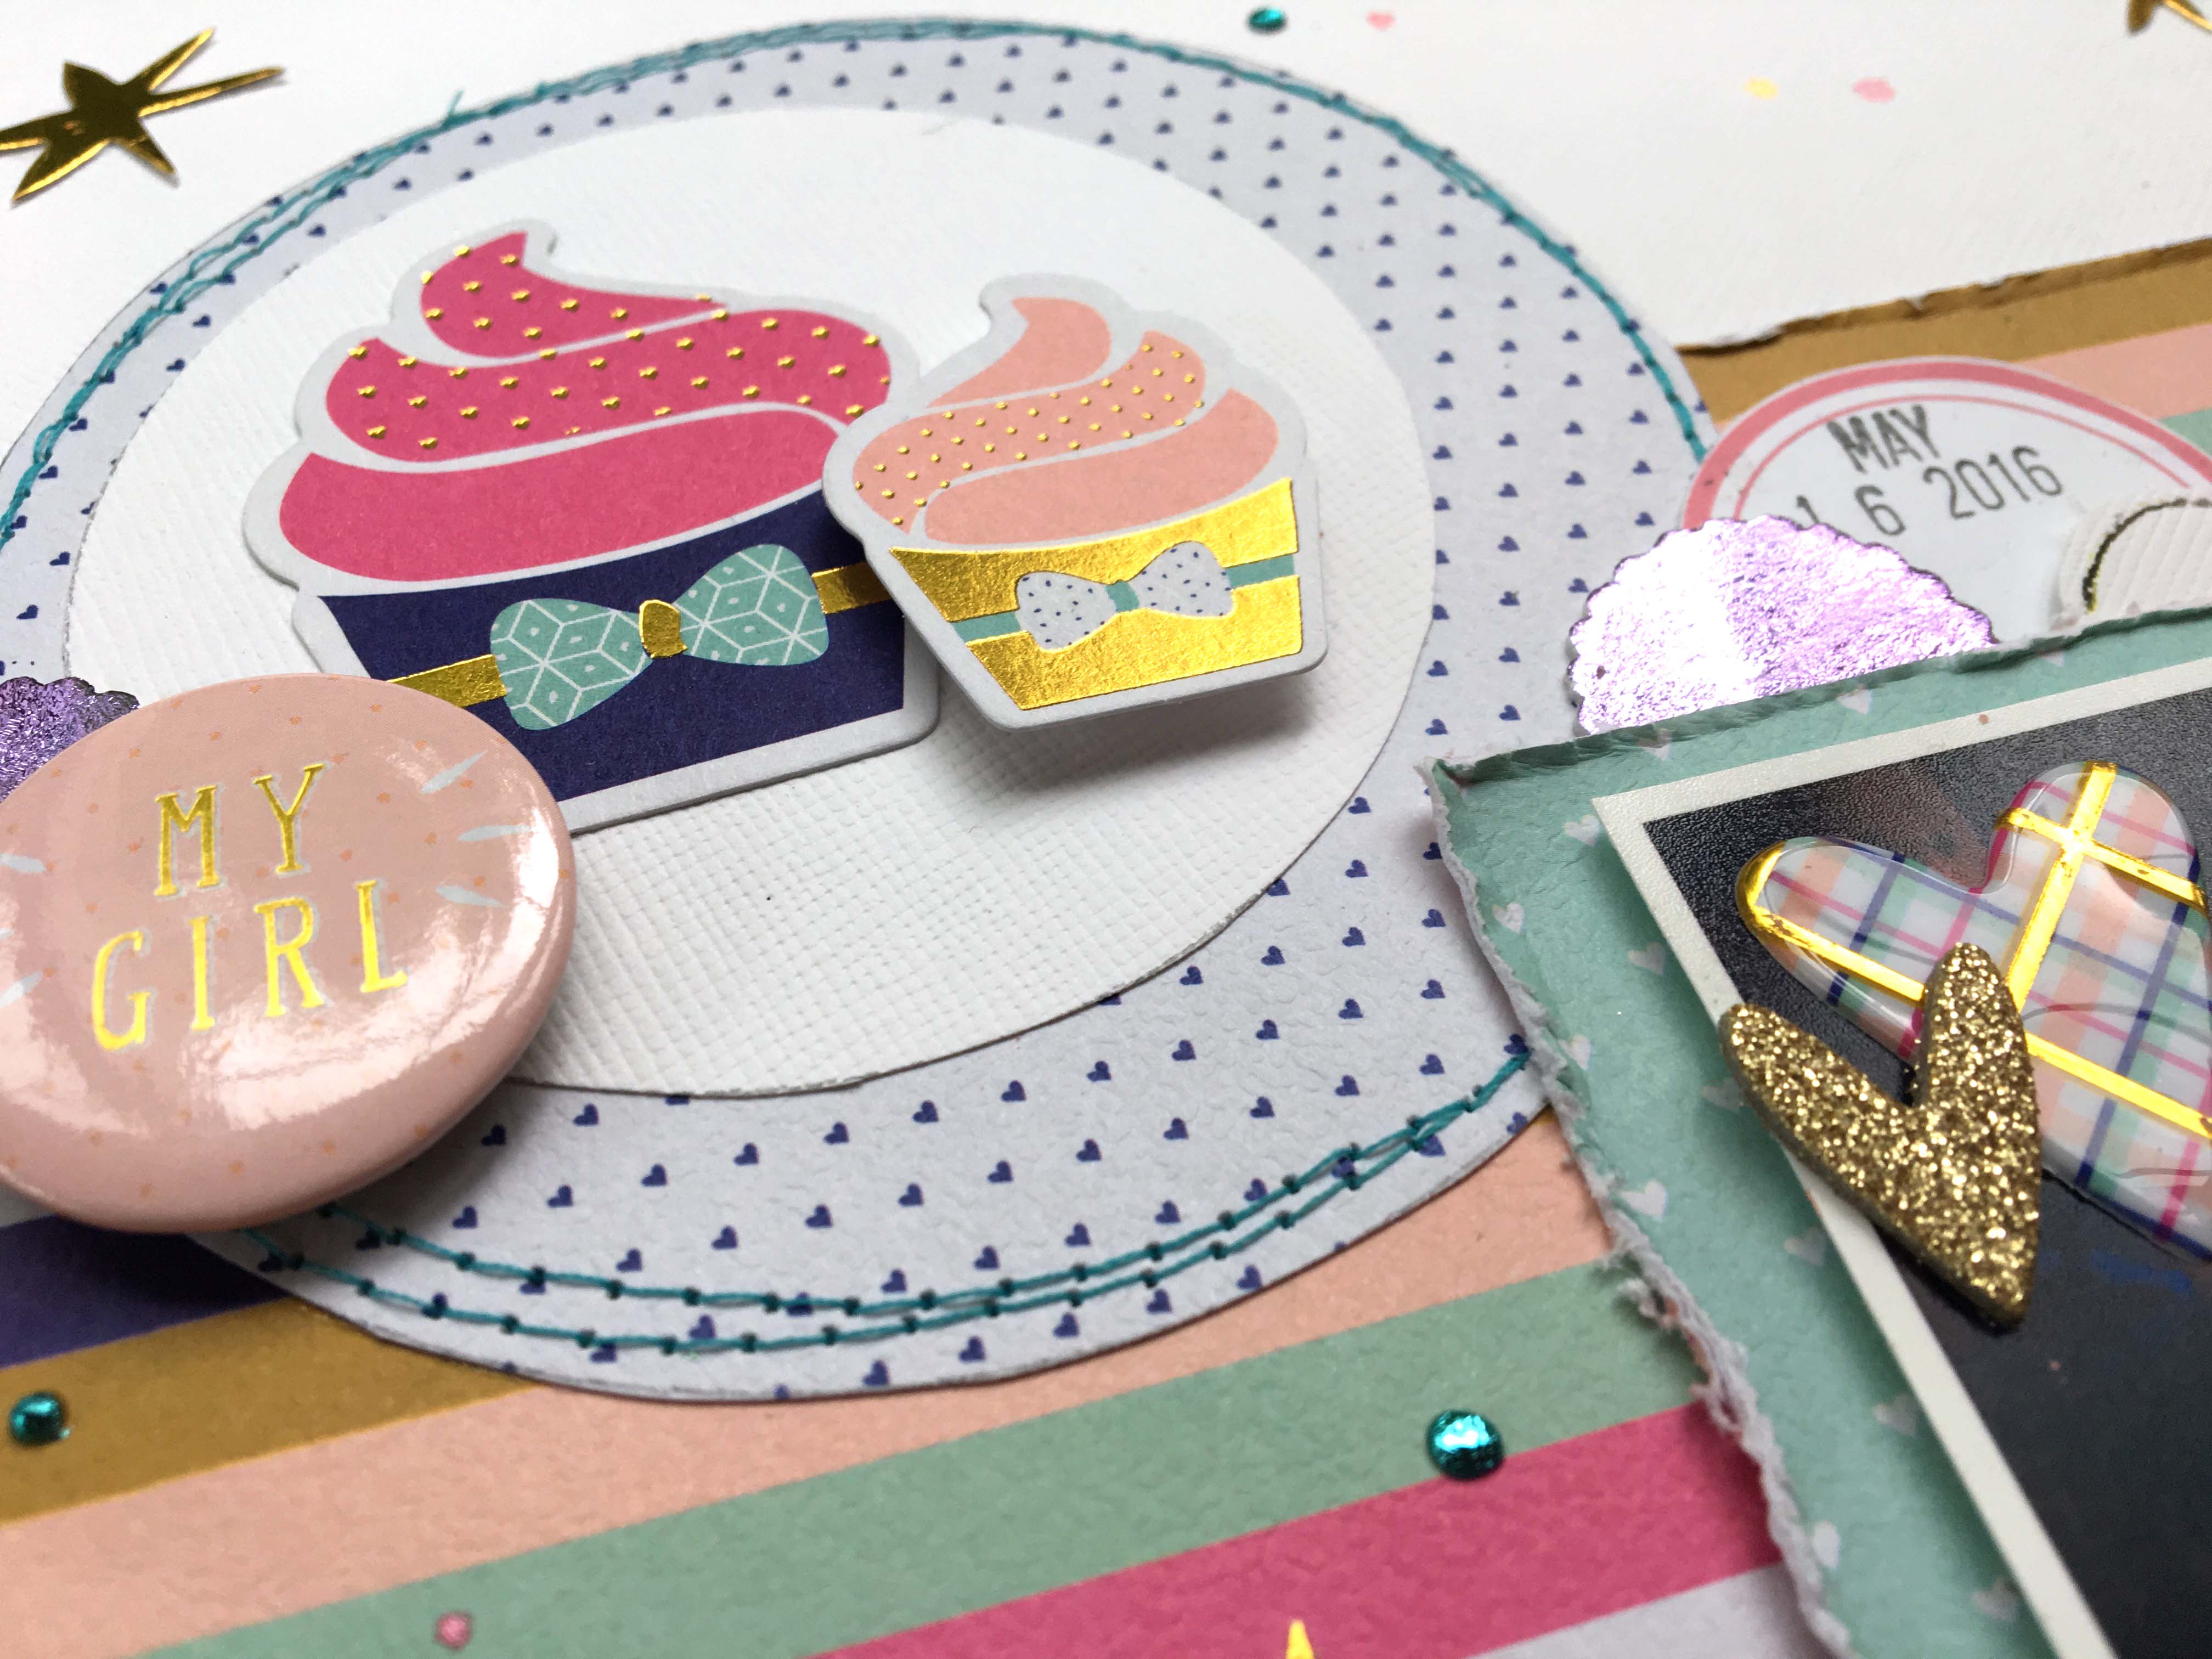
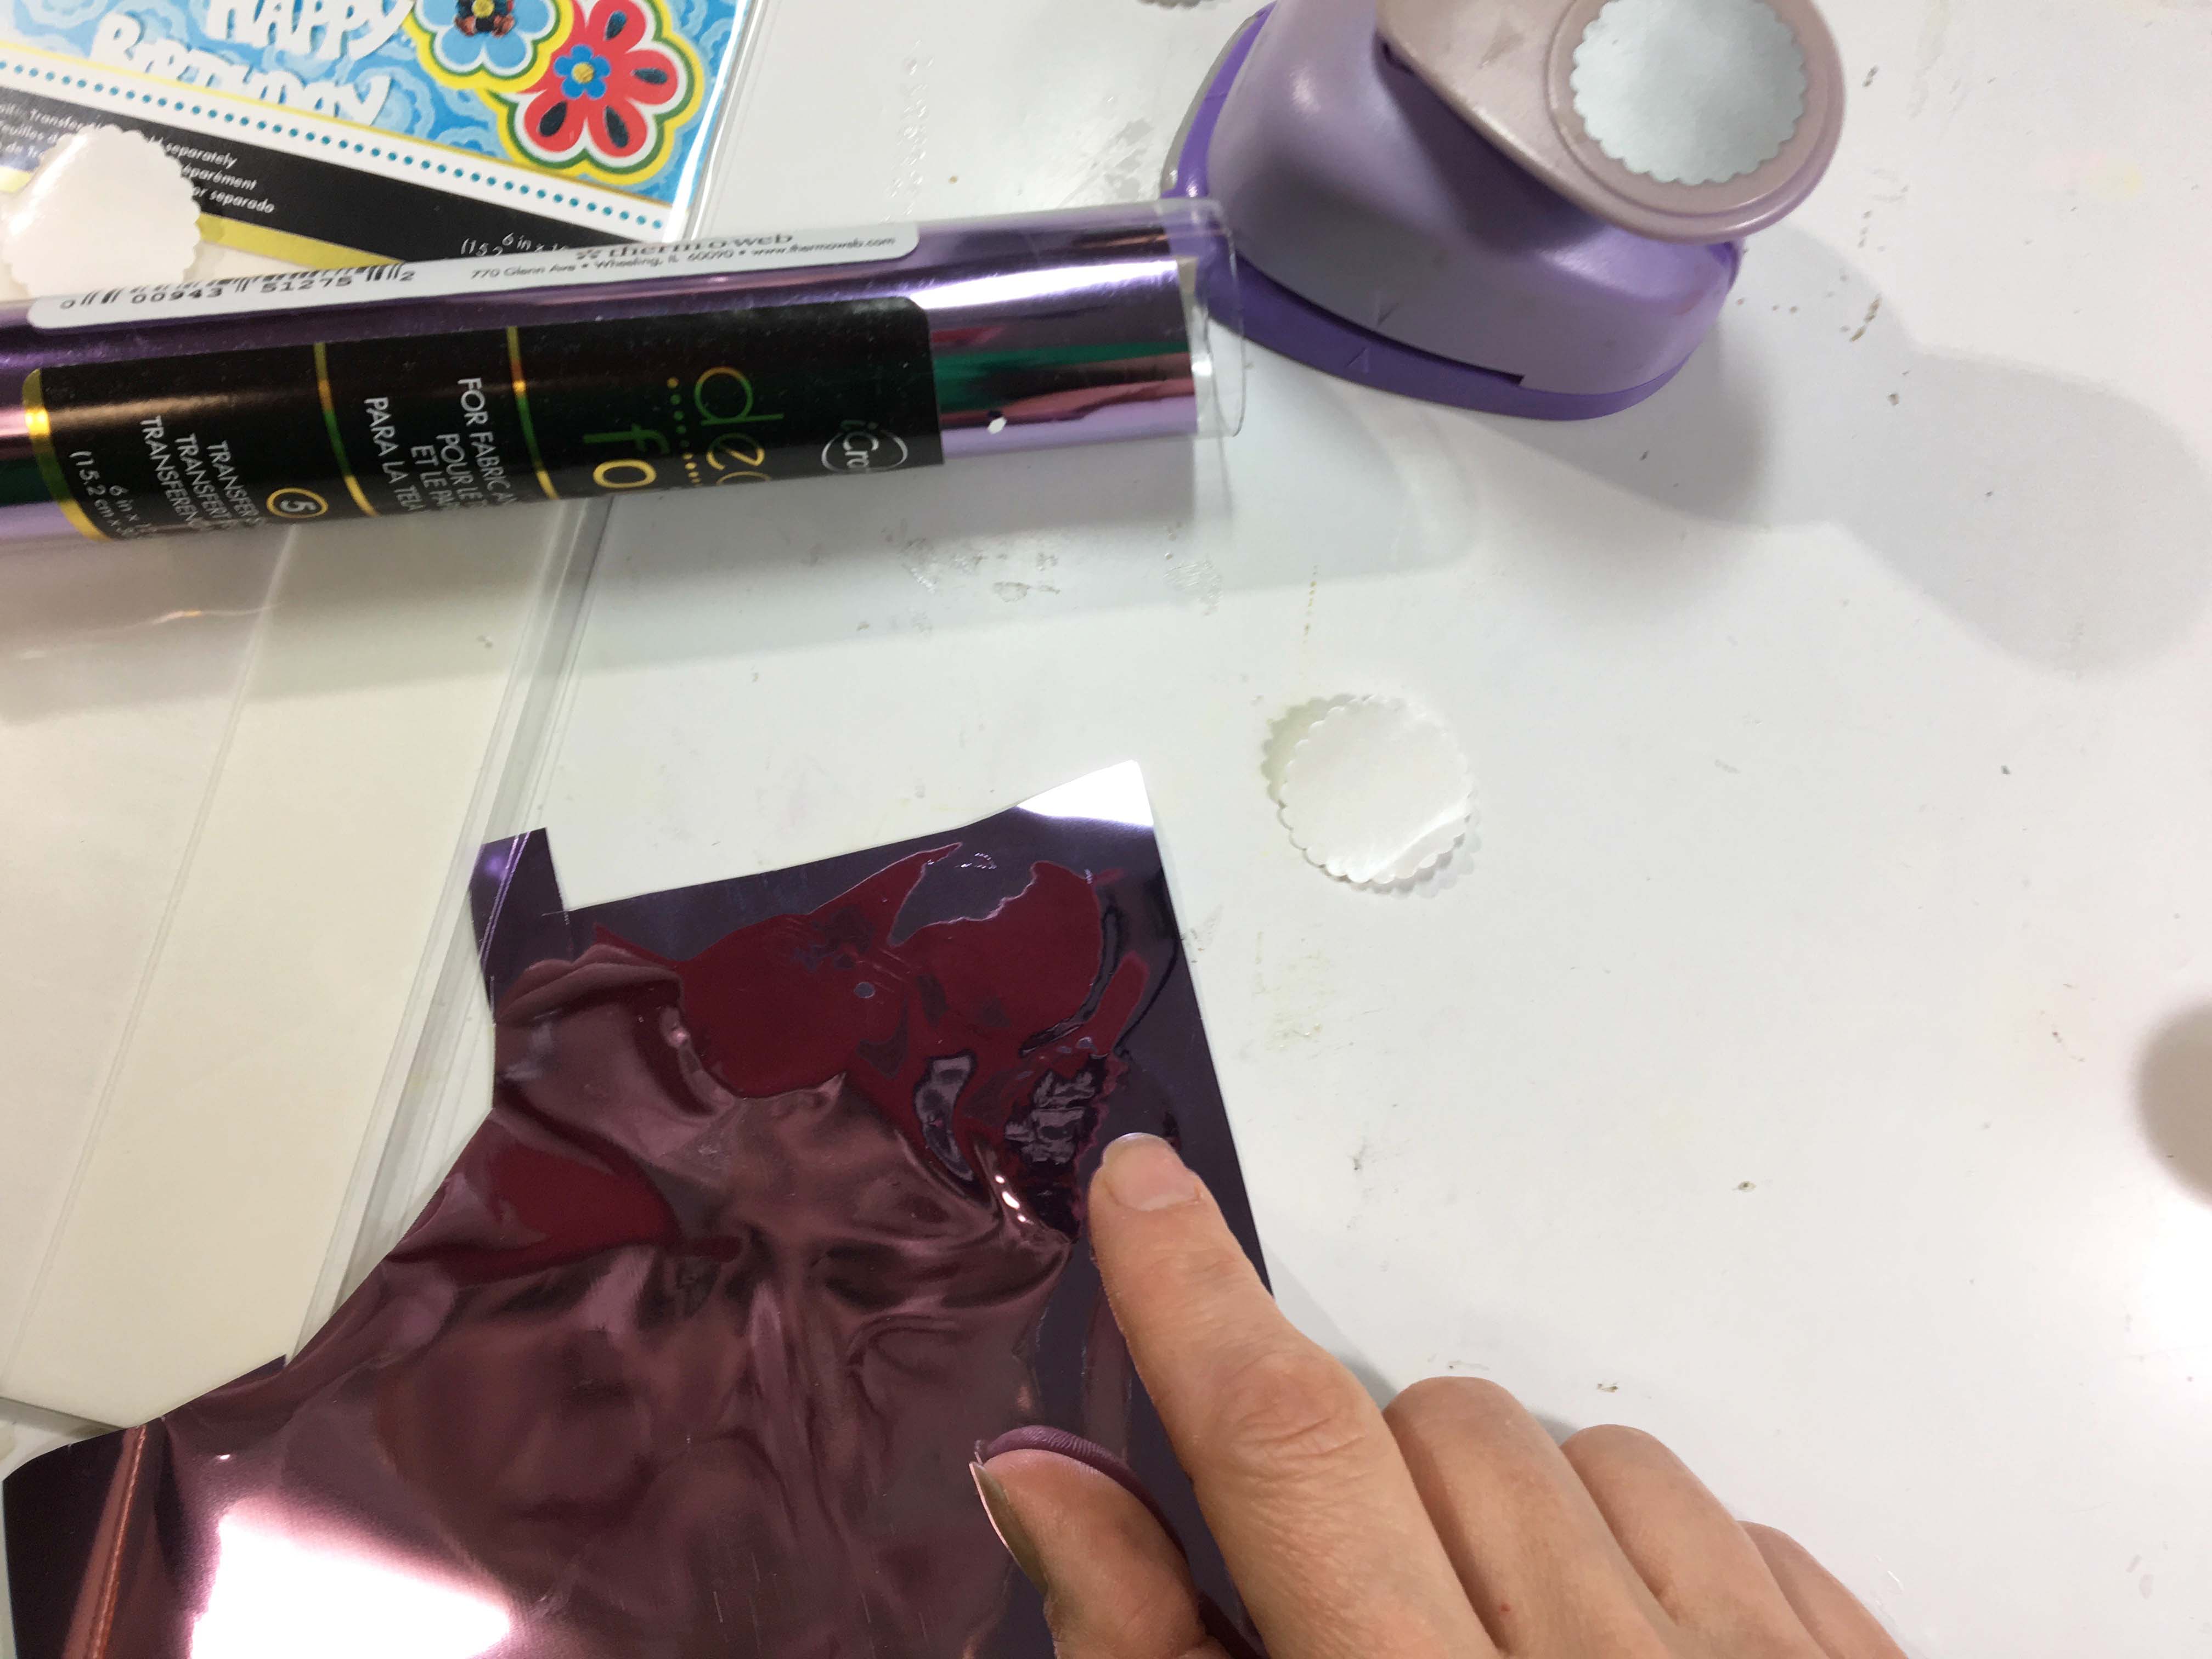
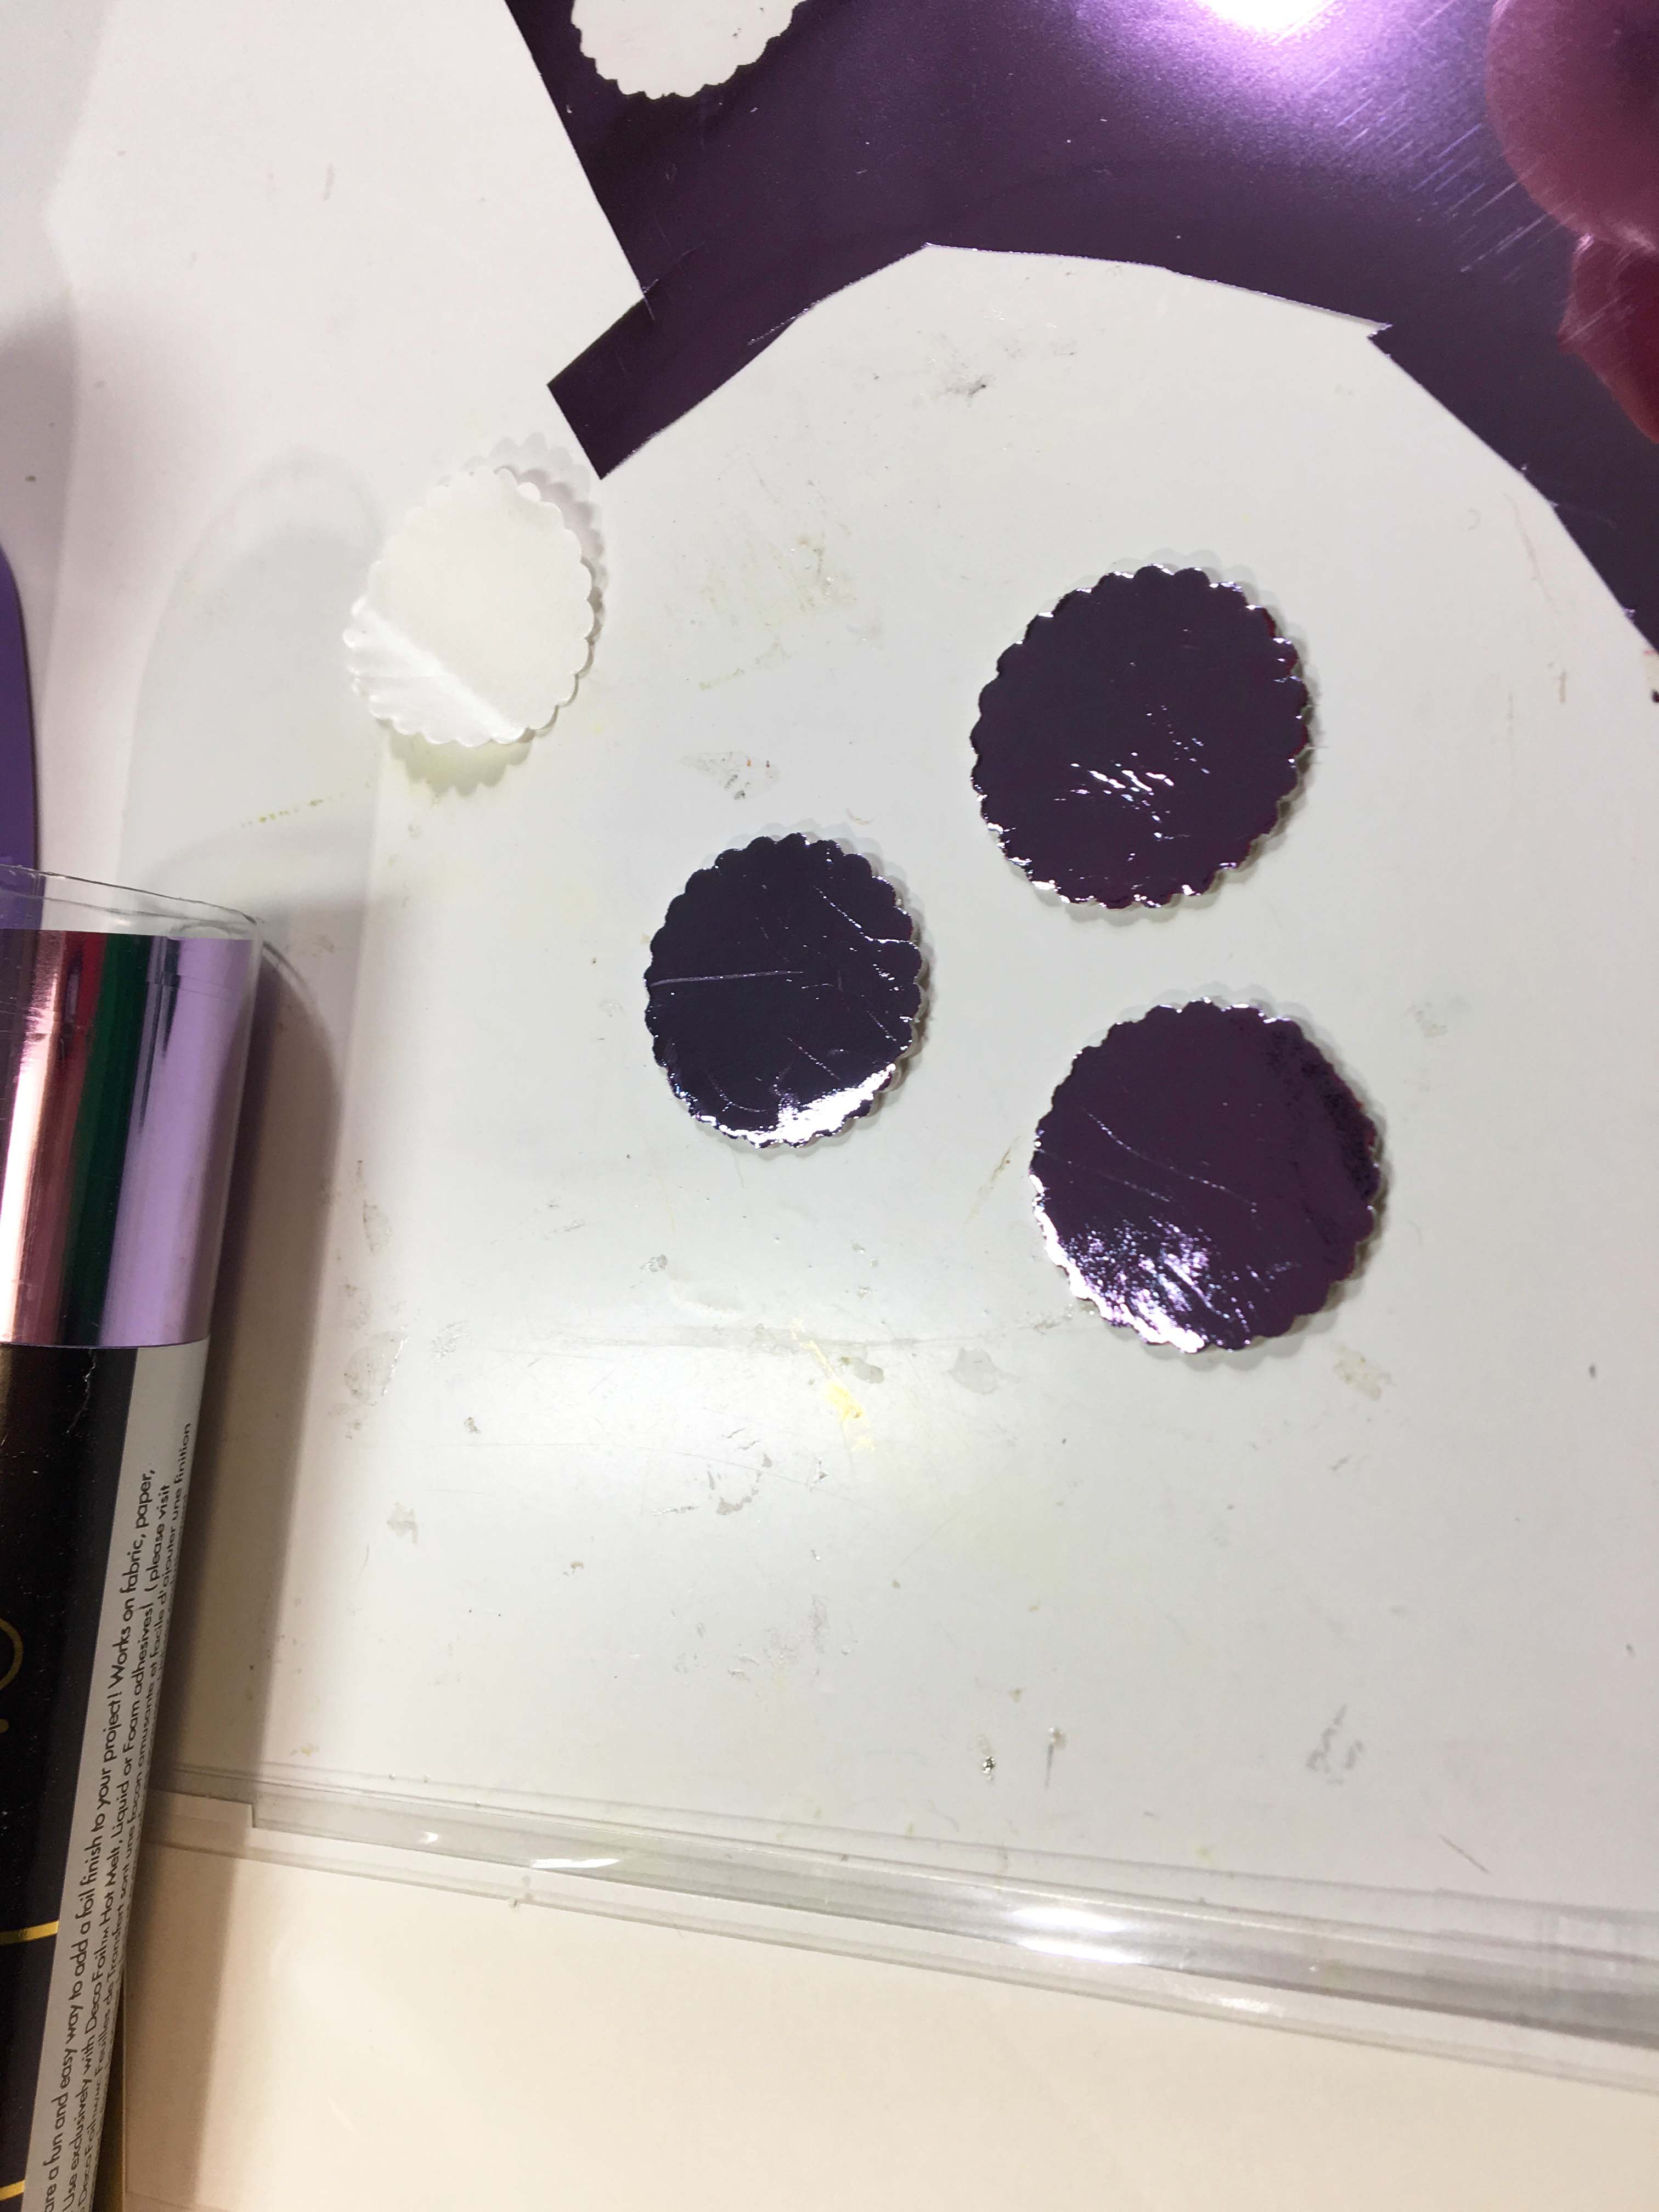
I first used some DecoFoil™ Foam Adhesive and a small scalloped circle punch with some Lilac DecoFoil™ Transfer Sheets. I simply punched the shapes from the foam and used my finger to rub the foil over the top. Then I placed the circles on my page by peeling the paper off the back of the foam. So simple and one of my favorite ways to add foil to a page!

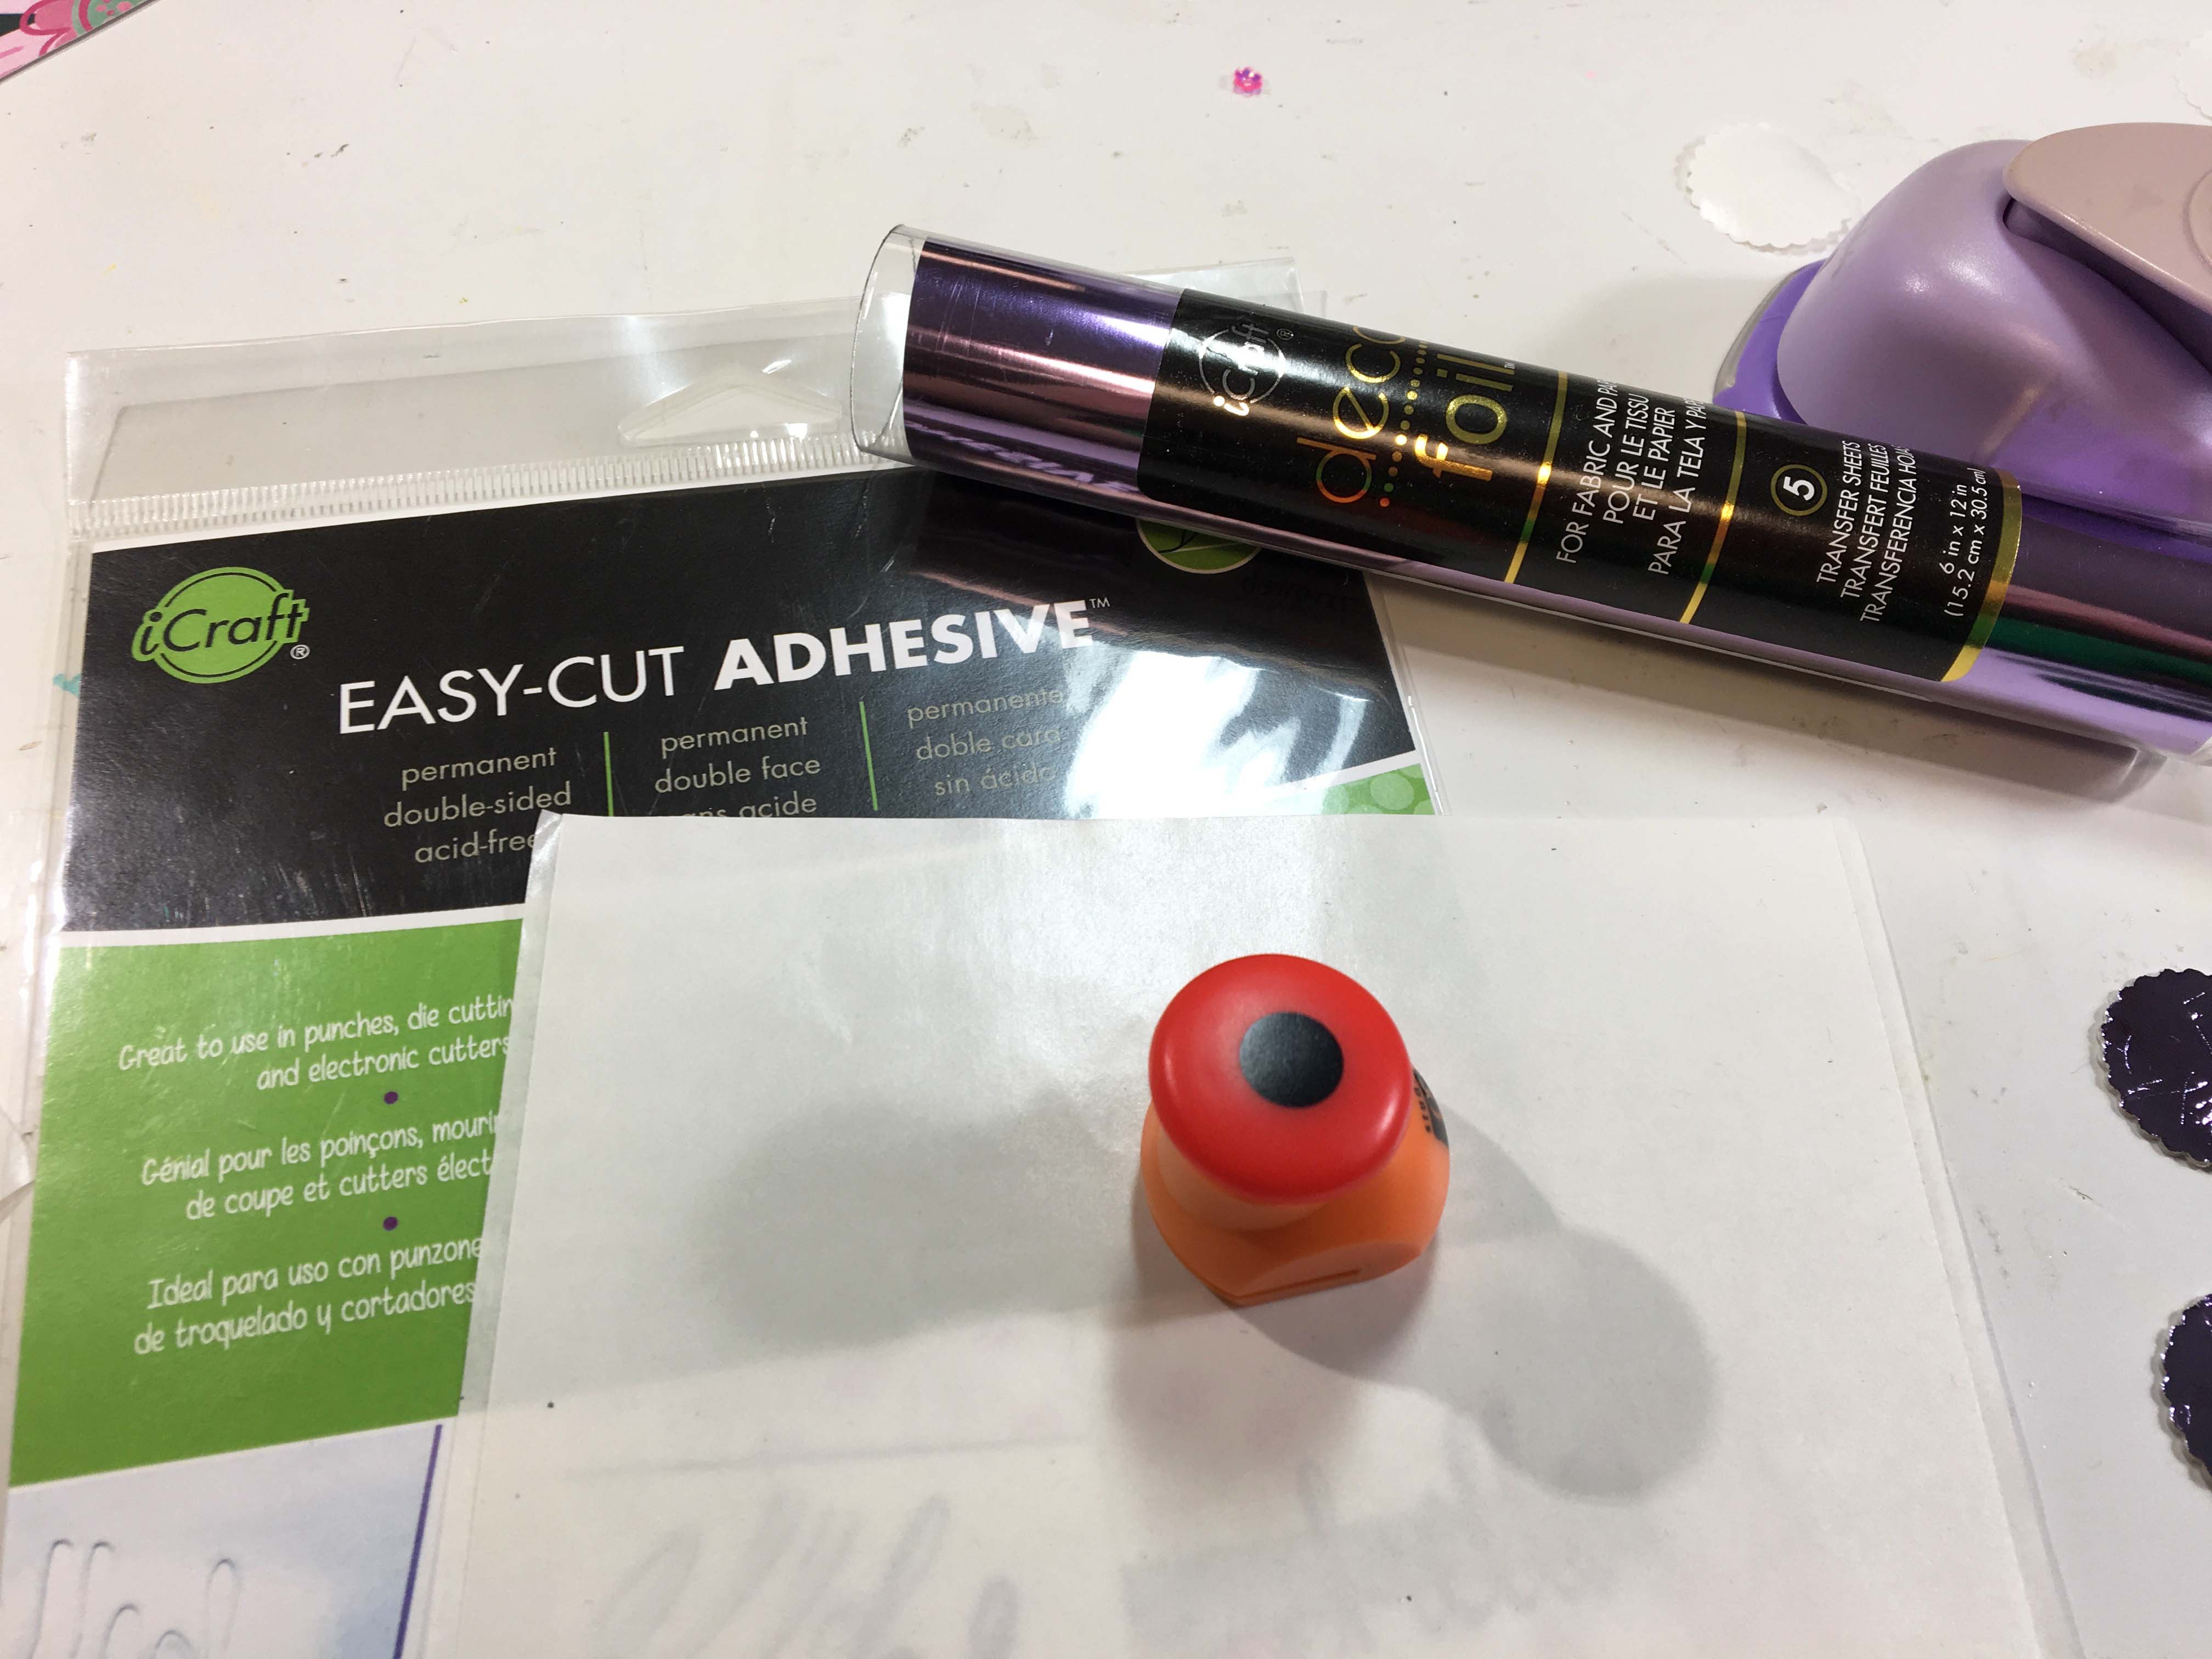
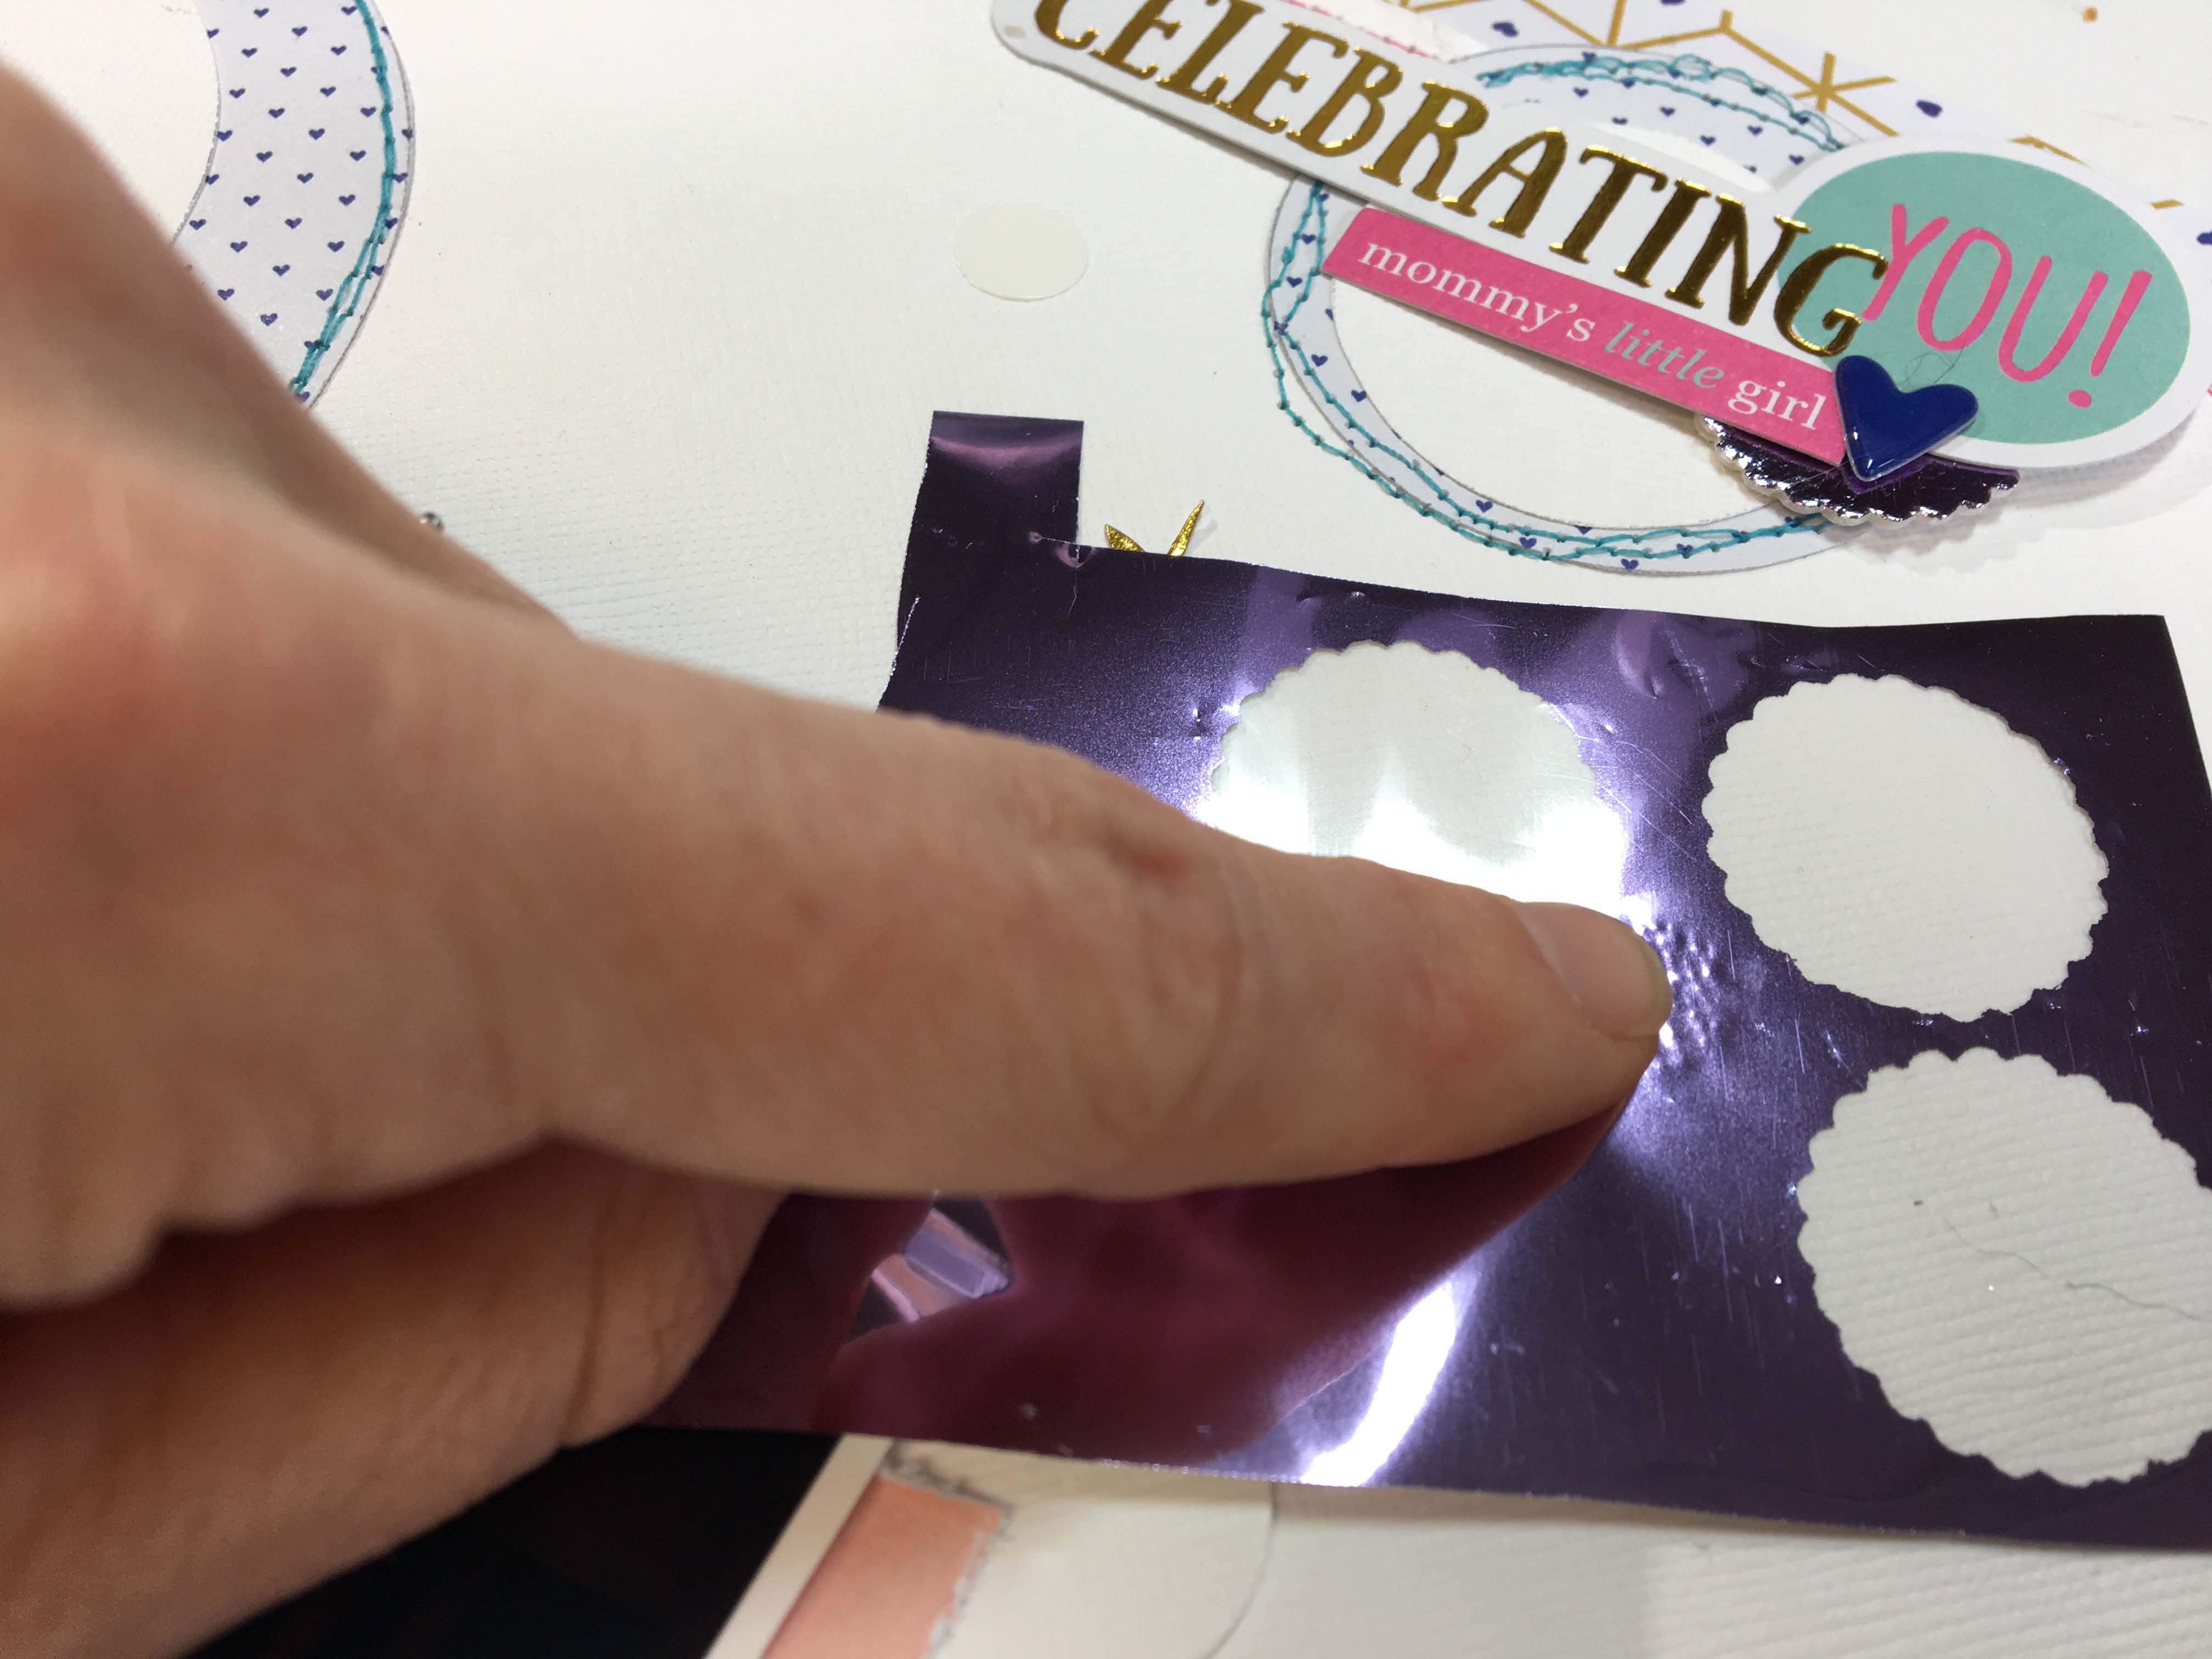
Next, I used some double sided iCraft® Easy-Cut adhesive sheets and an even smaller circle punch. These work very similarly to the foam sheets except they don’t have the height that the foam does. I punched the shapes first and then applied them directly to my page. I then peeled the paper layer from the top and rubbed the foil on. This method always works great as well!
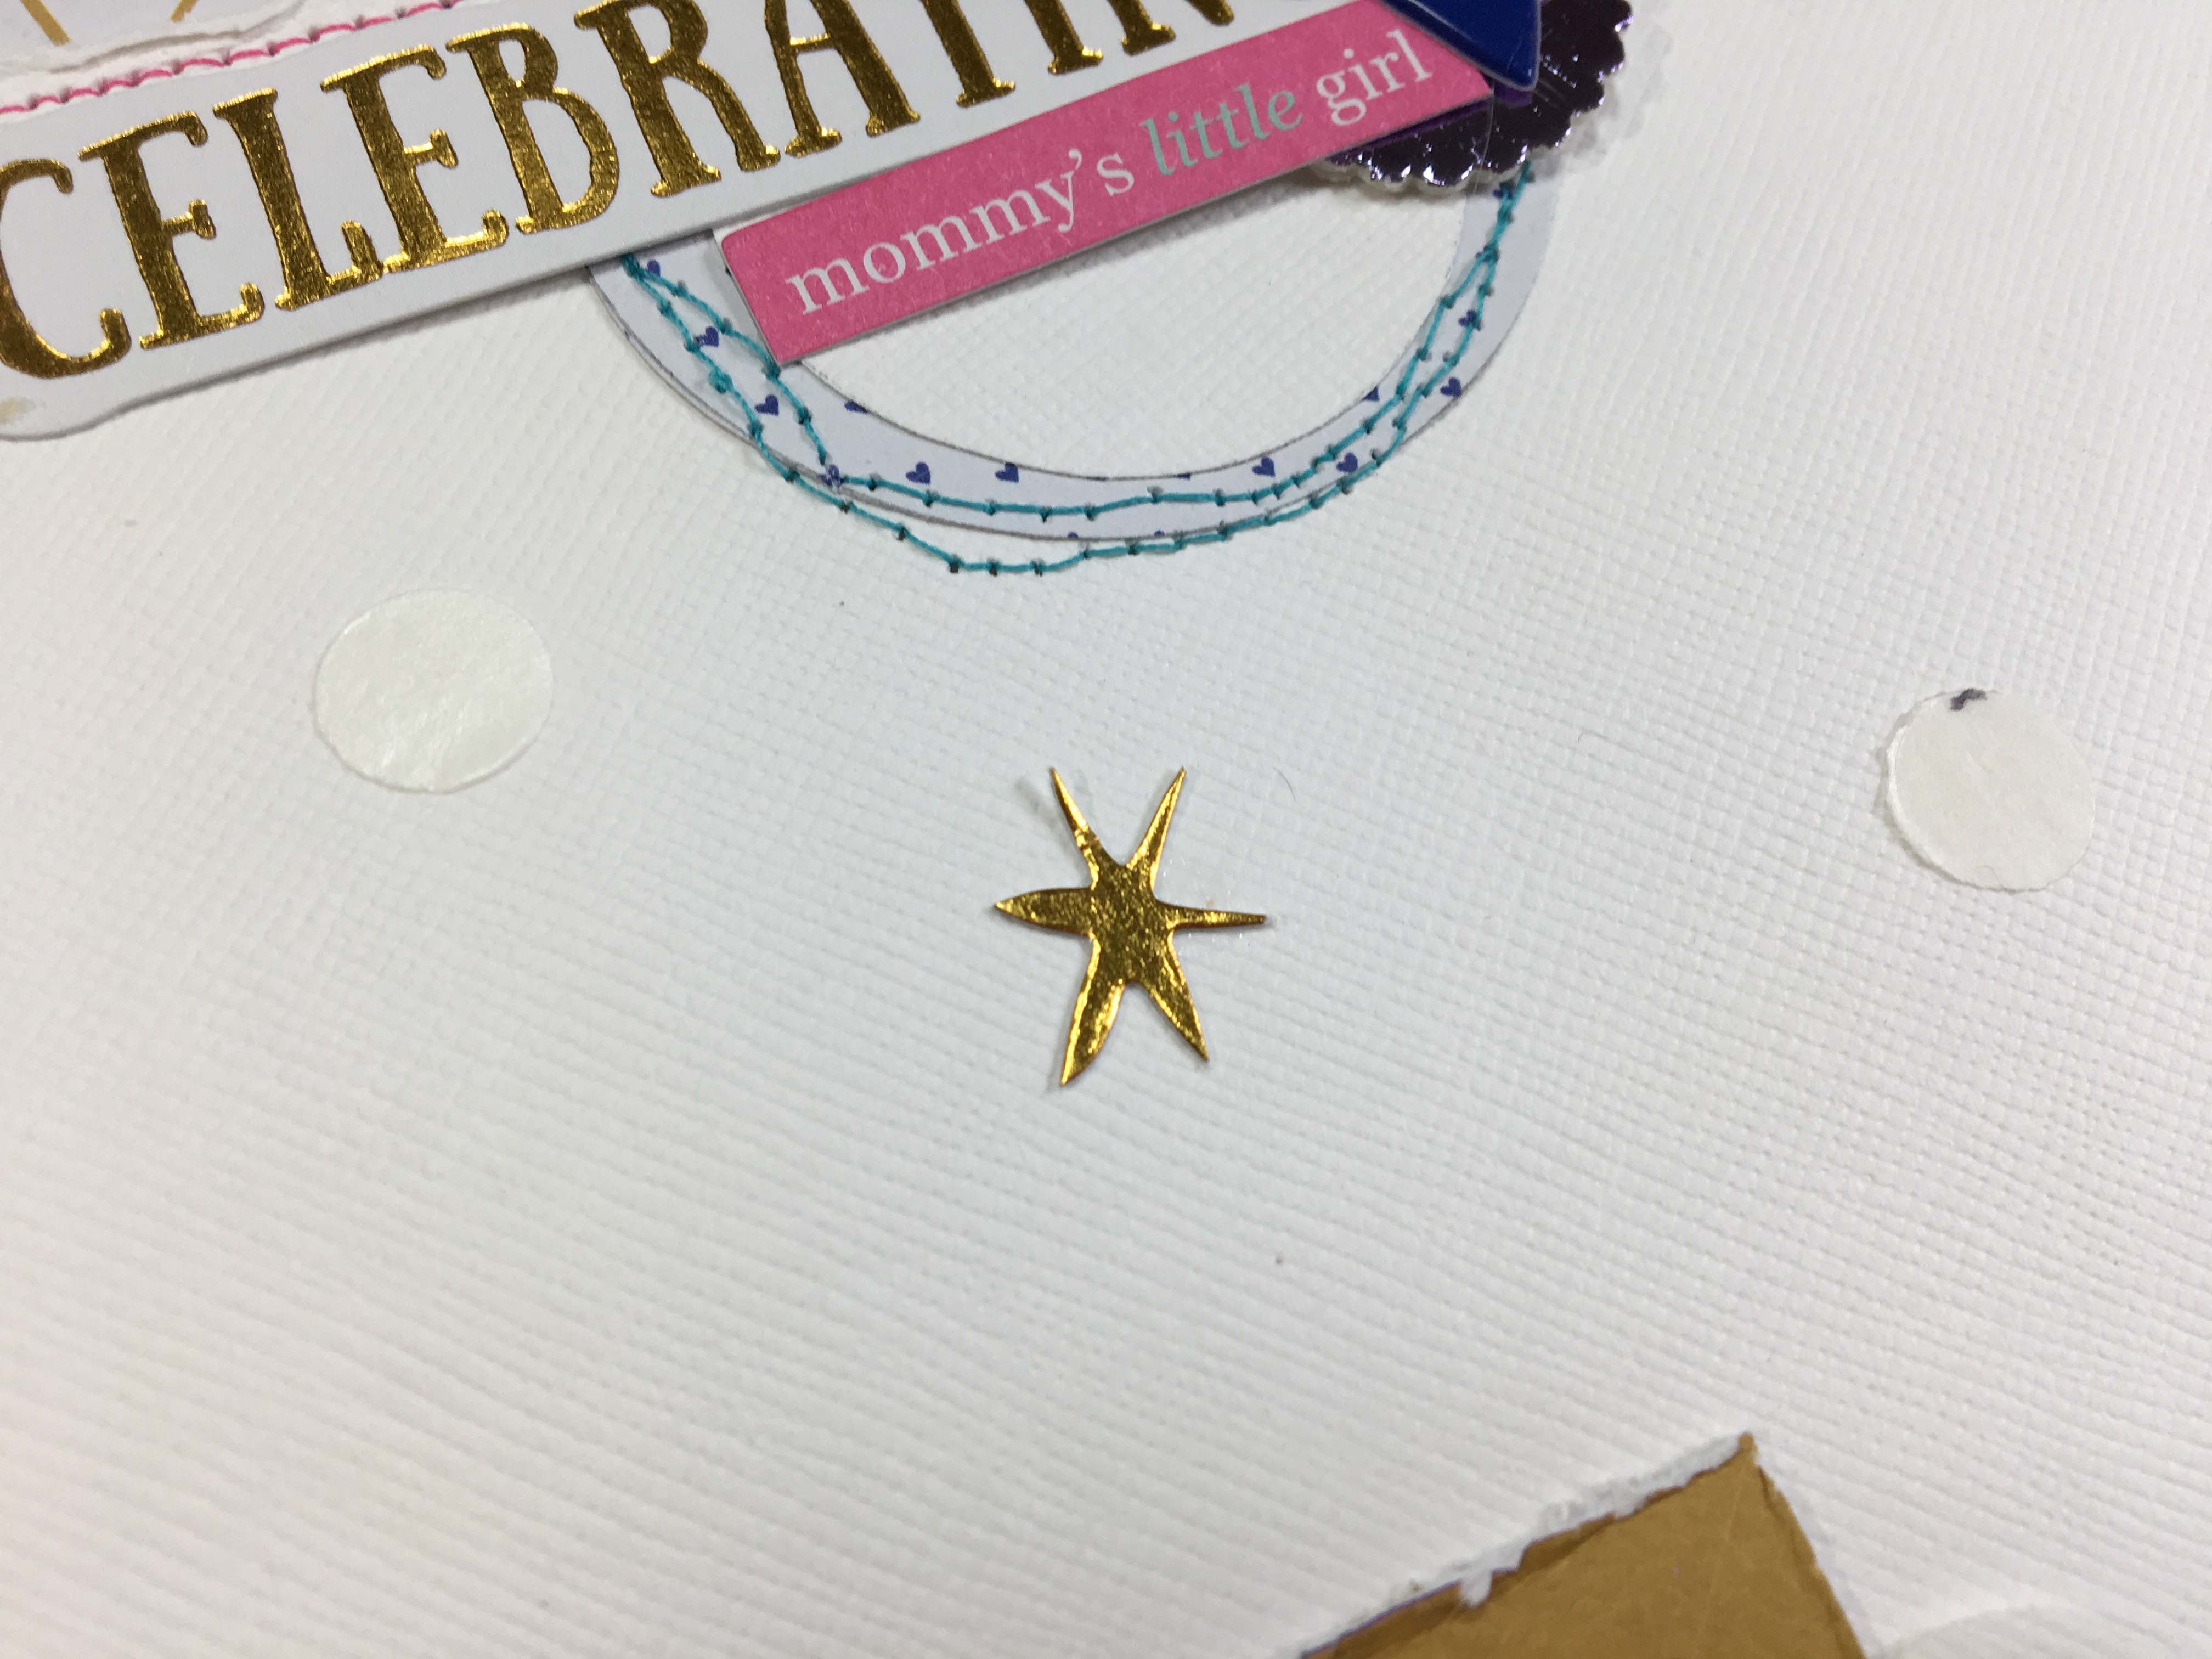
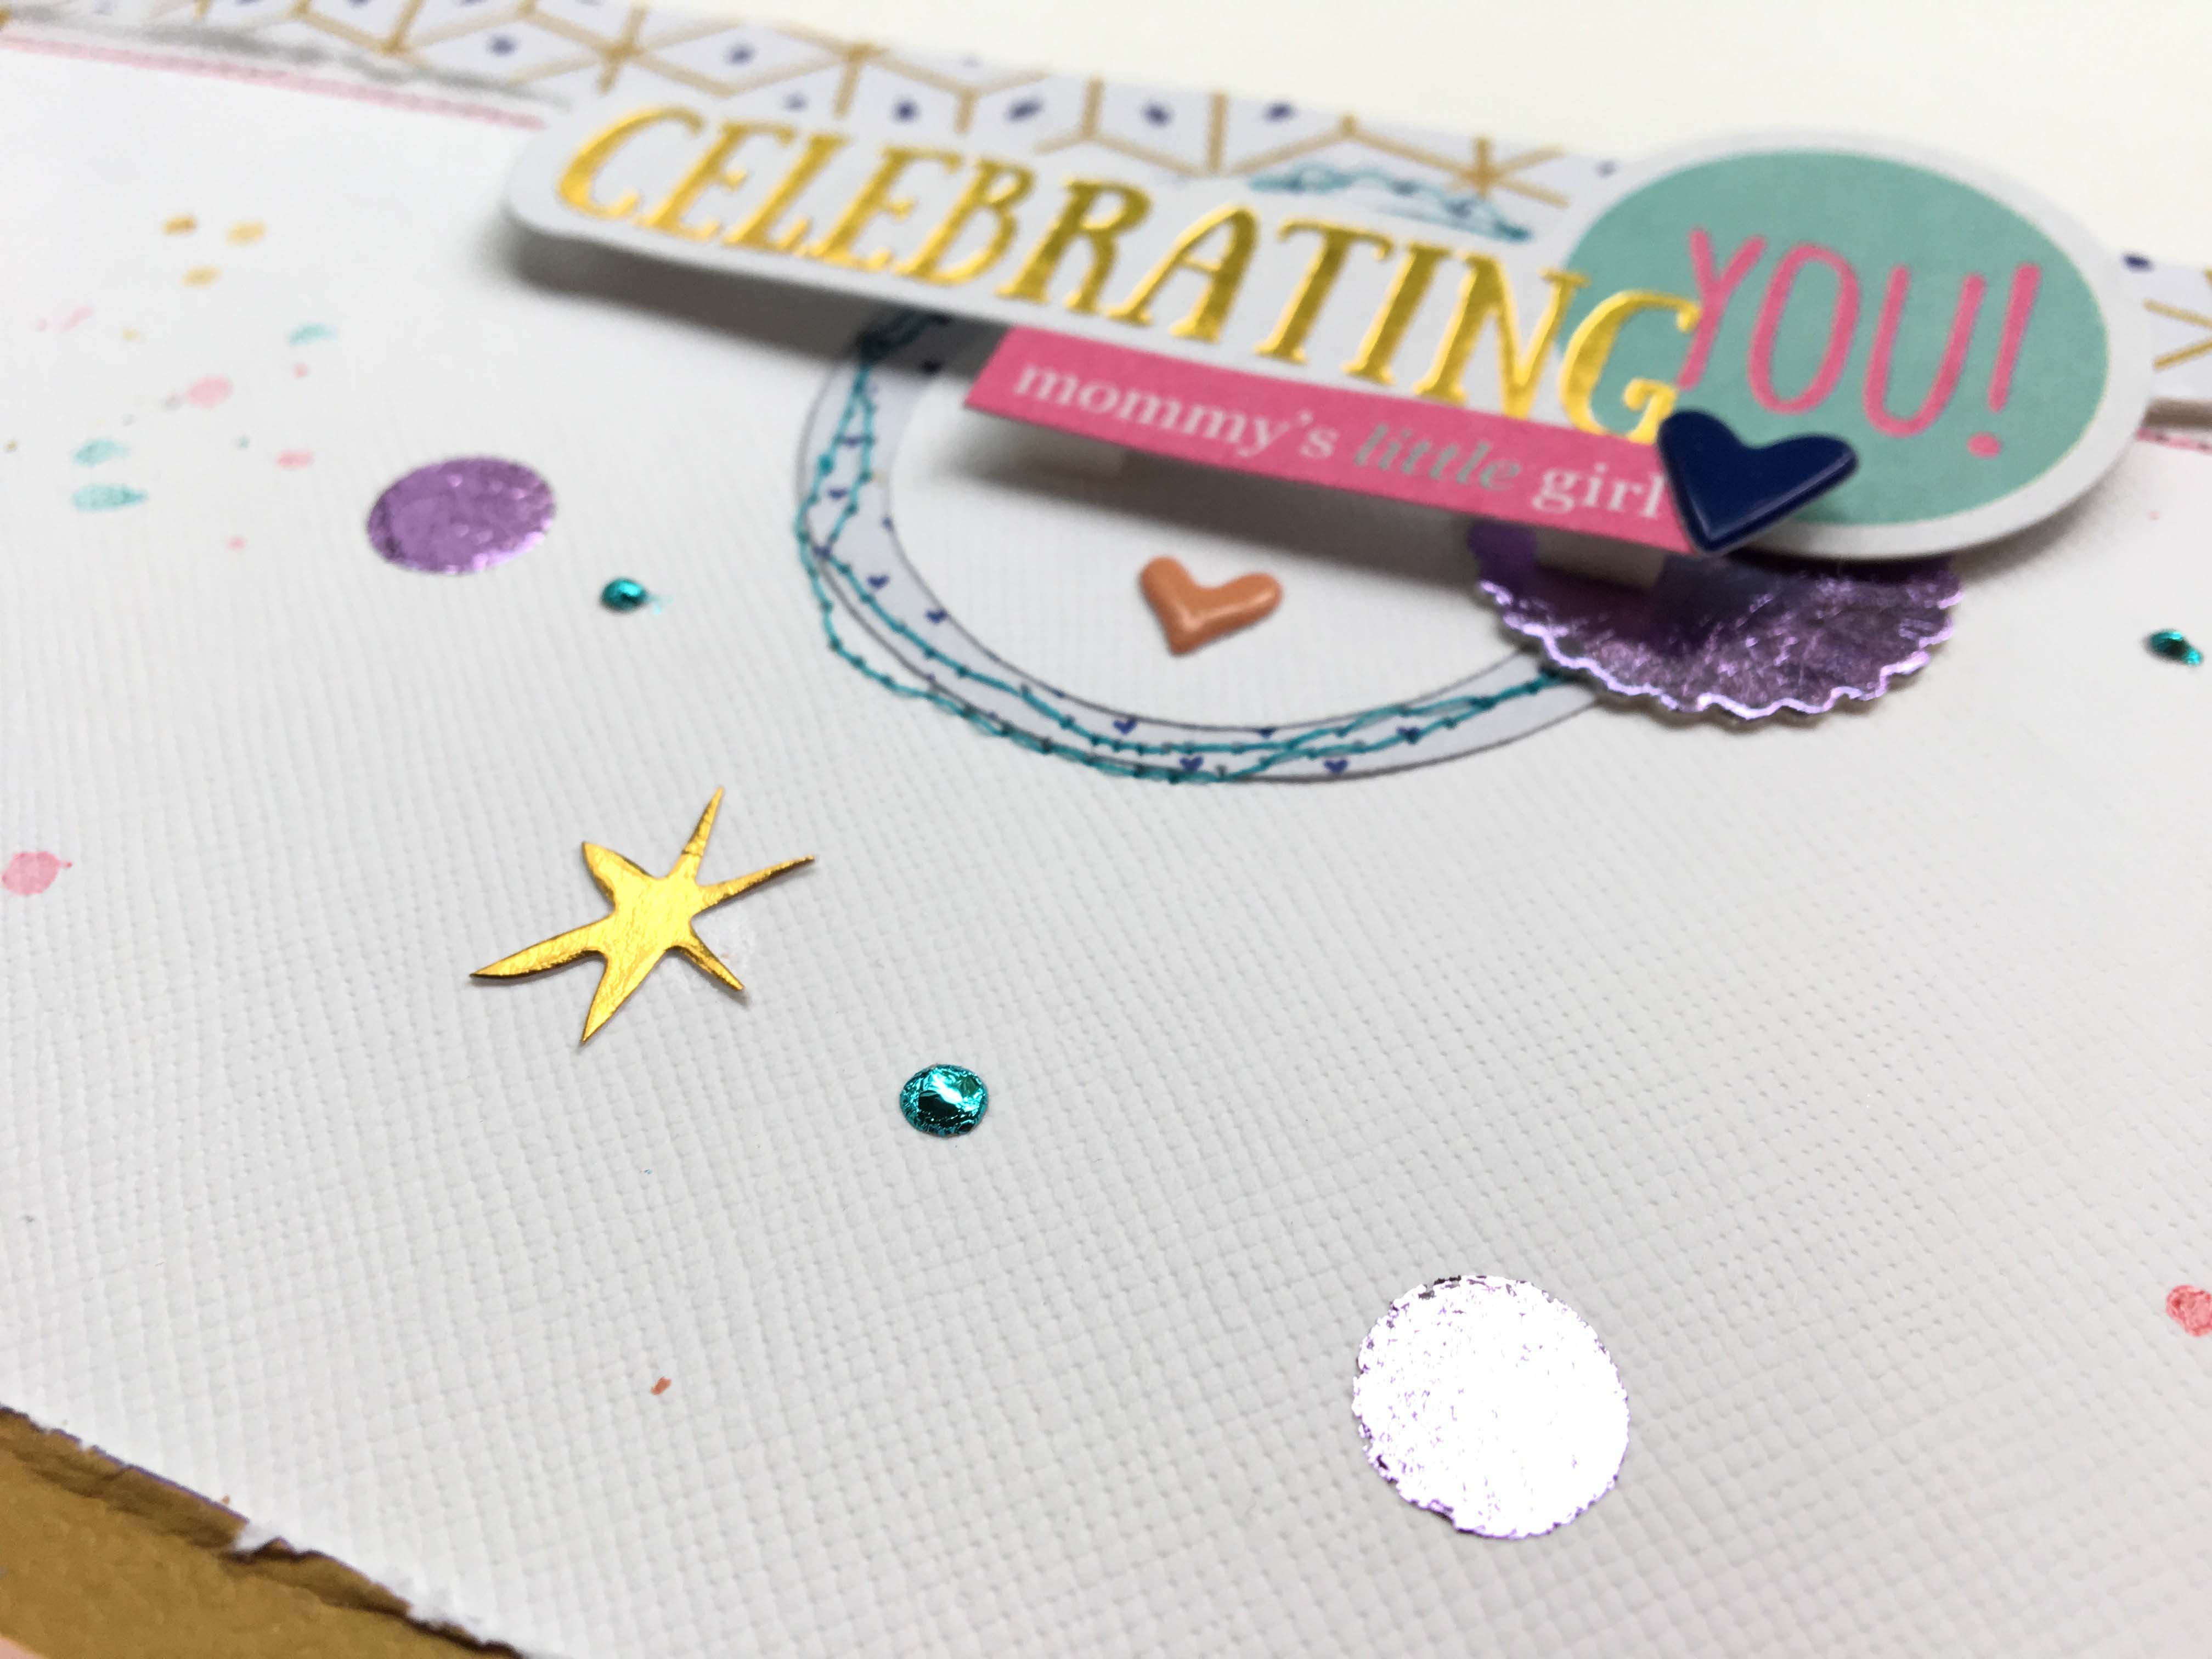
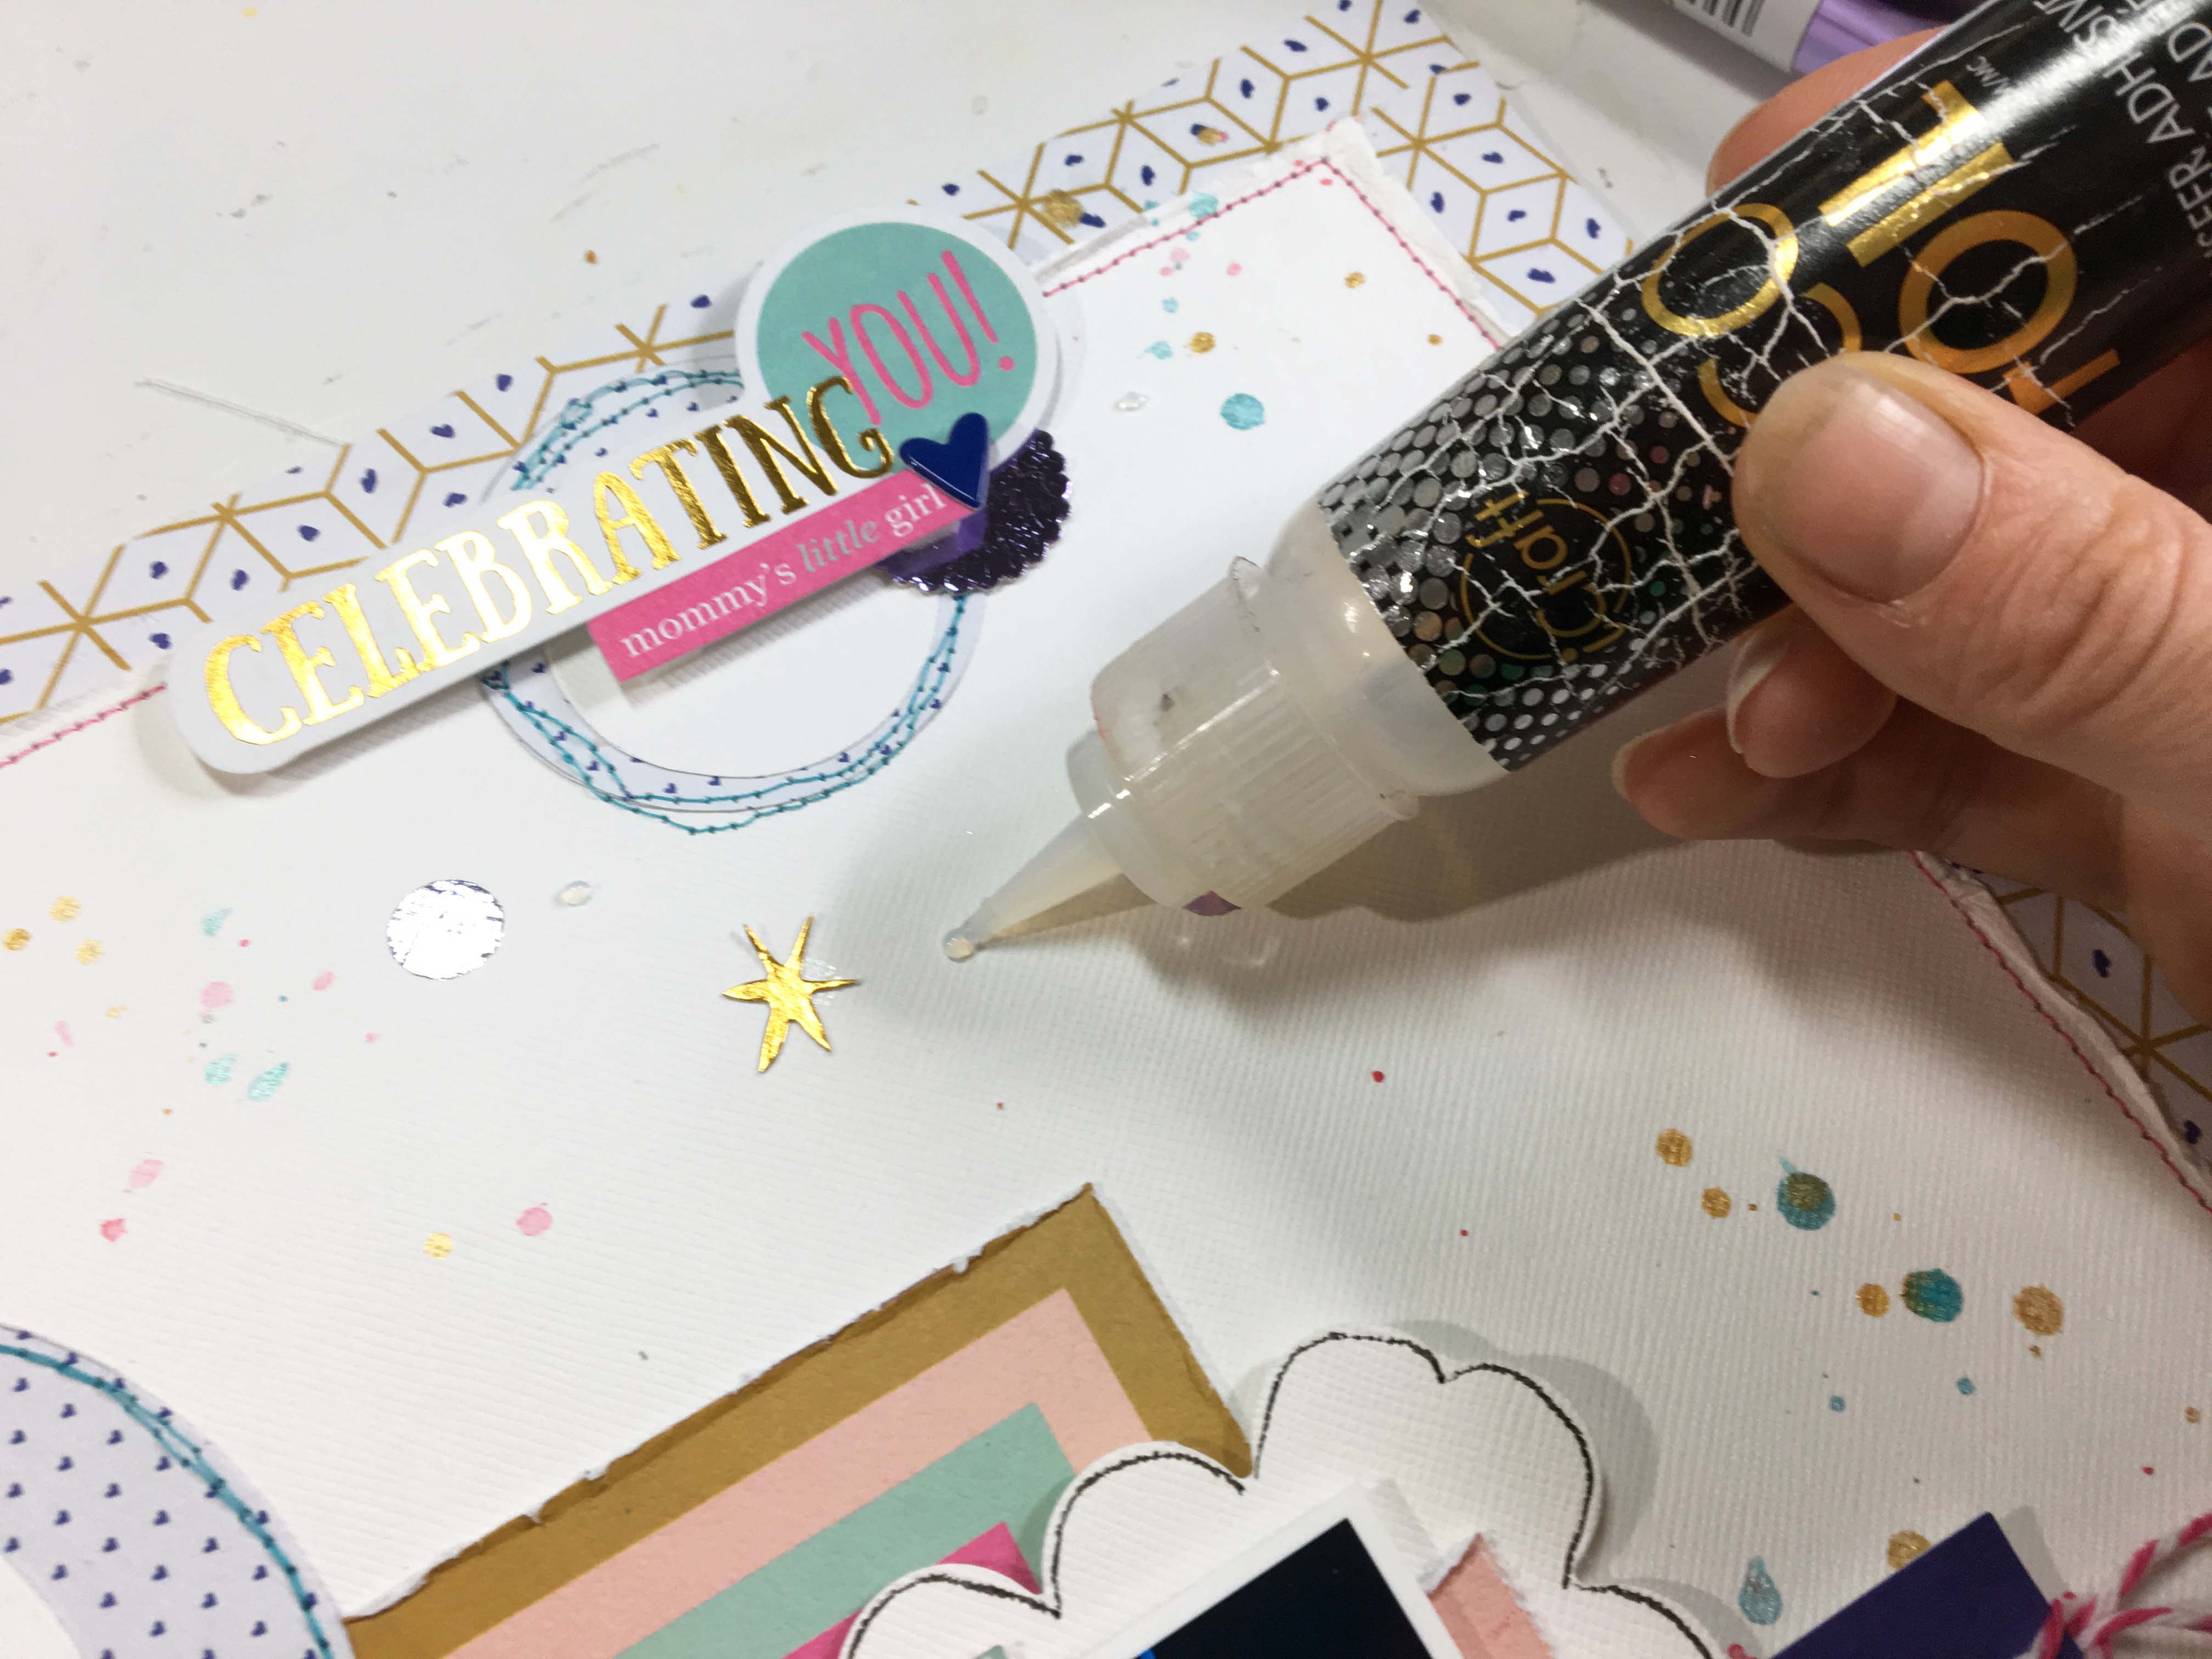
Finally, I wanted to add just a few small drops of foil, almost to look like paint splatters, so I used some DecoFoil™ Liquid Adhesive. I added small drops right to my page, and once dry and tacky (after about an hour) I rubbed some teal foil right over the top.
I hope you enjoyed these methods of adding little bits of foil to your scrapbook pages and hope you will give them a try!