Hello there and Happy 2016!
So nice to be joining you today with projects in several new colors of Deco Foil™ debuting this week at CHA. First up is a wedding card and coordinating tag made with the new Copper Deco Foil™.
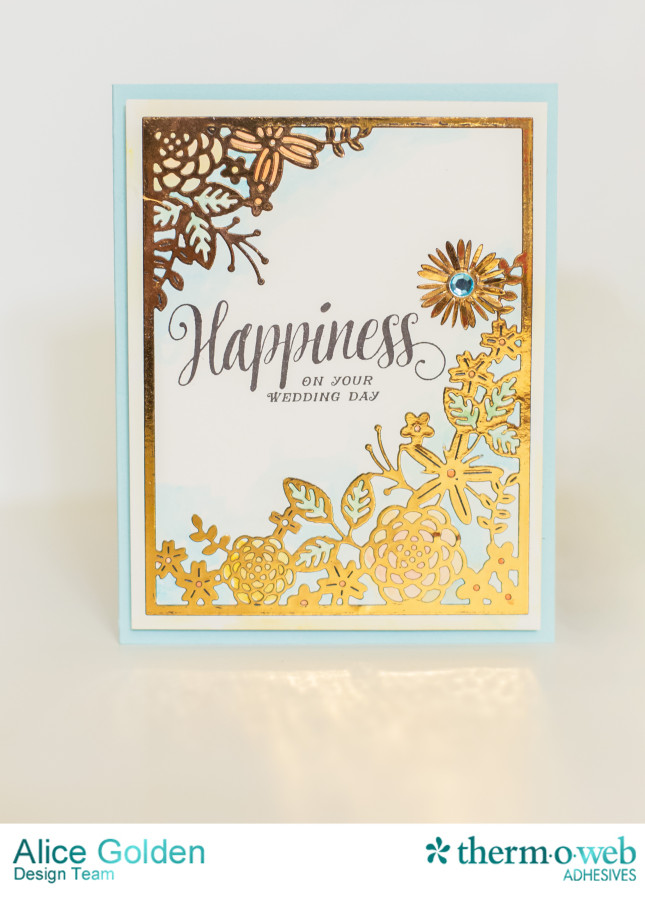
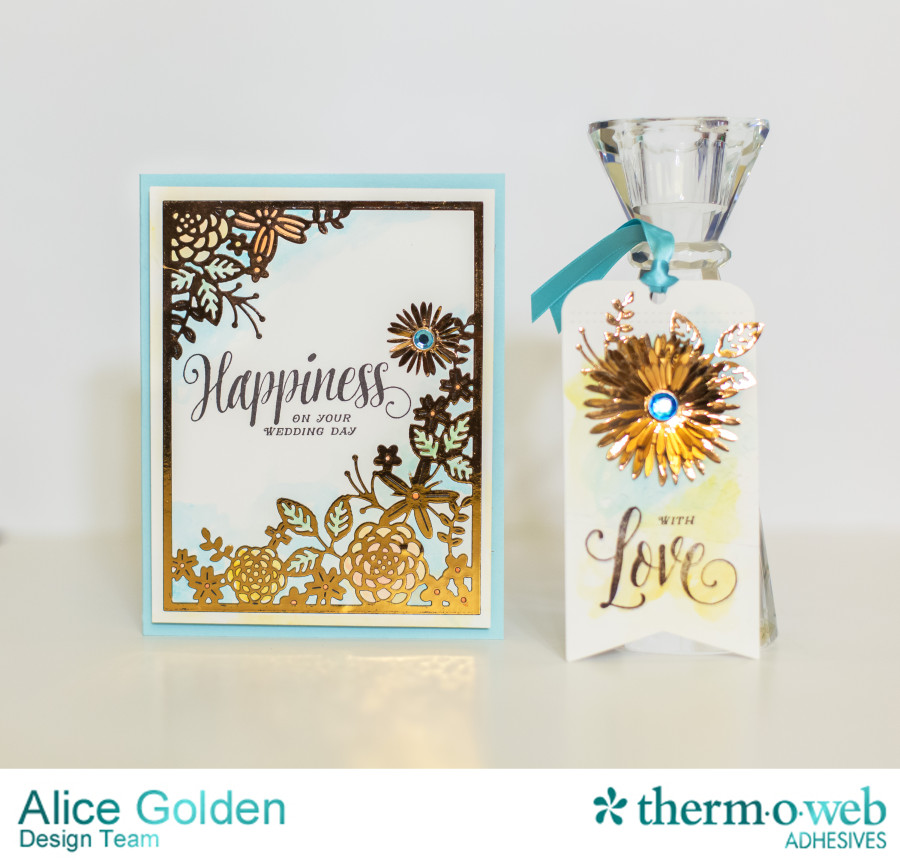 To create the card, Deco Foil™ Peel ‘n Stick Toner Sheet was die cut using an intricate floral design, applied to white cardstock, foiled in Copper using a laminator, and then a wash of watercolor was painted over the top to highlight the design. The sentiment was stamped in dark gray ink and a gemstone brad added to the center of a die cut flower.
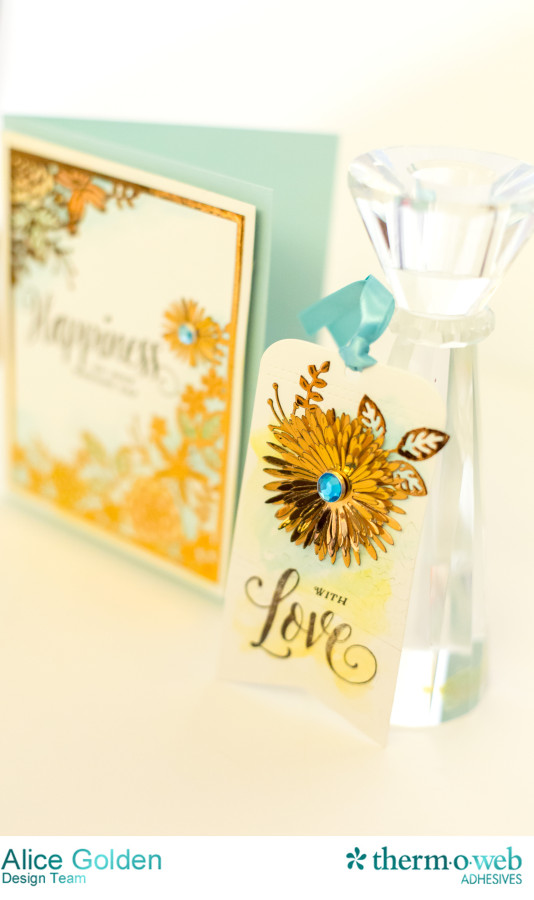
 To create the flower, toner paper was cut using a flower die in multiple sizes that are meant to be layered. This looks just like a metal flower – so hard to believe it is made out of paper! Some additional leaves and sprigs were cut apart and added from a second sheet die cut from the floral die above.
 One of my favorite cards made using the new foil colors is this lighthouse scene. I was inspired by a card from Laura Bassen and wanted to try creating a version using a blend of foils rather than ink.
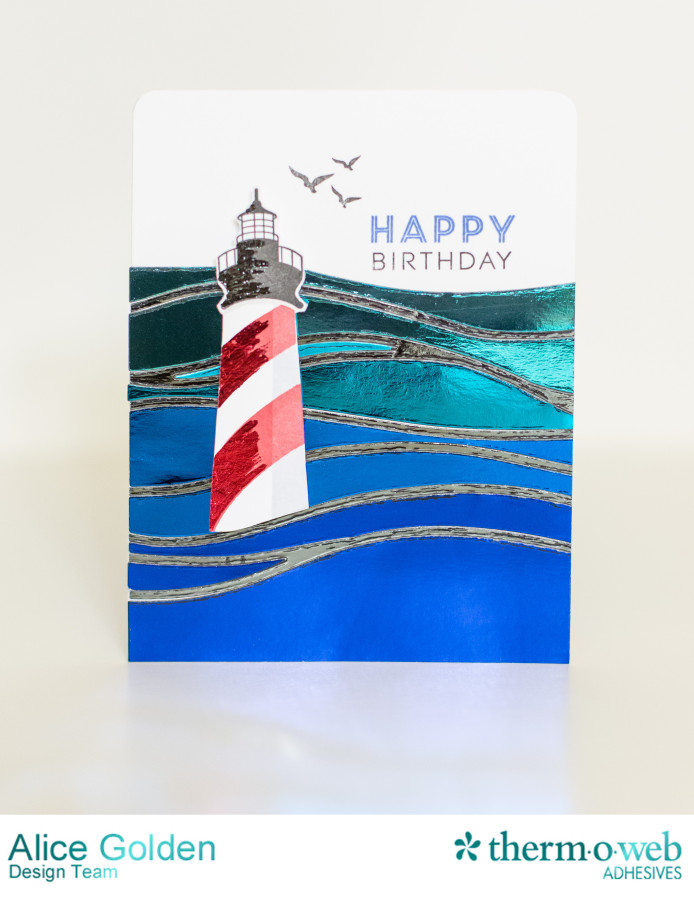
First I die cut the wave pattern from NEW Deco Foil™ Peel ‘n Stick Toner Sheet and cut off the top, bottom, and left borders. I kept the right border intact to help in placing the lines on the paper. Once I was happy with the position of the toner, I trimmed off the right edge and foiled it in the new Pewter foil. Then each interior piece was foiled in a variety of blue foil and pieced back together – sort of like a jigsaw puzzle. Starting at the bottom, colors used are: Deep Blue, Ocean Blue, Teal, and Aqua.
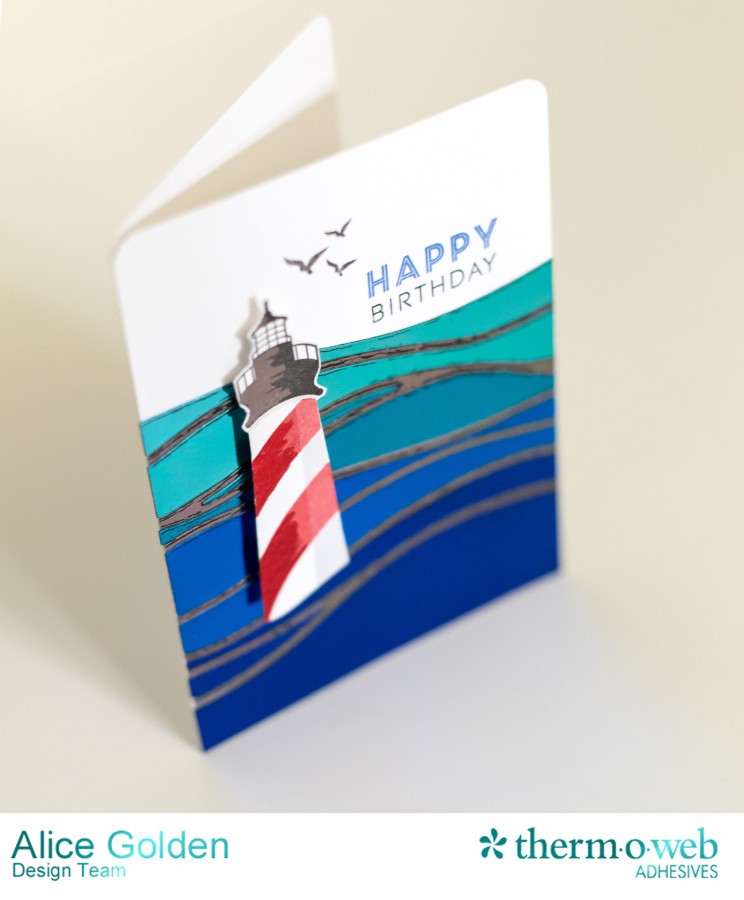 In addition, the new Deco Foil™ Adhesive Pen was used to draw on highlights to the side of the lighthouse and then red and pewter foil were applied. The lighthouse was adhered to the card front using 3D Foam Squares.
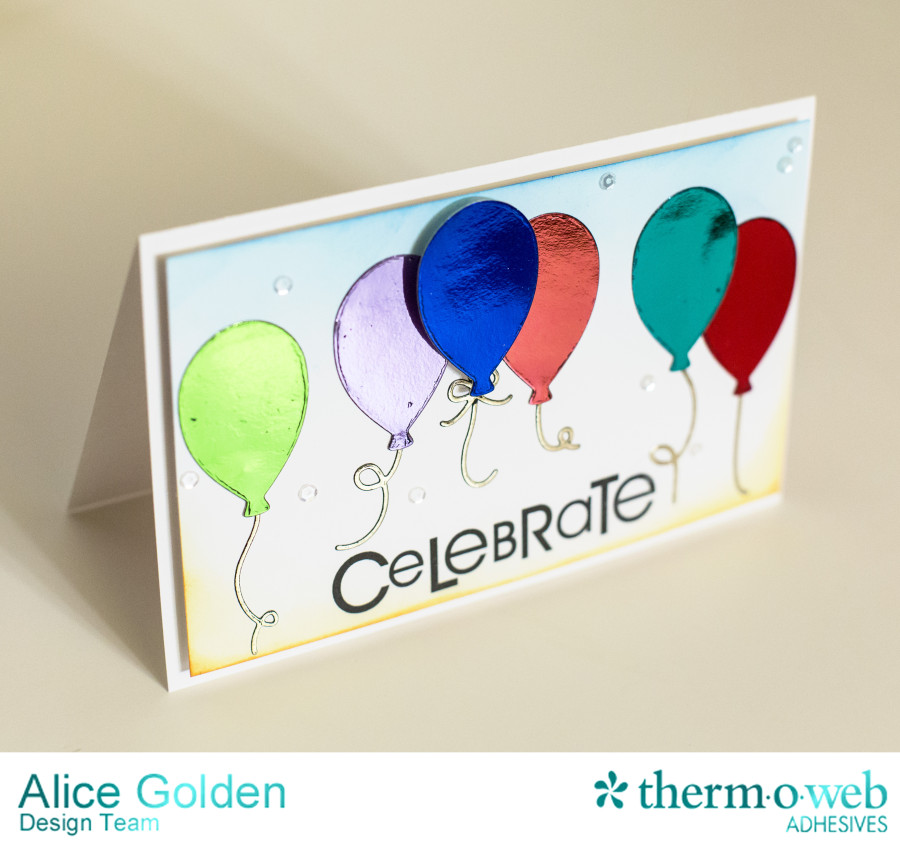
Another card that uses a variety of new foil colors is this assortment of birthday balloons – from left to right: Spring Green (new), Lilac (new), Deep Blue (new), Pink Melon, Aqua (new), and Red. The balloon strings were die cut from Deco Foil™ Peel ‘n Stick Toner Sheets as well and foiled with the new Pewter color (Coming Soon!). A little ink blended around the edges and a few clear sequins (adhered with Small Zots™) complete the card.
 The next card was quick to put together and could be easily modified to any color scheme. The bow was cut from a toner sheet, foiled with the new Aqua Deco Foil™ Transfer Sheets, and then assembled and adhered to the card. The ribbon strips were simply cut from the new Deco Foil™ Peel ‘n Stick Toner Sheets, foiled, and adhered to the card.
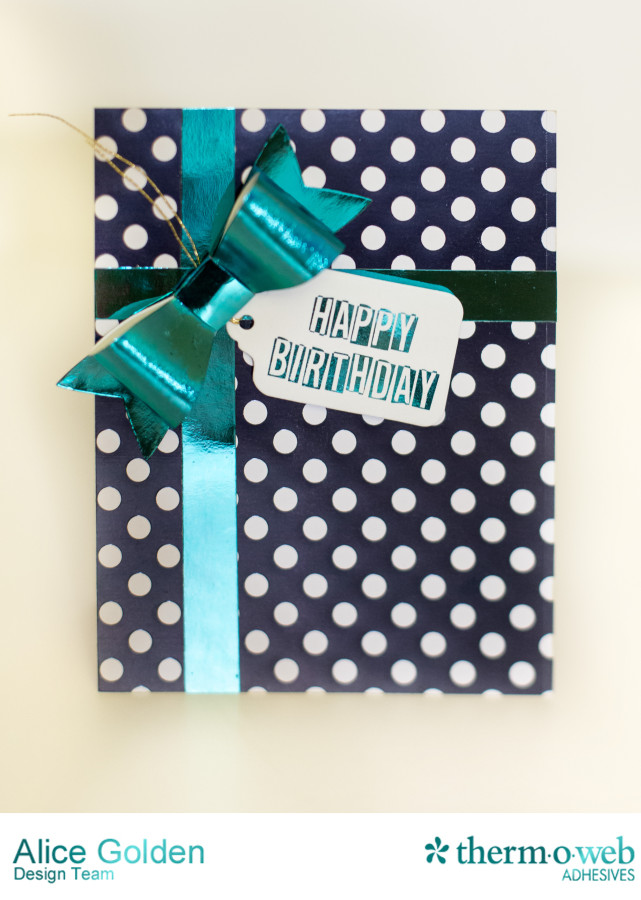 The tag was so easy to make! I printed the sentiment on my new $60 laser printer and ran it through the laminator with Aqua Deco Foil – so fast and easy to reproduce in multiples.
 The last project is special to me… this past weekend we celebrated my parent’s 50th Anniversary with my sisters, their husbands, and all the grandkids. It was such a nice event and I’m so glad we could pull it off. This banner would be easy to customize for any occasion – the letters were printed on my ink jet printer and then die cut into a bell shape. The new Deco Foil™ Adhesive Pen was used to draw the highlight around each letter and then new Champagne Deco Foil was pressed on using a die cut machine (you can also press with your hands, but the die cut machine is faster as you can do several at once).
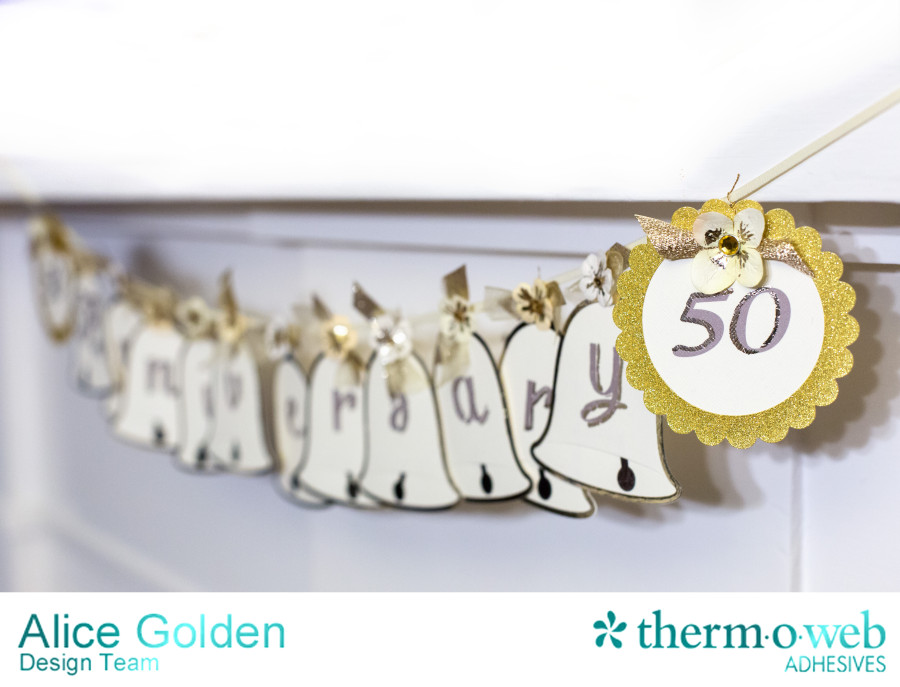 The frame of each bell was die cut using Peel ‘n Stick toner and then foiled with Champagne. The ends of the banner were cut in a circle and highlighted with a Gold Glitter Dust™ Deco Frame. In addition the top of each piece has a flower with a foil center – also added using the new Adhesive pen. The bells were foiled with Pewter. It is always a challenge to photograph a long banner like this, but in person it looks very festive and shiny.
Thanks so much for visiting today!


D.Ann C
January 8, 2016 at 9:15 am (8 years ago)WoW! These are goegeous! Can’t wait to get my hands on ’em!
QuiltShopGal
January 8, 2016 at 10:15 am (8 years ago)Super cute projects, each packed with #CreativeGoodness. I’m certainly looking forward to visiting your booth at CHA.
QuiltShopGal
http://www.quiltshopgal.com
PS – I’m finding it really easy to follow you via http://mycreativebloglist.blogspot.com/, although I still follow you via a variety of tools.