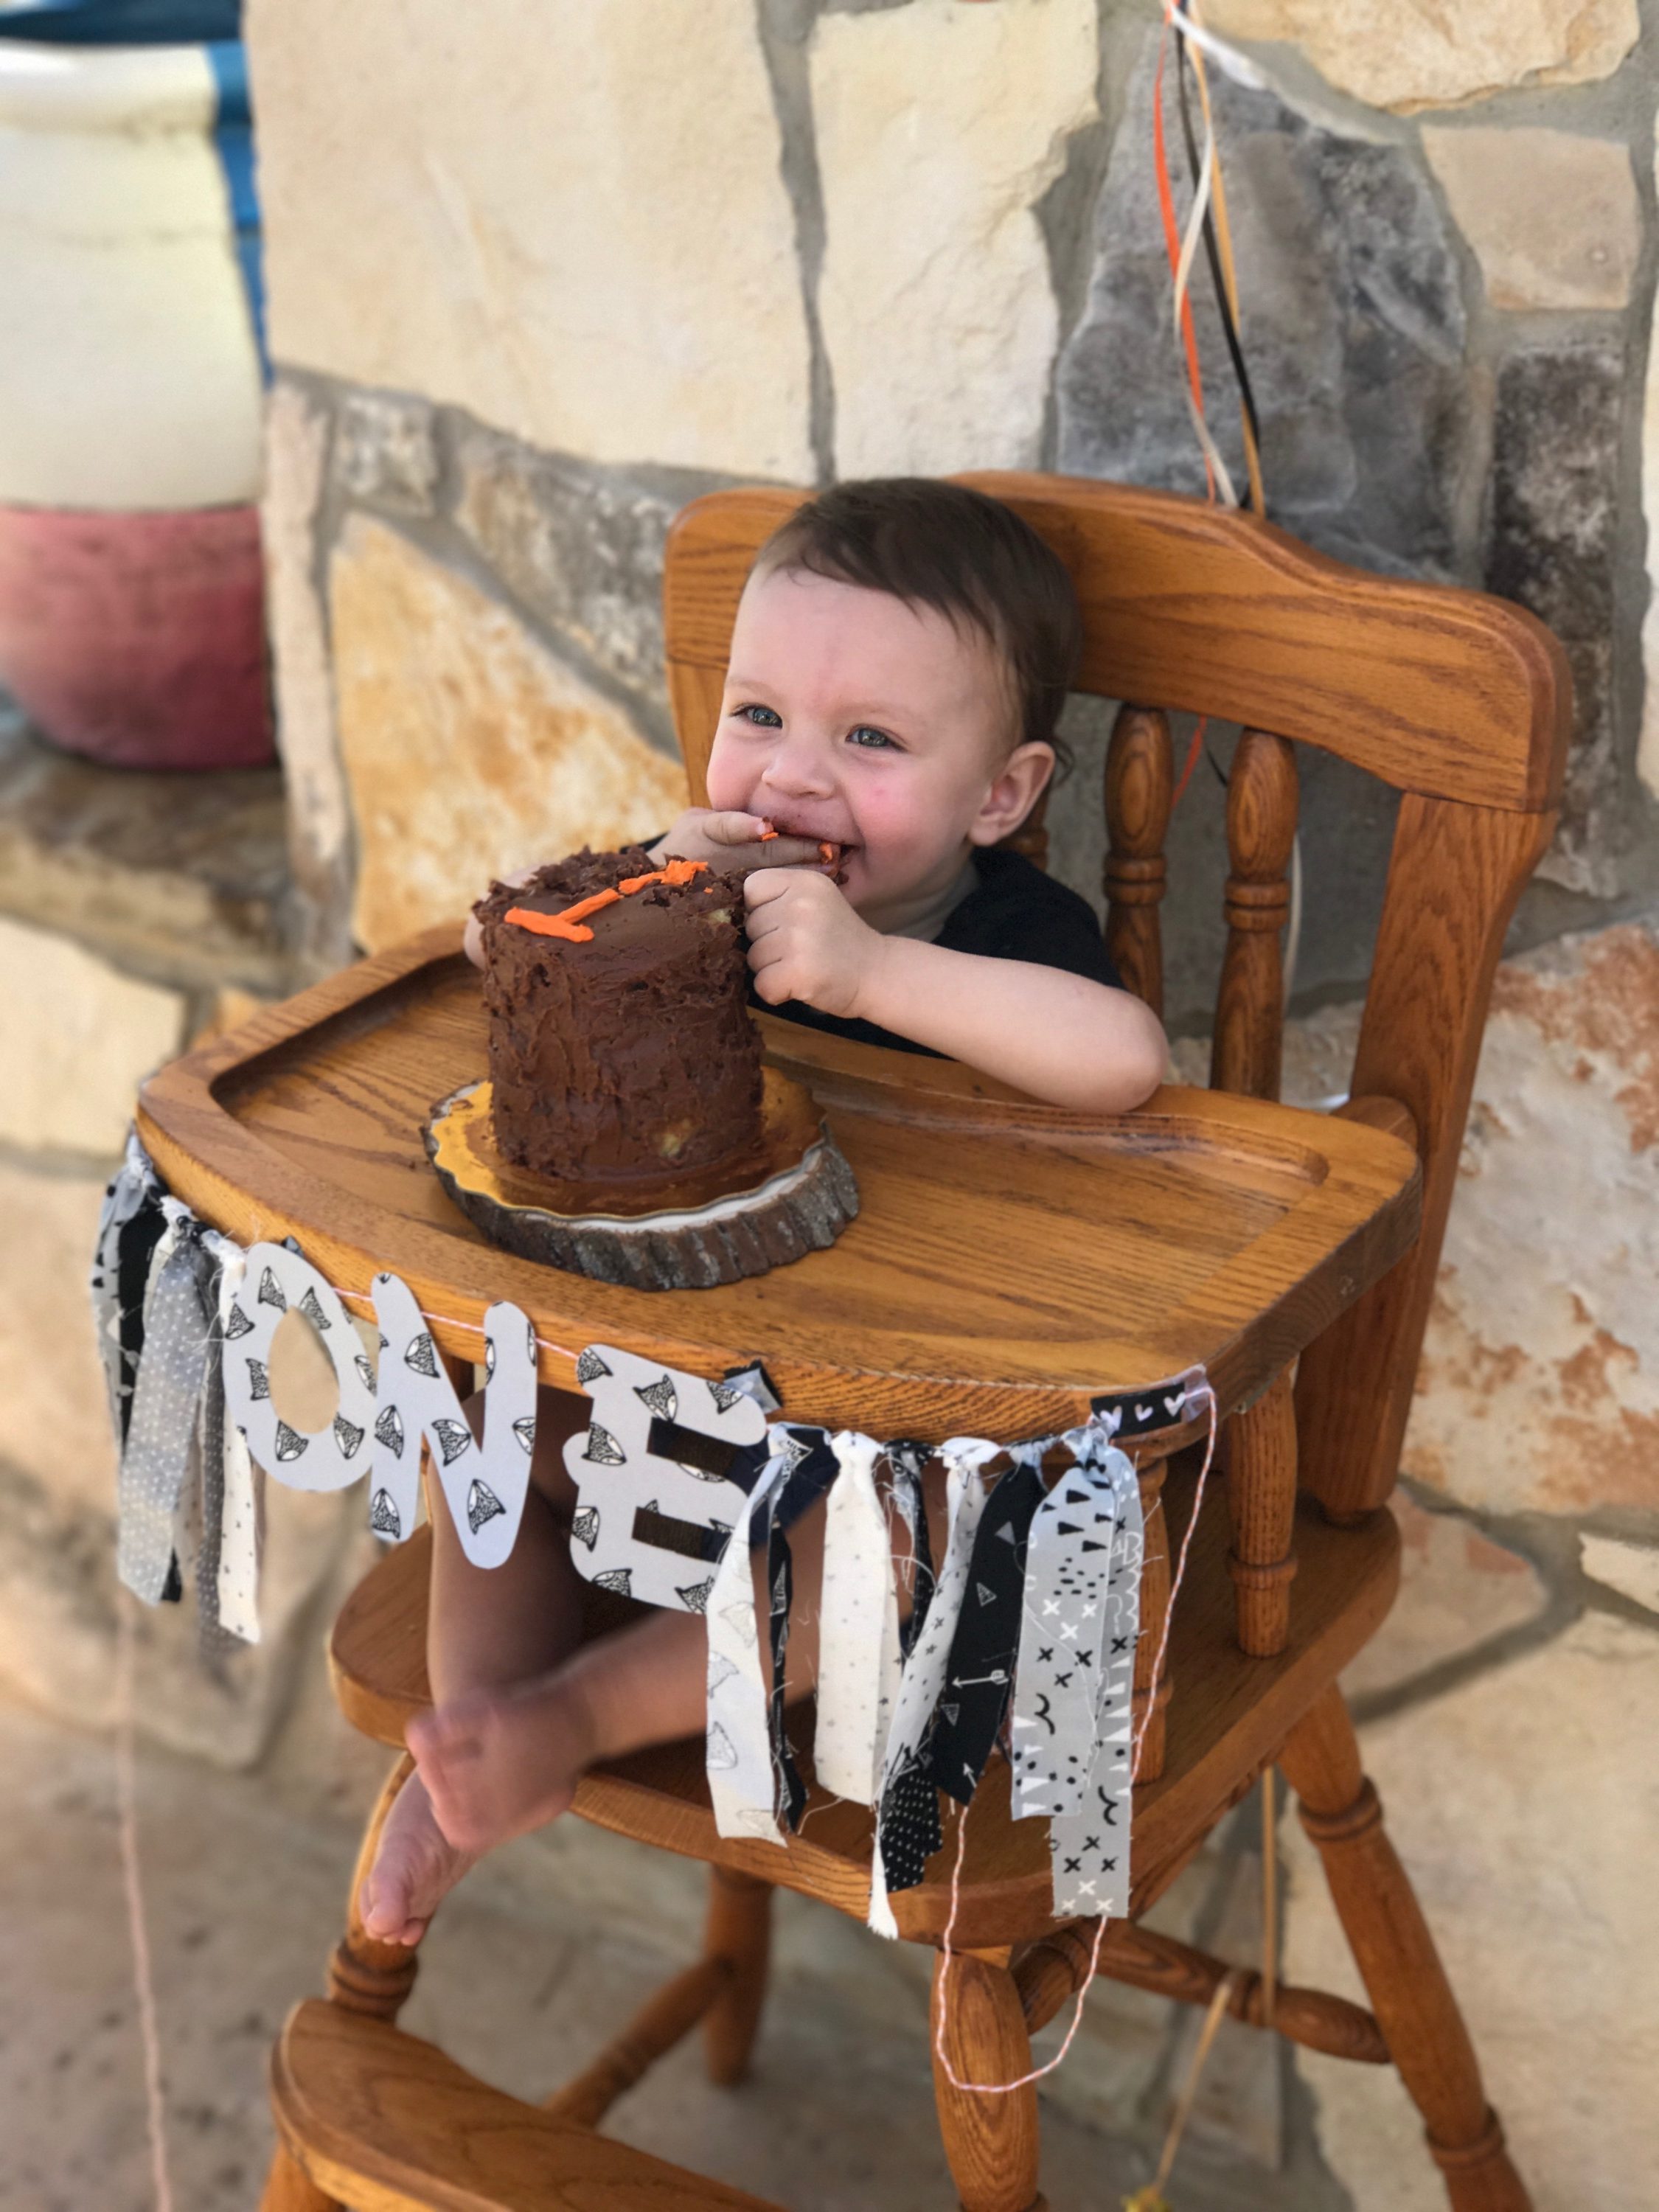
Birthdays are so much and this year I got to throw the most exciting birthday party EVER! My son turning ONE. Mommas-time sure goes fast doesn’t it?
Celebrate in Mixed Media Style with a Handmade Cake Topper and Banner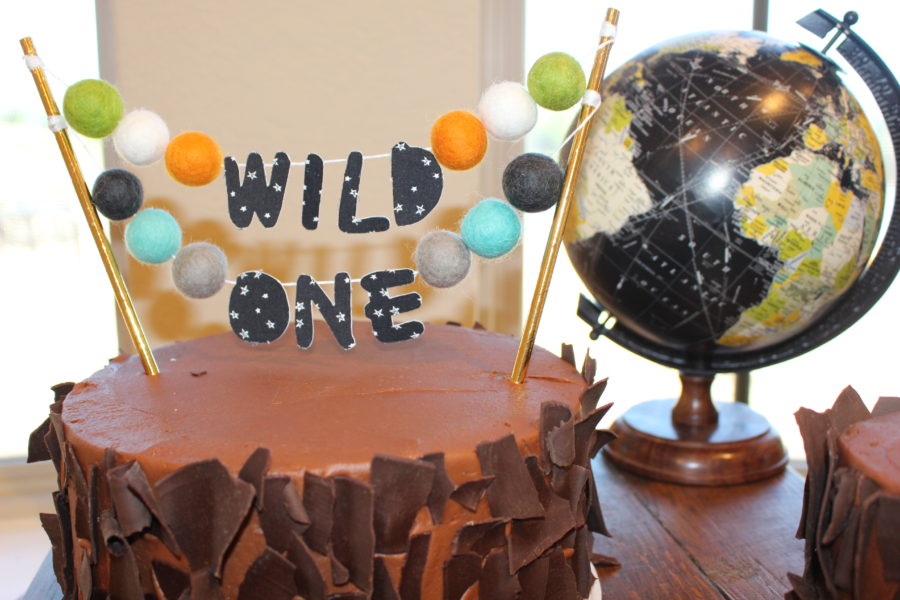
I knew I wanted to have a ton of handmade items to go with my wild one theme and I found the cutest fabric to go along with it, Dear Stella Adventure Awaits. One of the projects I whipped up was a cute cake topper and sign using our Mixed Media Sheets. You can print directly on them making them a perfect project every time!
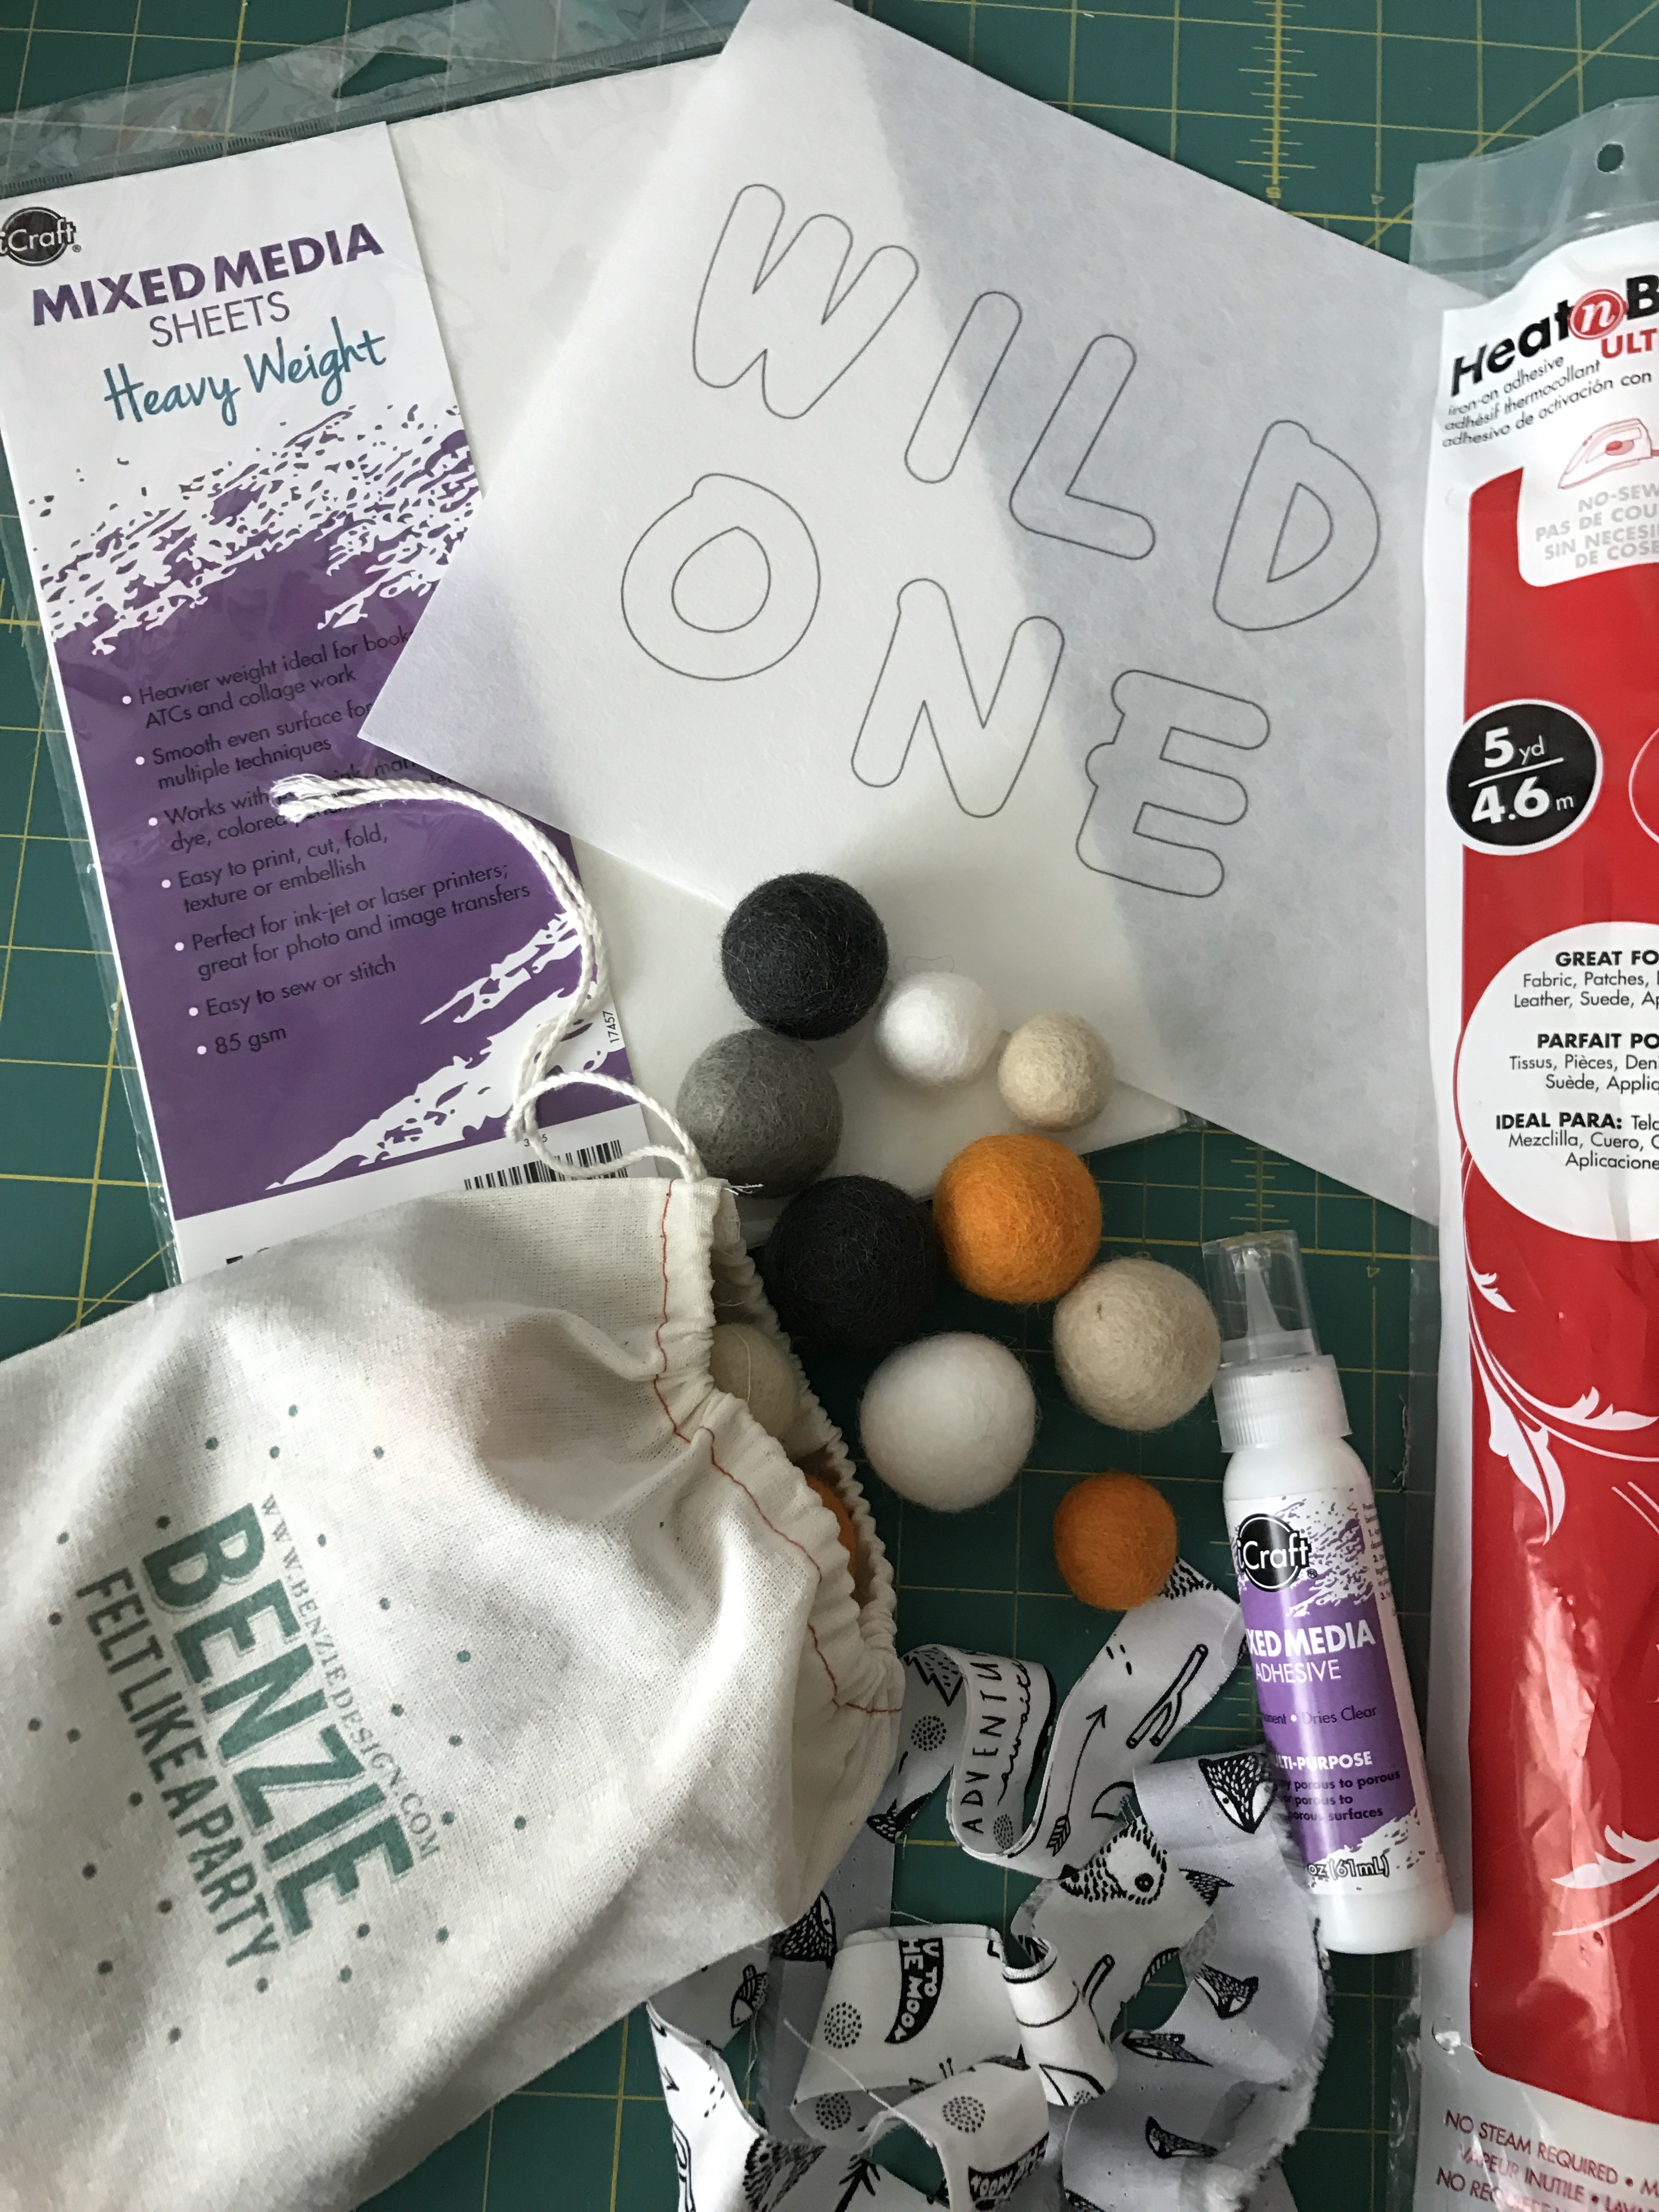
Supplies:
Thermoweb iCraft Mixed Media Heavy Weight Sheets
Thermoweb Heat n Bond Lite
Thermoweb iCraft Mixed Media Adhesive
Fabric Scraps, large enough to cover your letters
Thread/Ribbon
Felt Balls
2 Sticks (I used gold straws!)
Oliso Smart Touch Iron
Scissors
Celebrate in Mixed Media Style with a Handmade Cake Topper and Banner Instructions:
First, choose a fun font and type out your letters for your sign. Make sure your font is big enough for hand cutting your letters and fits well with your topper size. Think Chunky and Bold! Print out your letters onto the iCraft Mixed Media Sheet.
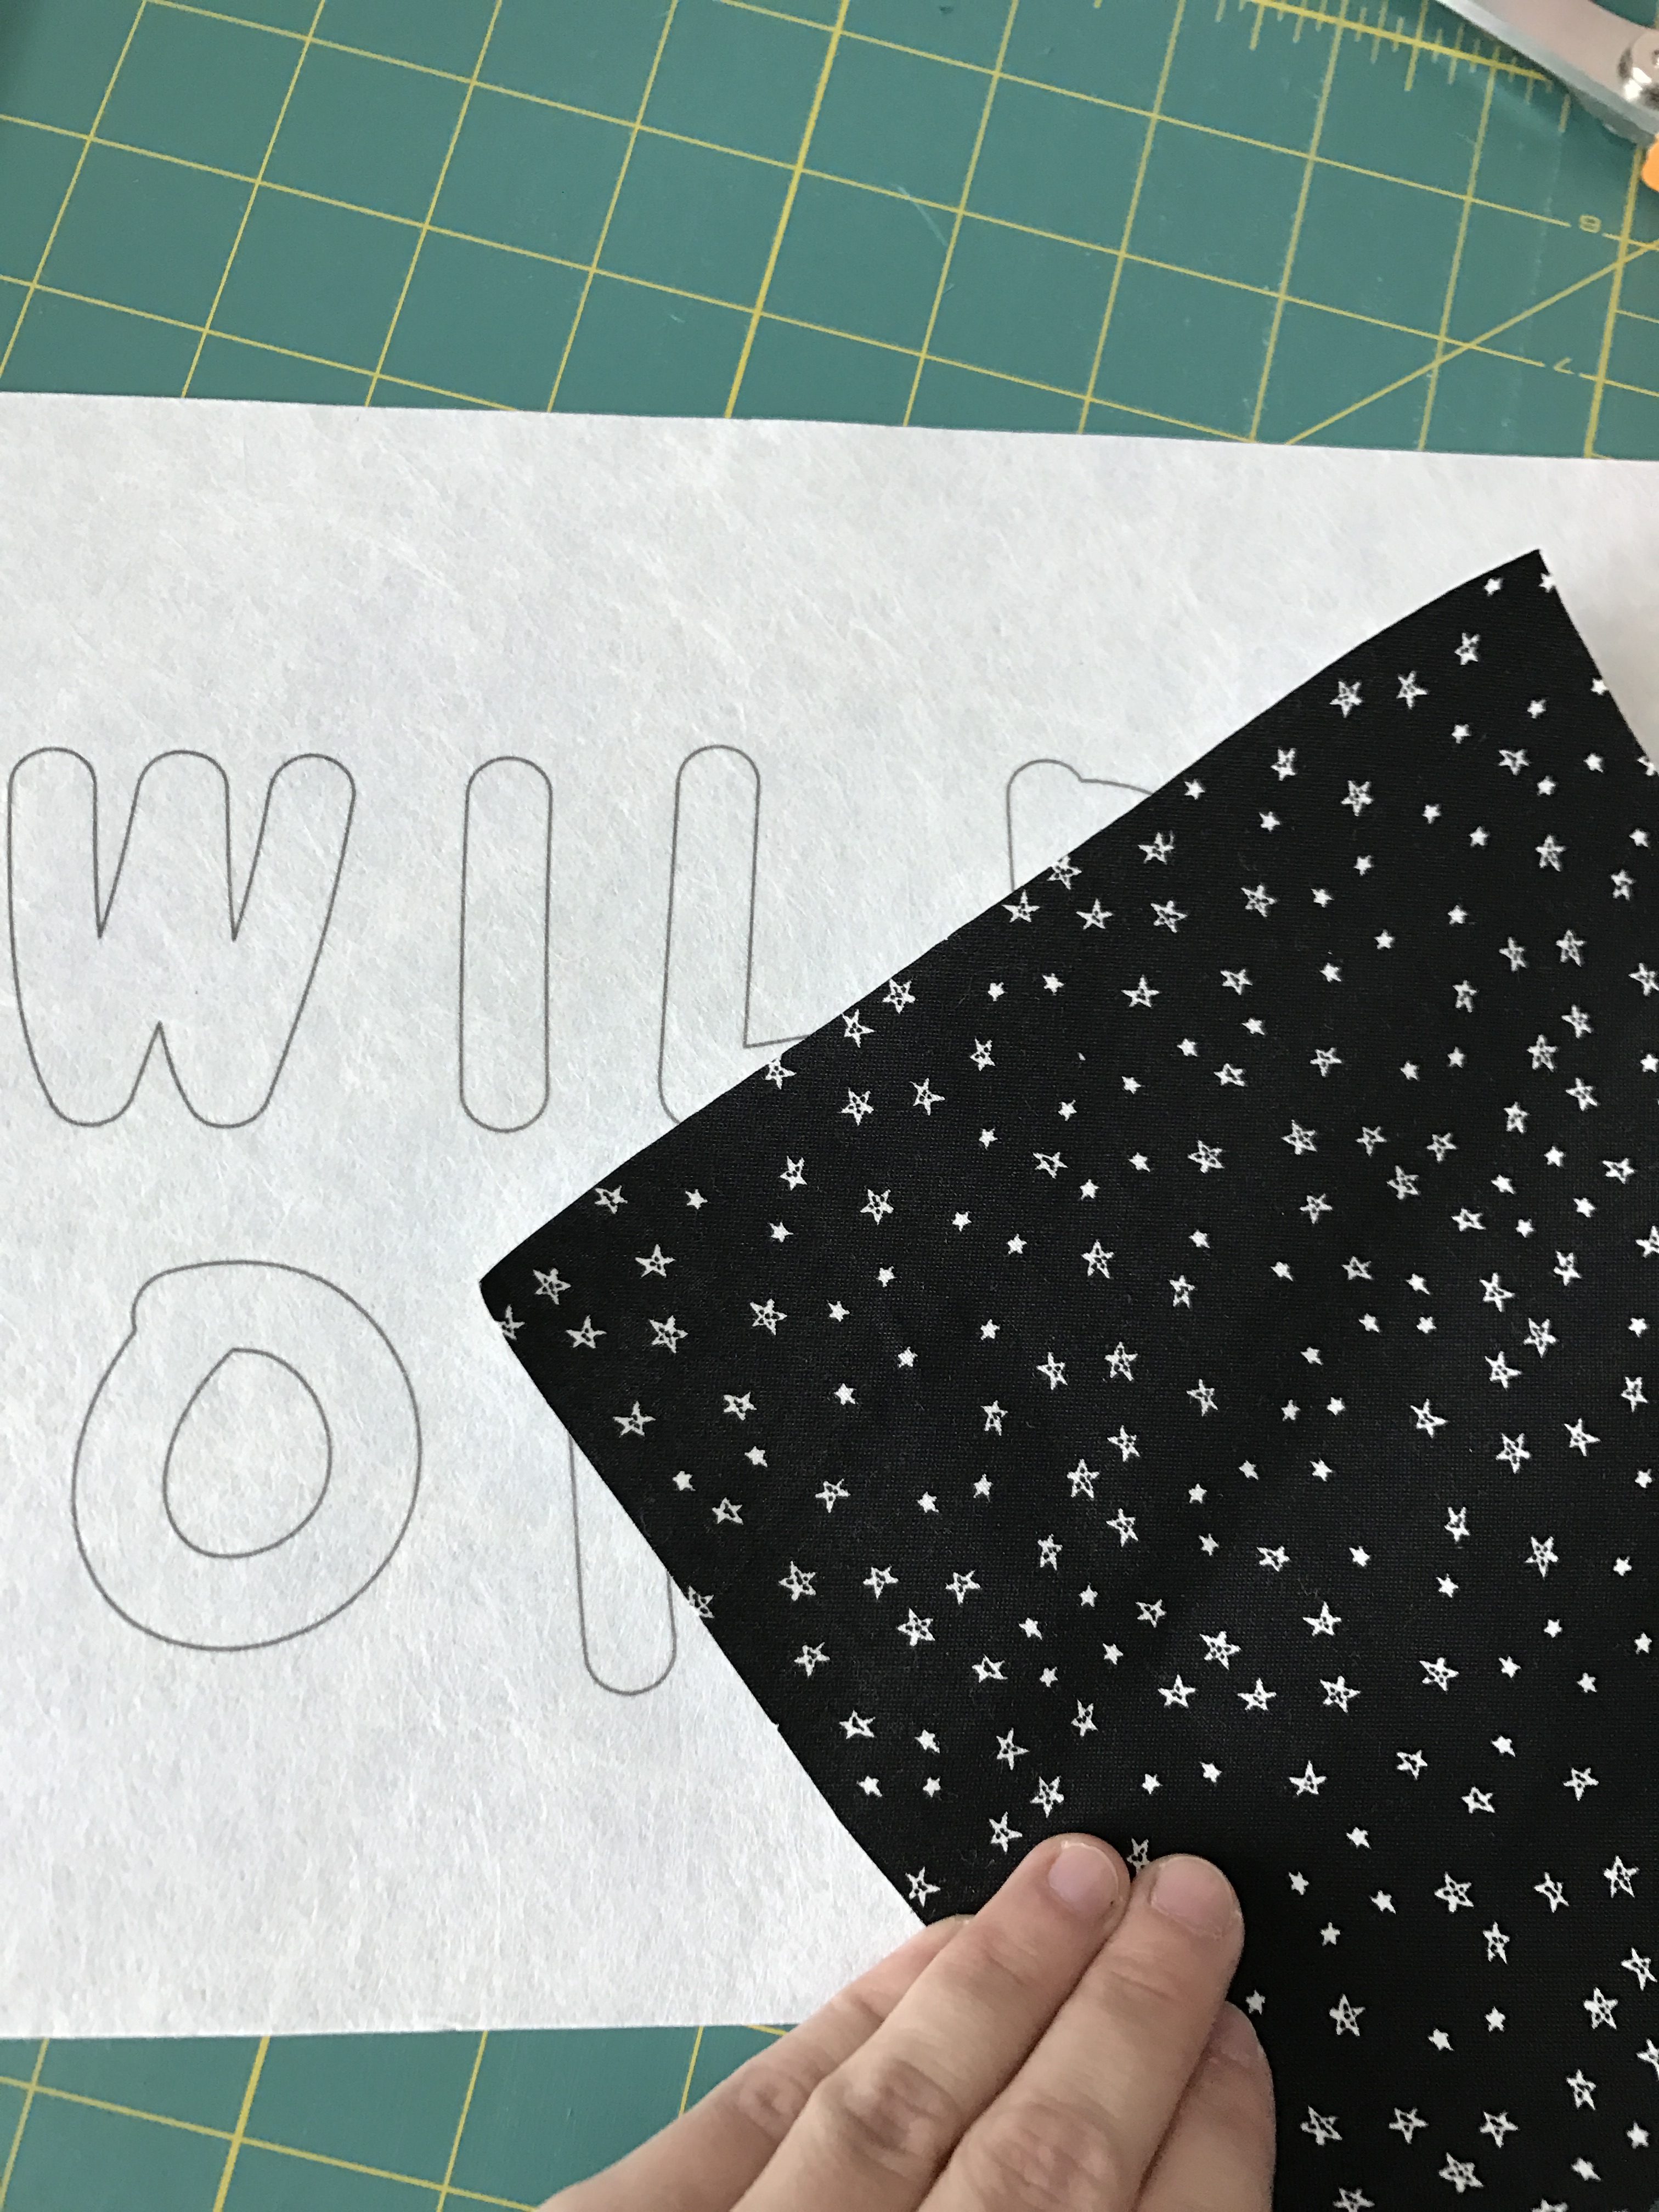
Next, iron HeatnBond Lite Adhesive to the back of your fabric scraps. Now iron the fabric/HeatnBond combo on top of your mixed media printed letters. Cut out your letters. (You can also cut your letters out using a fabric cutting machine)
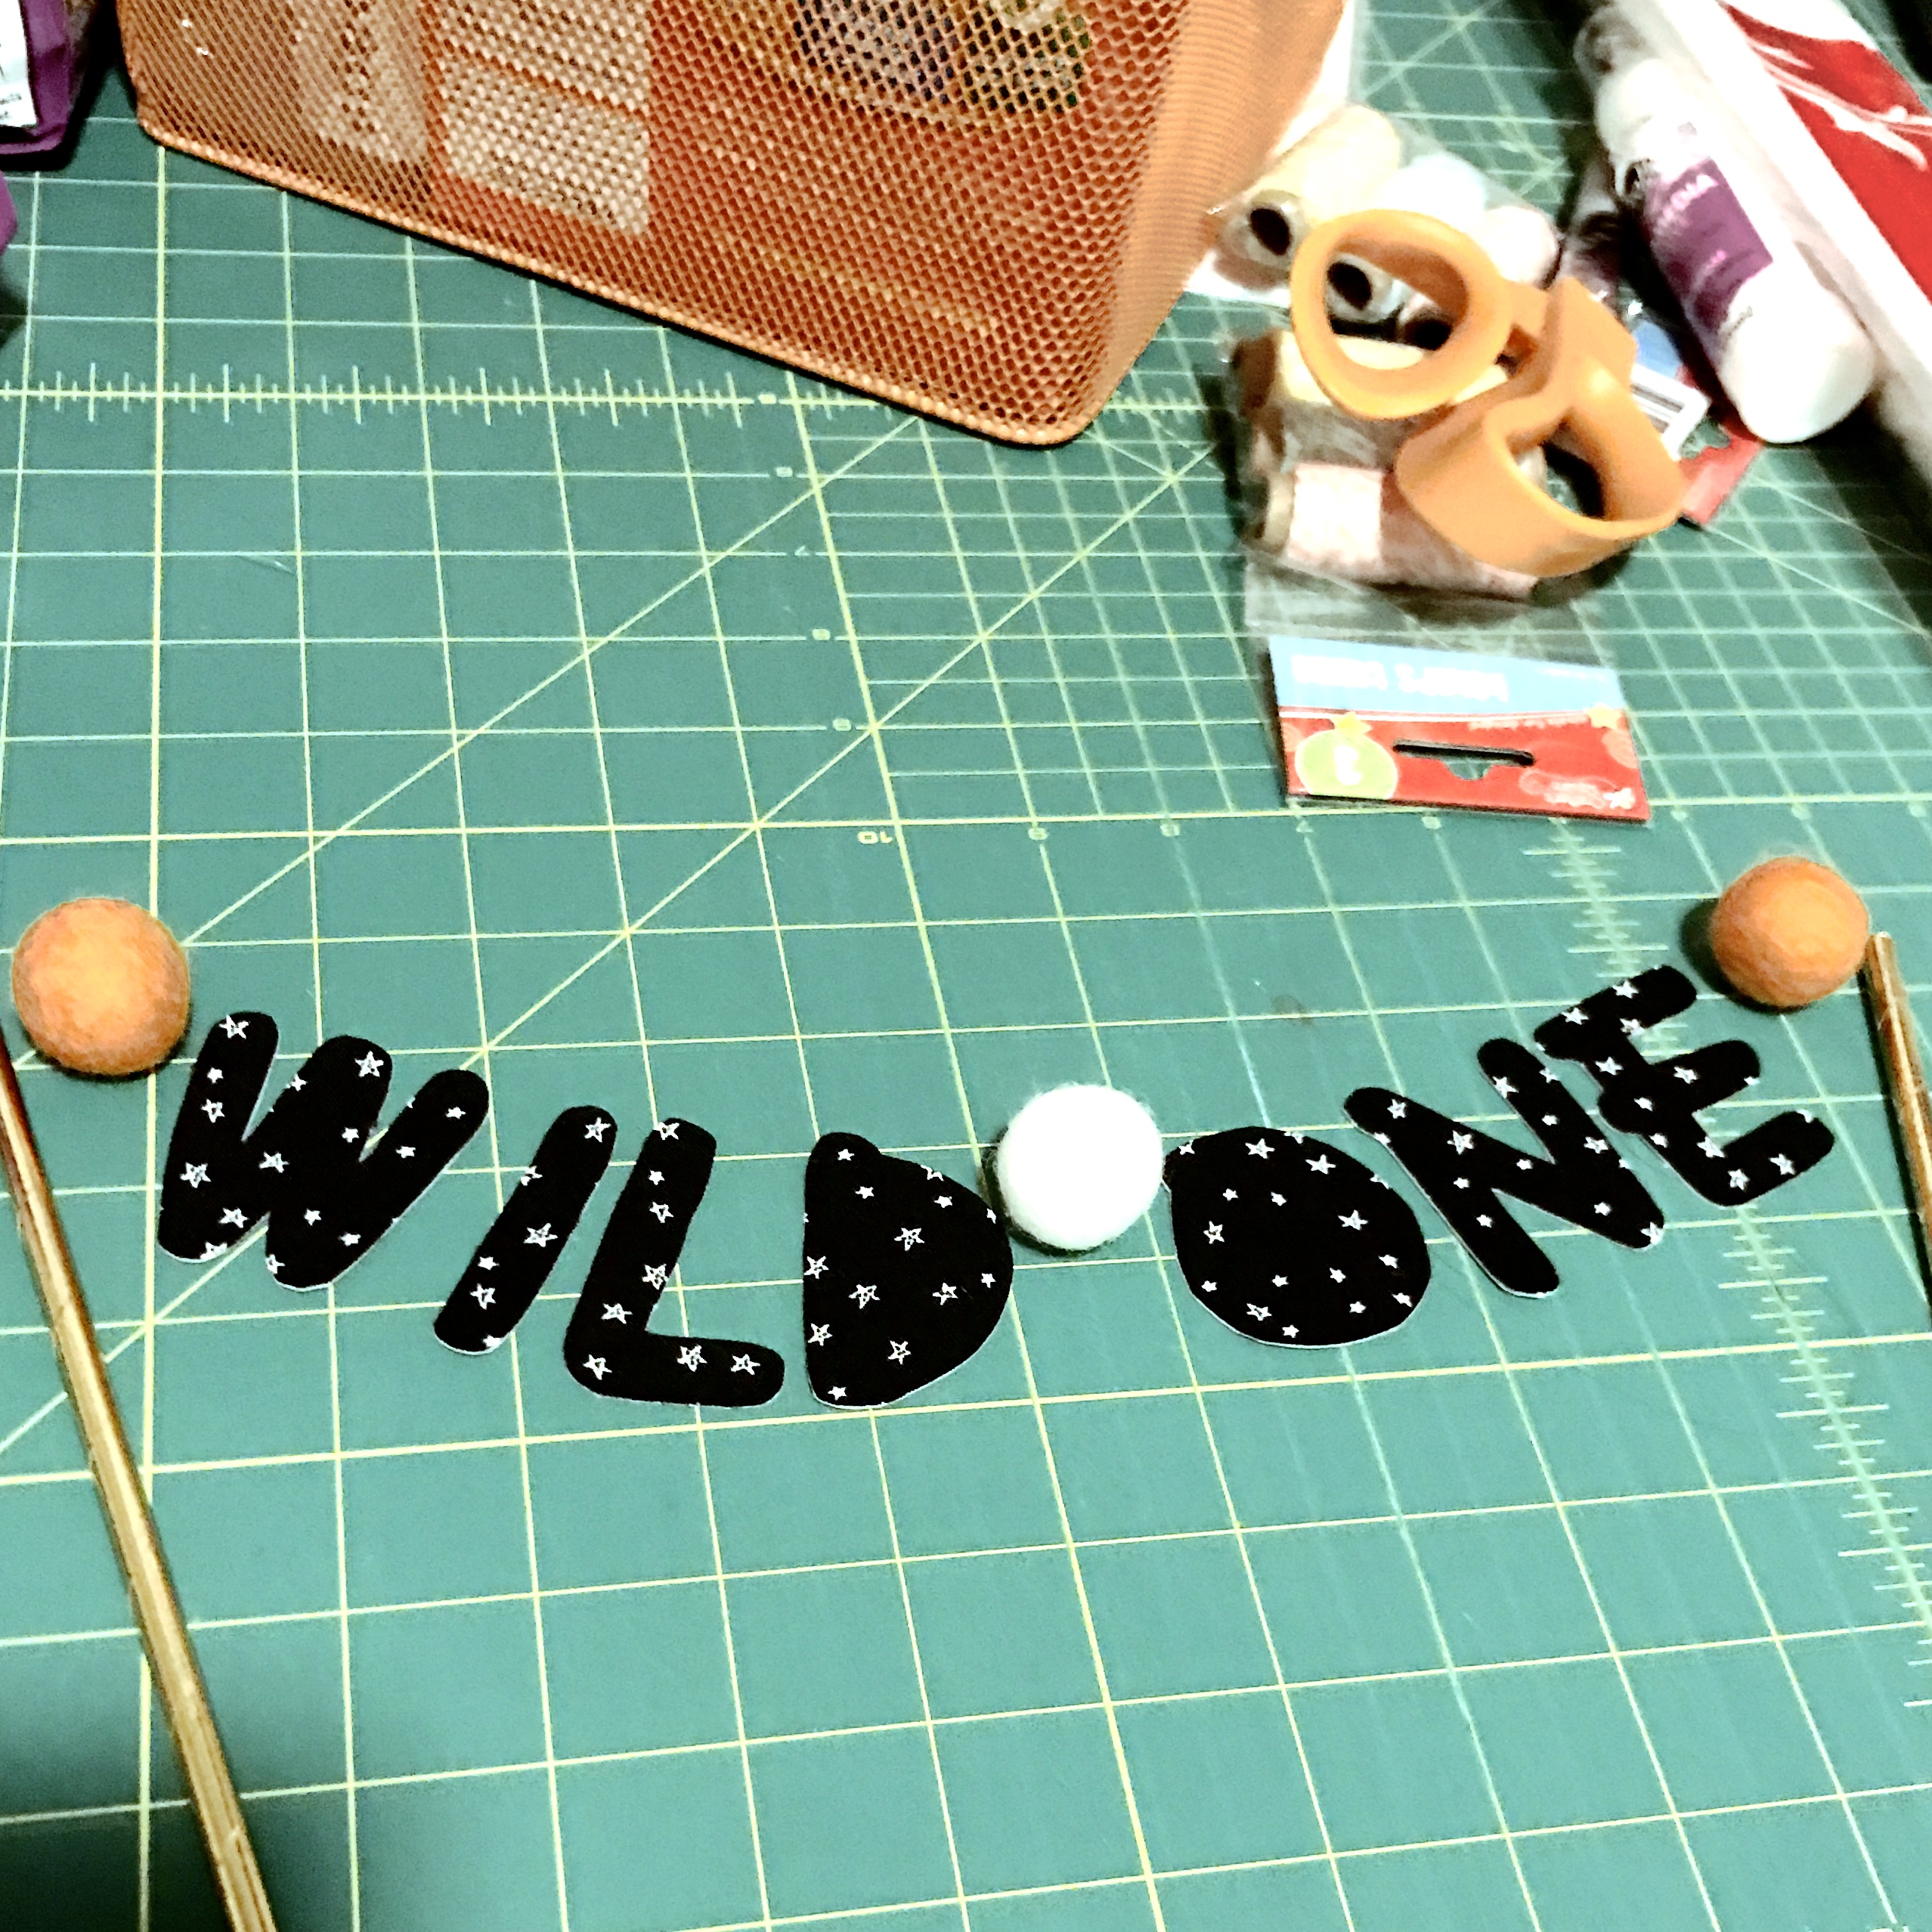
Lay your two sticks/straws apart the distance you want for your cake topper. Take your string, add the felt balls to it and wrap it around the top of each side. Use your iCraft Mixed Media Adhesive to glue the string down to the sticks. Allow to dry completely. It will dry clear.
Take your letters and align them around the felt balls in the order that you want and use your adhesive to glue them down. Allow to dry overnight.
Place your topper on the cake and enjoy!
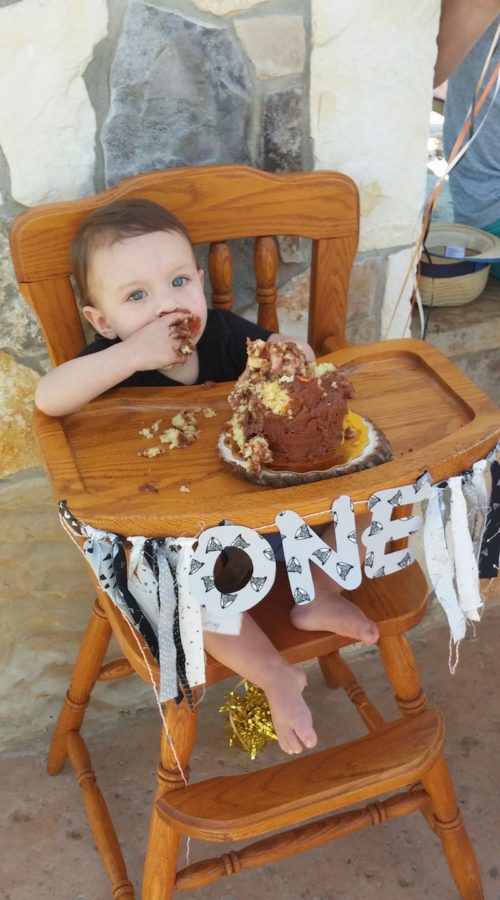 Can’t wait to see what banners you have up your sleeve!
Kristen Wright of Two Blondes and a Sewing Machine
See more of Kristen’s fun projects here!

