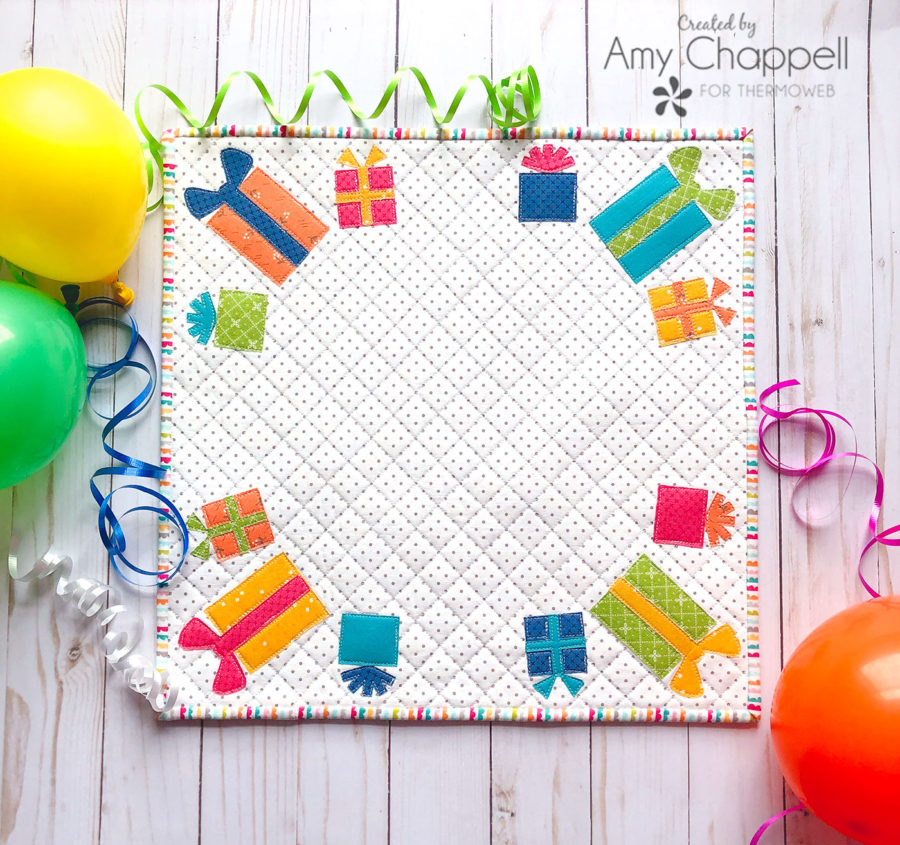
Birthdays are a big deal in our house. With lots of kids in our family I try really hard to give them opportunities to shine on their own, including on their birthday. We buy their favorite treats, fill balloons with money ($1 per year of age), put up banners and decorations, and do our best to give them a day focused solely on them.
This Birthday Mini Quilt is our newest addition to our celebratory efforts and I am so excited to put it to use! Hang it on the wall with a picture of the birthday boy or girl in the middle, or use it to hold the cake or as a placemat for the Guest of honor. There are so many fun ways to use this mini quilt. Ready to make your own?
Birthday Mini Quilt Tutorial
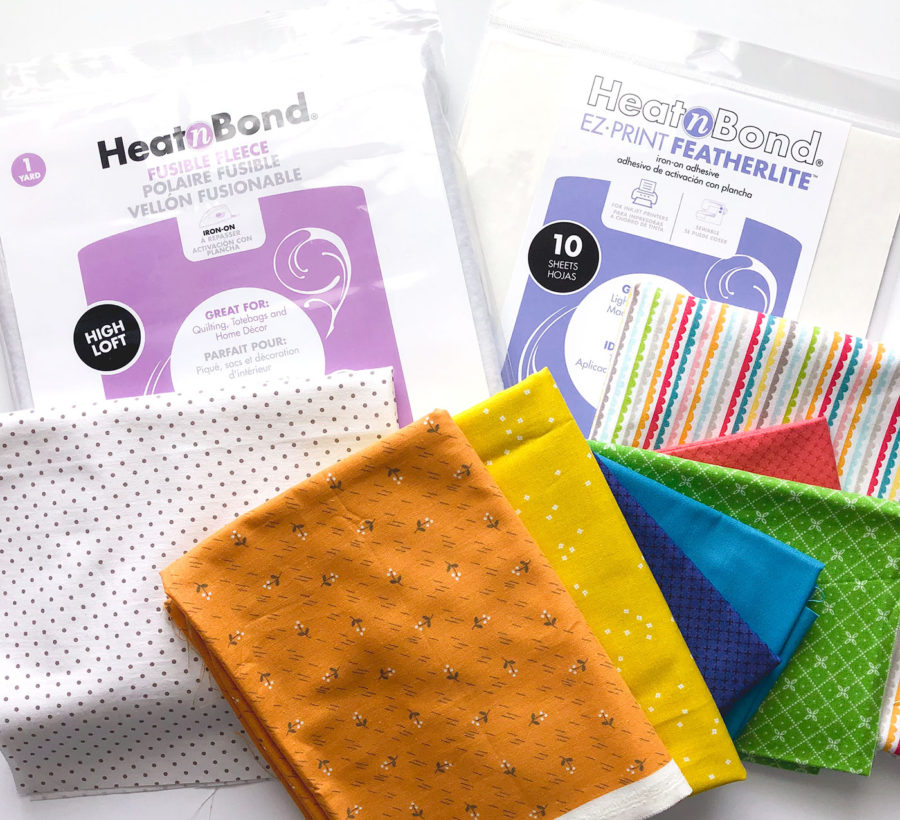
- Heat n Bond Fusible Fleece
- Heat n Bond EZ-Print Featherlite Adhesive Sheets
- Spray n Bond Basting Spray
- 2- 15 1/2″ squares of fabric for back and front of the mini quilt – I am using Swiss Dot basics fabric from Riley Blake Designs in Steel.
- fabric scraps for gifts and bows
- 61″ of binding fabric- I am using a piece of fabric from the Snapshots line by Riley Blake Designs.
- Birthday Mini Quilt Applique Pattern
Prepare Applique pieces:
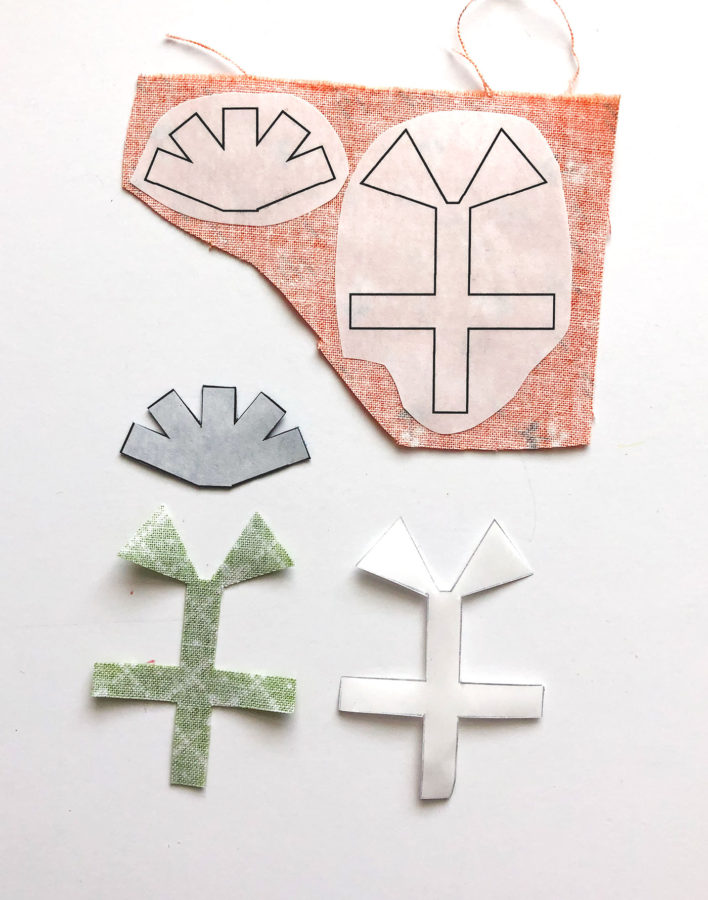
- First, print the pattern for the gifts and bows onto the paper side of the EZ-Print Featherlite sheets (you will need 2).
- Next, cut out each piece, leaving a slight margin around each one.
- Determine which fabrics you want for each piece.
- Fuse the pattern piece to the wrong side of the chosen fabric.
- Cut out each pattern piece on the printed line.
- Finally, remove the paper backing and set aside the applique pieces.
Create Birthday Mini Quilt Front:
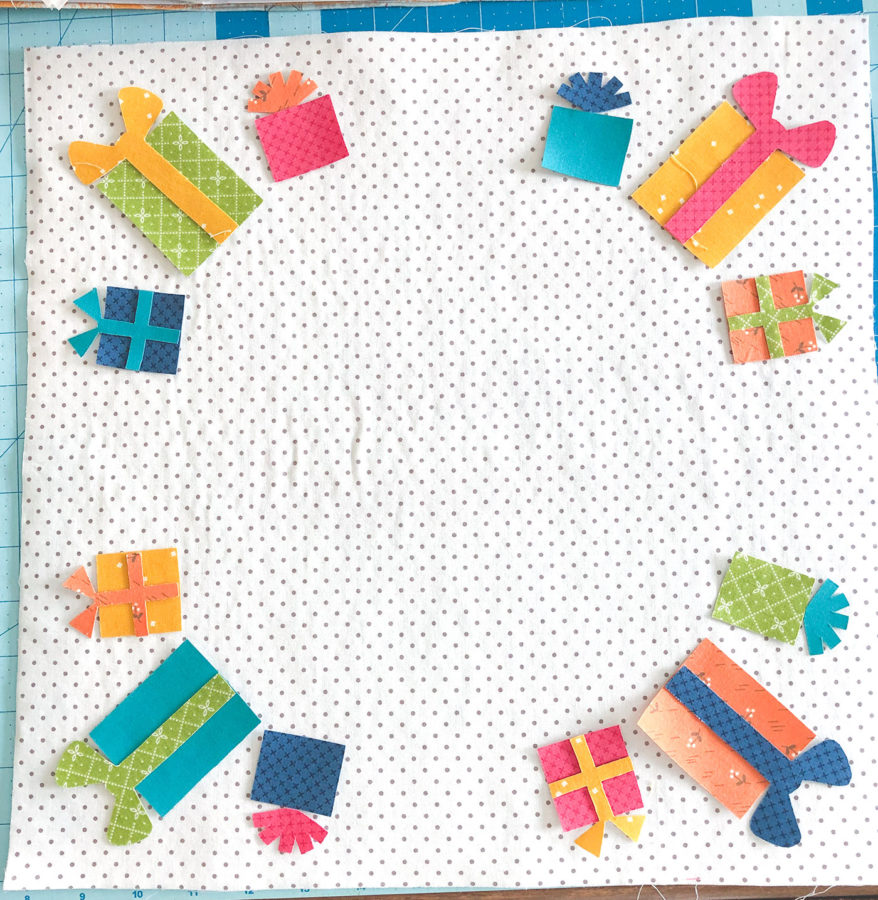
- Position the gifts and ribbons as desired on the 15 1/2″ square of fabric cut for the quilt front. Each piece should be at least 3/4″ from the edge of the fabric to allow for squaring up the quilt and the binding.
- Fuse the gifts and ribbons in place.
- Sew around each of the gifts and ribbons using a straight stitch or a narrow zig-zag stitch.
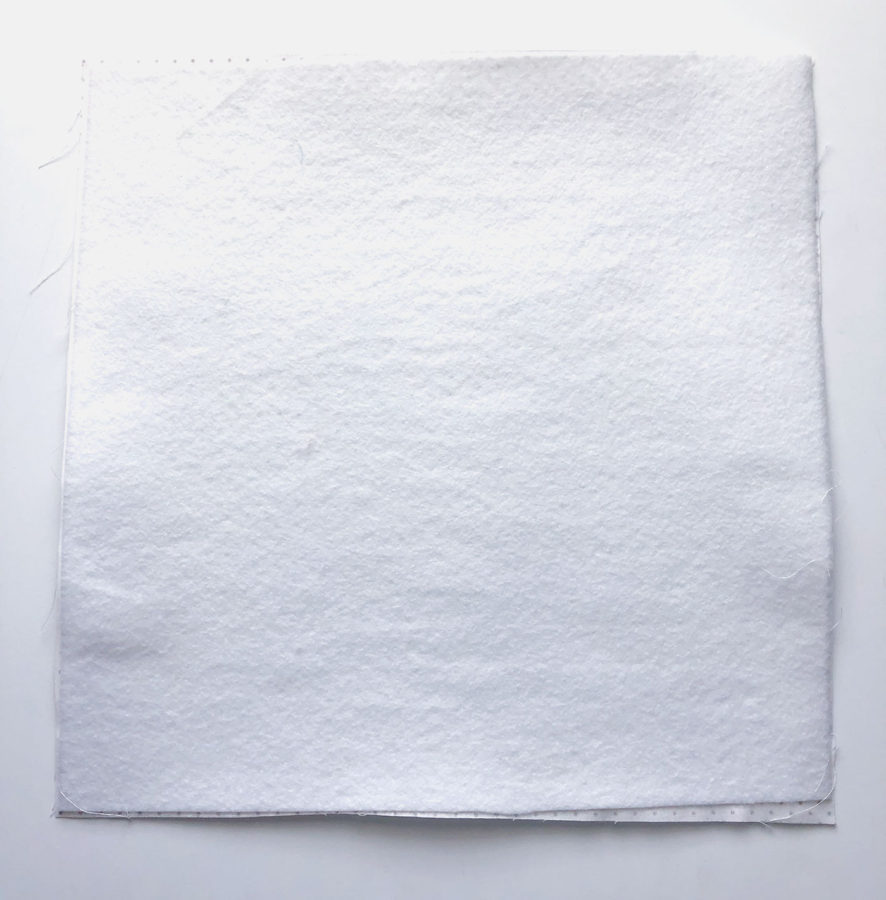
- Cut a piece of fusible fleece to 15 1/4″ square.
- Next, fuse the fleece to the wrong side of the appliqued quilt front.
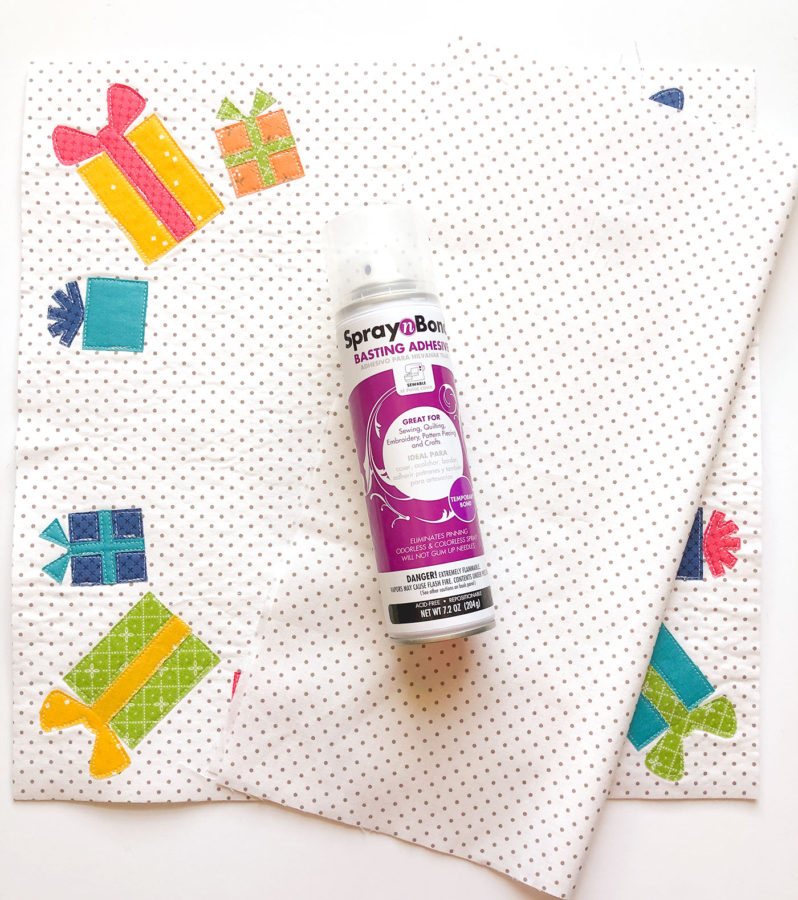
- Use the Spray n Bond basting spray to baste the quilt back onto the fusible fleece.
- Quilt the layers together as desired.
Finishing the Birthday Mini Quilt
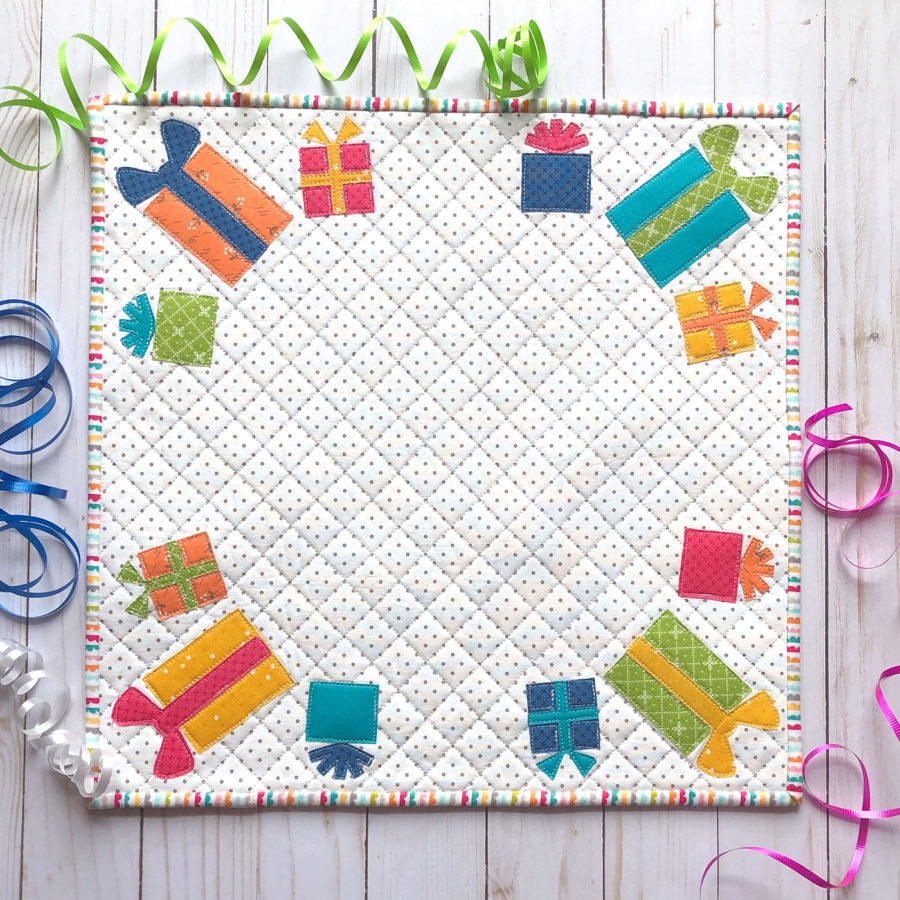
- To finish the quilt, first square up your quilt to 15″ square. Be sure to leave 1/2″ from the edge of the applique to the edge of the quilt.
- Attach your binding using your method of choice.
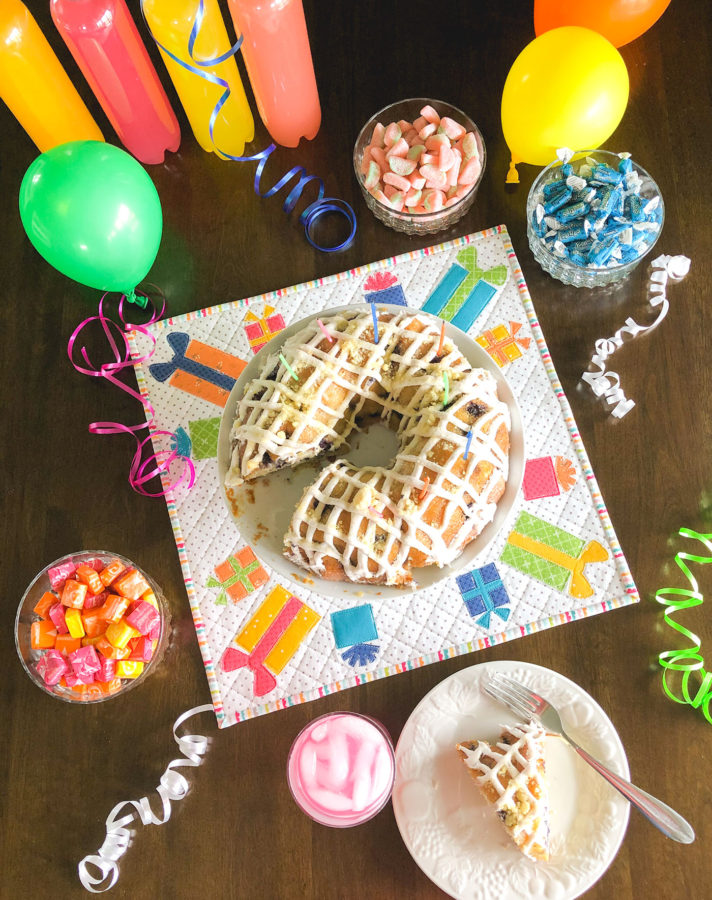
Now your Birthday Mini quilt is ready to be used to dress up your favorite birthday cake.
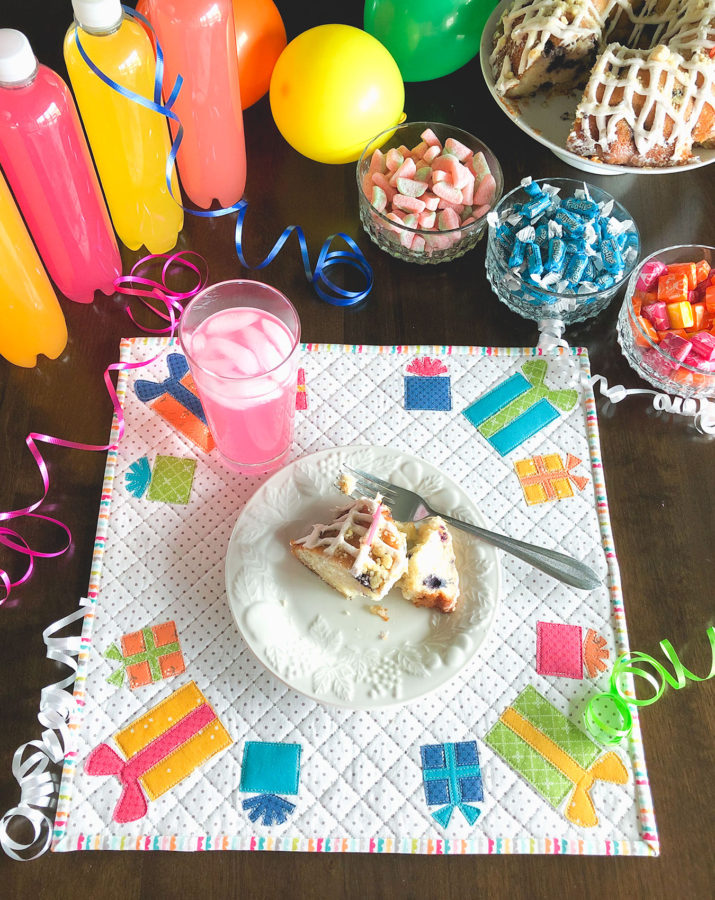
Or use it as a placemat for the special Birthday Honoree. No matter how you use it, this birthday mini quilt is sure to become a tradition your family will love to use on every birthday!
Happy Sewing friends! xoxo, Amy

Jennifer
July 18, 2020 at 5:47 am (5 years ago)So cute, Amy!