


 Hello Crafty Friends!!
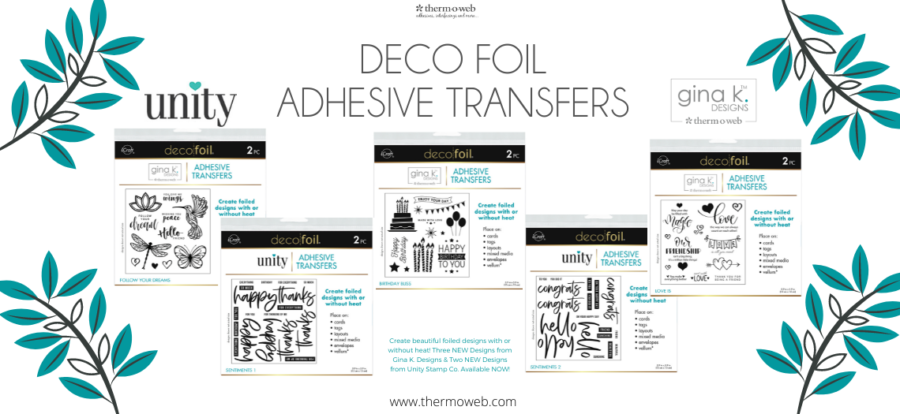
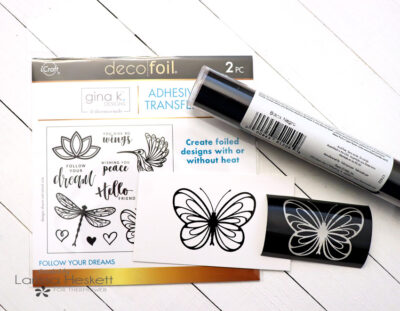
 Gina K. Designs Adhesive Transfers
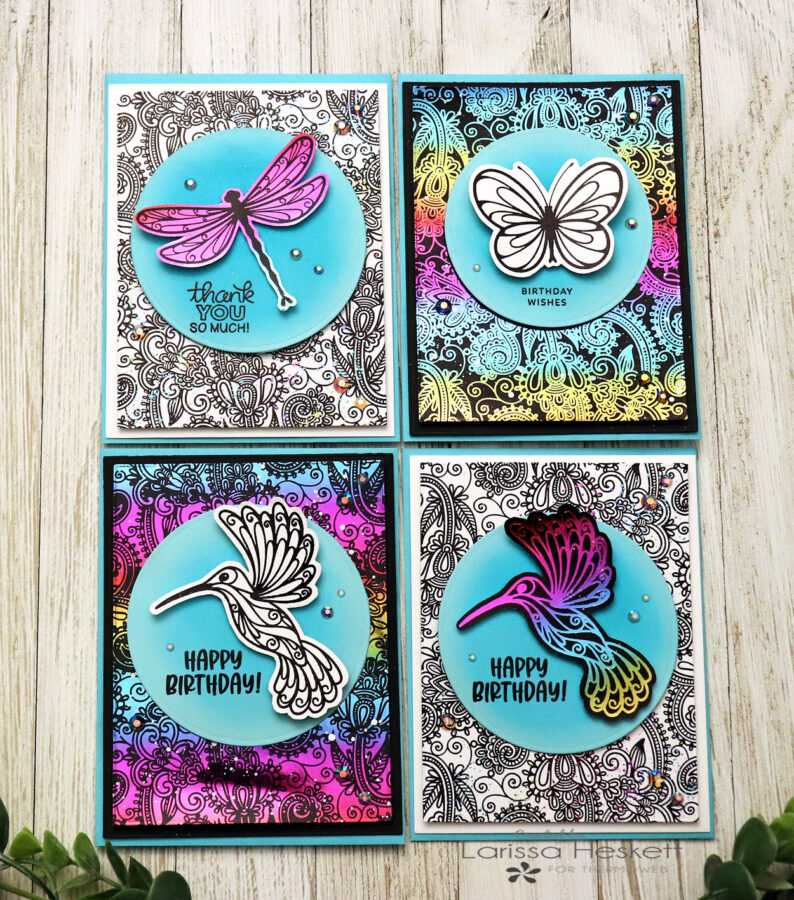
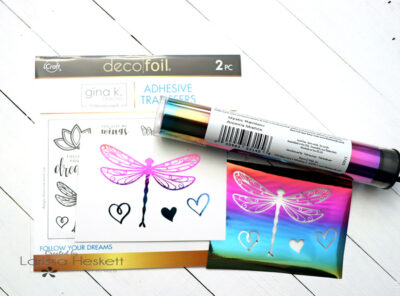
Larissa here today with a Set of BEAUTIFUL Cards using the NEW Gina K Designs Adhesive Transfers along with some of the Unity Stamps Toner Card Fronts!! SWOON!! I LOVE to Mix and Match these Products along with using the Positive and Negative Transfers to get MORE Bang for you Buck!!
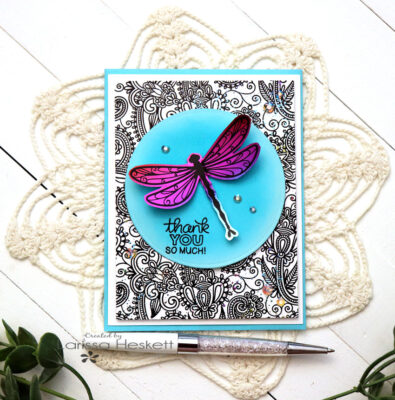
For my First Card I’m using the Unity Stamps Paisley Dreams Toner Card Fronts along with the STUNNING Dragon Fly Adhesive Transfer!! Let’s Get Started!!
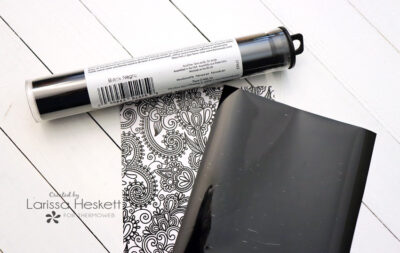
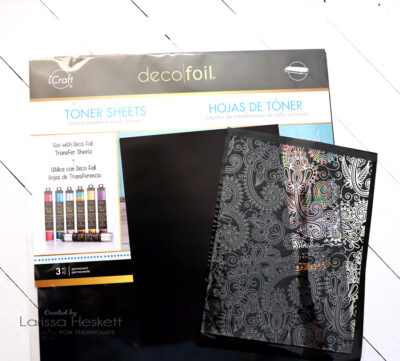
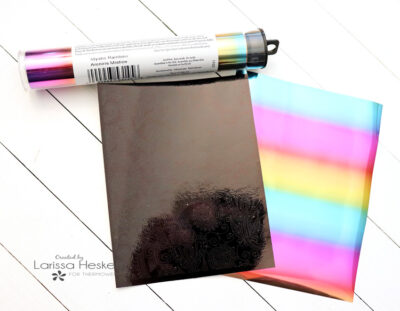
I Cut a Piece of Black Deco Foil large enough to cover the Unity Stamps Paisley Dreams Toner Card Front and then ran it through my MINC Laminating Machine on the 4 Setting!!
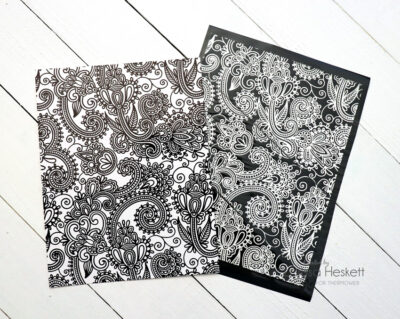
I removed the Negative Foil Sheet once it was run through the MINC Laminating Machine and SWOON!! I just LOVE how BEAUTIFUL it is, plus just look at that Negative Foil Sheet!! SAVE that for our next Card!!
TIP: If you’ve NEVER used your Negative Foil Sheets to Create with YOU MUST give it a TRY!! The Results and Options are ENDLESS!! You can continue to use them over and over again to change up the Color Combos, or keep them the Same for an entire Set!!TooltipText
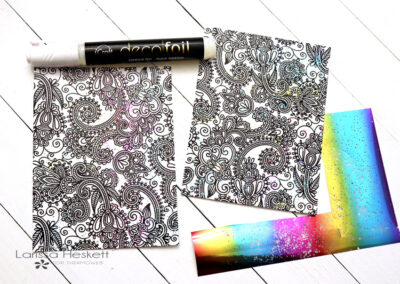
I wanted to add some Splatters of Color!! So I took the Deco Foil Adhesive Pen and Pressed the Tip Down onto a Plate in order to get a Puddle of the Adhesive to come out!! Then I used a Paint Brush and Splattered the Deco Foil Adhesive onto the Foiled Paisley Dreams Card Fronts!! Then Set them aside to Dry Completely!!
Then I took a Piece of the Mystic Deco Foil and placed it over the Top of the Dried Adhesive Splatters and pressed Down on the Foil to Transfer it to the Card Front!! SQUEAL!! This technique is one of my FAVORITE ways to add some Foiled Splatters to my Projects!!
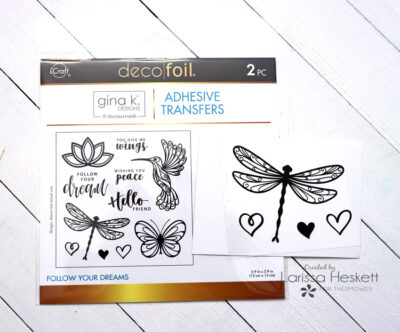
Next I Cut the Dragon Fly Image from the NEW Gina K Designs Follow Your Dreams Adhesive Transfers and then removed the Backing and Placed it onto my Cardstock!! Then Ran it through my MINC Laminating Machine on the 2 Setting!!
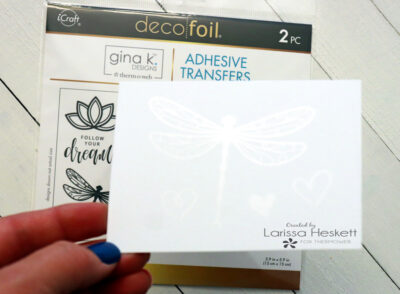
Once Laminated I removed the Top Film and I’m left with the Adhesive Transfer!! It’s hard to see as the Adhesive is Transparent, but here’s a look at it up close!!
Then I Cut a Piece of Mystic Rainbow Deco Foil Large enough to Cover the Adhesive Transfer and Ran it back through my MINC Laminating Machine again on the 2 Setting!!
I Removed the Negative Foil Sheet and I’m left with this!! Now you could just STOP HERE, but I wanted to show you how you can also use the Negative Foil Sheet and use that Image too!! Remember you’ll get MORE Bang for your Buck by also using the Negative Sheets!!
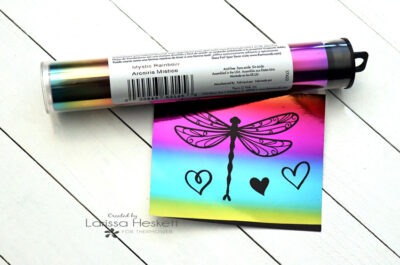
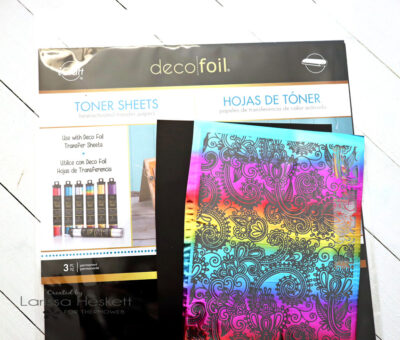
So I placed the Negative Sheet onto a Piece of Deco Foil Toner Sheets and then ran it through my MINC Laminating Machine again on the 2 Setting and removed the Negative Sheet to reveal this STUNNING Dragon Fly using the Negative Sheet!! FUN Right!!??
You could take it a step further and Foil the Image Again with another Color, but I kept it Simple and Foiled it with Black Deco Foil!! I LOVE how Simple this Technique it and how you can use those Negative Sheets for NO WASTE!!
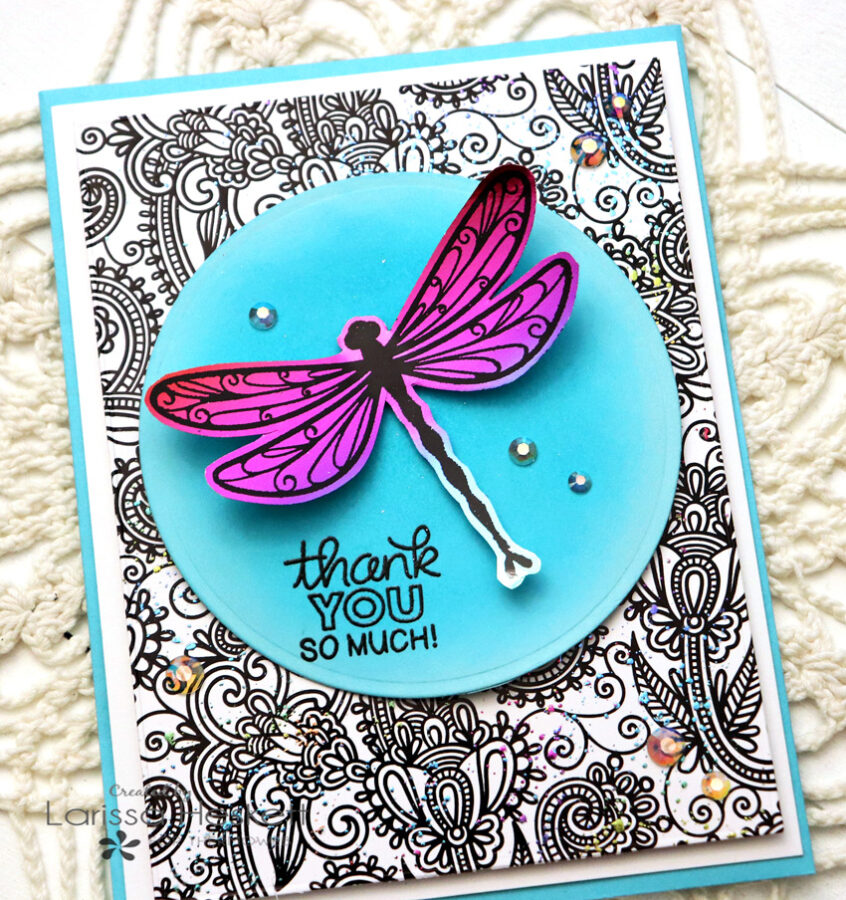
I Fussy Cut the Dragon Fly Image out and then placed it onto a Circle Die Cut using Foam Tape and then Stamped and Embossed a Sentiment and finished off the Design by adding some Trinity Stamps Fairy Rocks Rhinestones using Zots Bling Adhesive Dots for some added Sparkle and Shine!!

For my Second Card I’m using the Negative Paisley Dreams Sheet along with the STUNNING Butterfly Adhesive Transfer!!
I started with the Negative Paisley Dreams Sheet and I’m placing it on top of a piece of Deco Foil Toner Sheets that I cut Large enough to Fit!! Then I ran it through my MINC Laminating Machine on the 4 Setting!!
Once Laminated, I removed the Negative Sheet!!
It’s HARD to see, but if you look close, you can see the Paisley Dreams Design on the Black Toner Sheet!! Then I cut a Piece of the Mystic Rainbow Deco Foil Large enough to cover the Toner Sheet and ran it back through the MINC Laminating Machine on the 4 Setting!!
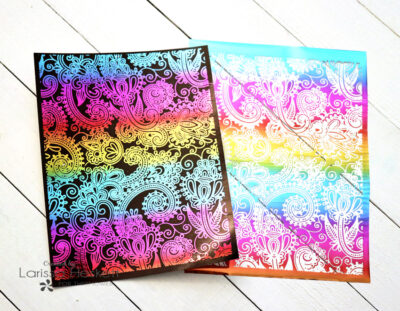
SQUEAL!! Removing the Negative Sheet is ALWAYS my FAVORITE Part of the Process and the REVEAL is just SO FUN!! Look how BEAUTIFUL that Negative Foiling turned out!! WHOOP WHOOP!! The added BONUS is that you’re left with yet another Negative Foil Sheet that you can use on another Card Front!! So SAVE it, as we’ll use it for our Next Card!!
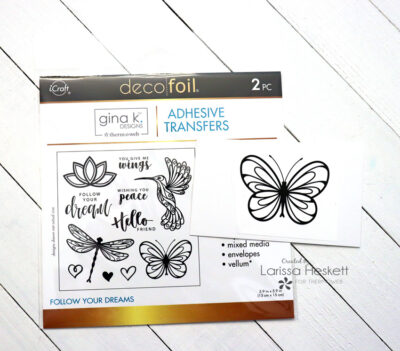
Next I Cut the Butterfly Image from the NEW Gina K Designs Follow Your Dreams Adhesive Transfers and then removed the Backing and Placed it onto my Cardstock!! Then Ran it through my MINC Laminating Machine on the 2 Setting!!
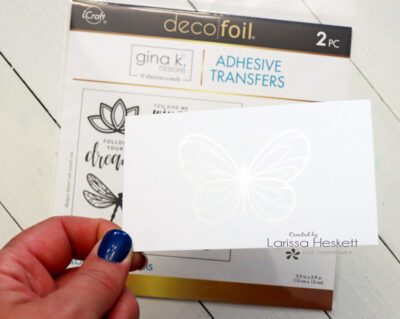
Once Laminated I removed the Top Film and I’m left with the Adhesive Transfer!! It’s hard to see as the Adhesive is Transparent, but here’s a look at it up close!!
Then I Cut a Piece of Black Deco Foil Large enough to Cover the Adhesive Transfer and Ran it back through my MINC Laminating Machine again on the 2 Setting!!
I Removed the Negative Foil Sheet and I’m left with this!! Remember SAVE that Negative Butterfly Foiled Image!! You can use that to create yet another STUNNING Butterfly for another Project!!
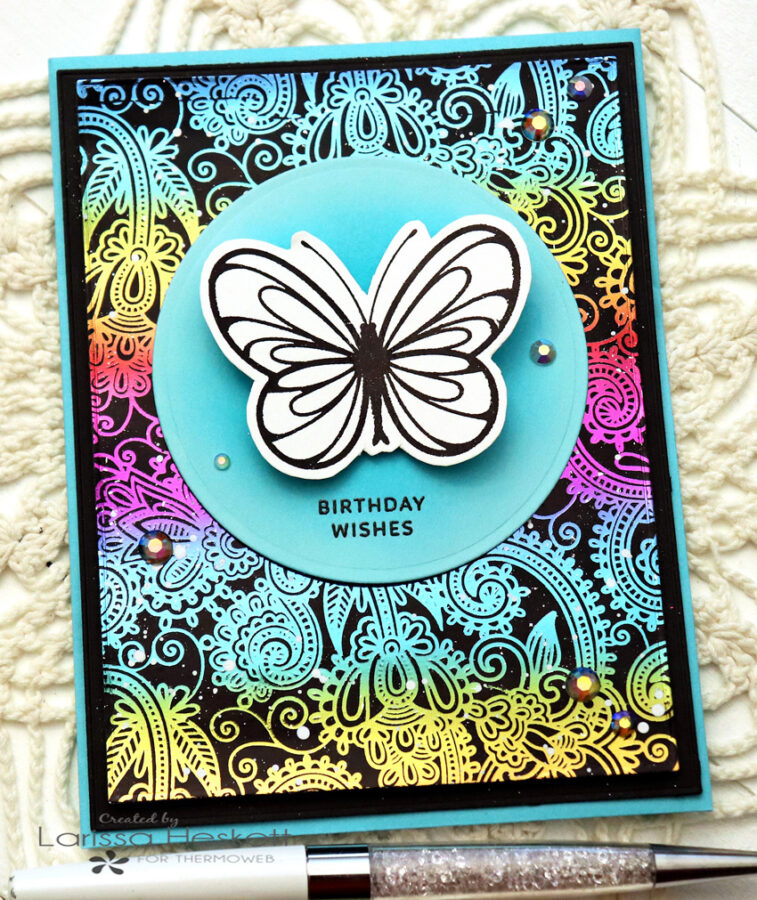
I Fussy Cut the Butterfly Image out and then placed it onto a Circle Die Cut using Foam Tape and then Stamped and Embossed a Sentiment and finished off the Design by adding some Trinity Stamps Fairy Rocks Rhinestones using Zots Bling Adhesive Dots for some added Sparkle and Shine!!
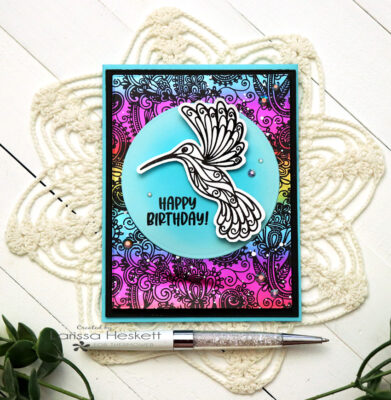
For my Next Card I’m using the other Negative Foil Paisley Dreams Background along with the BEAUTIFUL Hummingbird Adhesive Transfer!!
I started with the Negative Paisley Dreams Sheet and I’m placing it on top of a piece of Deco Foil Toner Sheets that I cut Large enough to Fit!! Then I ran it through my MINC Laminating Machine on the 4 Setting!!
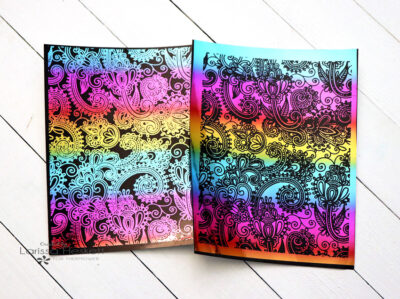
Here’s what I’m left with!! Can you see the difference between the 2 Negative Toner Sheets when they are placed side by side!!?? FUN Right!!?? I LOVE how AMAZING the Paisley Dreams Design Transfers even with it being a Negative!! This Design can just continue to be repeated again and again until you decide to stop!!
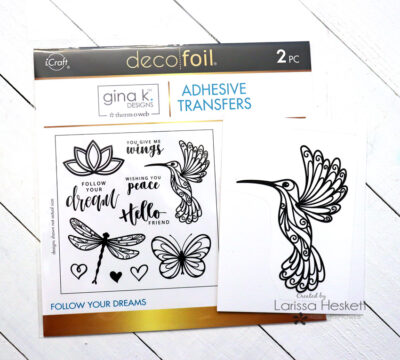
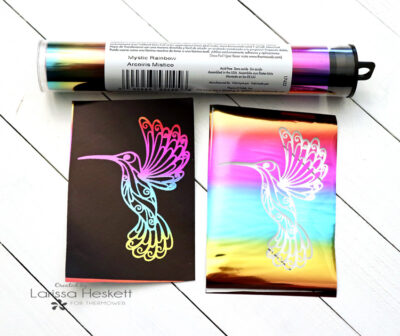
Next, I Cut the Hummingbird Image from the NEW Gina K Designs Follow Your Dreams Adhesive Transfers and then removed the Backing and Placed it onto my Cardstock!! Then Ran it through my MINC Laminating Machine on the 2 Setting!!
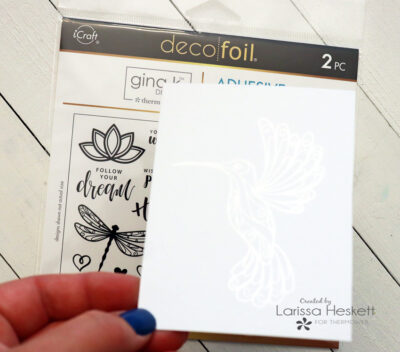
Once Laminated I removed the Top Film and I’m left with the Adhesive Transfer!! It’s hard to see as the Adhesive is Transparent, but here’s a look at it up close!!
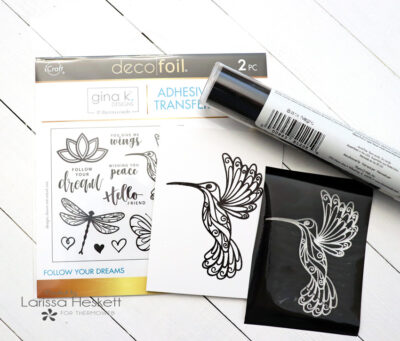
Then I Cut a Piece of Black Deco Foil Large enough to Cover the Adhesive Transfer and Ran it back through my MINC Laminating Machine again on the 2 Setting!!
I Removed the Negative Foil Sheet and I’m left with this!! SAVE that Negative Hummingbird Foiled Image!! We’ll use that to create yet another STUNNING Hummingbird Project!!
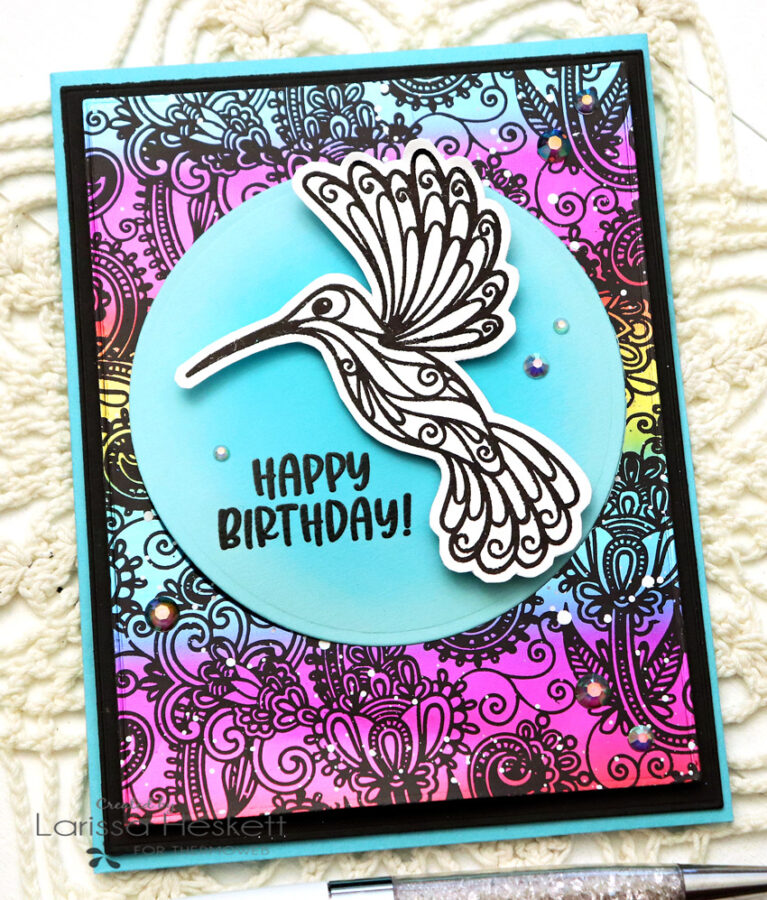
I Fussy Cut the Hummingbird Image out and then placed it onto a Circle Die Cut using Foam Tape and then Stamped and Embossed a Sentiment and finished off the Design by adding some Trinity Stamps Fairy Rocks Rhinestones using Zots Bling Adhesive Dots for some added Sparkle and Shine!!
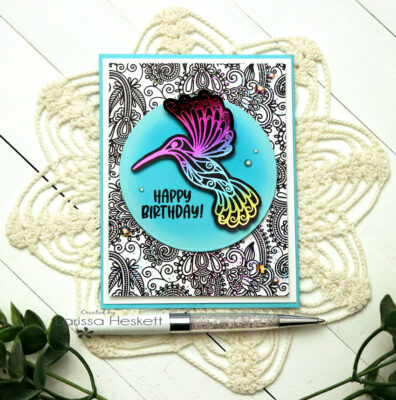
For my Last Card I’m using another Foiled Paisley Dreams Toner Card Front along with the BEAUTIFUL Negative Hummingbird Adhesive Transfer!!
I Cut a Piece of Black Deco Foil large enough to cover the Unity Stamps Paisley Dreams Toner Card Front and then ran it through my MINC Laminating Machine on the 4 Setting!!
I removed the Negative Foil Sheet once it was run through the MINC Laminating Machine and SWOON!! I just LOVE how BEAUTIFUL it is, plus just look at that Negative Foil Sheet!! SAVE that for our next Card!!
I add some Splatters of Color using the Deco Foil Adhesive Pen just like I showed you on the First Card!!
For this Image, I took the Negative Foil Hummingbird and placed it onto a piece of Deco Foil Transfer Sheet and ran it through my MINC Laminating Machine on the 2 Setting!! I Removed the Negative Film and then Foiled the Image again with some of the Mystic Rainbow Deco Foil again on the 2 Setting!! Then Removed the Negative Foil Shown above and was left with this STUNNING Negative Foiled Image!! SWOON!! BEAUTIFUL right!!?? SAVE that other Negative Foiled Image and use it again the Created another Hummingbird Image!!
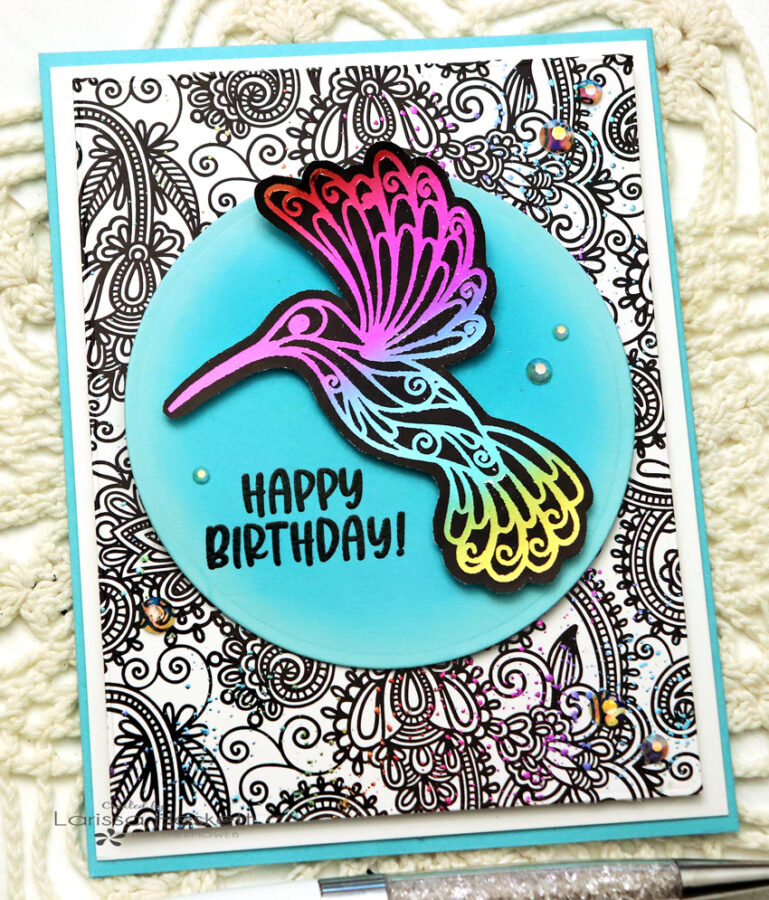
I Fussy Cut the Hummingbird Image out and then placed it onto a Circle Die Cut using Foam Tape and then Stamped and Embossed a Sentiment and finished off the Design by adding some Trinity Stamps Fairy Rocks Rhinestones using Zots Bling Adhesive Dots for some added Sparkle and Shine!!
Products Used:
Therm O Web Products:
Deco Foil Toner Sheets
Deco Foil Craft & Carrier Sheets
Deco Foil in Black & Mystic Rainbow
iCraft Black Foam
Zots ling Adhesive Dots
Ultra Bond Adhesive
Gina K Designs Adhesive Transfers
Unity Stamps Toner Card Fronts
Deco Foil Liquid Adhesive Pen
Other:
Trinity Stamps Modern Embossed Rectangle Stacks Die Set
Trinity Stamps Embossed Circle Edge Stacks Die Set
Trinity Stamps Fairy Rocks Rhinestones
Newton’s Nook Designs Stamps
WoW Embossing Powder
Versa Fine Black Onyx Ink
Picket Fence Distress Paint
So there you have it a Set of BEAUTIFUL Cards that are SURE to Bring a SMILE and BRIGHTEN the recipient’s Day!! I hope I’ve INSPIRED you on some different ways to use the NEW Adhesive Transfer Sheets along with the other Therm O Web Products to REALLY make a STATMENT!! SWOON!! I LOVE how FUN these Products are to use and ALL of the different ways you can STRETCH them to get MORE Bang for our Buck by USING the Negative Transfers too!! I hope you’ll give this Technique a Try!!
If you create something I hope you’ll share it with us on Social Media using the HashTag #ThermOWeb #DecoFoil #GinaKDesigns #iCraft as we LOVE to see what you’re creating!!
THANKS SO MUCH for stopping by today and for your comments, they mean more than you know and I read every one of them!! Hope you have a FABULOUS WEEK/WEEKEND!!
Larissa Heskett