


 Hello and welcome!
It’s Julia from Inflorescence Designs! I’m so joyful you are visiting today. This week is all about the swirly yummy goodness of candy canes!
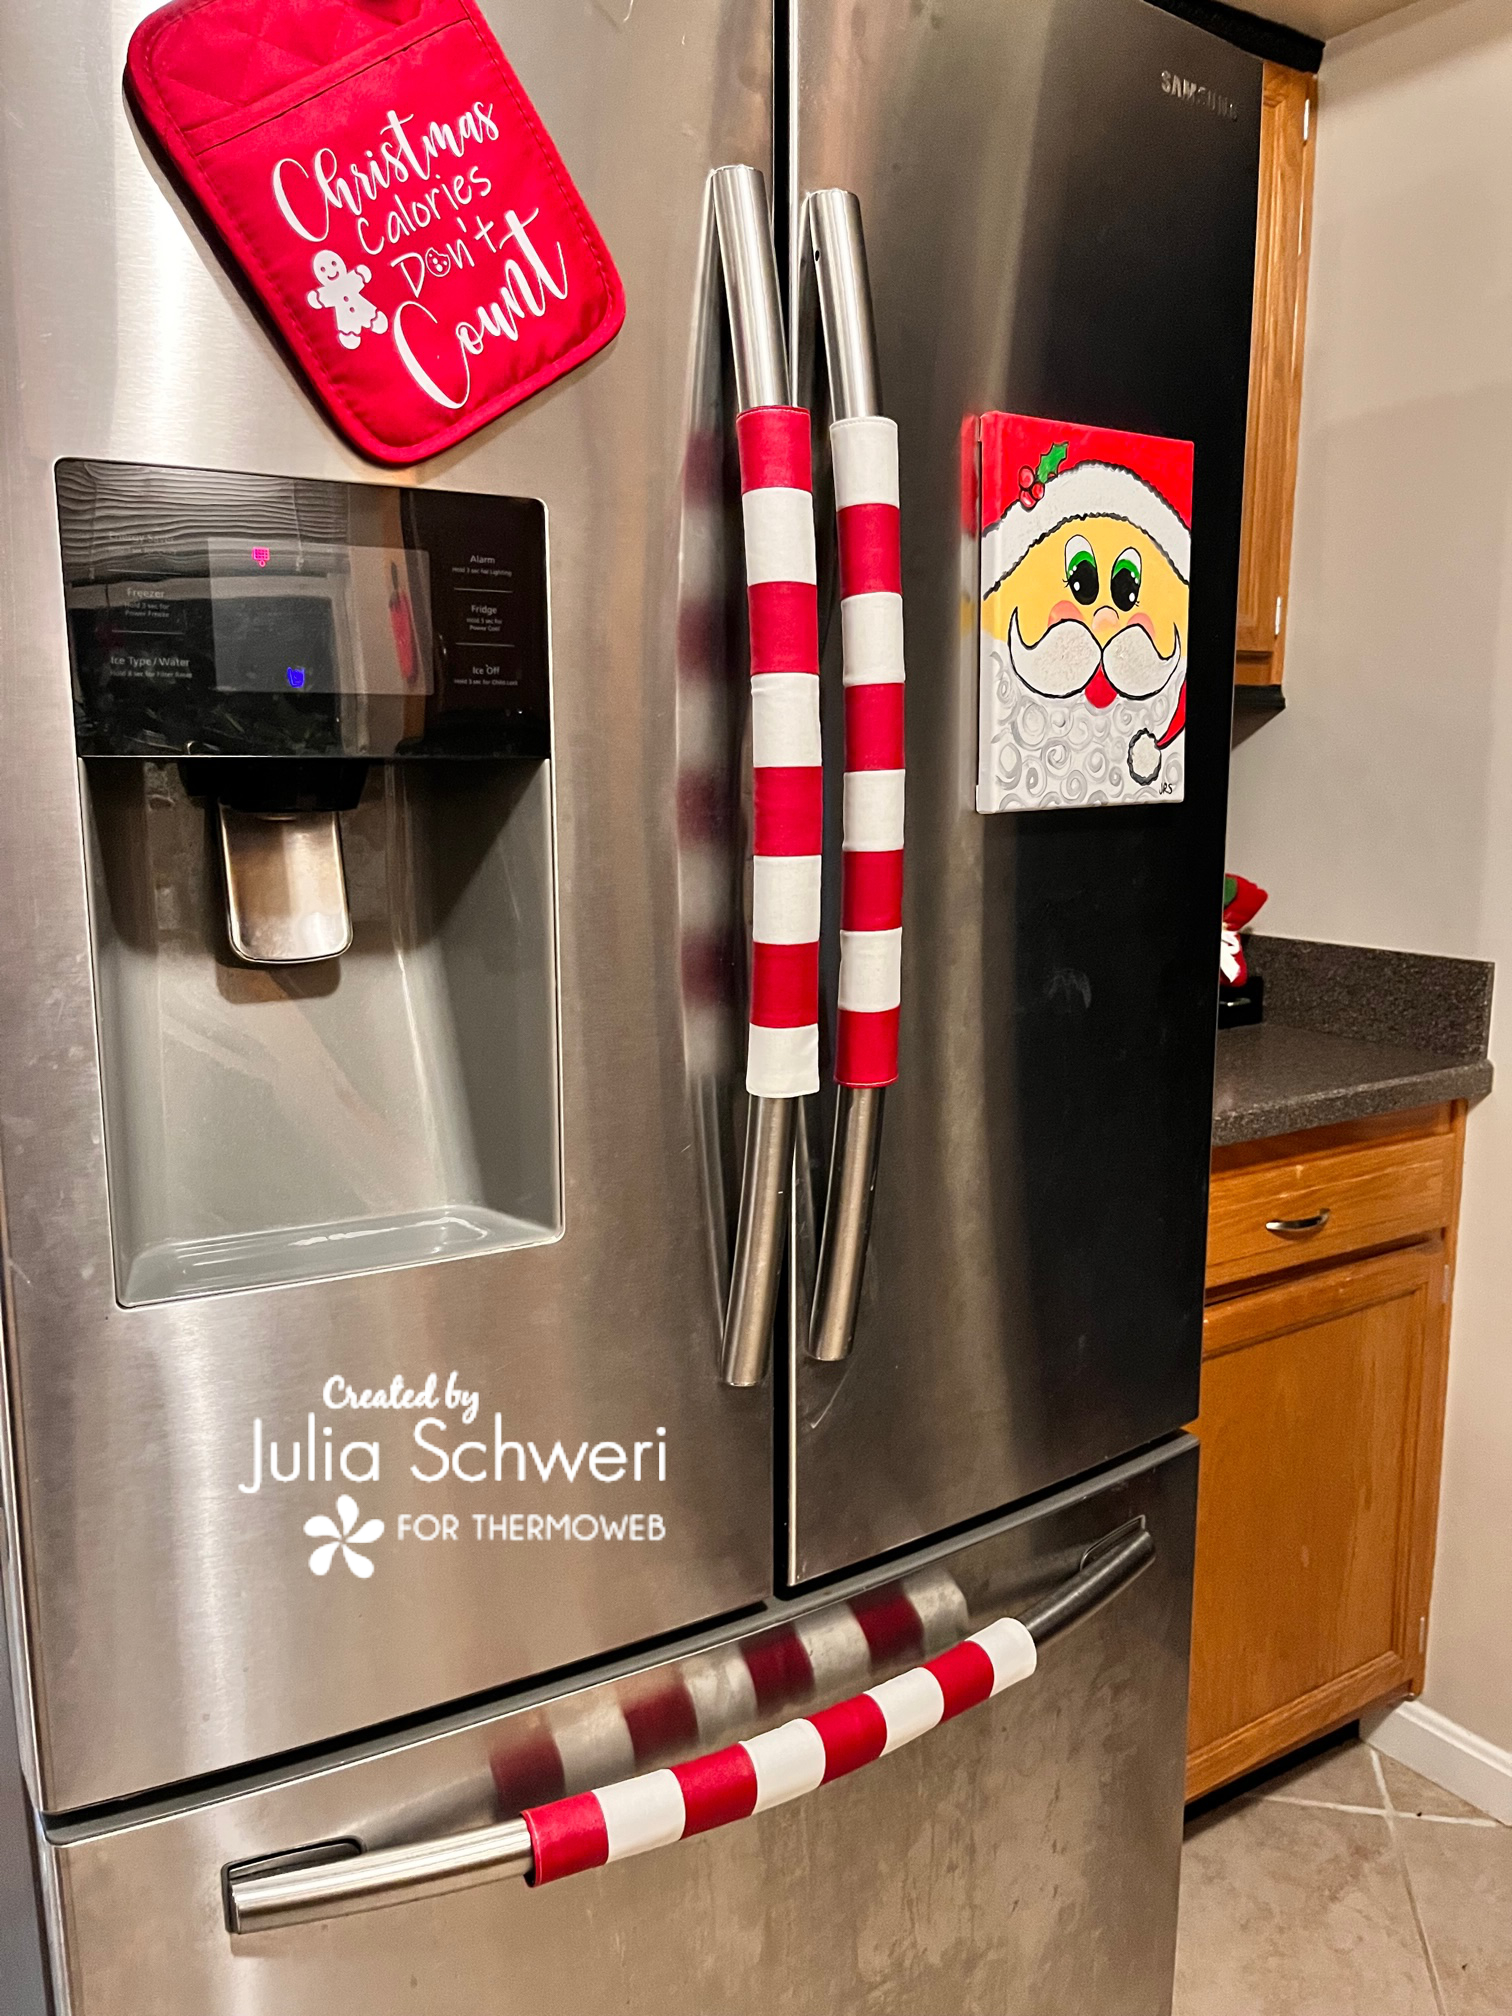
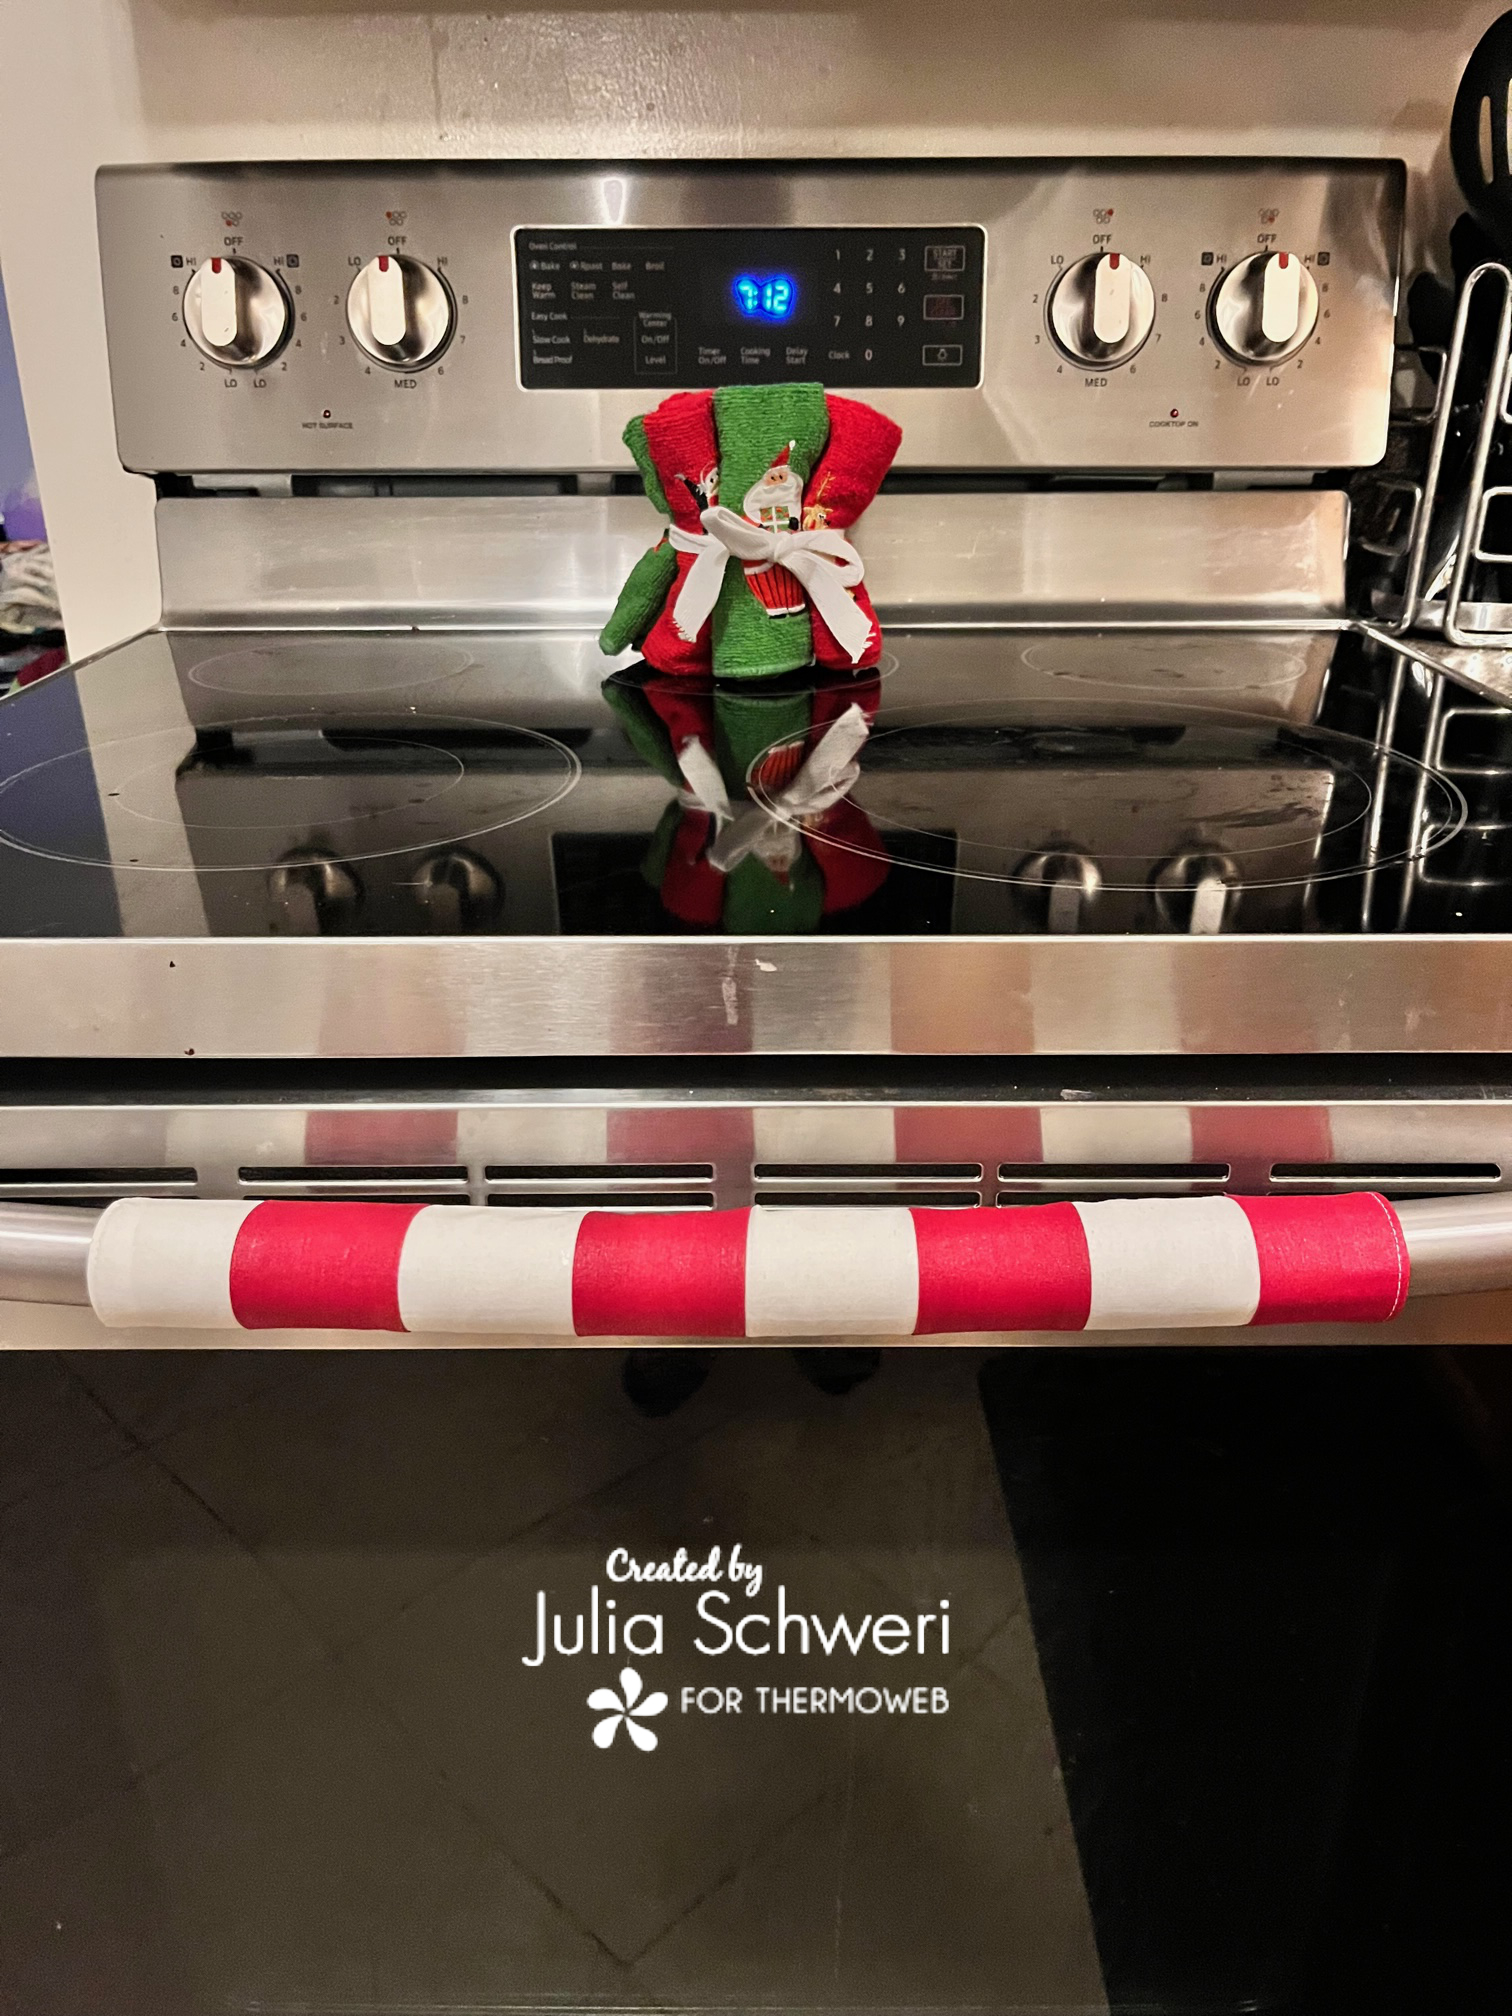
For this project, we are going to use HeatnBond Liquid Vinyl. HeatnBond Liquid Vinyl can make your favorite fabrics stain-resistant, water-resistant and even waterproof. This application is perfect for these refrigerator door handle covers. I can’t tell you how many times my fridge and freezer doors are gooey and sticky from little hands. These door handles help make cleaning the handles easier and add a festive flair to your kitchen. In fact, these are so easy to make it will be hard not to have one for EVERY SEASON!
Candy Cane Refrigerator Door Handle Covers with Liquid Vinyl
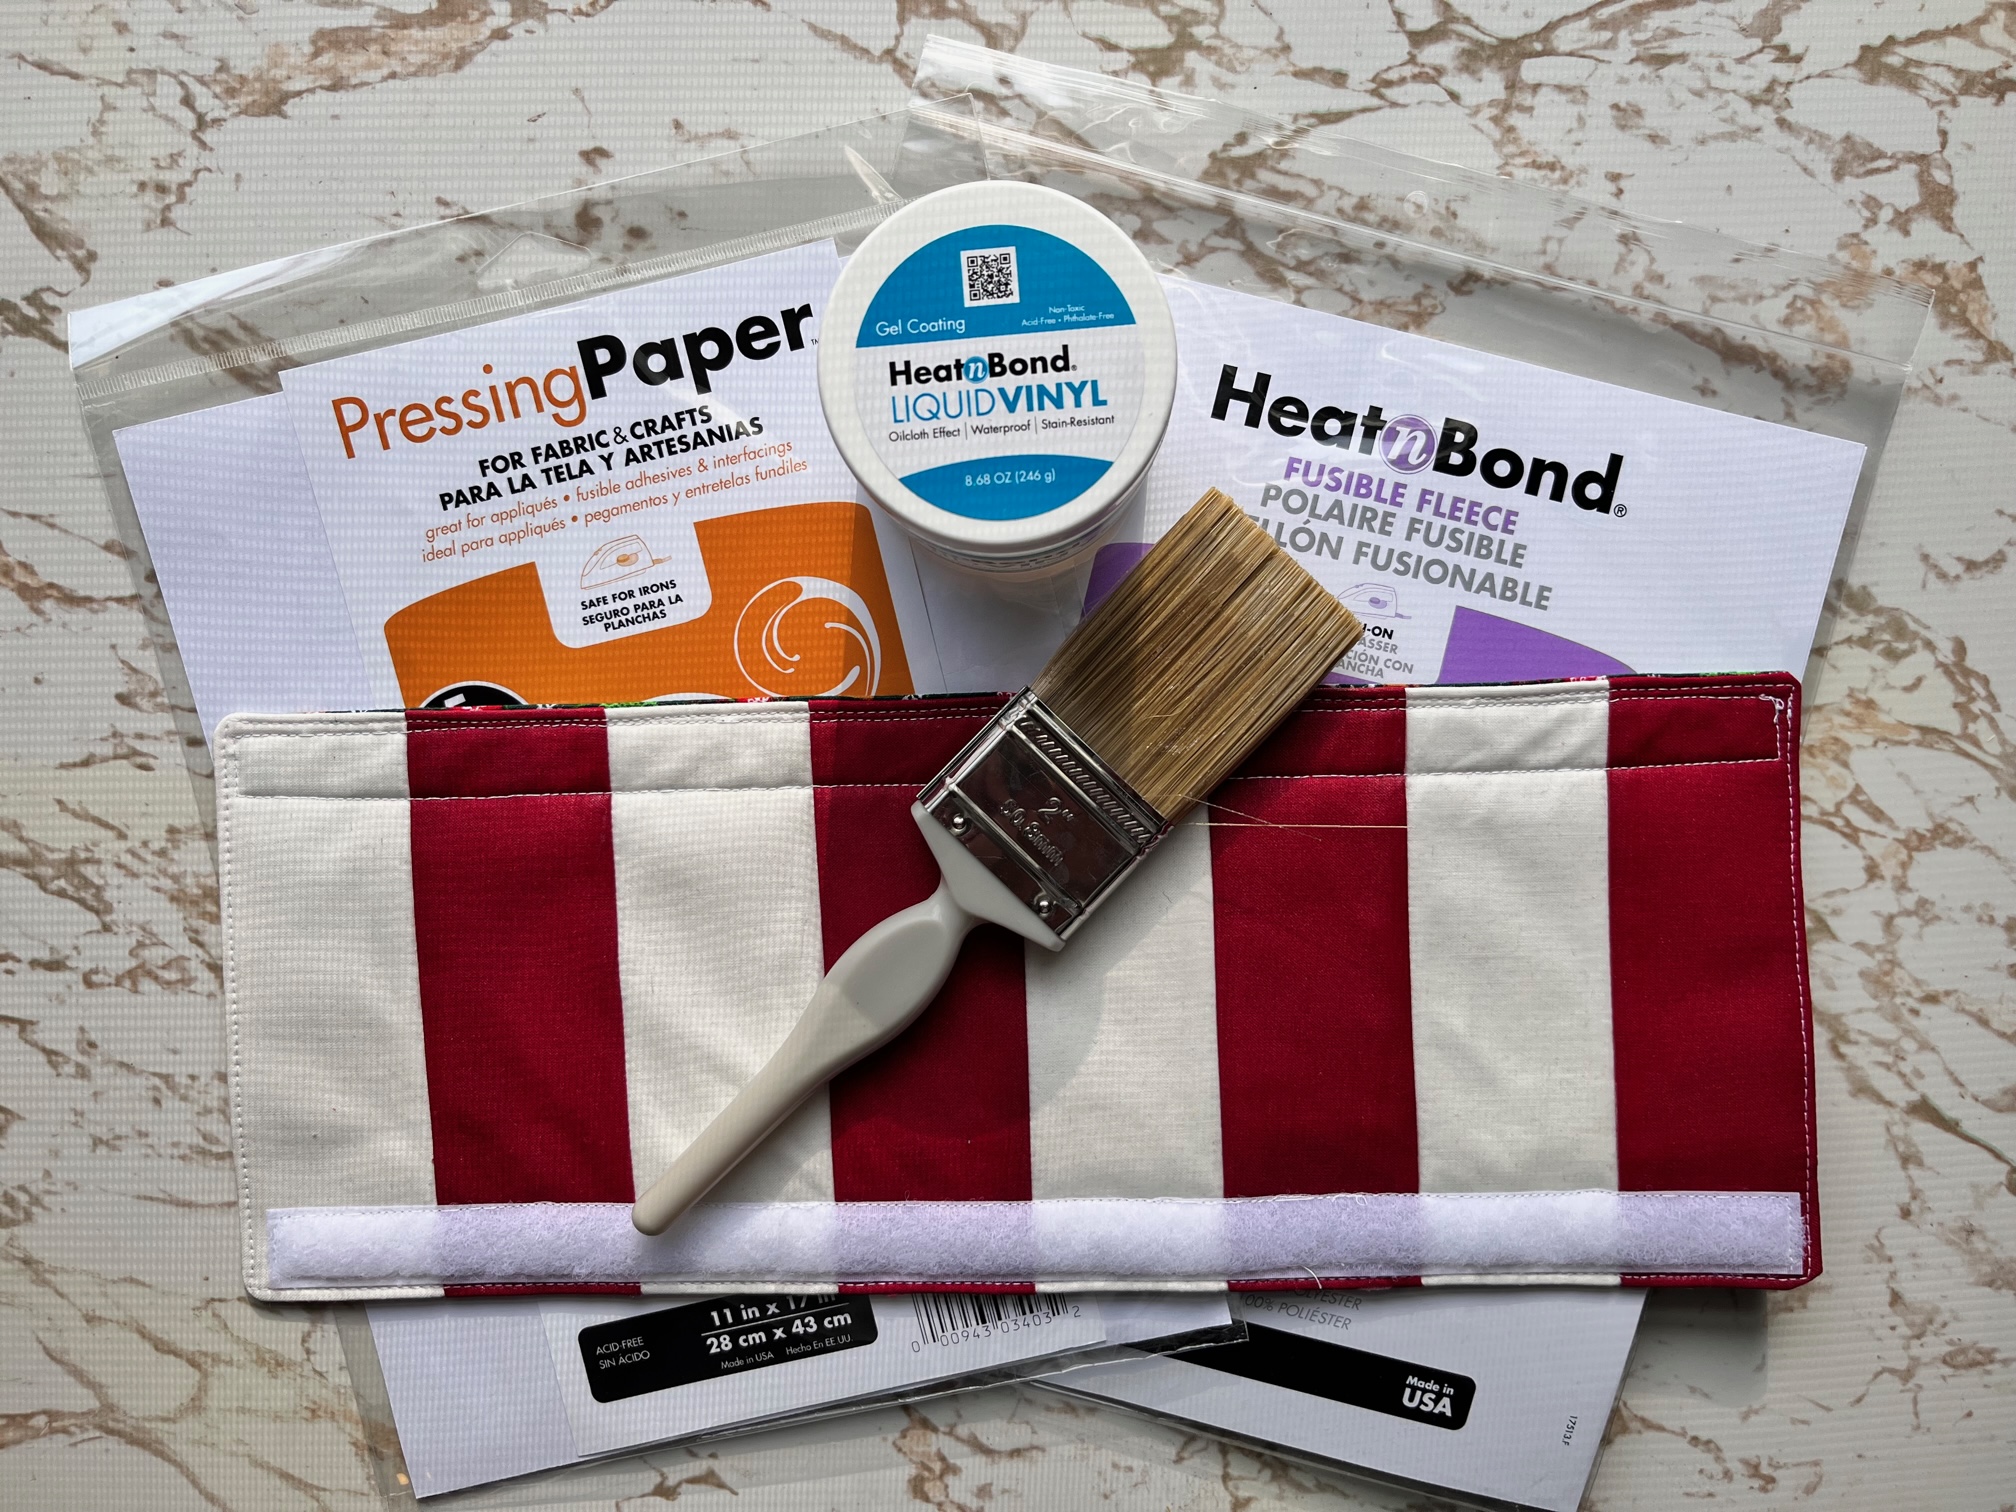
Supplies:
Supplies are for ONE handle cover. You may need to make more than one depending on your make and model. You can even make one for your oven door handle and if you are really ambitious, try shortening the length of the cover to fit the microwave!
- HeatnBond Liquid Vinyl
- Thermoweb Pressing Paper
- HeatnBond Fusible Fleece 15 1/2″ x 6″
- Lining fabric: 16 1/2″ x 6 1/2″
- **Candy Cane Stripes:
- (4) 2 1/2″ x 6 1/2″ white fabric strips
- (4) 2 1/2″ x 6 1/2″ red fabric strips
- Sew in Velcro: 15 1/4″
All seam allowances are 1/4″
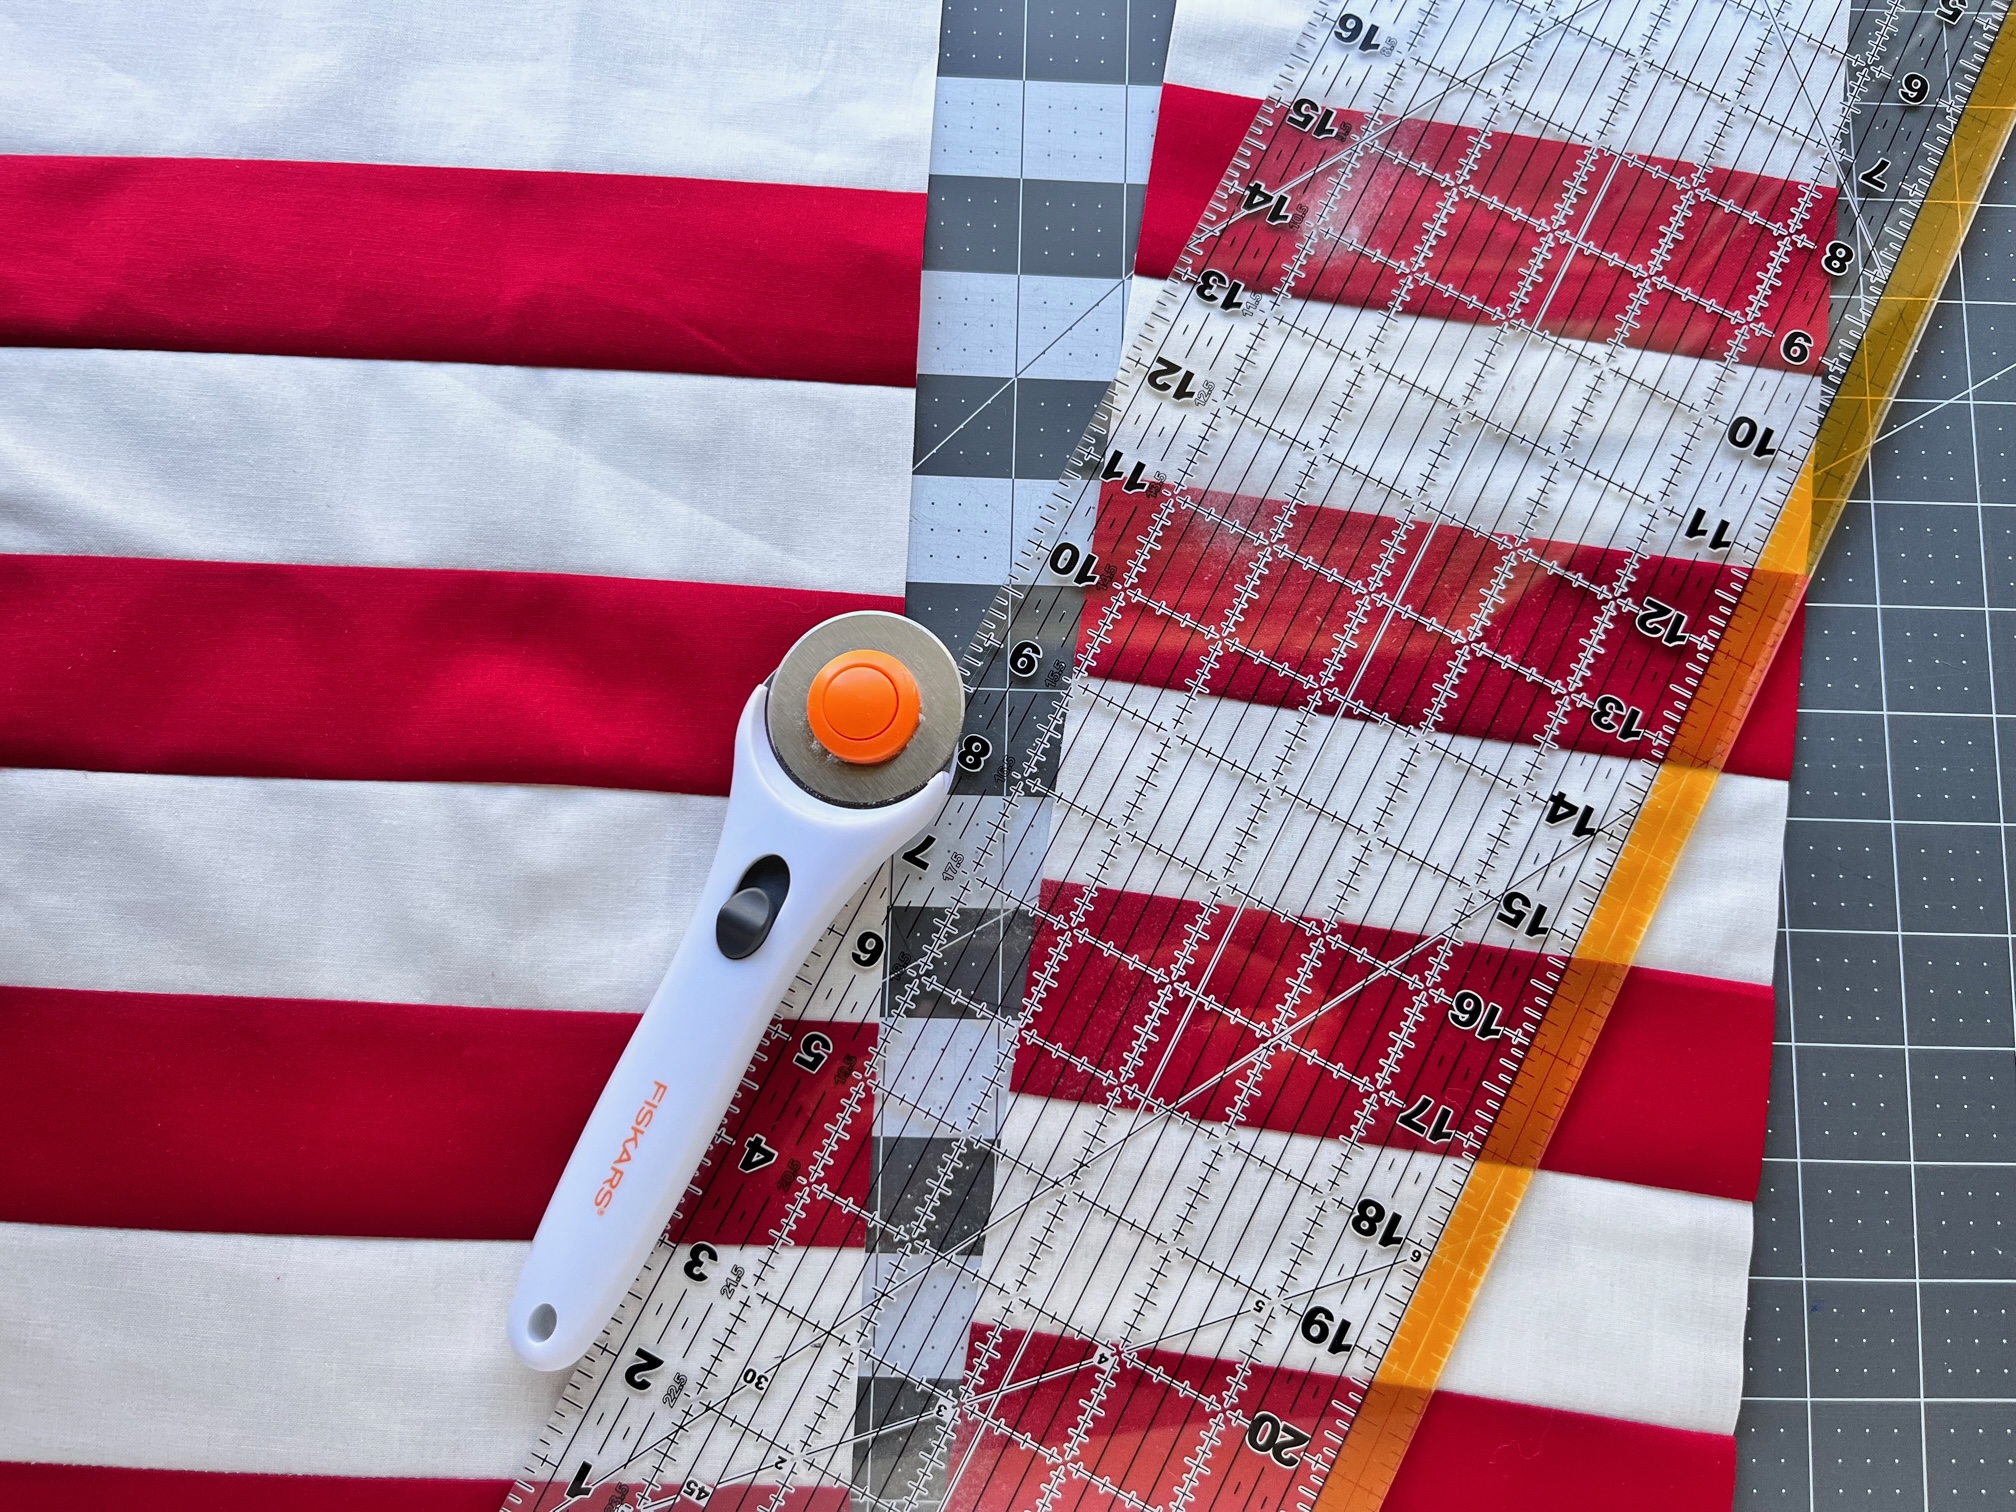
**If you plan to make more than one handle at a time. I suggest cutting the candy cane stripe fabric 2 1/2″ by the width of the fabric. Once the stripes are sewn together, sub-cut to 16 1/2″ x 6 1/2″.
Refrigerator Door Handle Cover Instructions:
Begin by…
Sew the candy cane stripe fabric together in a repeating pattern. Once finished, the piece should measure 16 1/2″ x 6 1/2″. As you can see, I made more than one at a time, so I followed the ** instructions above.
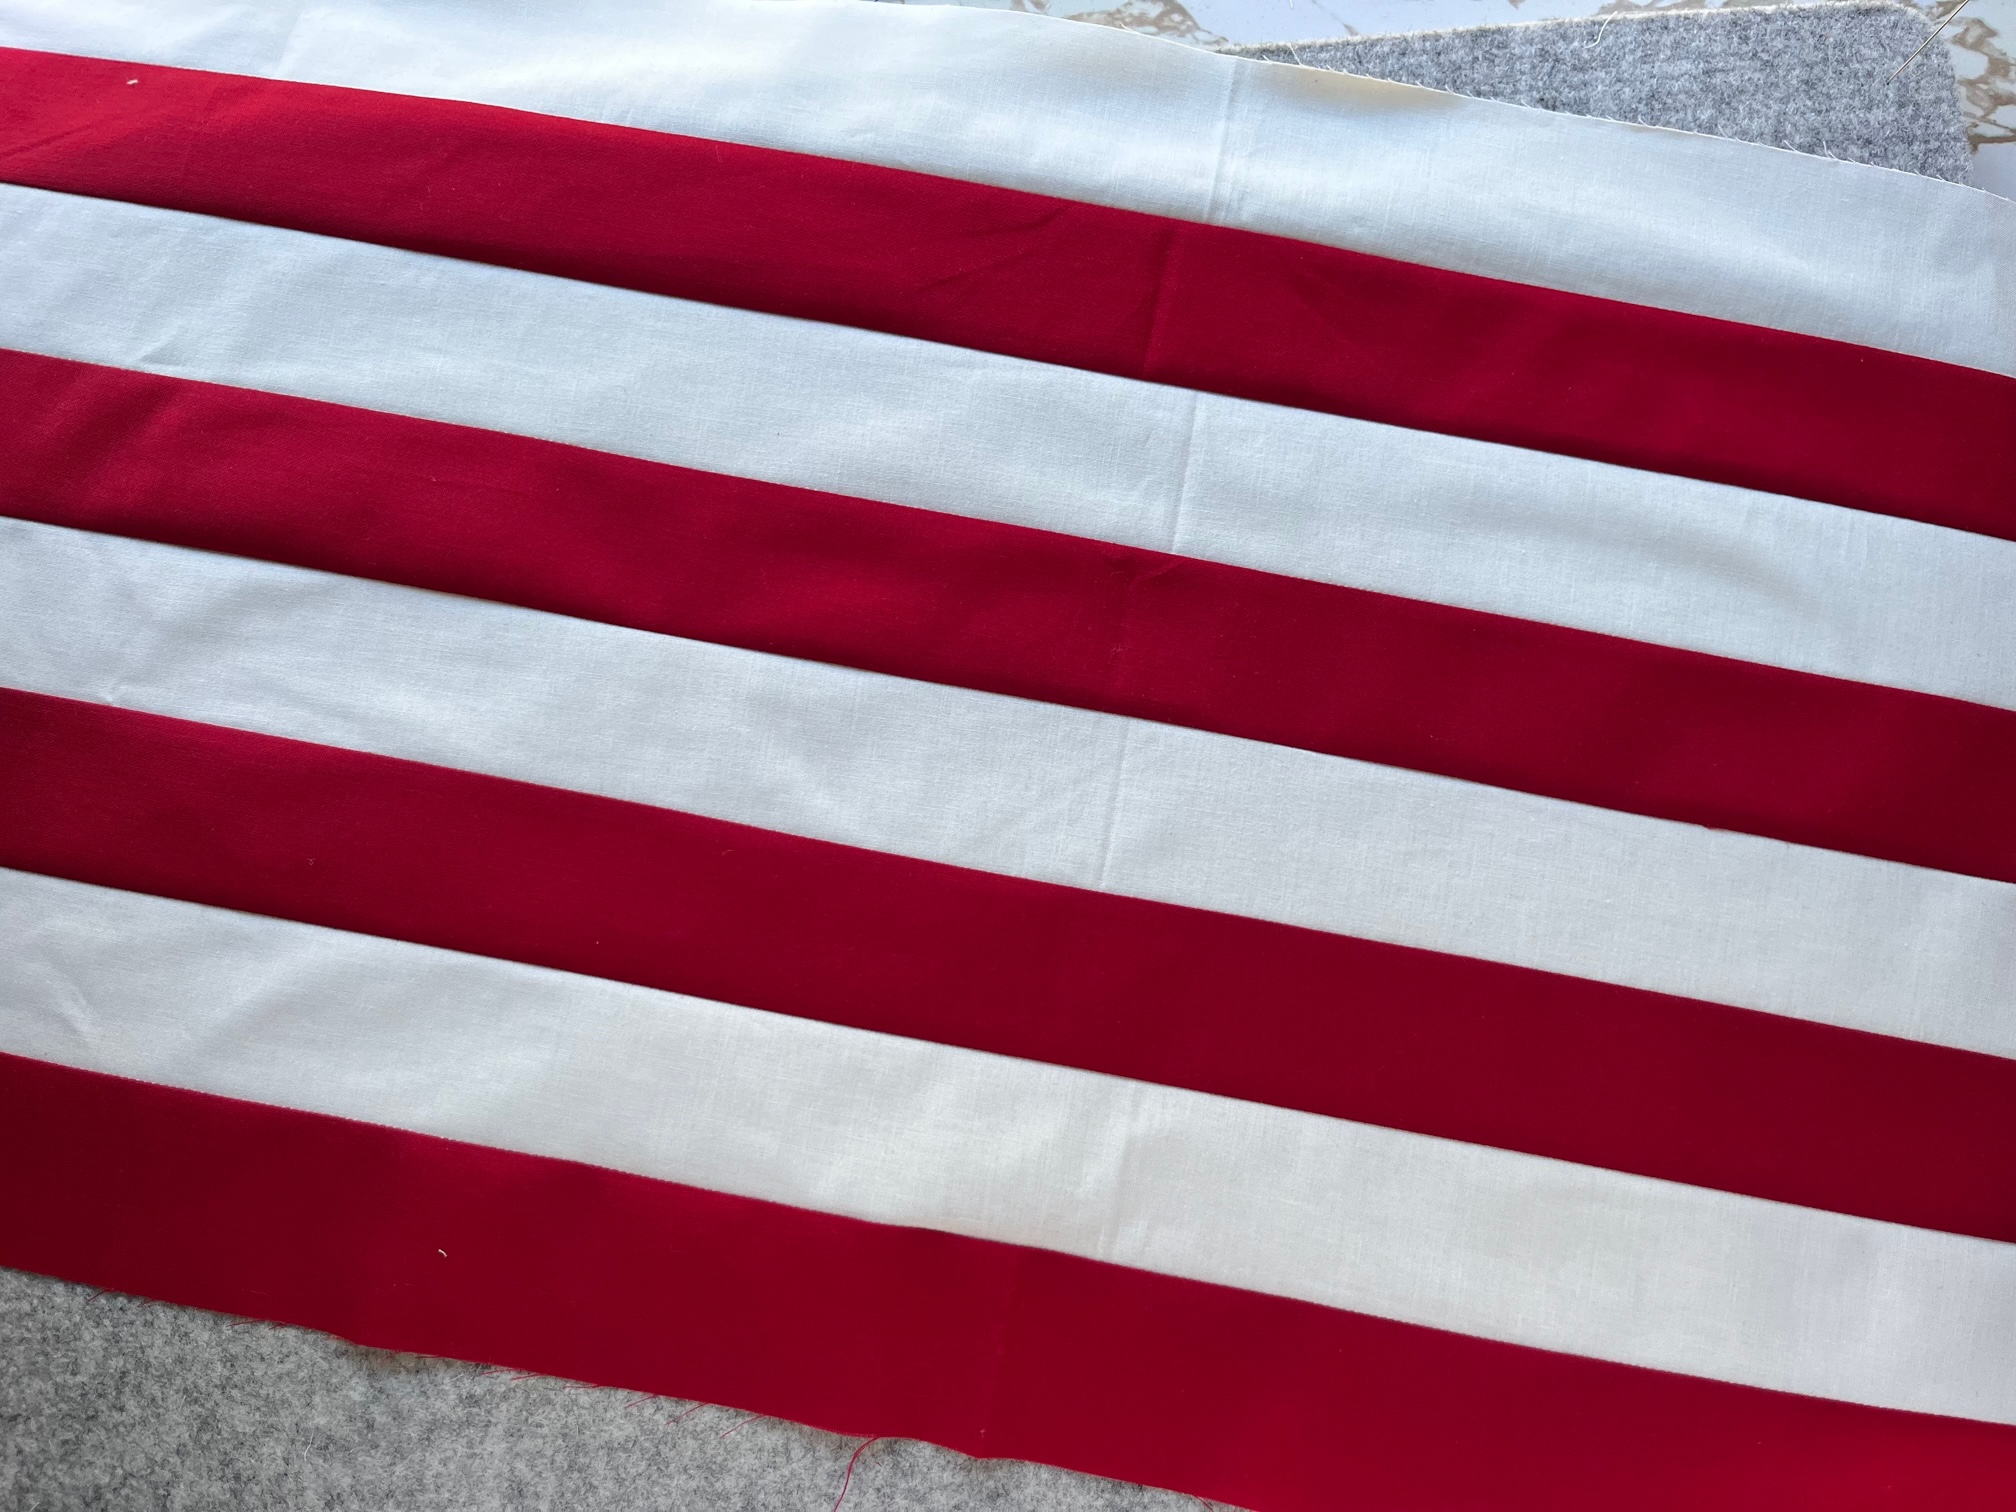
Next…
Adhere the fusible fleece to the wrong side of the candy cane stripe fabric.

Then…
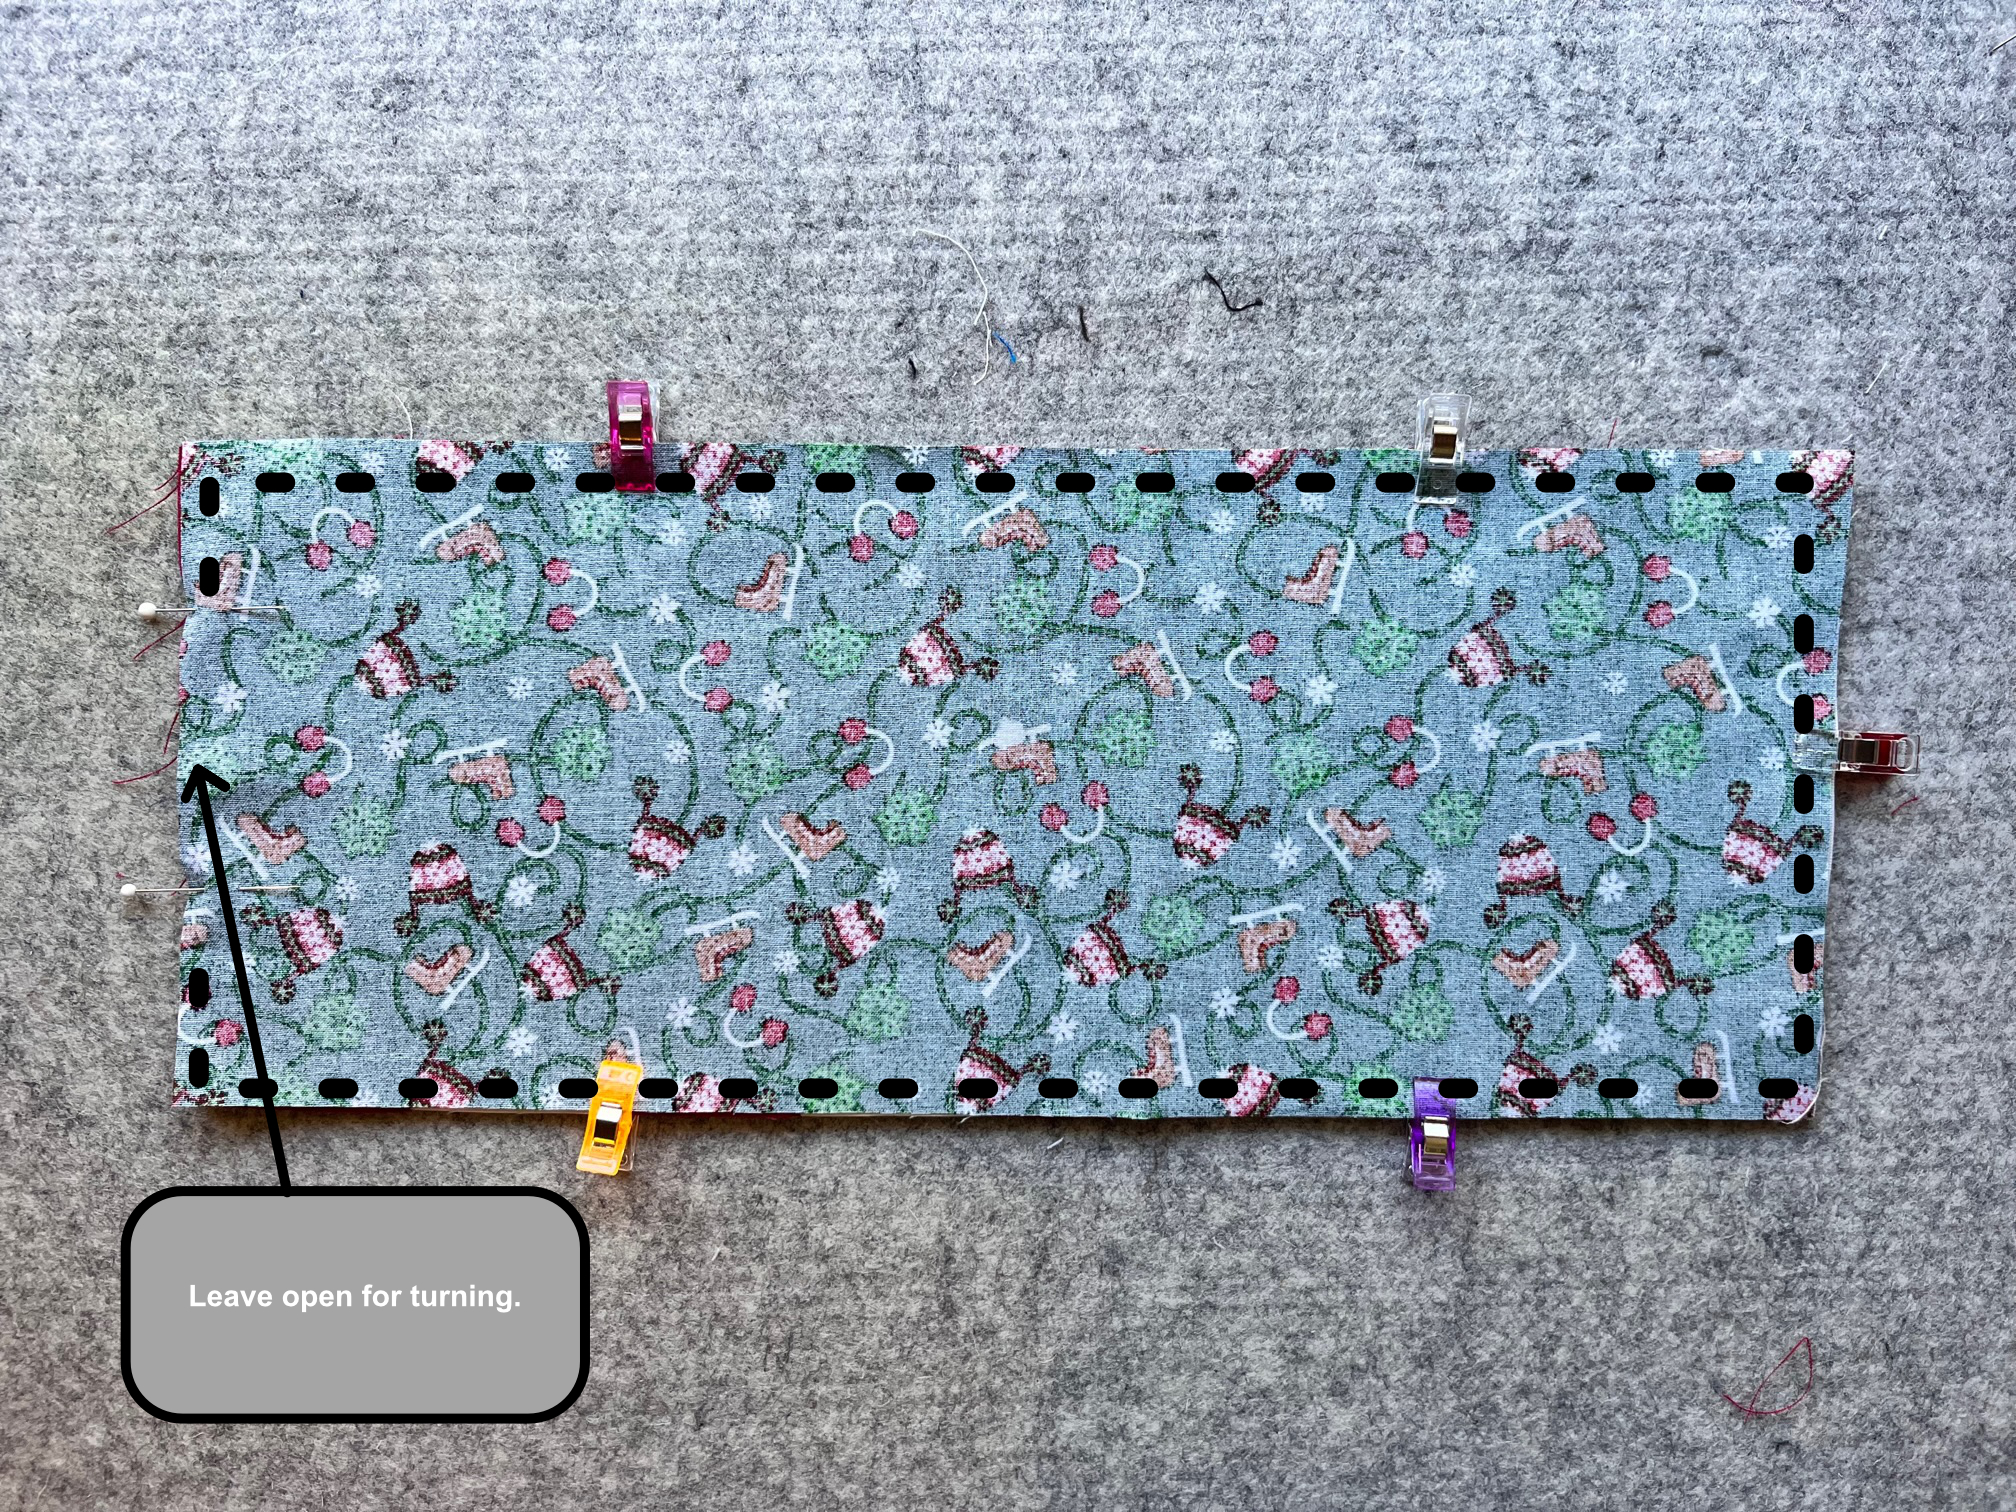
Layer the lining fabric right sides together with the candy cane stripe fabric. Pin/clip around. Sew around the fabric but leave an opening on one of the short ends. Then, turn the right side out and press. Press under the opening and top stitch around.
Applying the Liquid Vinyl
Once the top stitching is complete it is time to add HeatnBond Liquid Vinyl. We are adding it to the candy cane side only, but you can do both sides if you want to make your handle reversible!
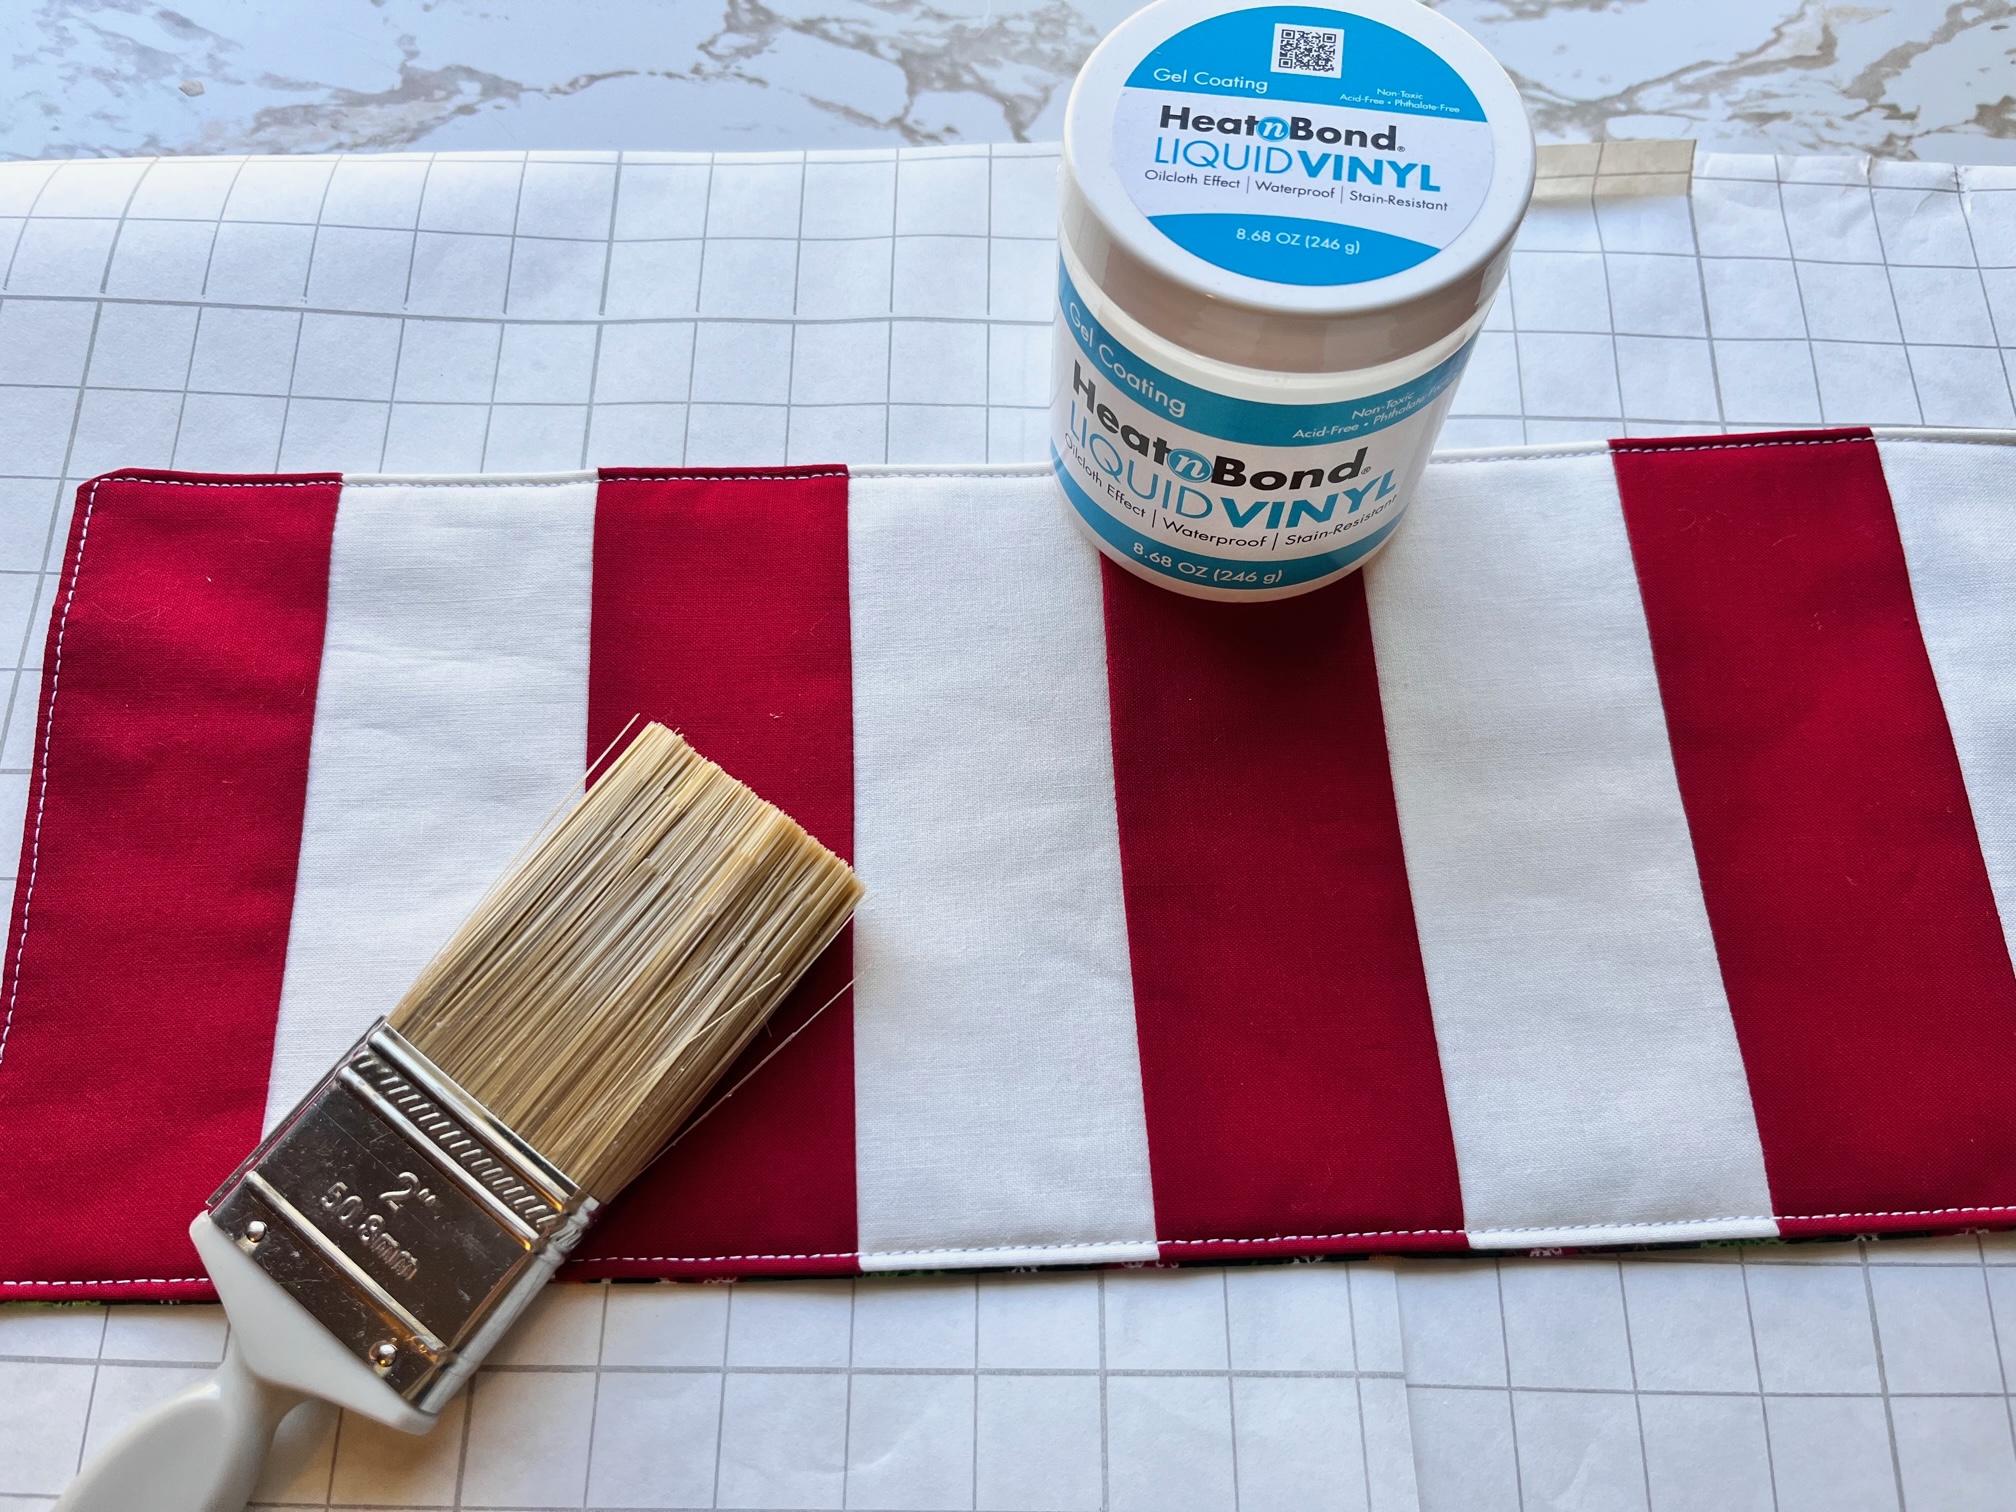
For this project, I used ONE coat of liquid vinyl. I wanted my door handle covers to be water and stain-resistant.
General Directions
Works best on smooth fabrics. Pre-wash and dry all materials without fabric softener. Please note, the application of HeatnBond Liquid Vinyl may slightly alter the fabric’s original appearance. For best results, always pre-test before starting the project.
Protect the workspace with a non-stick surface such as HeatnBond Pressing Paper, parchment paper or a silicone craft mat.
- Paint on a thin layer of Liquid Vinyl using a soft-bristled paintbrush or foam brush; rinse the brush and wipe off the rim of the jar before recapping.
- Let fabric dry 30-45 minutes.
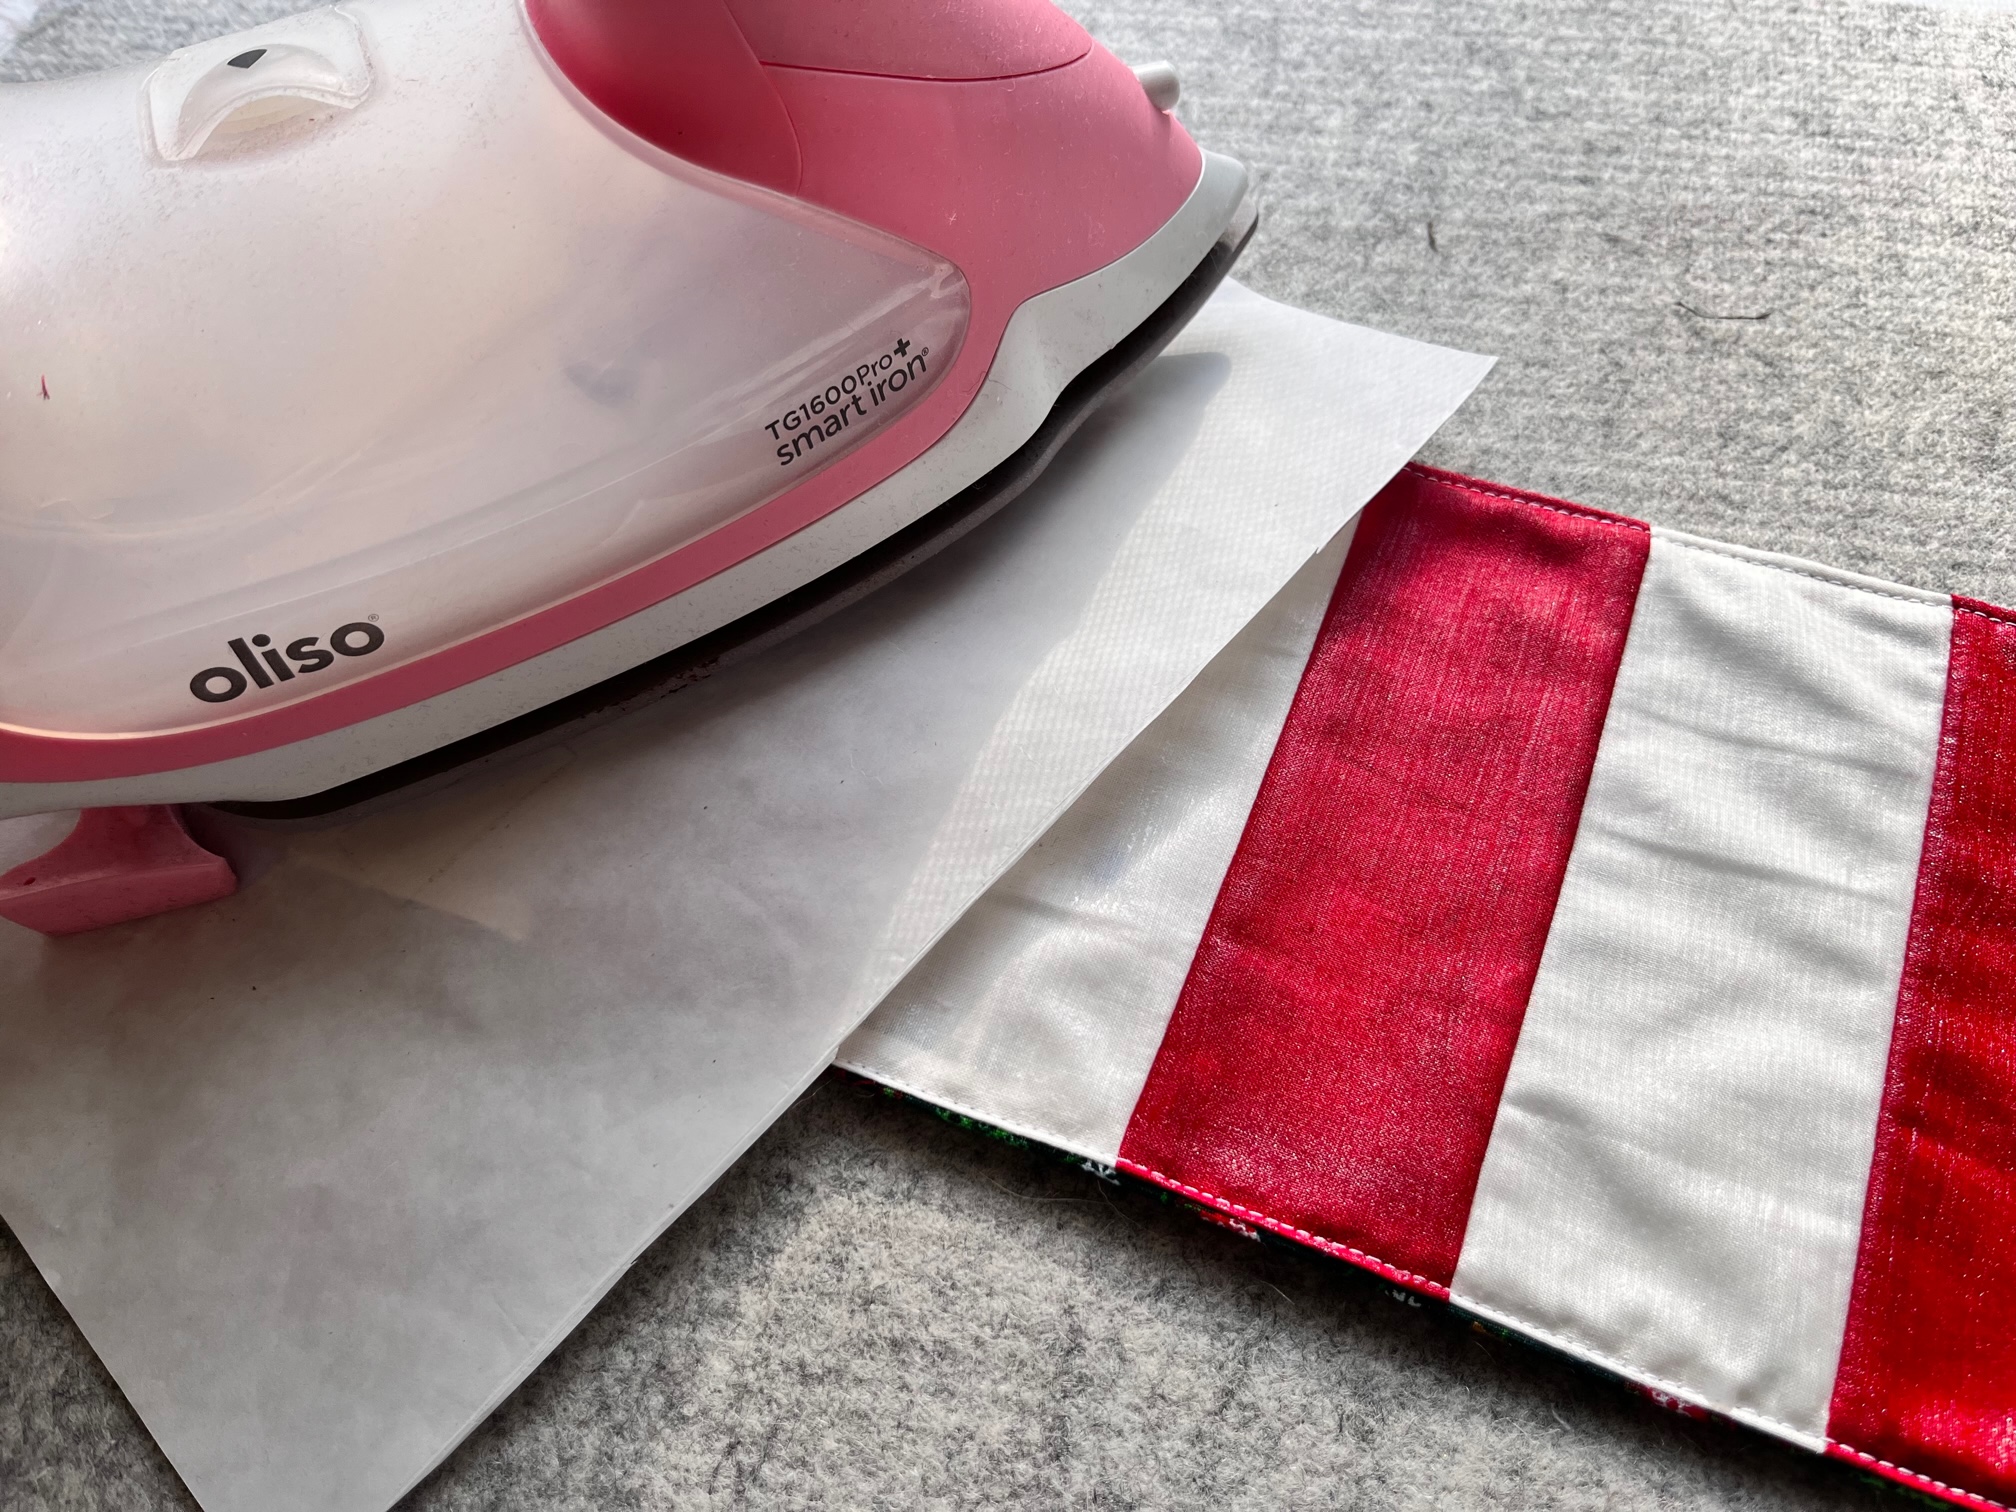
- Preheat the iron to medium heat, with no steam.
- Place fabric on top of parchment paper or a non-stick pressing sheet on a firm, heat-proof surface (not an ironing board) and cover with HeatnBond Pressing Paper. Press for 45 seconds, moving the iron slightly. For larger pieces, slightly overlap areas until the entire surface has been pressed.
- Repeat Steps 1-4 to apply additional coats of Liquid Vinyl, pressing after each coat.
Once applied, Liquid Vinyl is fully cured after 24 hours and is machine-washable in cold water; remove promptly and lay flat to dry.
Finally…
Once the liquid vinyl has been applied and pressed, you will need to sew the Velcro on. I placed the rough Velcro piece on the lining of the cover and the softer piece on the candy cane side. Sew them on opposite sides of each other.
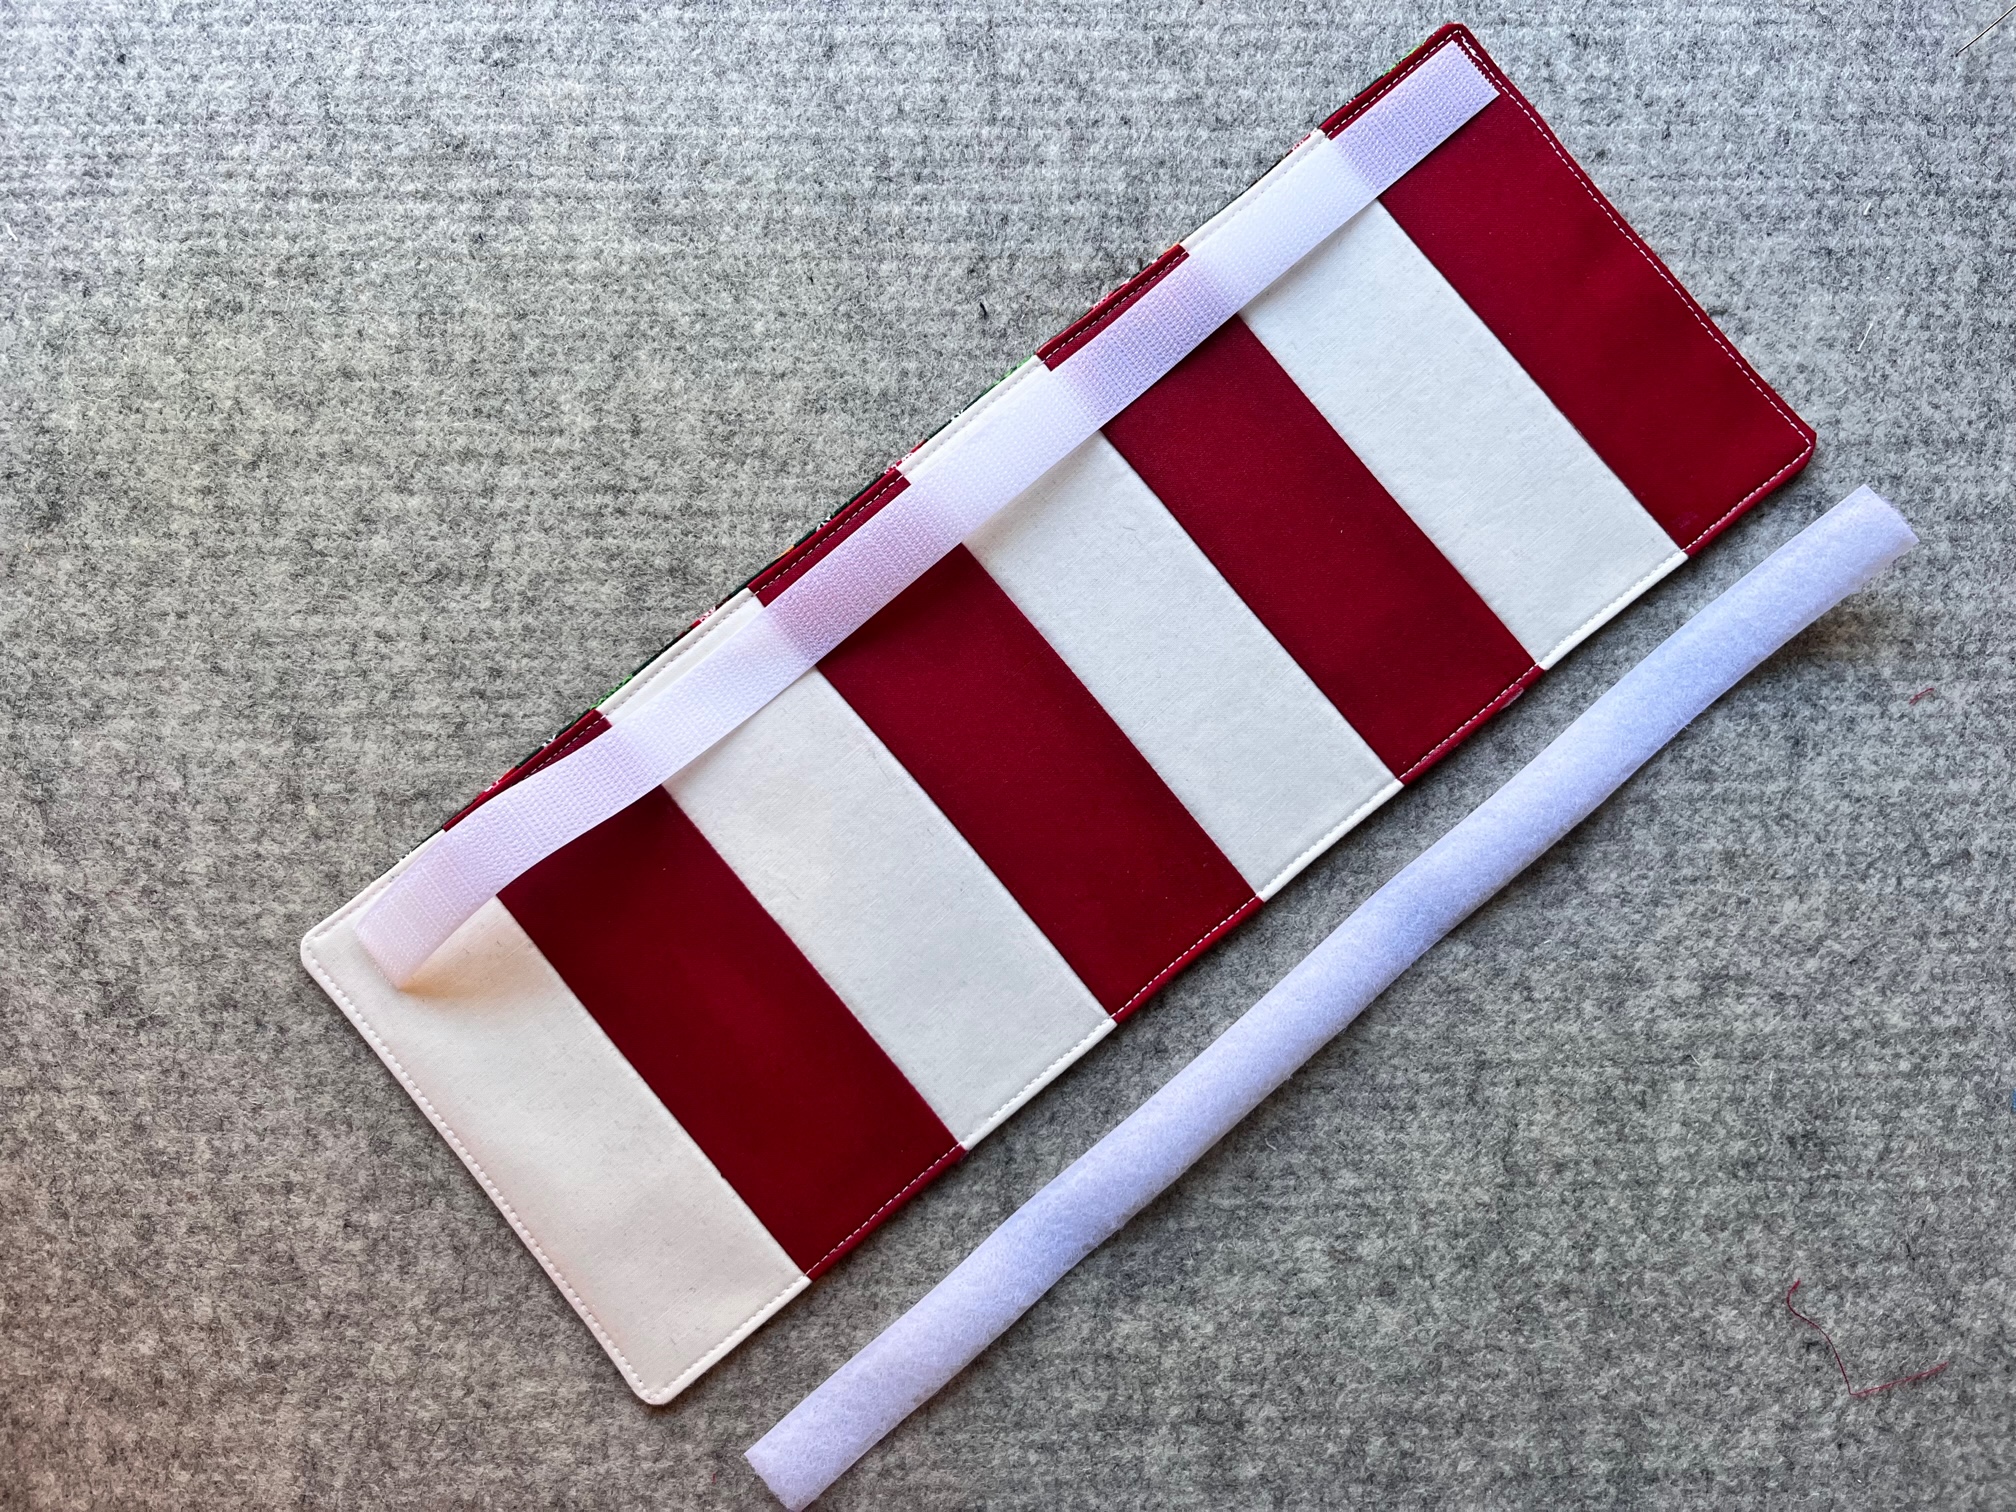
Finished!
Thank you for visiting today! Come back soon to see what else will be starting to bloom with Inflorescence Designs!
Starting to bloom by choosing JOY ~ Julia
Deonn
November 14, 2022 at 12:00 pm (1 year ago)What a clever idea! Great way to bring a little holiday cheer into the kitchen!