Precuts of fabric is a fantastic way to get a range of different prints without having to get big pieces of fabric. I love 2 1/2″ strips- called Jelly Rolls or Rollie Pollies. They are versatile and useful and oh so fun! This Bloom strip pillow uses 2 1/2″ strips and a little bit of fabric to make a gorgeous statement piece that will be sure to shine in your decor!
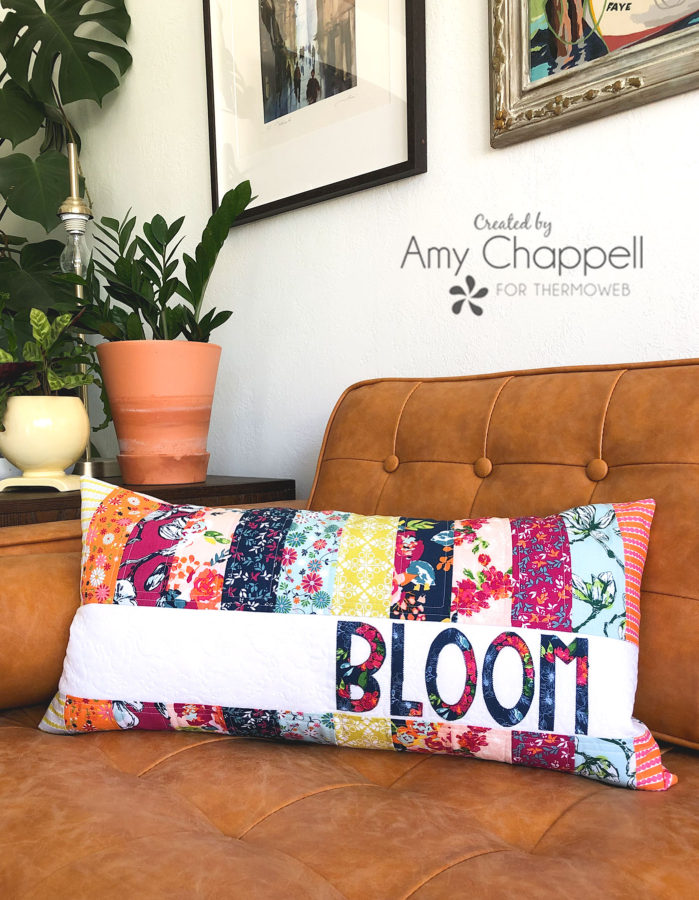
Bloom Strip Pillow Tutorial:
Supplies:
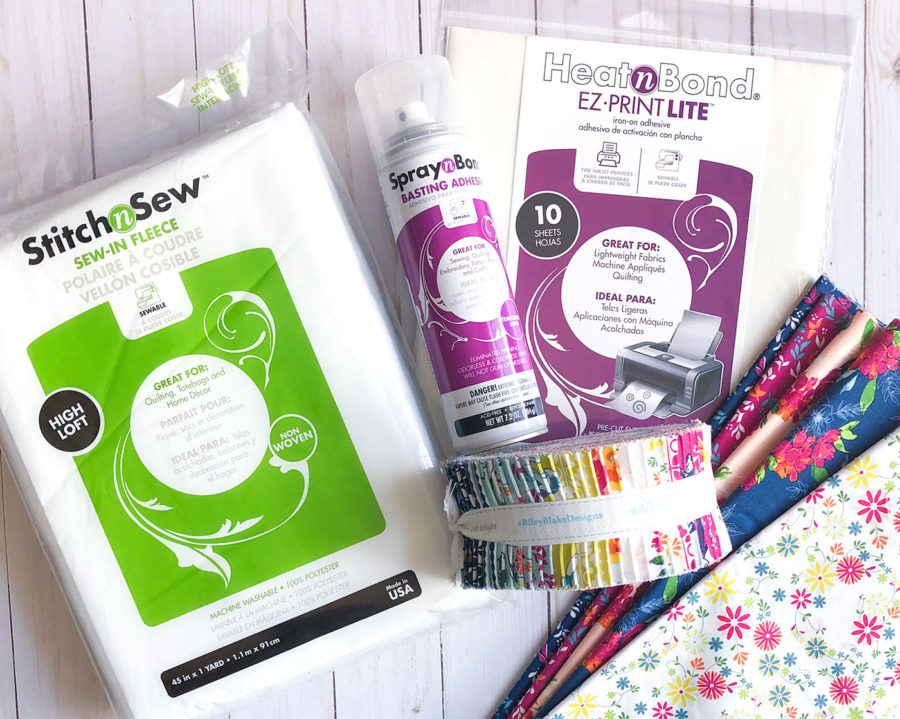
- 2 1/2″ strip precut fabric- I am using Garden Party by Keera Job for Riley Blake Designs
- 1/3 yard fabric for the back of the pillow
- 1/8 yard white fabric for the background of applique
- 1/3 yard muslin or solid fabric for backing pillow front
- 12″ X 24″ pillow form
- Stitch n Sew Sew-in Fleece
- Heat n Bond EZ-Print Lite
- Spray n Bond Basting Spray
- 22″ zipper- or closure of choice for pillow back
- bloom applique pattern
Fabric preparation:
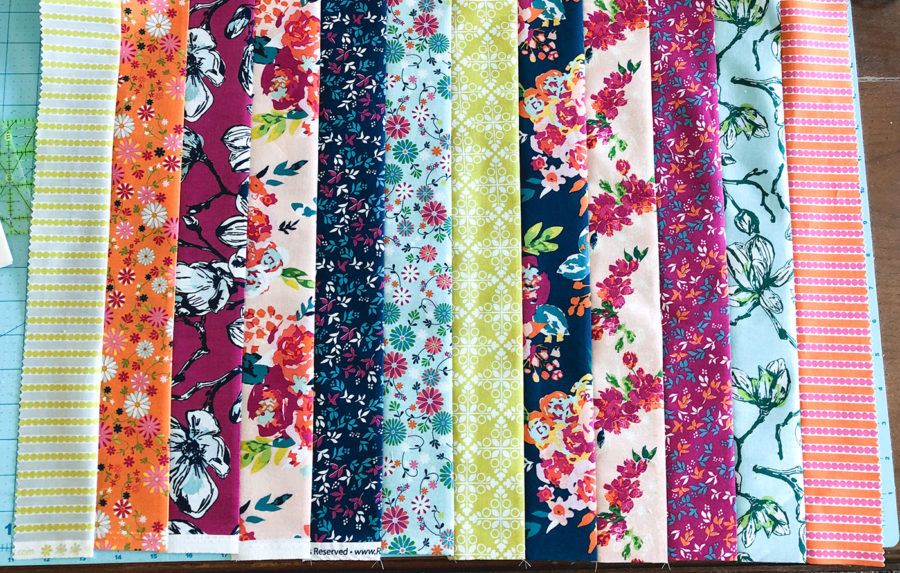
- Select 13 strips from the precut bundle- 12 for the pillow front and one for the applique letters.
- Cut each of the strips in half along the length- to create 21″ X 2 1/2″ strips.
- Arrange the strips for the pillow front as desired and sew together along the length using a 1/4″ seam allowance.
- Cut a 6 1/2″ X 24 1/2″ strip from the pieced fabric for the top of the pillow front.
- Cut a 3″ X 24 1/2″ strip from the pieced fabric for the bottom of the pillow front.
- Cut a 4″ X 24 1/2″ strip from the white fabric for the applique background.
Prepare Applique:
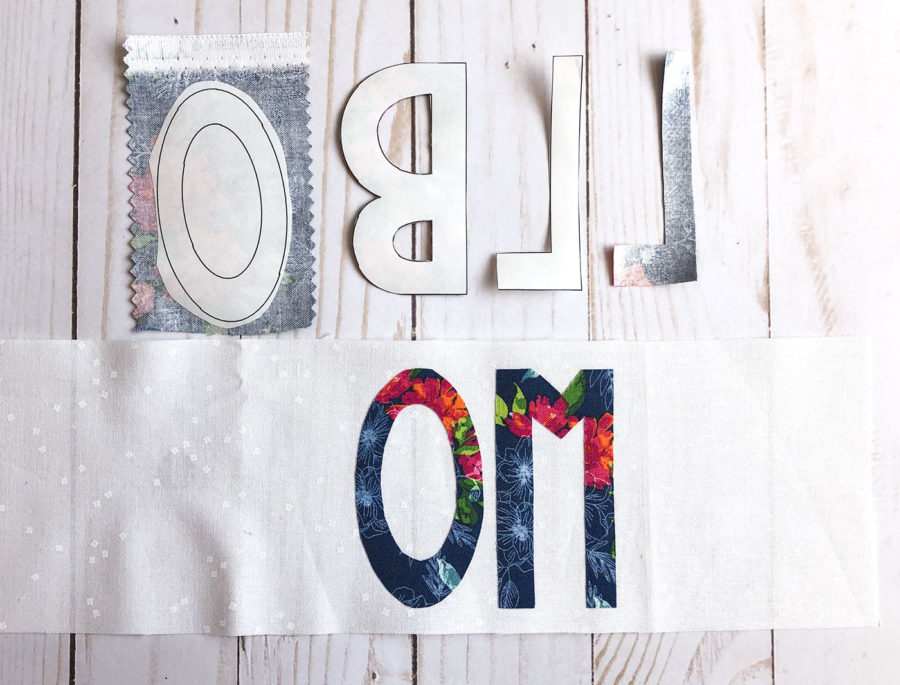
- Print the pattern onto the paper side of the EZ print Lite sheet.
- Cut out around each letter, leaving a slight margin around each one.
- Fuse the Heat n Bond to the wrong side of the fabric for the letters- the last selected 2 1/2″ strip.
- Cut out each letter along the printed line.
- Remove the paper backing from each letter.
- Find the center of the white background strip (the 4″ X 24 1/2″ strip), position the letters just to the right of the center mark, make sure they are centered along the height of the strip.
- Fuse the letters into place.
- Sew around each letter using a narrow zig-zag stitch.
Assemble Bloom Strip Pillow Front:
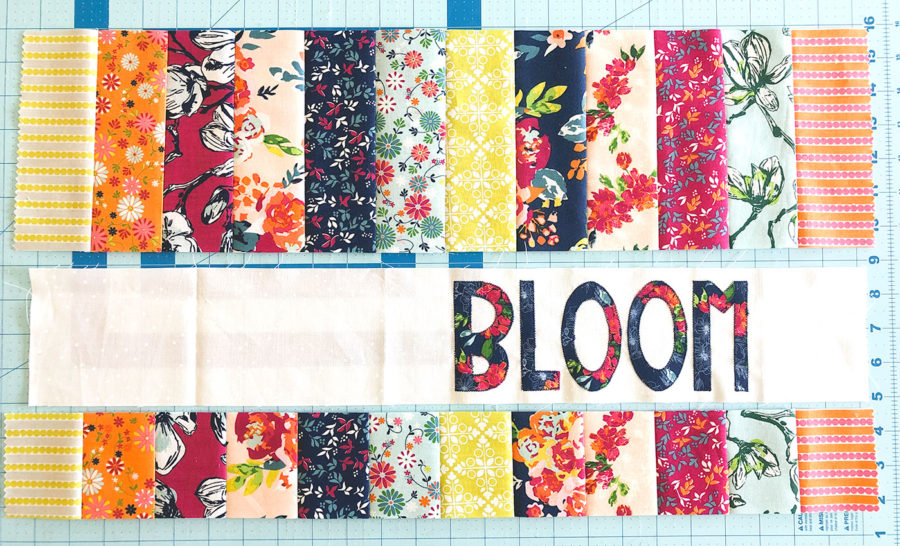
- Arrange the 6 1/2″ strip, the applique strip and the 3″ strip as shown.
- Sew the rows together using a 1/4″ seam allowance. Press the seam allowance toward the strip rows.
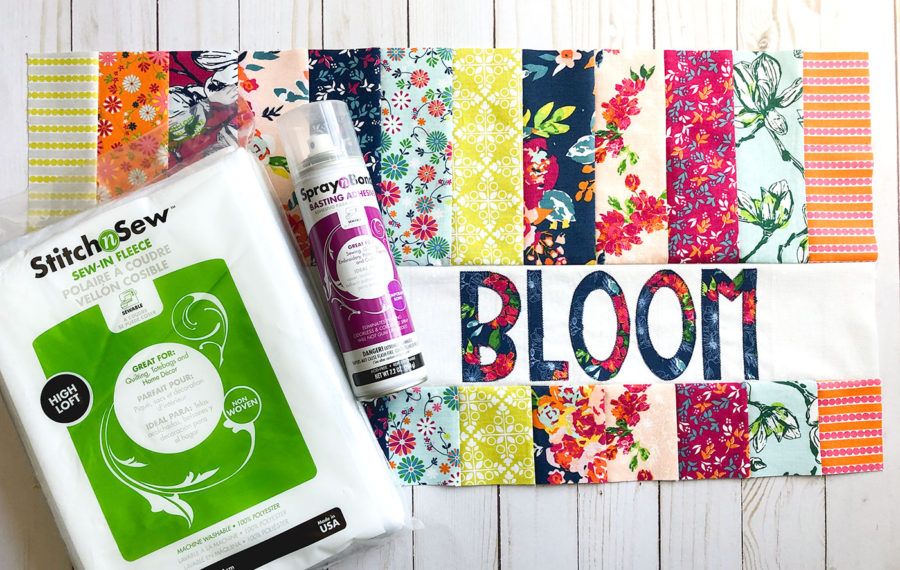
- Cut a piece of Sew-in fleece to 13″ X 25″.
- Cut a piece of muslin or solid fabric to 13″ X 25″
- Use the Spray n Bond basting spray to baste the muslin to the back of the fleece.
- Use the basting spray to baste the pillow front to the front of the fleece.
Finishing the Bloom Strip Pillow:
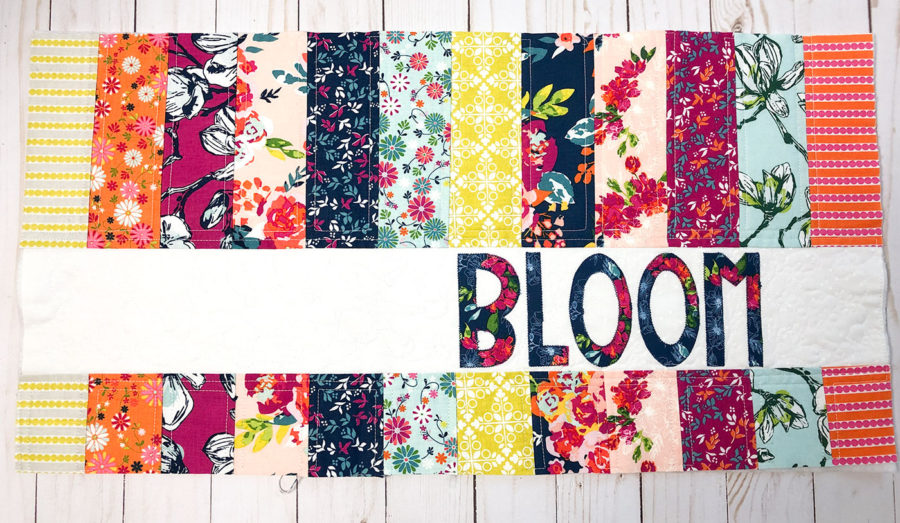
- Quilt the pillow front as desired.
- Use your favorite method to create a pillow back for your pillow. I used this hidden zipper pillow back for mine and used some of the extra pieced fabric for the cover for the zipper.
- Now, find the perfect place for your new pillow.
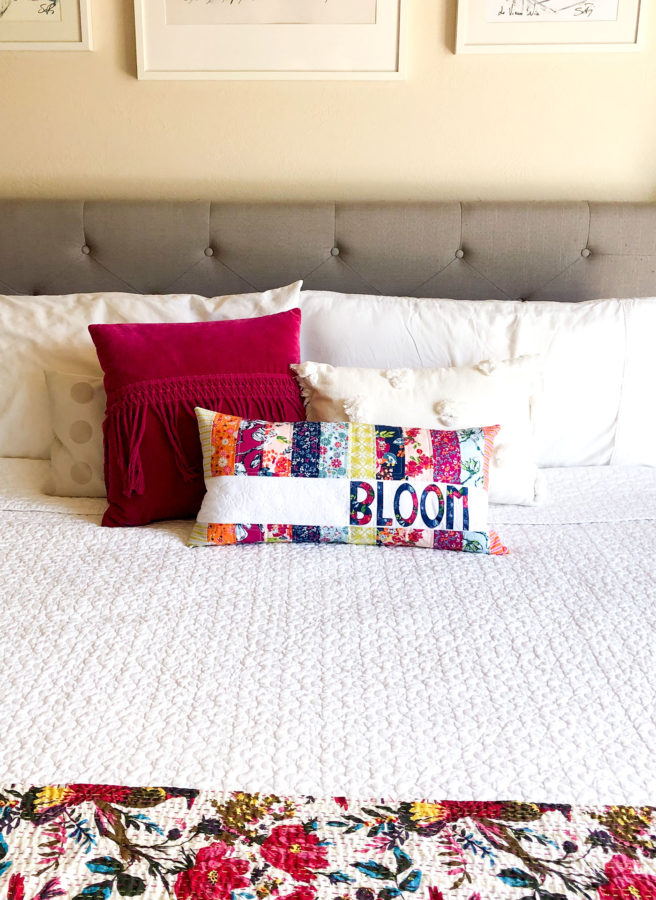
Maybe on your bed.
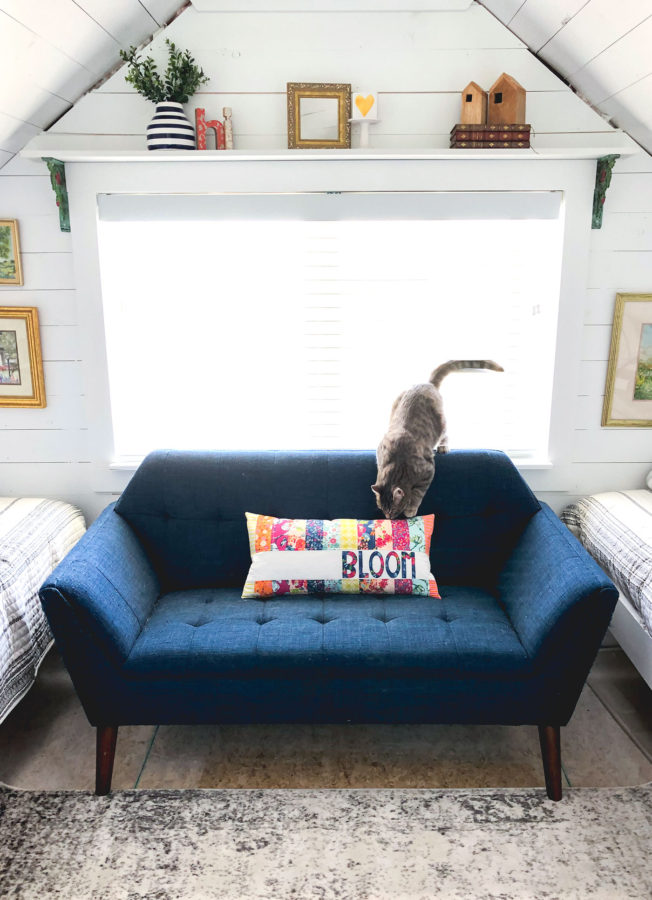
Or in a cozy nook in your house.
No matter where you put it, it is sure to be a focal point!
Happy Sewing friends! xoxo, Amy
3 Comments on Bloom Strip Applique Pillow with HeatnBond
2Pingbacks & Trackbacks on Bloom Strip Applique Pillow with HeatnBond
-
[…] cute Bloom pillow is a great way to showcase your favorite fabrics and show a little spring in your […]
-
[…] bloom cover also uses raw-edge applique and is a simple and pretty […]

Diane
June 10, 2020 at 9:47 am (5 years ago)Just beautiful for my garden friends!!!!