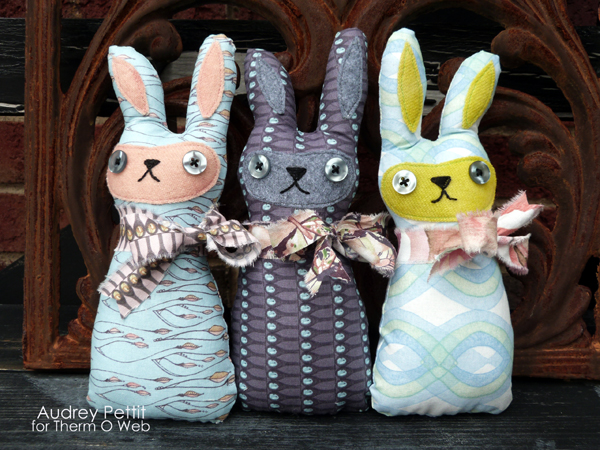
Bunch O’ Bunnies by Designer Audrey Pettit
Supplies:
Therm O Web Heat n’ Bond® Lite Iron-On Adhesive
Blend Fabrics: Shell Rummel Collection and Mariposa Collection
Felt, Buttons, Polyfill Fiber: Sewing Supply
Floss: DMC
Hoppy Bunny PDF File Pattern
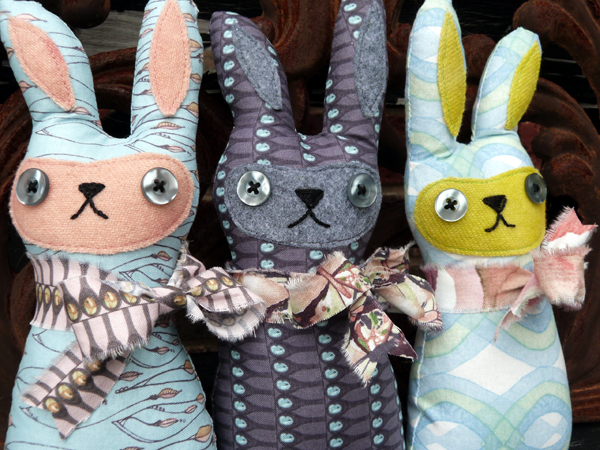
These adorable bunnies will add a festive touch to your home decor this spring, and are super easy to put together thanks to the help of Therm O Web’s fabulous iron-on adhesive. I used a variety of fun fabric patterns from both the Shell Rummel and Mariposa collections by Blend Fabrics for my rabbit friends and was inspired by this adorable tutorial I found online. I really love the mixture of patterns and colors here. I think I’ll keep this set for myself, and craft up a few more for gifts and friends.
To get started, download and print the bunny pattern.
(For a PDF version of the pattern, click here)
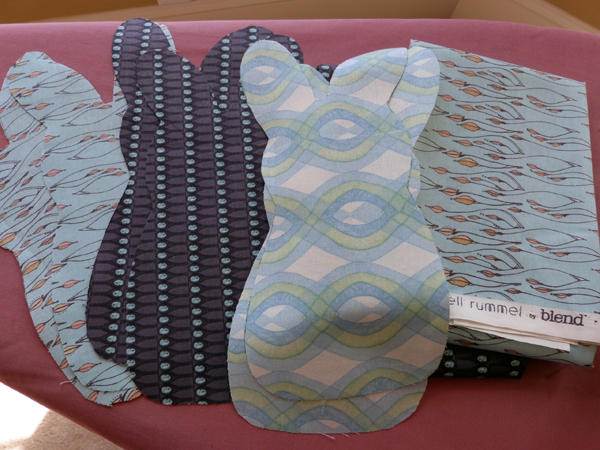
Fold fabric together, wrong sides facing. Pin the bunny pattern to the fabric and cut out.
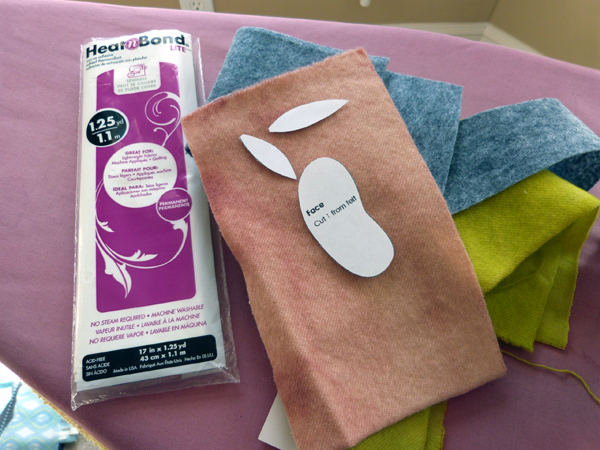
Cut pieces of felt that are large enough for both the ears and face pattern pieces. Cut pieces of Heat n’ Bond® Lite Iron On Adhesive that are just slightly smaller than the felt pieces.
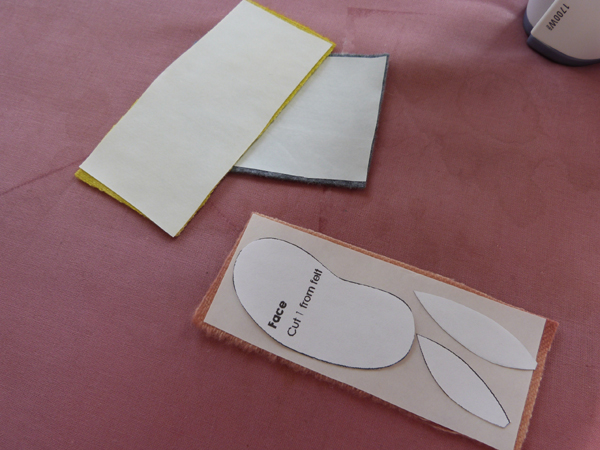
Following the directions on the packaging, place the bumpy side of the Iron On Adhesive against the felt fabric and iron on. Cut face and ear parts from the felt.
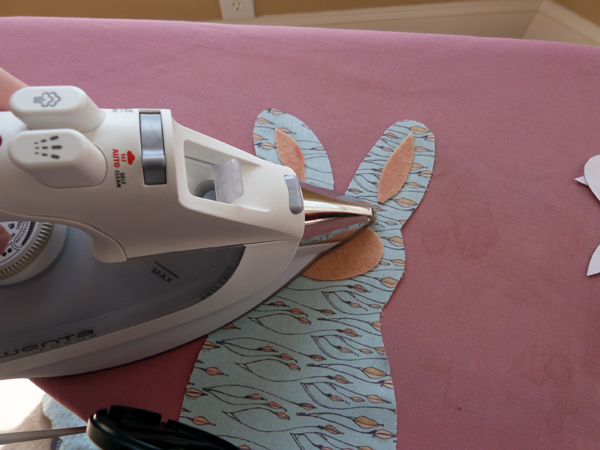
Remove the paper liner, place felt pieces and iron on to adhere.
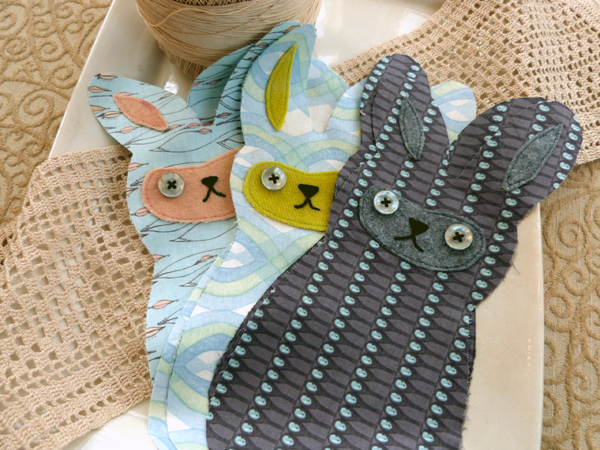
Machine stitch around the applique pieces, then using black floss, stitch on button eyes. Use an outline stitch for the triangle nose and mouth, then fill in the inside of the triangle using a satin stitch.
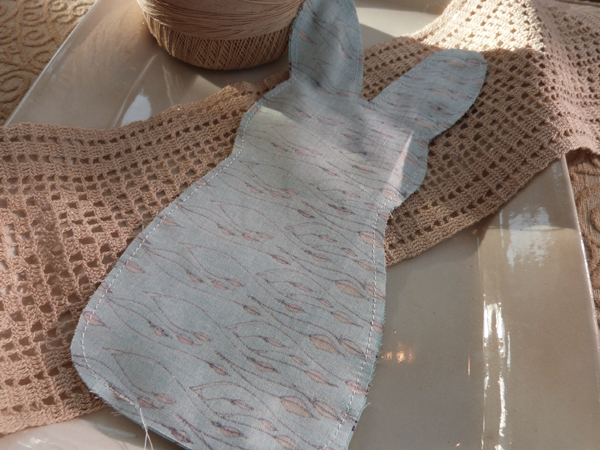
Pin rabbit pieces together, right sides facing. Using a 1/4″ seam allowance, stitch around the body, leaving a small opening at the bottom for turning.
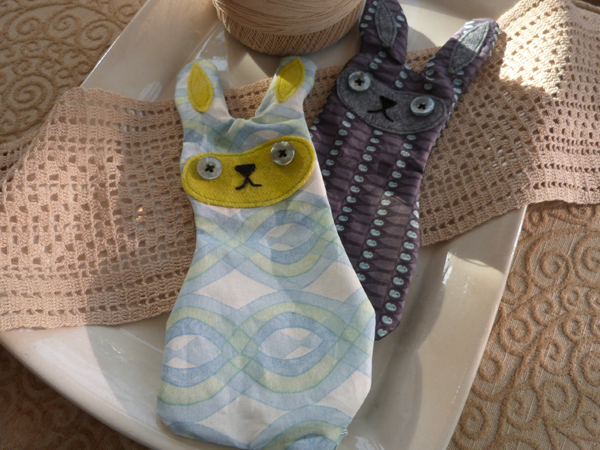
Turn rabbits right side out. Fill bodies with Polyfill fiber and whip stitch the remaining opening closed.
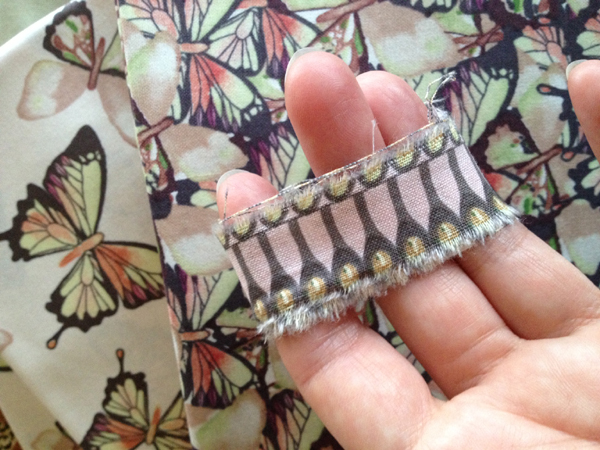
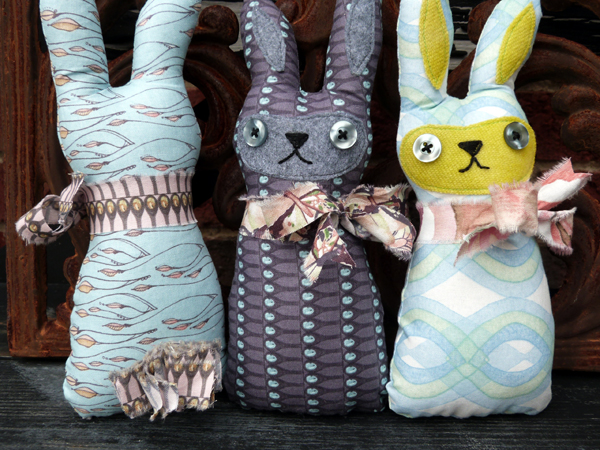
For the tails, tear strips of fabric that are approximately 1″ wide. Wrap strip around three fingers to form a loop.
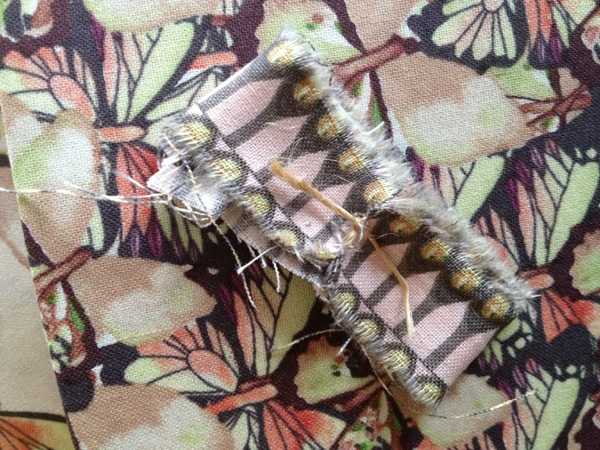
Find the center point of the loop, and make small snips in either side towards the center. Be sure to not snip all the way through. Tie a small piece of cord tightly around the snips, then cut through each end loop. Fluff and hand stitch tails in place.
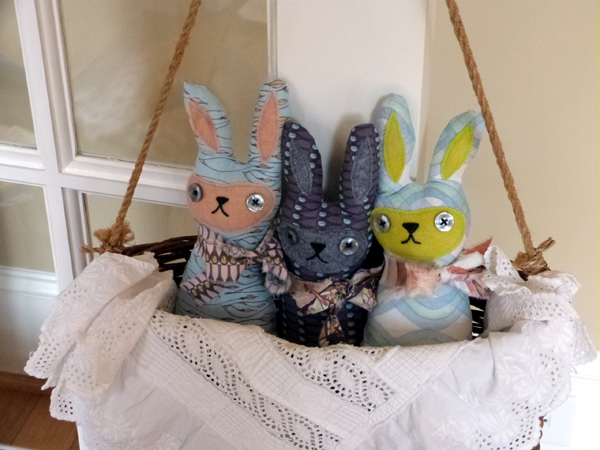
Rip additional strips of fabric and tie into bows around the neck.
Enjoy!

Erin W
April 9, 2014 at 10:03 am (11 years ago)I’m brand new to sewing, and I was wondering why you use iron on adhesive on the face and ears if you’re going to machine sew them on anyway? Thanks in advance!
Audrey Pettit
April 10, 2014 at 10:32 am (11 years ago)Hi Erin, thanks so much for writing! In answer to your question, the iron-on adhesive certainly isn’t absolutely necessary, but it sure makes piecing small appliques like the face and ears soooo much easier. By using the iron-on adhesive, you eliminate the need to pin the appliques, which makes it much easier to sew around, and keeps the pieces from bunching up, slipping, or moving while sewing. I can’t tell you how many times I’ve pinned a small piece of fabric in place, only to have it shift, fold over, or gather up while stitching. But with the iron-on adhesive, that will never happen. May seem like an extra step, but I find it’s worth it.
Erin W
April 12, 2014 at 10:47 pm (11 years ago)Awesome, thank you so much. That totally makes sense.
Judith
April 9, 2014 at 10:25 am (11 years ago)Love the Hoppy Bunnies but cannot access the pattern pieces anywhere. Where can I access these? Thanks, Judith
admin
April 10, 2014 at 9:02 am (11 years ago)Hi Judith..the pattern link is in the tutorial..here’s another link to use:
Audrey Pettit
April 10, 2014 at 11:03 am (11 years ago)Hi Judith! Try this link here:
http://thermoweb.com/blog/wp-content/uploads/2014/04/Hoppy-Bunny-Template.pdf
Elizabeth Johnson
April 9, 2014 at 11:09 am (11 years ago)These are so cute!
Tara E
April 9, 2014 at 11:22 am (11 years ago)what scale are we supposed to print the pattern out? It printed out so that the bunny would be about 6″ high. i’m assuming it’s supposed to be bigger?
Audrey Pettit
April 10, 2014 at 11:05 am (11 years ago)Hi Tara, thanks for writing! I’m sorry about your troubles with the pattern! I’ve added a new PDF pattern file, which hopefully will help. Try this one:
http://thermoweb.com/blog/wp-content/uploads/2014/04/Hoppy-Bunny-Template.pdf
Kathleen
April 9, 2014 at 9:25 pm (11 years ago)Dear Audrey,
Your Bunnies are adorable. I’d like to make some myself. However, your pattern is not in PDF format and you have not provided any dimensions for me to proof the pattern… When I try to print the pattern at 100%, I only get part of one ear! If I have the printer to Scale to Paper size, the bunny pattern is 9″ tall – including seam allowances. What dimensions should I be trying to duplicate?
Thank you.
Audrey Pettit
April 11, 2014 at 8:21 am (11 years ago)Hi Kathleen! So sorry about your trouble with the pattern. I’ve added a new pattern in PDF format that you can find here, which I hope helps. Although the 9″ pattern you got is just about perfect!
http://thermoweb.com/blog/wp-content/uploads/2014/04/Hoppy-Bunny-Template.pdf
Nancy of IN
April 9, 2014 at 11:24 pm (11 years ago)So cute and simple to make. Hopefully, I will get made by Easter.
Thank you for sharing.