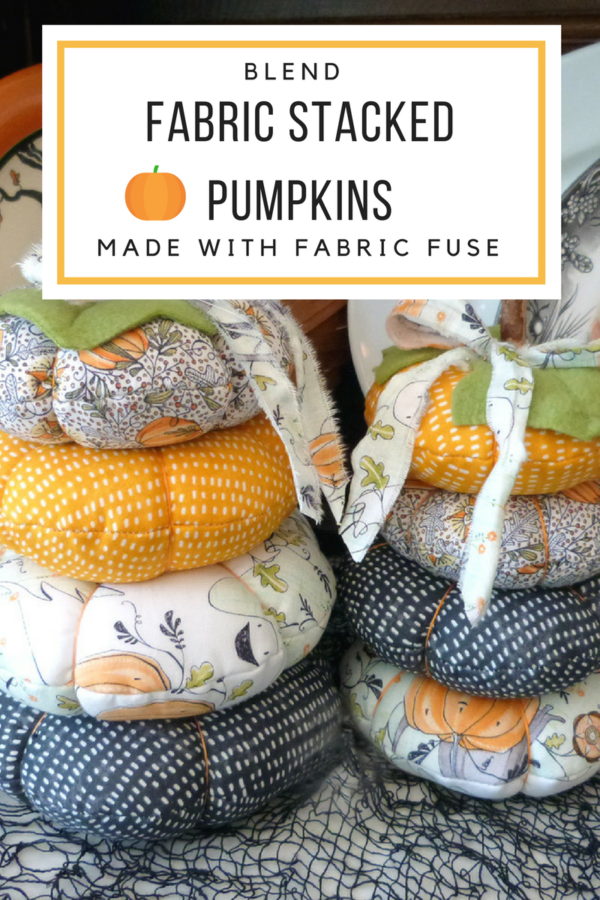
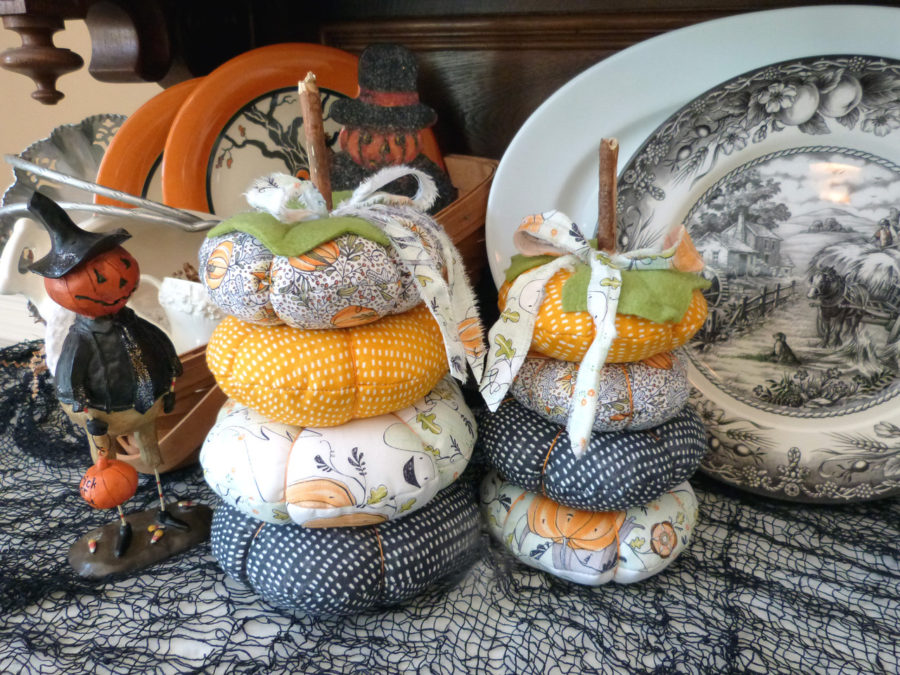
It’s that time of year! Time to start thinking about fall decor and some new items to jazz up your home. Designer Audrey Pettit has just the items for you today to make that you’re going to love! She’s used our Fabric Fuse™ Liquid Adhesive, StitchnSew™ Sew-in Fleece and combined those with the adorable fabrics from Cori Dantini that you’ll find stocked through Blend Fabrics! It’s a winner in our book!
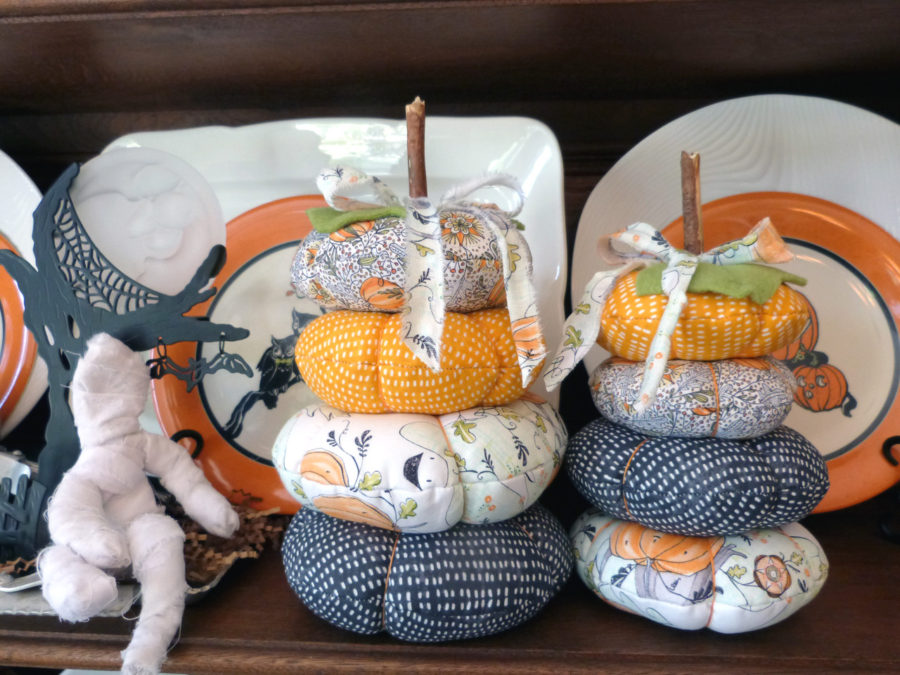 Fabric Pumpkin Stacks by Designer Audrey Pettit
Supplies:
Therm O Web Stitch n’ Sew™ High Loft Sew-in Fleece
Therm O Web Fabric Fuse™ Liquid Adhesive
Fabric: Spooky Town collection by Cori Dantini for Blend Fabrics
Floss: DMC
Die: Mini Tattered Leaves set by Tim Holtz for Sizzix
Other: Wool Felt, Polyfill Fiber Stuffing, Sticks
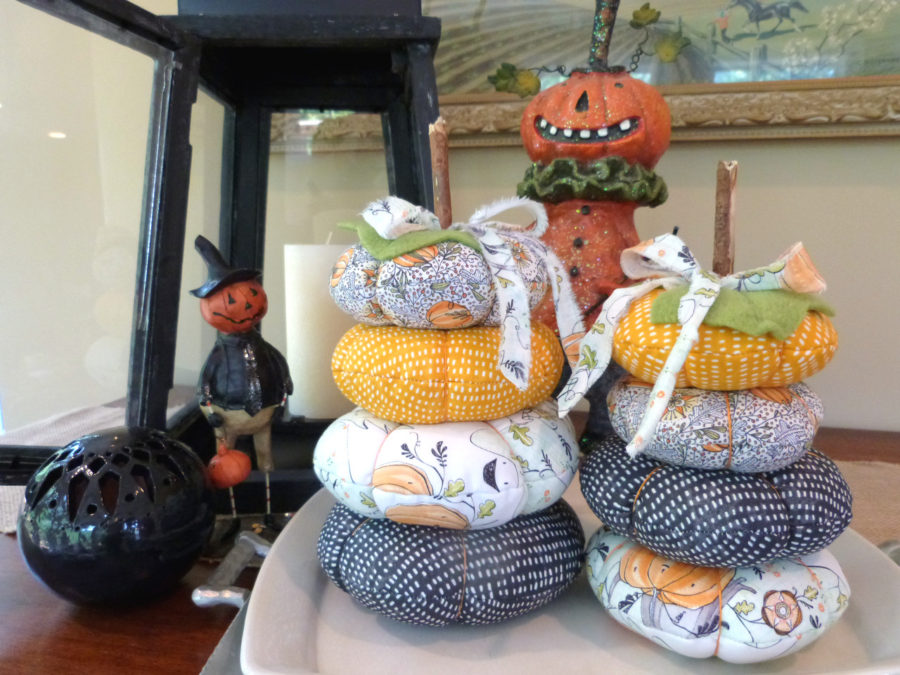 they look fabulous individually, or stacked up in tall towers, like I’ve done here. And all it takes is a bit of fabric, and a few basic sewing supplies you probably already have on hand. You gotta love a project like that.
To begin, gather your supplies:
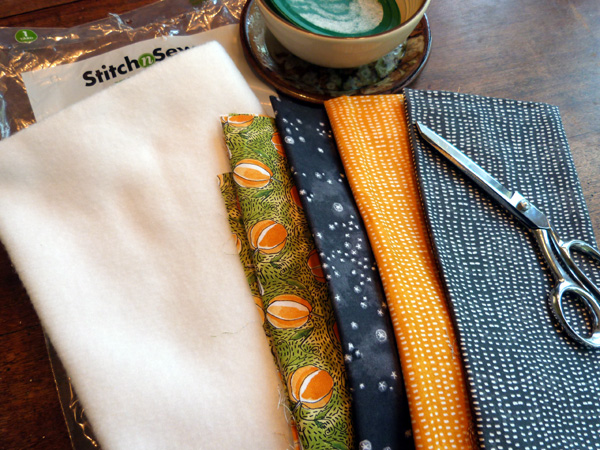
You will need several printed fabrics of your choice. I used the adorable Best Day Ever and Spooky Town collection by designer Cori Dantini for Blend Fabrics. You also need Therm O Web Stitch n’ Sew fleece, fabric scissors, and several round objects to make patterns. I used a variety of bowls and lids from my kitchen supply.
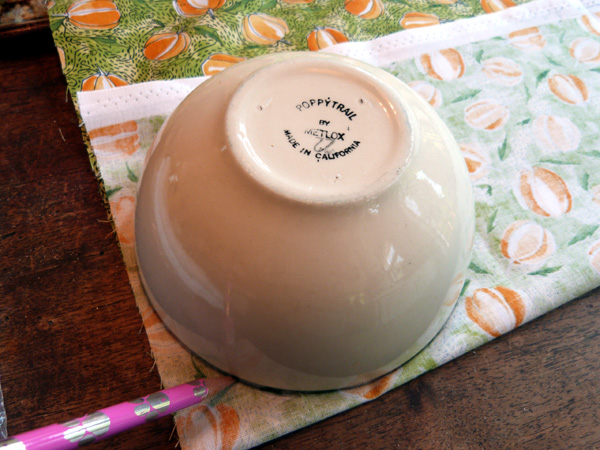
Fold your fabric in half, with right sides facing. Place your bowl or lid onto the fabric, and trace around with a pencil. I used two sizes of circles for my design. One bowl ~6″ wide, and one lid ~ 4.5″ wide. The cool thing here is, you can make these pumpkins from any size circle that you wish. So use what you have on hand.
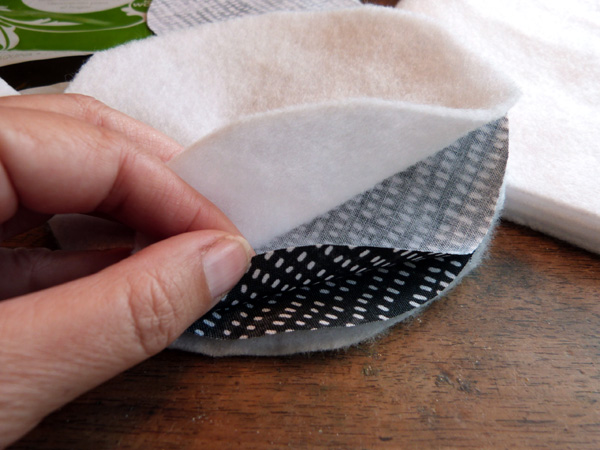
Cut the fabric circles out along the pencil lines. Leave the fabric together, with the rights sides still facing. Then cut the same circle shape from two layers of Stitch n’ Sew fleece. Sandwich the printed fabric pieces between the two fleece layers. Pin in place.
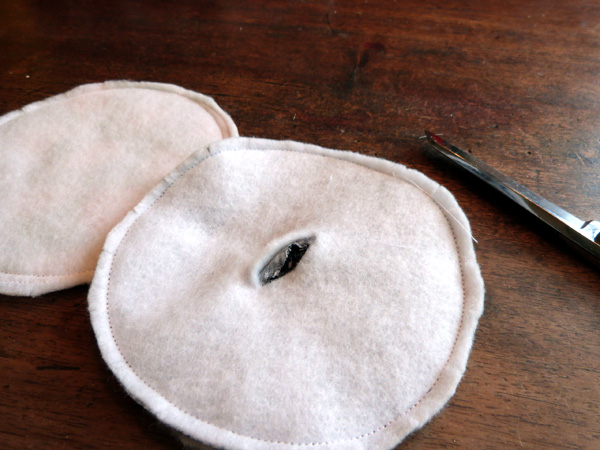
Stitch all the way around the circles using a 1/4″ seam allowance. Make small snips around the outer edge of the fabric, making sure to avoid clipping the seam. Pull up the top layers of fleece and fabric and make a small 1″ slit with your scissors. Be sure to only snip the top layers, leaving the back whole.
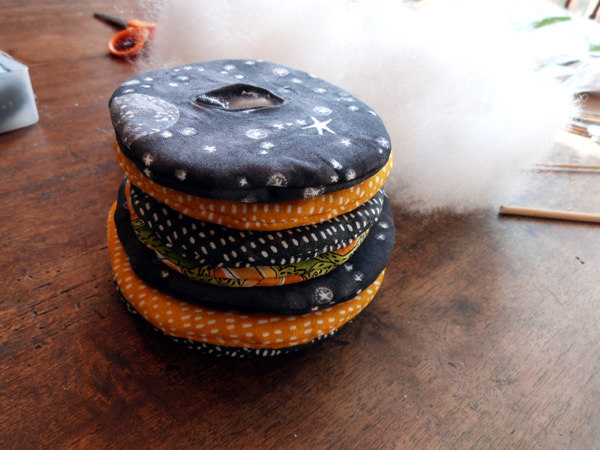
Turn the fabric right side out through the slit.
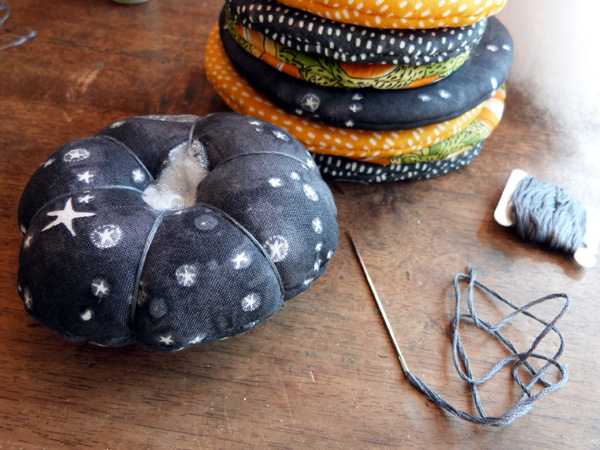
Stuff the opening with polyfill fiber stuffing. Then using all 6 strands of floss, make sections for each pumpkin by pulling the floss through the slit opening, out the back of the pumpkin, and up around the sides. Repeat until you have six sections on each pumpkin.
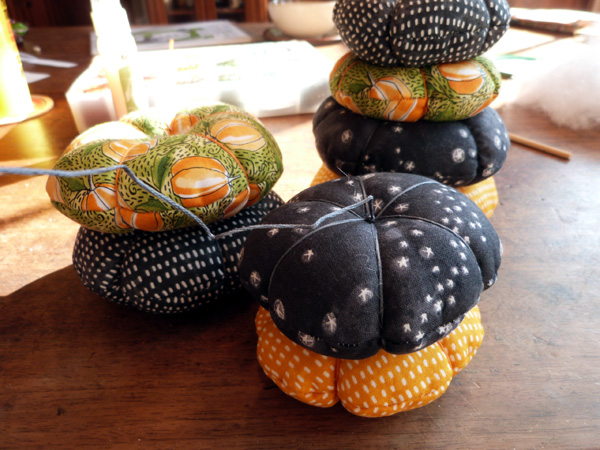
If you want to stack the pumpkins, like I have, string them together by pulling floss through the centers of each pumpkin (like stringing beads), and secure them at the bottom with a simple knot.
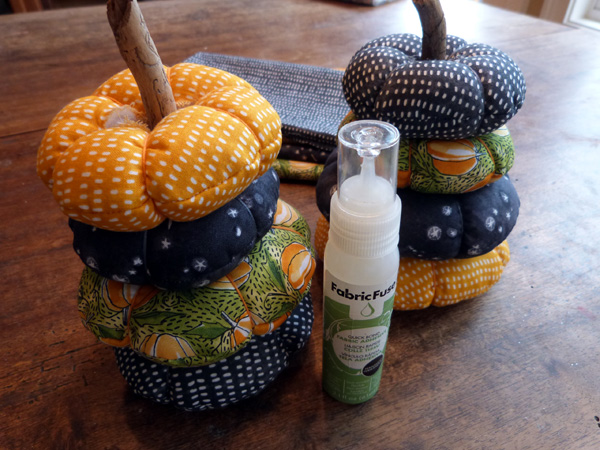
Snip a branch or stick to use as the pumpkin stem. Adhere the stem in the top opening using Fabric Fuse liquid adhesive.
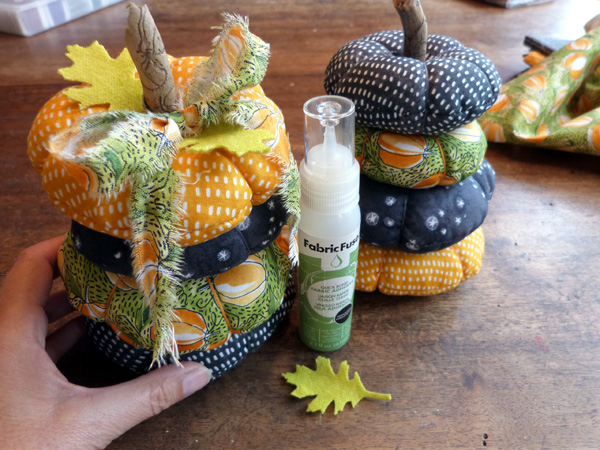
Die cut or hand cut leaves from wool felt. Adhere the leaves to either side of the stem using the liquid adhesive. Tear a strip of fabric and tie around the pumpkin stem. The leaves and the bow should disguise the rest of the remaining slit.
Now that you know how easy it is to make these fun pumpkins, you can whip out a bunch in no time. Experiment with different sizes and fabrics. Make singles, or stack into even taller towers. The possibilities are endless.

7 Comments on Blend Fabric Stacked Pumpkins with Fabric Fuse Liquid Adhesive
5Pingbacks & Trackbacks on Blend Fabric Stacked Pumpkins with Fabric Fuse Liquid Adhesive
-
[…] Blend Fabric Stacked Pumpkins with Fabric Fuse Liquid Adhesive, by Audrey Pettit […]
-
[…] And the 2nd small finish is a test run of a craft for our Guild’s retreat coming up in September. I am on the craft committee. My aforementioned guild friend came over to work on one of our ideas. Pumpkin decor! […]
-
[…] Crafting! We make pumpkin stacks and it was so fun seeing all the creativity each crafter displayed. If you would like to make one yourself, follow along with this tutorial. […]
-
[…] Made 2 Table Topper flimsies, got the interior of EC’s quilt done, made my BOM for guild, shopped!!! And taught the retreaters to make stacked pumpkins! […]
-
[…] first was a Pumpkin Stack following this tutorial. The ladies went crazy with their interpretations of the […]

Janis Patten
September 27, 2017 at 10:28 am (8 years ago)They are so cute. How about a cinnamon stick stem???
admin
September 27, 2017 at 1:03 pm (8 years ago)Great idea and we’ve also used pumpkin stems we saved from the prior year! 😉