


![]()
Birthday Shaker Swivel Cards with Deco Foil and Unity Adhesive Transfers and Stamp
by Jessica Michaels
Hello everyone! Jessica here with something a little different from me today for Unity Week- some birthday shaker/swivel cards that can function as a money or gift holder! I typically show you scrapbook layouts but I was in need of some upcoming birthday cards for some lucky kiddos and since we were having a week featuring Unity products I thought this would be just perfect to use the Unity Sentiments adhesive transfers and some deco foil to make these adorable shaker cards.
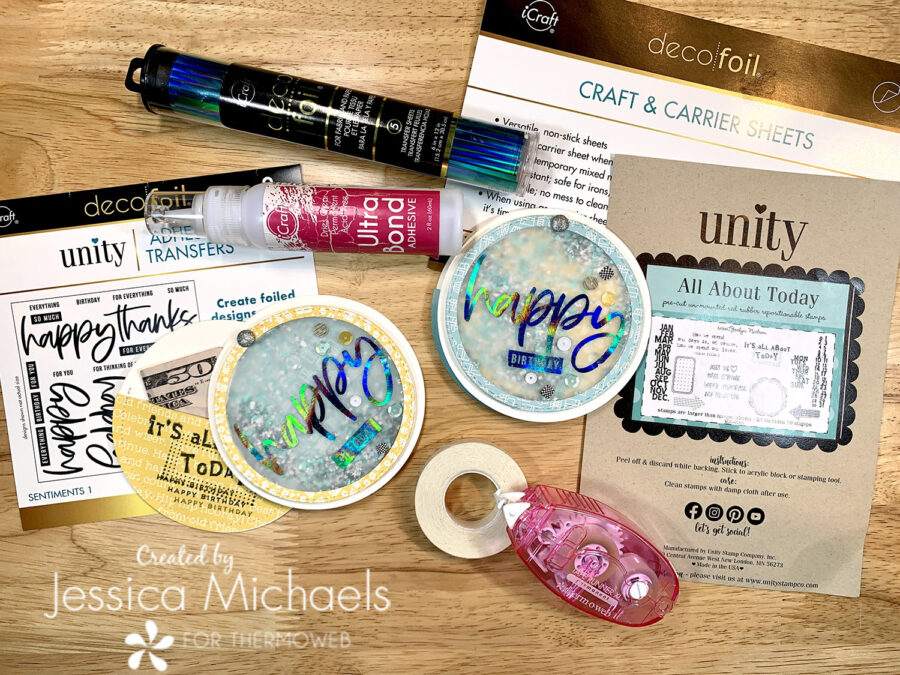
Therm O Web Supplies Used
Memory Runner XL
Memory Runner XL Refill
Easy Tear Tape 1/4″
iCraft Ultra Bond Liquid 2 fl oz
Deco Foil Transfer Sheets, Glass Slipper
Unity Adhesive Transfers Sentiments 1
Craft & Carrier Sheets
iCraft 3D Foam Tape Jumbo 1/8th White
Other Supplies Used
Close to My Heart Celebrating You collection
Black Archival Ink
Unity All About Today Stamp Set
OLFA 12×17 Folding Cutting Mat
OLFA AK-4 Cushion Grip Art Knife
QR-1×12 1″ x 12″ Frosted Acrylic Ruler
I started these cards by cutting 6- 4 inch circles from white cardstock from the Celebrating You collection kit by Close to My Heart. I also die cut some circles from some of the patterned paper in the collection as well using my manual die cutting machine. I cut two circles from patterned paper that were 4 inches as well so I could cut those in half and use as my pocket to hold money or a gift card inside the card. Then I cut a vellum sheet with my circle dies to fit just inside the front 4” circle and I nested two sized of circles inside one another to create my “frame” for my shaker pocket and my inside pattern. I like to recycle and use what I can whenever I’m making things so I pretty much used every piece that I cut for these.
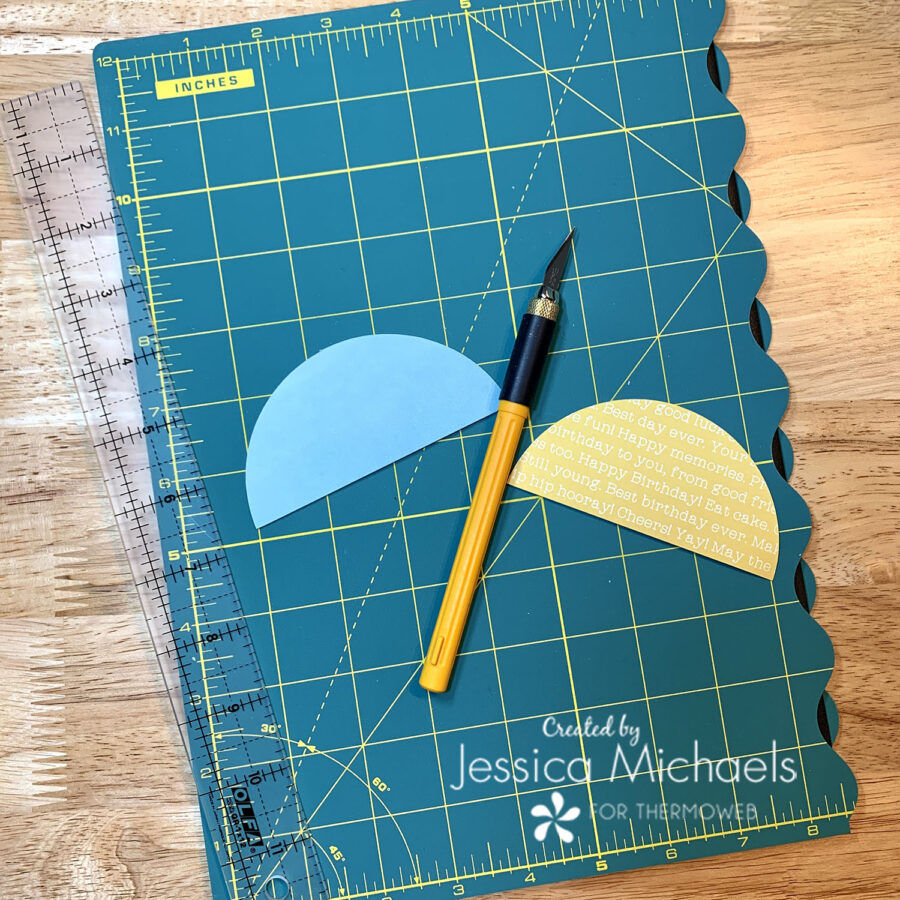
I grabbed my Olfa cutting mat, knife, and ruler and cut two of the 4″ patterned circles in half to use for my pocket inside. Then I machine stitched it down around the edge and finished the back by adding a patterned circle with my Memory XL Tape Runner.
I went to work on my vellum next by pulling out the Unity Sentiments 1 adhesive transfers, my craft and carrier sheet, and some Glass Slipper Deco Foil. While my laminator was heating up, I cut out the “happy” and “birthday” phrases out of my Unity adhesive transfer sheets and gently pressed them onto my vellum, being mindful that my frame would cover up my edges. I then placed that inside my craft and carrier sheet and ran it through my hot laminator to adhere the adhesive to my vellum. Once that came out, I peeled the top backing piece off and placed pieces of the glass slipper deco foil on top and ran it through my laminator again with the craft and carrier sheet. Once that came out I just had to peel off the remaining foil piece and the adhesive foil transfer is complete.
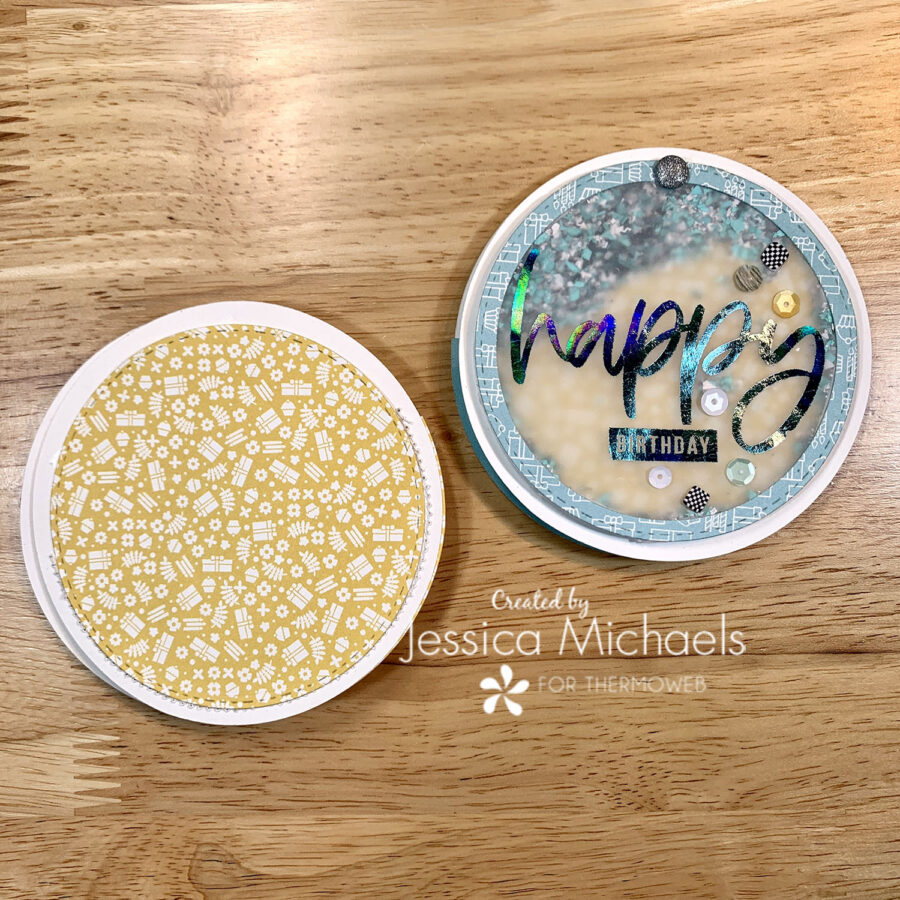
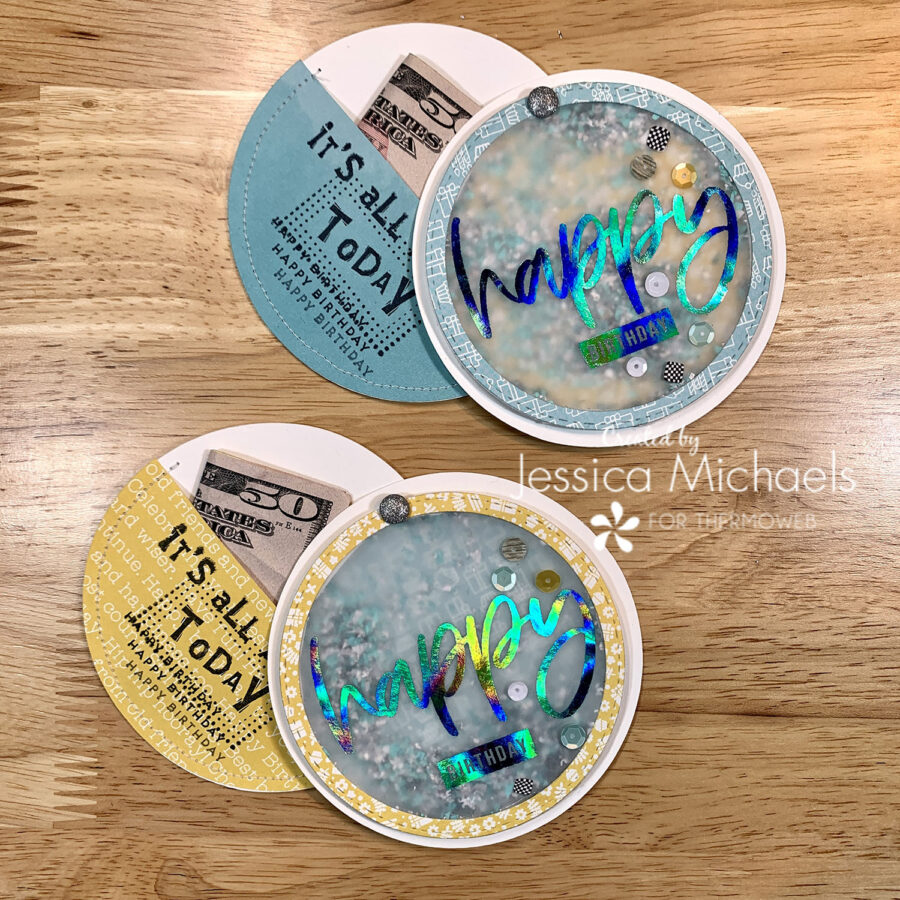
Next, I went to work building my shaker by first adhering a patterned circle (from when I cut the “frame”) to a white circle for the background of the shaker using some easy tear tape. I did this to two white circles to create two card fronts. I then cut some of the 1/8 foam tape jumbo roll into thin strips to lay all around the edge of where my shaker would lay, just outside that circle I just adhered. I filled it with some blue and silver confetti from my stash and then laid the foiled vellum down and it stuck right to the adhesive foam as it is sticky on both sides when you peel the backing off. Next, I glued down my “frame” with some of the UltraBond Liquid glue, which dries clear. That completed the shaker pocket and then I pulled out my stamp set by Unity to stamp my sentiment inside and grabbed a simple Happy Birthday stamp from my stash to finish it off. This will hold money, gift cards, or anything else you’d like!
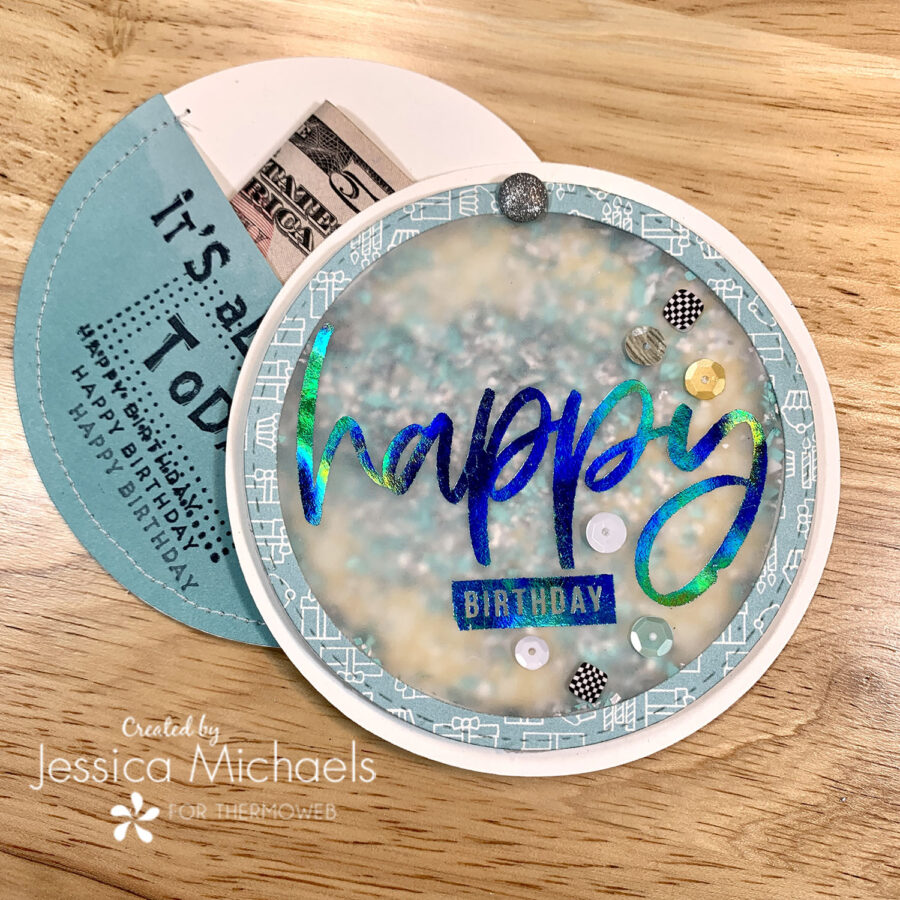
Lastly, I held both layers together and peeled the backing patterned paper down a bit and poked a hole right through the top of the shaker where the adhesive foam is to attach all the pieces together with a brad, then covered it back up on the back after securing. This is what lets it swivel, how fun is that? Then I attached some fun sequins to the front and Voila! A Swivel Happy Birthday money holding card!
Watch the Happy Birthday Swivel Card Video
Thank you for being here today and I hope I was able to inspire you to create!
Jessica
This post contains affiliate links. For more information, see our disclosure <a href=”http://thermoweb.com/blog/designers/about-us/affiliate-disclosure/“>HERE</a>.