


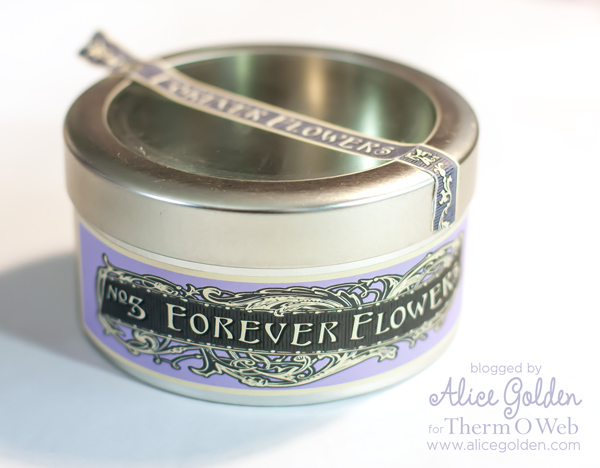
Today’s project is created with Ruby Rock-It’s Carnival Queen collection and a recycled tin.
This is an idea for dressing up gift cards or cash to make the present feel a bit more special. Start by finding a tin or box to use as the base. This one is from Prima and came filled with paper flowers.
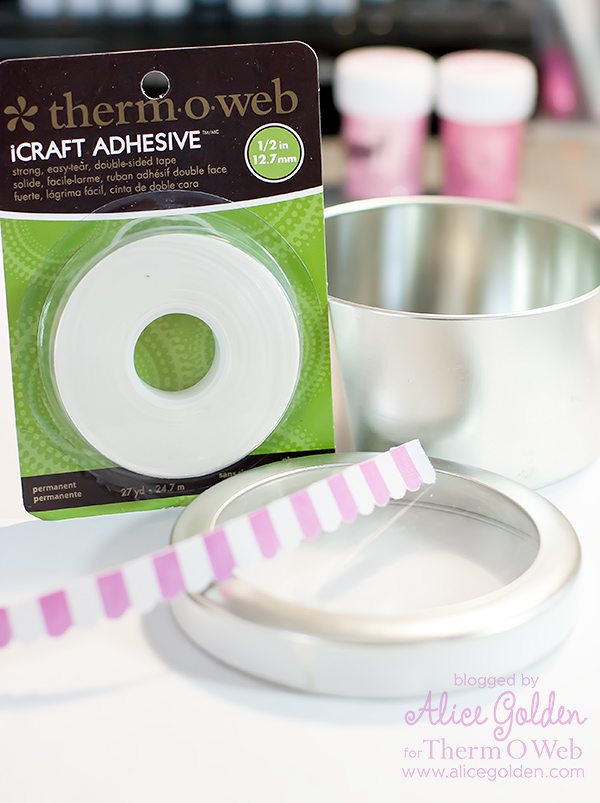
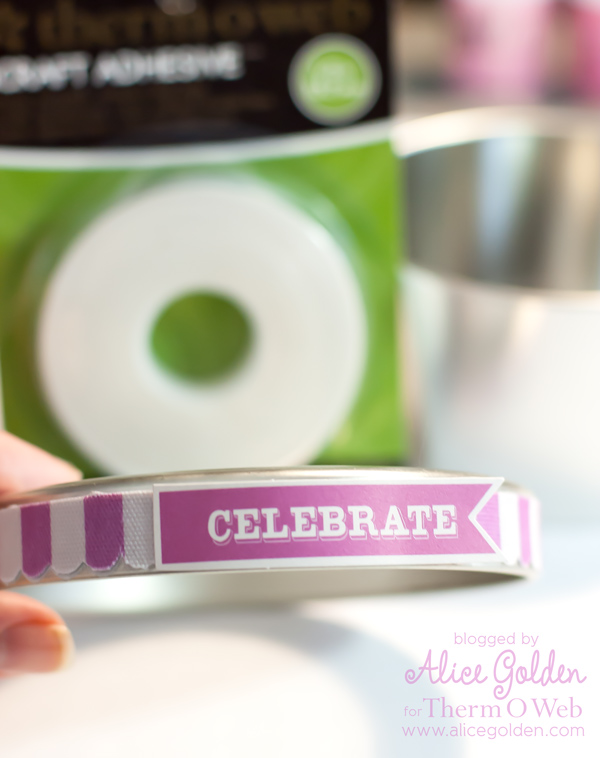
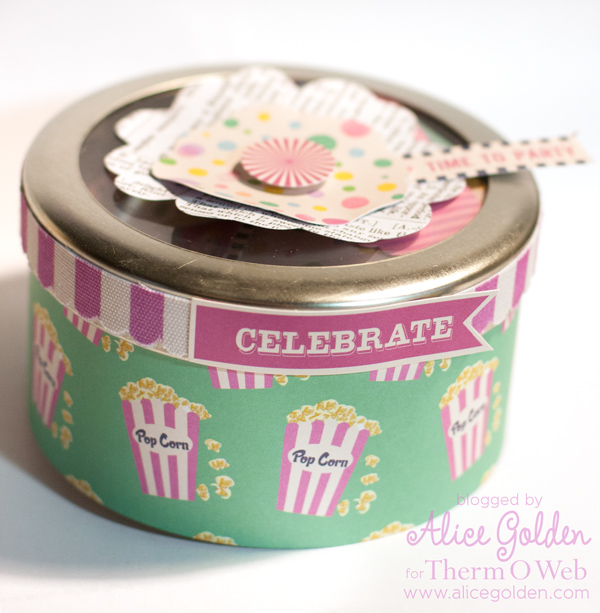
Peel off the labels (Un-do or Goo-Gone are products that can help remove any adhesive residue). Adhere a fabric die cut border around the edge of the lid using iCraft tape.
Fill in any gaps with stickers or other die cuts.
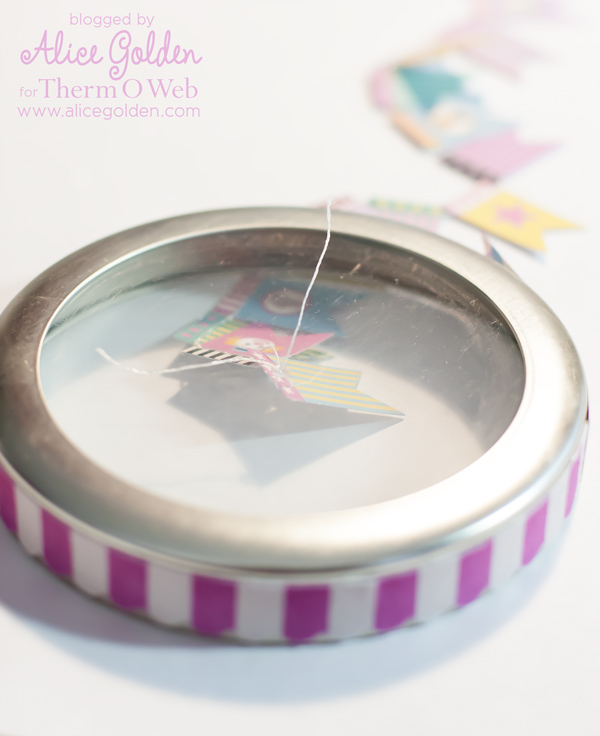
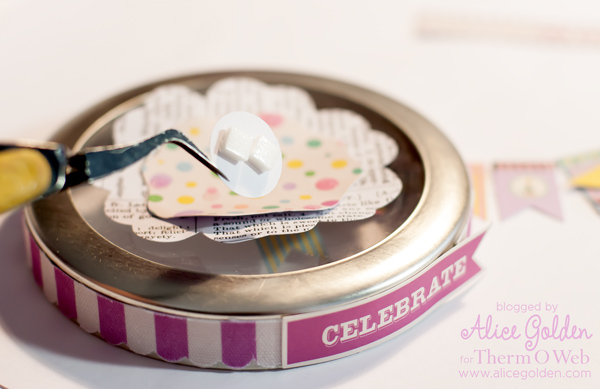
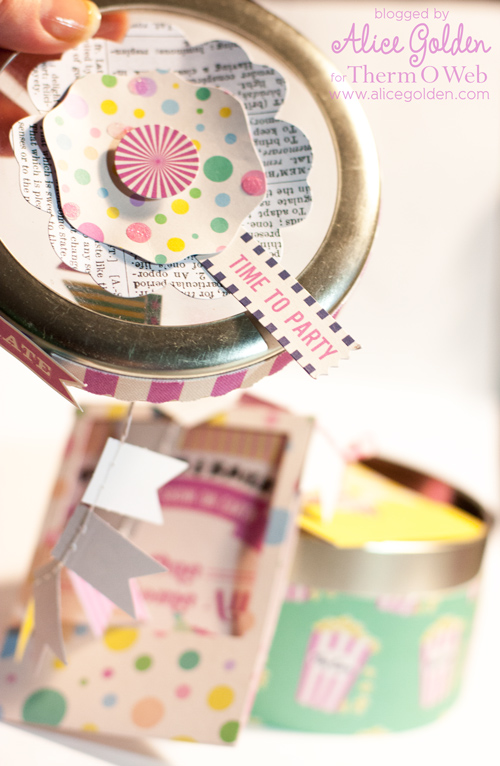
Insert a hole through the lid – a paper piercer or thumb tack would work well for this.
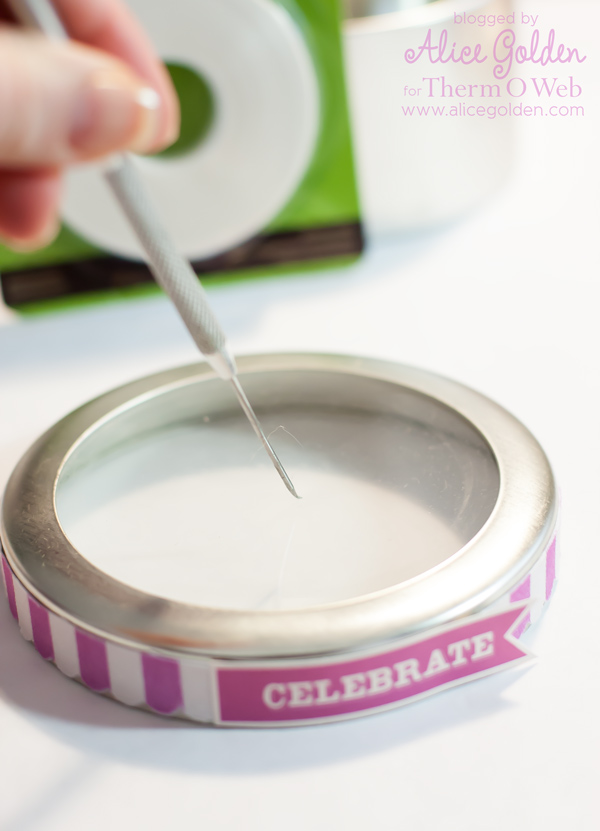
Thread one end of the strings from the paper garland through the hole from the bottom. The idea here is when the lid is removed, the recipient will have a bit of a surprise when the banner starts to unfurl.
and secure with iCraft tape.
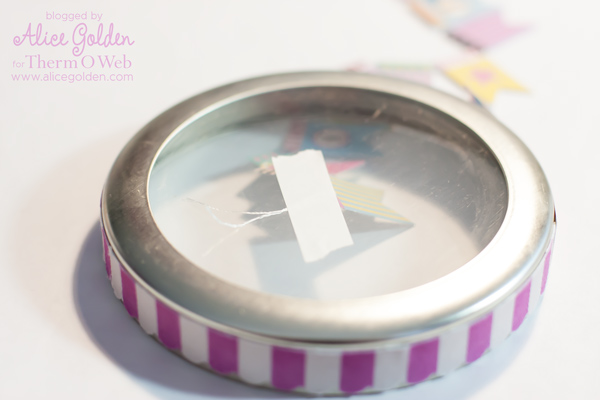
Lightly crumple a die cut flower and adhere to the iCraft tape.
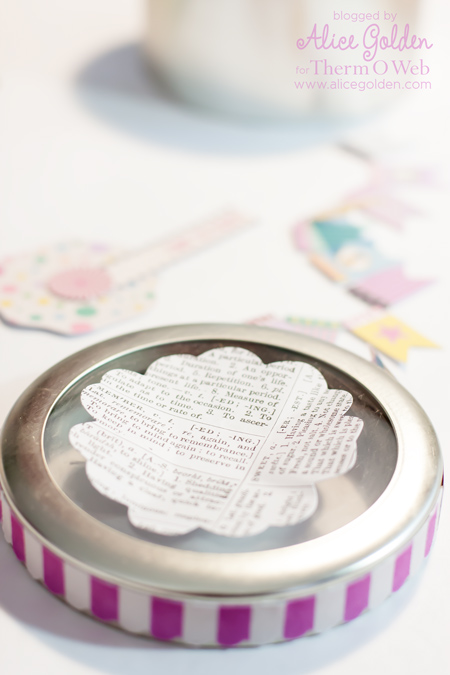
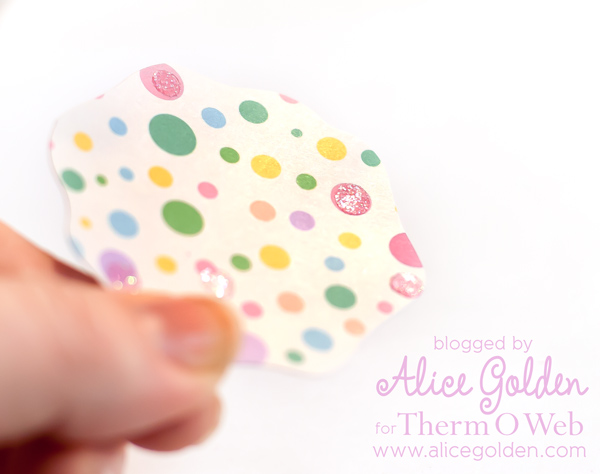
Add a few Zots for Bling onto the polka dot die cut flower.
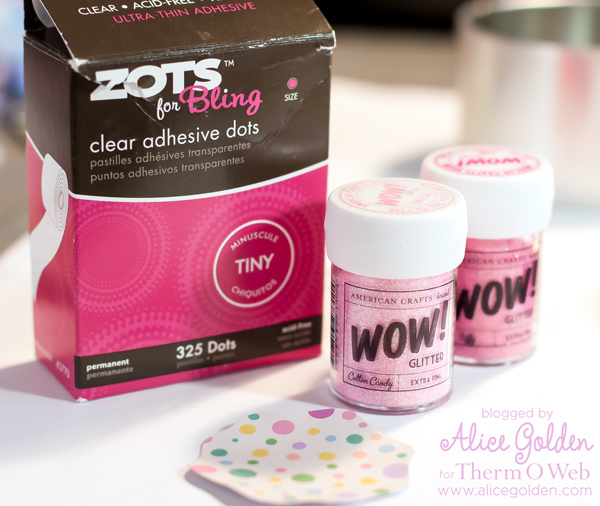
and sprinkle with glitter.
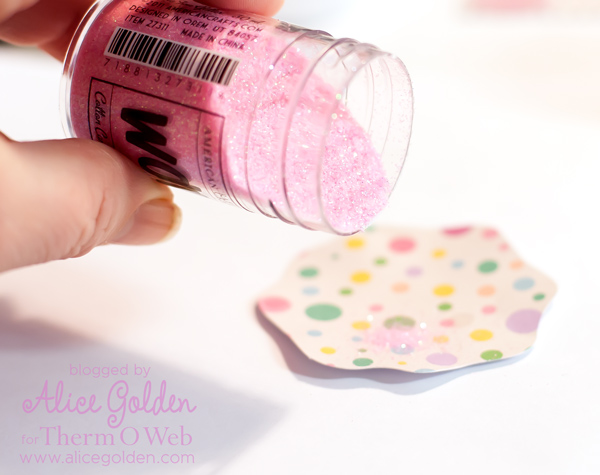
It adds a touch of sparkle (that looks much better in real life than in the photo).
Add the top layer flower with foam squares for a little extra dimension.
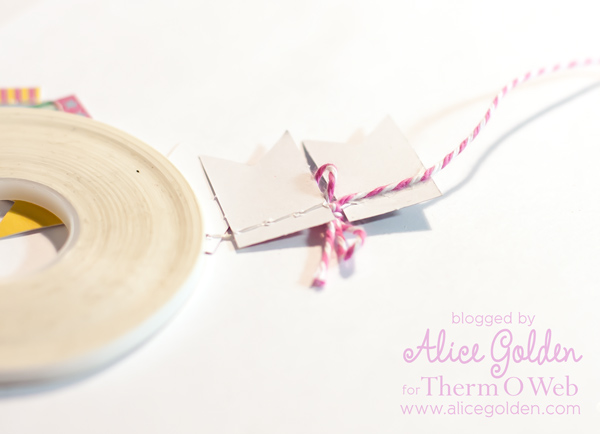
To build the banner, attach a string or twine to the other end of the paper garland.
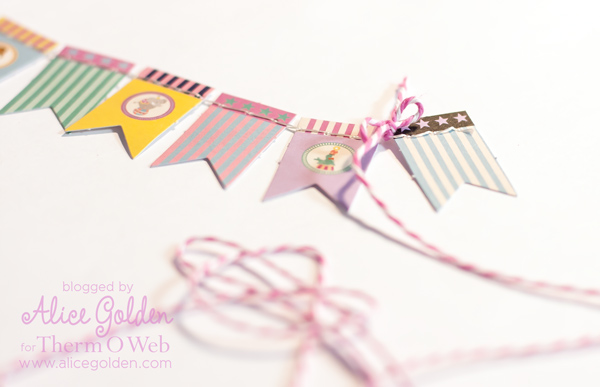
Use 1/8″ iCraft to secure the twine to the back of the last flag so the banner looks more cohesive when you pull it out of the box.
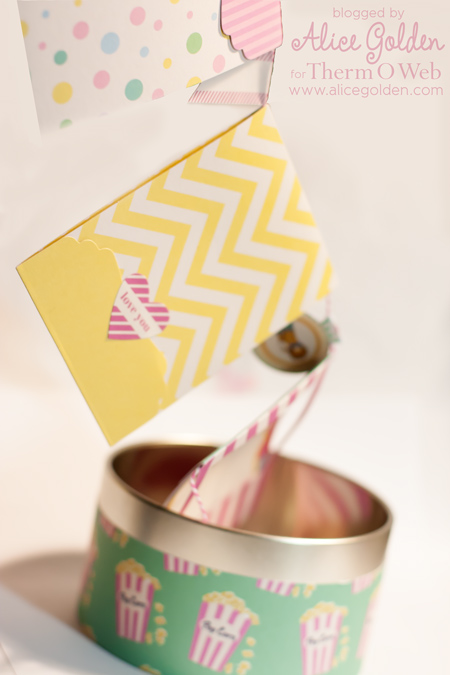
Then add pockets to the twine using iCraft to hold them in place. These are great places to tuck in a small gift,
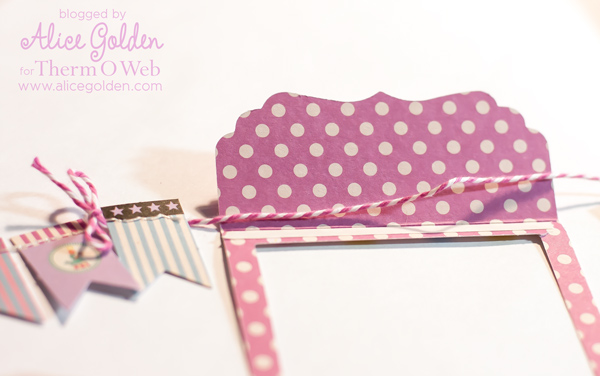
such as an iTunes card.
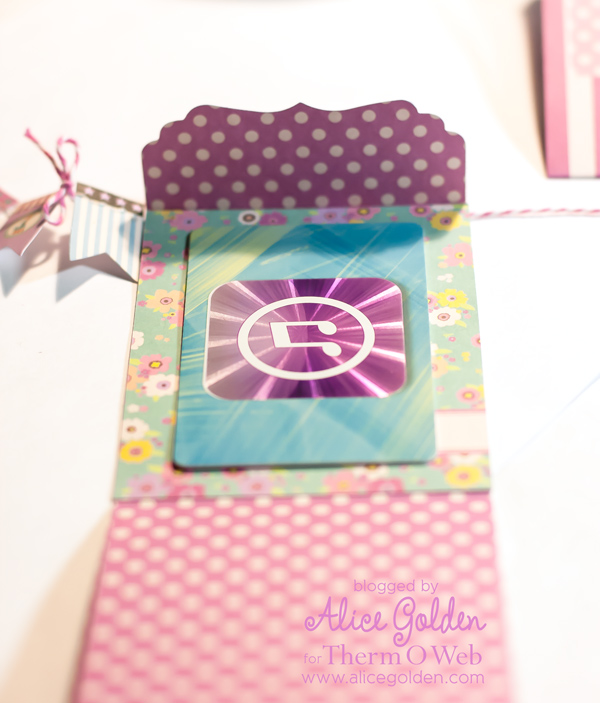
Use a coordinating sticker to keep the pocket closed.

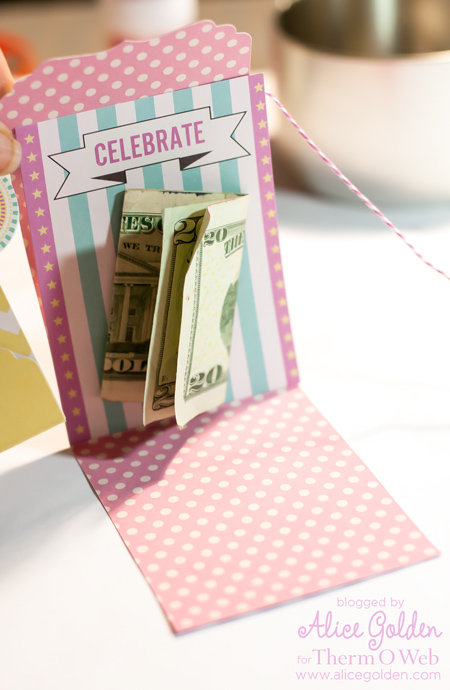
Removable Zots are perfect for attaching money, movie tickets, or other items you want to be able to detach from the pockets without damage.
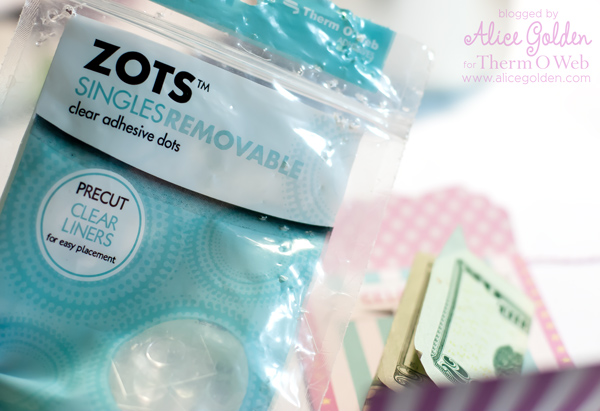
Strong enough to keep them in place when you pull out the banner, but easy to remove later on.
When you have finished adding elements to the banner, tuck it back into the tin and put the lid on.
When the recipient takes off the lid, they will have a fun surprise.
You could also add photos to the banner – I think that would be a great way to give someone special pictures of a new baby, or graduation, or from another important event.
Thanks so much for visiting today!
Supplies:
iCraft Tape 1/2 inch
Zots for Bling
Removable Zots
Mini Tape Runner
Other
Papers and embellishments – Carnival Queen from Ruby Rock-It
Taffy, Cotton Candy Ultra Fine Glitters – WOW! from American Crafts
empty tin or box
We’d like to invite you to enter to win the new Ruby Rock-It Carnival King Collection! Just follow the easy Rafflecopter entry! Do visit our friends at Ruby Rock-It when you’re done to see what they’ve created! (plus enter their giveaway too!)
Maria Urena
April 4, 2013 at 5:53 am (11 years ago)Both.