Celebrate Halloween with a spooky doorknob hanger. Carla from Creatin’ in the Sticks is on the blog today with a quick and easy technique using StitchnSew EZ-Print Quilt Block Sheets to write a warning to all the season’s trick-or-treaters.
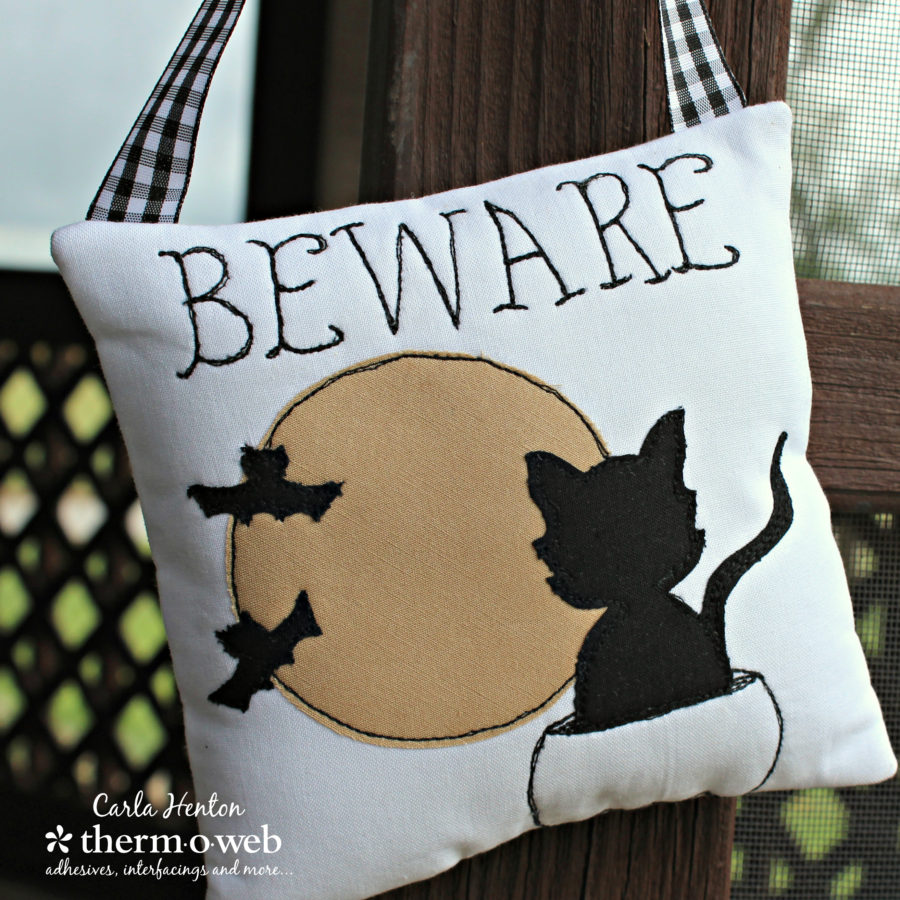
Have a room you don’t want anyone to enter? Want to warn trick-or-treaters? Here’s a fun way to decorate and solve those problems. The colors work perfectly with a farmhouse decor too. This doorknob hanger has been approved by my inspiration for this project.
BEWARE – Doorknob Hanger
By Carla at Creatin’ in the Sticks
Finished size: 6″ x 6″ without the ribbon hanger
Please read all the instructions before starting.
All seams are stitched at 1/4″ unless otherwise stated.
Supplies
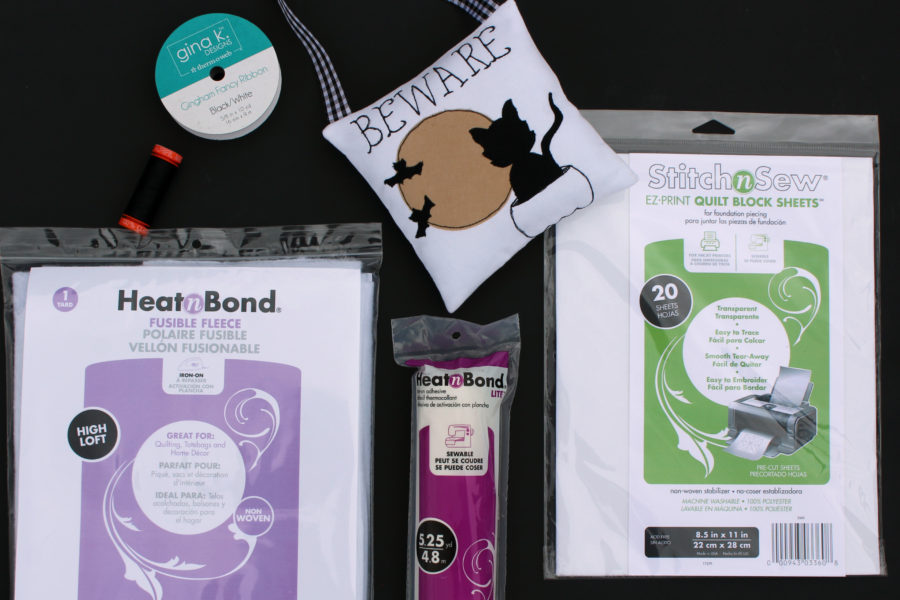
1 sheet – StitchnSew EZ-Print Quilt Block Sheets
HeatnBond® Lite iron-on adhesive
2 – 6 ½” x 6 ½” squares of HeatnBond Fleece Fusible High Loft
13” x 5/8” piece of Gina K. Designs Gingham Fancy Ribbon – Black/White
Fabric:
2– 6 ½” x 6 ½” squares of white cotton for the background of applique and the back of the doorknob hanger
Small scraps of black and tan cotton fabrics for raw edge applique
Other supplies:
Aurifil thread: 50wt #2692
Inkjet printer, fiberfill, Iron, sewing machine, sharp scissors, Chopstick, and other basic sewing supplies.
Instructions
Step 1 -Prepare the background and backing pieces
Place the two 6 ½” x 6 ½” pieces of white fabric right sides down on an ironing surface. Bond the two 6 ½” squares of HeatnBond Fleece Fusible High Loft to the wrong sides of the white fabric squares following the manufacturer’s instructions. Set one square aside for the hanger back to use later.
Step 2 -Stitch the lettering and pumpkin
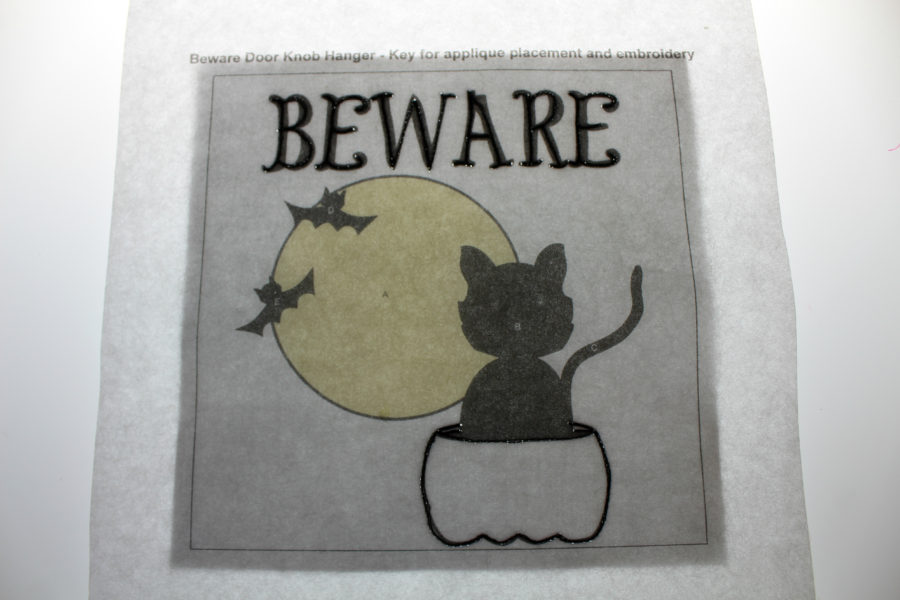
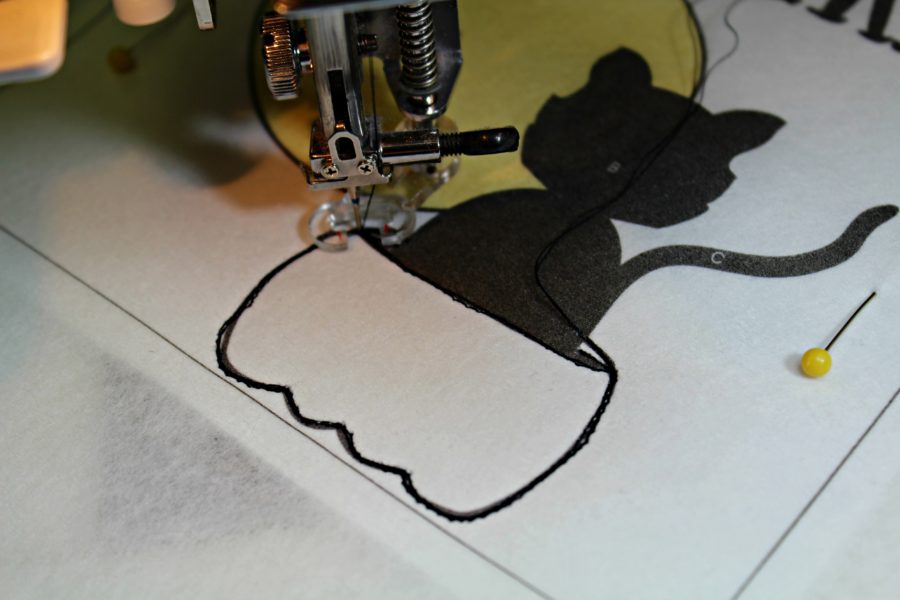
Print the layout key (included in the pattern) onto the StitchnSew EZ-Print Quilt Block Sheet following the package instructions. Place the 6 ½” x 6 ½” fleece backed white fabric square right side up and center the printed layout key 6″ x 6″ over the fabric square. Pin the StitchnSew EZ-Print Quilt Block Sheet in place. Next, with Aurifl thread #2692, machine stitch the letters and pumpkin on top of the quilt block sheet. Stitch over the lines several times. Finish this step by carefully tearing the StitchnSew EZ-Print Quilt Block Sheet away.
Tip: This is a great way to practice free motion quilting. The StitchnSew EZ-Print Quilt Block Sheets can be printed with any design and the same technique used here can be used for quilting.
Step 3 – Fusible Applique
Trace the patterns on the paper side of HeatnBond® Lite iron-on adhesive. Follow the manufacturer’s instructions for tracing the patterns and bonding to the wrong side of fabrics. The patterns have been reversed for you.
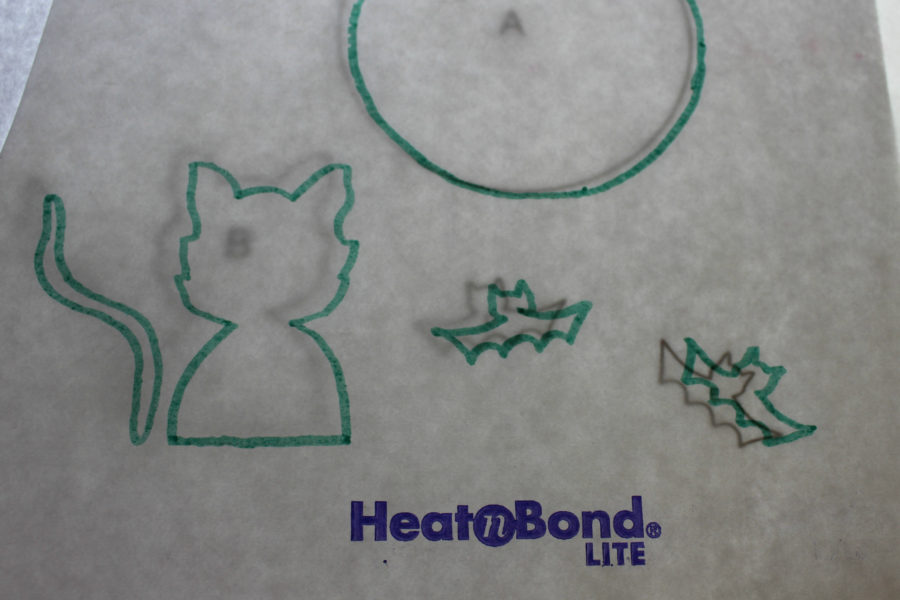
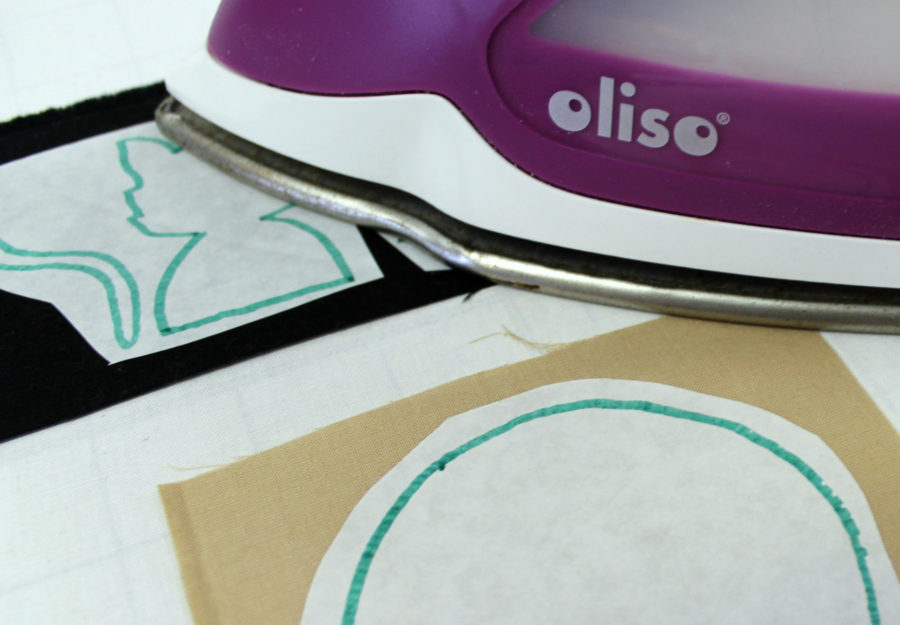
Next, cut out all applique pieces, peel off the backing paper and place applique with the adhesive side down on the background piece of fabric.
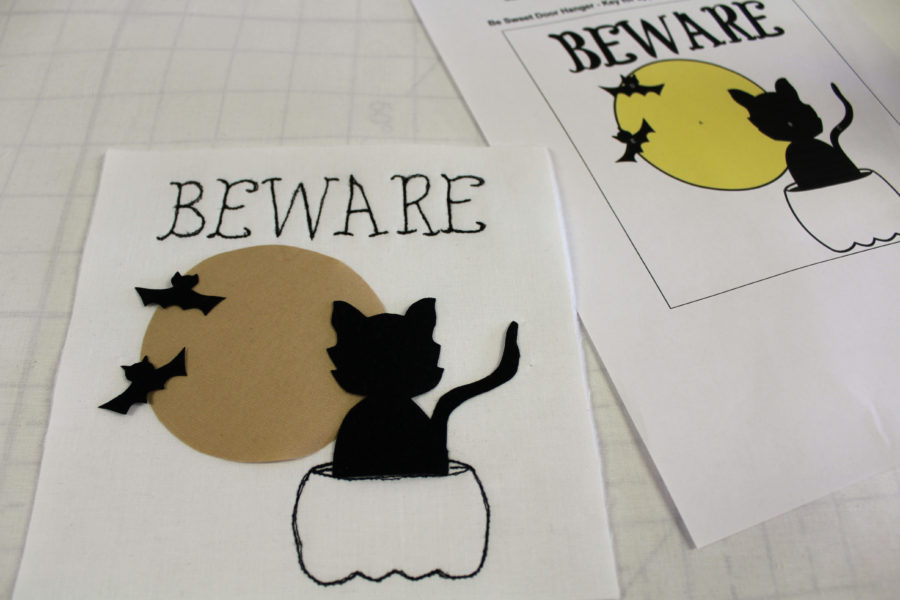
Finally, fuse all the pieces to the background at once following the manufacturer package instructions. Stitch around the applique pieces with a straight edge stitch with Aurifil thread to finish the applique.
Step 4 – Finish the Door Hanger
Pin the ribbon to the top of the BEWARE square ½” from the side edges. Stitch across the ends of the ribbon 1/8” from the top edge. Next, place the two white fabric squares right sides together sandwiching the ribbon between and pin.
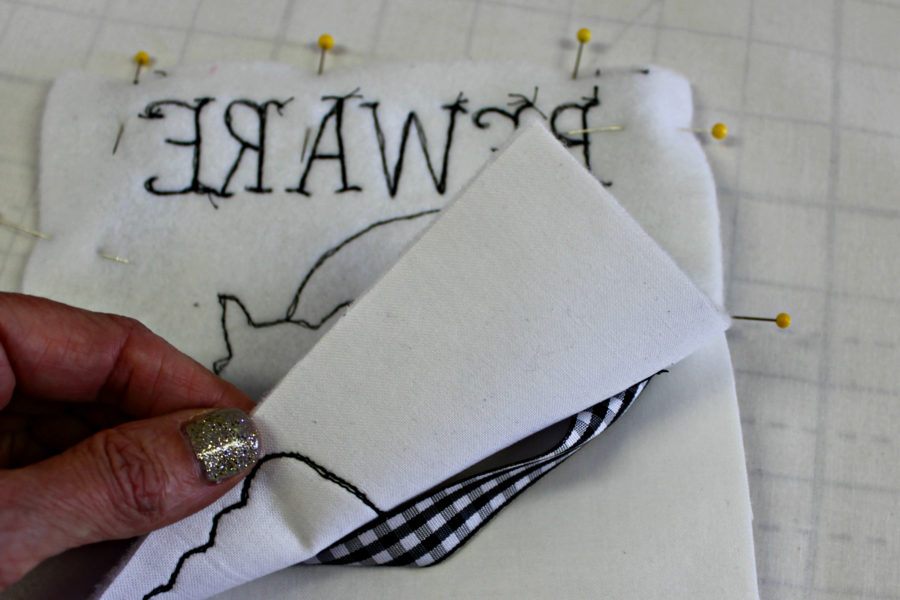
Leave an opening in the bottom for turning right side out.
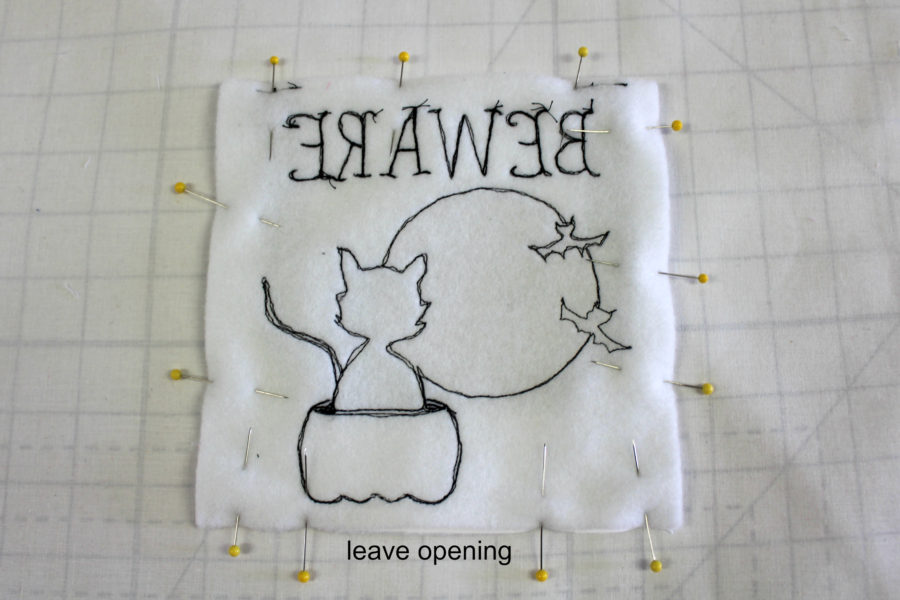
Stitch around the squares ¼” from the edge. Be sure to leave the opening for turning. After the stitching is finished, clip the corners off and turn right side out. Use a chopstick to gently push the corners out.
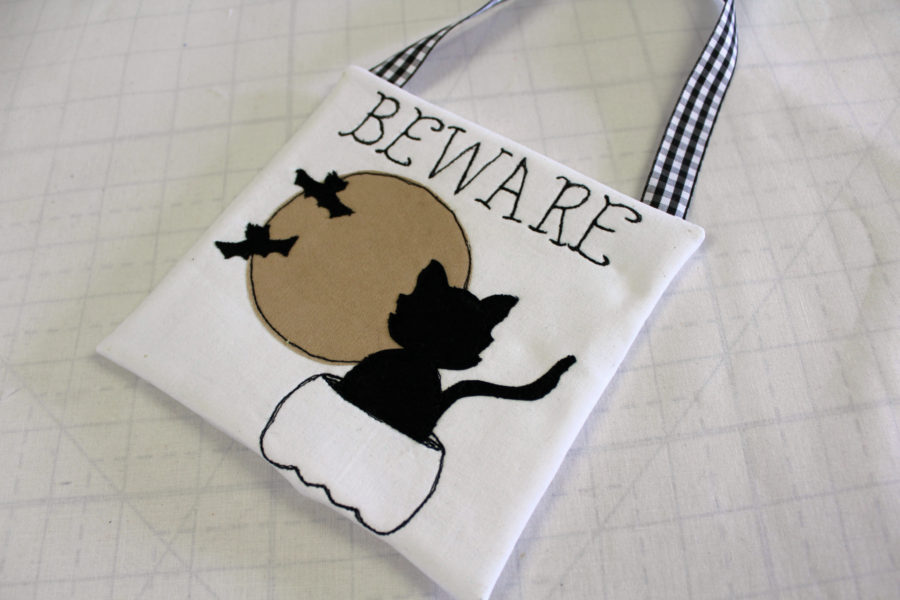
Finally, stuff the doorknob hanger lightly with fiberfill and stitch the opening closed.
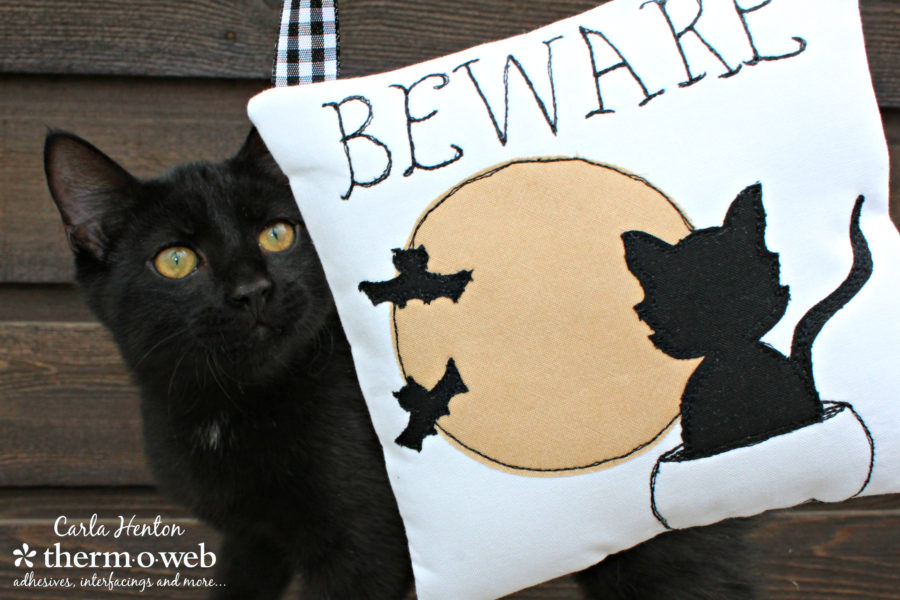
My new black kitten approves of this project! Happy Halloween crafting – it’s never too early to start.
Carla

Kirsty Vittetoe
September 11, 2018 at 12:29 pm (7 years ago)Super fun and inspiring!!!!
Carol Kussart
September 12, 2018 at 4:46 am (7 years ago)Cute project, as always. I like your black kitty too, Carla!
Tammy
September 12, 2018 at 4:52 pm (7 years ago)Love!