Friendship isn’t a big thing, it’s a million little things. – Author Unknown
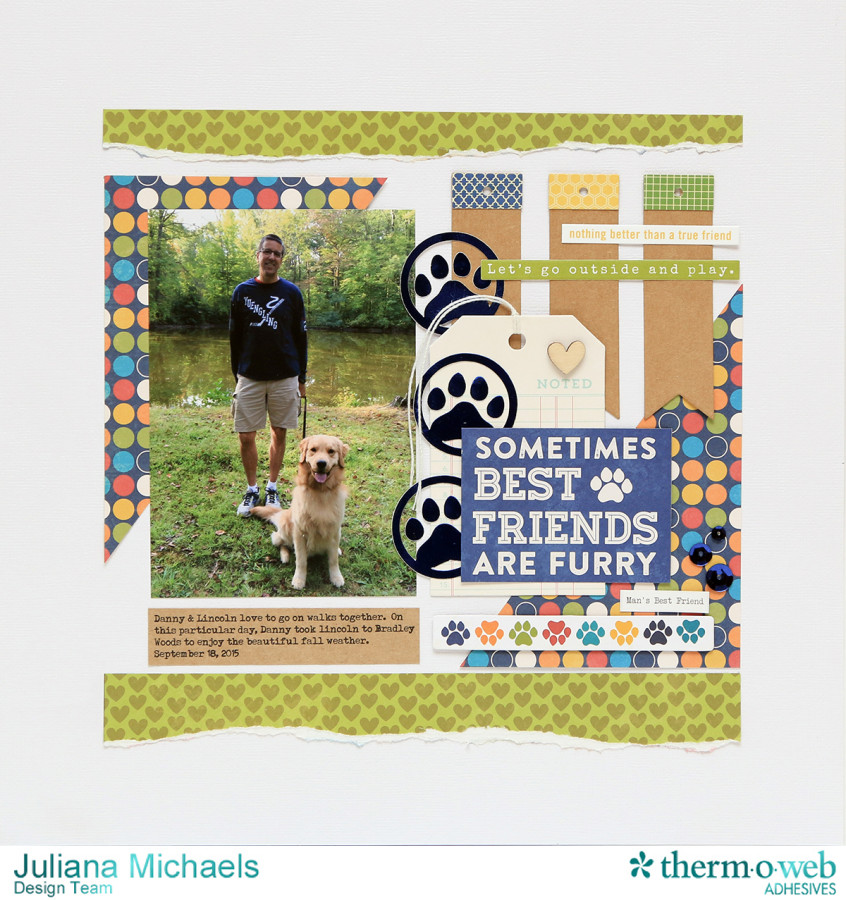
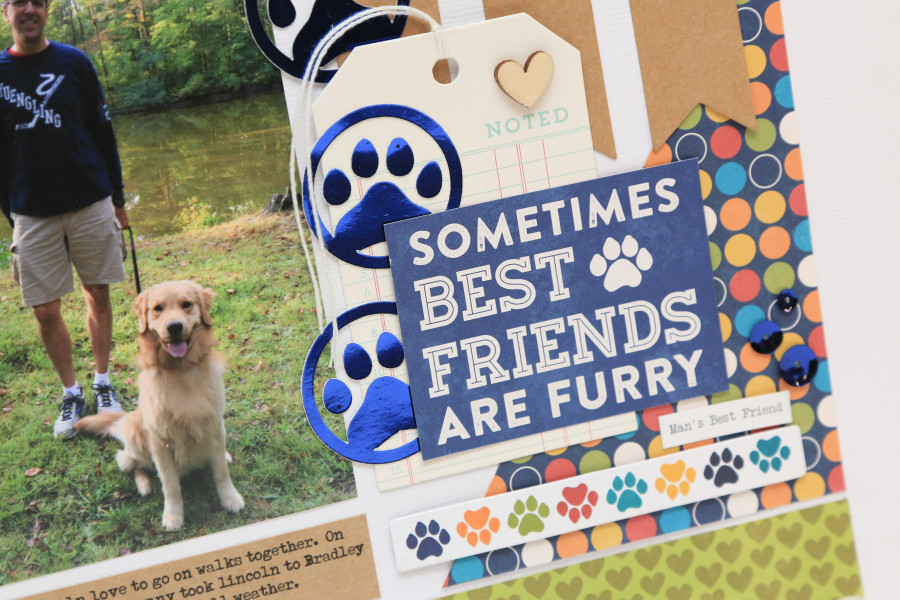
Hello friends! It’s Juliana here today to share a friendship layout that focuses on the four legged variety. Their is a super strong bond between my husband and our Golden Retriever Lincoln that has been their from the day we brought him home with us. To help capture this relationship, I wanted to scrapbook a photo that shows them doing something together that they love to do – go for walks! To help focus on the dog theme, I created some Deco Foil™ paw prints as a fun accent to dress up the page. Keep reading below to learn how I created them using the new Therm O Web Deco Foil™ Peel N Stick Toner Sheets and to download a free digital cut file!
Therm O Web Supplies:
Therm O Web Memory Tape Runner XL
Therm O Web iCraft® DecoFoil™ Peel N Stick Toner Sheets
Therm O Web iCraft® DecoFoil™ – Deep Blue
Therm O Web Sticky Dots
12 inch Foil Laminator
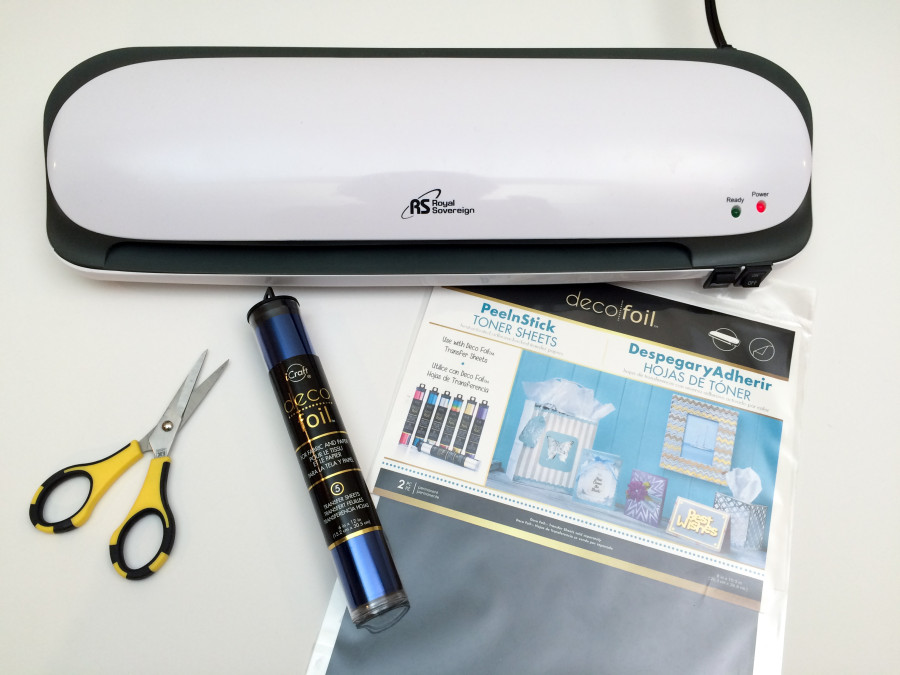
Begin by gathering your supplies. You will need a Laminator, Deco Foil™ Transfer Sheets, NEW Deco Foil™ Peel N Stick Toner Sheet, parchment paper (included with the Toner Sheets), a Silhouette Cameo or other die cutting machine and scissors.
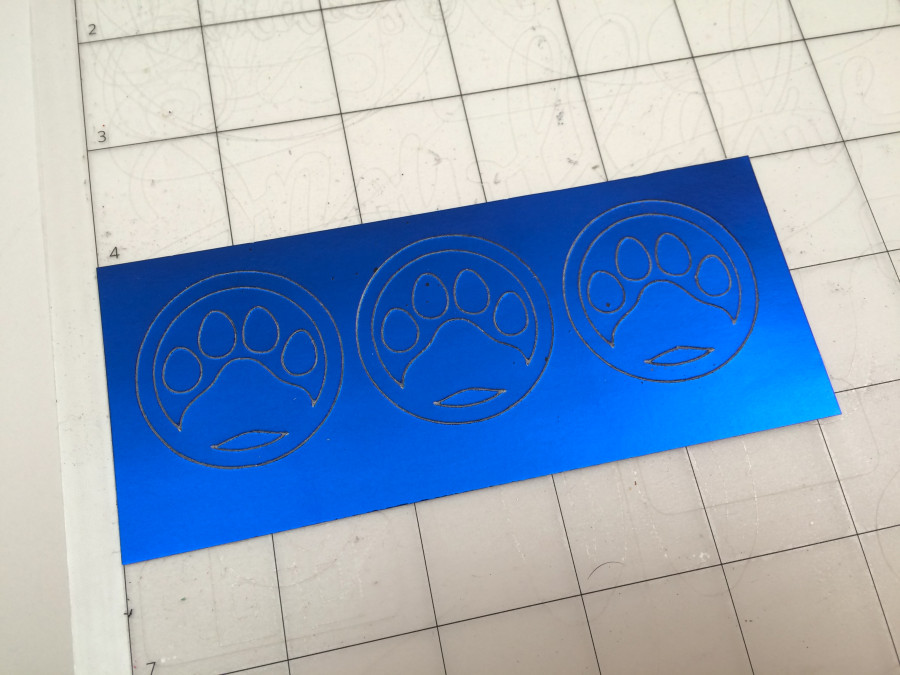
Cut a piece of the Peel n Stick Toner Sheet and a piece of the NEW Deep Blue Deco Foil™ (Coming Soon!) to a size just slightly larger than your final die cuts shapes. To help determine this, I usually open and size the cut file in my Silhouette software before I begin cutting.
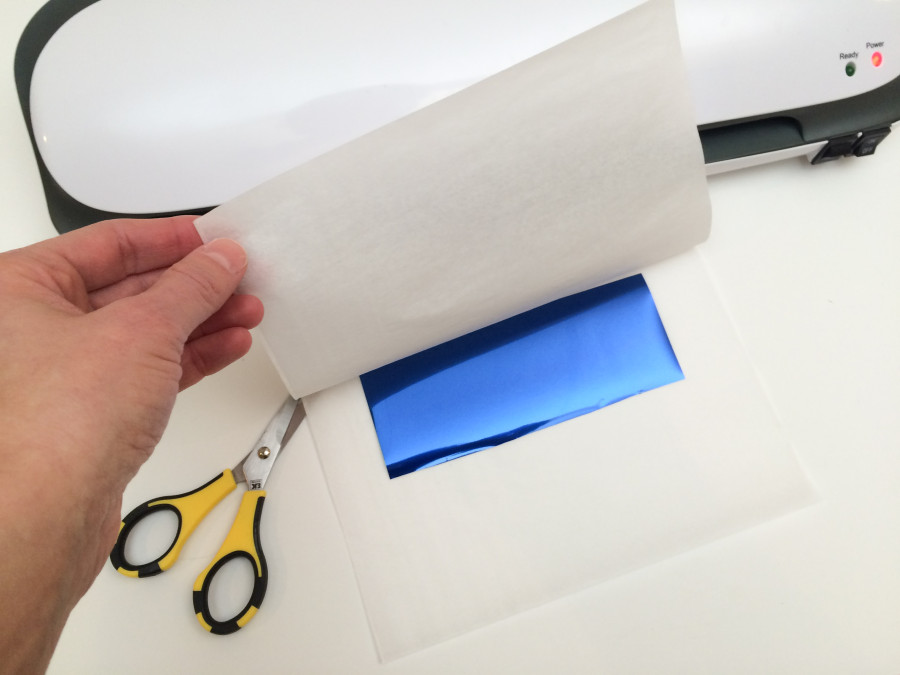
Place the Deco Foil transfer sheet on top of the Toner Sheet. You want the black side of the PeelnStick Toner Sheet facing upward and the colored side of the Deco Foil facing upward. Place them inside a piece of folded parchment paper and push them all the way toward the crease. Insert this entire piece into your laminator. Once it has run through, remember to remove the liner from the Deco Foil. Your Toner Sheet is now covered with Deco Foil and ready to cut in your Silhouette or die cut machine.
I prefer to adhere my Deco Foil™ Transfer Sheets to the Toner Sheets before I cut them. It seems to give the die cuts a more clean edge, but you can certainly cut the Toner Sheets first and then apply the Deco Foil.
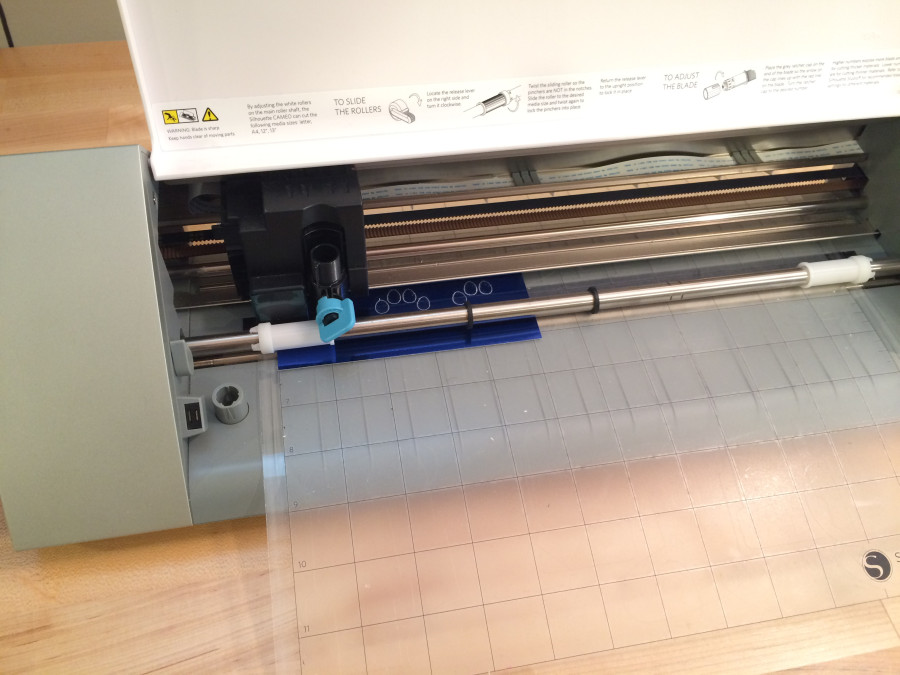
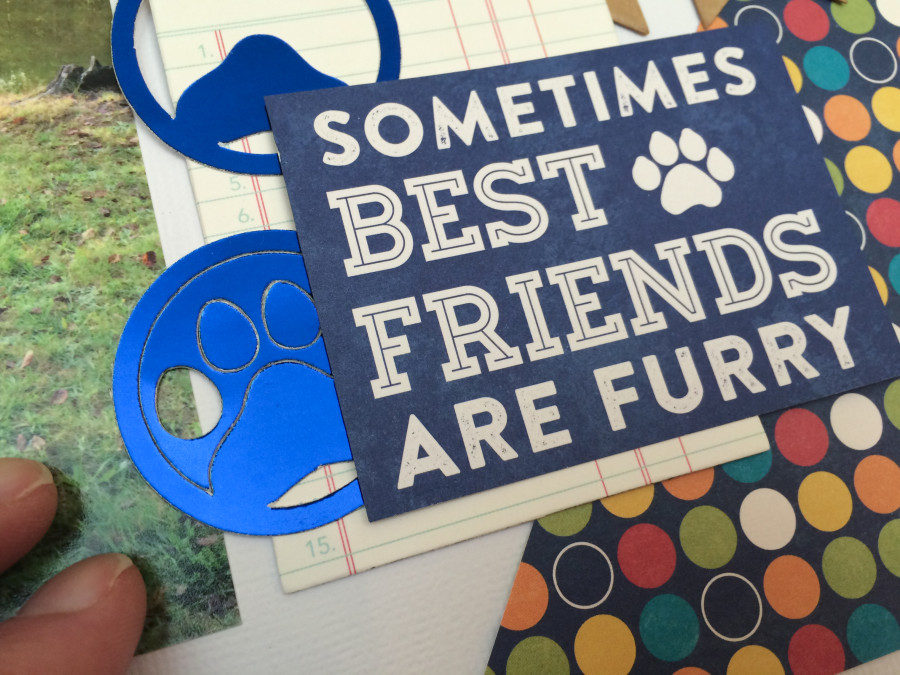
With this particular die cut, the little toes on the paw prints are loose once you remove them from the cutting mat. To help determine where to place them on my layout, I used the negative piece to help me line up their placement. To adhere the die cuts to the layout, simply peel off the liner on the back side of the Toner Sheets and you are ready to stick them down – hence the name Peel N Stick! It’s so fun making your own foiled stickers!!!
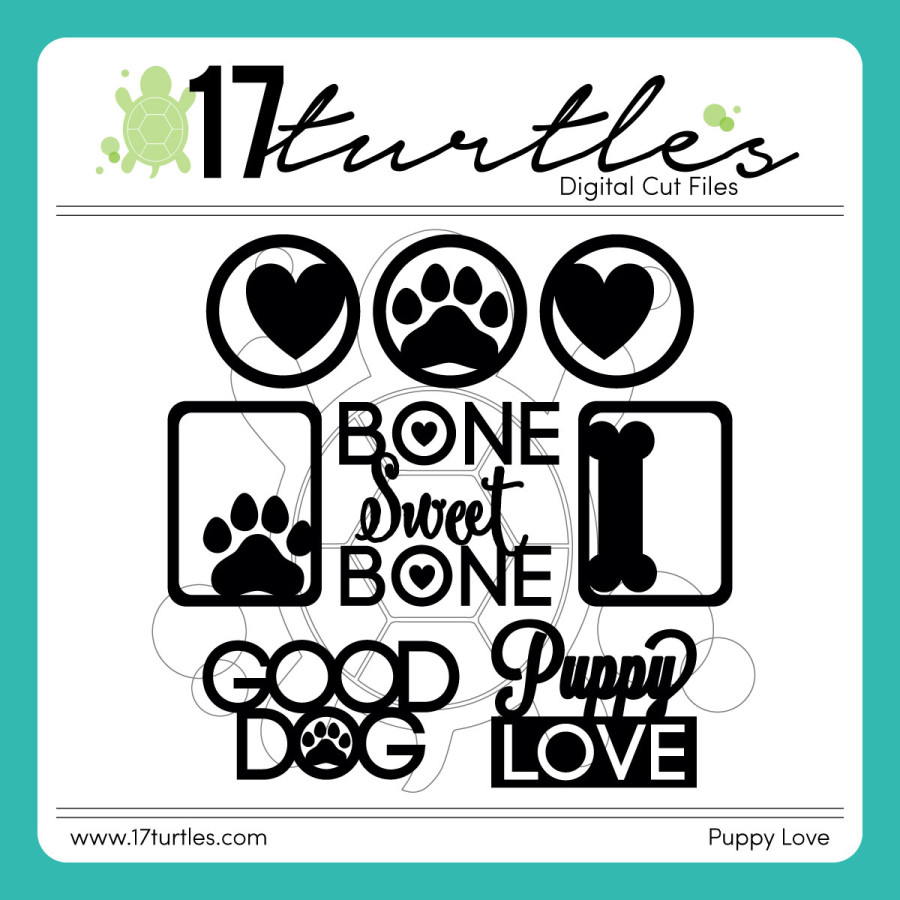
FREE DIGITAL CUT FILE | PUPPY LOVE
Here is the free digital cut file that you can download and use on your next project. (Click on the word Puppy Love to download it.)
Along with using the new Deco Foil™ Peel N Stick Toner Sheets, I also used one of the new Deco Foil™ colors – Deep Blue! It is a gorgeous blue color and it coordinated perfectly with the other blues in my design.
I’m happy you all stopped by today and I hope you enjoyed learning a little more about the new Peel N Stick Toner Sheets and the free digital cut file!
HUGS!
Juliana
3 Comments on Best Friends | Puppy Love Free Digital Cut File
2Pingbacks & Trackbacks on Best Friends | Puppy Love Free Digital Cut File
-
[…] The process I used with the Deco Foil™ and my Silhouette Cameo is the same one I used in my Best Friends Puppy Love post that I shared here […]
-
[…] coffee sleeve. For a more detailed explanation of how the Toner Sheets work, you can check out my Best Friends post. On that project, I used my Silhouette Cameo to do the cutting, so just replace that step with […]

Sheila Sims
July 17, 2016 at 11:34 am (9 years ago)Can you please email me the silhouette cut settings you use as
I have tries cutting the toner sheets and not had much success.
Kind Regards
Sheila