


Felt Christmas Trees with Pattern Spray
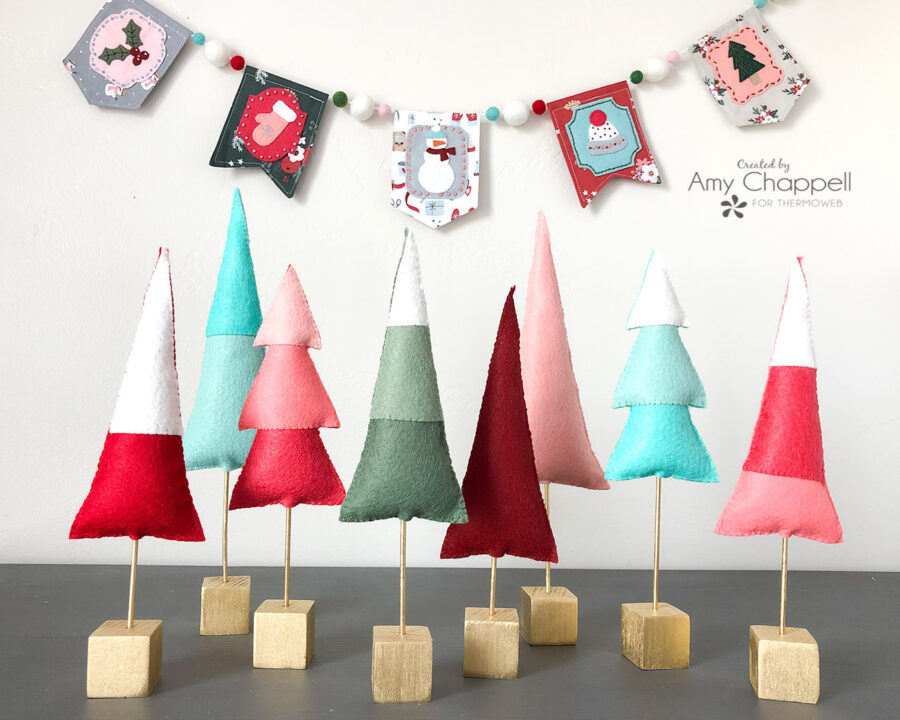
Sometimes you have a long skinny area to decorate- like a mantel or shelf. And sometimes you just want a bit of seasonal decor to liven up your spaces. These felt trees are narrow and tall and make a big impact in a small space. They are quick to make and look so pretty. The finished size of the trees will depend on how tall you make the wood skewers. My trees range from 12″ high and 3 1/2″ wide to 9″ high and 2 3/4″ wide.
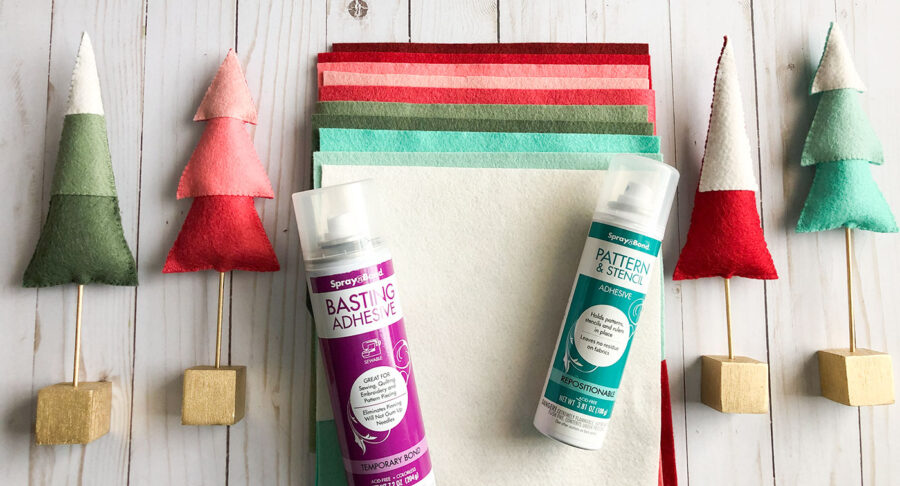
Supplies:
- Felt- I am using this gorgeous felt palate from Benzie Designs called Winter Mint
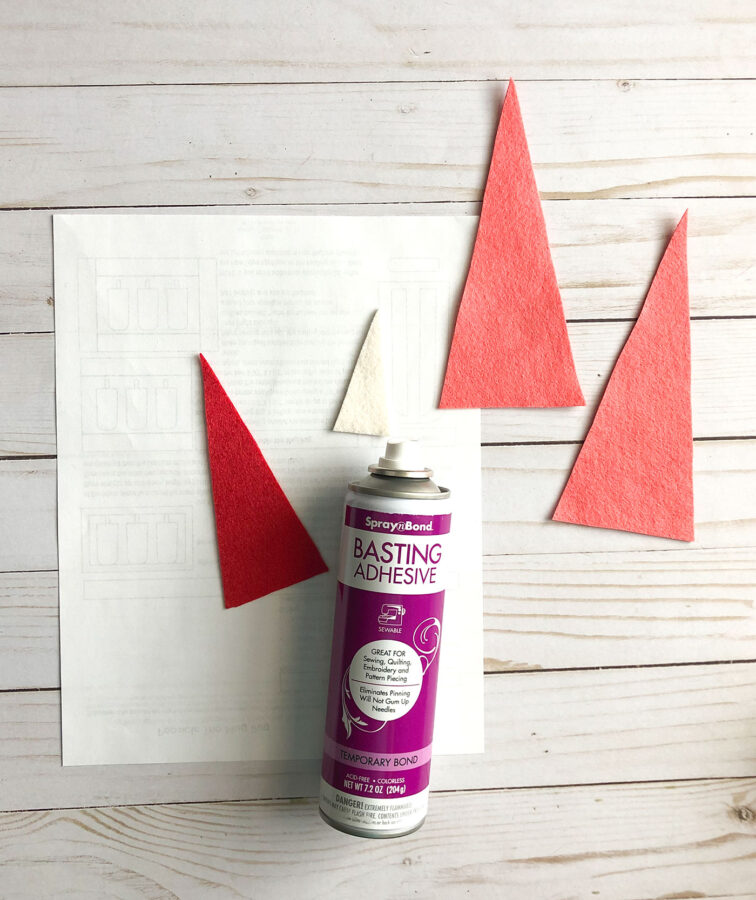
- Pattern and Stencil Spray
- SpraynBond Basting Adhesive
- coordinating embroidery floss or thread
- stuffing- such as fiber-fil
- wood blocks and dowels (I actually prefer to use bamboo skewers)
- spray paint (optional- for the blocks and dowels, I used gold spray paint)
Preparing the Felt Tree:
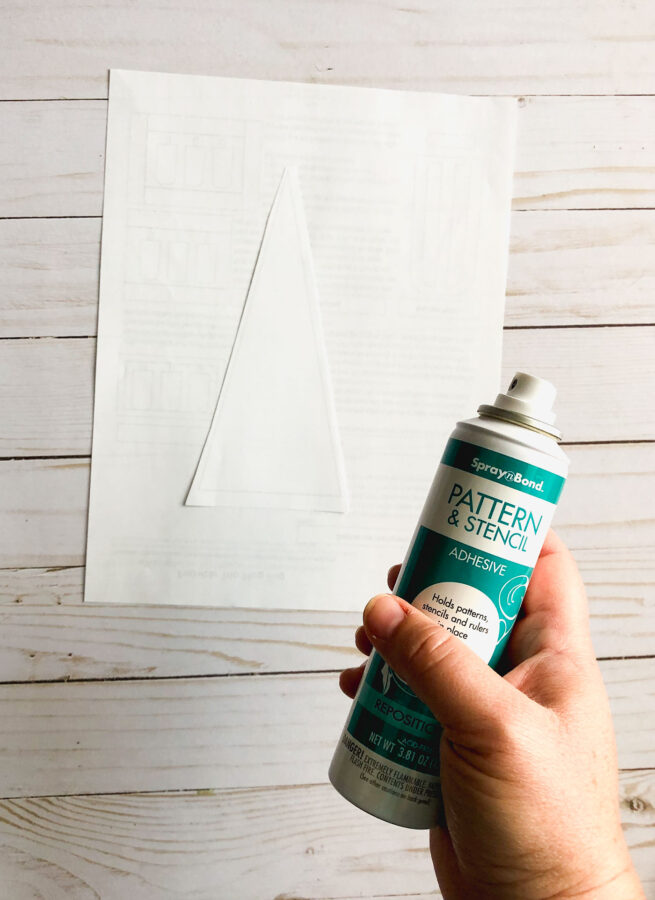
- Begin by creating a template or pattern, you can draw one on paper, or you can download mine by signing up for my newsletter on my blog here.
- Cut out around the pattern leaving a slight margin.
- Lightly spray the back of your pattern piece with Pattern and Stencil adhesive. *Make sure to protect your work surface from overspray- I use a scrap piece of paper or cardboard.
- Place the pattern piece, right side up, on the felt color of choice.
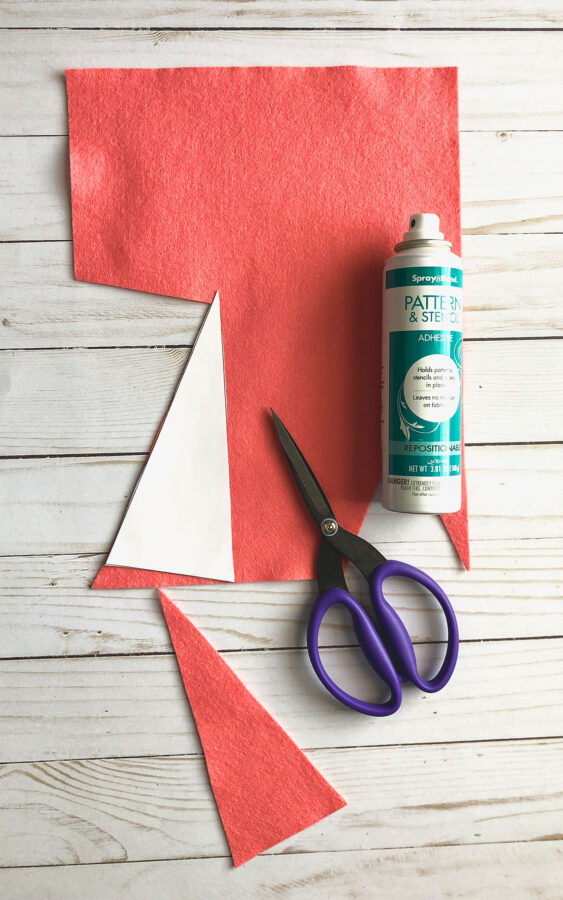
- Cut out the pattern along the drawn or printed lines.
- Remove the pattern piece.
- If the pattern piece isn’t tacky enough, lightly re-spray the piece, but it’s likely it will still have enough tack to use again.
- Place the pattern piece again on the felt and cut the second side of the tree.
- If desired repeat on additional layers of the tree.
Assemble the tree:
- If you are adding layers to your tree, lightly spray the back of the felt layers with Basting Adhesive.
- Position the layers on the right side of the front of the tree.
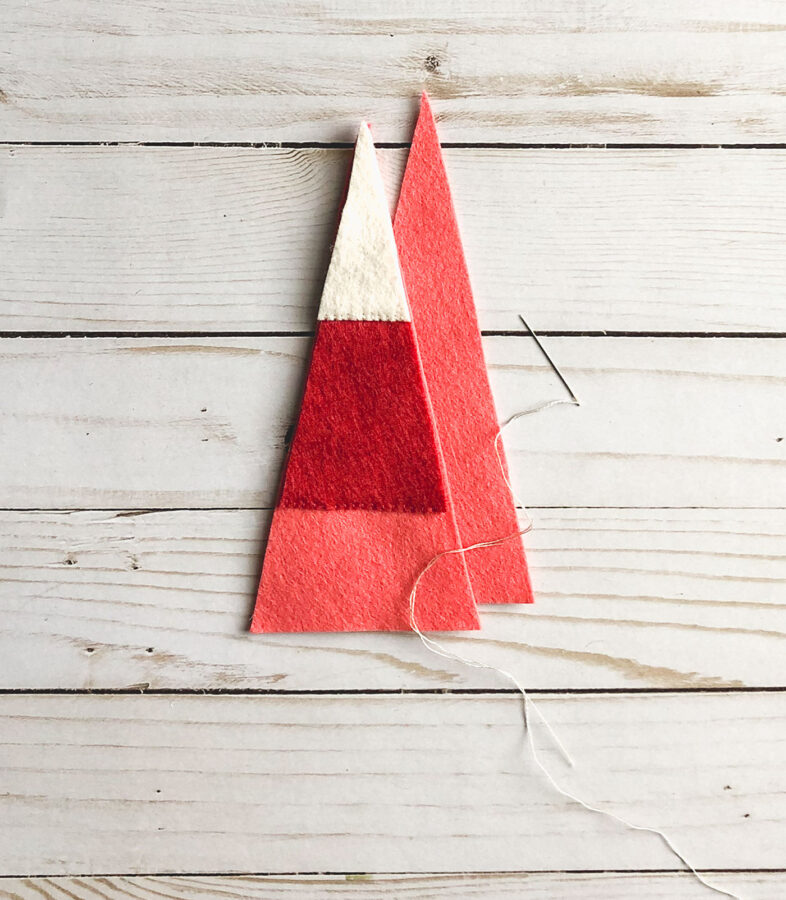
- Stitch the bottom of the layers into place using coordinating floss or thread. I use a simple whip stitch, but you could also use a blanket stitch or other decorative embroidery stitches.
- *If you would like to use a sewing machine to stitch the layers and tree together, I recommend using a walking foot to reduce the stretching of the felt and to keep the layers together a little better.
- Next, place the two sides of the tree wrong sides together and sew around using a whip stitch or other stitch as desired.
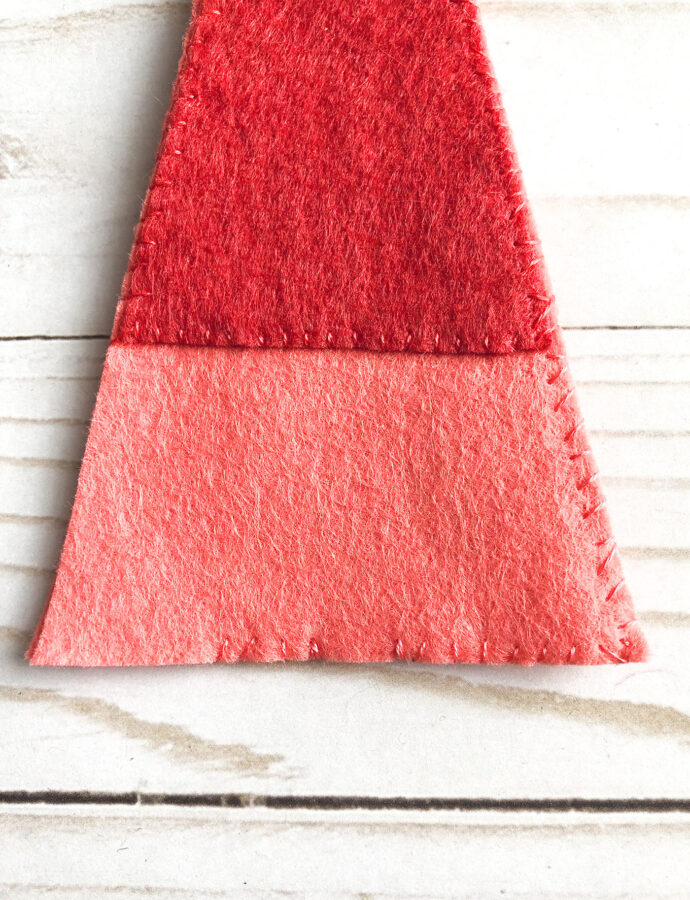
- When you get to the bottom side of the tree, leave a small opening to slide the dowel/ skewer through to hold up the tree. I like to add a couple of extra stitches on either side to reinforce the opening.
- As you stitch around the tree, use coordinating thread or floss.
- Leave an opening to stuff the tree.
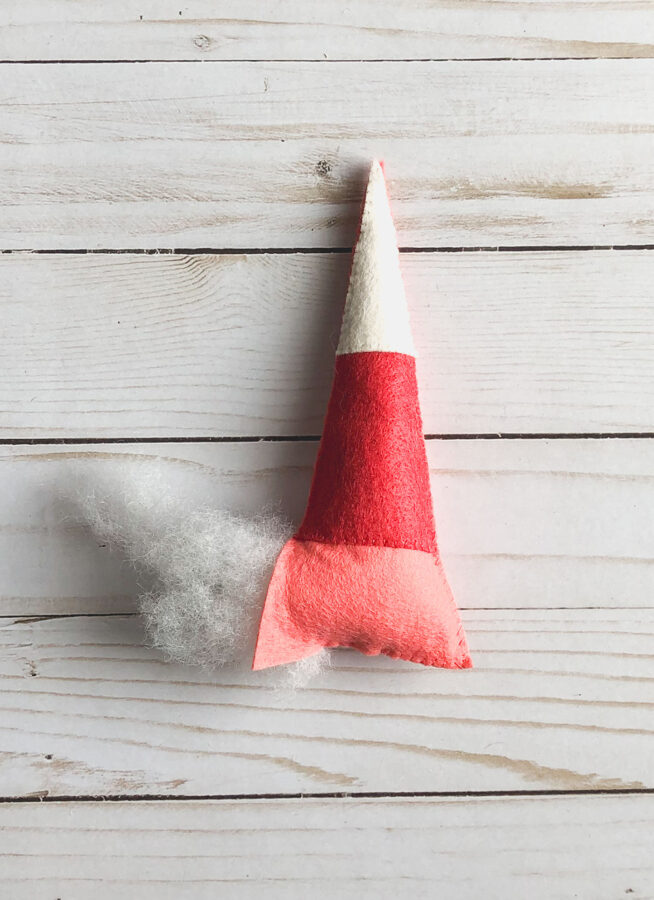
- When a small section of the tree is left to stitch together, begin stuffing the tree with stuffing. Use small pieces as you go to keep the tree smooth. Stuff it as much or as little as you like. The more stuffing you put into the tree, the more distorted the triangle shape of the tree will get.
- Stitch the rest of the tree closed.
Finish your Felt Tree:
- Cut out or purchase woodblocks for the base of your tree. I used a 2″ X 2″ scrap of wood and cut small blocks, but you can use any scrap wood to cut your own or purchase some bases in the unfinished wood section of a craft store.
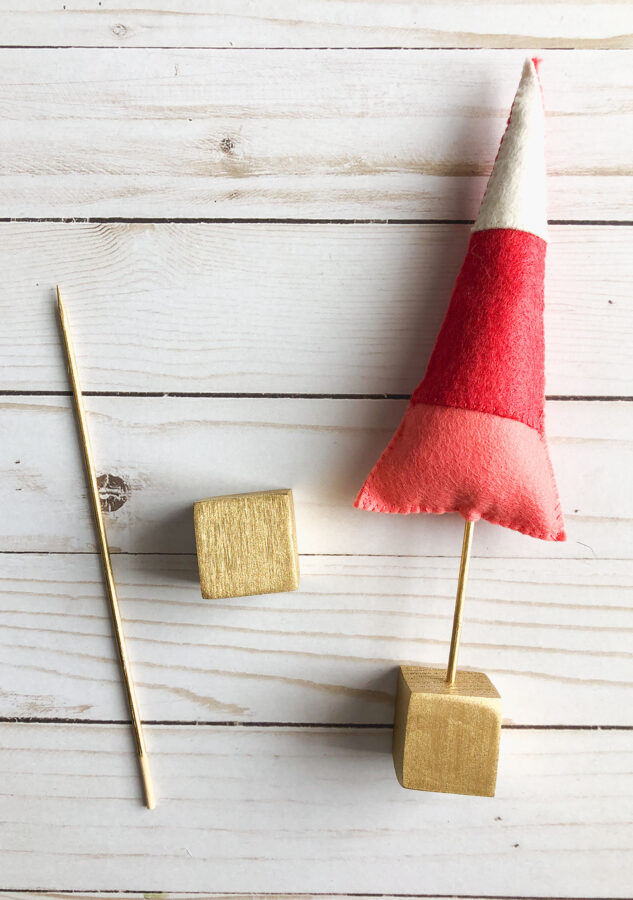
- Drill a hole in the base the same size as your wooden skewer or dowel. *NOTE: I prefer to use a skewer as it has a pointed end which makes sliding it into the stuffing of the tree much easier.
- Spray paint your wood bases and skewers if desired.
- Insert the skewer into the wood base and then slide the felt tree onto the wood skewer in the hole left at the bottom of the tree.
- **Having all of the pieces separate makes for easy storage once the season is over, simply pull the tree off the skewer, pull the skewers out of the bases and everything packs up nice and neat.
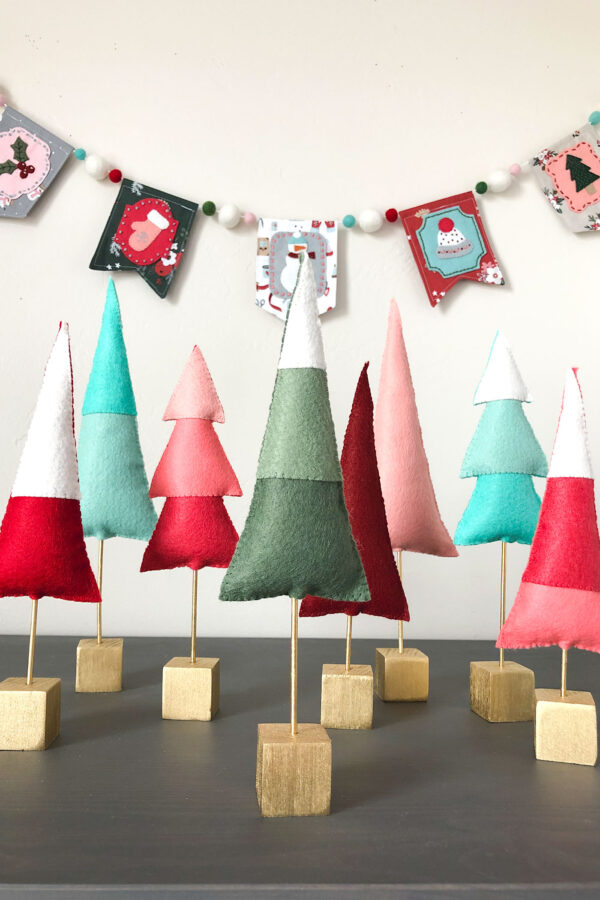
Pretty soon you will find yourself with a whole forest of felt trees. And if you use a palette from Benzie Designs- they will all coordinate beautifully!
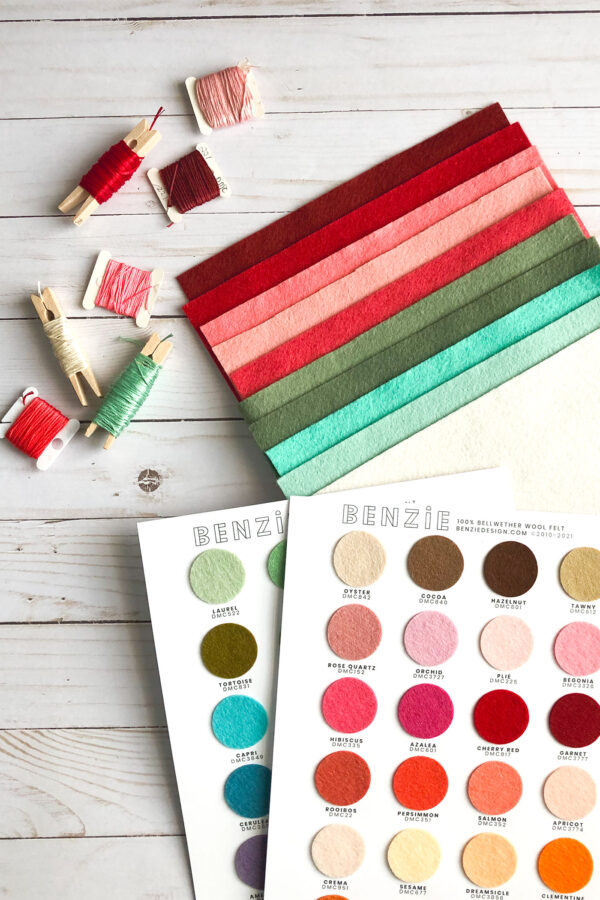
One other helpful tip is that Benzie Designs provides the DMC floss number that coordinates with their felt colors. If you have the swatch card from them, it’s printed right next to the color. If not, you can go to their website, and under each felt color you will see the floss number that coordinates. It makes it super helpful when trying to find just the right shade for your stitching!
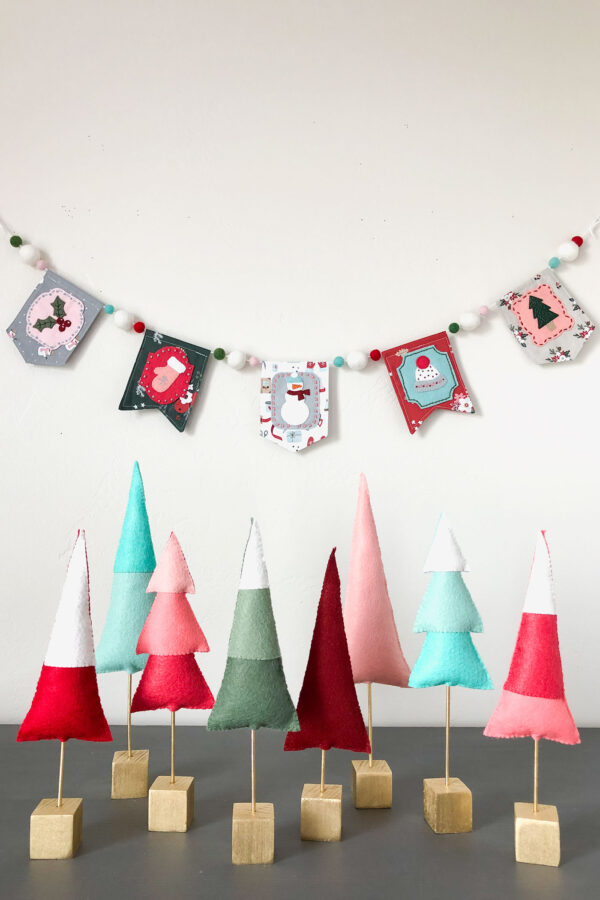
What tree is your favorite? For more tips, projects, tutorials, and patterns follow me over on Instagram @AmeroonieDesigns or sign up for my newsletter on my blog so you won’t miss anything! Happy stitching my friends!
4 Comments on Benzie Felt Christmas Tree Forest with Pattern & Stencil Spray
1Pingbacks & Trackbacks on Benzie Felt Christmas Tree Forest with Pattern & Stencil Spray
-
[…] this free tutorial. If you want to see a photo tutorial for assembling the trees, you can find one over on the ThermoWeb blog. Video more your speed? Follow along in my Instagram stories highlight walking you through all the […]
Mary Holshouser
July 28, 2021 at 3:46 pm (3 years ago)These would be cute as place markers at Christmas
parties and dinners. The color combinations are
fun. thanks for sharing
txmlhl(at)yahoo(dot)com
Sue D
July 28, 2021 at 7:41 pm (3 years ago)These felt trees are so festive.
Denise Bryant
July 29, 2021 at 10:10 pm (3 years ago)Such pretty colors! Looks like a fun project!