


 Hello Crafty Friends!!
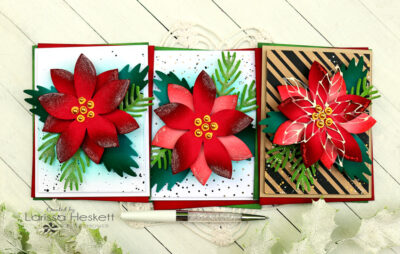
 Larissa here today to share a Trio of Beautiful Festive Poinsettia Holiday Cards, sharing how you can go from Simple to Layered and still pack a PUNCH!! I LOVE the look of Layers, but for Mass Producing during the Holidays Simple is Best!! So today I’m going to share 3 Different ways you can use the same Poinsettia Die to achieve very different looks!! Hopefully one of the Designs will speak to you and you’ll give Deco Foil Flock Sheets a try for your Holiday Cards this Year!!
Holiday Poinsettia Cards with Deco Foil Flock Transfer Sheets
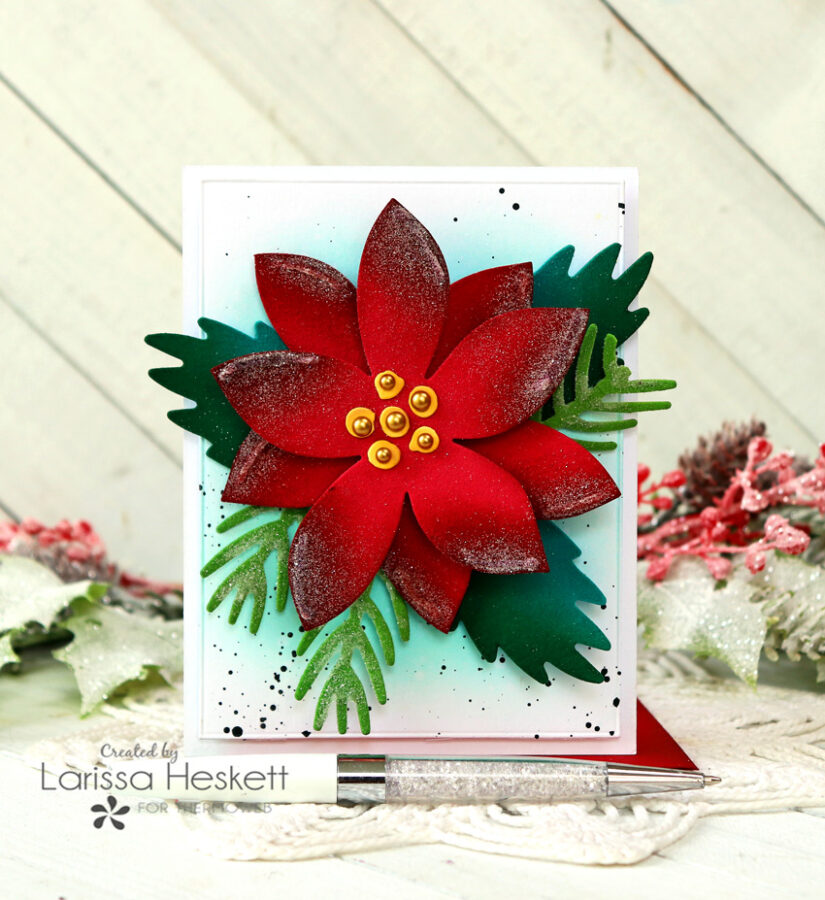
For my First Card, I want to showcase just the Beautiful look of the Deco Foil Flock Sheets!! CAS Style Cards are PERFECT for Mass Producing and this Design would definitely pack some Holiday Cheer!!
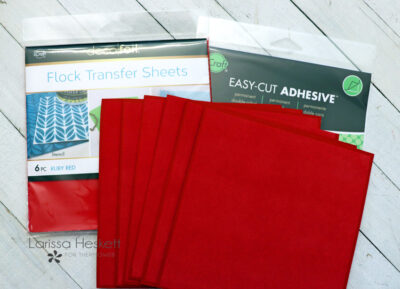
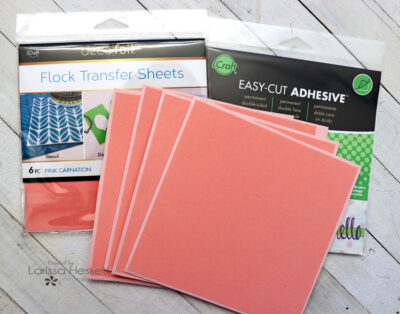
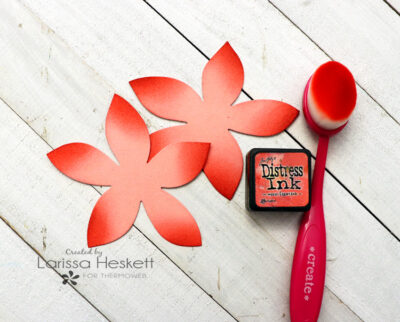
I started by adhering the Deco Foil Flock Sheets in Ruby Red to some Red Cardstock using some Easy Cut Adhesive Sheets!! Then I removed the protective Paper and Die Cut the Poinsettia Flowers from the Sizzix Festivities Die!!
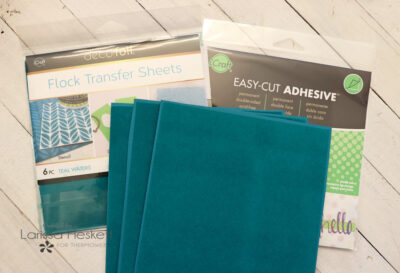
Next I adhered some of the Teal Waters Deco Foil Flock Sheets to some Teal Cardstock using some of the Easy Cut Adhesive Sheets!! I removed the Protective Paper and then I Die Cut the Poinsettia Leaves from the Deco Foil Flock Sheets!!
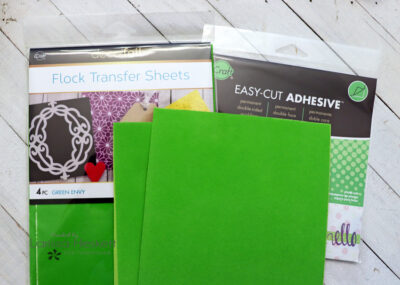
Next I adhered some of the Green Envy Deco Foil Flock Sheets to some Green Cardstock using some of the Easy Cut Adhesive Sheets!! I removed the Protective Paper and then I Die Cut the Pine Sprigs from the Deco Foil Flock Sheets!!

I Inked the Edges of the Poinsettia Flowers using Aged Mahogany Distress Ink to add some Dimension and to make them POP!!
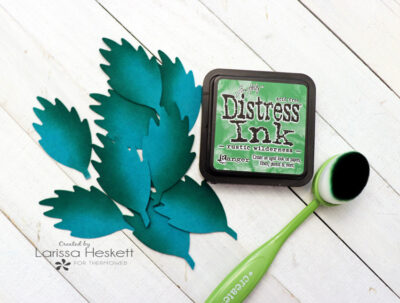
I Inked the Edges of the Poinsettia Leaves using Rustic Wilderness Distress Ink to add some Dimension and to make them POP!!
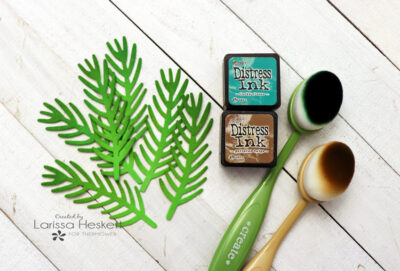
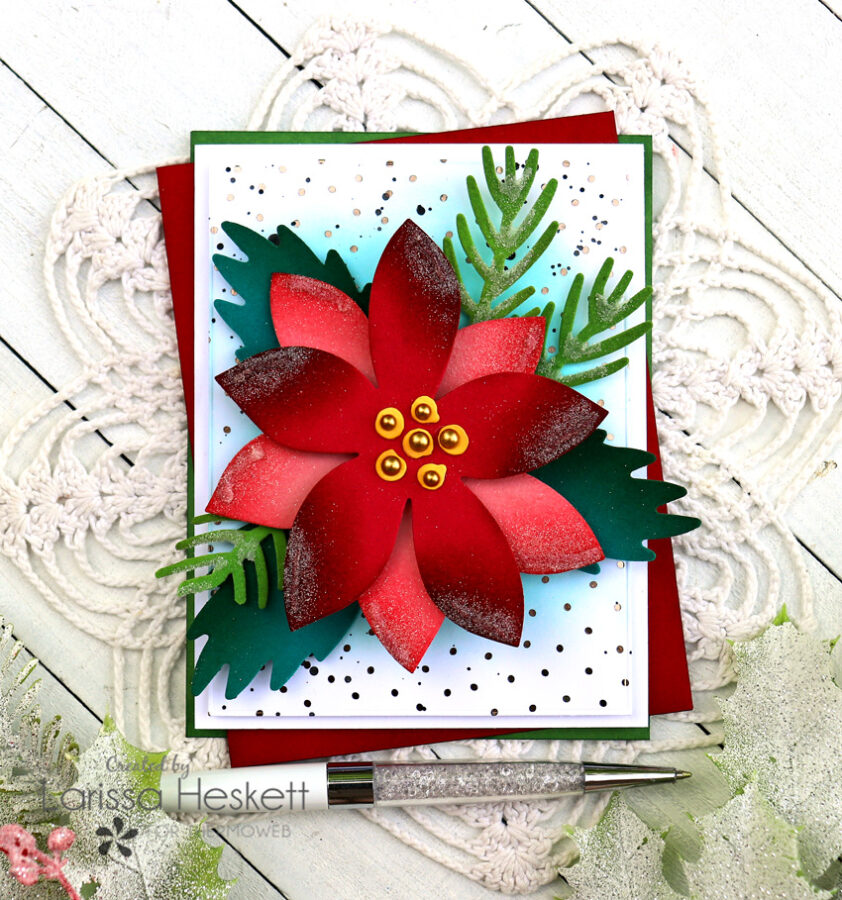
I Inked the Edges of the Pine Sprigs using Lucky Clover and Gathered Twigs Distress Ink to add some Dimension and to make them POP!! Then I Die Cut the Flower Centers from some Yellow Cardstock!! I Inked them with Fossilized Amber Distress Ink and then added some Trinity Stamps Matte Gold Pearls for some Dimension!!
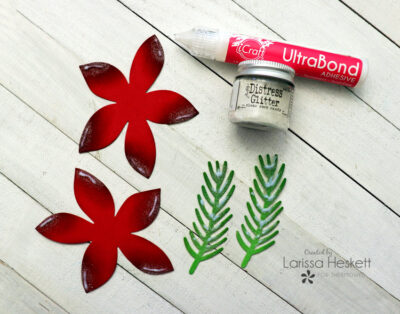
I wanted to add a touch of Sparkle to both the Poinsettia and the Pine Sprigs so I applied some Ultra Bond Adhesive to both the Poinsettia Flowers and the Pine Sprigs and then added some Distress Rock Candy Glitter!! I LOVE that it adds Sparkle without changing the Color!! The Ultra Bond Adhesive Dries Clear PERFECT for adding those Winter Sparkle Touches to ANY Project!!
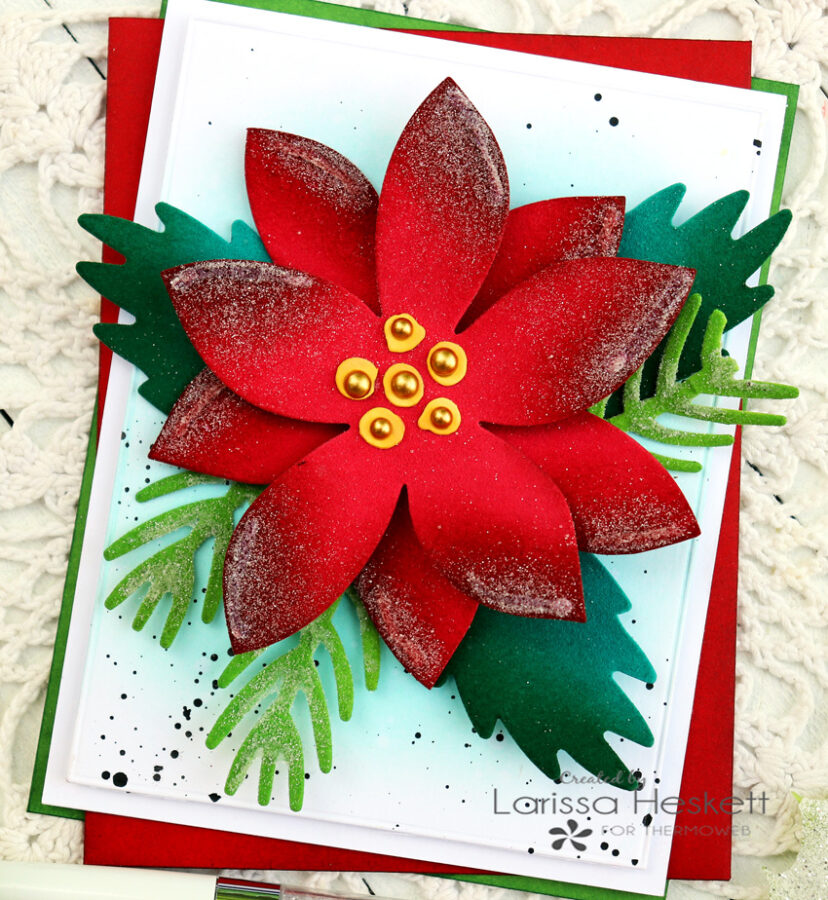
For the Card Panel, I Die Cut a Piece of White Cardstock and Inked the Center with some Salvaged Patina Distress Ink, and added some Water Splatter and Black Soot Distress Paint Splatters!! Then I adhered to the Poinsettia, Leaves, and Pine Sprigs using 3-D Foam Squares to POP up some of the Images to add Dimension!!
SWOON!! I LOVE the way this turned out and it would make a SIMPLE CAS Card Design for Mass Producing Holiday Cards!!
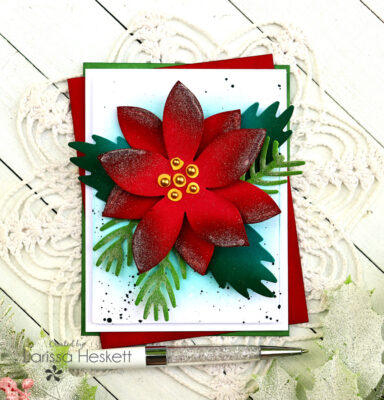
 For the Second Card, I’m repeating the exact same steps in order to Create the Main Poinsettia, Leaves, and Pine Sprig Images Die Cut from Deco Foil Flock Sheets and adding the same Distress Inks to help make the Die Cut Images POP!! This Time though I’m going to add another Layer to the Poinsettia in a Different Color for a FUN Layered-Look!!
I adhered some of the Pink Carnation Deco Foil Flock Sheets to some Pink Cardstock using Easy Cut Adhesive Sheets and then Die Cut the Poinsettias!!
I applied some Worn Lipstick Distress Ink to the Edges of the Petals to help make them POP!! Then I wanted to add some Sparkle so I applied some Ultra Bond Adhesive to both the Poinsettia Flowers and the Pine Sprigs and then added some Distress Rock Candy Glitter just like I did for the First Card!! I think the Sparkle really helps to set that Holiday Feeling!!
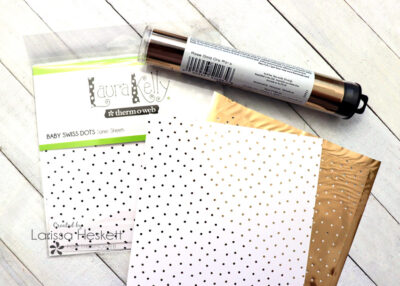
For the Card Panel I Die Cut a Piece of Baby Swiss Dots Laura Kelly Toner Sheets and Foiled it with Rose Gold Deco Foil!! Then I Inked the Center with some Salvaged Patina Distress Ink and added some Water Splatter and Black Soot Distress Paint Splatters!!
Then I adhered to the Poinsettia, Leaves and Pine Sprigs using 3-D Foam Squares to POP up some of the Images to add Dimension!!
I REALLY like the addition of the Deco Foiled Toner Sheet for the Card Panel!! There are so many possibilities with ALL of the different Toner Sheets available!! There’s something to coordinate with ANY Design you may have in mind!!
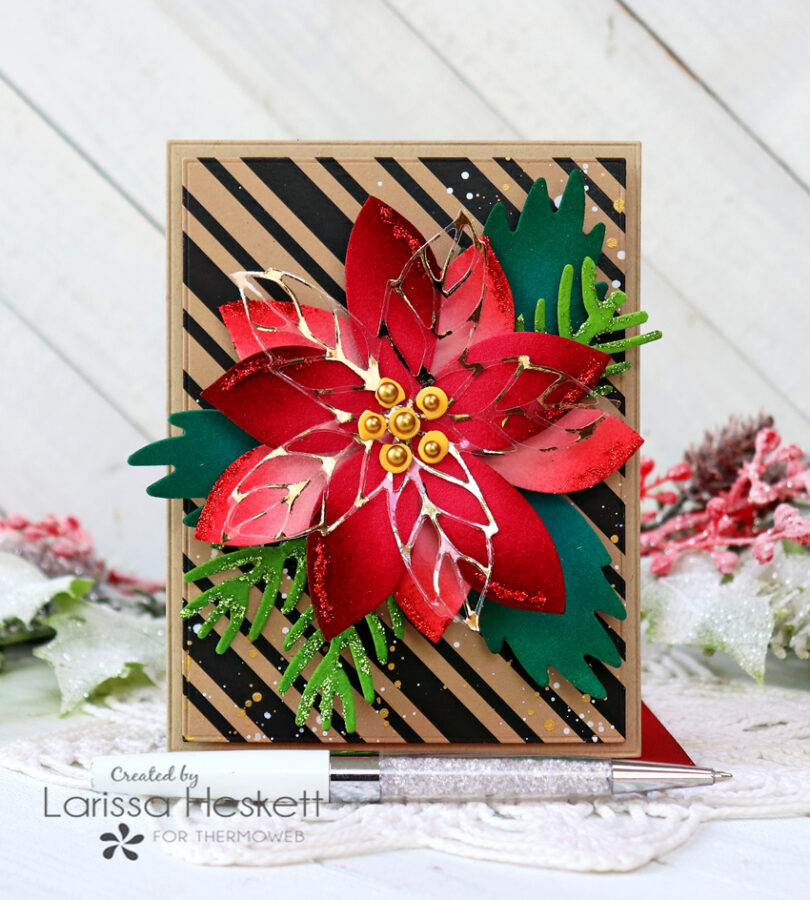
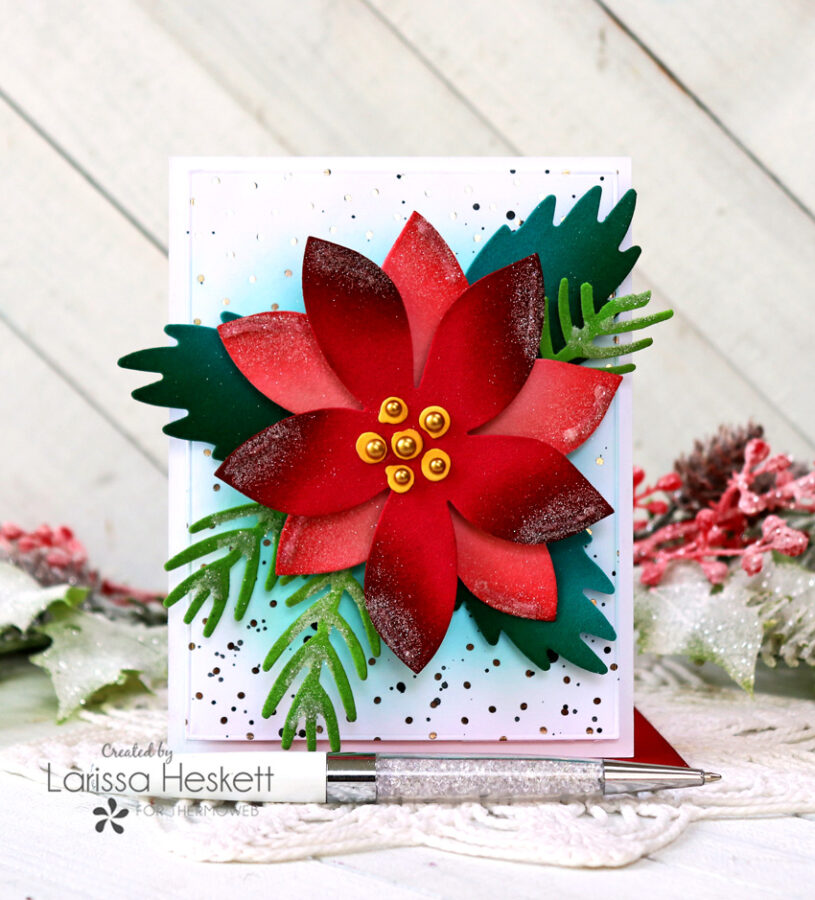
 For my Third Card I’m repeating the exact Same Steps as the Last Card, only this time I’m going to add a FUN Deco Foil Clear Designer Toner Sheet Die Cut to the Poinsettia to add one more Layer of WOW!!

I Started with the Deco Foil Clear Designer Toner Sheets in Candy Stripes and Foiled it with some Rose Gold Deco Foil!!
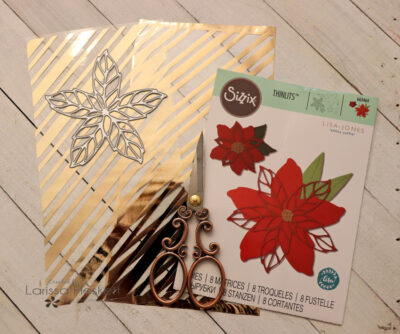
Then I Die Cut the Detailed Poinsettia Image out using a Sizzix Poinsettia Die Set!! I LOVE the Detailed Die Cut and the way that the Foil adds some extra Shine and Sparkle!!
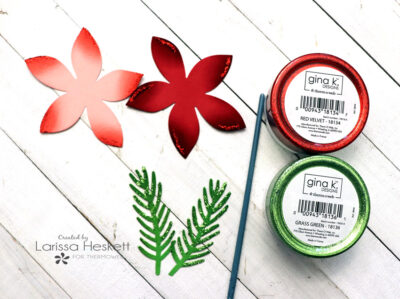
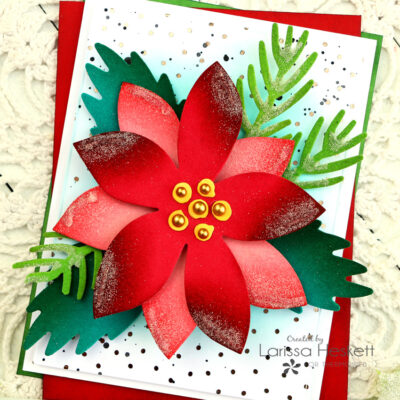
I Die Cut the Poinsettia Flowers, Pine Sprigs and Poinsettia Leaves from the same Deco Foil Flock Sheets and then Inked with the same Distress Inks!! I wanted to add Sparkle to the Poinsettia Flowers and the Pine Sprigs only this time I’m using the Gina K Designs Glitz Glitter Gels in Red Velvet and Grass Green!! I used the end of a Paint Brush to apply the Glitter Gel and then Set the Images aside to Dry!!
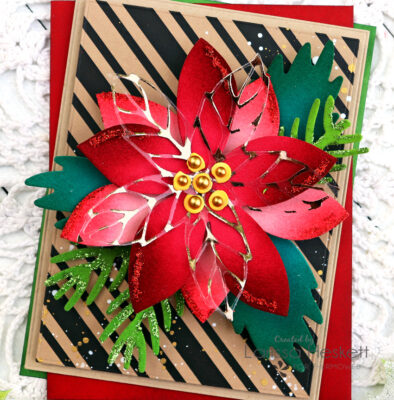
SWOON!! I LOVE the addition of the Glitz Glitter Gel and it really does add a completely different look, so depending on what look you’re going for this gives you another option!!
For the Card Pane, I Die Cut a Deco Foil Toner Card Front in Kraft Candy Stripes and then added some Distress Paint Splatters in Gold and Picket Fence for some added dimension!!
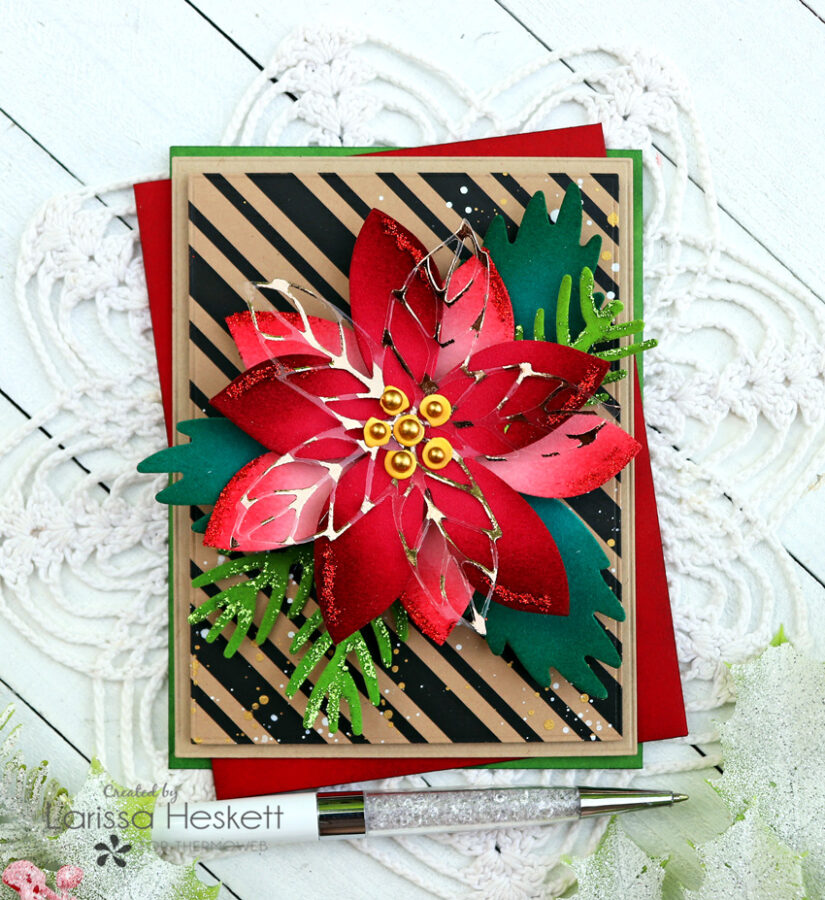
Then I adhered the Poinsettia, Leaves and Pine Sprigs using 3-D Foam Squares to POP up some of the Images to add Dimension!! Then adhered the Deco Foiled Clear Designer Toner Sheet Poinsettia Flower Die Cut using some Zots Bling Adhesive Dots!! I really LOVE the BOLD Card Panel and the way the BRIGHT Colors of the Images POP against it!!
Products Used:
Therm O Web:
Deco Foil Flock Sheets in Ruby Red, Pink Carnation, Teal Waters and Green Envy
Deco Foil in Rose Gold
Deco Foil Clear Designer Toner Sheets in Candy Stripes
Deco Foil Toner Card Fronts in Kraft Candy Stripes
Laura Kelly Toner Sheets in Baby Swiss Dots
Gina K Designs Glitz Glitter Gel in Red Velvet and Grass Green
Easy-Cut Adhesive Sheets
Ultra Bond Adhesive
Zots Bling Adhesive Dots
3-D Foam Squares
Other:
Sizzix Bigz Die Festivities by Tim Holtz
Sizzix Poinsettia Die Set Die
Distress Inks
Distress Paint
Distress Rock Candy Glitter
Cardstock
Trinity Stamps Matte Gold Pearls
Link for all the Products used HERE!!
If you create something please tag us on Social Media using the Hashtags #thermoweb #decofoil #decofoilflocksheets #cleardesignertonersheets #decofoiltonercardfronts as we LOVE to see what you’re creating!! Also, JOIN us for even more FUN and INSPIRATION on our FB Page: Therm O Web Craft Room!!
THANKS SO MUCH for stopping by today, I hope I’ve INSPIRED you on ways to create some Holiday Cards using the AMAZING Deco Foil Flock Sheets in combination with some of the other Deco Foil Products!! I Hope you have a FABULOUS WEEK!!
Larissa Heskett
Greta H
August 4, 2021 at 12:15 am (3 years ago)I can’t take my eyes off these cards, Larissa! Absolutely love every one! I only have black flock which I’ve never used, but now I NEED colors! Thanks for the wonderful inspiration!
Larissa Heskett
August 7, 2021 at 1:24 pm (3 years ago)THANKS Greta!! Means A LOT!! YES, you NEED Colors for some BEAUTIFUL Holiday Cards!! Hope you’ll share with us what you create!! I can’t wait to see!! Have a FABULOUS Weekend!! ❤️