All this week we’re sharing projects featuring Waffle Flower Crafts Stamps and dies along with our amazing line up of our own products. We think it’s the perfect combination…don’t you? Designer Audrey Pettit has a fun Waffle Flower Bear & Bird Thanks Card Set featuring our Memory Tape runner, 3D Foam Squares and our must have Zots Adhesive Dots! Be sure to enter our giveaways so you’ll have a chance to win some of these must have adhesives & more!
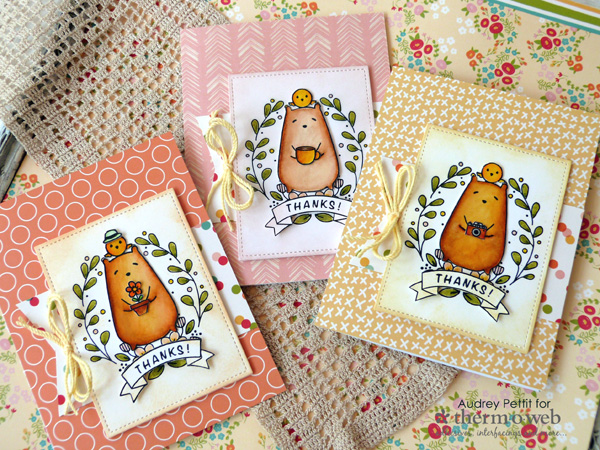
Bear & Bird Thanks Card Set by Designer Audrey Pettit
Therm O Web Supplies:
Gina K. Designs Premium White Cardstock
Gina K.™ Designs Large Rectangles Die Set
Therm O Web XL Memory Tape Runner
Therm O Web 3D Adhesive Squares
Zots™ Clear Adhesive Dots- Small
Patterned Paper: Simple Stories Summer Days Collection
Markers: Zig Clean Color Real Brush Markers
Ink, Ink Blending Tool: Ranger
Twine
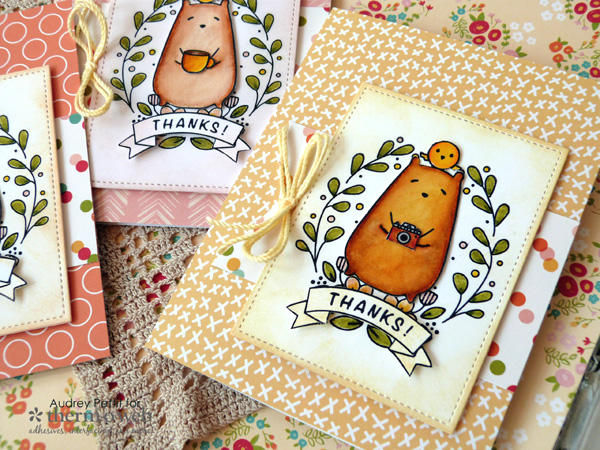
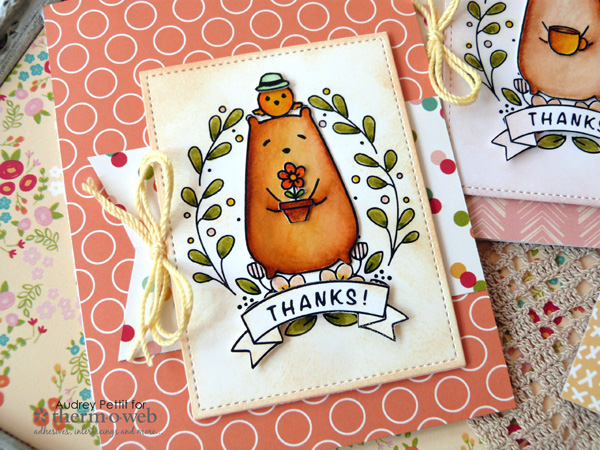
It’s a happy week for us here at Therm O Web, as we are joining forces with our friends at Waffleflower stamps. I have got a trio of fun thank you cards to share, made with the adorable Bear & Bird stamp set and bright summer paper from Simple Stories, all brought together with Therm O Web’s wonderful line-up of cardstock, dies, and adhesives. Let’s take a closer look.
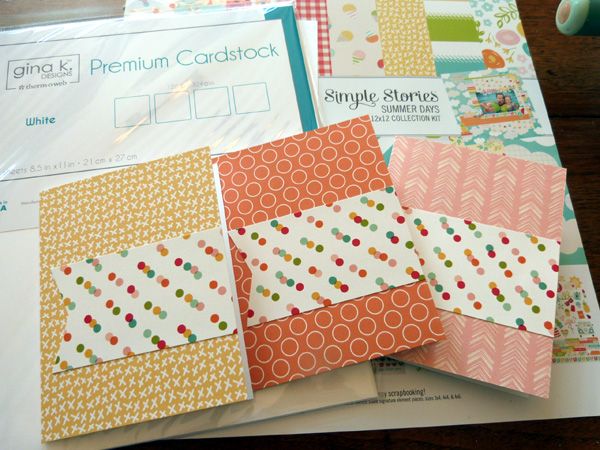
Thanks Card Set Instructions:
To begin, create standard A2 card bases from white Premium Cardstock. Cover the front of the cards with patterned paper using XL Memory Tape Runner.
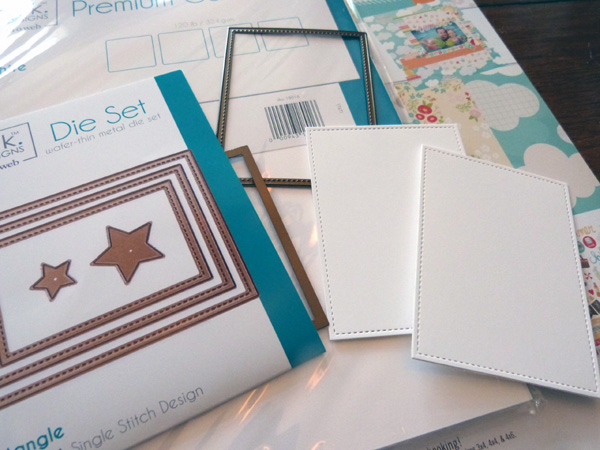
Die cut the largest rectangle shape from the Large Rectangle Die Set from white cardstock.
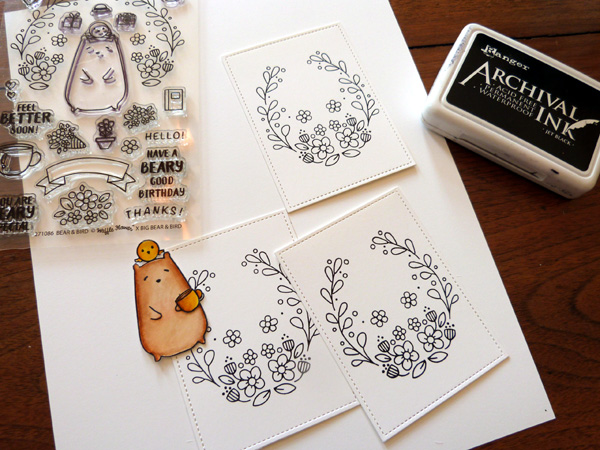
Stamp the right and left branch images onto the die cut rectangles using a waterproof black ink like Ranger Archival ink. Stamp a variety of Bear & Bird images and accessory images onto a scrap piece of white cardstock. Color the images with markers. Fussy cut the bear and bird and accessory images.
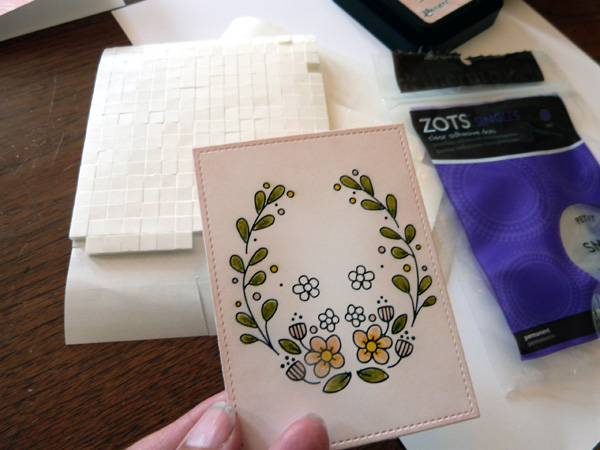
Using an ink blending tool, apply a light coat of ink to the edges of the stamped panels. I coordinated my ink colors with the patterned papers that I chose.
*Note: Some of the branch image will be covered up when you add the bear, so there’s no need to color those sections of the image.TooltipText
Place 3D Adhesive Squares onto the backside of the die cut panels, and then adhere them to the card bases.
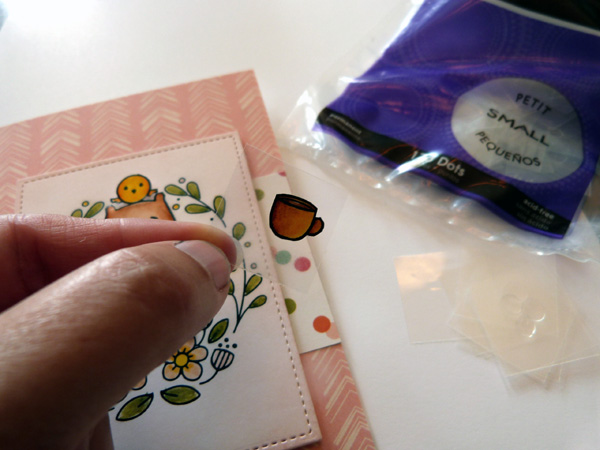
Attach the bear and bird images to the center of the stamped panel using Zots clear adhesive dots. Add the accessory images with Zots dots, too.
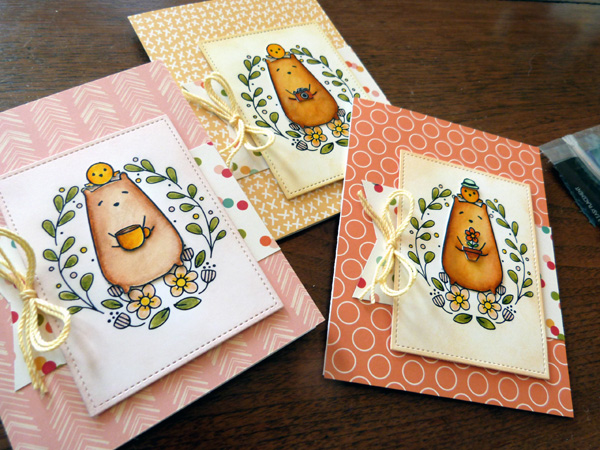
Tie bows with twine and attach them to the sides of the cards with the Zots adhesive dots.
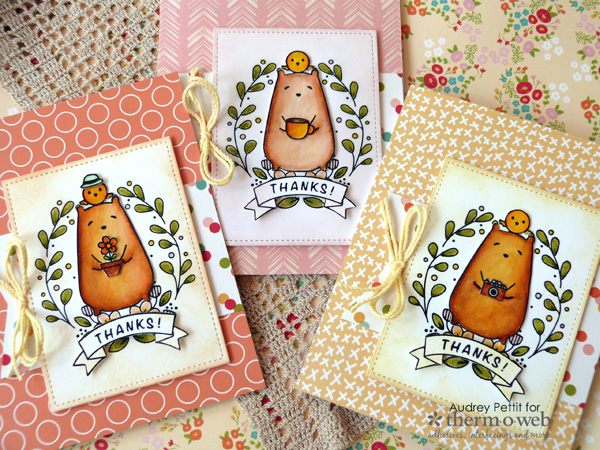
Stamp sentiments and banner images onto white cardstock using the black ink, and then fussy cut the images out. Add a light wash of ink using the ink blending tool, and attach the banners to the bottom of the images using small 3D Adhesive Squares.
Enjoy!
 How would you like a chance to win some our of Deco Foil, Gina K. Designs and other products? We’re giving away a $30 Gift Certificate which means you can select the products you’d like! Simply follow the Rafflecopter steps to enter to win! We’ll pick one random winner next Monday morning! It might be YOU!
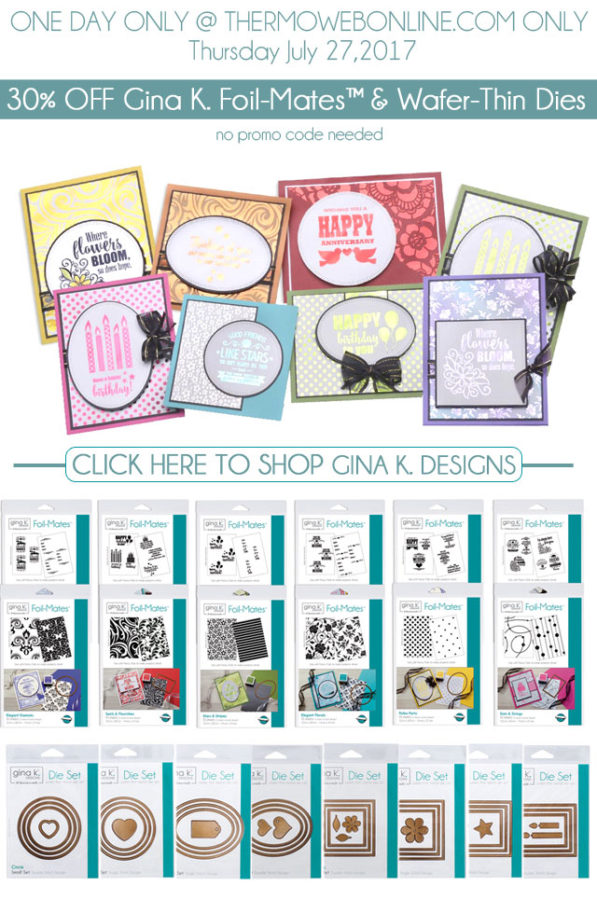
And today only we’re having a Flash Sale on all of our Gina K. Designs Foil-Mates and Dies! That’s right! Today only SAVE 30% OFF ALL Gina K. Designs Foil-Mates and Nested Dies and more! Visit our website to save TODAY! (no code needed)

