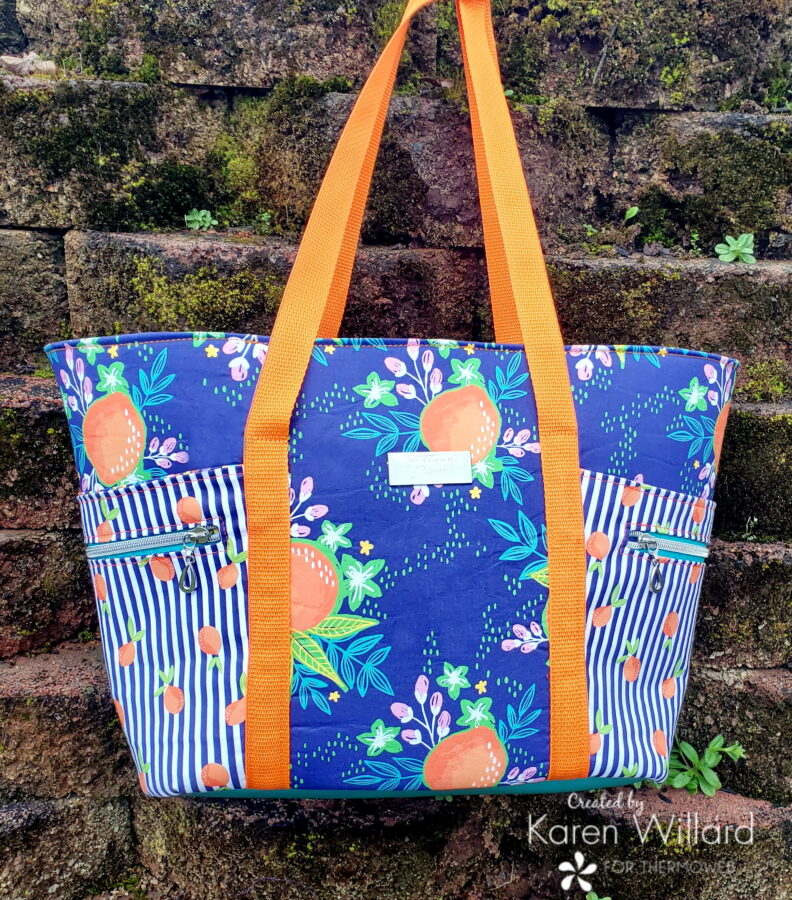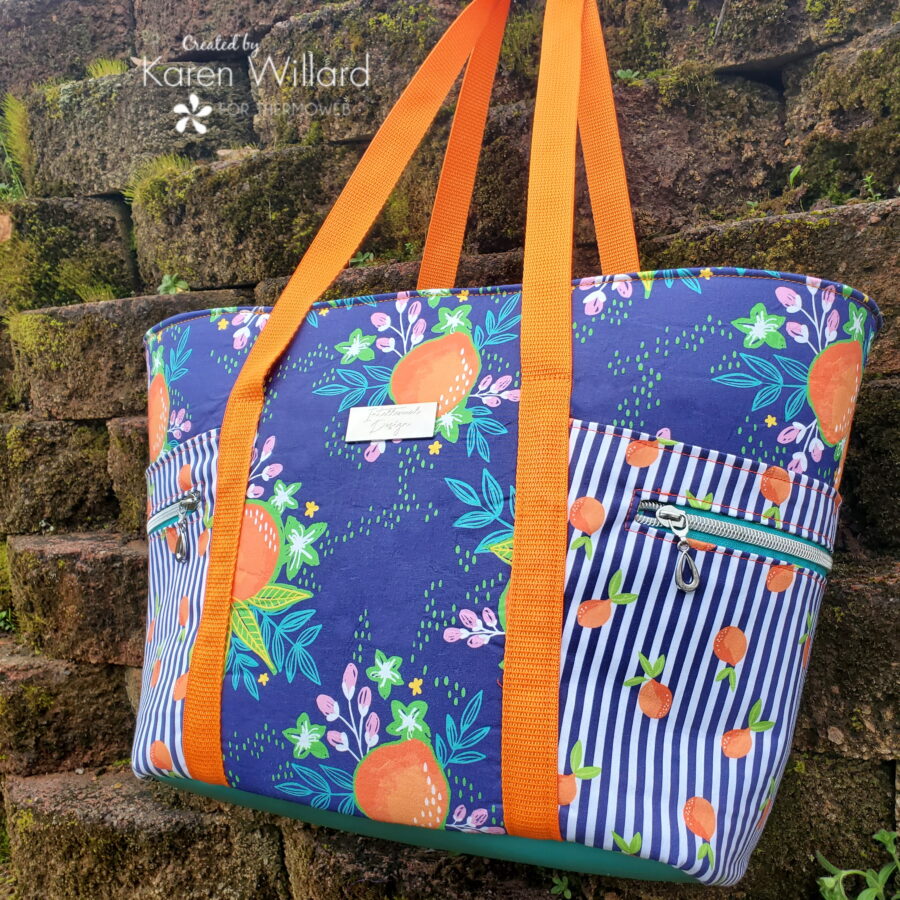
Hello again! It’s Karen from Intellexual Design with a new fun and functional project for your Spring and Summer travels! My family LOVES the beach, and with our first trip of the year fast approaching, I thought a new beach bag was in order. Before I get started, I want to give a very special thank you to Paintbrush Studio Fabric for providing these incredible prints from the Citrus House line designed by Erin Borja for this project.
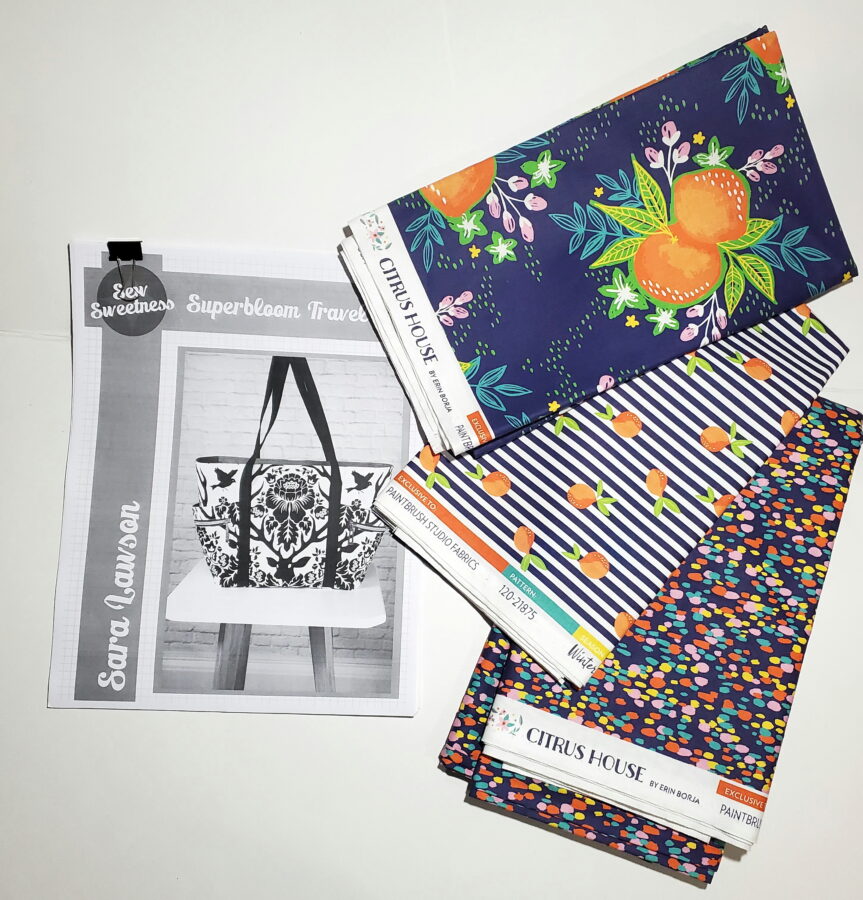
Sewing bags can often be intimidating for newcomers to bag making, so I chose a well-written and relatively easy pattern that yields fabulous results regardless of skill level. We will be making the Superbloom Tote Bag by Sew Sweetness. This is a paid pattern.
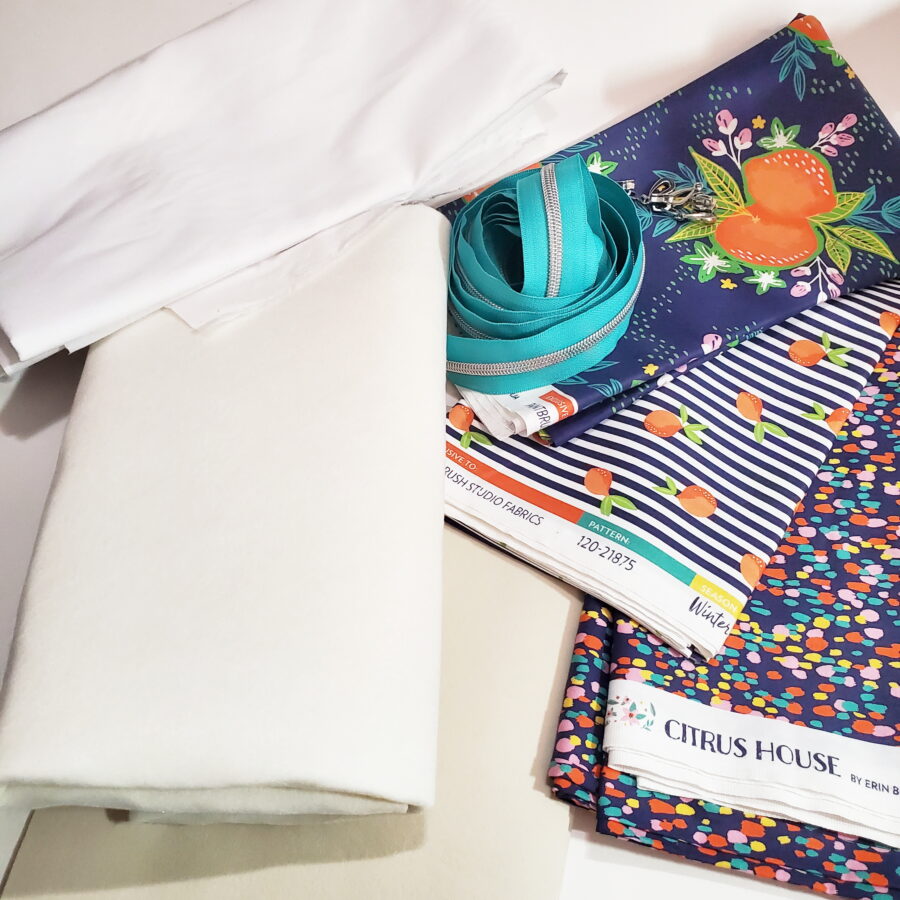
This pattern requires a few materials that may be new to you, but they are pretty easy to locate for this beautiful tote.
¾ Yard of Quilting Cotton Exterior Fabric
1 ½ yard of Quilting Cotton Lining Fabric
4 Yards of HeatNBond Soft Woven Fusible Interfacing
½ Yard Solid Fabric/Waterproof Canvas/Marine Vinyl (exterior bottom)⅔ yard of foam interfacing
(3) 14″ Zippers
(1) 16″ Zipper
¼ yard of Decovil Heavy or Peltex #71 (optional but highly recommended for a polished look and reinforced bottom)
Super Sweet Fruit Beach Bag
Cut the pattern pieces and interface all of your quilting cottons according to the directions outlined in the pattern.
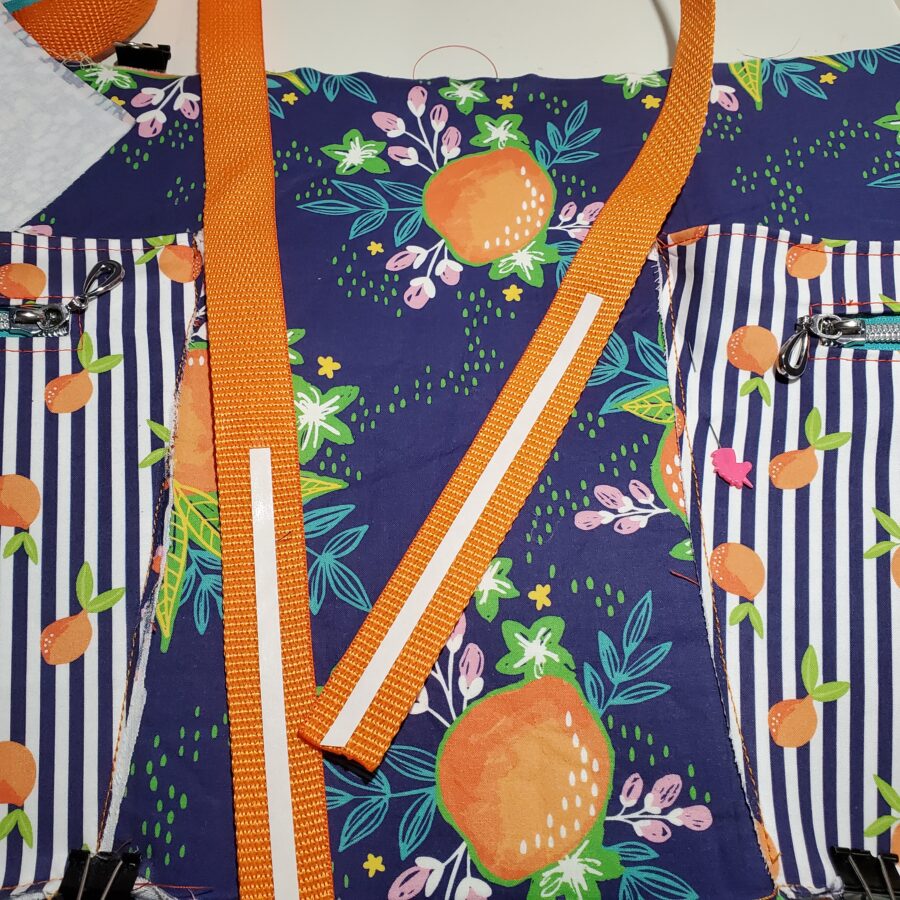
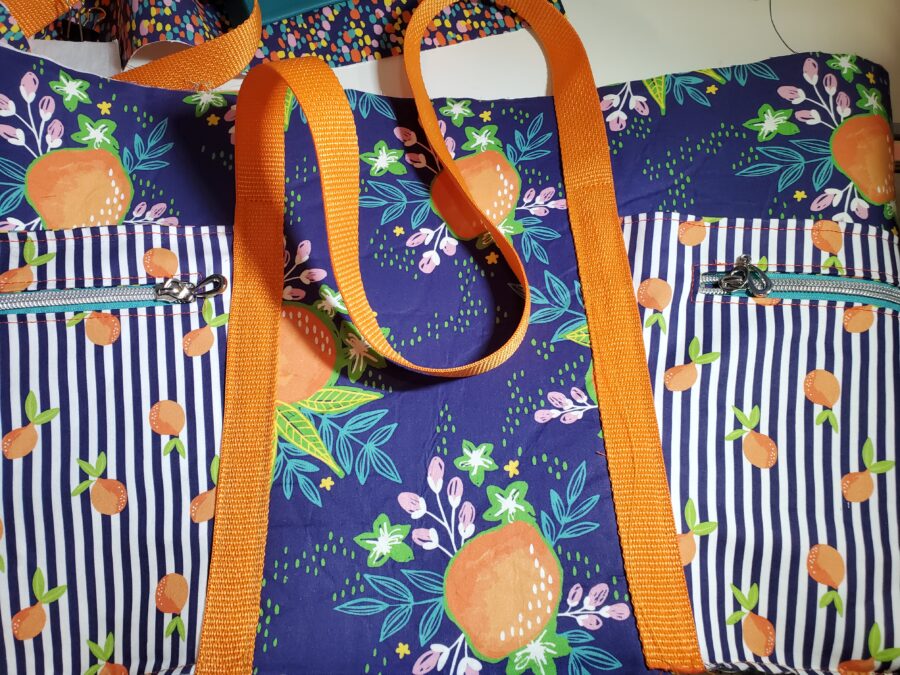
You’ll want to prepare your straps according to the directions. For this, I used a pretty nylon webbing I had on hand that matched so perfectly with this fabric. I cut it at around 49″ per strap which is just a bit shorter than the pattern calls for. The straps extend down the full height of the bag.
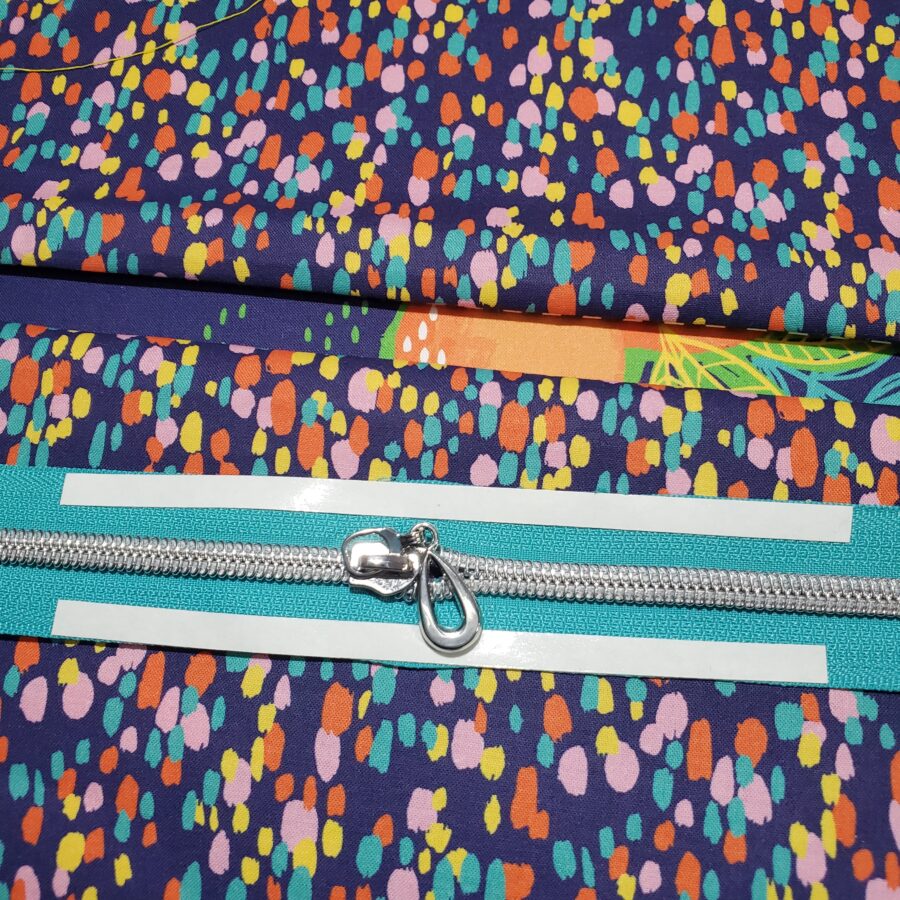
This pattern takes the fear out of installing zipper pockets! I personally like using double-sided tape to keep my zipper still while sewing it to the pocket. 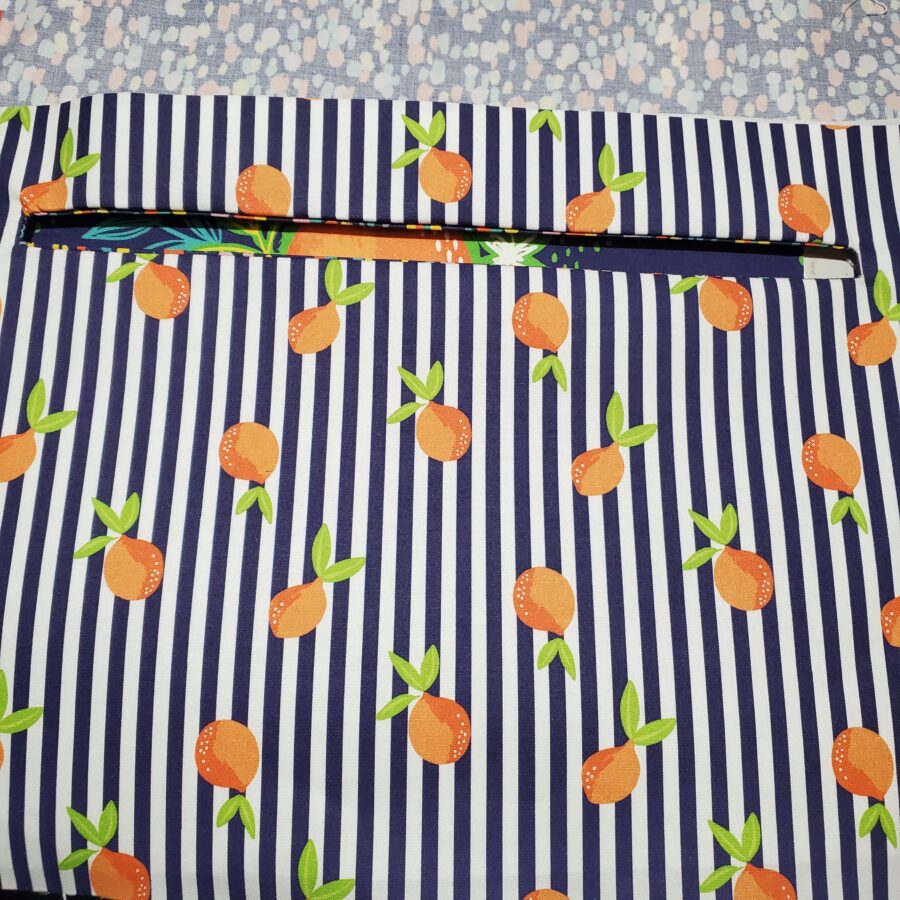
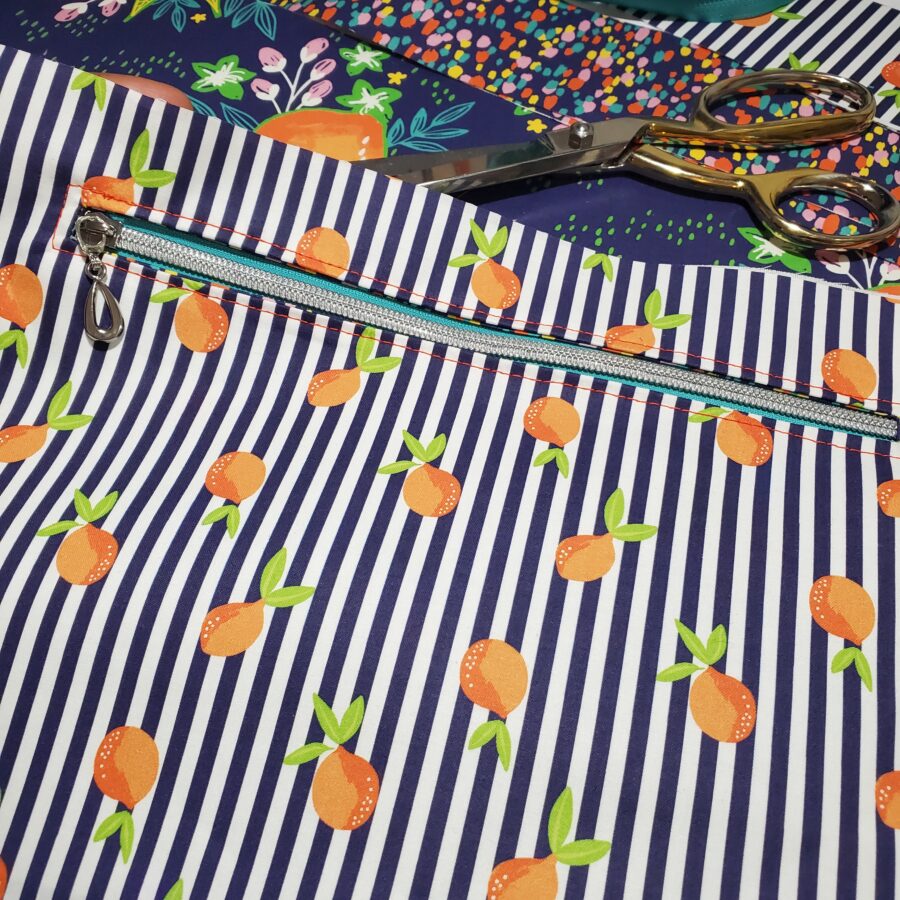
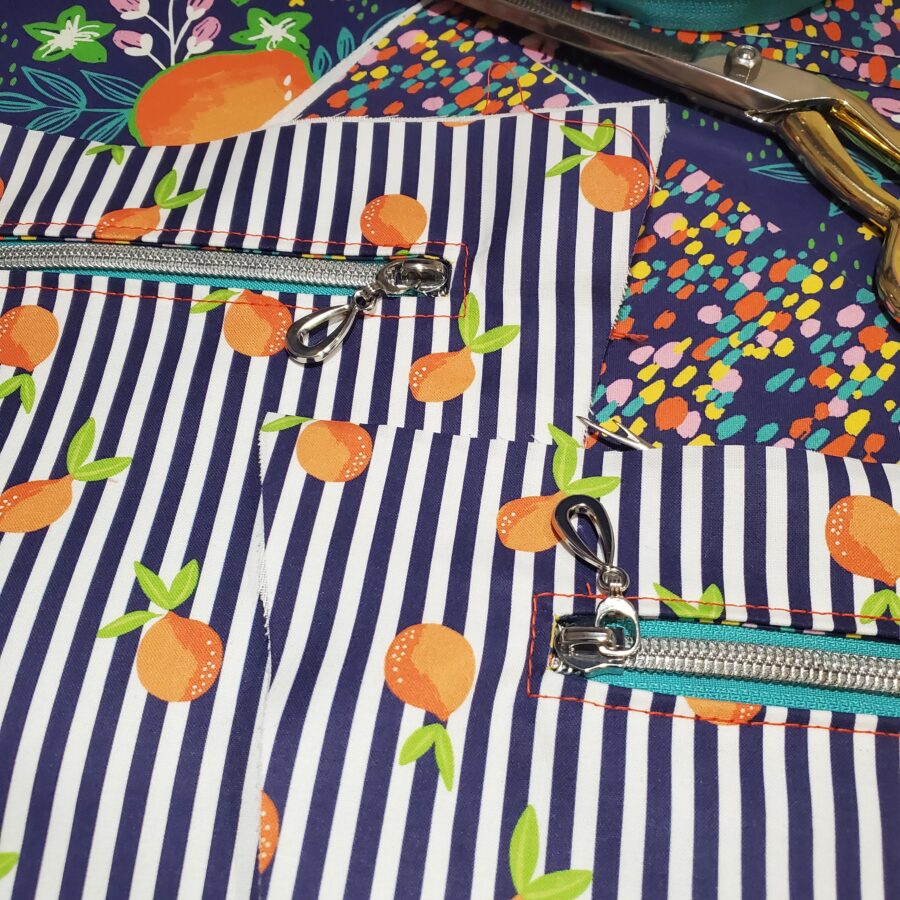
Once you’ve got your pockets completed you’ll be attaching them to the main pattern pieces, and then attaching the straps (another great opportunity for double-sided tape!)
Your zipper panel is constructed a bit differently than your zippier pockets, but Sara of Sew Sweetness explains it beautifully in her pattern 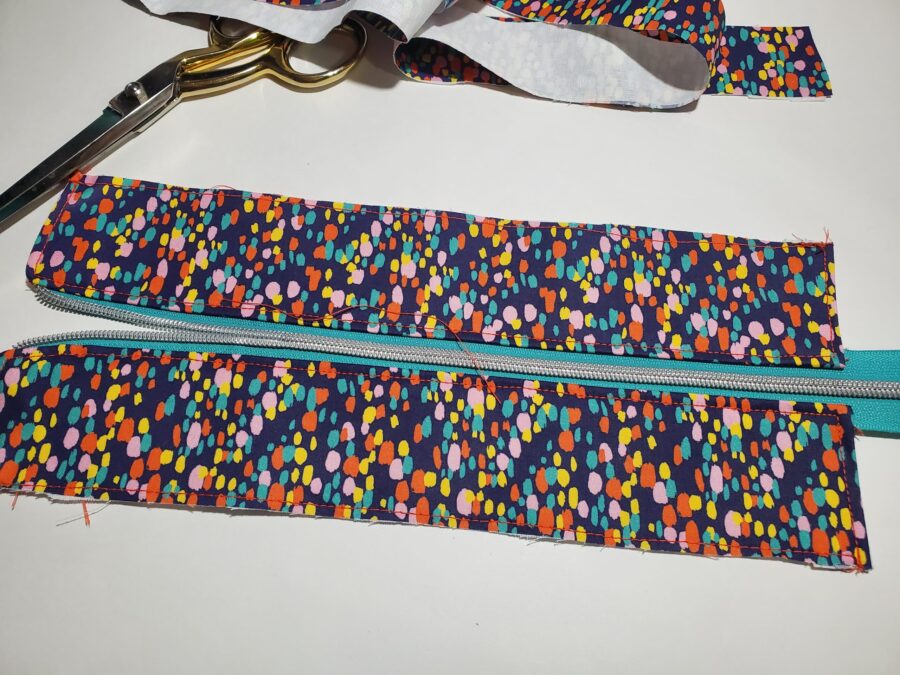
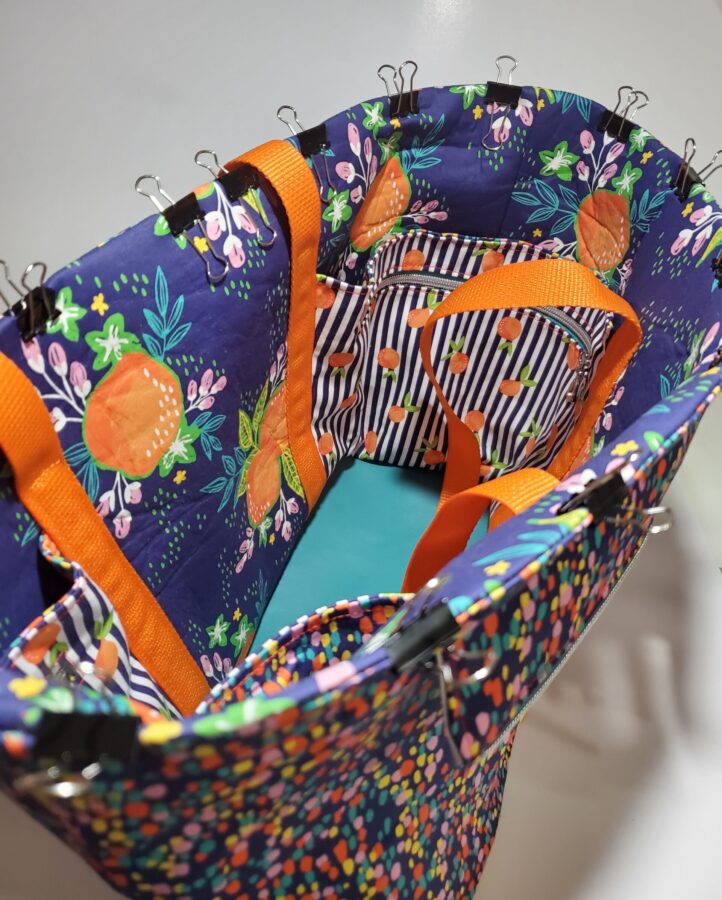
Once you have your exterior bag and lining constructed, I always like to place the lining into the exterior to ensure the lining has a nice snug fit and isn’t baggy. This allows me to go back and stitch more seam allowance around ⅛ to ¼ of an inch at a time if anything looks a little off. 
Now that you’ve ensured your lining is a good fit, open up the lining pocket! You’ll be turning your bag thru this hole. I can’t tell you how many times I have sewn a lining to the exterior only to realize I haven’t unzipped the lining pocket – and out comes the seam ripper. 
Once you have turned your bag, I like to turn the bag inside out and topstitch this way. it’s much less maneuvering under the needle and allows you to get a real clean and even top stitch on your bag. I’m a big fan of binder flips for sewing, as they seem to last a lot longer than the plastic sewing clips.
Now turn that bag right side out, sew your lining pocket closed and load up all of your goodies for a day at the beach!
I hope you enjoy your day at the beach – and your new bag!