


 Hello and welcome!
It’s Julia from Inflorescence Designs! This week is all about gifts for her and that includes little girls as well!
Little Basket Apron with Fusible Interfacing

Beginner Sewing Pattern

Supplies:
- 1 18″ square front piece: Timeless Treasures Rainbow Unicorn Cats
- 1 18″ square back piece: Timeless Treasures Cats Bright Paw Prints
- 1 18″ square HeatnBond Medium Weight Tricot Fusible (I used black to coordinate with my darker fabric choices).
- 2 32″ x 41/2″ fabric for waistband (I used Kona Cotton Black)
- 3 3 1/2″ x 20″ HeatnBond Medium Weight Tricot Fusible for the waistband
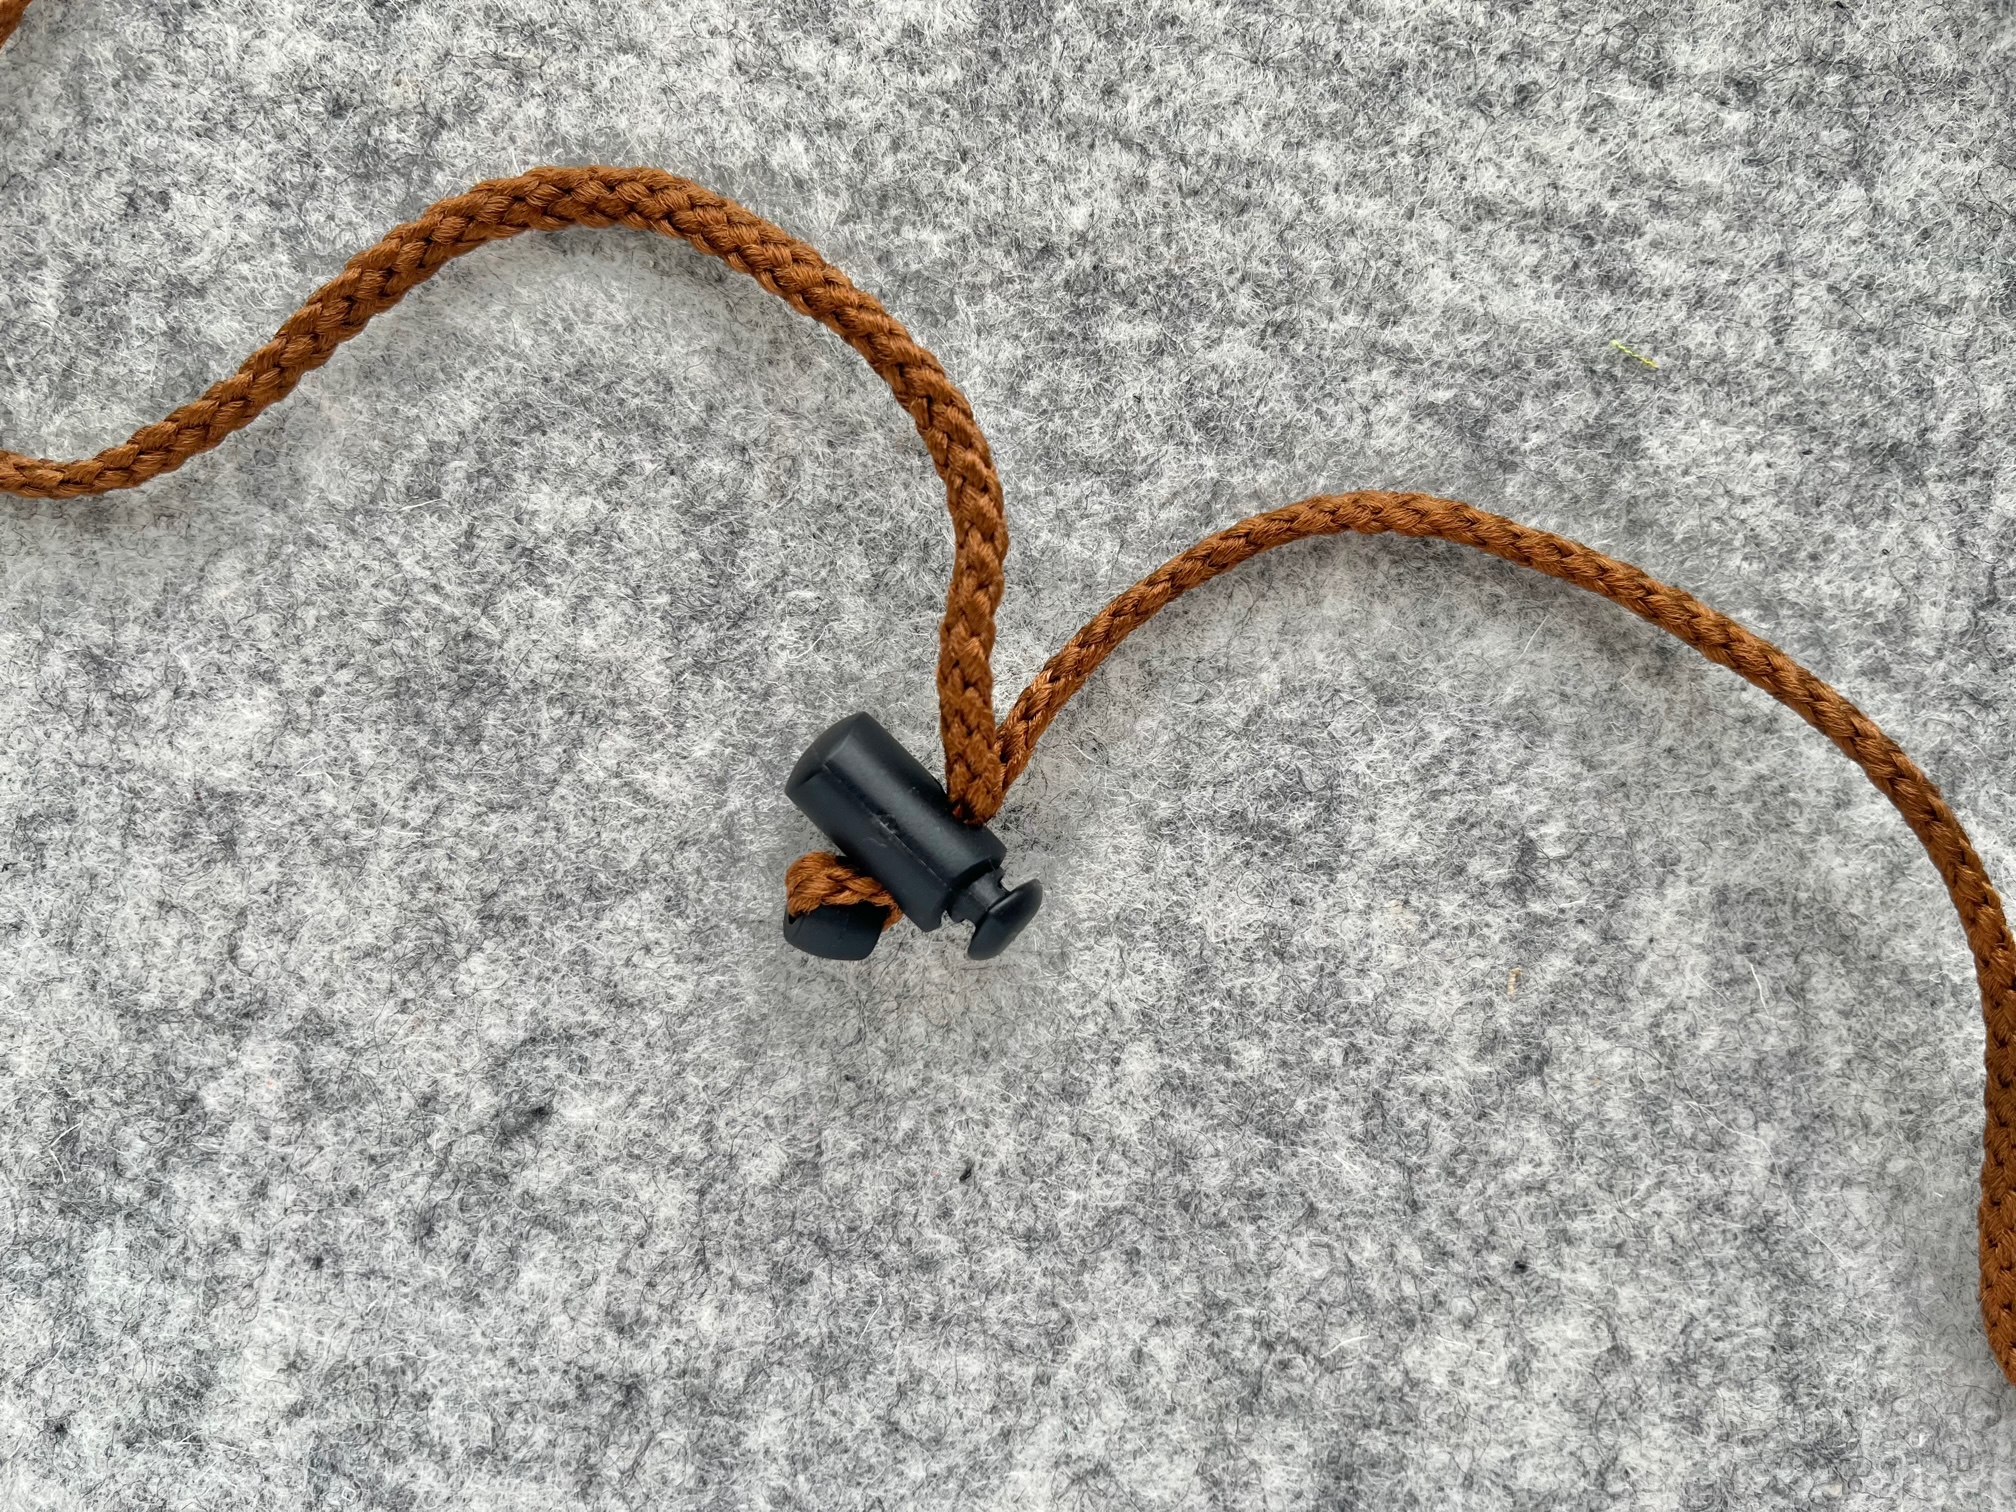
- Jacket Toggle
- Button (mine is a homemade resin button)
- 42″ of sturdy string: examples include paracord or something similar that your toggle will fit on.
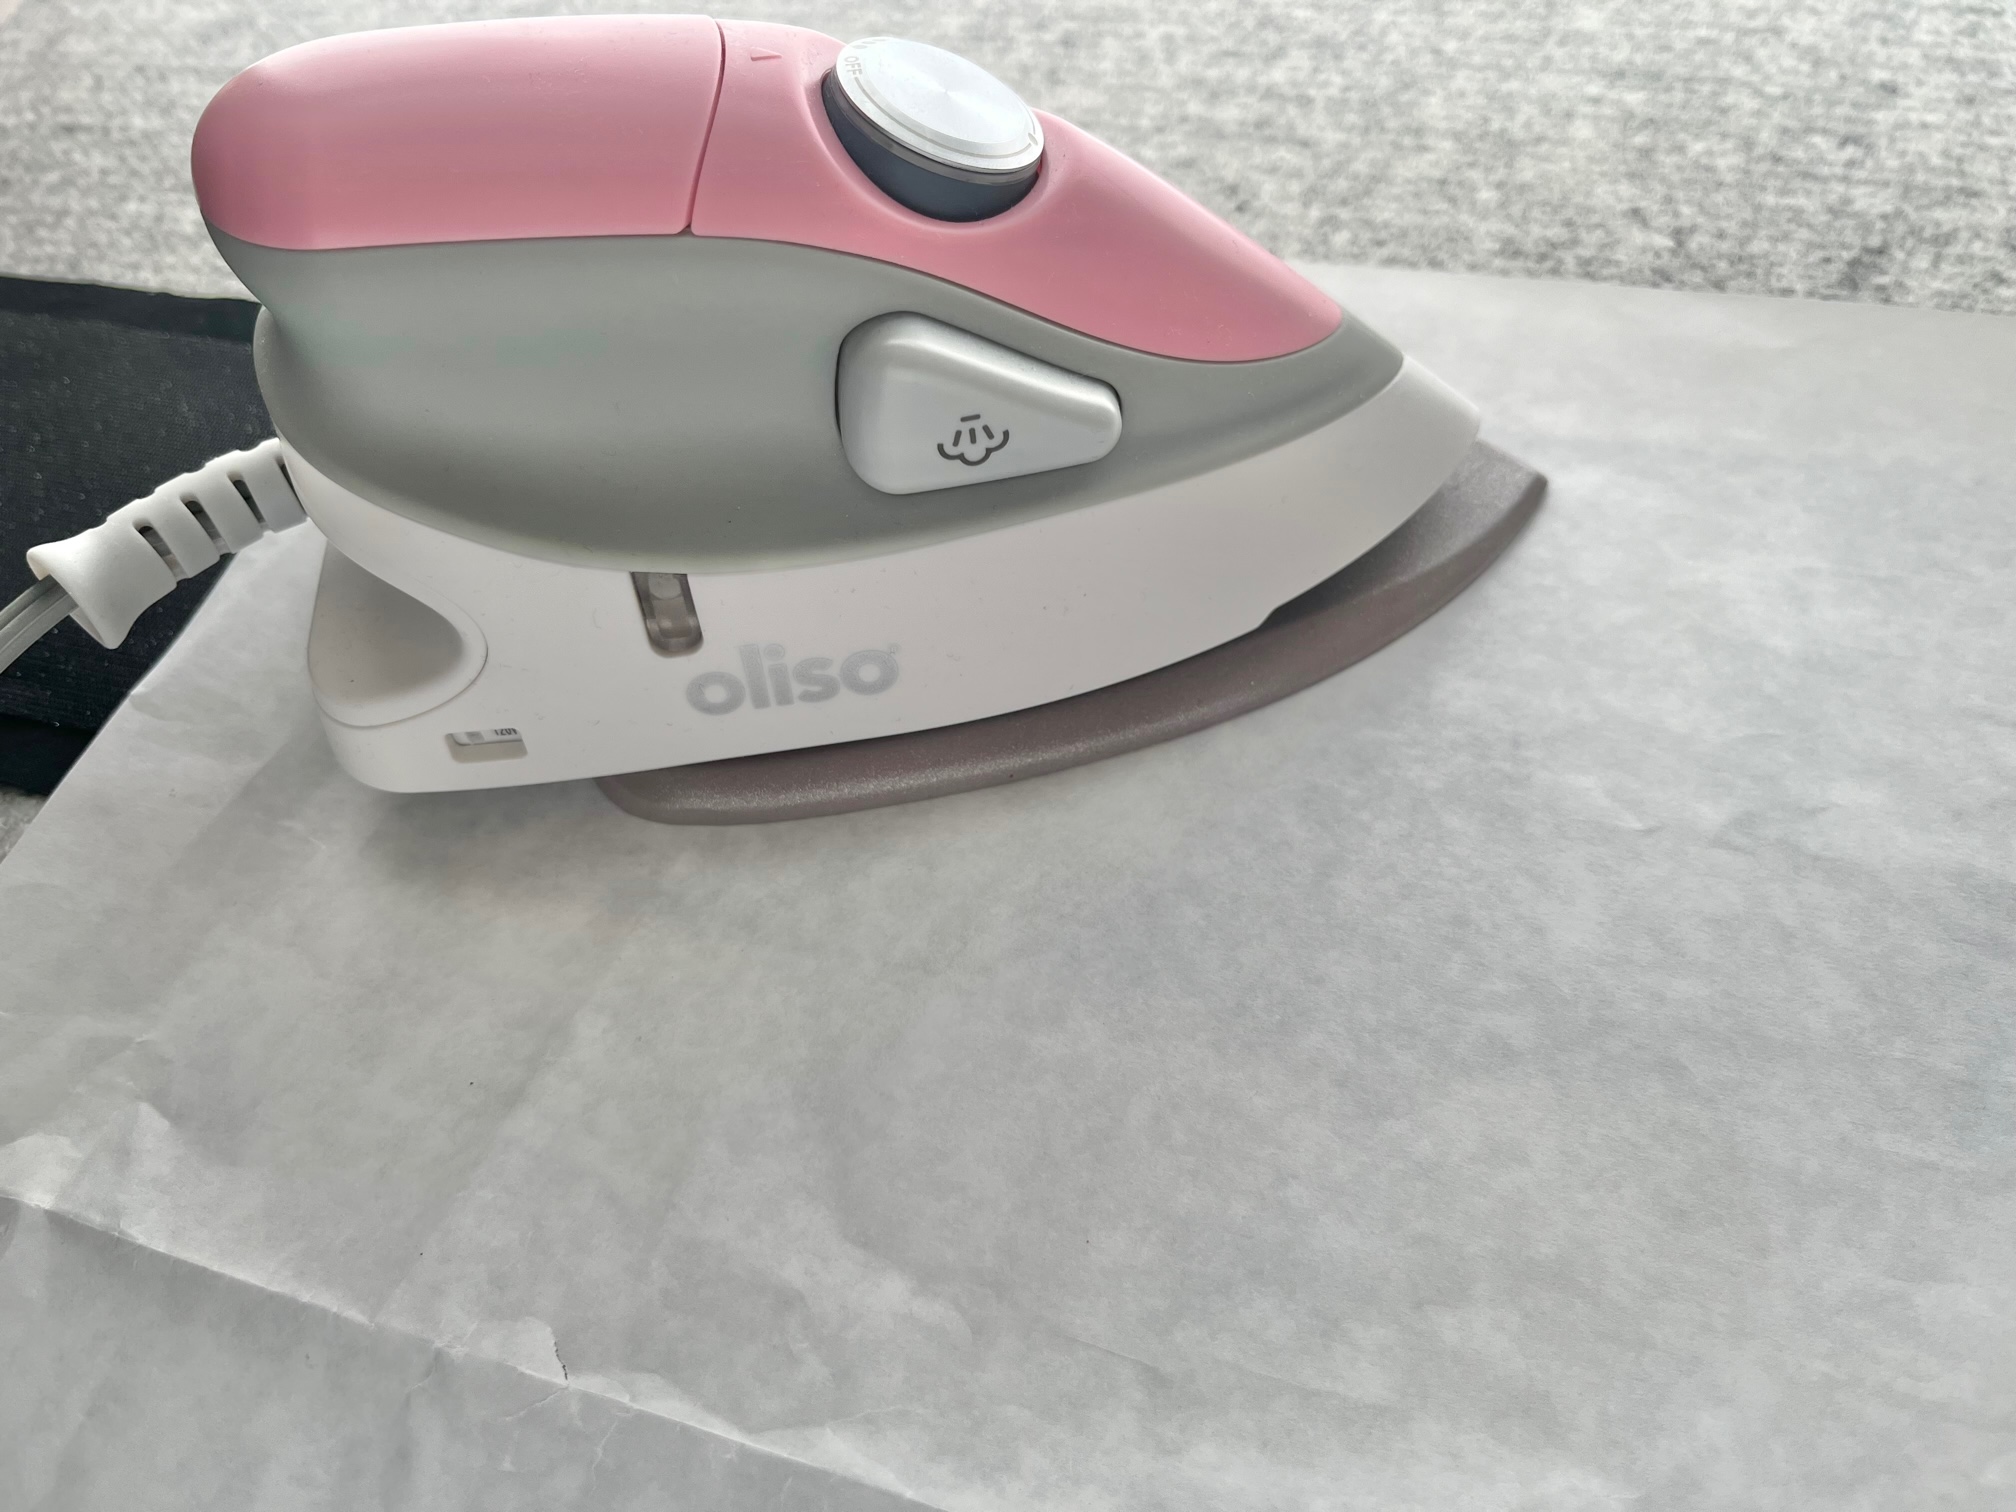
- Oliso Iron Mini
- HeatnBond Pressing Paper
- Something round, like a dinner plate
- Basic sewing notions
Sewing Instructions:
Begin by…
Cutting out all your pattern pieces. Fuse the 18″ interfacing to one of your 18″ fabric squares. I suggest using pressing paper when adhering to the interfacing. However, with your 18″ fabric, you can also just press the fabric side to adhere to the interfacing since they are the same size.
Important Tip: HeatnBond Medium Weight Tricot Fusible has a grainline and is meant to be cut respective to the grainline of the fabric. This product has two-way stretch which is meant for knits but can also be used with woven fabrics. It will only stretch as much as the fabric it is fused to.


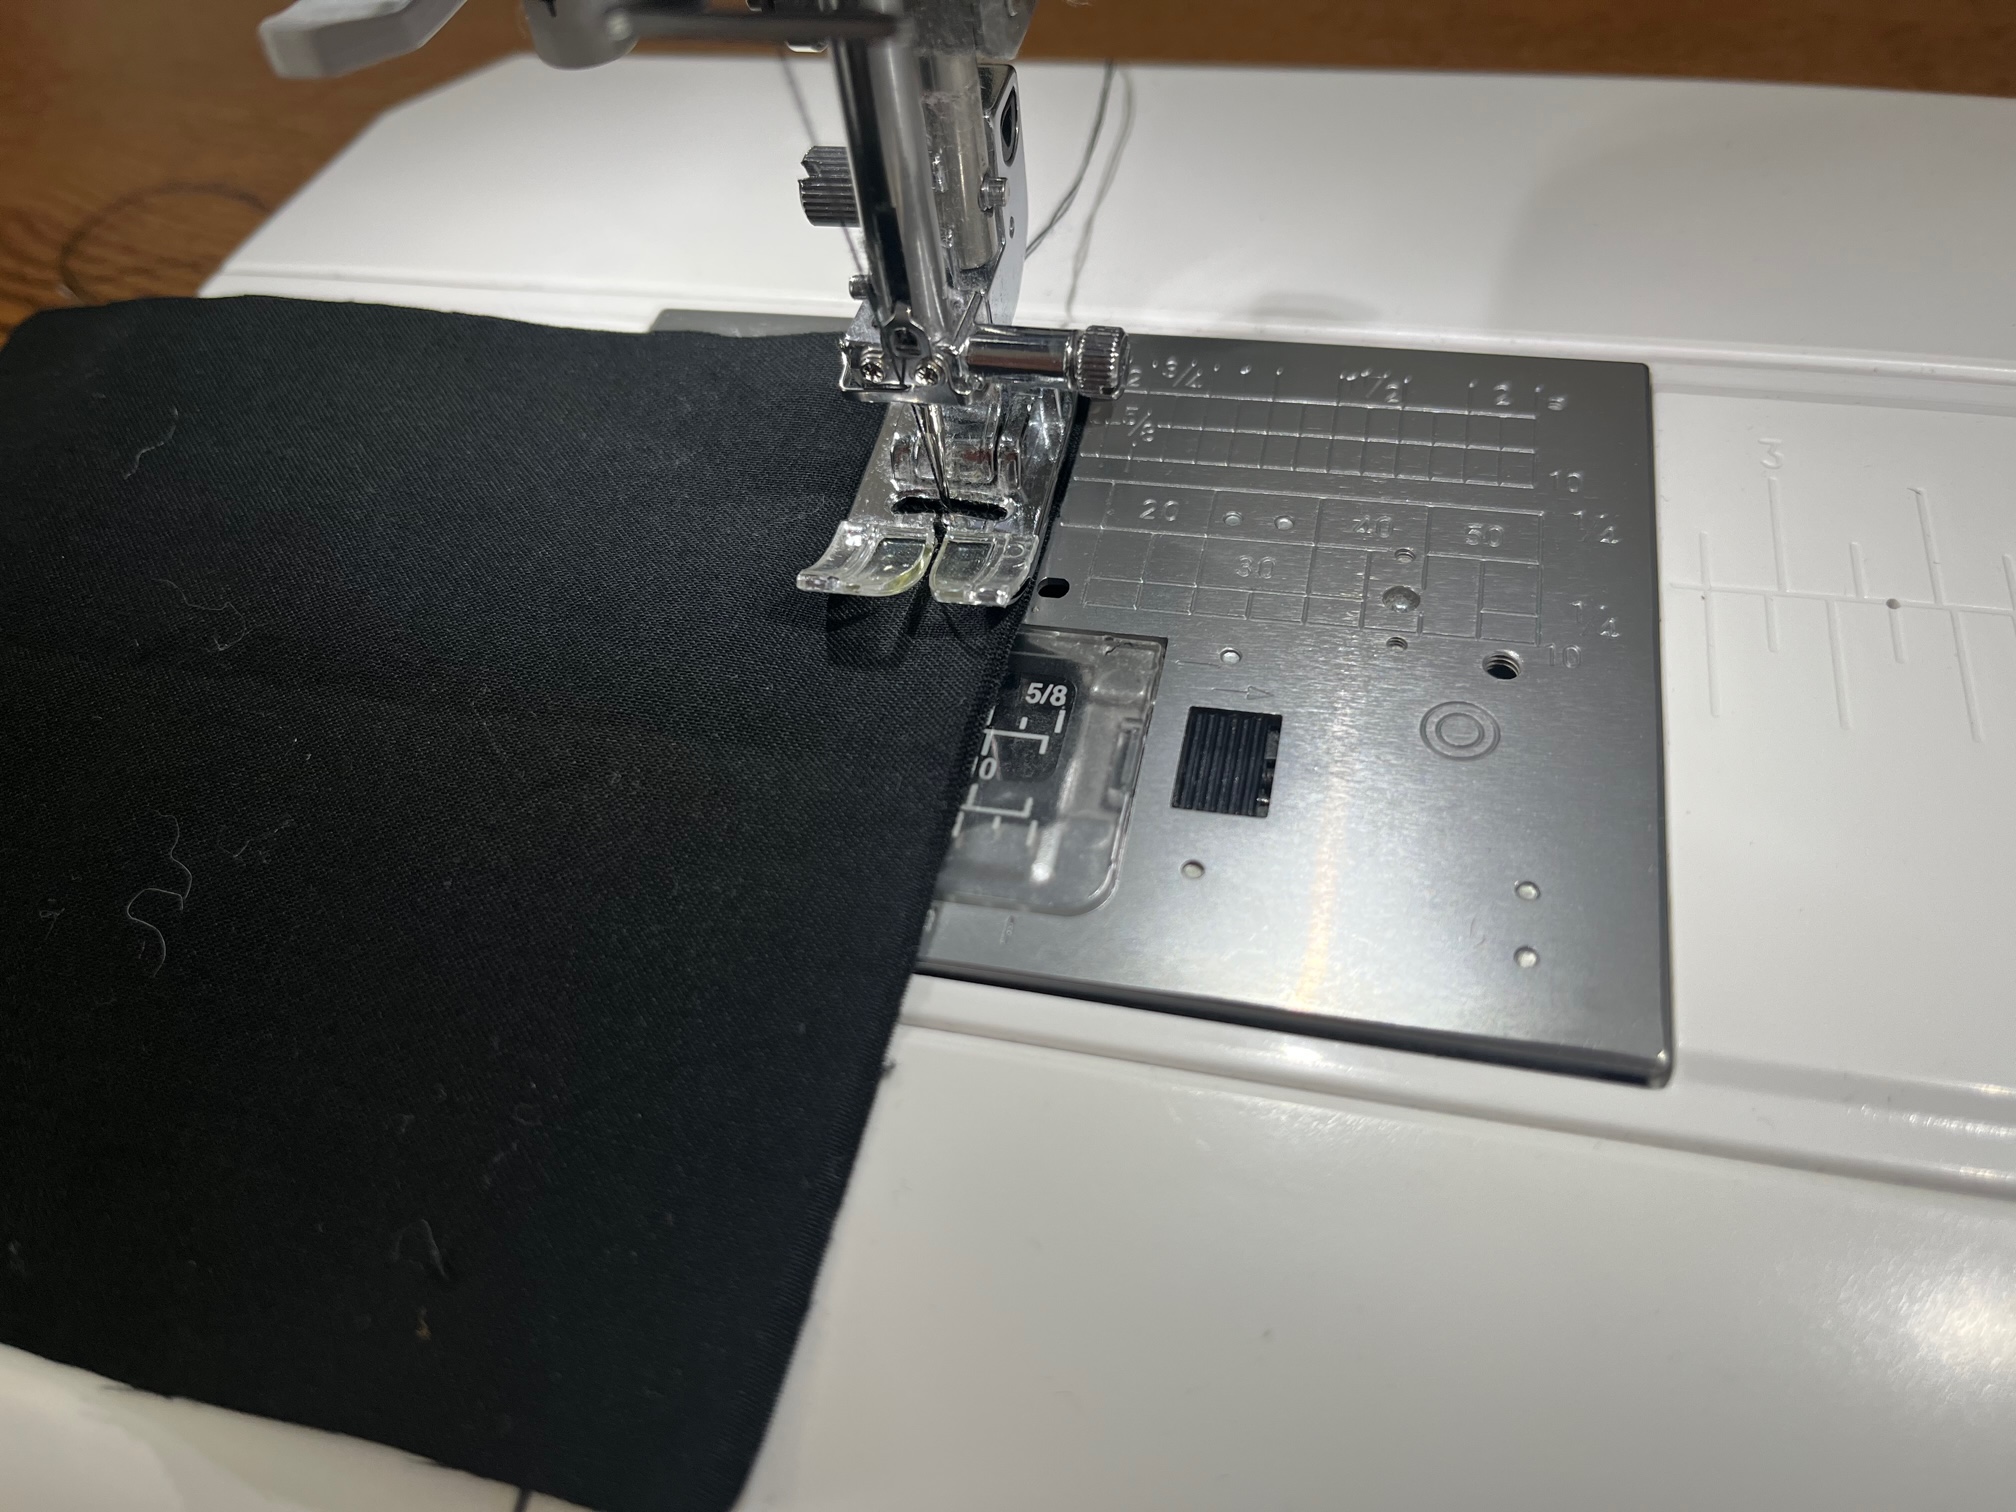
Next…
Sew the short end of your waistband together. I used a 3/8″ seam. Then, find the center of one of your interfacing waistband strips and place the center of that strip on the seam of your waistband. The interfacing is 1″ smaller than your waistband. Leave a 1/2″ on both the top and the bottom of your waistband. For this next step, pressing paper is a must. Adhere the interfacing to your waistband starting with the middle piece, then add an additional strip to either side. You will have approximately 2″ on each end not covered in interfacing. When finished with this step, set your waistband aside.

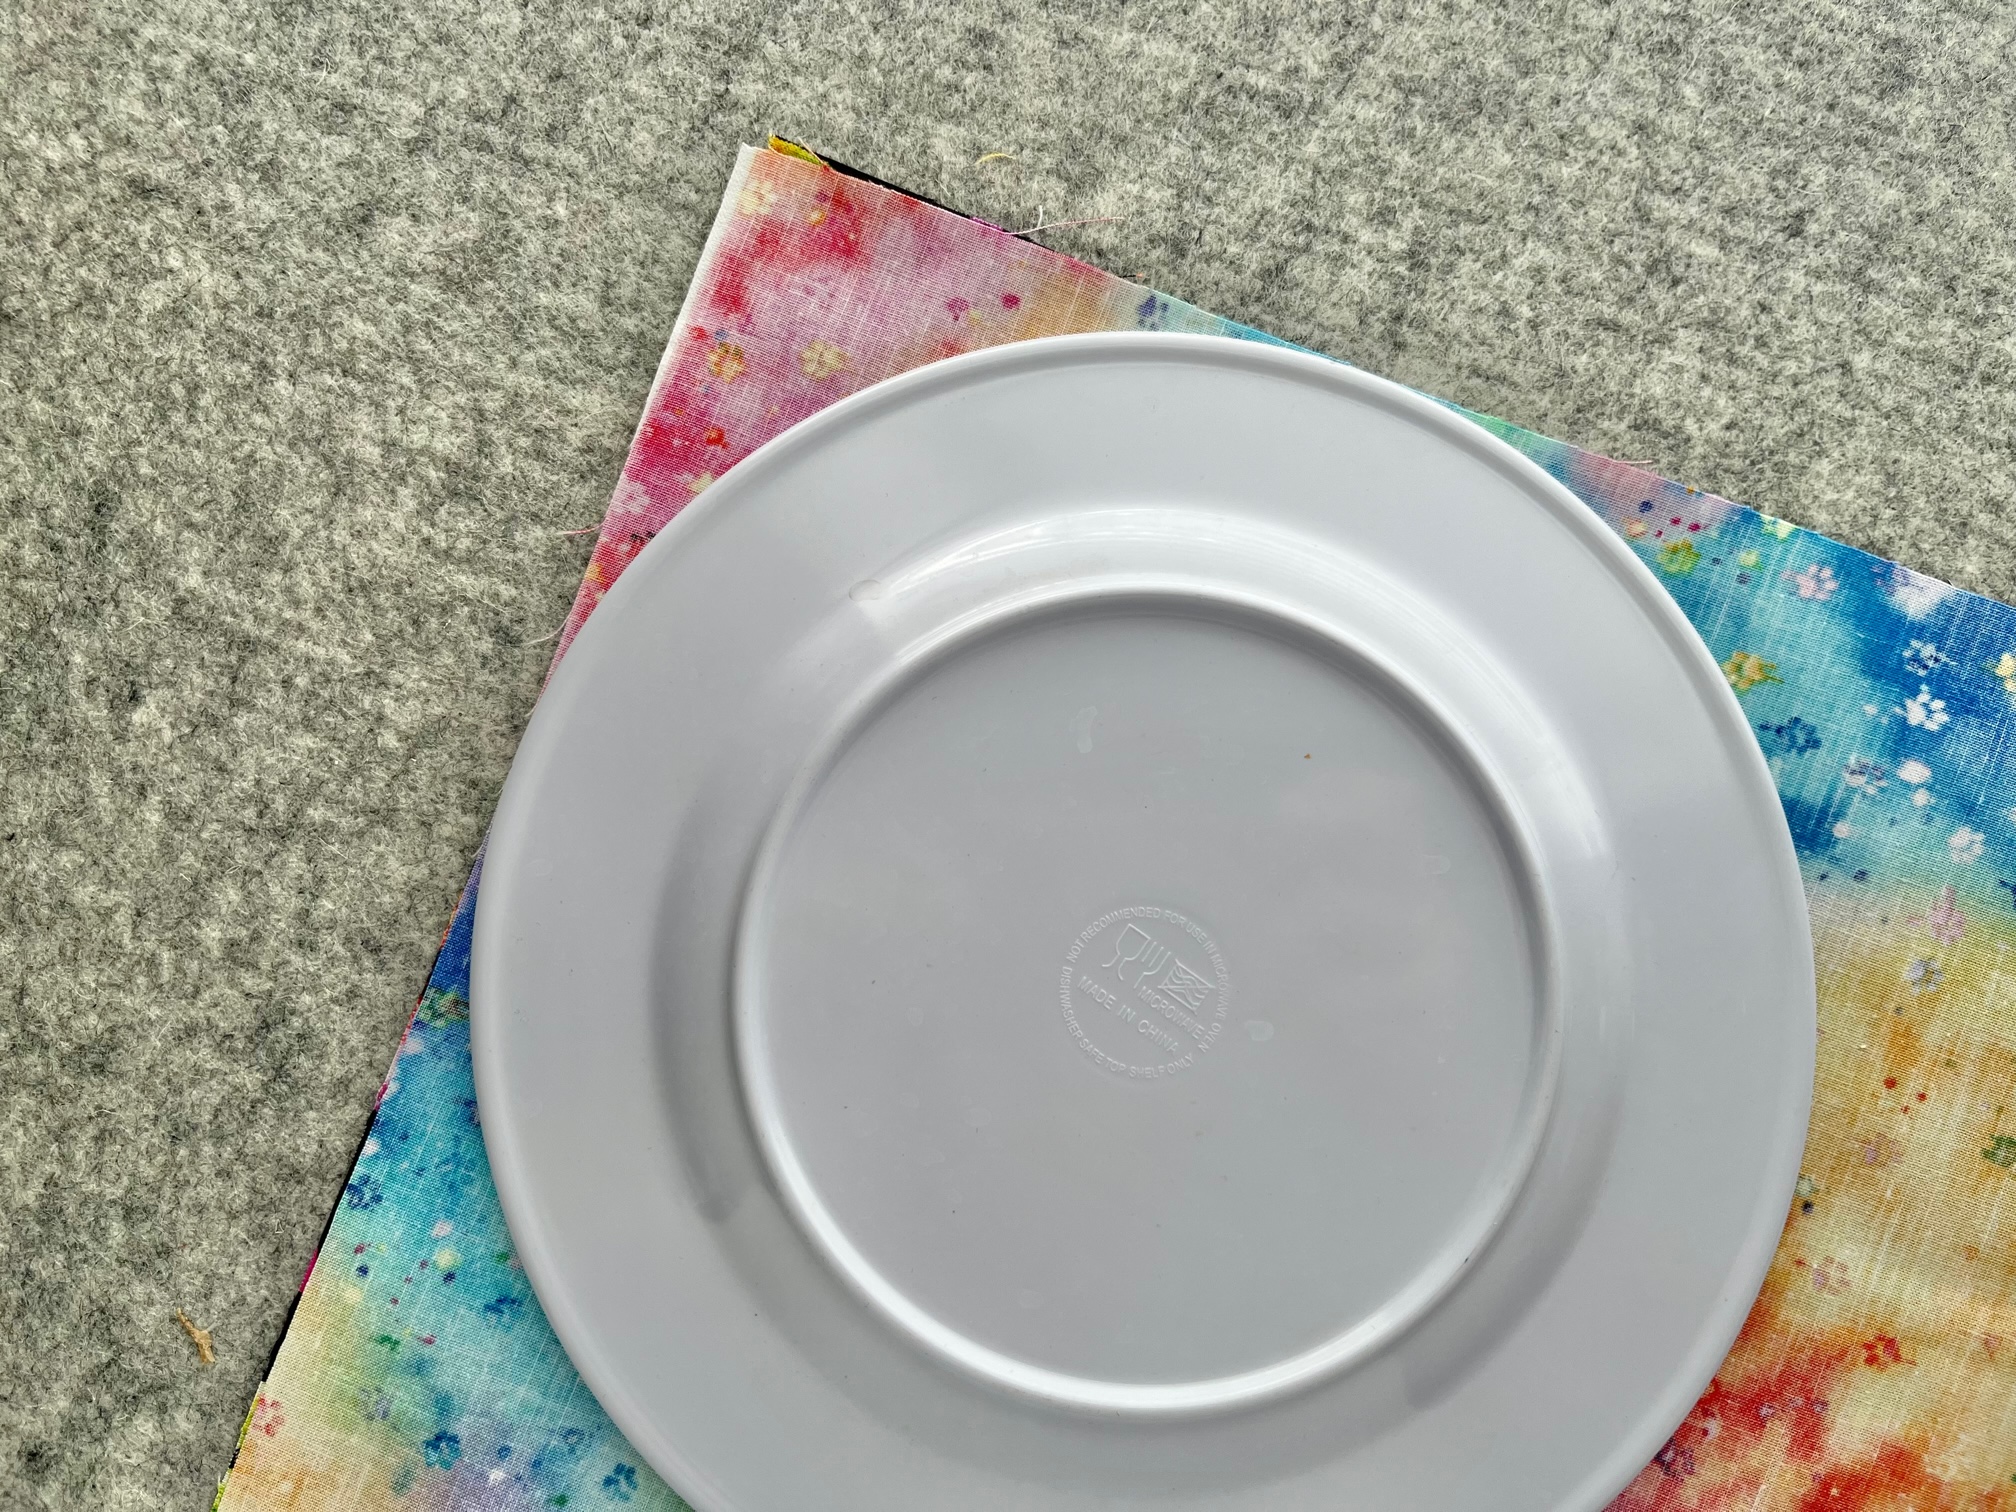
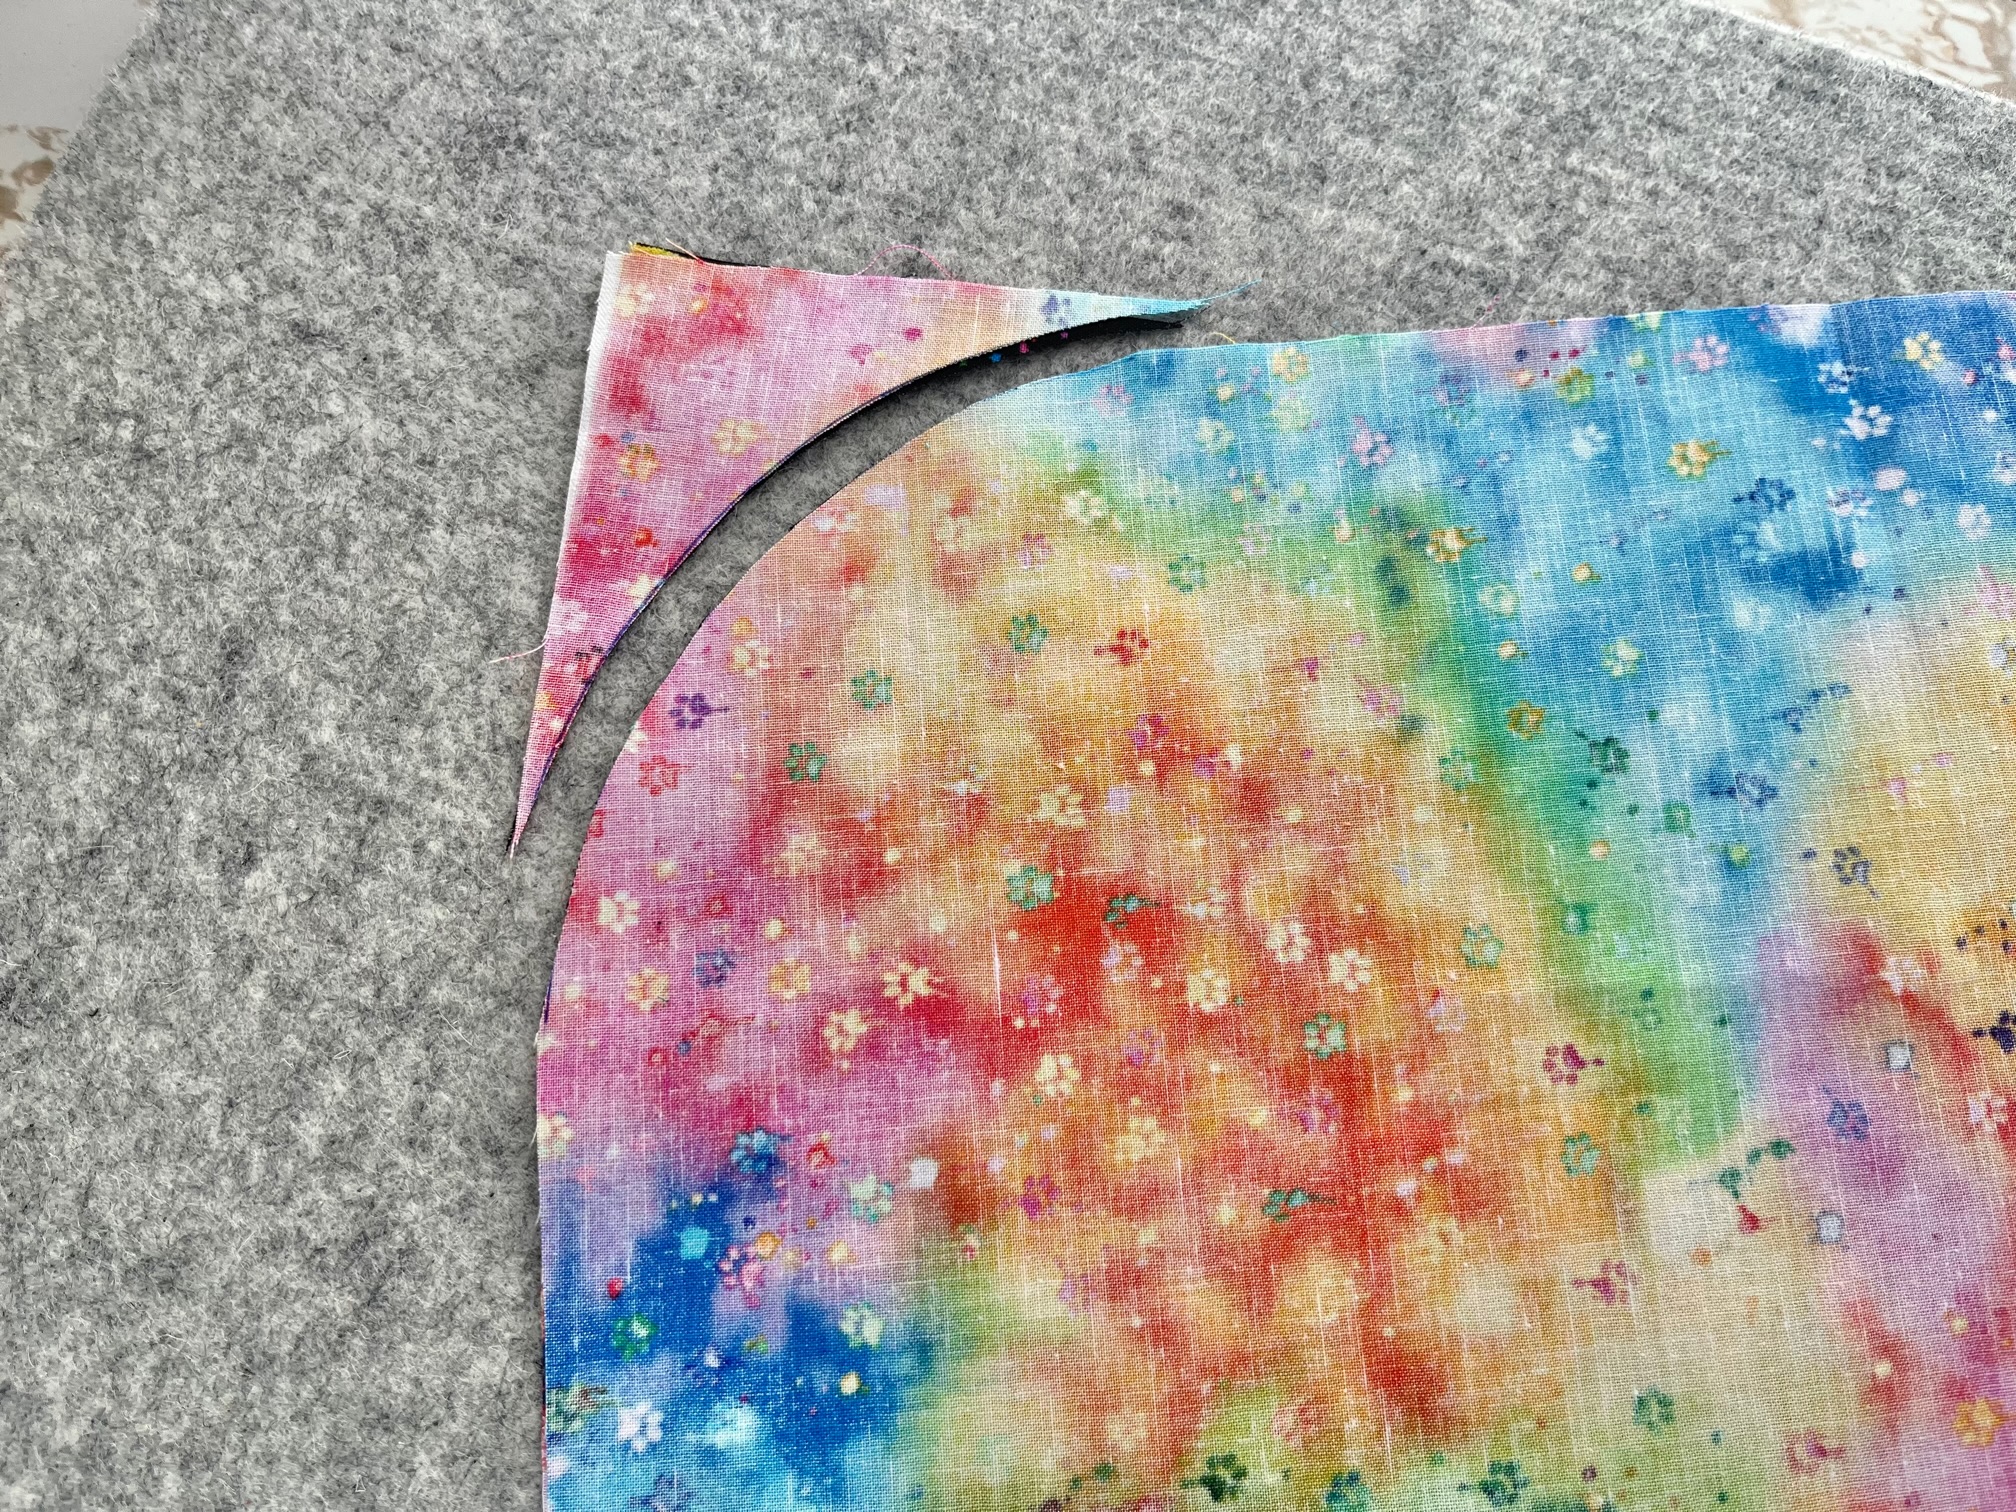
Next…
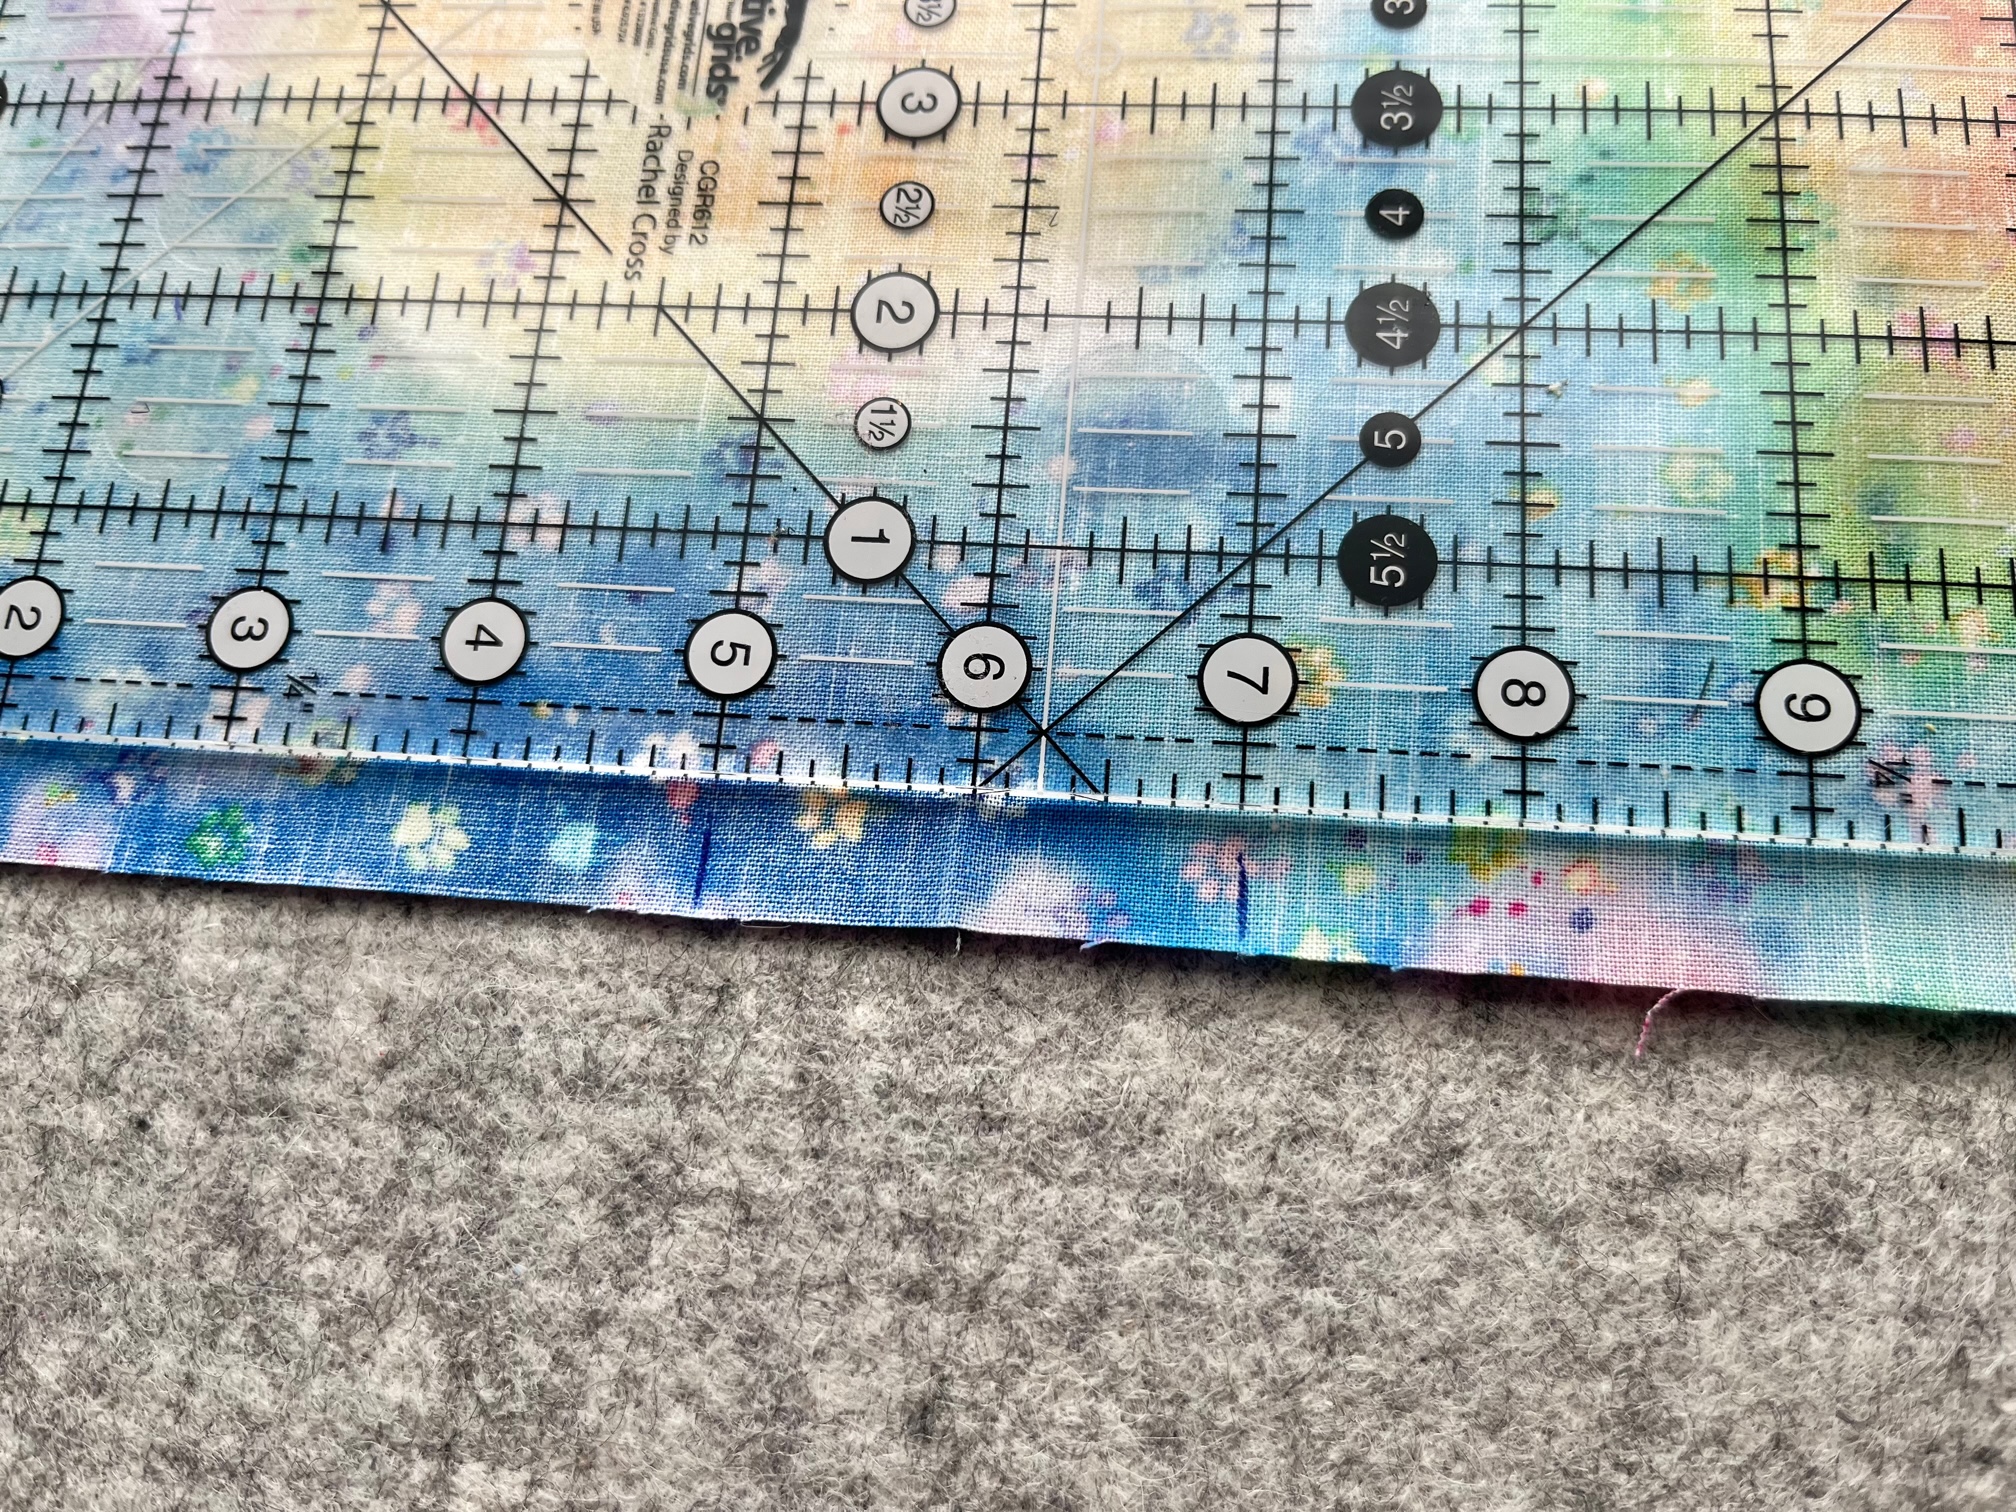
Layer your apron front and back right sides together. Using your round object, round 2 of the corners. The two rounded corners will be the bottom of the apron.
Continue by…
Finding the center of the apron. Measure 1″ away on each side of the center point on the bottom of the apron and mark. Next, sew a 1/2″ seam starting at each point you marked. Make sure to leave the area between the two points unsewn.
The next step is a little tricky to explain. Check out the video below to help. You will need to stitch around the opening on the bottom to enclose your raw edges. Open up your apron and finger press your opening seams. Then, go to your sewing machine and stitch around the opening making sure to reinforce the short edges.
Next…
Turn the apron right side out and press. Sew around the edge as close as you can, starting at the opening on both sides. Make sure to leave the hole open. Then measure 1″ away from that sewn line and sew all the way around, starting at the top raw edge of the apron and stopping on the other side.

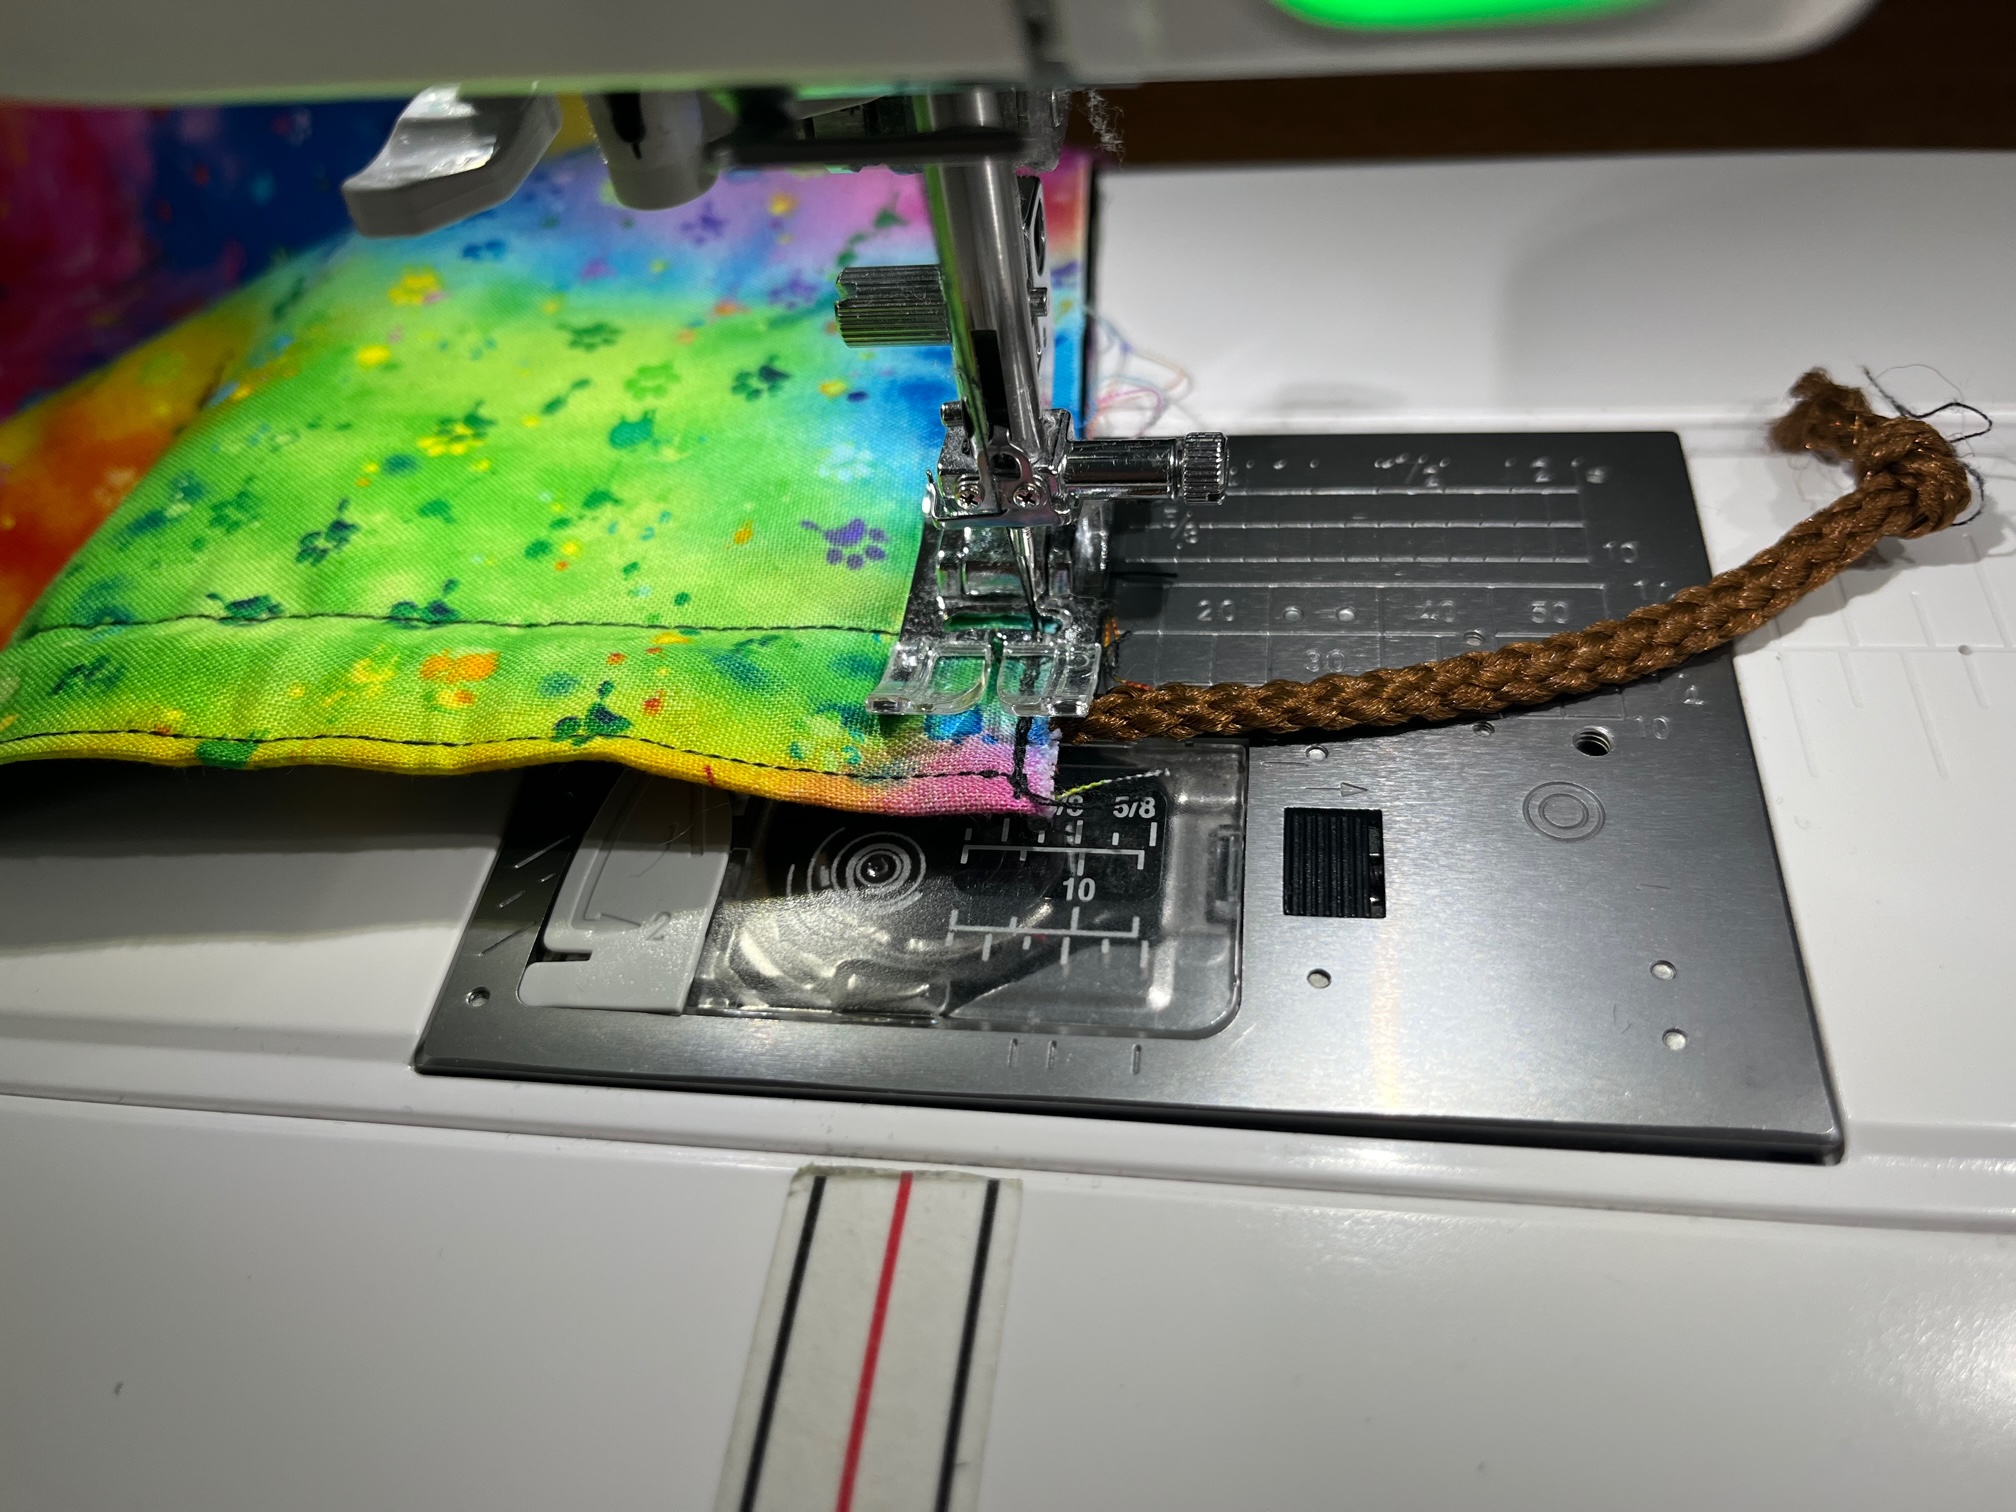
It’s now time to add our cording. Attach your toggle by threading the bead onto your cording first, then assist both ends of your cording through the toggle. Once your toggle is on, work the cording through the bottom opening and up on each side. Then when your cording is through the casing on each side, smooth out your apron. Finally, sew reinforcement stitches over both ends of the cording at the top of the apron as close to the edge as you can. Trim the excess cording.

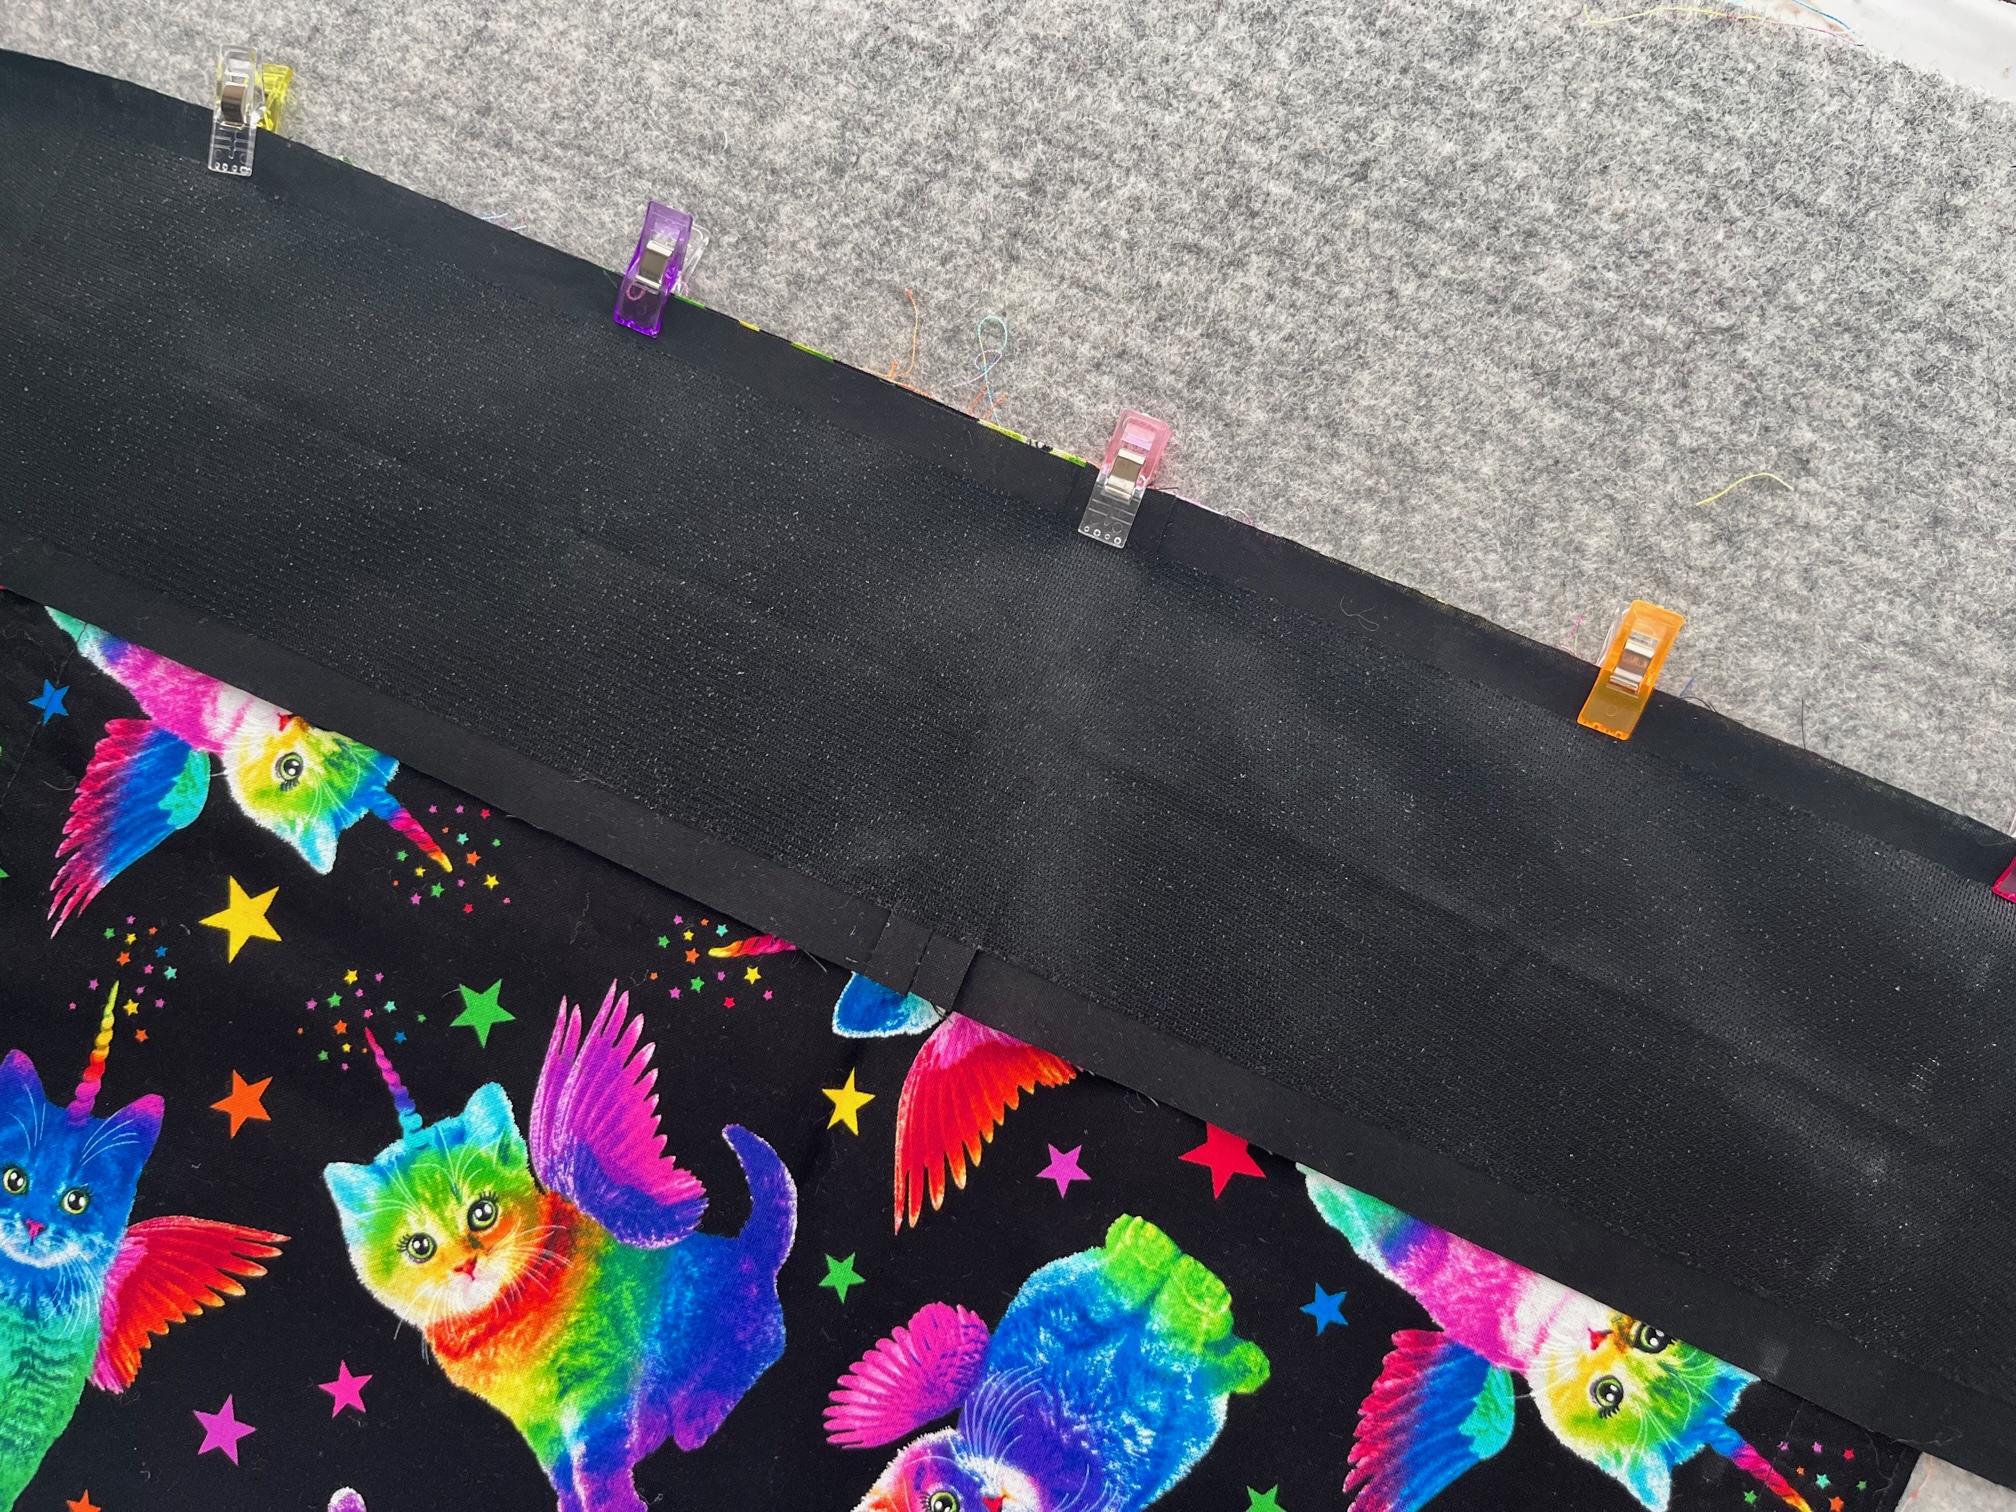
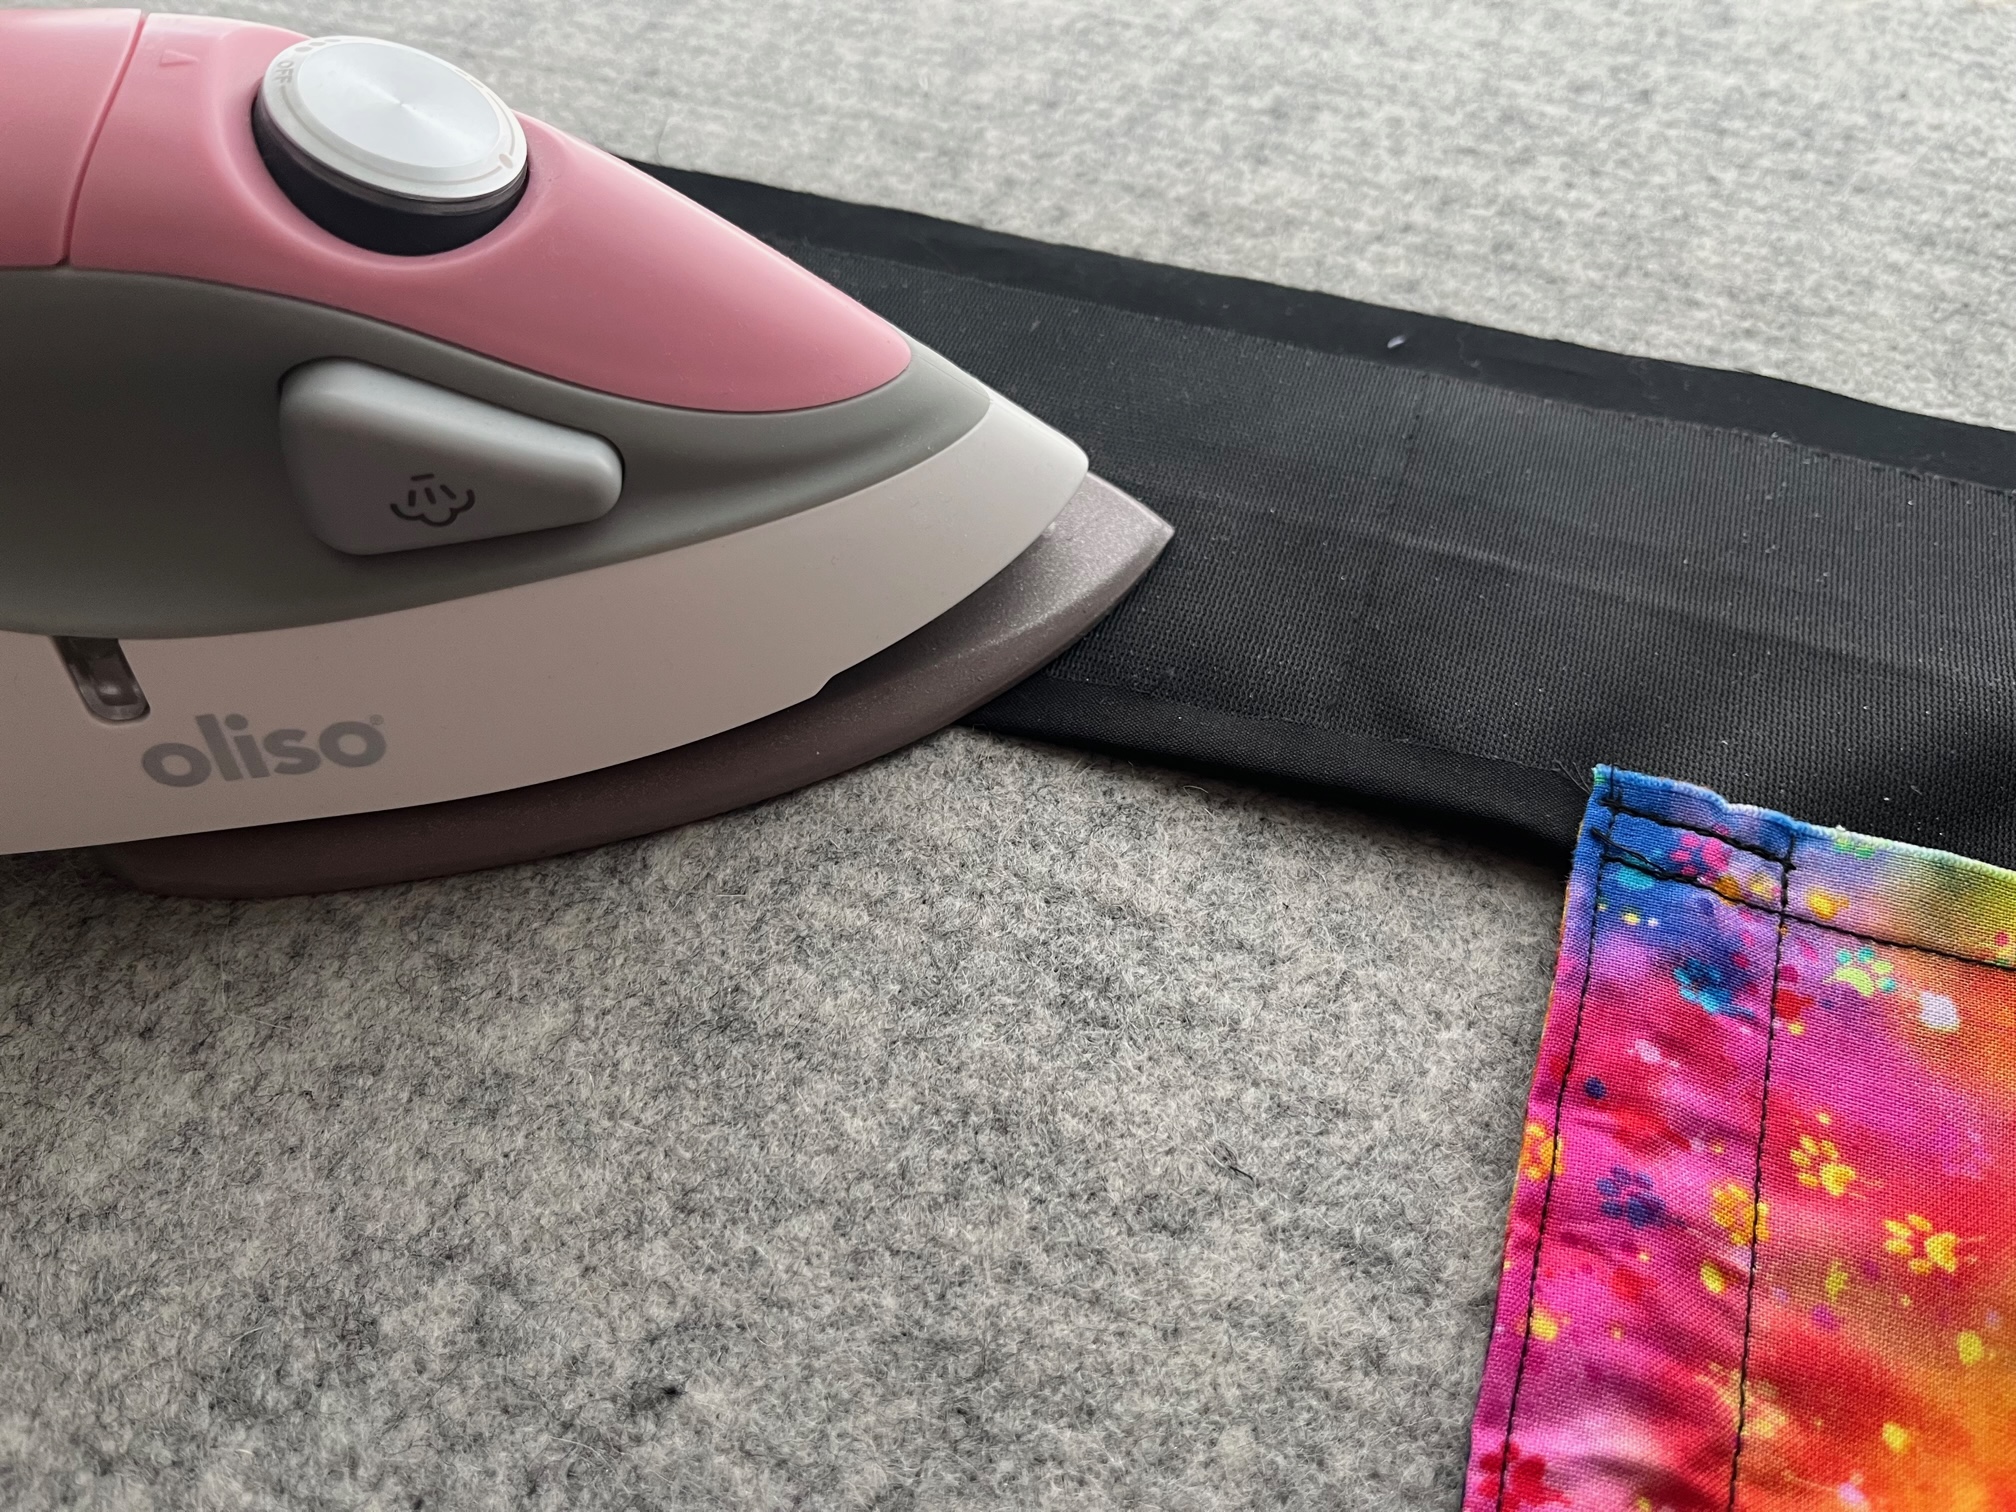
Attaching the Waistband…
Find the center seam of the waistband and match it up with the center of the top raw edge of the apron. Pin or clip the waistband to the apron and sew a 1/2″ seam. Once your waistband is attached to the apron, press the waistband up. Next, fold the raw edges of the waistband over on top and bottom and press.
Important Tip: Your interfacing for the waistband is 1″ smaller. If applied correctly, the only thing you need to do is fold over the raw edge and press! No measuring required! The area that does not have interfacing on it should be 1/2″.
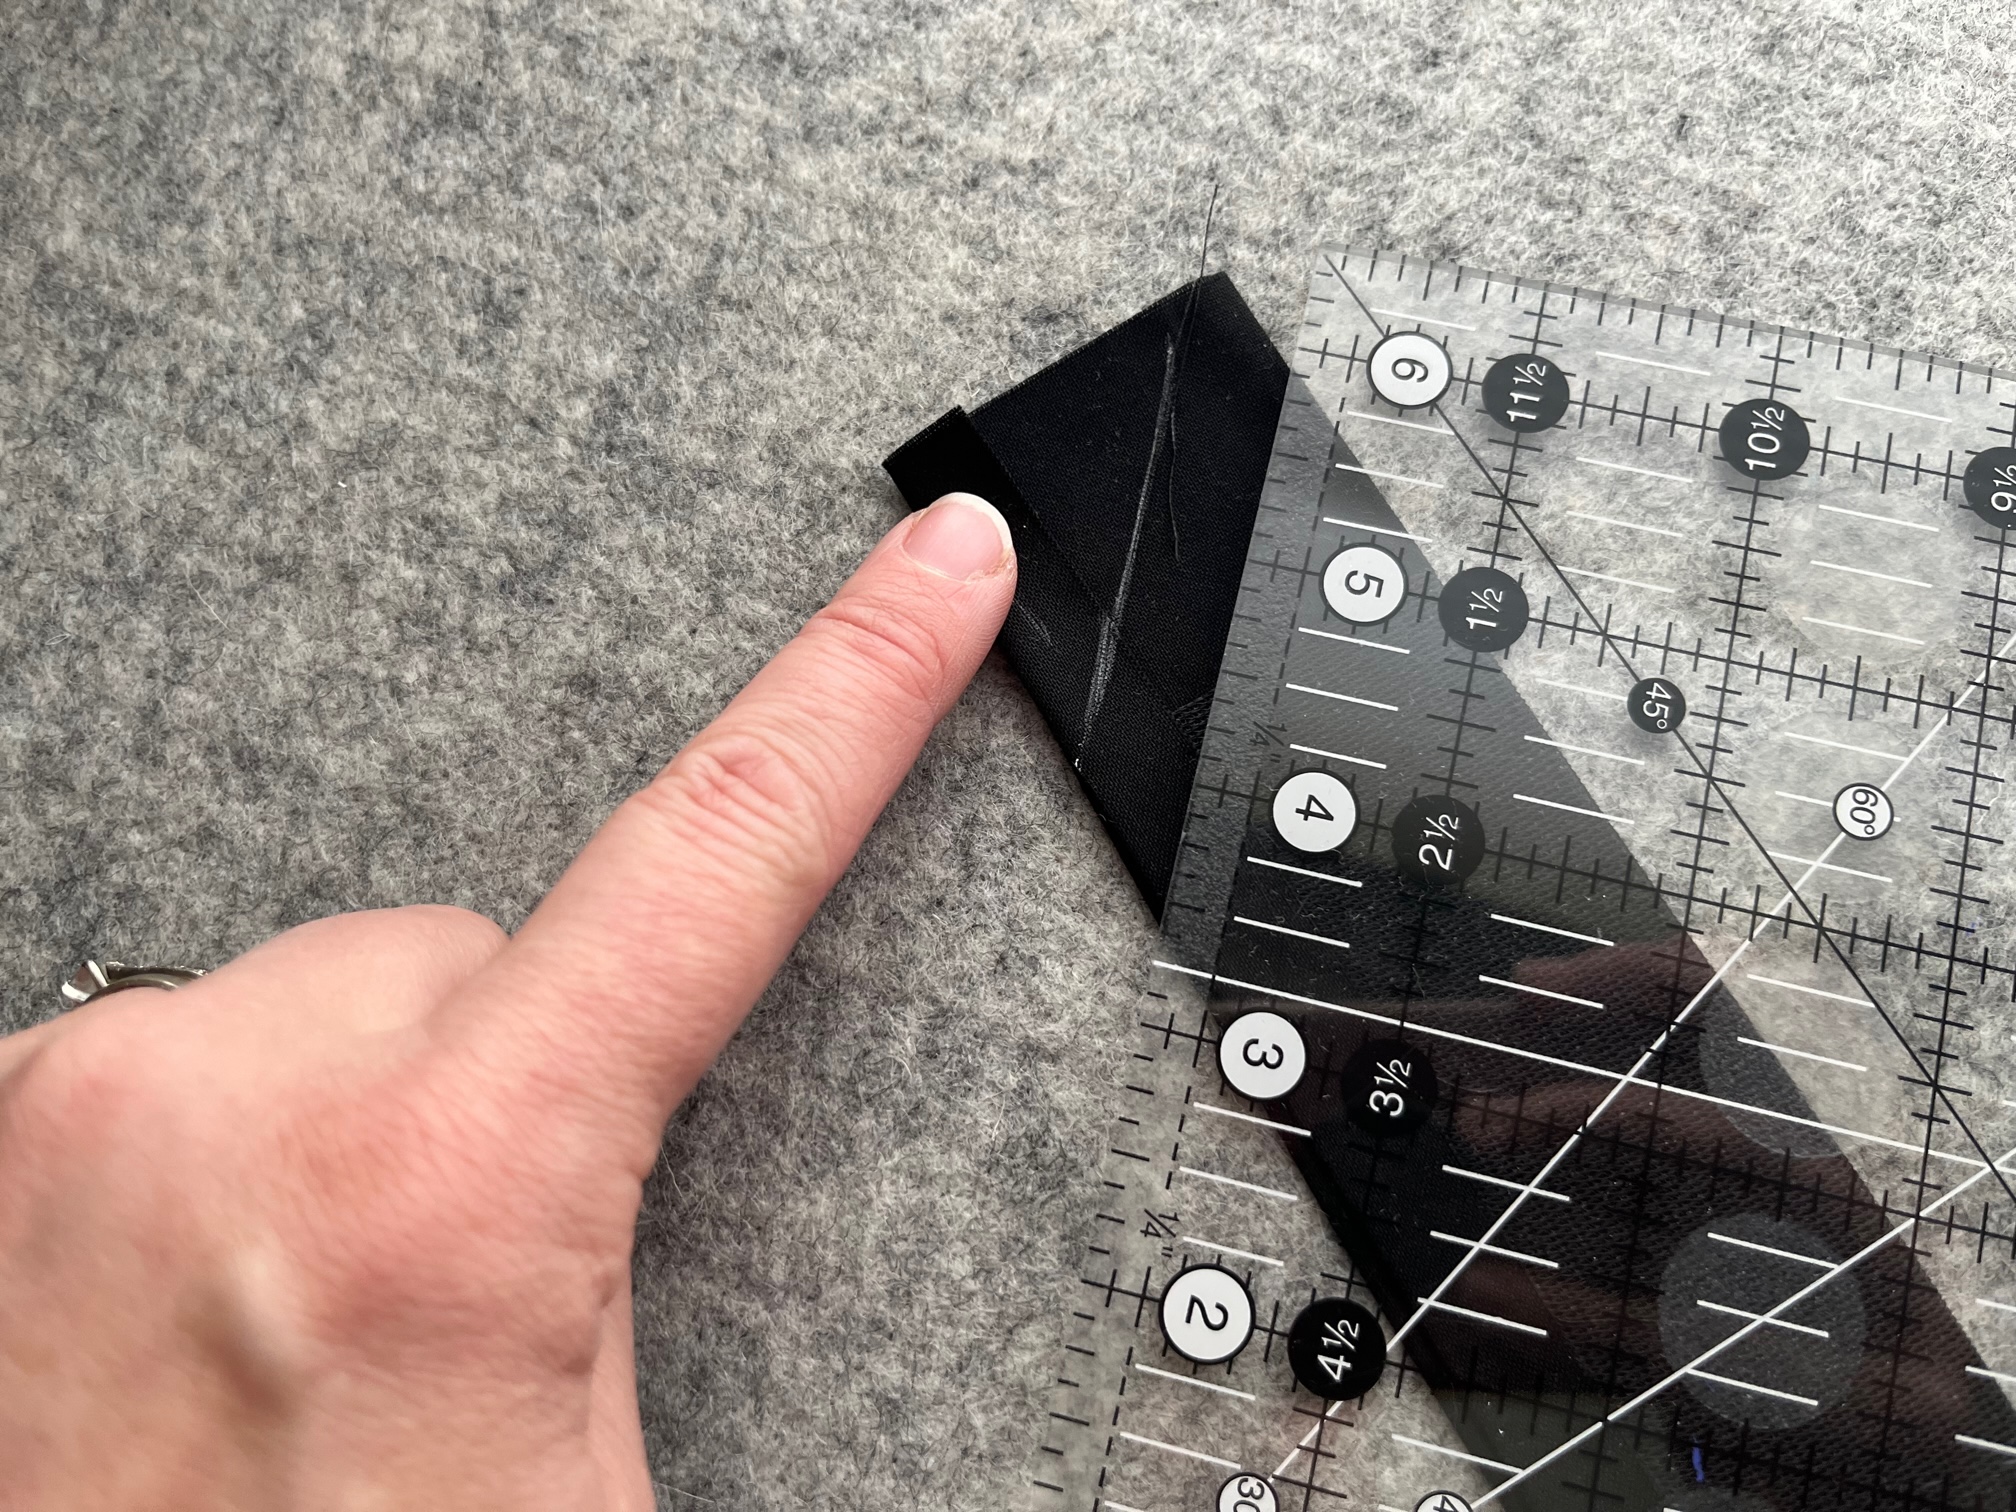
Continue by…
Folding over the waistband, right sides together. Measure and mark a 45 degree angle. Sew along the marked line and trim.
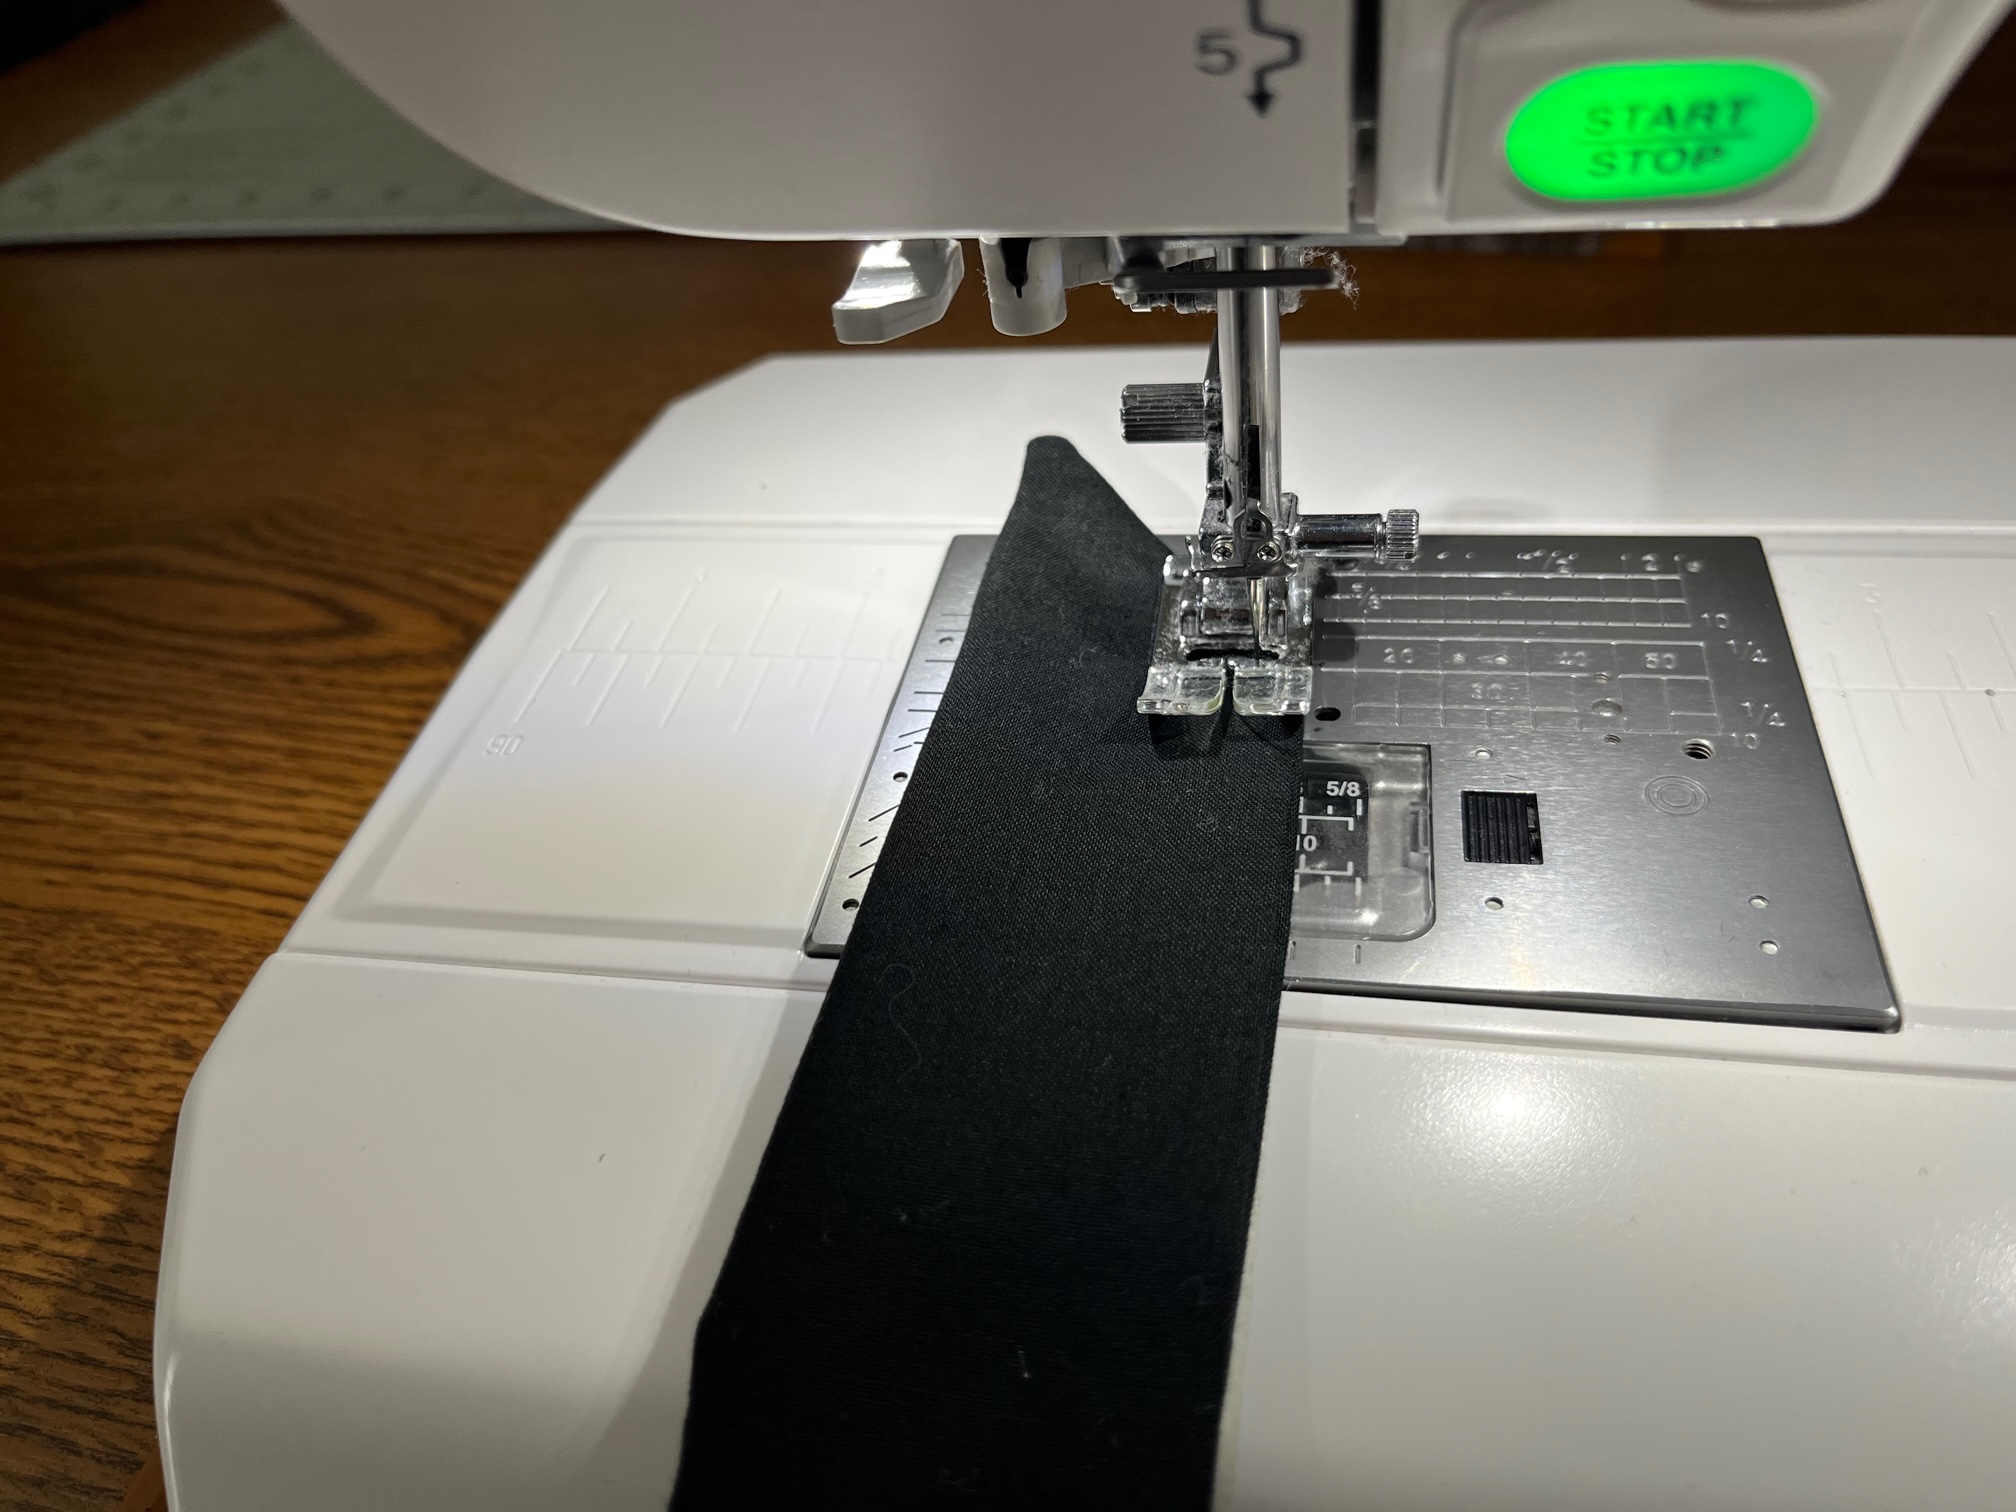
Next…
Turn the end of the waistband right side out. Press the waistband in half and stitch from end to end. This will completely enclose your waistband.
Finally…
Add a button to the center of the waistband.

FINISHED!

Check out the video below to see how it works!
Thank you for following along with me today! I hope you enjoyed my “Little Harvest Apron” tutorial. For additional instructions, check out my blog where you will find a link to my “Adult Harvest Apron” video tutorial.
Come back soon to see what else will be starting to bloom with Inflorescence Designs!
This post contains affiliate links. For more information, see our disclosure HERE.
[…] You can find the full tutorial HERE on Thermoweb’s Blog. […]