Baker’s Twine Candy Cane Embellishments
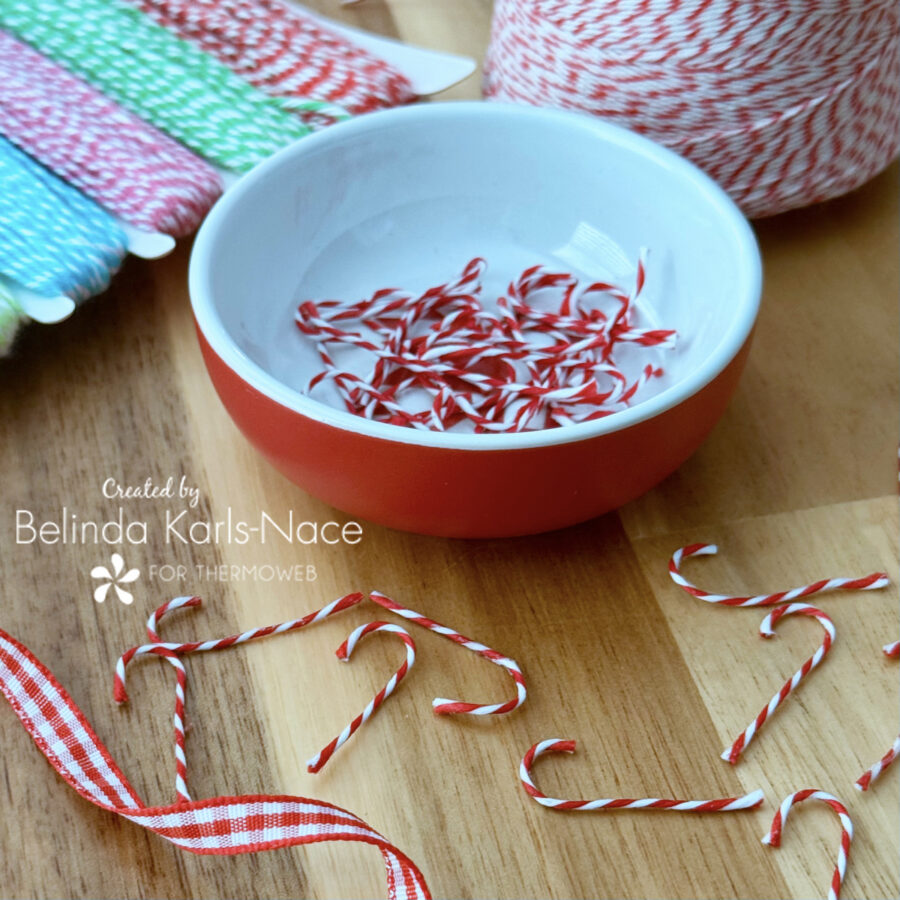
Greetings! It’s Belinda from Blue Ribbon Designs, here with a quick, holiday tutorial featuring SpraynBond Fabric Stiffener Spray. Today, I am excited to share my cute “Baker’s Twine Candy Cane Embellishments” with you.
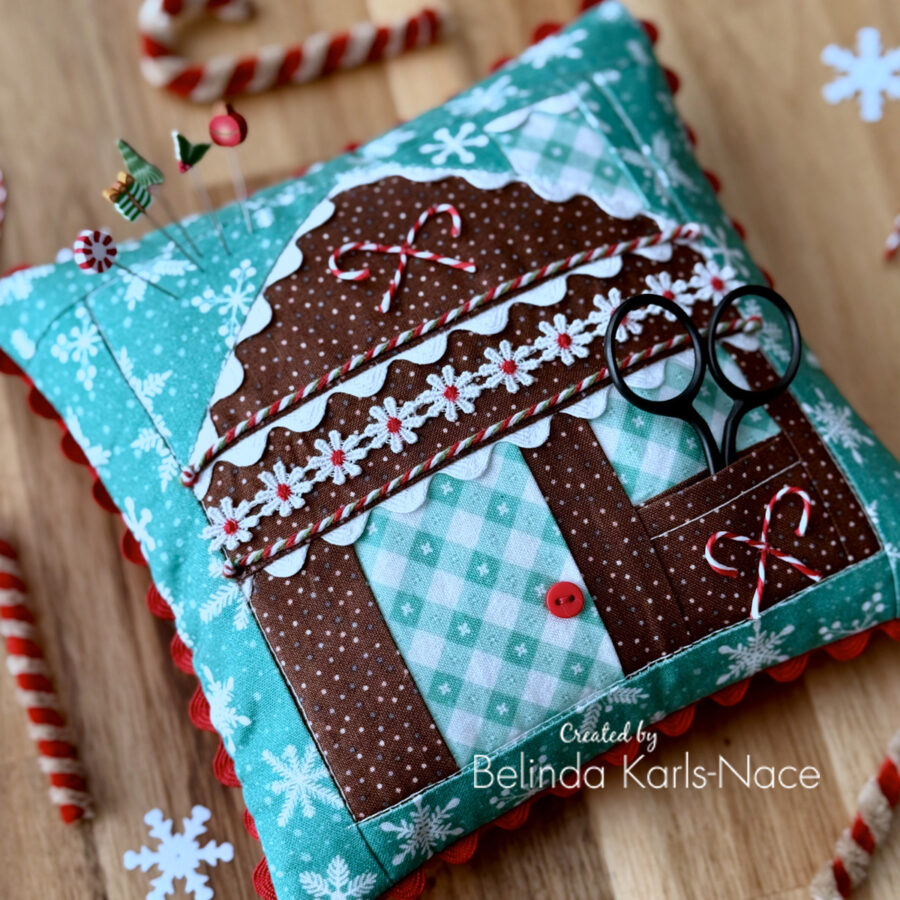
Are you familiar with the proverb “necessity is the mother of invention?” This project tutorial was born out of a need for tiny candy cane embellishments. I recently created a gingerbread house pincushion (photo at the end of this post) and envisioned several tiny canes to adorn it. Looking around my sewing studio, I decided to try making some with baker’s twine. Enter SpraynBond Fabric Stiffener Spray; it was the perfect product to bring my vision to life. I am going to show you how to easily make my candy can embellishments that are perfect for adding to sewing projects, cards, and gift tags…really anything that needs a little holiday touch!
Let’s get creative! Simply gather the materials/supplies listed below and follow along with my tutorial.
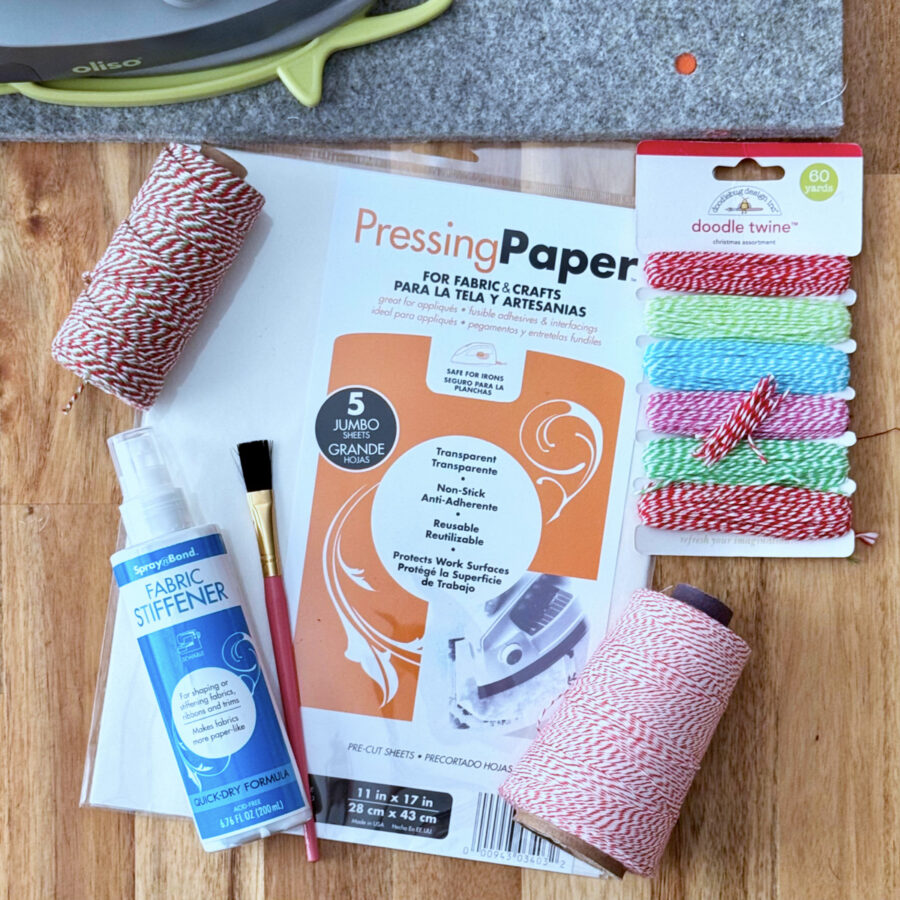
What you need:
- SpraynBond Fabric Stiffener Spray
- Pressing Paper Fabric and Craft Sheets
- 1 – sheet
- Baker’s Twine (any color/any size)
- Paper Towel
- Paint Brush (I used a small flat brush)
- Small Sharp Scissors
- Ruler
- Optional: Oliso Iron
How to Make Baker’s Twine Candy Cane Embellishments
1. Protect your workspace with a Pressing Paper Fabric and Craft Sheet.
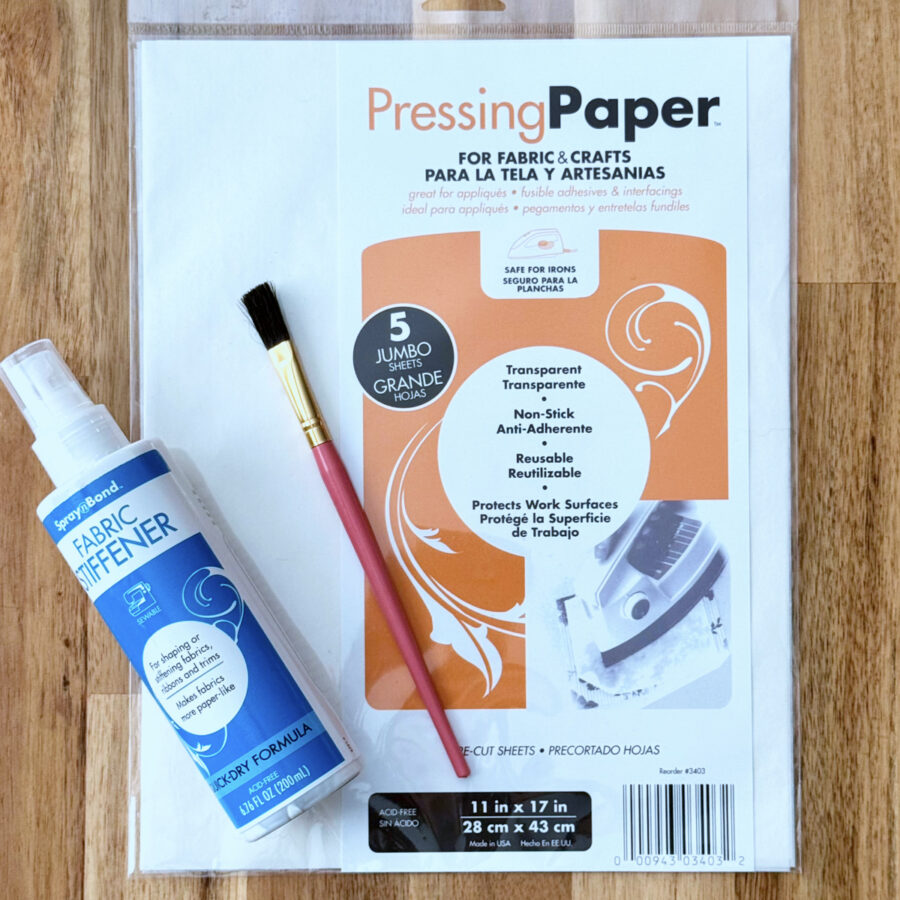
2. Cut baker’s twine into individual lengths of your choice.
- Use sharp scissors for clean cuts.
- For tiny candy canes, I cut 1½” or 2” lengths. Choose a length that will work well for your project.
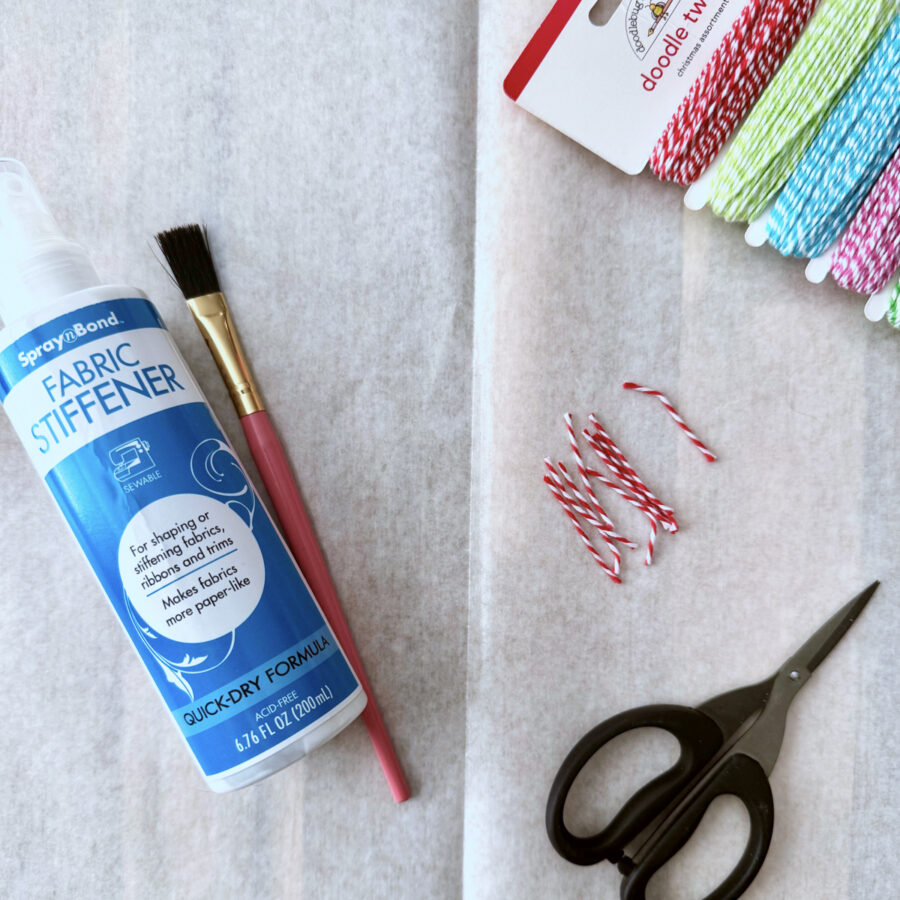
3. Prepare SpraynBond Fabric Stiffener Spray
- Shake bottle well.
- Remove lid/sprayer and place on paper towel.
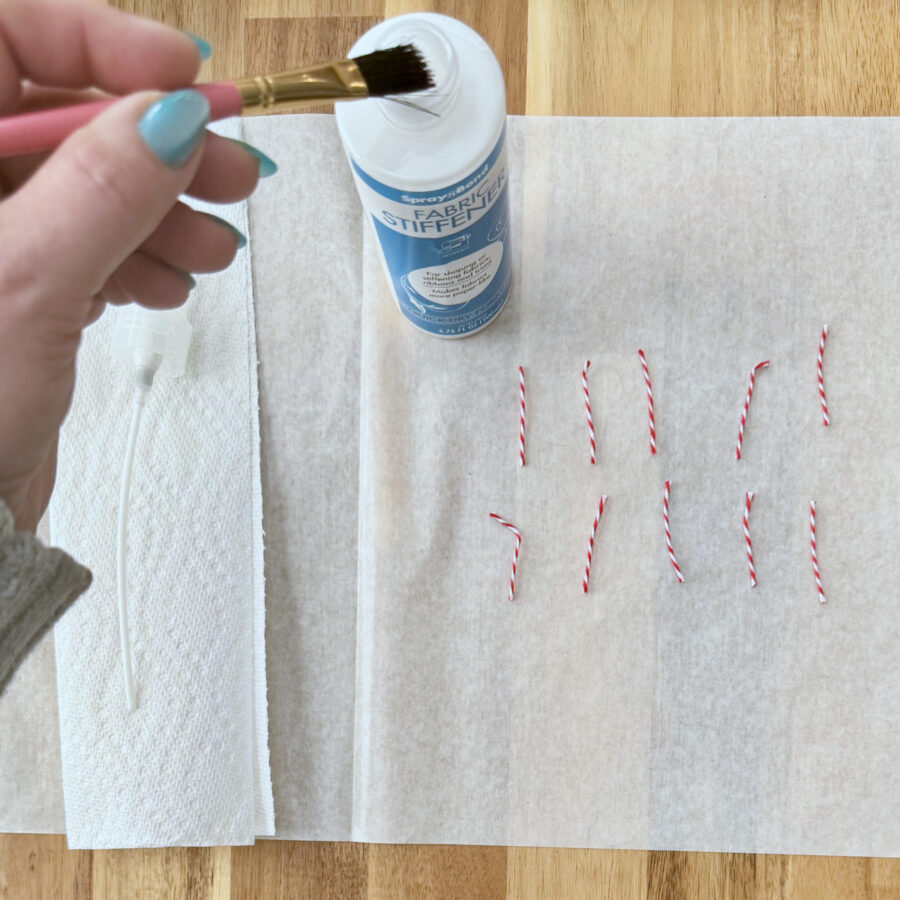
4. Apply SpraynBond Fabric Stiffener
- Apply with a small brush. You can use the sprayer if preferred, but I found it applied too much, and excess surrounded my pieces of baker’s twine.
- Lightly paint – no need to saturate.
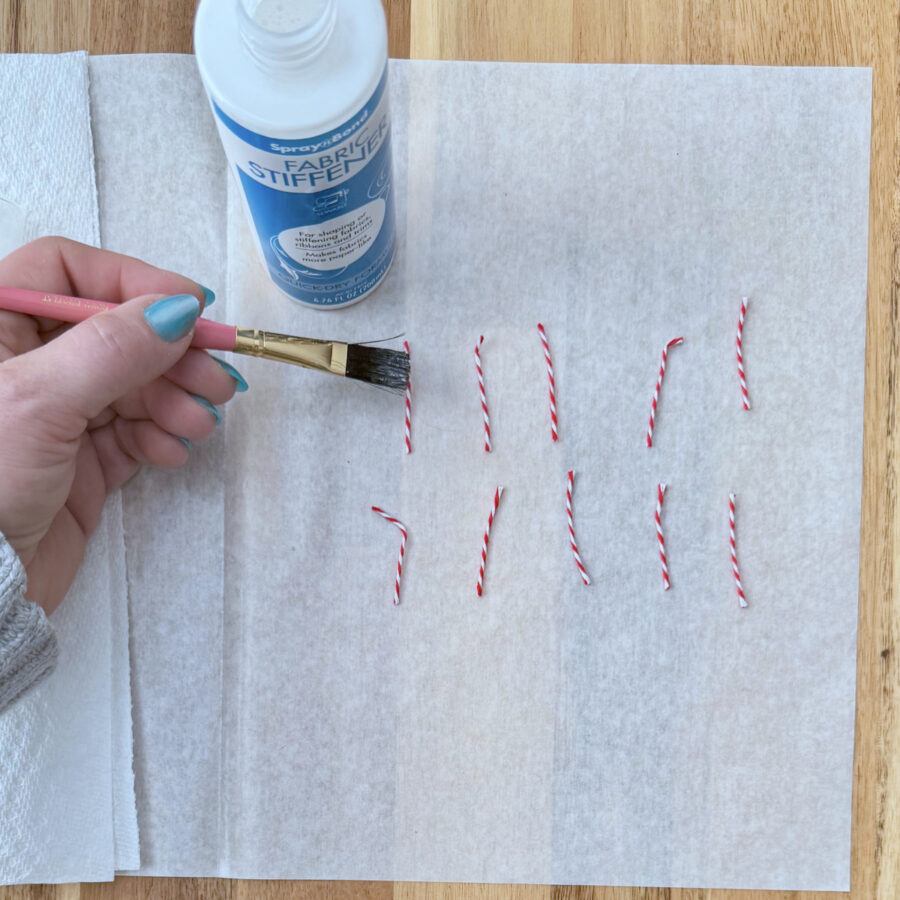
5. Shape candy canes.
- I shaped the candy canes with my fingers. You may find a toothpick, tweezers, or a stiletto helpful.
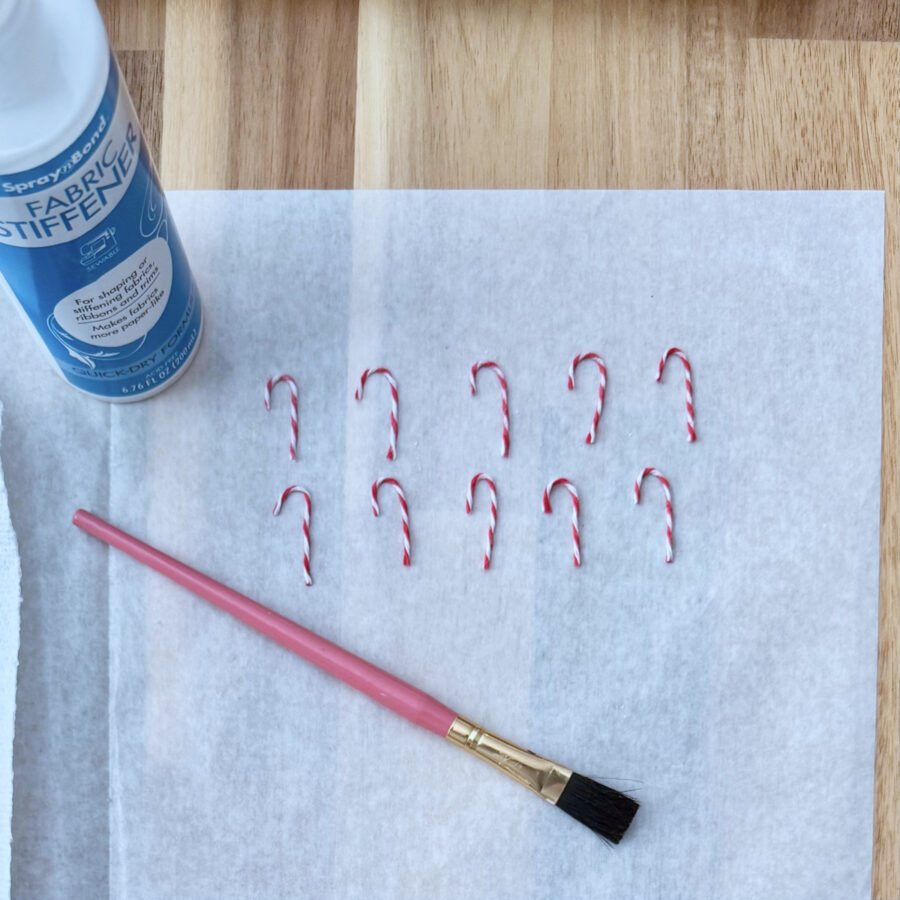
6. Let air dry.
- I allowed my candy canes to dry overnight.
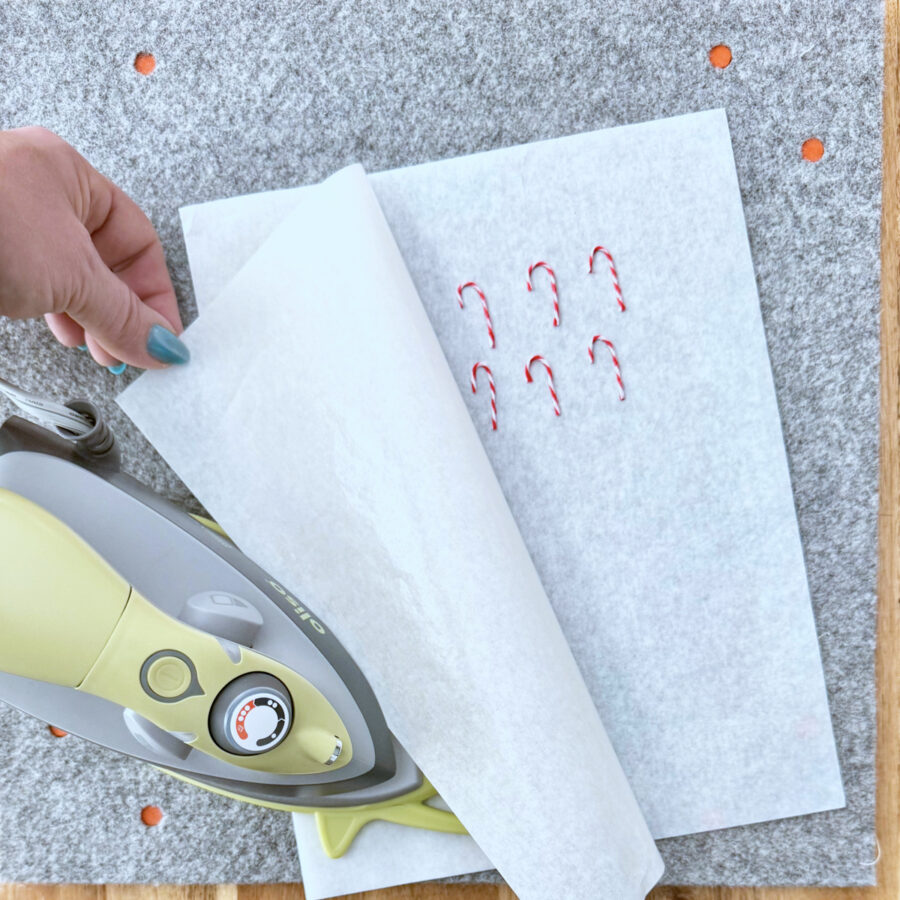
- For a quicker turnaround, you may cover with a Pressing Paper Fabric and Craft Sheet and press with a medium dry iron for immediate use. This will somewhat flatten the candy canes, which may work better for some applications.
*PRO TIP: form candy canes on right side of sheet, then cover with left side of sheet for pressing.
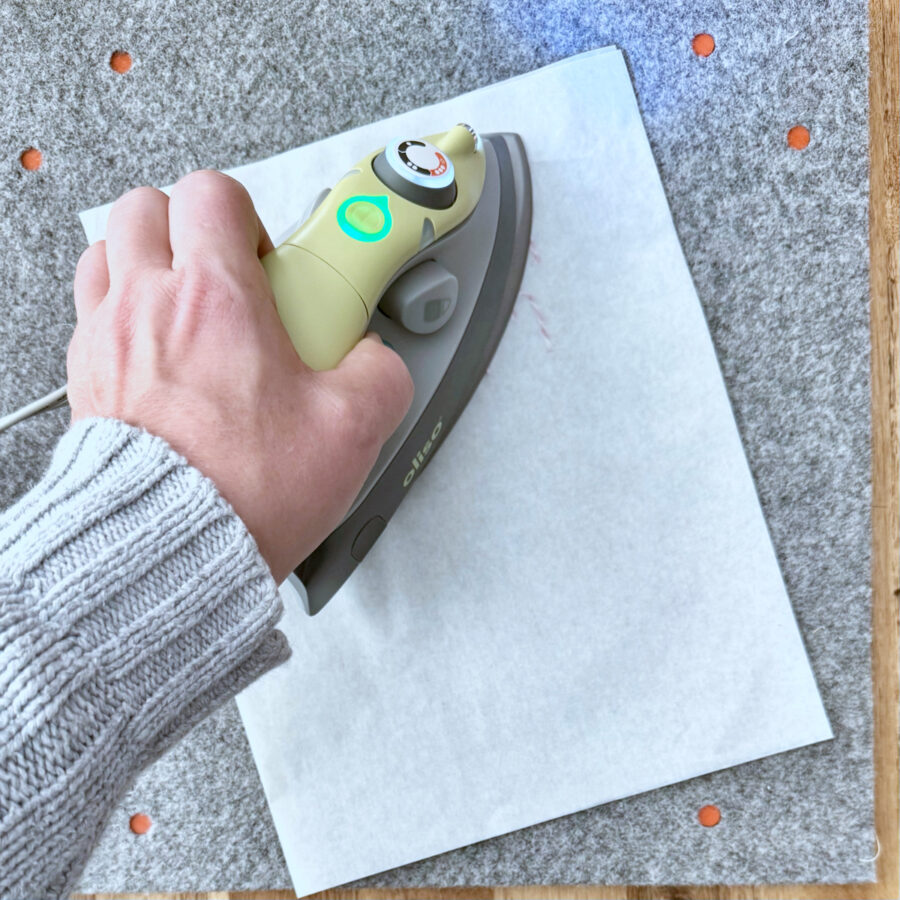
7. Repeat steps above if the candy canes need to be stiffer.
- I found one application was plenty.
8. Apply to projects using a needle and thread or HeatnBond Fabric Fuse Liquid Adhesive.
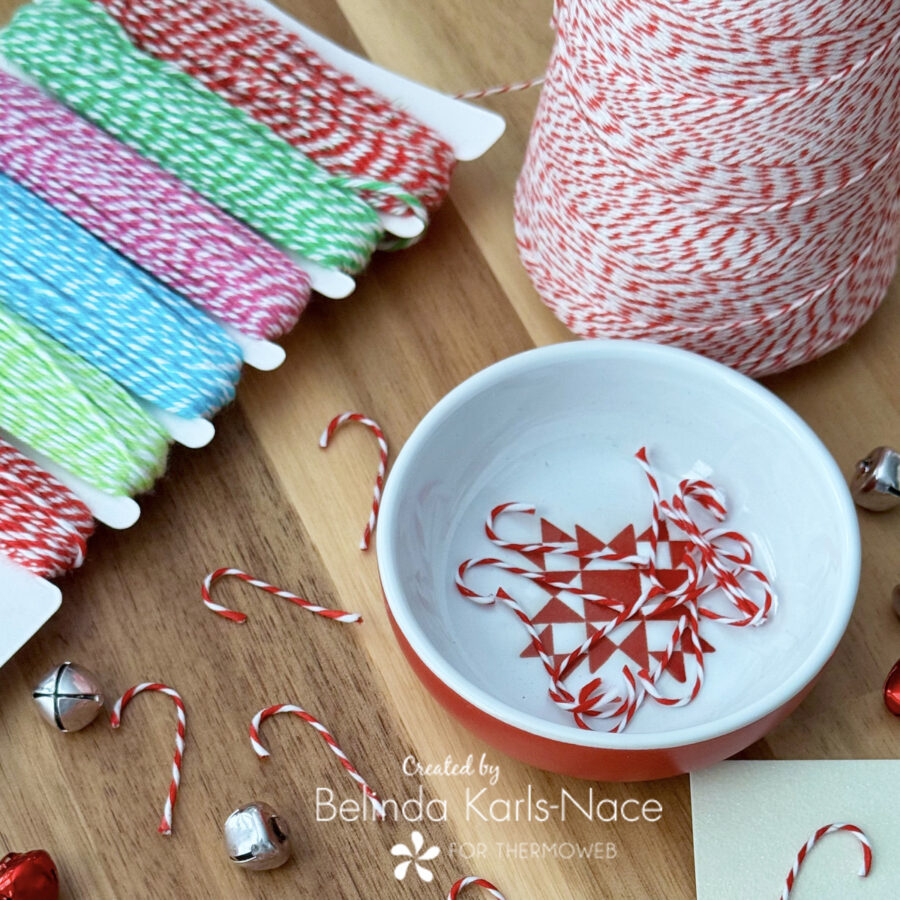
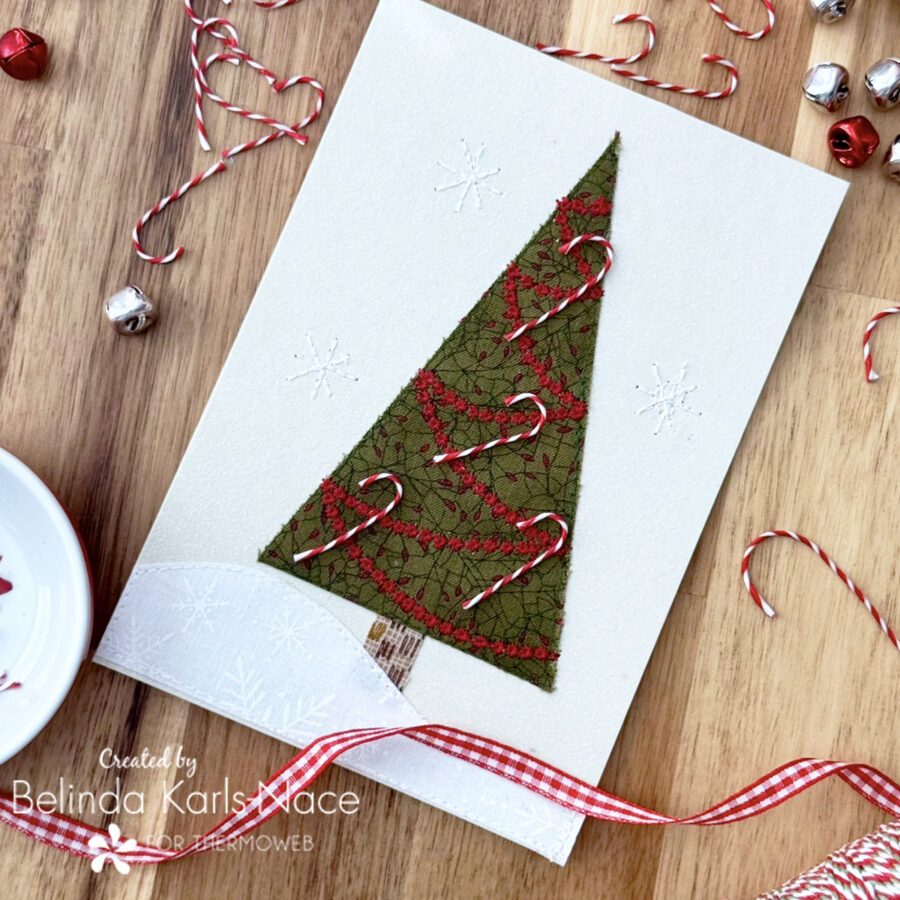
Here are a couple examples. This is a Christmas card I am embellishing with fabric and thread, using my sewing machine. I will sew the candy canes in place on the tree. This same process would work great with gift tags, ornaments, drawstring bags, or even napkin rings. Another option is to attach the candy cane embellishments with HeatnBond Fabric Fuse Liquid Adhesive.
Next, this is the pincushion that sparked the idea for this project. This is my Gingerbread Cottage Pincushion. The pattern is my Cosmic Cottage Pincushion, which is a free pattern with several adjustments; I changed/added additional trim and the candy cane embellishments to turn it into a gingerbread house. This pincushion is a foundation-pieced quilt block and the pattern shows how to add a hidden scissor pocket under the window. If you are interested in this very special project, please visit my blog for all the details and the free pattern.
https://blueribbondesigns.blogspot.com/2024/12/gingerbread-cottage-pincushion.html
Thank you for joining me today for this Therm O Web blog tutorial. I hope this post inspires you to add a few cute candy cane embellishments to your holiday creations. To see more of my projects, stop by my blog, website, Instagram, and/or YouTube channel – I would love to visit with you and see what you create!

Janice P McLaren
December 15, 2024 at 8:33 am (6 months ago)The pincushion is adorable! Thanks for sharing.
Belinda Karls-Nace
December 16, 2024 at 2:05 am (6 months ago)Thank you so much – I am so happy you like the pincushion! I hope you will make a gingerbread cottage with baker’s twine candy canes of your very own.